Trending Now


Latest Gift Guides

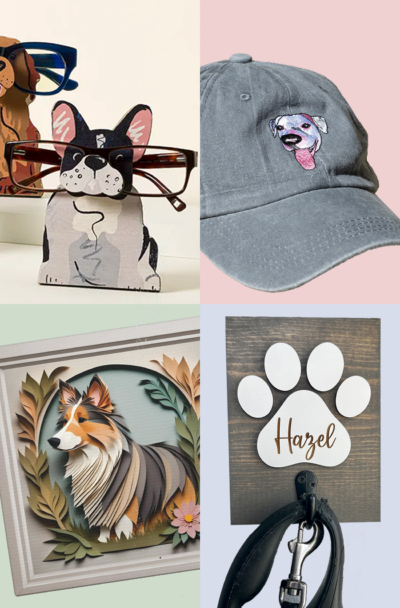
30 Best Paw-some Gifts for Dog Owners
Check out our top picks for gifts for dog owners. You’ll make their day with a special gift that celebrates their love for their furry…
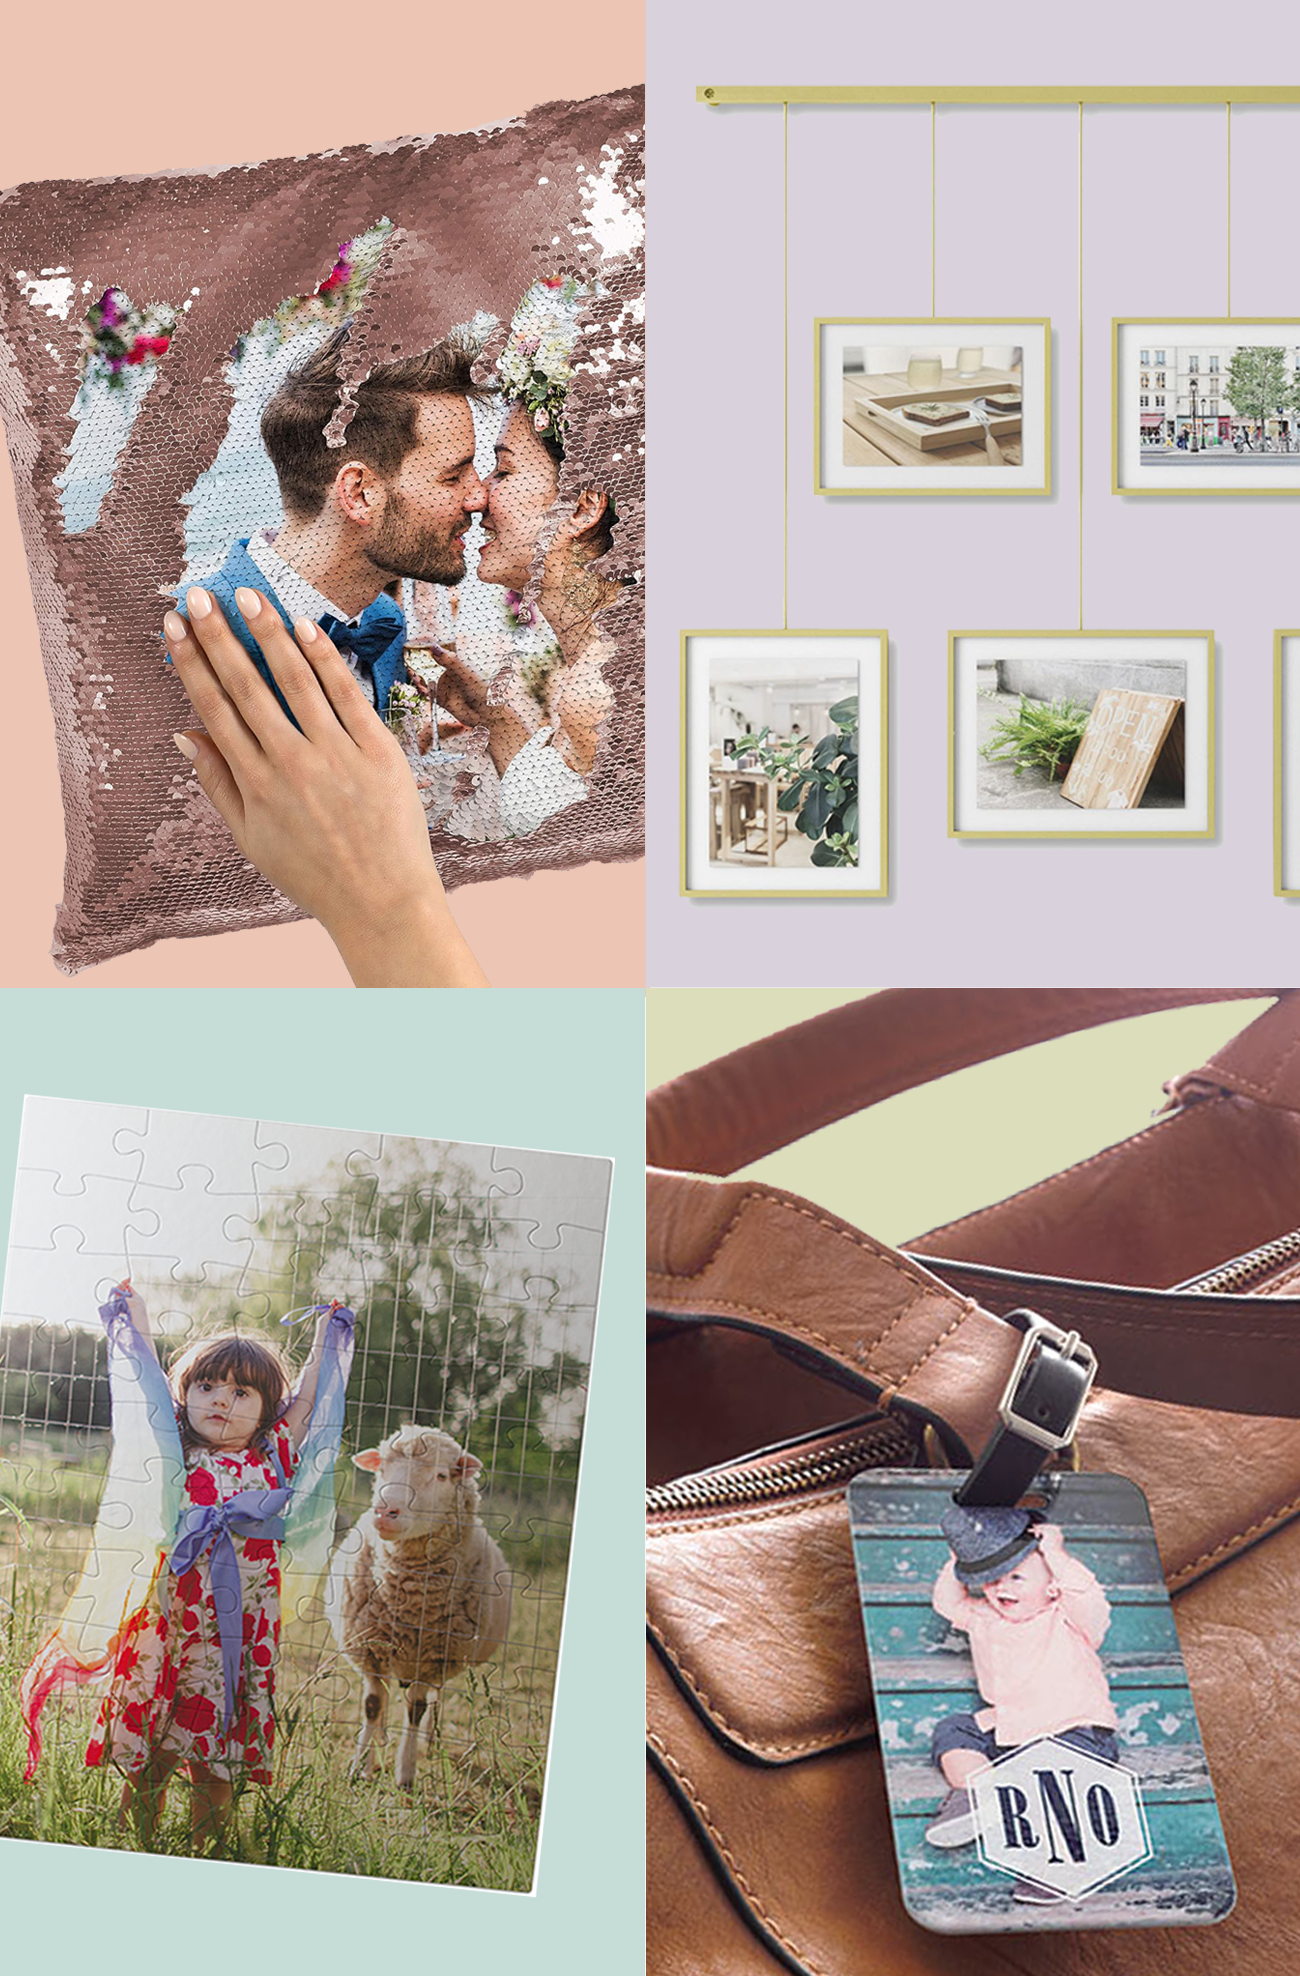
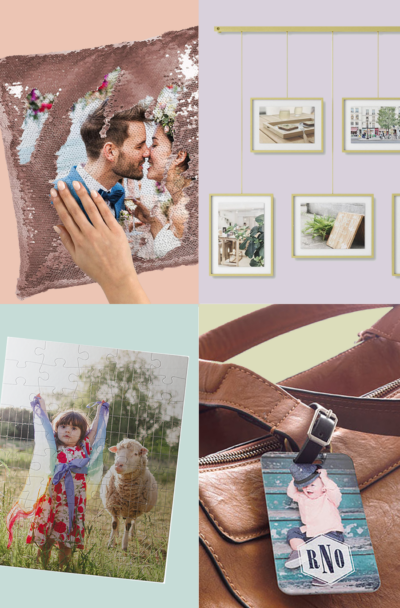
Perfect Photo Gifts Ideas for Anyone
Make memories last with these thoughtful photo gift ideas that will be cherished for years to come. Are you looking for unique…
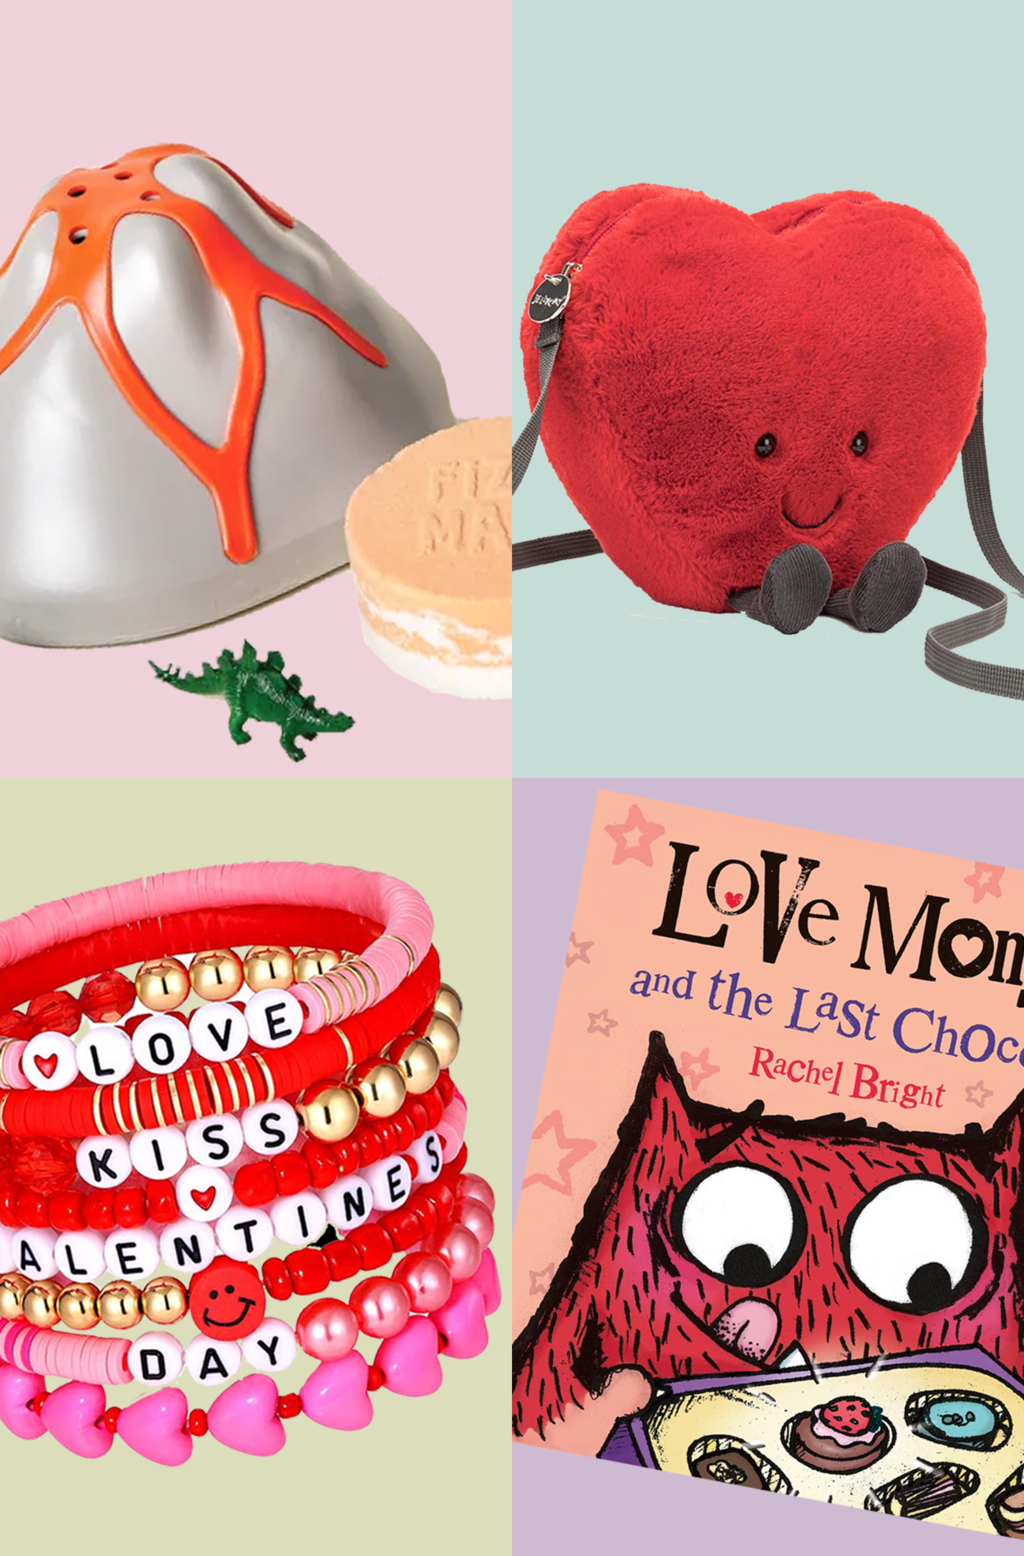
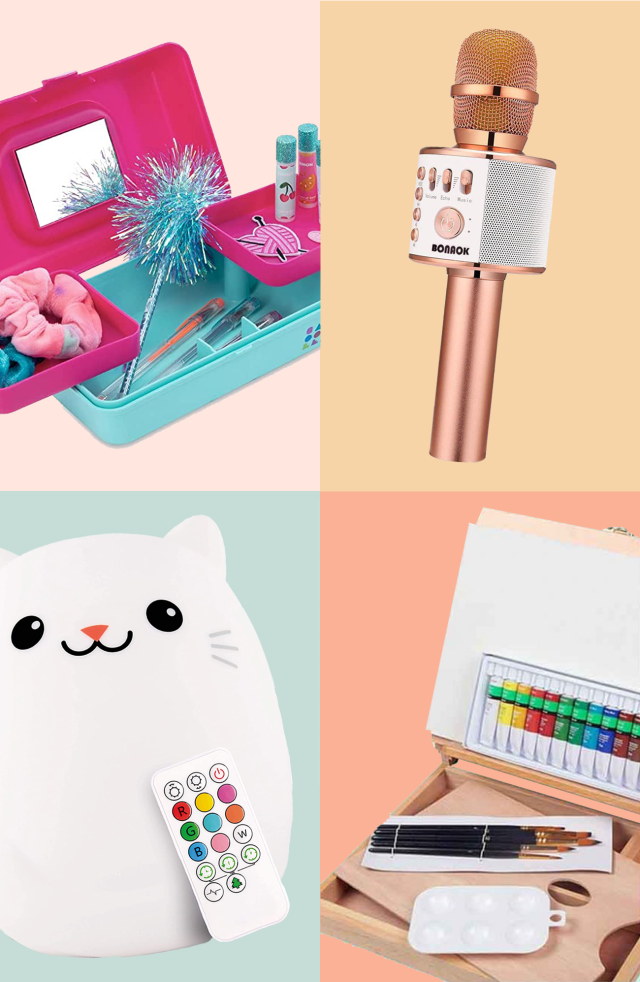
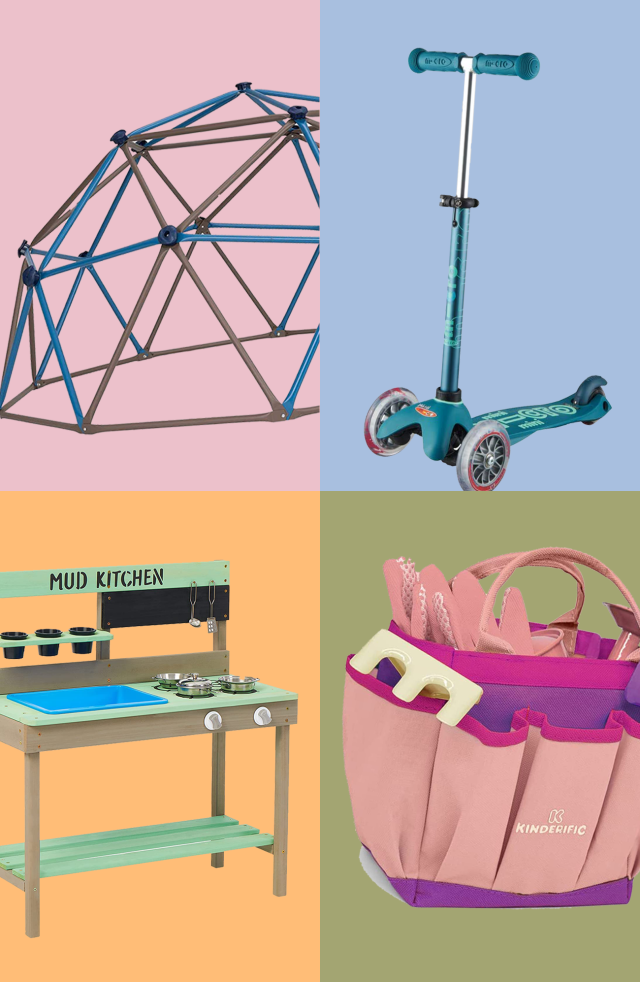
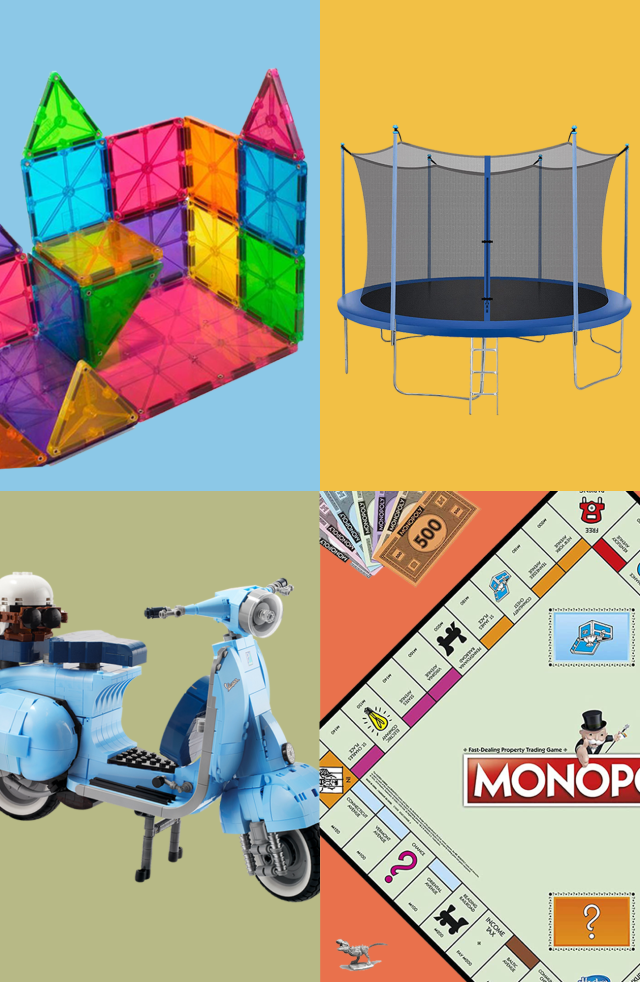
34 Valentine’s Day Gifts for Kids to Spread Love & Smiles
From personalized keepsakes to playful surprises, celebrate this day of love with extra doses of adorableness with our favorite Valentine’s Day gifts…
Most Popular Gift Guides

Mother’s Day Gift Ideas

BECOME AN INSIDER
SUBSCRIBE TO STAY IN THE KNOW WITH WHAT’S TRENDING
NEW RECIPES


NEW DECOR IDEAS


AS SEEN ON
