Skip to content
About
CONTACT
Subscribe
Search for:
Search
Facebook
Instagram
Pinterest
TikTok
Gift Guides
Expand
For Her
For Him
For Kids
Just Because
For Special Occasions
Decor
Expand
Bedroom
Kids’ Room
Living Room
Office
Bathroom
Kitchen
Outdoors
Recipes
Expand
Cocktails
Expand
Shots
Gin
Rum & Brandy
Sparkling
Tequila
Vodka
Whiskey
Wine & Beer
Non Alcoholic Drinks
Dinner
Desserts
Expand
Cakes & Cupcakes
Cookies & Candy
Donuts
Ice Cream
Macarons
No Bake Desserts
Snacks & Appetizers
Healthy Bites
DIY Projects
Expand
Home Decor
Entertaining
Travel
Beauty & Style
Printables
Behind The Blog
Holidays
Expand
Mother’s Day
Father’s Day
Fourth of July
Game Day
Halloween
Thanksgiving
Christmas
Birthdays
Valentine’s Day
St. Patricks Day
Easter
Shop
Search
Toggle Menu
gift
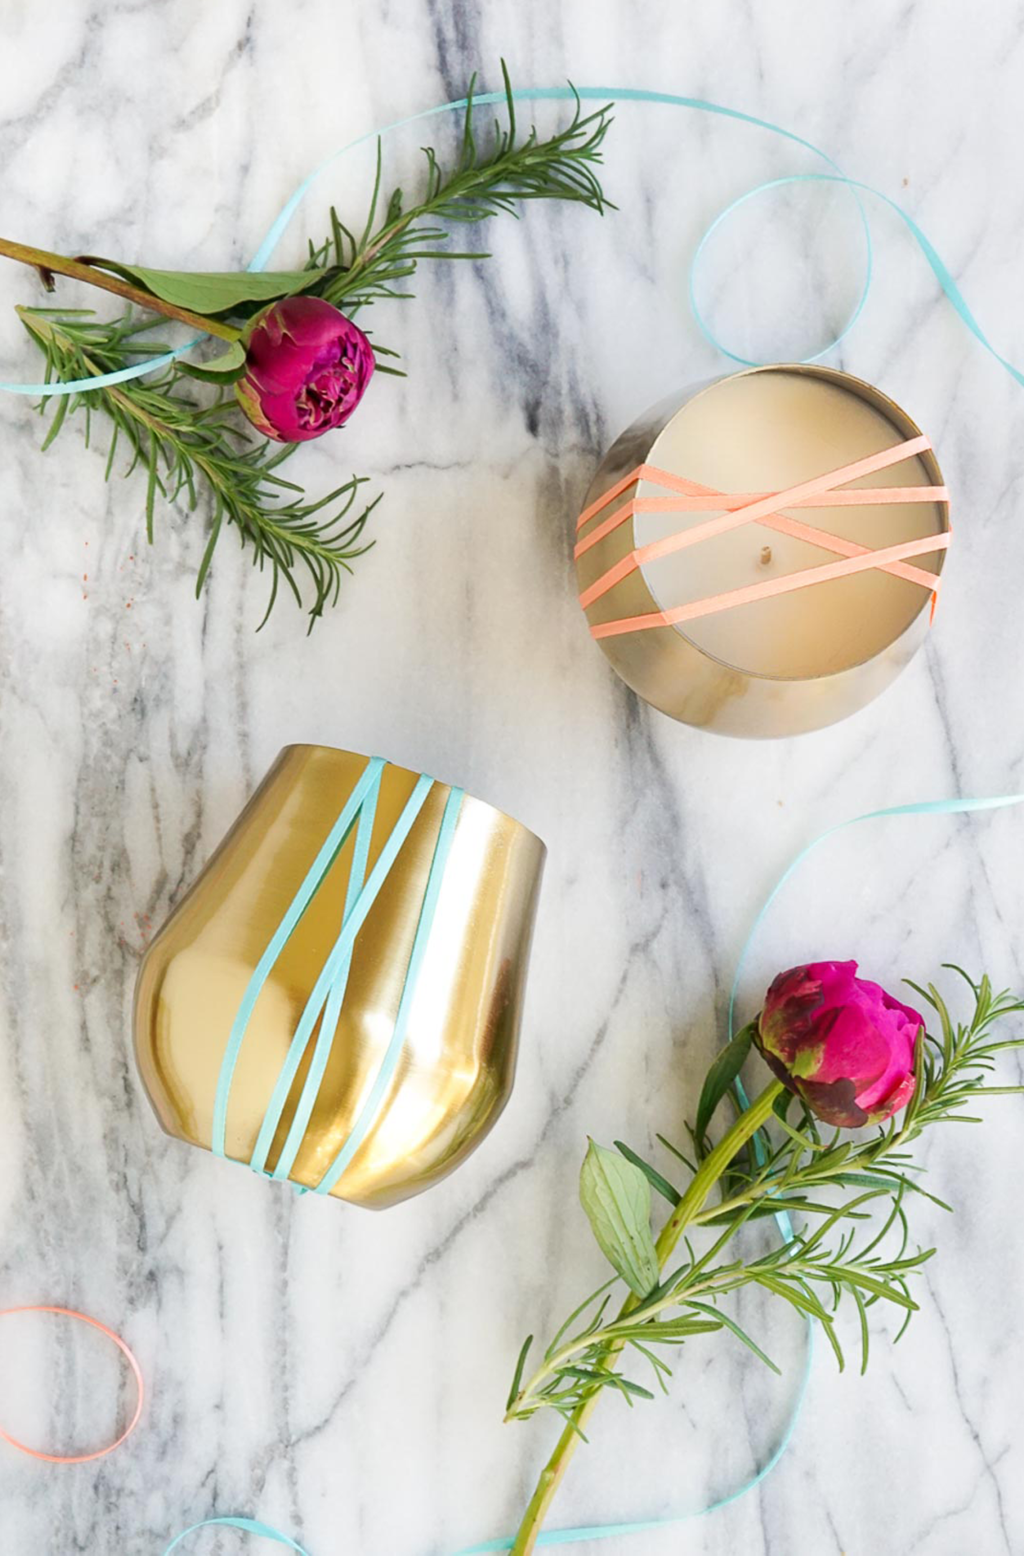
How to Make Homemade Candles Using Essential Oils
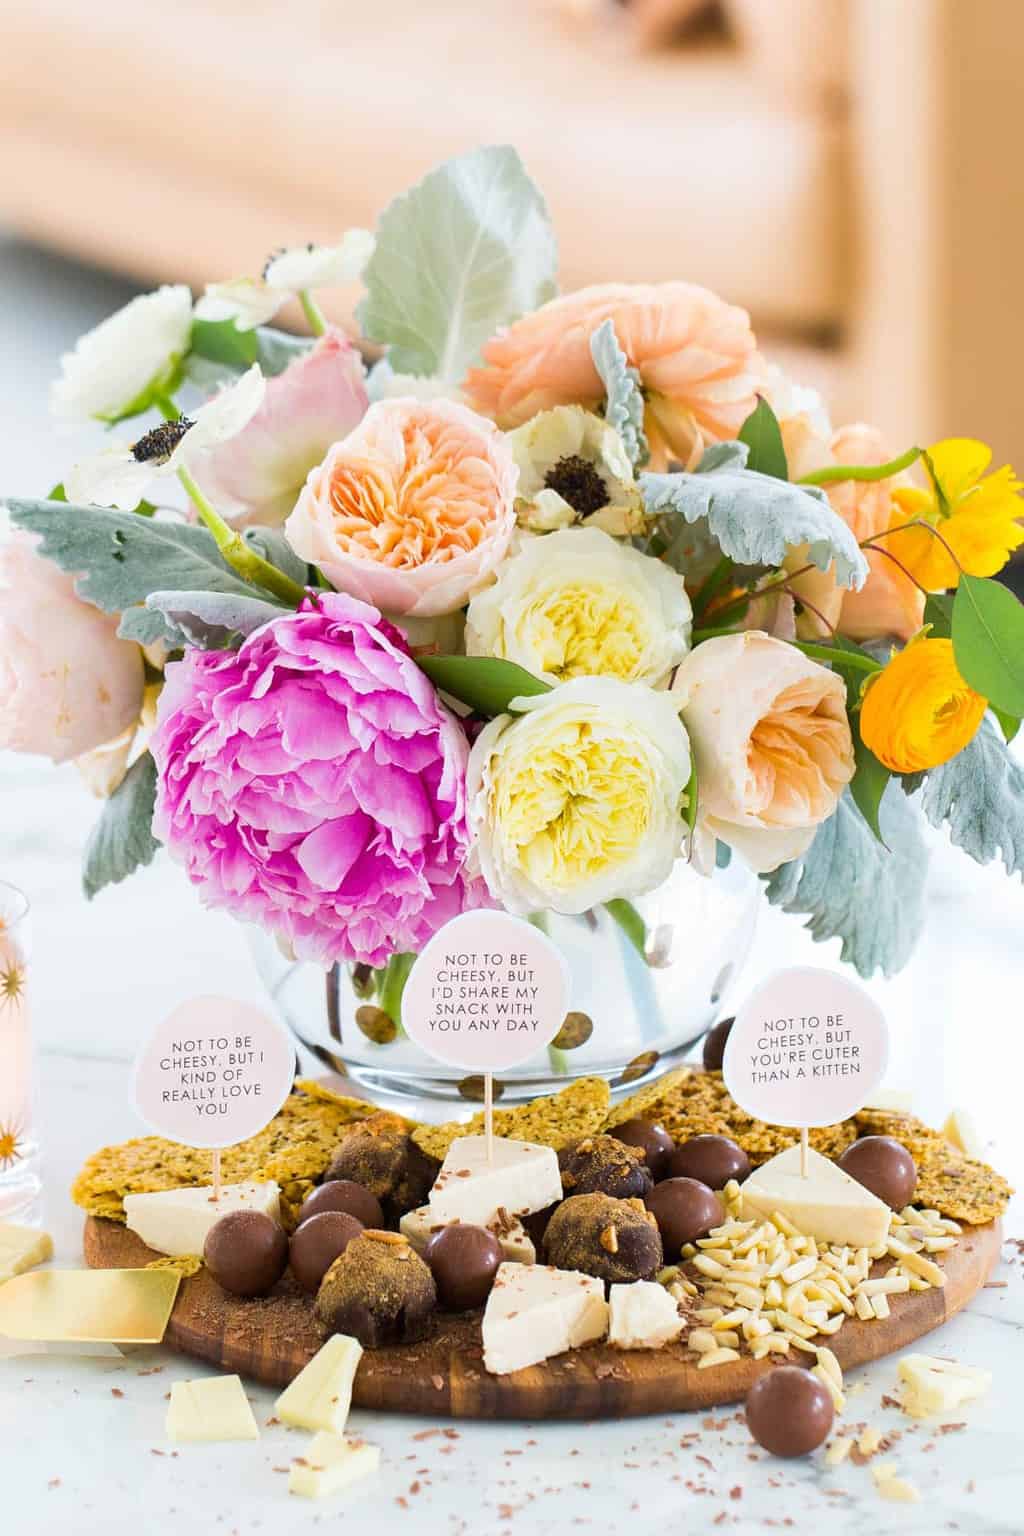
Printable Funny DIY Cheese Board Markers
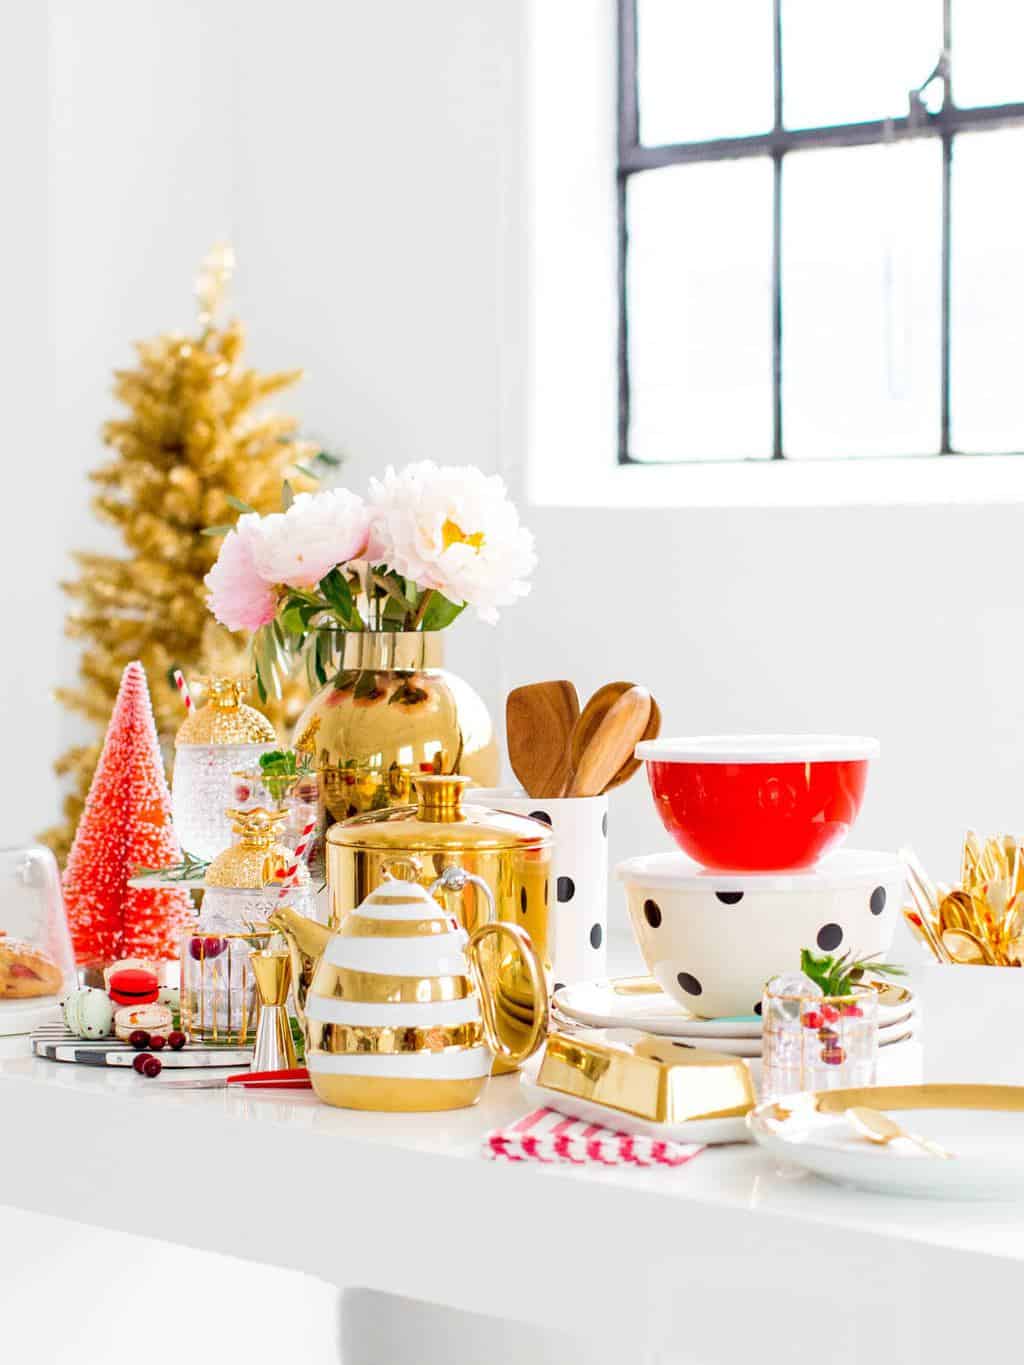
The Gift Guide for People Who Love to Entertain
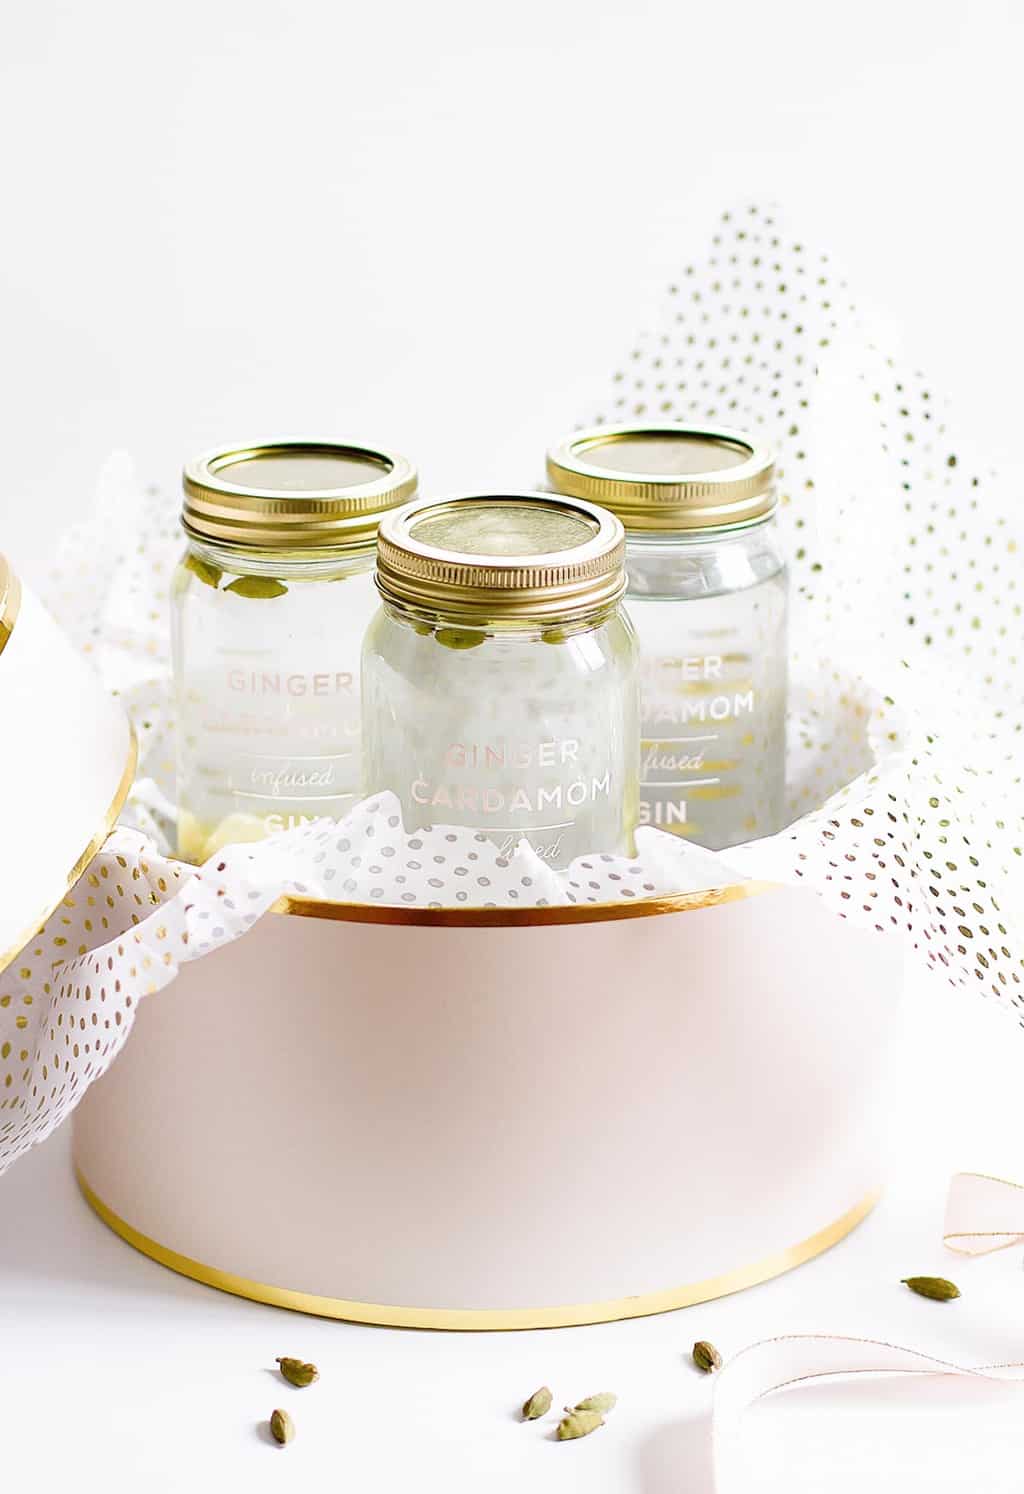
Ginger Infused Gin Cocktail Recipe for Gifting
10 Inexpensive and Unique Gift Ideas for the Modern Hostess Under $20
The Full Scoop on Our Mother’s Day Cards for Hallmark
Valentine’s Day Gifts for Your Guy
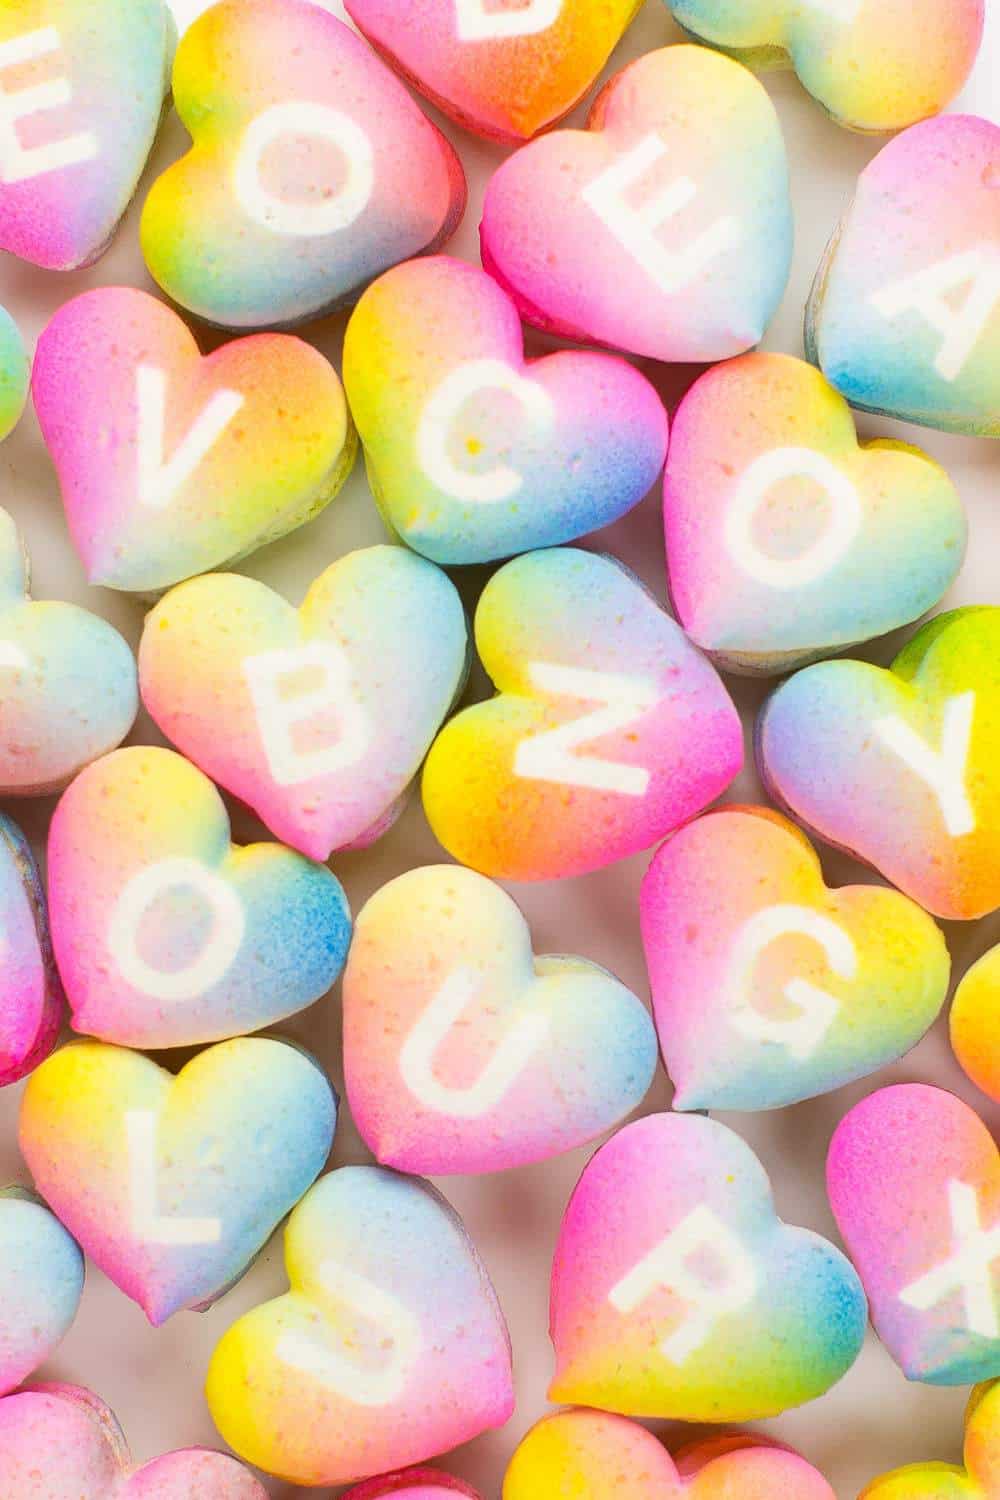
DIY Gradient Message Macarons
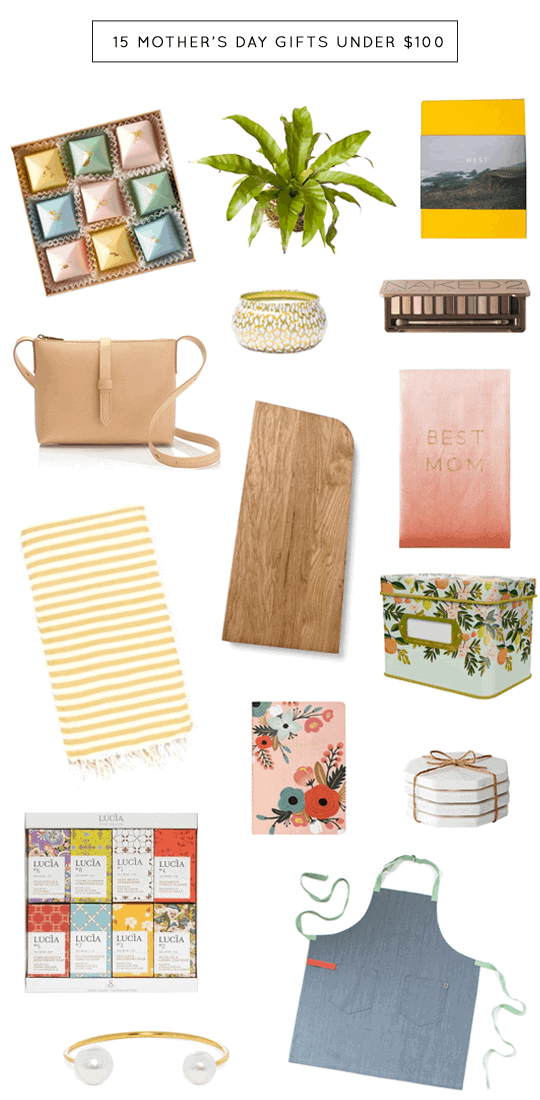
15 Mother’s Day Gift Ideas Under $100
DIY Edible Chocolate Messages
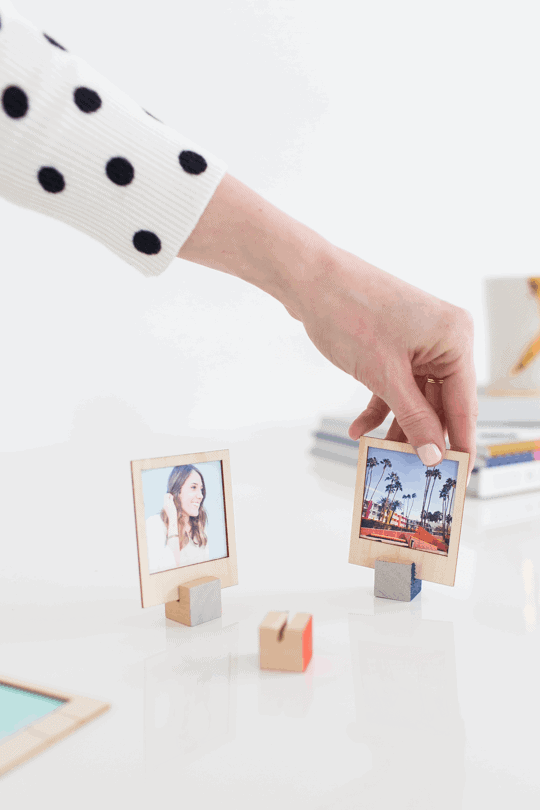
DIY Wooden Polaroid Displays
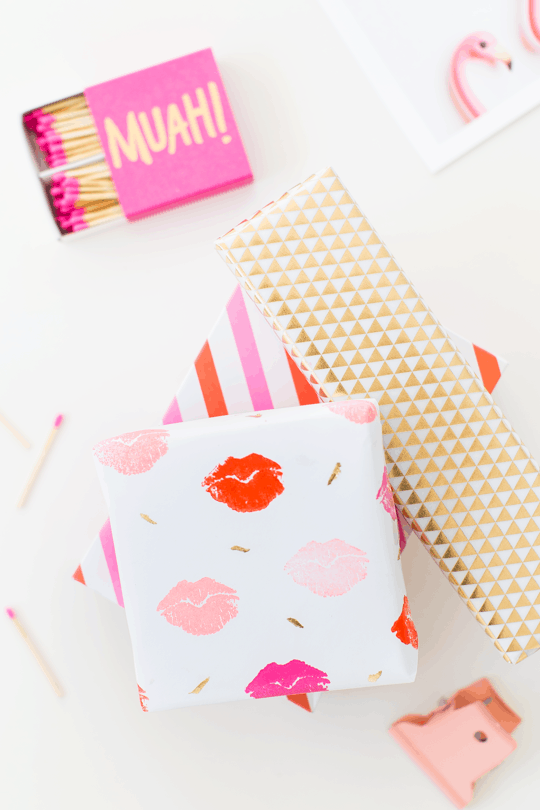
DIY Lip Patterned Gift Wrap
DIY Fresh Flower Love Sign
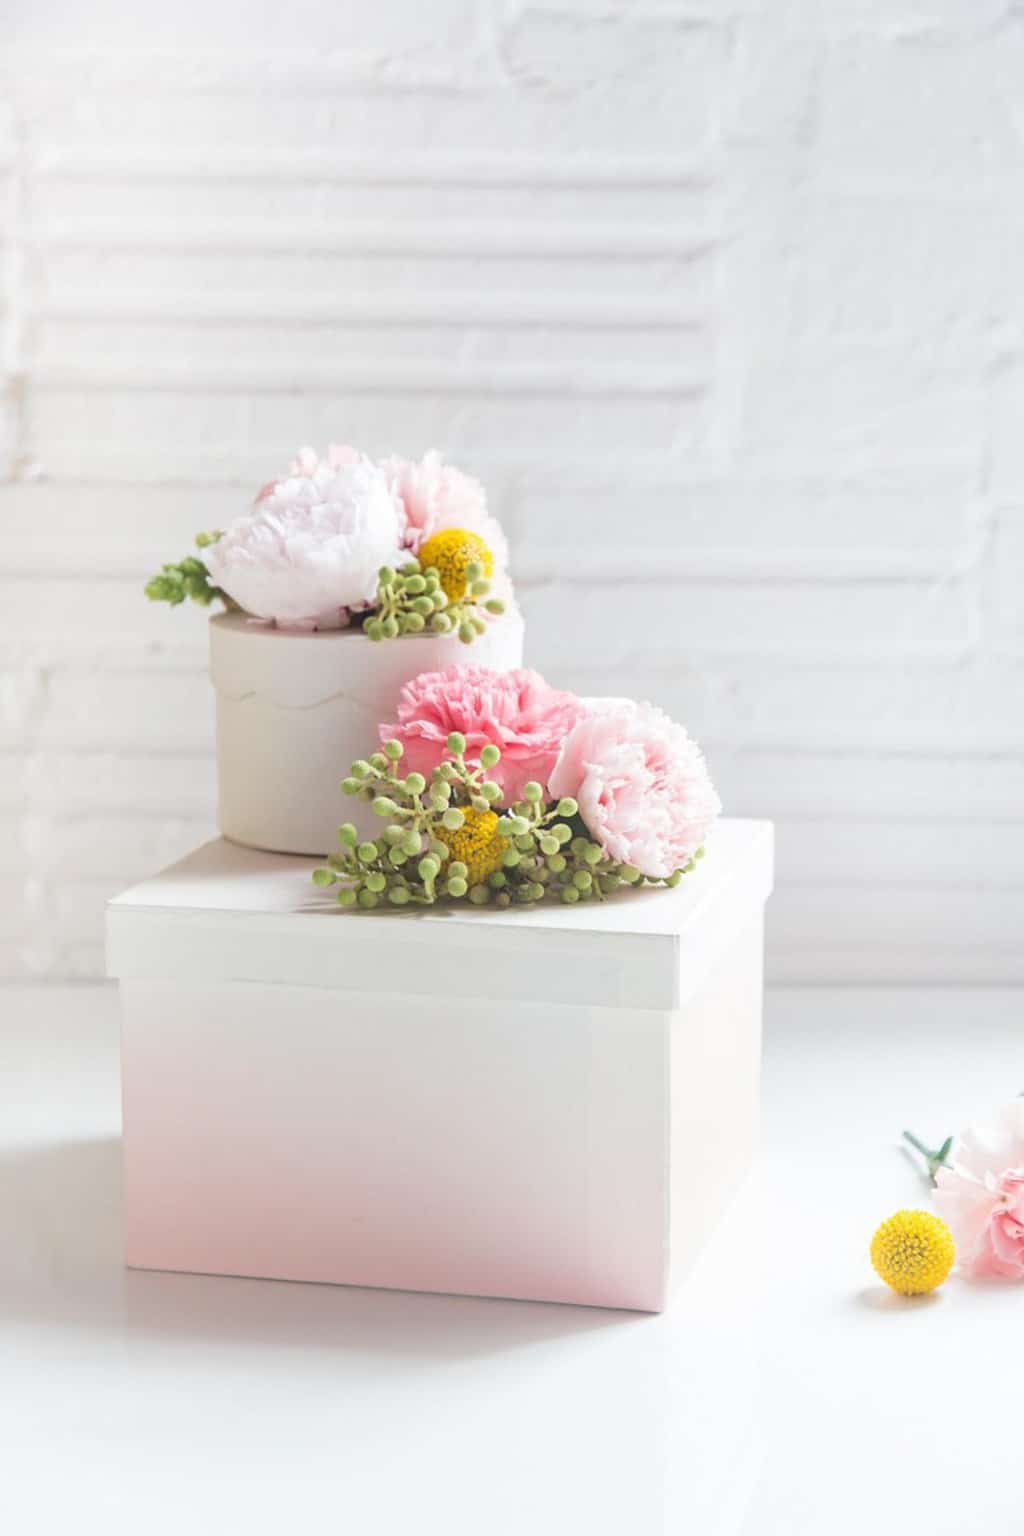
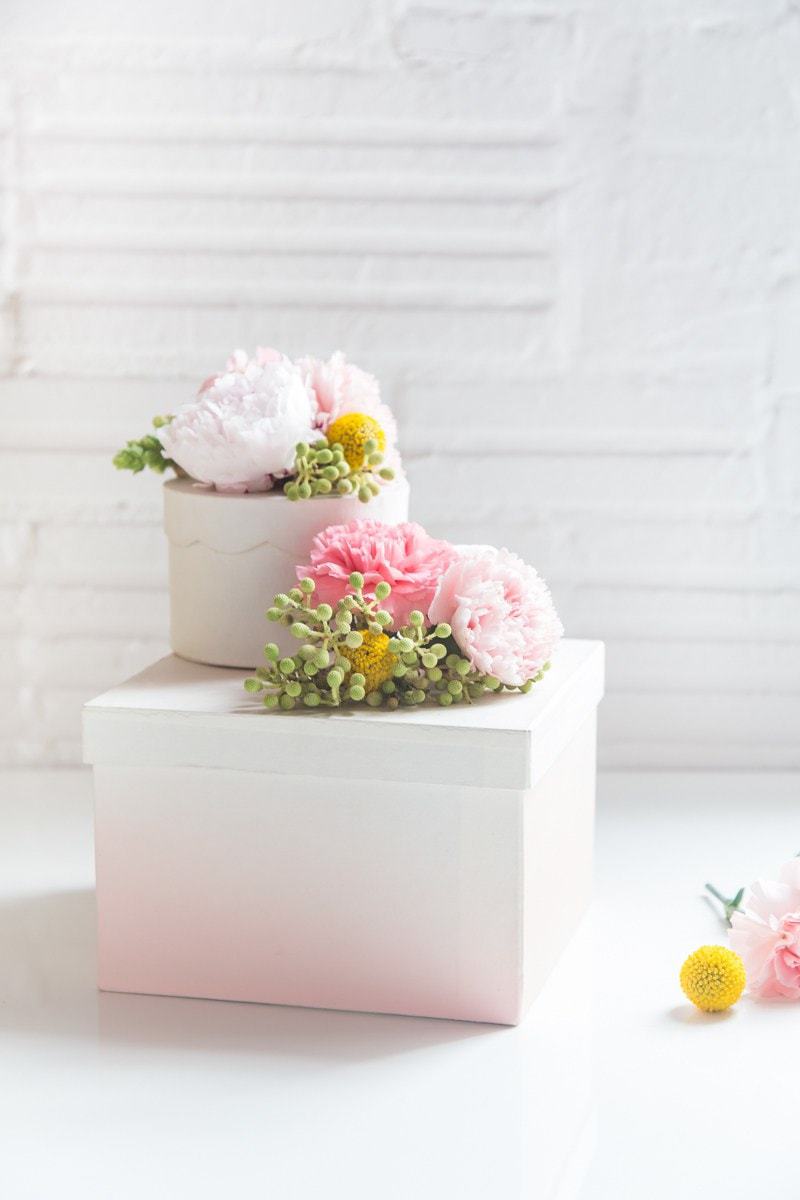
DIY Fresh Flowers Gift Box
DIY Valentine Arrow Cookie Picks
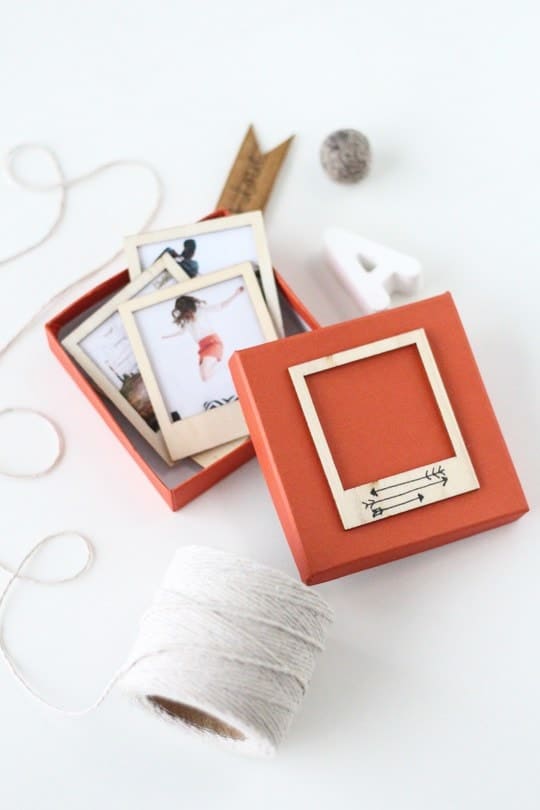
DIY Polaroid Photo Box Gift Set
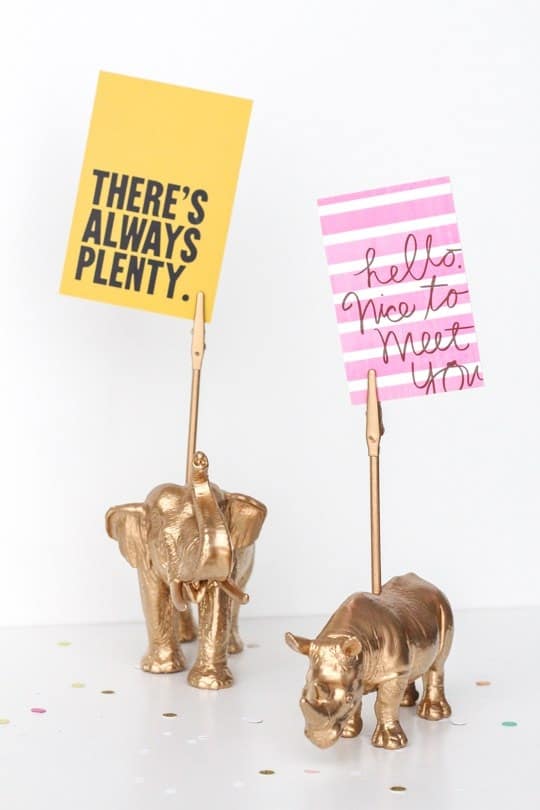
How to Make a DIY Animal Memo Holder Gifts for Your Loved Ones
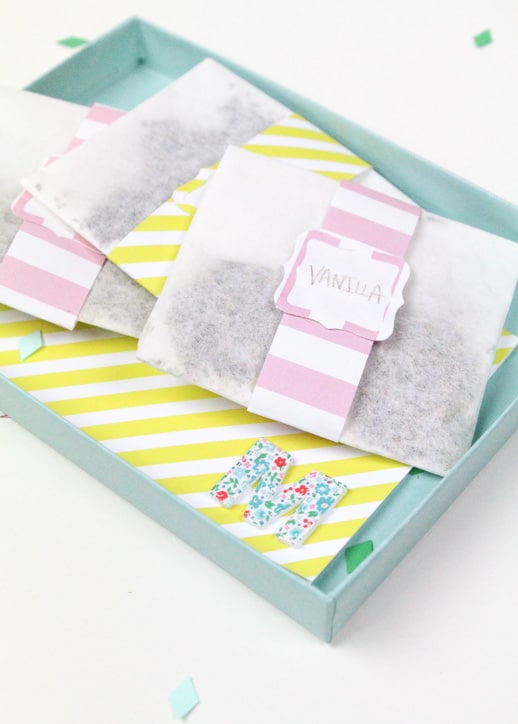
Mother’s Day DIY Bath Sachet Gift Set
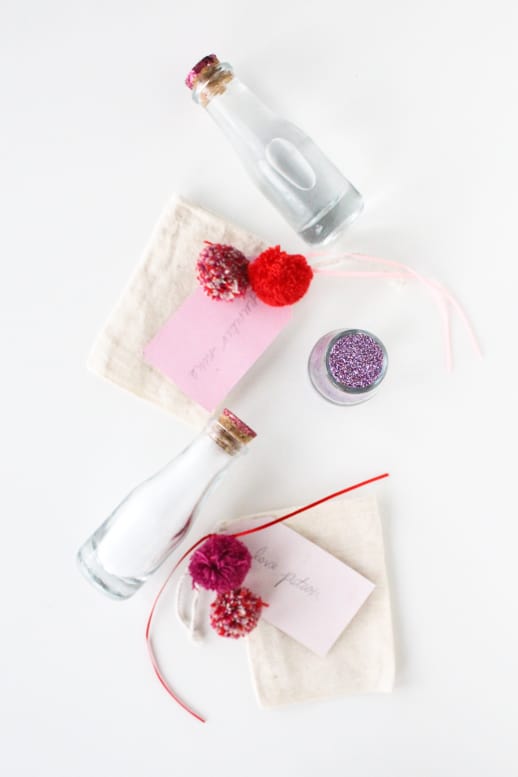
DIY Love Potion Bath Sets
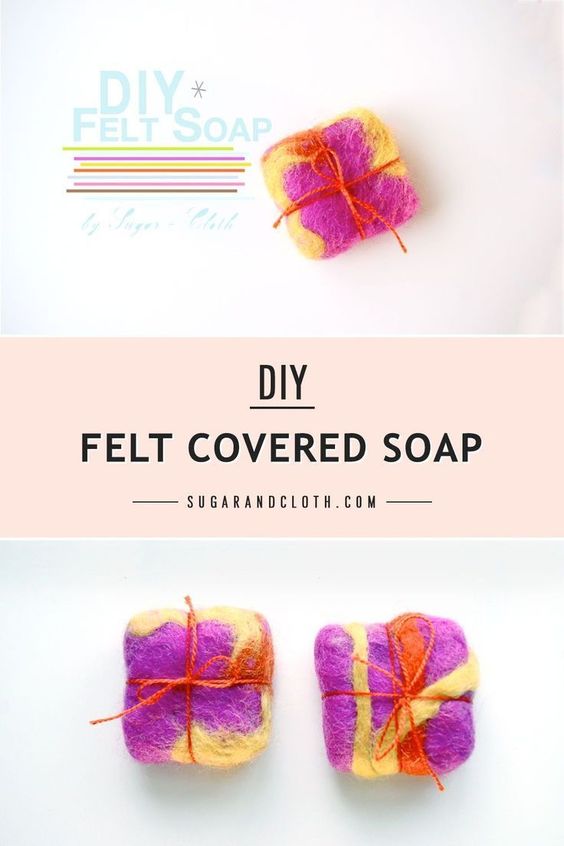
DIY Felted Soap
Gift Guides
Toggle child menu
Expand
For Her
For Him
For Kids
Just Because
For Special Occasions
Decor
Toggle child menu
Expand
Bedroom
Kids’ Room
Living Room
Office
Bathroom
Kitchen
Outdoors
Recipes
Toggle child menu
Expand
Cocktails
Toggle child menu
Expand
Shots
Gin
Rum & Brandy
Sparkling
Tequila
Vodka
Whiskey
Wine & Beer
Non Alcoholic Drinks
Dinner
Desserts
Toggle child menu
Expand
Cakes & Cupcakes
Cookies & Candy
Donuts
Ice Cream
Macarons
No Bake Desserts
Snacks & Appetizers
Healthy Bites
DIY Projects
Toggle child menu
Expand
Home Decor
Entertaining
Travel
Beauty & Style
Printables
Behind The Blog
Holidays
Toggle child menu
Expand
Mother’s Day
Father’s Day
Fourth of July
Game Day
Halloween
Thanksgiving
Christmas
Birthdays
Valentine’s Day
St. Patricks Day
Easter
Shop
Facebook
Instagram
Pinterest
TikTok
Toggle Menu Close
Search for:
Search