Skip to content
Menu
Menu
Gift Guides
For Her
For Him
For Kids
Just Because
For Special Occasions
Decor
Bedroom
Kids’ Room
Living Room
Office
Bathroom
Kitchen
Outdoors
Recipes
Cocktails
Shots
Gin
Rum & Brandy
Sparkling
Tequila
Vodka
Whiskey
Wine & Beer
Non Alcoholic Drinks
Dinner
Desserts
Cakes & Cupcakes
Cookies & Candy
Donuts
Ice Cream
Macarons
No Bake Desserts
Snacks & Appetizers
Healthy Bites
DIY Projects
Home Decor
Entertaining
Travel
Beauty & Style
Printables
Behind The Blog
Holidays
Mother’s Day
Father’s Day
Fourth of July
Game Day
Halloween
Thanksgiving
Christmas
Birthdays
Valentine’s Day
St. Patricks Day
Easter
Shop
how to
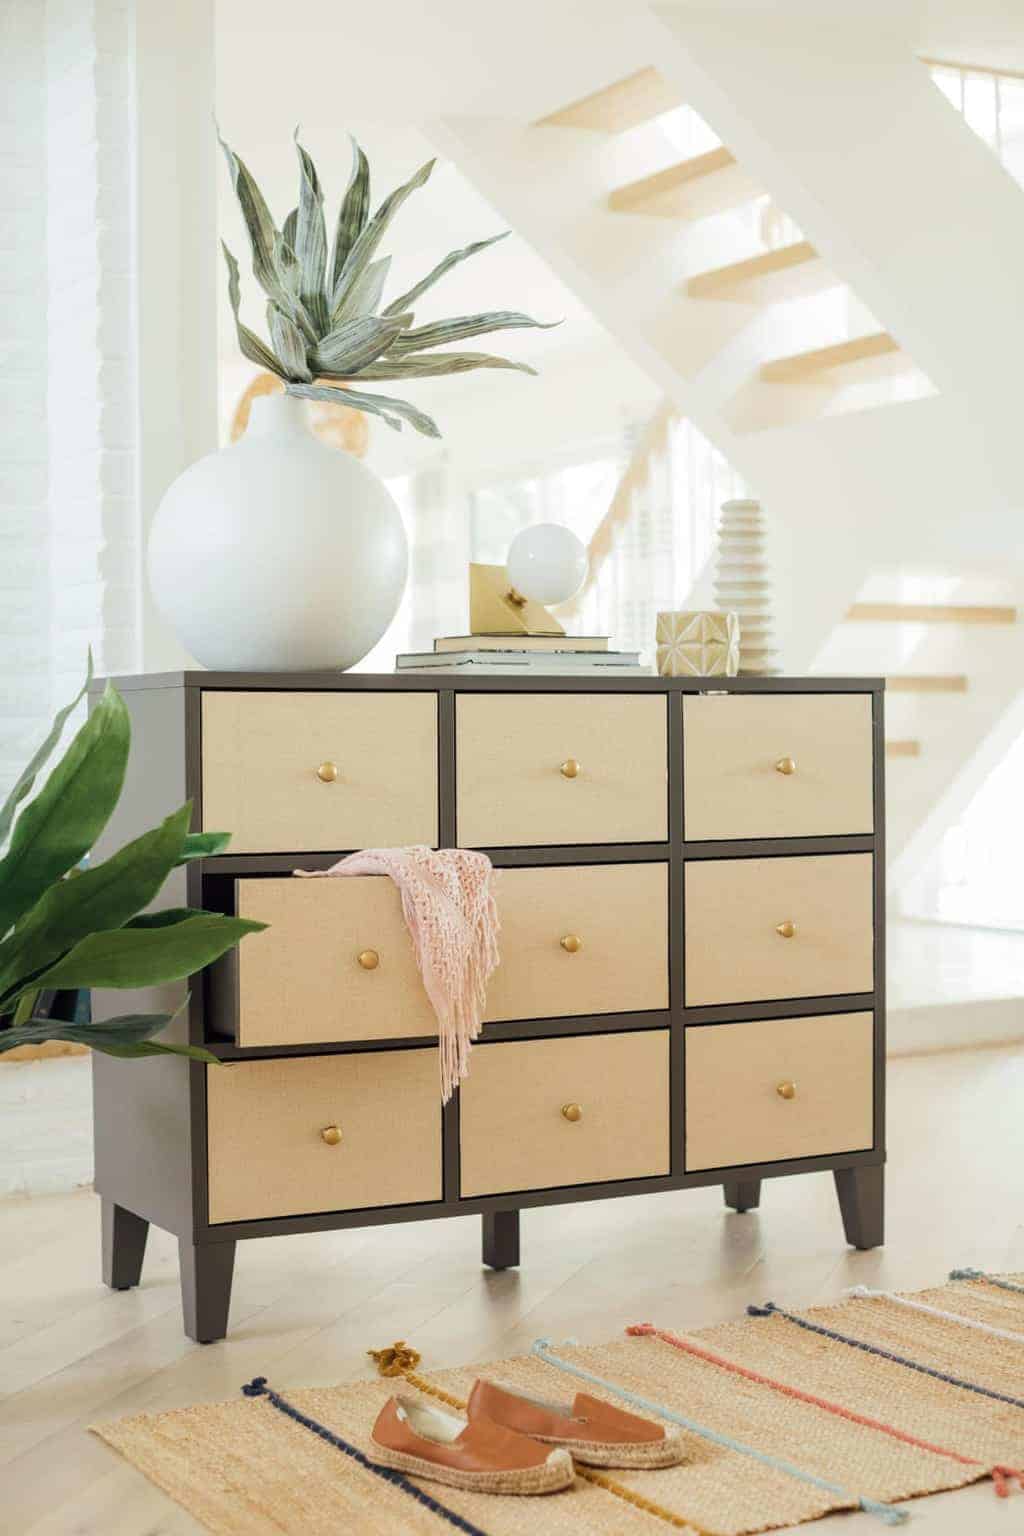
DIY Rattan Drawers Ikea Hack
…
Read more
How to Get Rid of Flies Outside When Dining
…
Read more
Battery Operated DIY Patio String Lights
…
Read more
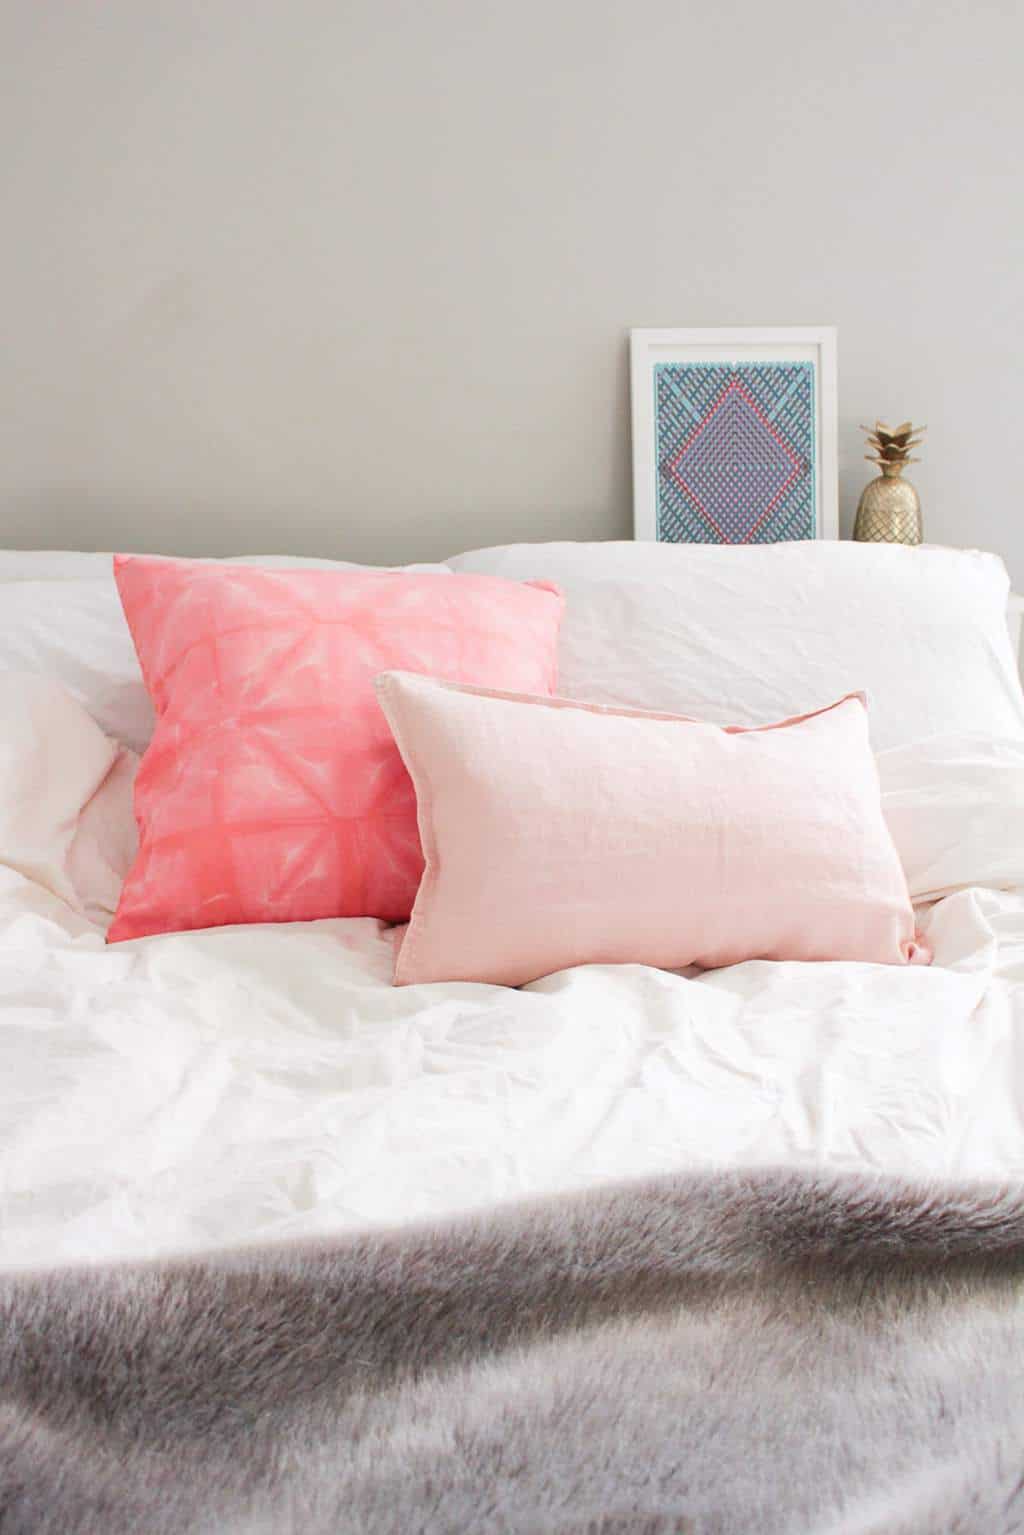
Shibori Tie Dye – DIY Shibori Throw Pillow
…
Read more
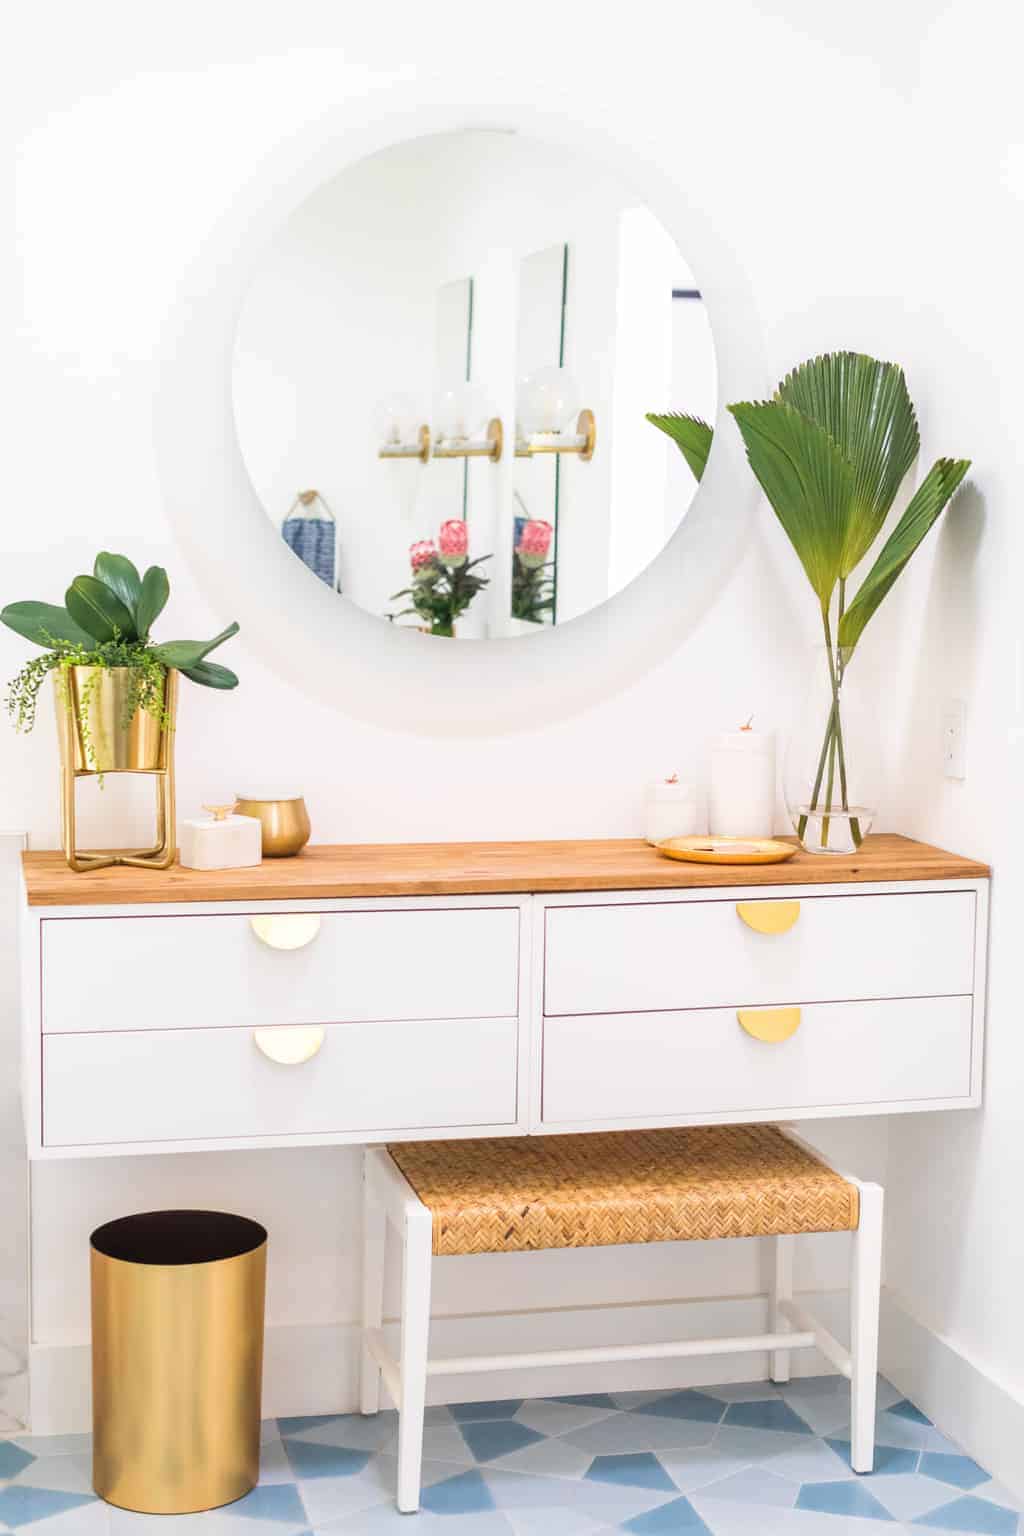
DIY Vanity Ikea Hack
…
Read more
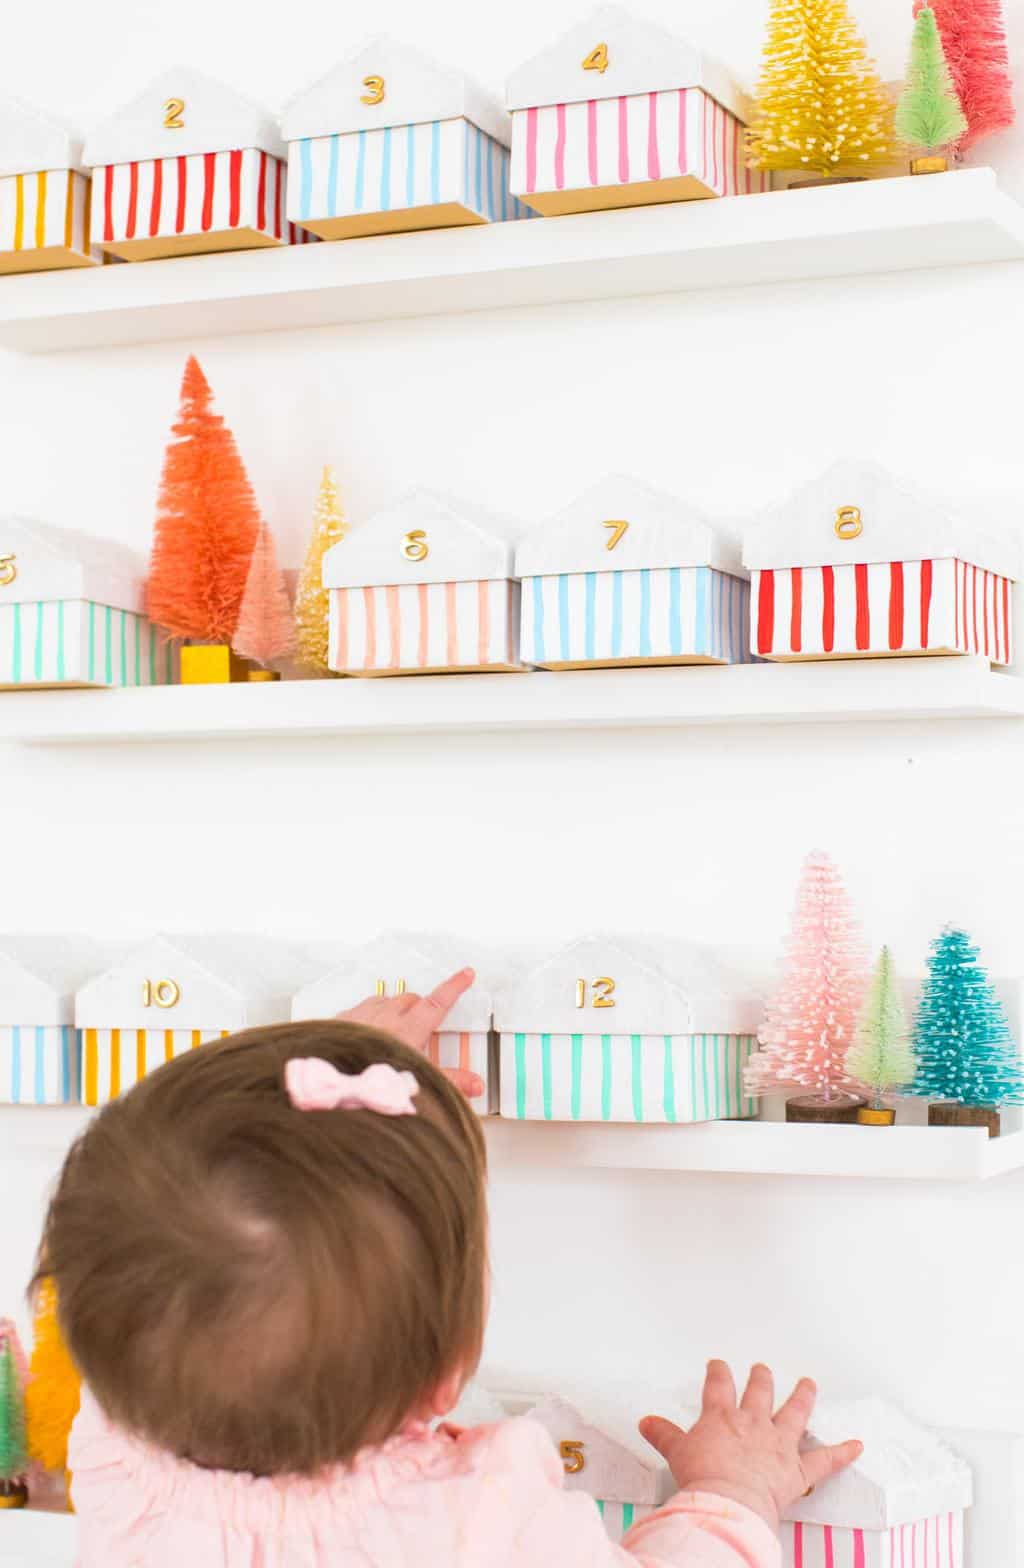
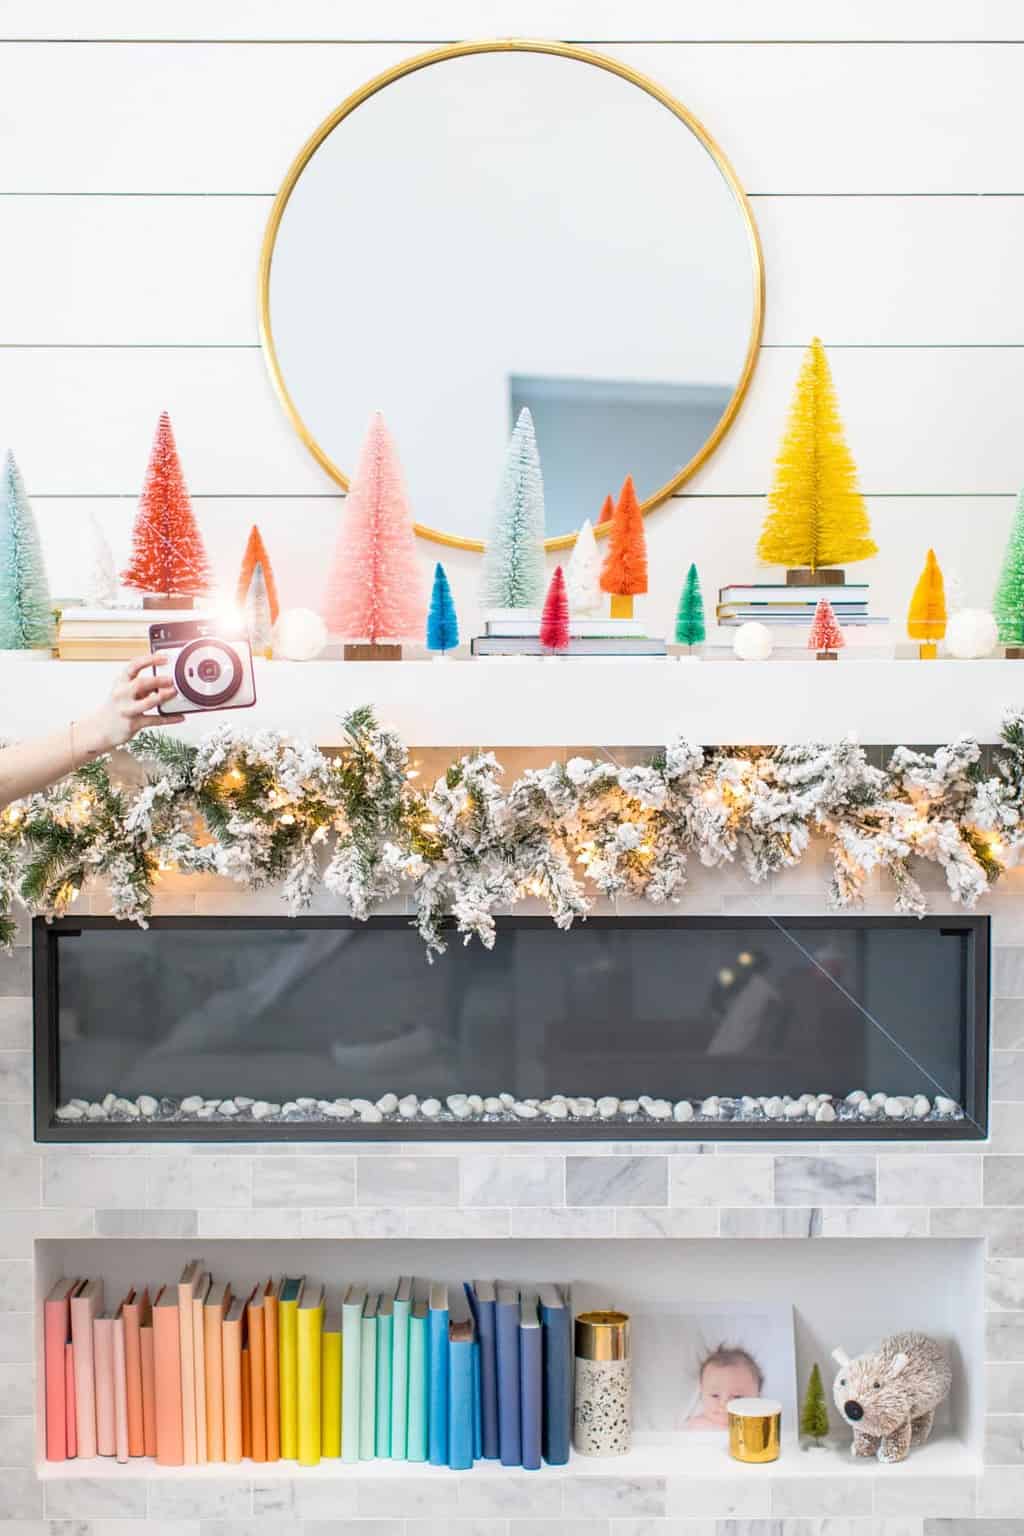
Colorful Houses DIY Kids Advent Calendar
…
Read more
Free Printable Christmas Scavenger Hunt Game
…
Read more
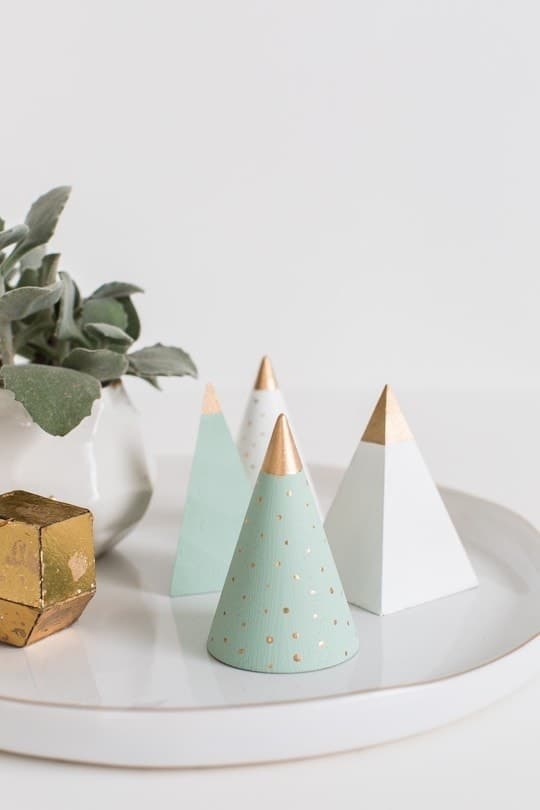
Mini DIY Wooden Christmas Tree
…
Read more
DIY Fruit Snacks Food Costume for a Family Costume Idea
…
Read more
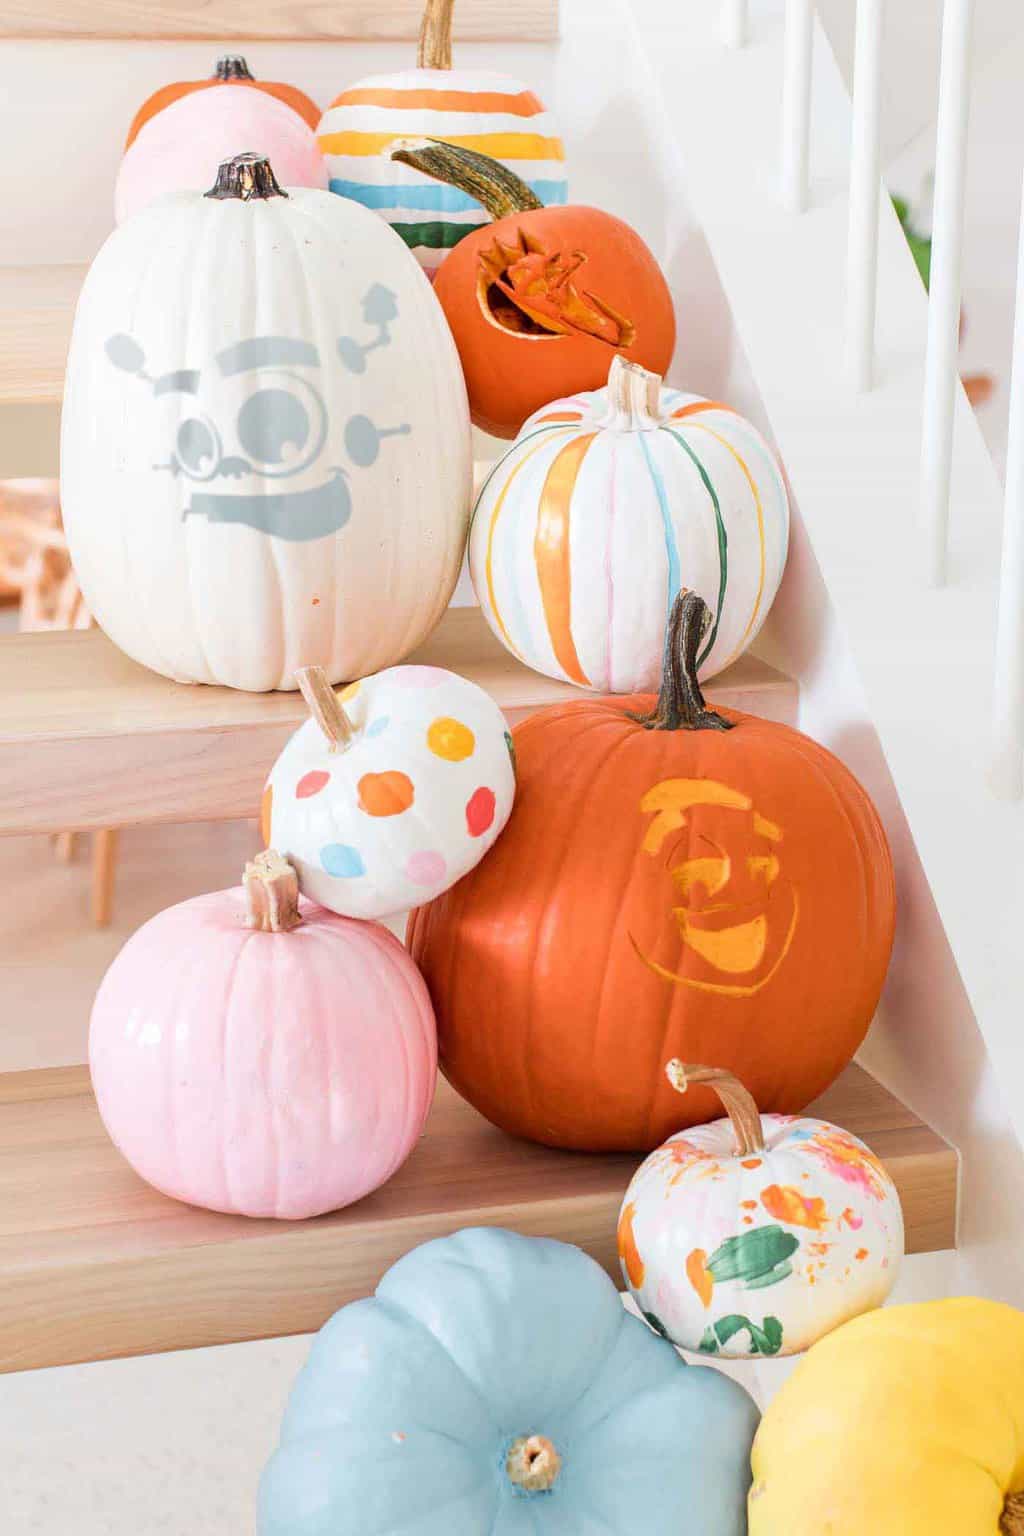
Printable Pumpkin Stencils & Tips for Craving a Pumpkin
…
Read more
DIY Floor Seating Table
…
Read more
Fall Decorating Ideas: DIY Fall Table Decor You Can Make!
…
Read more
Older posts
Page
1
Page
2
…
Page
6
Next
→
Be an insider.
What’s Trending
Houston Local
Messages from Ashley
No, Thank You
CLOSE