![]()
![]()
With several Holiday events on the books for this Fall, I, Erin, am working on getting my bar cart stocked, styled, and ready for the upcoming action. Not only does a bar cart add a fun, retro element to any gathering, but it can also serve as a fantastic design focal point in our homes.
I like to add visual interest to my cart by playing with contrasting textures, so I whipped up a DIY bar cart runner to drape over the top and help soften the otherwise smooth and crisp cart and barware elements. Now, can you guess what home improvement store item I used to make this pattern?!

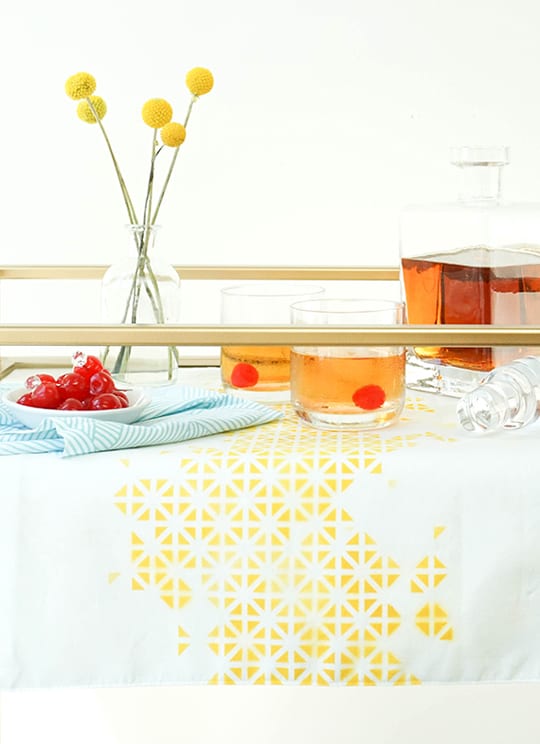
The fabric is stenciled with a pixelated design achieved by using decorative radiator sheeting (of all things!) as the stencil.The beauty of using radiator sheeting for the stencil is it’s affordable, readily available, and the design possibilities are quite endless! With just a bit of spray paint and strategically placed painter’s tape on the sheeting, you’ll be on your way to creating a custom fabric runner perfect for dressing up your bar cart for Fall.
Materials:
- Decorative metal radiator sheet in pattern “Union Jack”
- Scissors
- Placemat or 15″x20″ piece of non-fraying fabric
- Painter’s tape
- Spray paint
- Plastic sheeting (I cut up a large plastic bag)
Cut the radiator sheet down to a manageable stencil size such as 9″ x 12″. The size of your stencil may vary depending on the design you decide to make.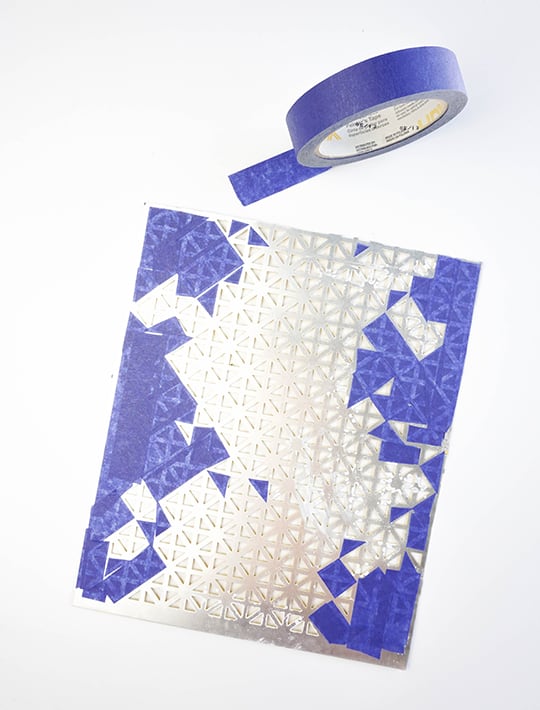
Create a pixelized design on the radiator sheet, by covering up strategic triangle cells with painter’s tape. Or you can use the stencil as-is without covering up any cells for a continuous star pattern, which is also really pretty!
Position the placemat or fabric with the short edges parallel to your body. Line up the short side of the stencil with the top (short) edge of the fabric. Tape the stencil into place on the fabric and cover up the exposed fabric with plastic to prevent over spray from the paint. Press the stencil down onto the fabric and generously spray paint over the stencil.
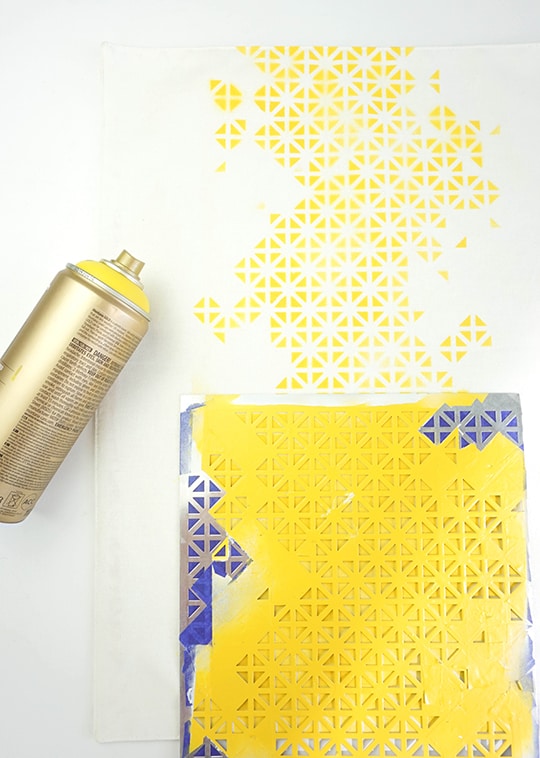
Pull the stencil back within the next minute or so to reveal the painted pattern. Yahoo–so pretty!
Continue stenciling your way down the length of the fabric. Line up the short edge of the stencil with the bottom of the painted pattern you just stenciled. Repeat the stenciling process by taping the stencil into place and covering up all other fabric with plastic sheeting. Press the stencil down and spray paint generously. Remove the stencil and voila!
![]()

![]()
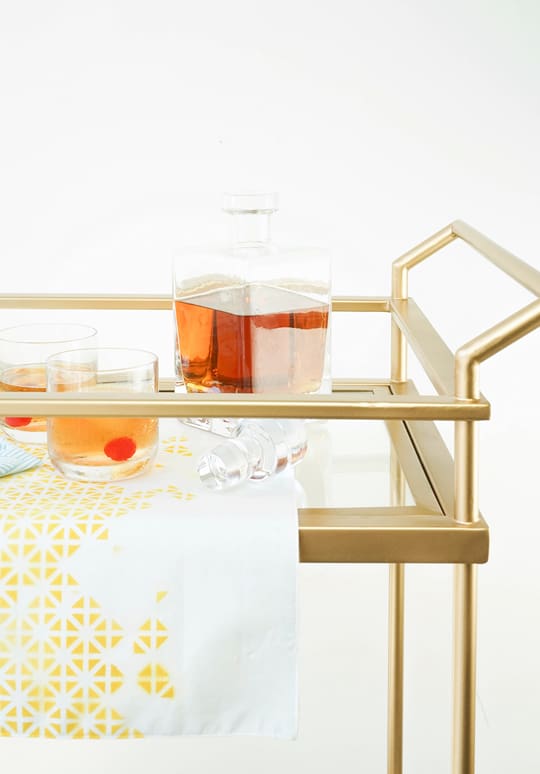
The end result is a decorative modern fabric bar cart runner that can be thrown in the wash at the end of the night. Cheers to that!
What’s your favorite bar cart accessory?!
I love bar carts! This one looks incredible!
This runner is so pretty! I love how easy it is to make! I might be able to pull it off!
Paige
http://thehappyflammily.com
That pattern and color are perfect!
What a great diy. Loved the idea.
LOVE this DIY! Such a fun, easy way to spruce up a bar cart. I’m actually thinking now about picking up one of these and DIY-ing a runner for my new dining room table. The perks of moving, right?
g.