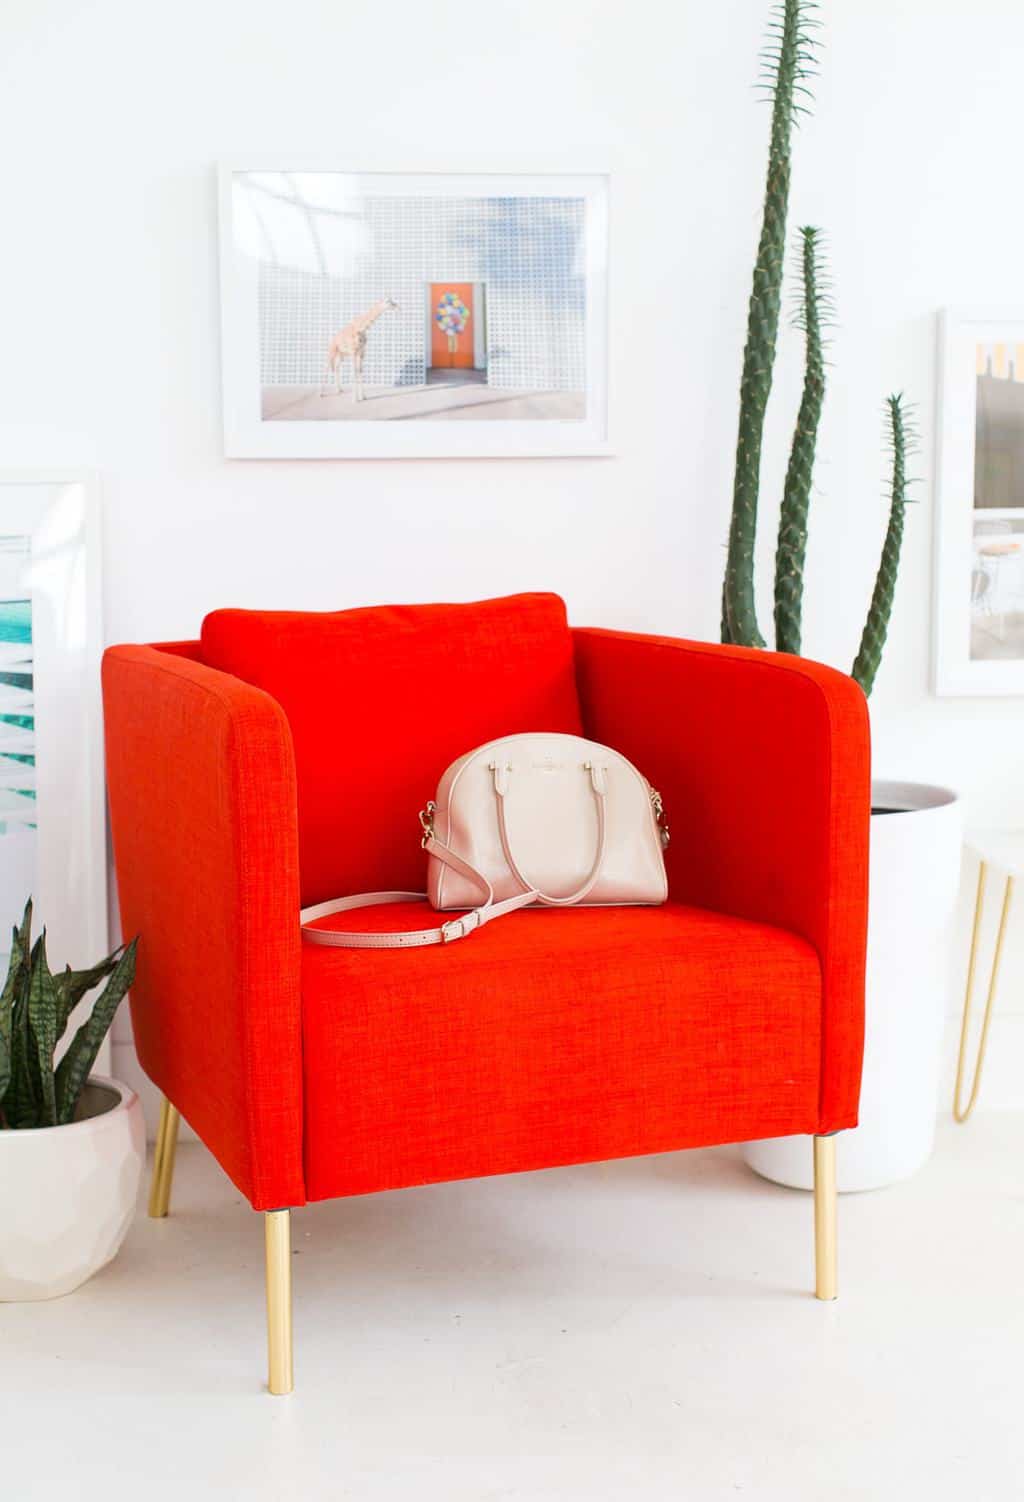
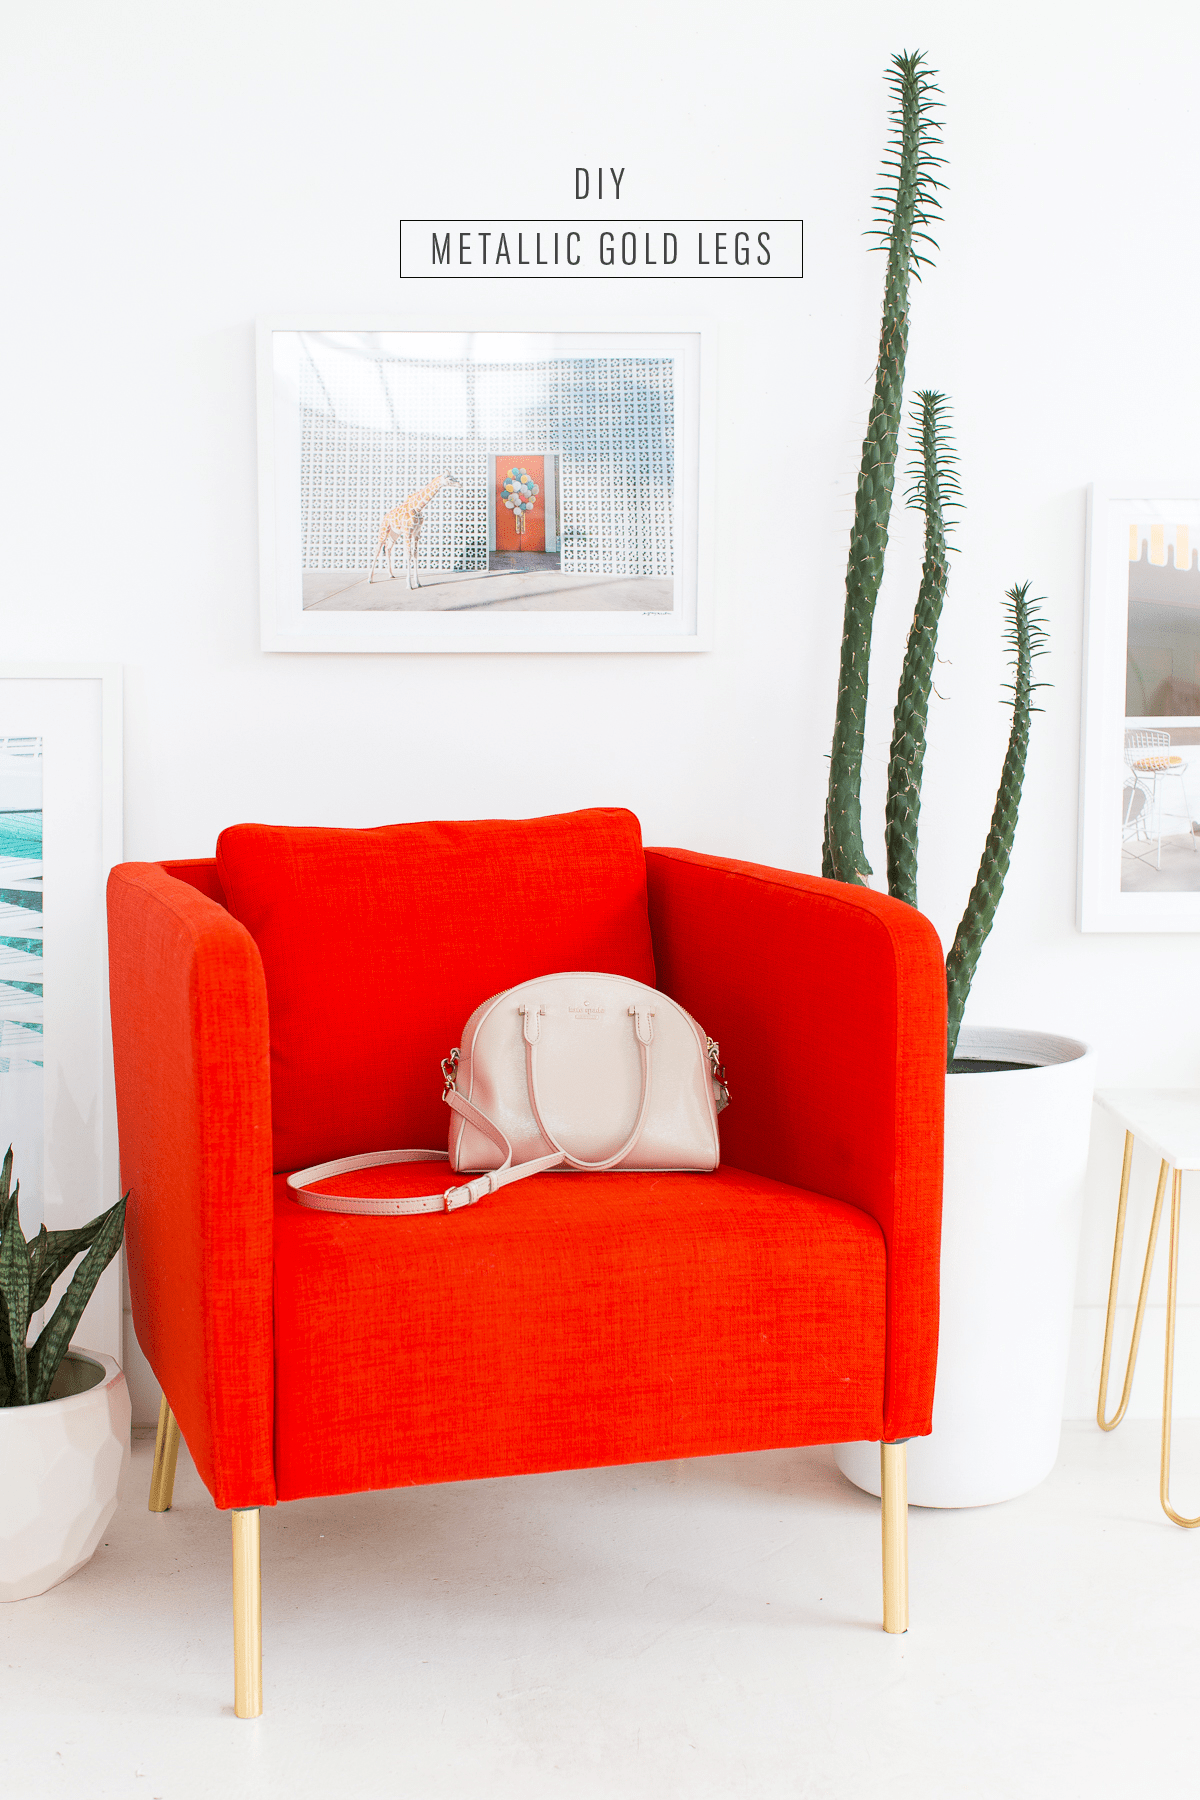
DIY Metallic Gold Legs — Because when life gives you super expensive chair legs that you love, you make super simple DIY Metallic Gold Legs yourself!
Sometimes I sit and ponder life’s difficult decor questions, like “Why in the world are gold chair and table legs so freaking expensive and hard to come by?!”. I mean, seriously?
They’re not made out of actual gold. But you’d think they were based on the dollar amount on those bad boys, and that’s if you can find them at all.
Alas, I’ve succumb to creating these super simple DIY Metallic Gold Legs that look WAY more real than plain ole’ gold spray paint.
Now don’t twist my words around. You know that I love gold spray paint as much as the next gold-loving craft addict. But sometimes paint just doesn’t give the same sheen, you know?
And honestly, this route is just as easy as long as you’re working with simple straight lines for the legs (or whatever else you might be applying this concept to in your DIY’ing future)!
It will take you all of maybe five minutes so let’s hop to it!
Materials And Tools Needed To Make DIY Metallic Gold Legs
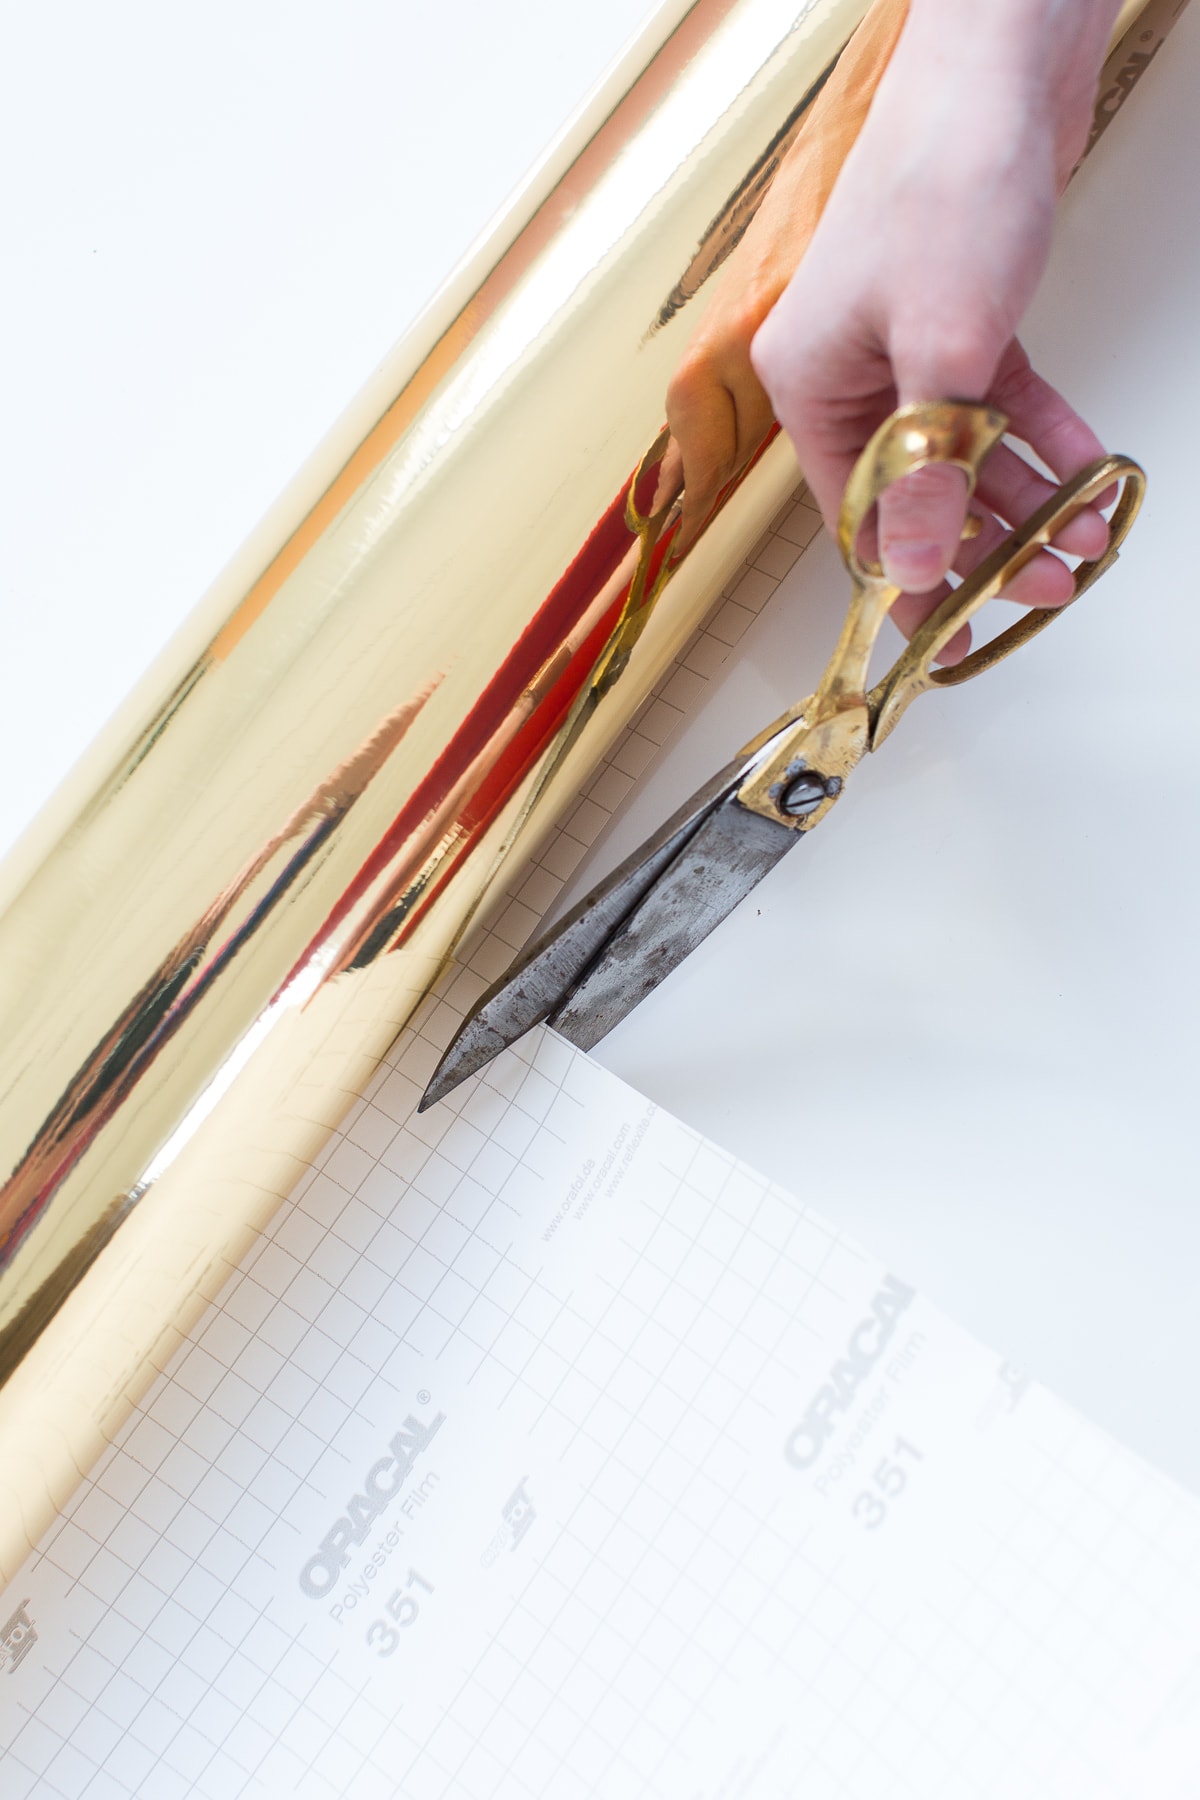
- Metallic gold indoor/outdoor ORACAL adhesive vinyl — The adhesive paper should have a grid on the back that makes it easy to measure and mark how large the gold vinyl needs to be to cover the legs.
- Scissors
- Simple table or chair legs of your choice
- Ruler/tape measurer
- Pencil
How To Make DIY Metallic Gold Legs
Simply measure and mark the length of the legs on the back of your adhesive vinyl.
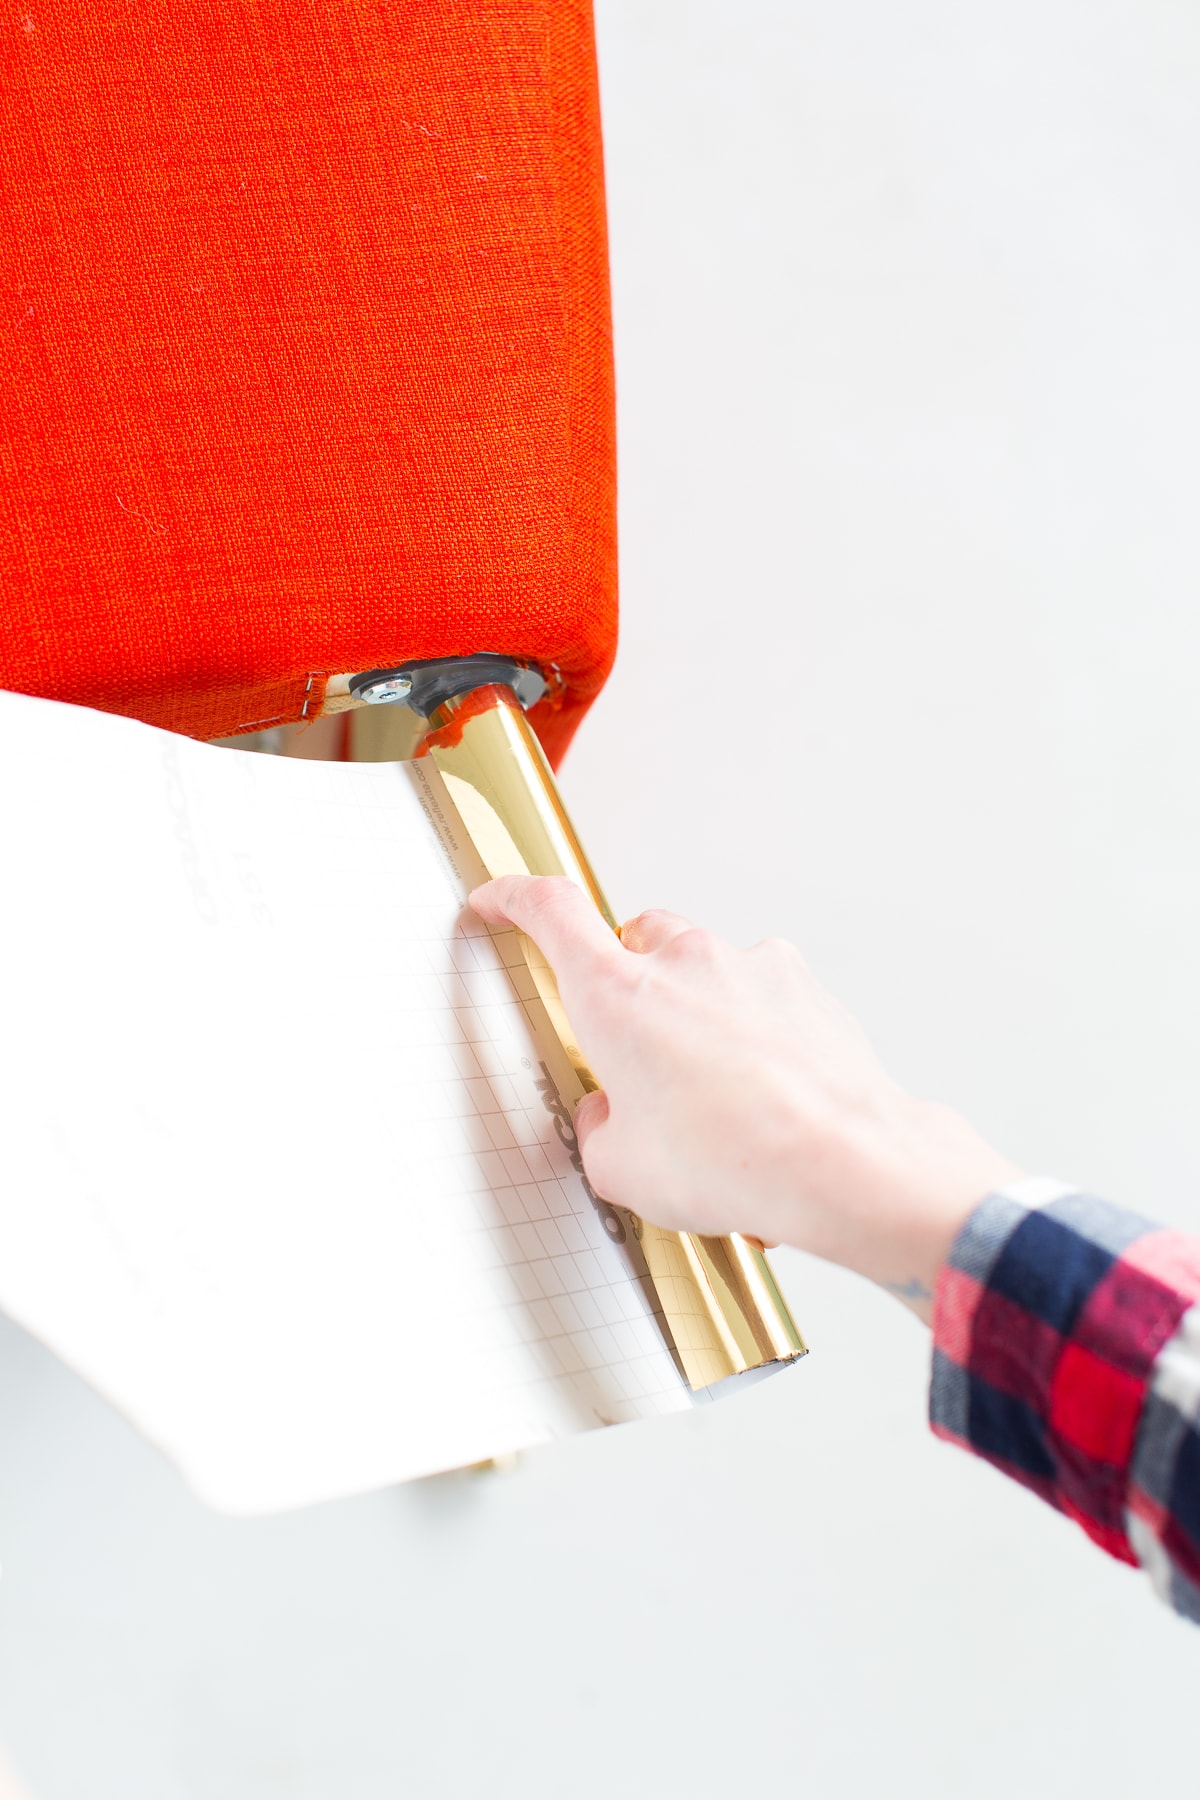
Then, wrap a small piece around the leg to see how much room to leave yourself to make sure it wraps all the way around seamlessly.
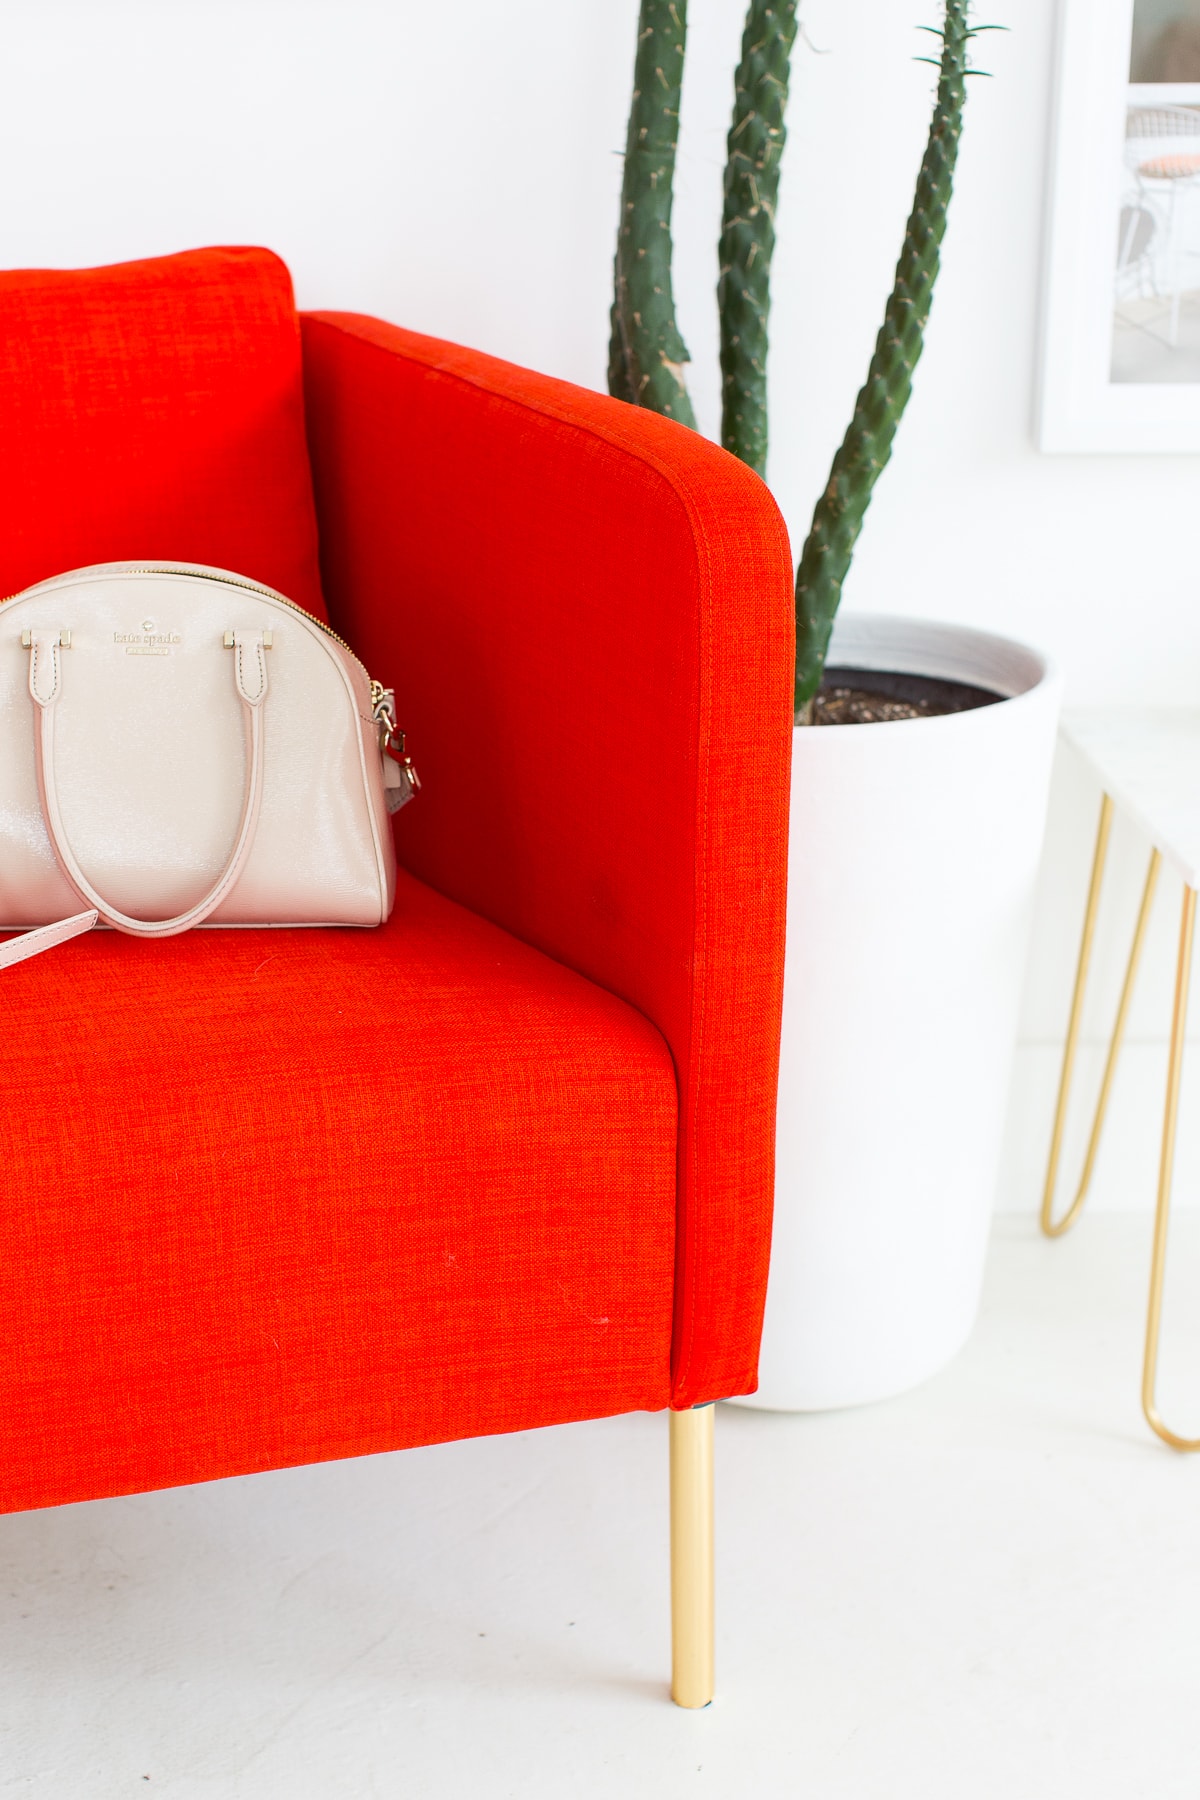
Once you have the perfect measurements, peel the adhesive backing off, and then stick it to the leg starting at one end and wrapping all the way around.
Be careful to smooth out any bubbles as you go because once it’s fully adhered there’s not getting them out!
The vinyl is meant for indoor/outdoor signage so it sticks reallllly well once it’s in place.
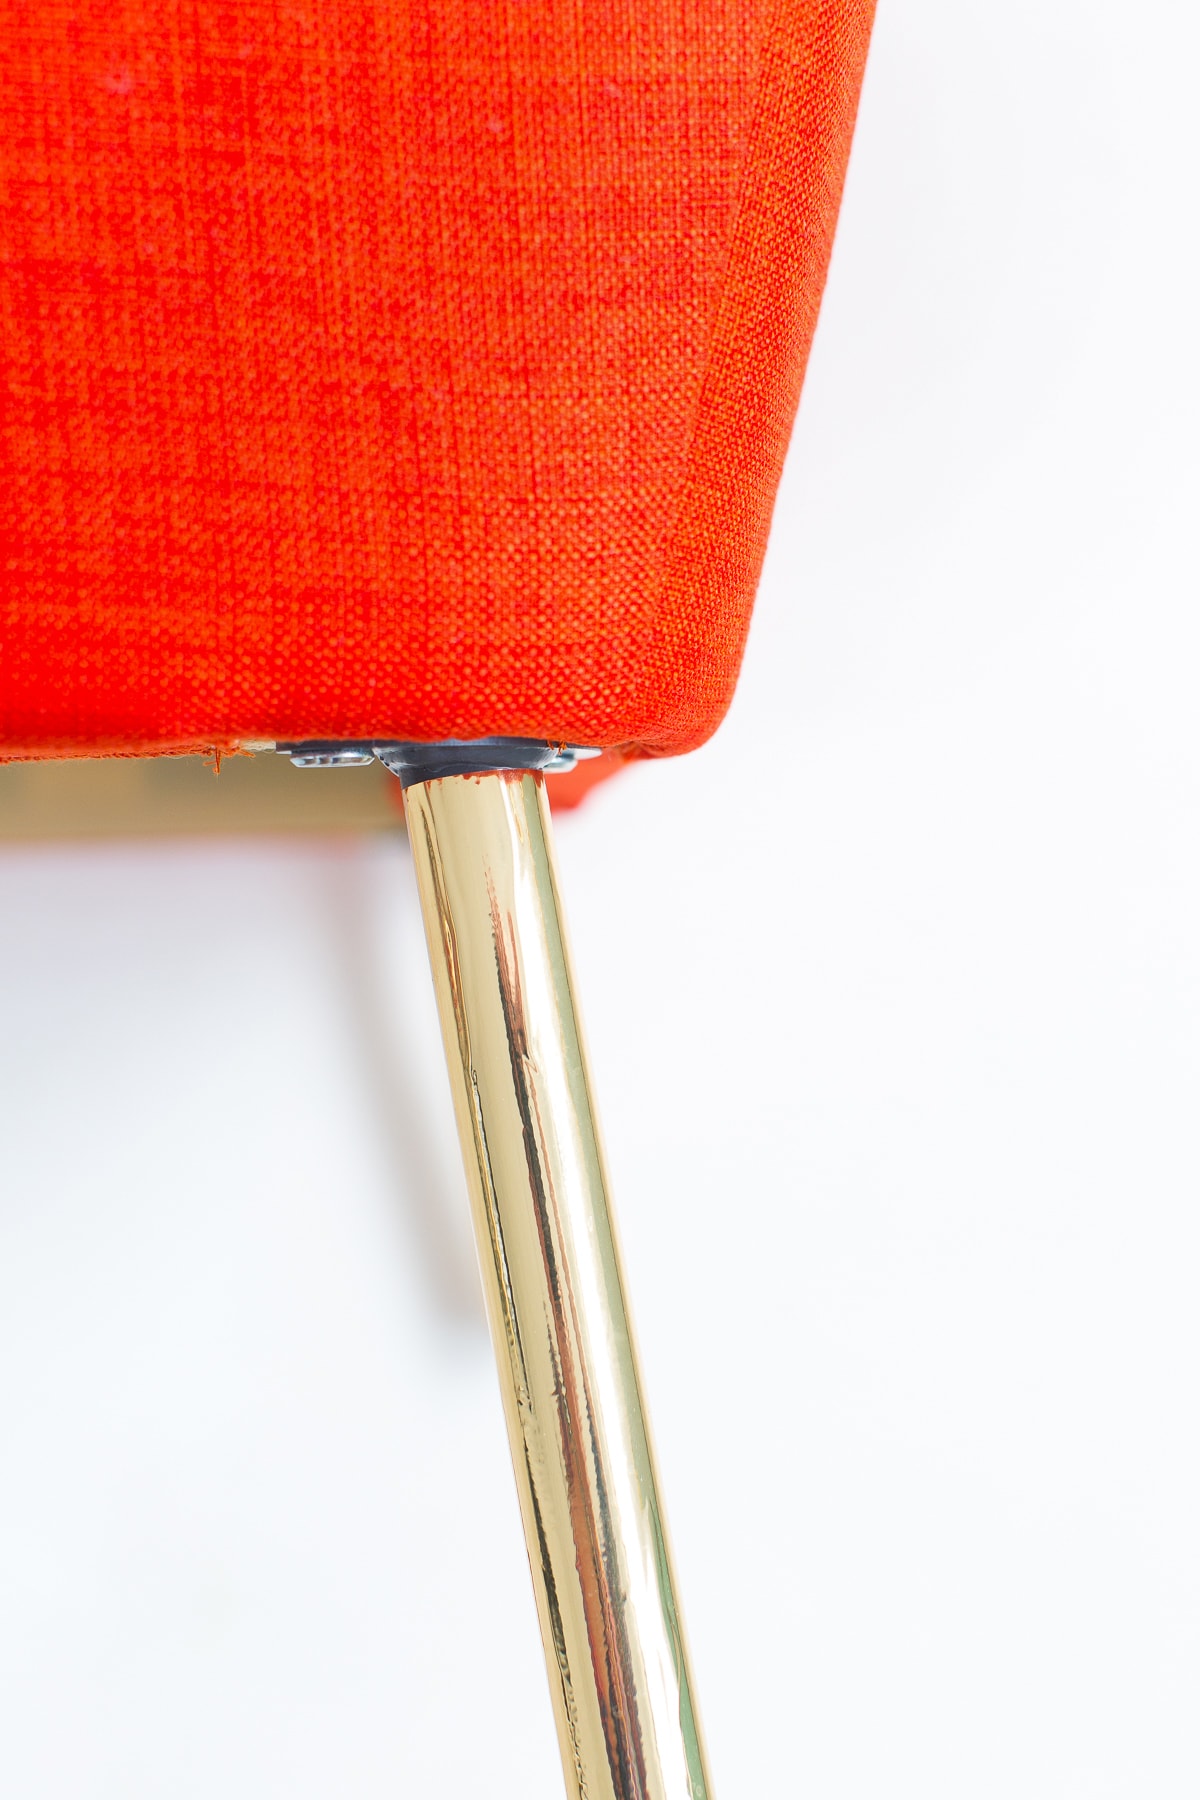
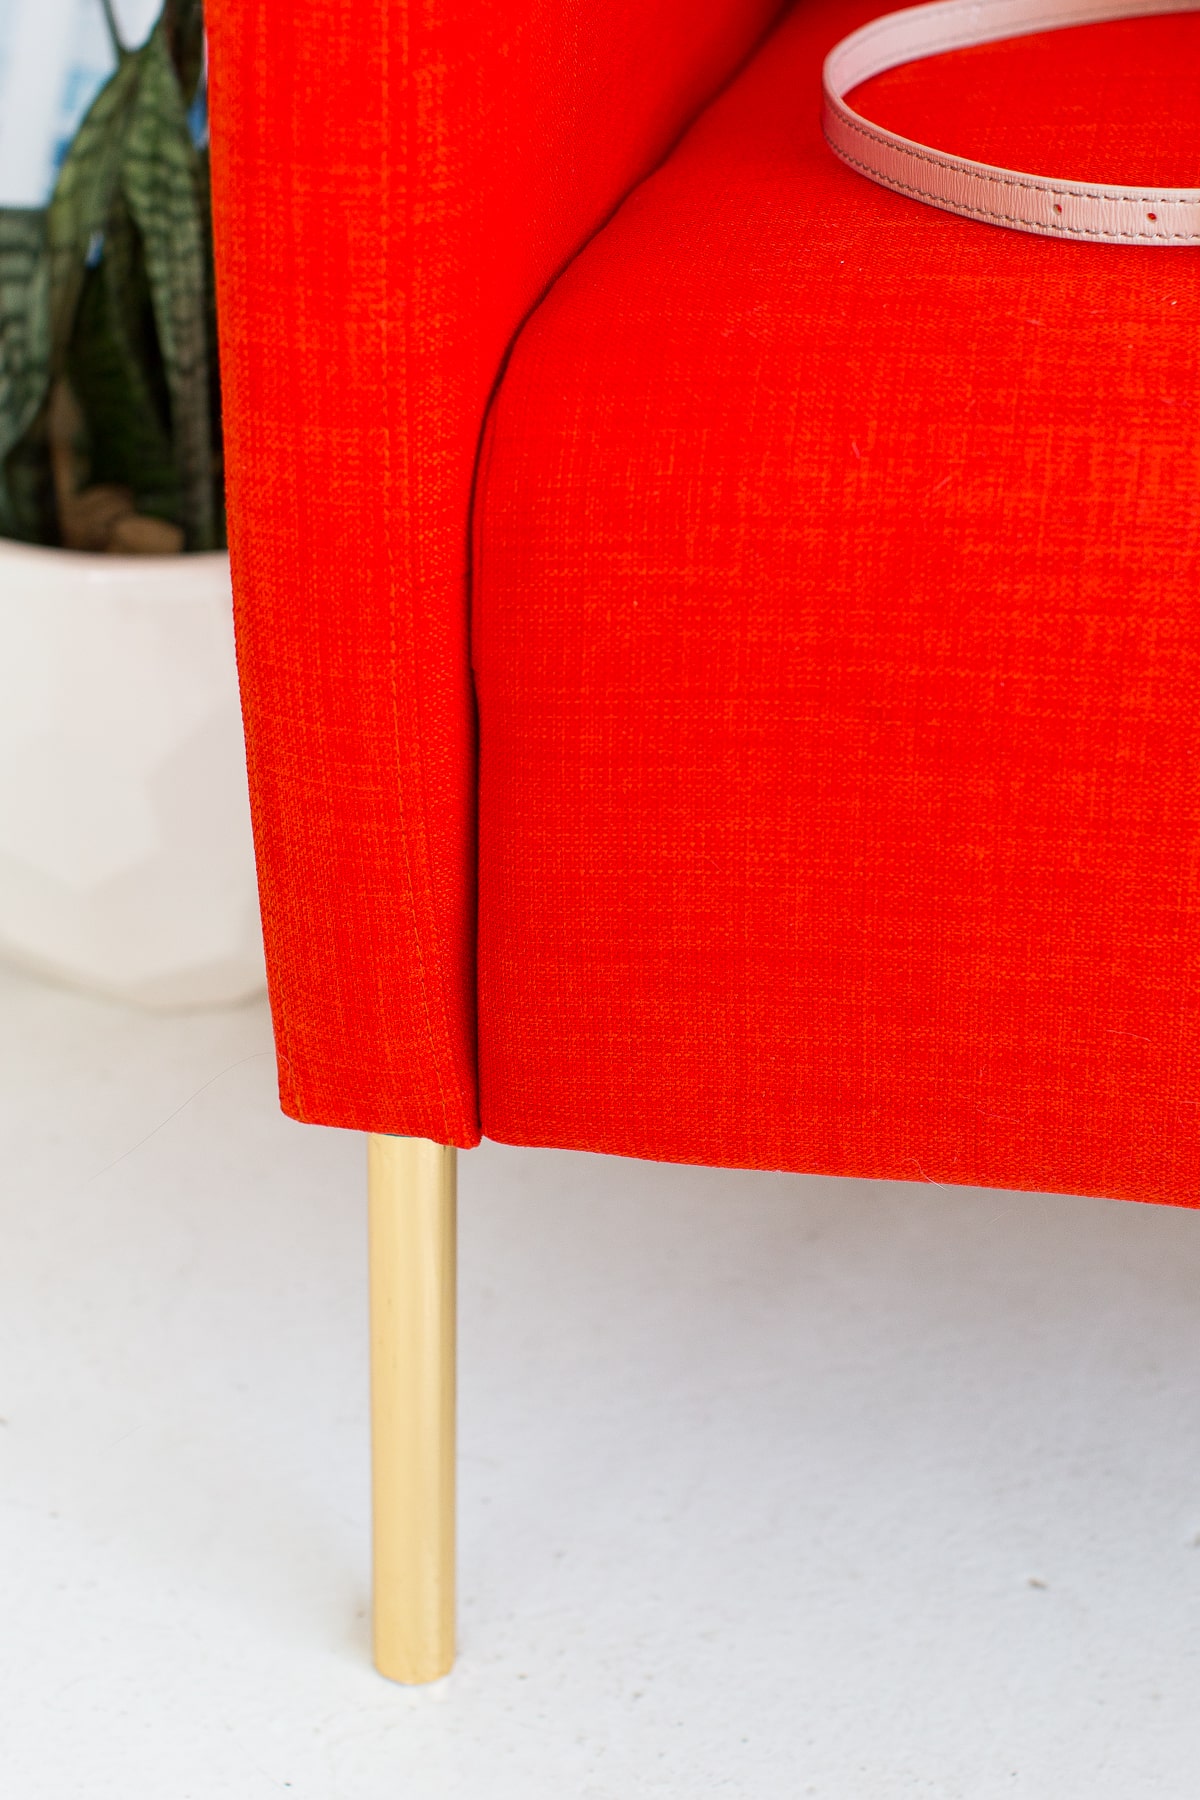
Don’t you think they make much more of a gold statement than just regular old spray paint?!
I’ve also toyed with the idea of doing our large Ikea table legs with them too since they’re just the basic screw in legs in white.
But I haven’t quite decided how much gold is too much gold, hah!
hi! This looks AWESOME! I’m looking at my chair right now, and the legs are tapered. Do you think that this project would still work? Or would the vinyl wrinkle?
Hi Katie! A tapered leg is doable but honestly, it will be trickier. You shouldn’t cut a square but more of a cone like coffee filter like shape. And you may have to test the shape before actually sticking it on. Hope this helps!
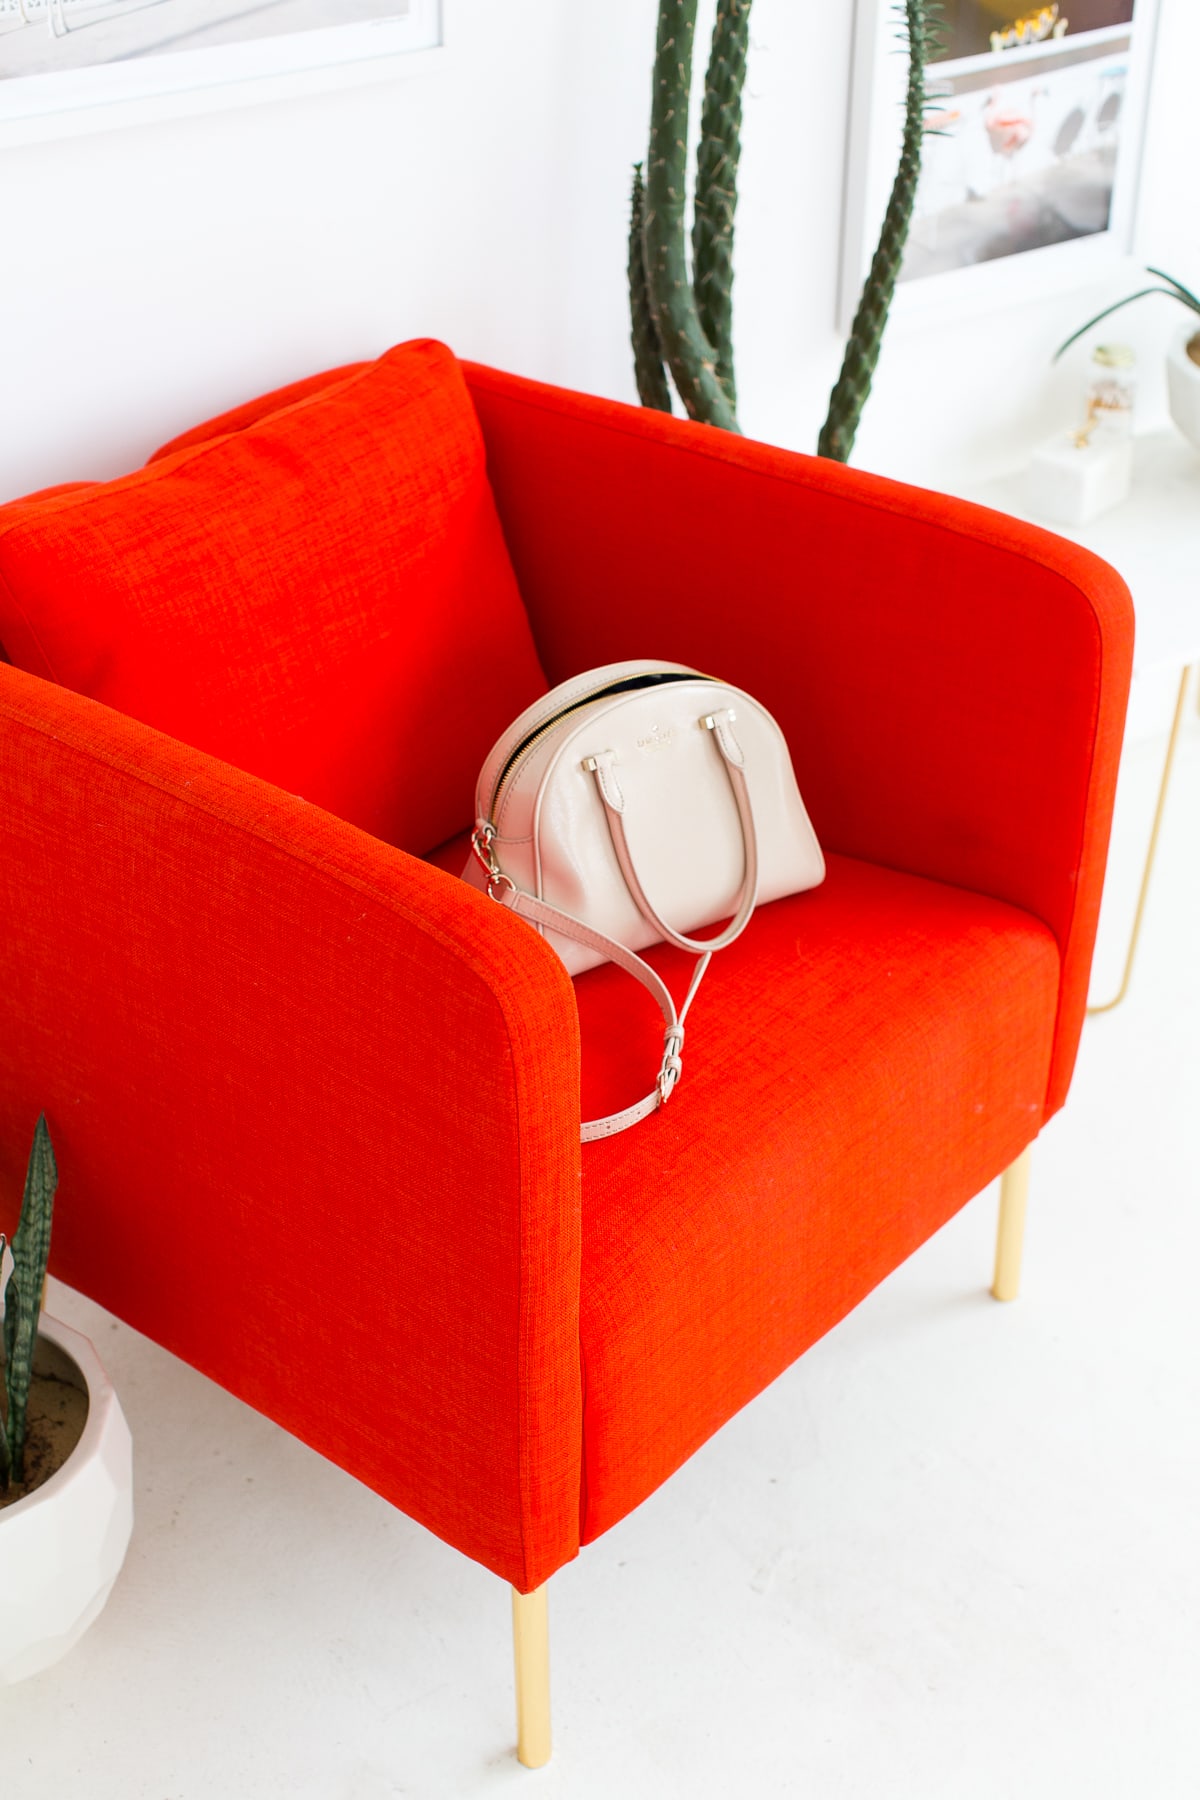
May I ask where you got that chair? LOVE the style and color!
Hi Marie! The chair is from IKEA!
What plant is that?!?!
I wish I could say, but honestly have no idea! Saw it at our local cactus nursery and knew I had to have it, ha ha!
Well this is brilliant! I love the way how you added the gold to the legs! Will definitely be saving this in my to do list for my home. Thanks for the simple tutorial.
thanks Coley!
What? This is just a Gold Foil wrap? Amazing! Thank you! I was about to buy some paint. Have to try this.
yes, definitely try it! it looks way better in my opinion!
I’m obsessed with the orange color of that chair. It’s so pretty. I think I need to convince my husband that we need a chair like this in our bedroom!
Paige
http://thehappyflammily.com
statment chairs get me every time! xo
Often are simple Ideas the Best One. What a wonderful Idea to wrap Gold Foil andround the legs of amrchairs and Sofas. Kind Regards, Dora
I totally agree!
These gold legs would look great pretty much on any chair, sofa, or stool :)
Love how you added the the gold to the legs! I have this chair at home and absolutely love it! may had to make an upgrade with the gold :)
you should! Let us know how it turns out for you!