Hanging DIY Bundt Pan Planter
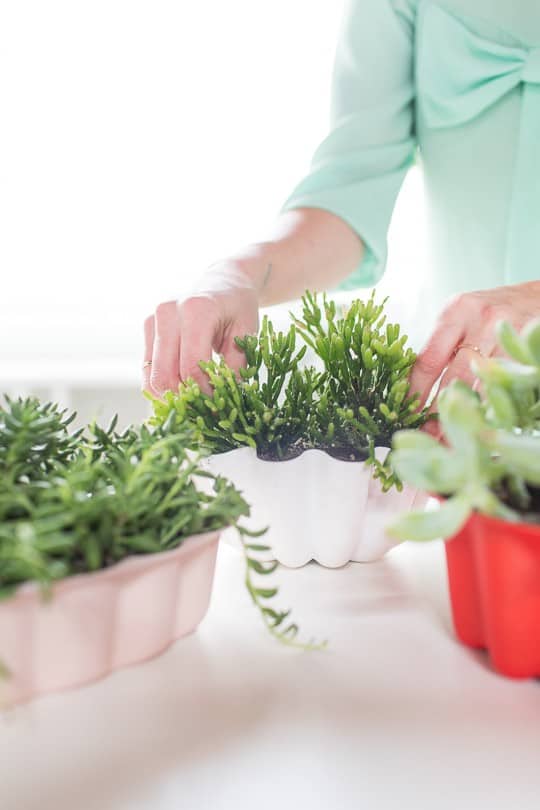
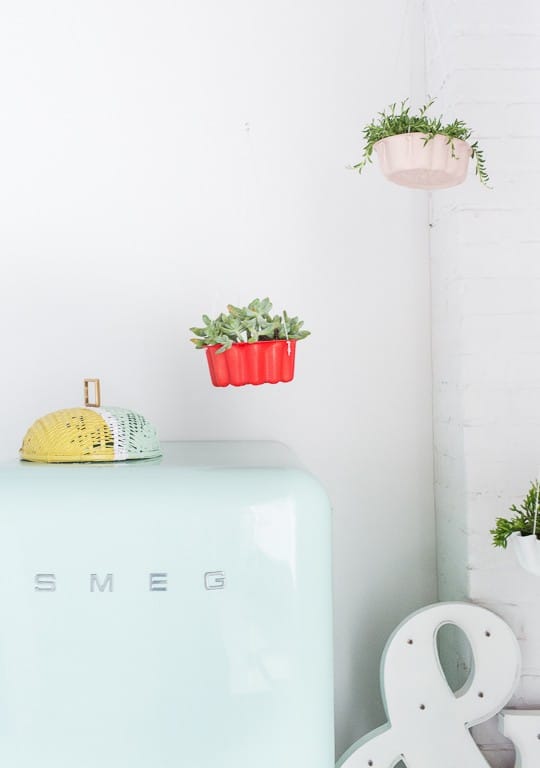
DIY Hanging Bundt Cake Pan Planters — I made these DIY hanging bundt cake pan planters perfect for kitchen inspired decor for the new studio to make for a modern lunch and snack area.
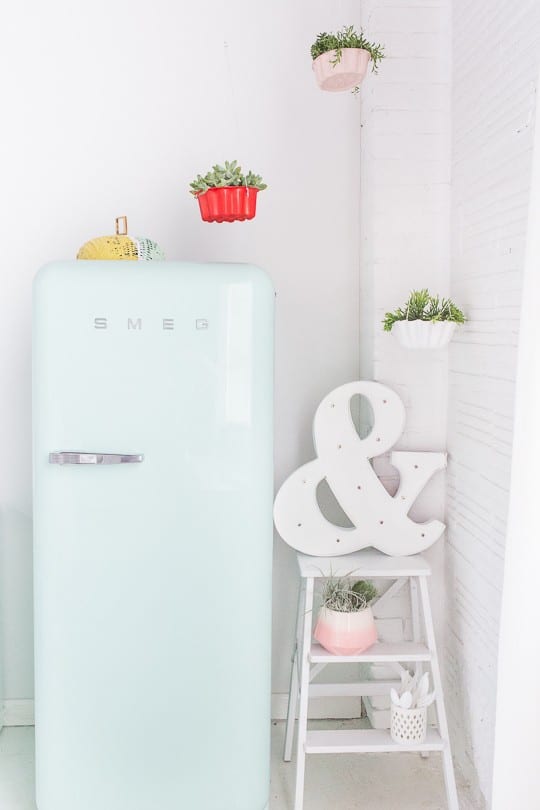
Well you guys, the studio is finally coming together one little corner at a time! I’m super relieved since just last week it looked like it didn’t know what it wanted to be.
And today it looks like minty happiness now that my new Smeg arrived. (Please see here for a quick vid accurately describing my feelings over it).
Clearly after kissing and hugging your new mini fridge, the next step is to decorate around it. Which is exactly what I did with these DIY hanging bundt cake pan planters.
I wanted to have something that was kitchen-esque to make it feel like a little mini lunch and snack station since the studio doesn’t actually have a kitchen area.
Of course, you can use these anywhere and they don’t actually have to be hanging. But it’s a super inexpensive project to make.
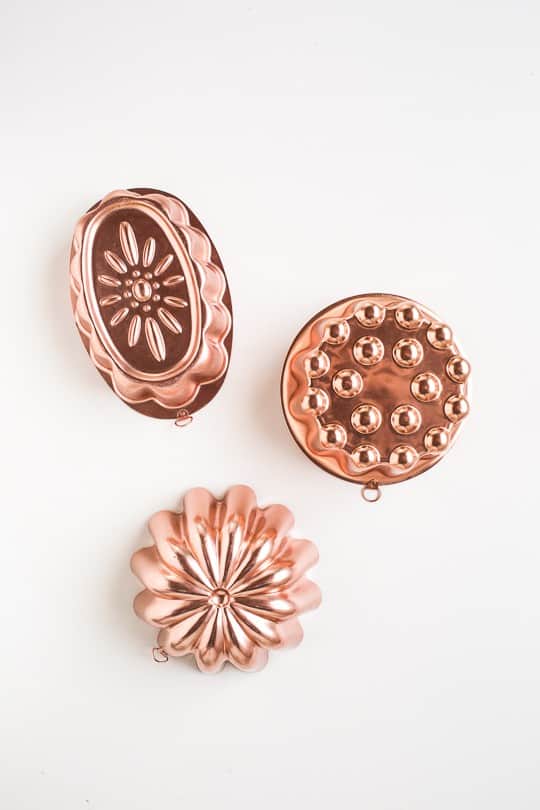
And you can find amazing patterns and shapes of bundt cake pans at just about any flea market or thrift store.
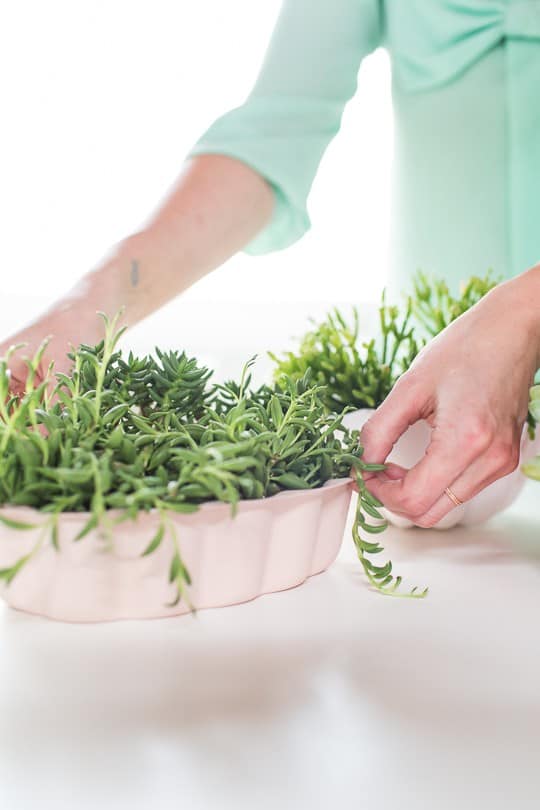
Materials Needed To Make DIY Hanging Bundt Cake Pan Planters
- Bundt cake pans – I snatched all of mine up at Salvation Army for $3, never used!)
- Jewelry pliers
- Fine cable silver chain – at least 12 yards for three planters
- 12 mm split rings – two for every planter
- Ceiling screw hooks – one for every planter
- Succulents for planting
- Optional: spray paint
- Optional: You can also simplify this project with less tools and time by using leather cord or picture wire instead of chain.
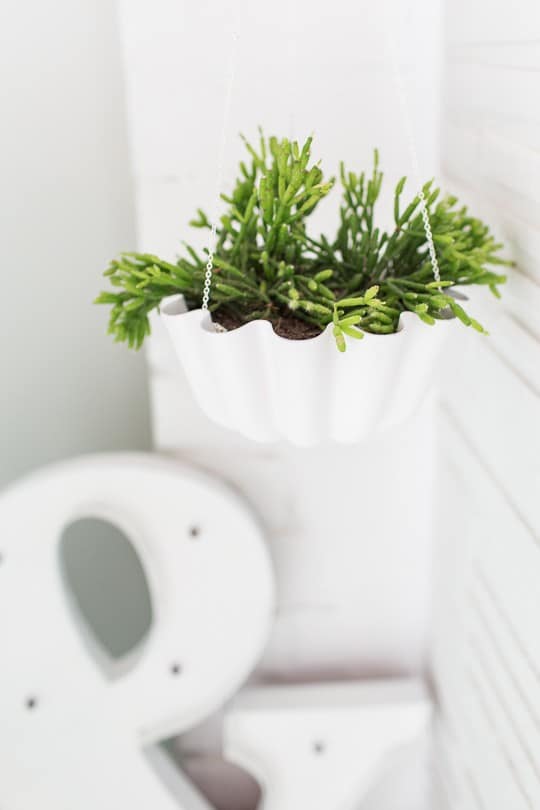
How To Make A DIY Hanging Bundt Cake Pan Planters
First, drill holes in the top edges of the planter will a drill bit that’s just a tad bit bigger than the width of the chain or *cording you’ll be using to string them up with.
In my case, it was a 7/64 bit for this fine cable silver chain spool.
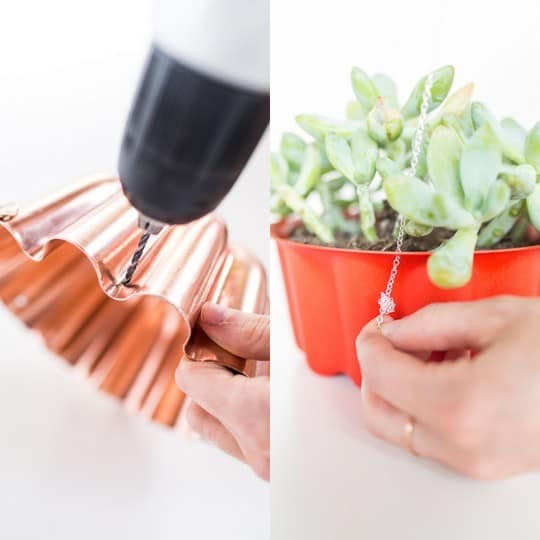
For those of you that are familiar with jewelry making, you may be wondering why I knotted chain instead of using jump rings.
There are two reasons for that. One being that jump rings hate me and I was afraid they wouldn’t hold the weight of the planter. And two being that I wanted the tutorial to be simple and quick even for those using cord or wire instead of chain. Feel free to use them if you’d like in lieu of the knots, of course!
You’ll want to drill the holes in a triangular pattern along the edges for round pans (3 holes total), and in a rectangular or square pattern for square or rectangular pans (four holes total). This will make sure the pans hang evening without tipping one direction or the other when hung.
Once the holes are drilled, spray paint the pans colors of your choice.
Next, using jewelry pliers cut equal length strands of chain or cording around 18 inches each for every hole you drill.
Feed a cut chain/cord strand through each whole and knot at the bottom.
Now, hold all of the strands gathered together in the middle of planter. They won’t all be the same length but should be close.
String the last link of the shortest chain through a split ring (or knot the leather cord or wire if you’re not using chain).
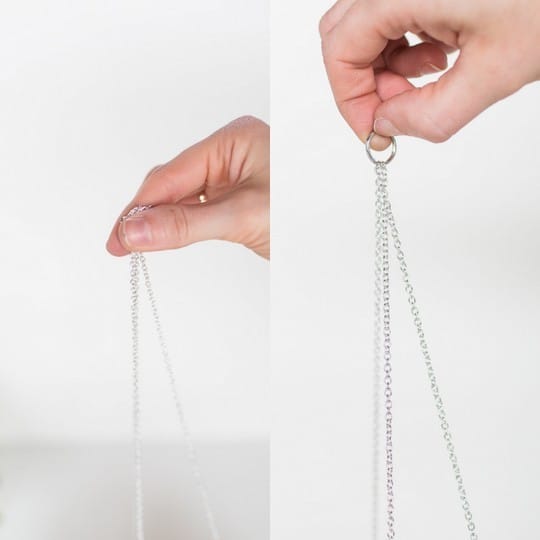
All of the remaining strands need to be cut down to the same length so that the chain/cord is pulled tight evenly on all strands and attached to the same key ring.
You know you’ve done this correctly if the plant is hanging evenly when just holding the key ring. If not, make adjustments as necessary.
Lastly, use the chain/cording of your choice to hang the finished planters from a ceiling screw hook. And you’re all set!
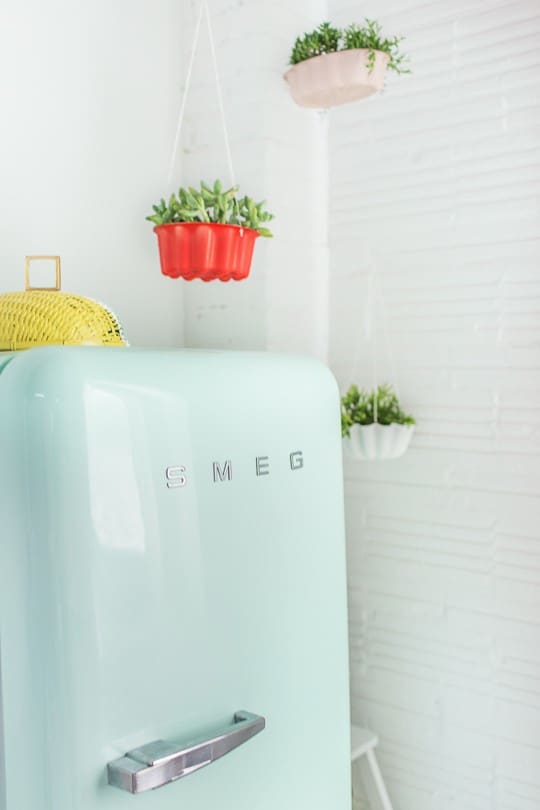
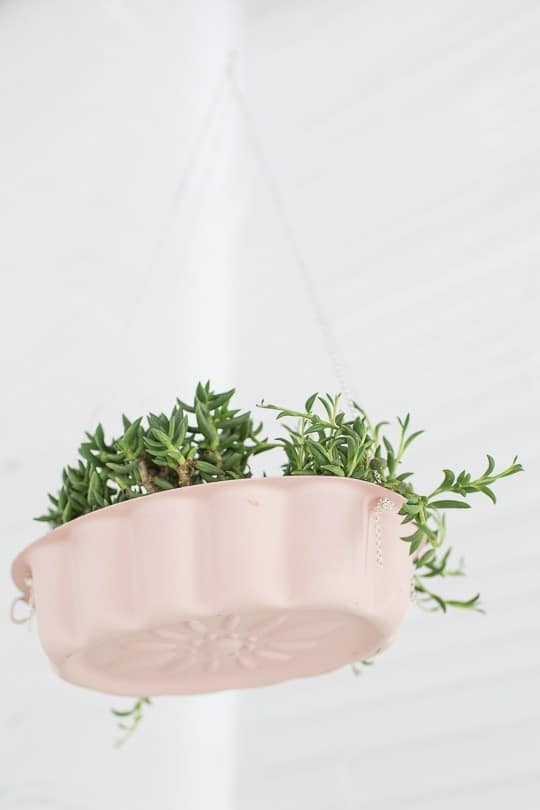
My favorite part is that you can still see all of the cool patterns form below the hanging planters too! I mean, we may be brining back the bundt cake phenomenon here, people!
A big shout out to Smeg USA for providing the Sugar & Cloth studio with my dream mint green fridge. A thousand hugs to you!
Please note that we may earn a commission for some of the above affiliate links. However, products featured are independently selected and personally well-loved by us!
I like your website, it has nice content, Have a great day!
Thanks Jesse!
I think that everything published made a ton of
sense. But, what about this? suppose you added
a little content? I mean, I don’t wish to tell you how to run your blog, however suppose you added
something that makes people want more? I mean DIY // Hanging bundt cake pan planters is kinda plain. You
might peek at Yahoo’s front page and watch how they write post headlines to grab people to click.
You might add a video or a related picture or two to grab readers interested
about everything’ve got to say. In my opinion, it would make your blog a little bit
more interesting. https://lilisharyantoliardia.wordpress.com sukses sukses
I use a milk It cost and it came with a free gallon of chocolate
Thanks for the marvelous posting! I definitely enjoyed reading it, you will be a great author.
I will be sure to bookmark your blog and will often come back later in life.
I want to encourage you continue your great posts, have a nice evening!
Thanks so much, Celesta!
Hi Ashley – I’m looking for a good planter for a new ficus I’m getting and cannot find anything good in Houston or online. Is there a site where you’ve found simple white/silver/gold planters? xo
This is so incredibly beautiful and simple. Can’t wait for the weekend to run out and get bundt pans. I can already imagine the pastel planters of my dreams for our new office space! Thanks, Ashley x
I love this idea and it looks amazing next to the smeg fridge :D i’ll try making those one day. Thanks for inspiration! x
Let’s be honest, what doesn’t look good next to a mint green Smeg? ;) haha
Gah, these are so cute! Also, that Smeg is everything. Dreamy.
Dreamy is definitely the keyword! I pinch myself everyday I think ;)
oh my goodness I love these! I have a horrid green thumb but I think I want to try this out…I have the perfect little spot in my dining room for two of these :)
So do I! Worst case scenario we can console each other while picking up dead succulent petals ;)
Love this!
Cheers!
Preppyandfunny.wordpress.com
Thanks so much!
How incredible is that fridge?! it’s gorgeous! x
lillies and lipbalm
The fridge totally takes the cake in this situation haha :)
Ash! These are so great. I love them. And they look so good next to your Smeg too.
Thanks, B!
I love the planters, and the mint green smeg fridge!! So cute!
I know, it’s my new favorite thing!
So cute!
thanks Kim!