DIY Retro Wall Panel Installation (That’s Renter Friendly!)
DIY Retro Wall Panel Installation — Renting but still want an accent wall? Own but too afraid of commitment? This DIY Retro Wall Panel Installation is the perfect solution.
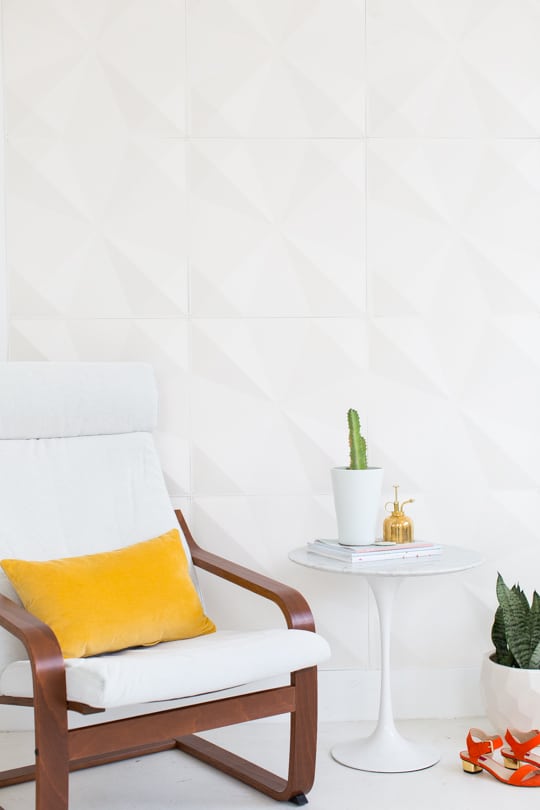
As promised after making you go through house hunting choices with me, I wanted to share a cool (and super easy) DIY!
This DIY Retro Wall Panel Installation concept is perfect for making a space your own that’s renter friendly.
Not joking, I want to panel an accent wall in every room right now. How cool would it be to have one with some accents of metallic gold too?! Ah!
Before I get too off track with even more wild and crazy ideas, I’m going to show just how easy it is to make a retro accent wall of your own that won’t make your landlord (or your Rent.com apartment find) hate you when you leave.
And for those of you that own a home, this is perfect if you’re afraid of too much (wall accent) commitment!
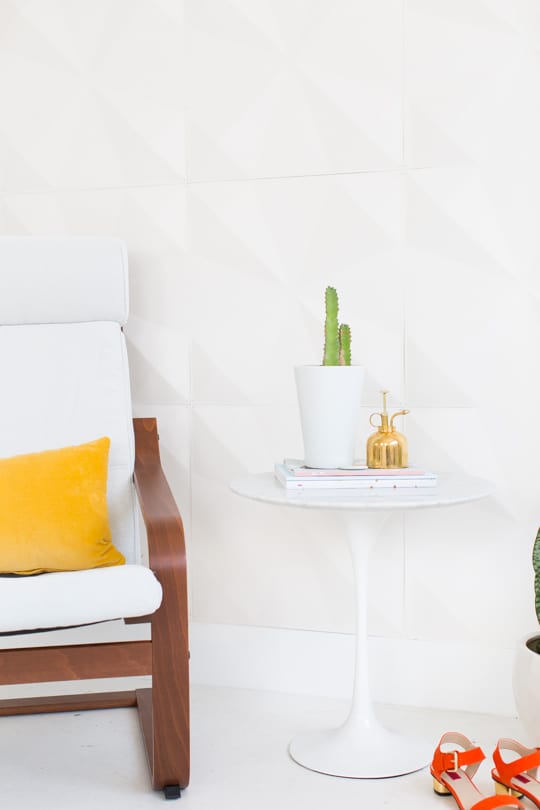
Materials And Tools Needed To Make A DIY Retro Wall Panel Installation
- Wall panel squares — Mine are from Inhabit.
- Hammer
- White nails — Or same colored nails as the panels
How To Make A DIY Retro Wall Panel Installation
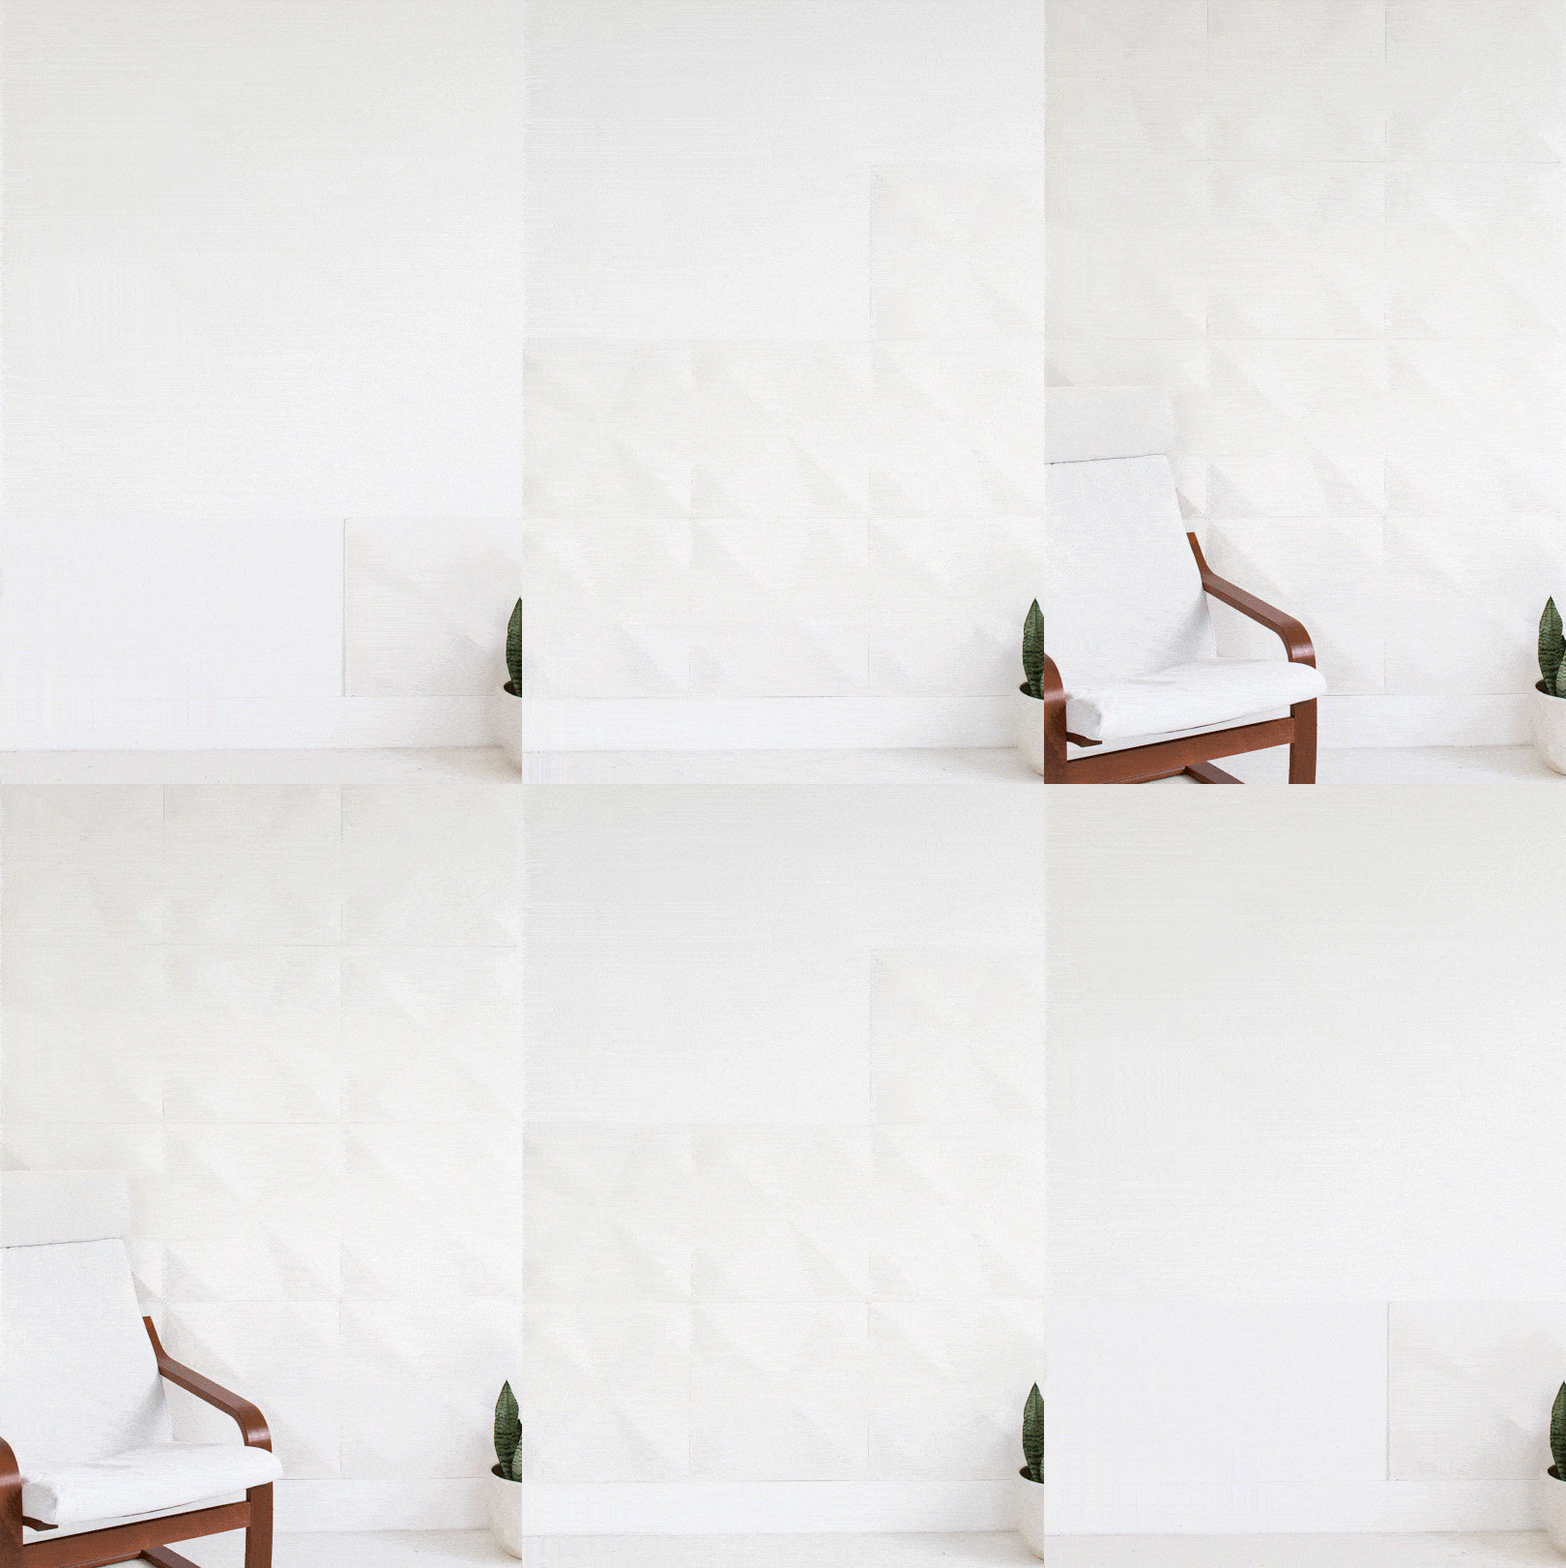
First, get a general idea of your layout before attaching any panels to the wall.
You can do this by laying them out on floor and marking the backs on each one.
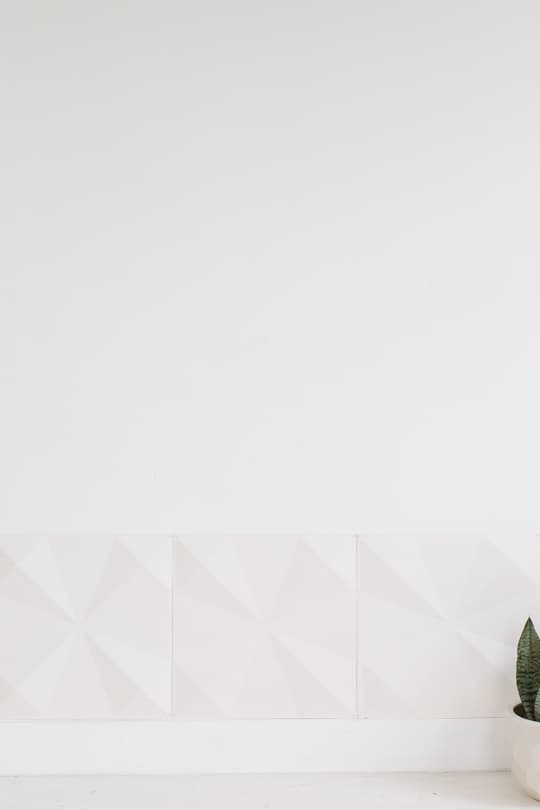
Or if you’re doing just a solid pattern, determine the width and height you want. Then, start at the bottom following a straight (and level) edge all the way up.
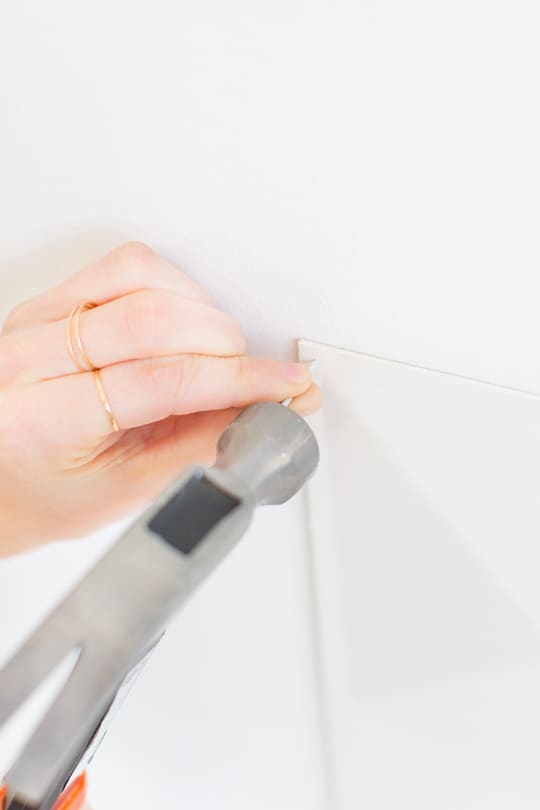
To do this, simply use small same colored nails in each of the four corners of every panel.
This will make the panels super sturdy and flush without leaving giant holes or any adhesive residue on the walls when you move out (or decide to go with a new look!).
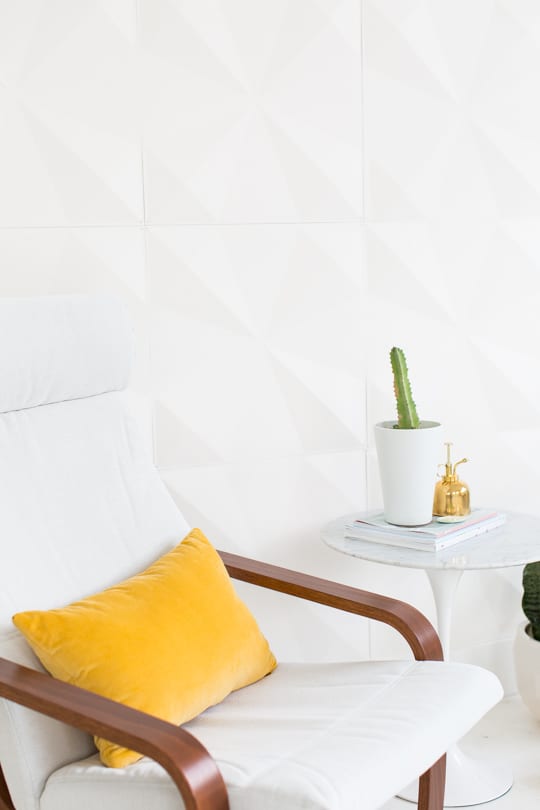
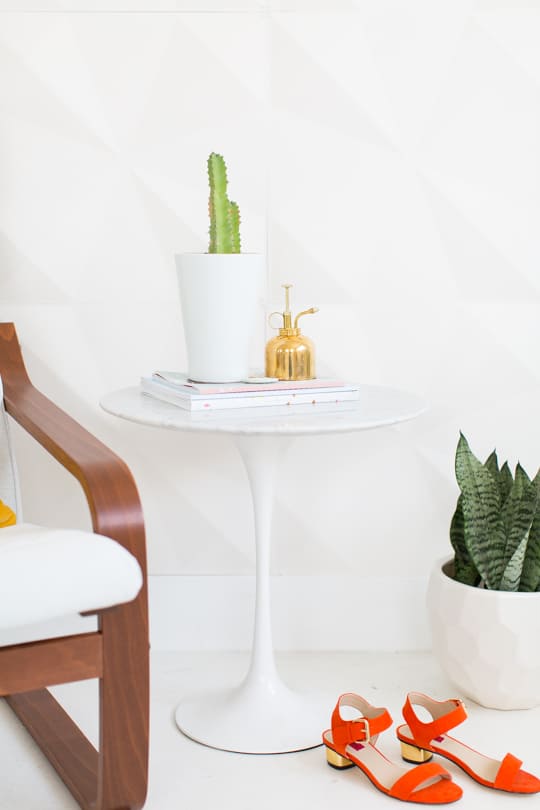
What do you think? Is this something you all would create for an accent wall?!
Honestly, it’s super inexpensive for how much of a statement it makes. And it’s super easy to install so I’m a big advocate for it! Consider this friendly peer pressure.
In case you missed our house hunting choices that we’ve been looking at, be sure to check out this post from our picks from Rent.com!
This post is made possible by Rent.com. Thank you for supporting the brands we love that keep bigger and better DIY’s, and even sweeter sweets, coming straight to your inbox everyday!
Please note that we may earn a commission for some of the above affiliate links. However, products featured are independently selected and personally well-loved by us!
this is such a cool idea!! I love the idea of a paneled accent wall. with the wall panels from inhabit, did you buy their permanent ones or the hanging ones?
James, we didn’t use any permanent features because we wanted the DIY to be renter friendly!
Another great decorating tip for my office! Thank youuuu! :)
Really wonderful post. But also, where are those SHOES from?!?!
I love this idea, and love that it’s renter friendly! Can’t wait to try in my next place! Side note: where is the yellow pillowcase from?
I love this idea, and I love the fact that it’s renter friendly even more! An accent wall is such a great way to add life to a small space. I’m looking to get a studio in the near future, and this would be a great way to divide the space so that I can distinguish between my bed/living room area.
-Helen
http://www.sweethelengrace.com
THANK YOU, THANK YOU, THANK YOU!
I’m not in need of any new wall décor or home reno, but this is absolutely perfect for a wedding backdrop DIY!
Love! Just pinned!