Vintage DIY Birdcage Chandelier
Light up your space with charm! This DIY Birdcage Chandelier tutorial shows you how to transform a simple birdcage into a stunning statement light fixture. Perfect for adding vintage flair and personality to any room on a budget.
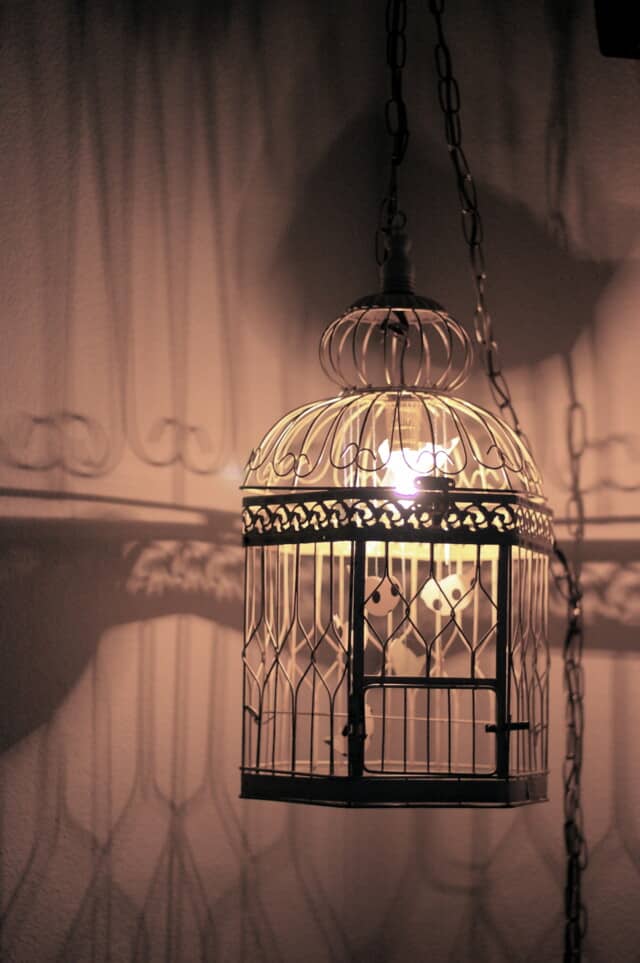
For months, we had a vintage birdcage wandering aimlessly around our apartment, waiting for a new purpose. Originally brought to hold favors at our wedding reception, it had served its role beautifully but was left without direction afterward. Instead of letting it gather dust, we decided it was time to give this little cage a second life.
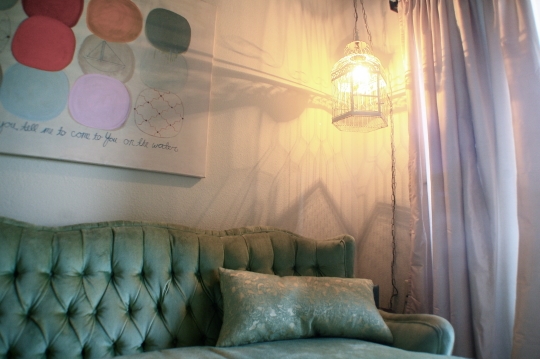
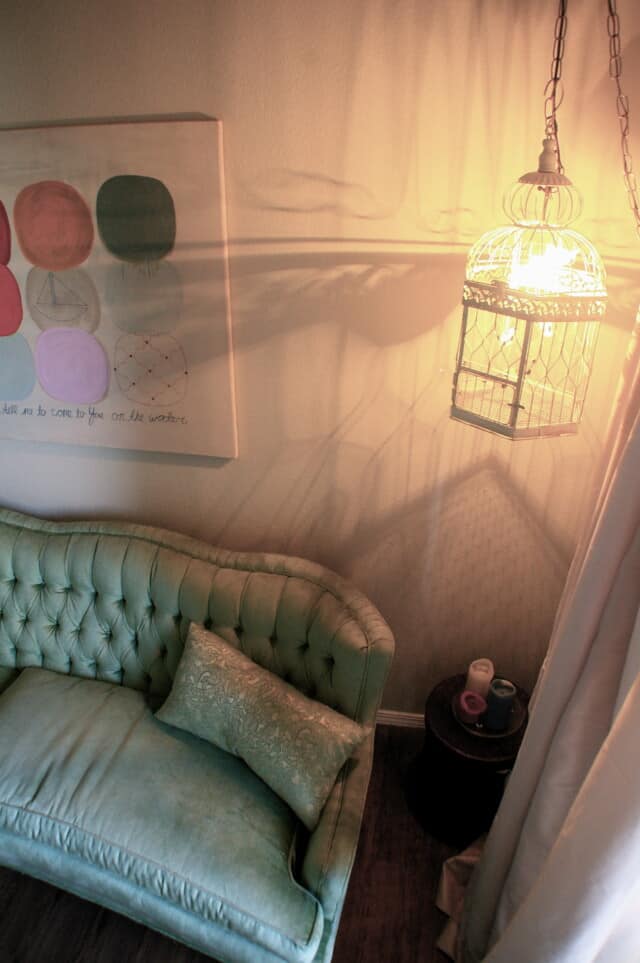
That’s when the idea struck to turn it into a lamp! While it definitely came with a learning curve, the transformation was more than worth it. What once was just a decorative piece is now a charming birdcage chandelier that adds warmth and character to our space. We even surprised myself (and my husband) with how well it turned out. So we pulled together a step-by-step tutorial to help you create one of your own.
Materials Needed and Tools Needed
- Bird cage: Choose a lightweight option (under 15 pounds). You can often find these at thrift stores, flea markets, craft shops or even online. Similar ones are here and here.
- Swag lighting kit: 12 Ft. $11.97
- Metallic hardwired lamp socket: $4.09
- Incandescent light bulb: A 40-watt bulb works best. preferably 40 Watts $2.18
- Drill: For making any necessary openings.
- Screwdriver: To secure components in place.
How to Assemble a Bird Cage Chandelier
1 — Prep the chain: Open your lighting kit and unravel the chain. It will come grouped together on one link.
2 — Prep the wire: Take the lighting wire and carefully thread it through the chain, braiding as you go. Avoid leaving too much slack at the end with open wires, since you don’t want the bulb to hang too far below the chain. You can always adjust the length later.
3 — Feed through the birdcage:
String the wire and chain through the top of the birdcage in the same direction it will hang once installed. The light fixture will need to be assembled inside the cage, since it’s too large to fit through the bars afterward.
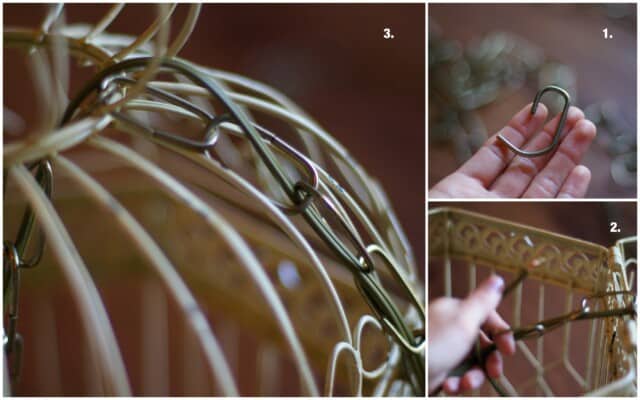

Open your lighting kit, unravel the chain, it will be grouped together onto one link.
Take the lighting wire, and begin to braid it through the chain. Don’t leave much extra slack on the end with open wires. You won’t want the bulb to be hanging down too far from the chain, but you still have plenty of time to adjust this accordingly.
String the wire & chain through the top of the birdcage as it will be when you hang it. You will have to assemble the fixture itself inside of the birdcage, because it will be too large to fit through the openings afterward.
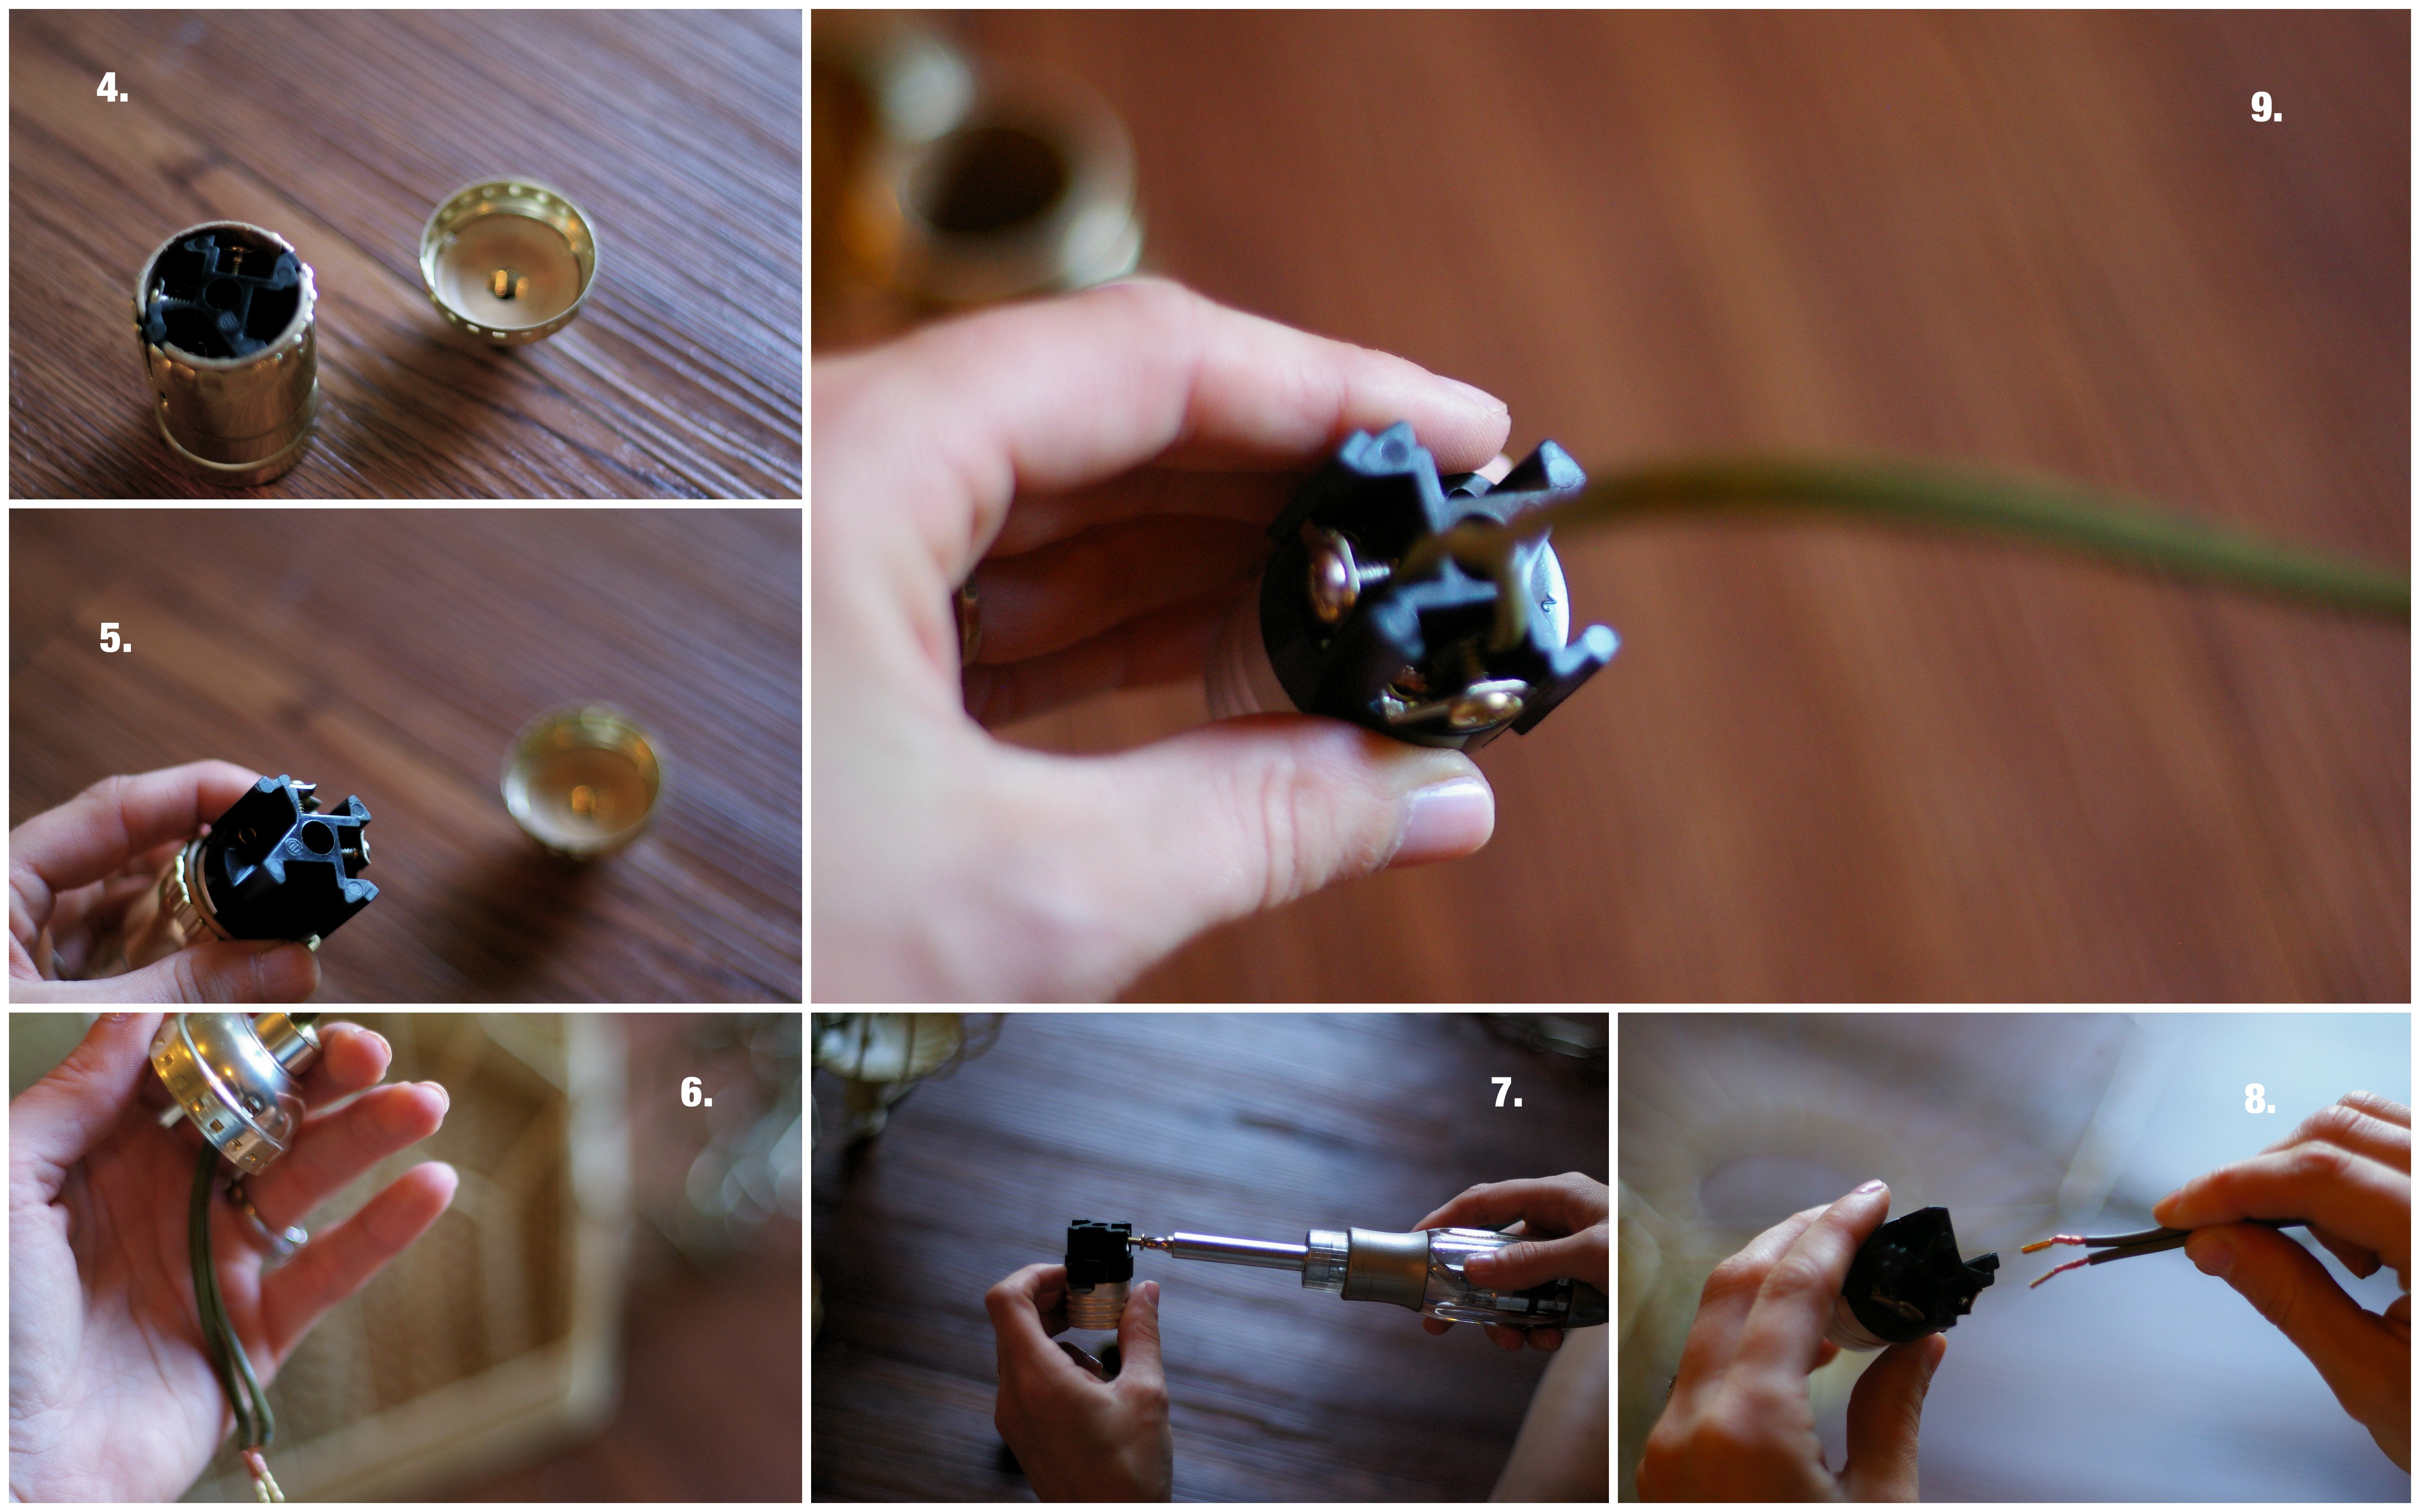
Take the hardwire socket, and pull the two pieces apart.
WARNING: It is VERY important that you don’t have the wire plugged in when you continue with these steps. You will electrocute yourself, and that’s not classy people!
Gently pull out the black piece in the base of the socket.
Take the top piece and string in onto the wire (I forgot this part the first time, and I almost punched a wall, okay not really but it was annoying).
Use your screwdriver to unscrew the two small screws on each side of the socket, but don’t take them all of the way out (it’s just less work this way).
Gently pull the separated wire end slightly farther apart to give yourself a little more slack, and then position one side of the wire onto each side of the socket. You’ll be placing the tips of the metal wires into the little dots on each side, and then push them down. You’ll be able to tell if they are inserting into the socket properly.
9. Once, you’ve positioned each end, you’ll secure them into place by screwing the screws back in. I found it to be easier to bend the wire a bit so that the screws held it in place without actually damaging the wire.

10. With the wires connected, clamp the two pieces back together as they originally were.

11. Your kit comes with two of these hooks, you’ll only need one to attach it to the ceiling, so I used the other one to onto the inside of the top of the birdcage so that the bulb would hang in the center.
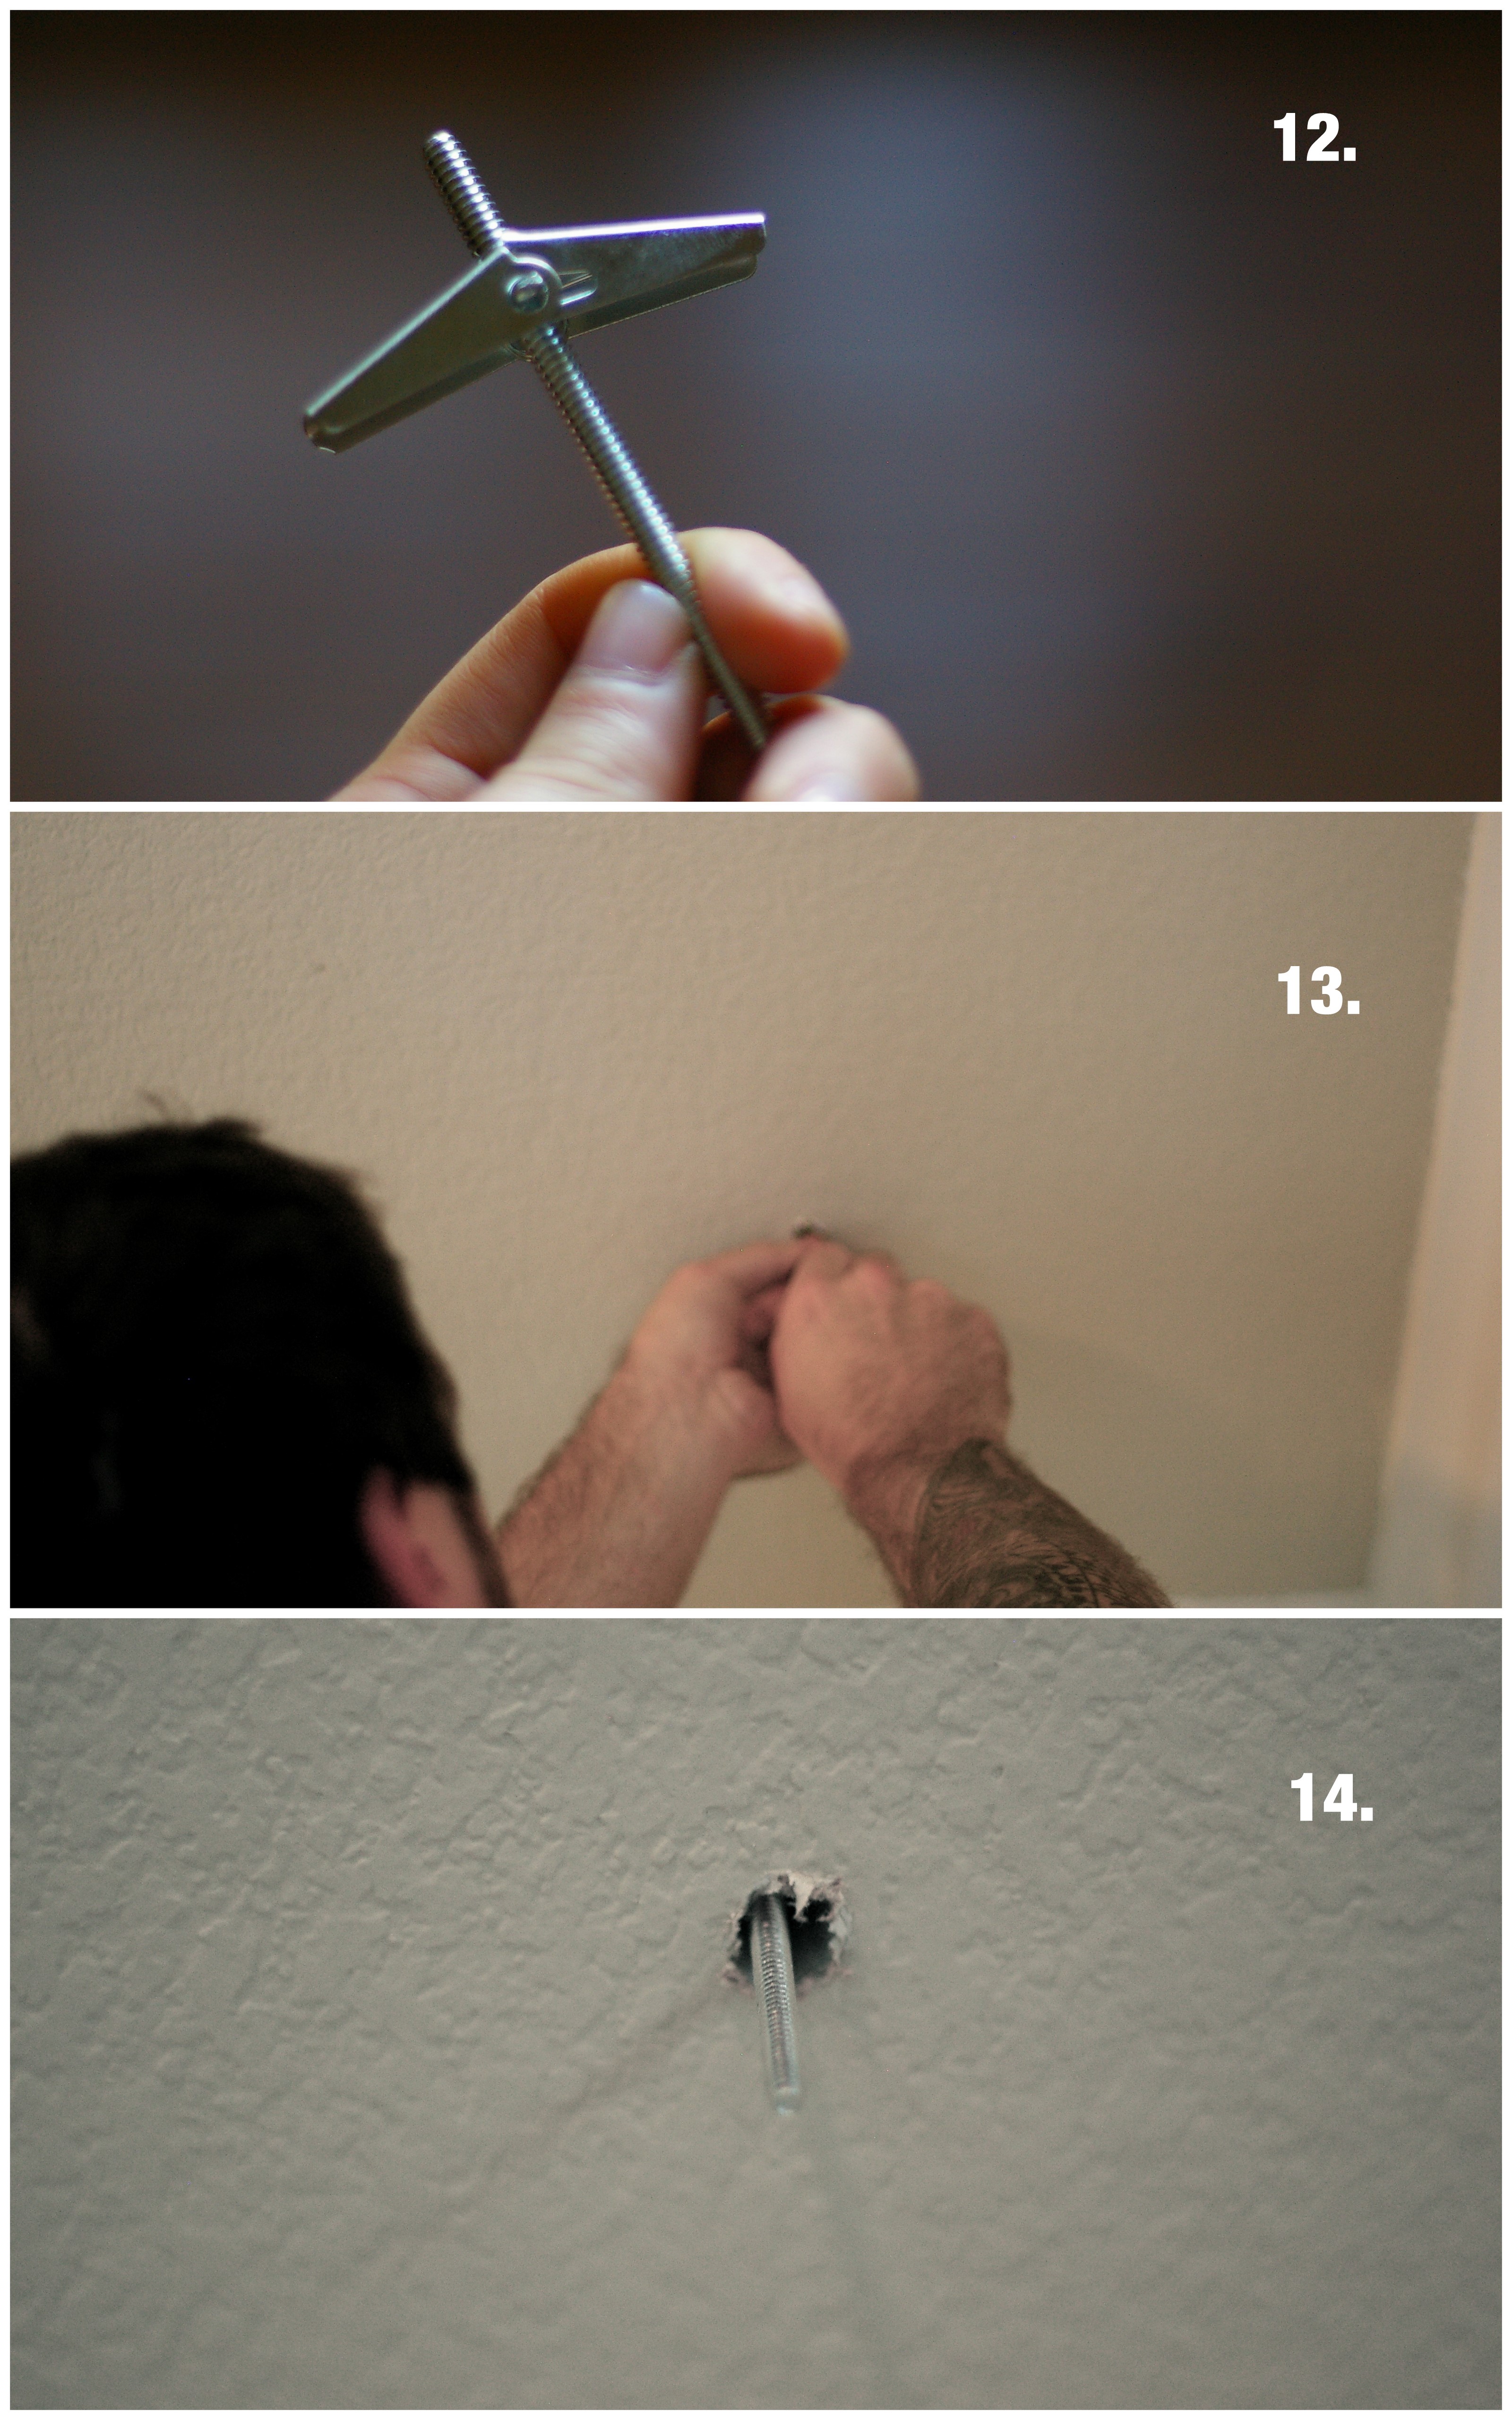
12. – 14. Now, to attach the hooks to the ceiling, you’ll need to determine wether or not you will be attaching it straight into wood, or in our case, drywall. If you‘re attaching it to wood, you lucked out. All you’ll have to do is simply screw the S hook (I just made that up) straight into the ceiling. If you’re the unfortunate few of us dealing with drywall, you’ll have to drill a hole just large enough to fit the largest part of the hook into the ceiling, as hubby is demonstrating because i’m too short :] You can measure this better by squeezing the two sides of the hook down (this is what you’ll have to do to insert it, and then release). Once you have this completed (step 14), all you have to do is screw the S hook onto that!
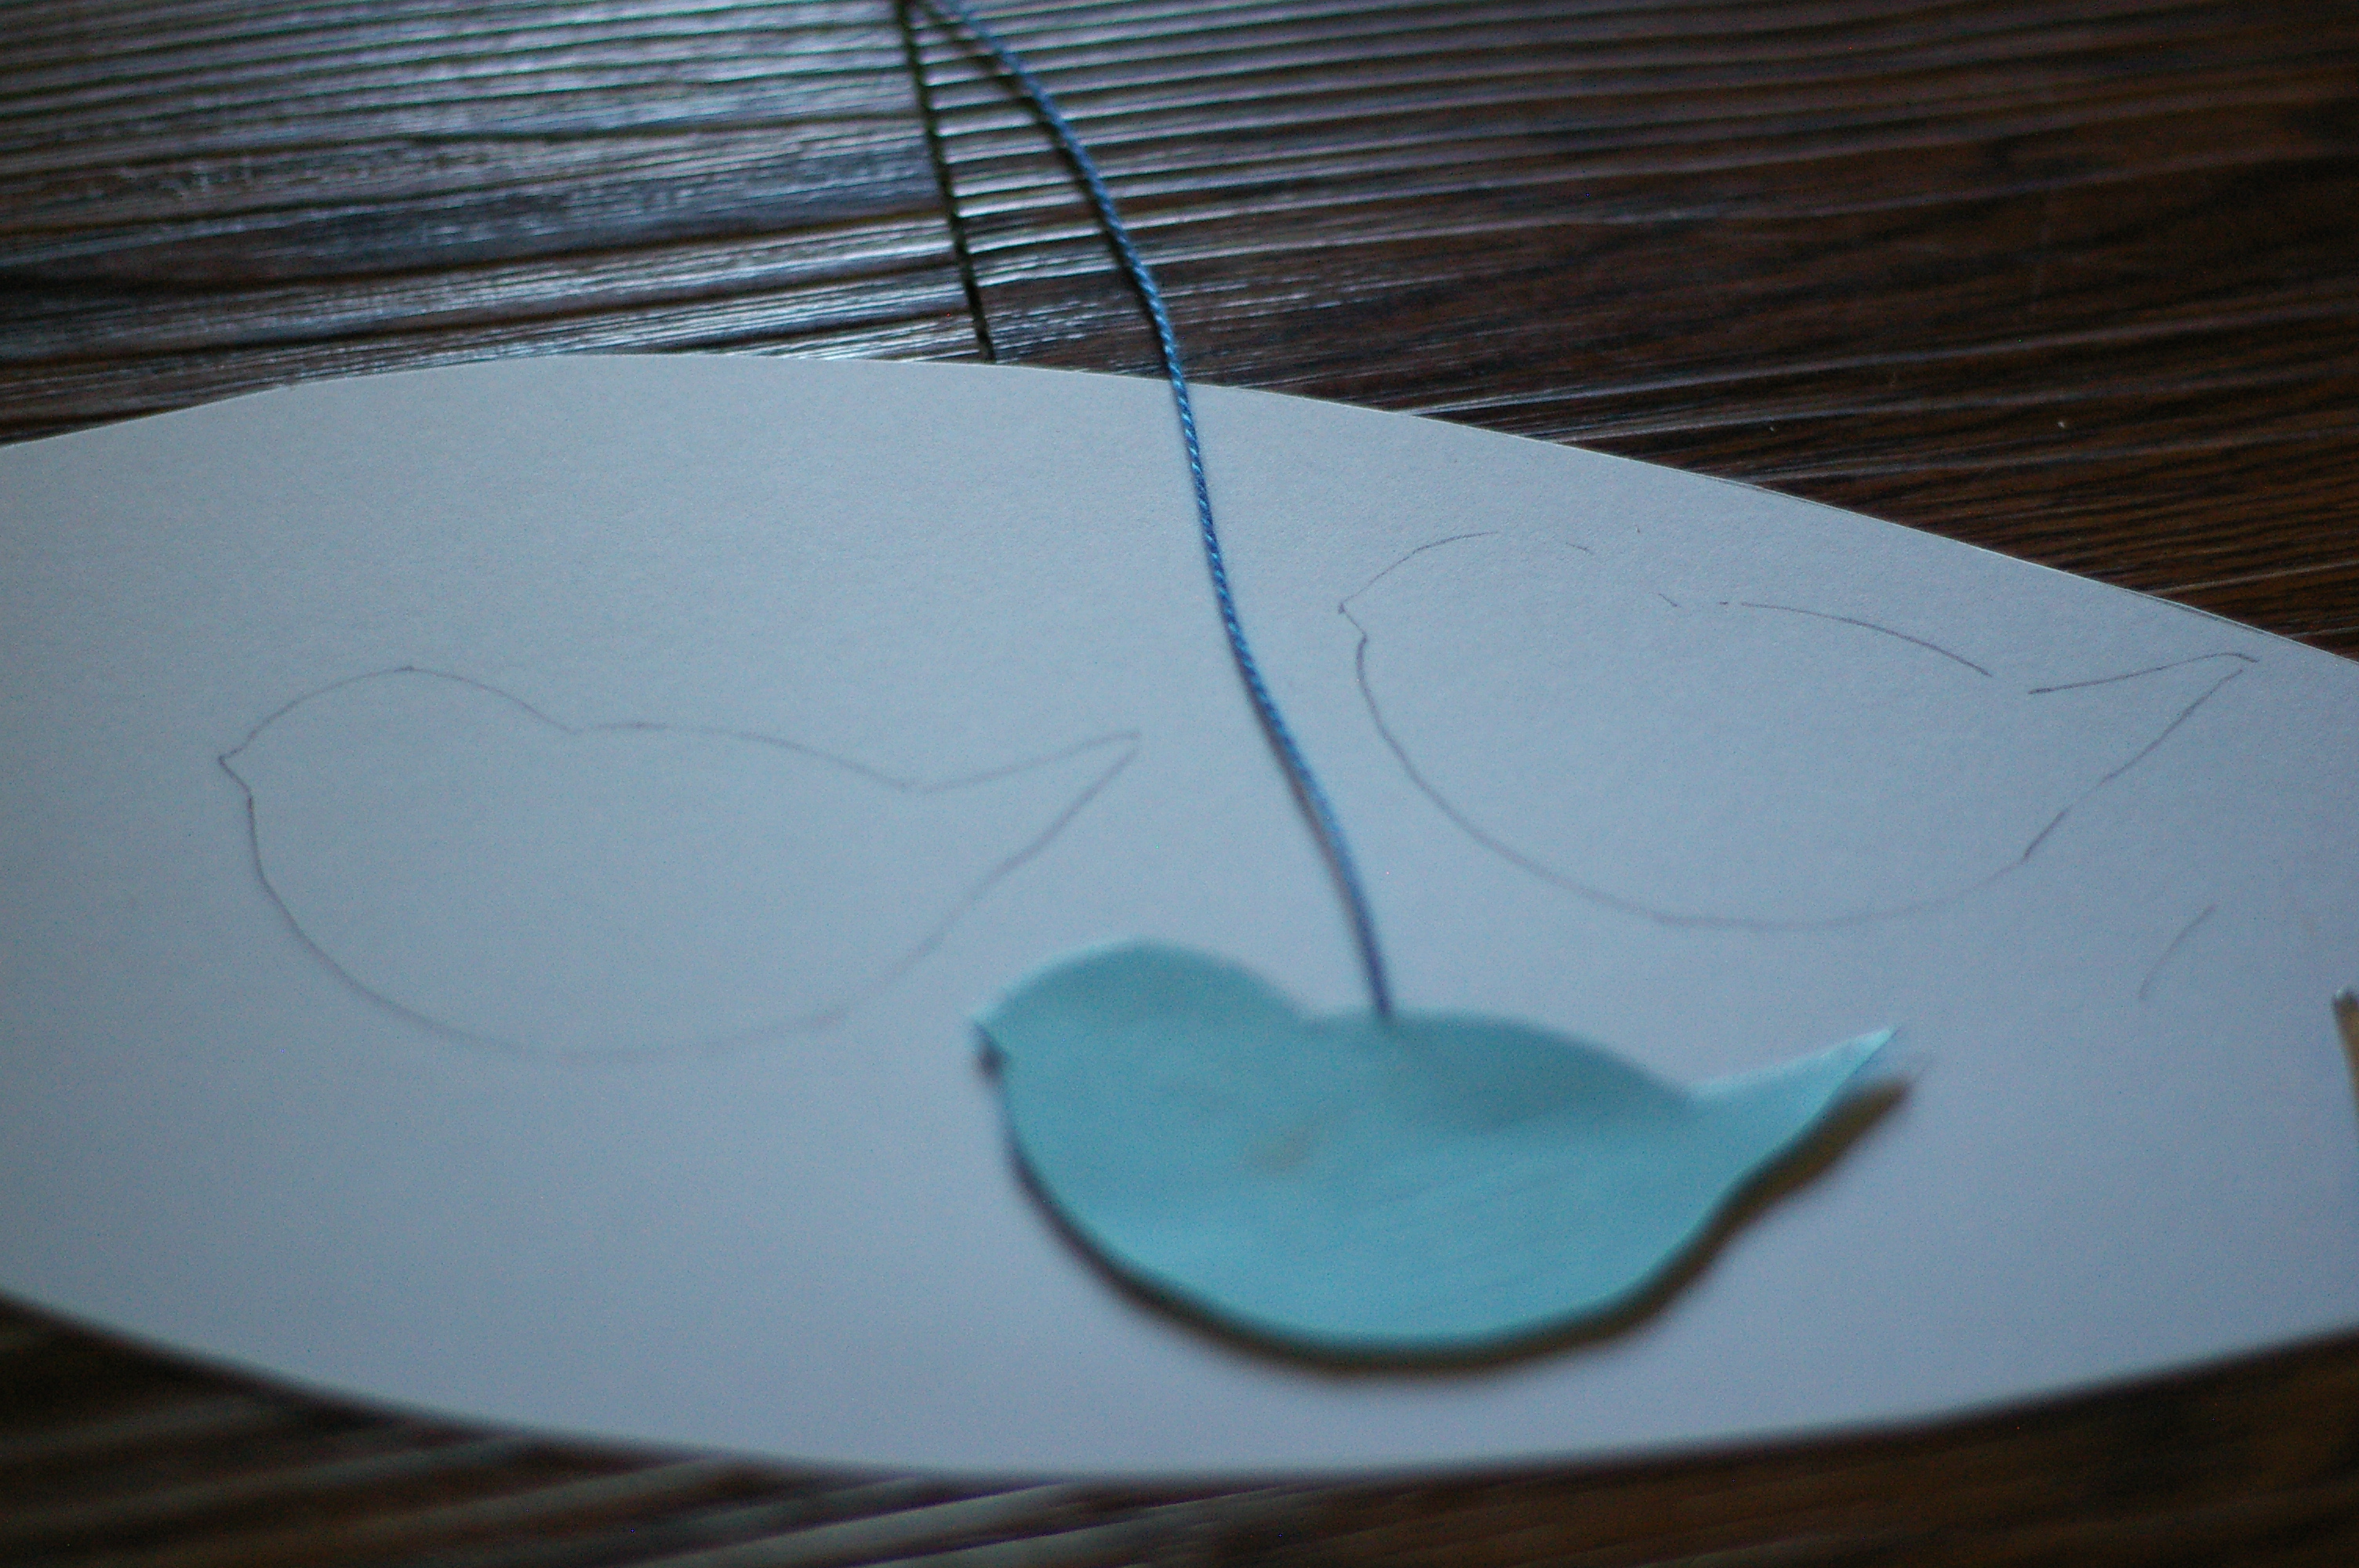
So, your semi-done now. All that’s left is to attach the light bulb, lock the lid down to your birdcage, and hang! If you still have some steam left, you can check out some of the paper birds I made to hang inside of the cage to dodge the light a bit:

Please note that we may earn a commission for some of the above affiliate links. However, products featured are independently selected and personally well-loved by us!
I’m trying to replicate this project but am having a little trouble. I got the same 12 foot swag kit but my chain came in two pieces. Is that normal? Also how did you attach the hook to the inside of the birdcage? Thanks for the help!
I just screwed the hook to the inside of the birdcage. My chain came in one long piece, but you can just untwist a link, and attach it to the another link to make it one long chain :) Hope this helps!
I love the way the room is decorated!!! :)
Wow! That’s and amazing idea!! Great job and thanks for the data on how to make it! I’m going to share this.
thanks so much, feel free to share : ]
The homeless bird cage just found a wonderful home. Adore it!