Faux Boxwood Wall with a DIY Neon Sign
Bring an element of nature to your home with a cozy and inviting Faux Boxwood Wall with a custom DIY Neon Sign that requires no maintenance!

Boxwood walls are always so cozy and inviting. We love how they can give you that feeling of privacy while also bringing in an element of nature to your space.
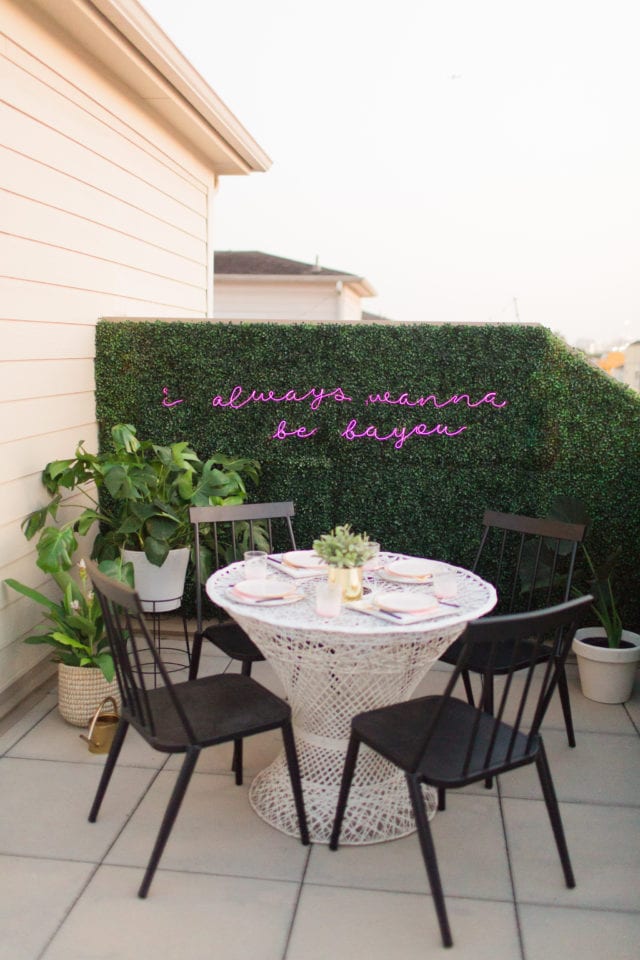
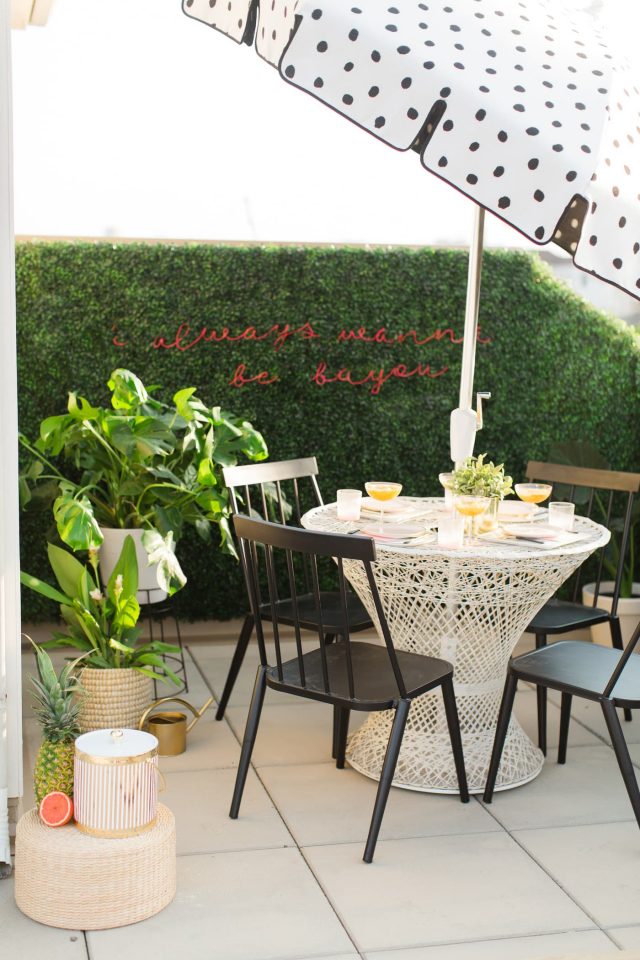
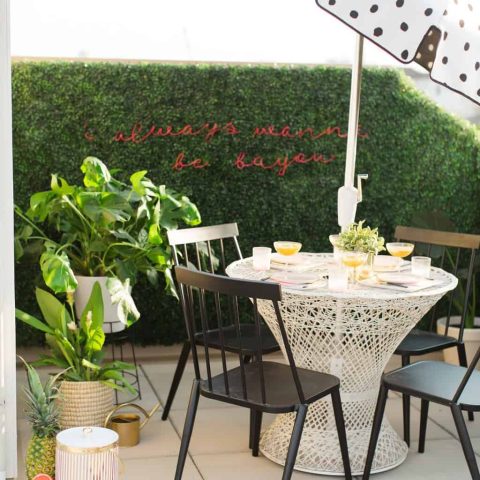
So we created our own Faux Boxwood Wall with a DIY Neon Sign that was a total showstopper piece from our rooftop patio makeover for our townhouse. And the best part is that it requires 100% no maintenance, which is a total victory for any black thumbs out there!
While this is a fairly involved DIY, it’s totally do-able and the end result is so satisfying and perfect for any time of the year. Plus, this project can be temporary.

Materials and Tools
For the faux boxwood wall:
- Boxwood panels — Measure your patio space to determine how many you’ll need.
- Lightweight plywood or PVC boards — For a backing. If using plywood, ensure it’s pressure-treated or sealed for outdoor use. Otherwise, the wood will start to rot! For one less step, just go for the pressure treated plywood! Please note that we did not want to install our boxwood directly onto our home’s exterior paneling (which is not meant to be drilled into very much). So wanted a backing. We purchased two 4’x 8′ pieces of pressure treated plywood.
For the neon sign:
While creating a true custom neon glass sign isn’t recommended for DIY due to the safety hazards of working with high voltage and glass manipulation, this is one of the most popular alternative options to create a “neon-like” effect for your faux boxwood wall:
- EL wire (electroluminescent wire) kit with a controller and power source — In your desired color. The 3.2 mm and 5.0 mm are recommended for outdoor use. We purchased 16 feet of EL wire.
- 16 gauge wire — For added stability, especially for a large sign
- E6000 glue — To secure the EL wire and gauge wire together
- Green zip ties or fishing line or thread — To attached the EL wire to the boxwood. Most boxwood panels come with green zip ties so we used those to hang the neon sign.
- Gorilla tape — To cover any excess EL wire
- Needle nose pliers — To shape the wires
- Staple gun and staples
- Heavy duty wide D-ring hangers — For hanging up the boxwood wall
How to Make a DIY Neon Sign with EL Wire
1 – Optional: Create a template guide or sketch your desired design or lettering on paper.
Since we wanted our neon sign to be around 6 feet wide, we had our phrase printed as an engineering print. These are large-scale prints often used for blueprints and architectural plans. But the cool thing is, local print shops can also make them for regular text or images. And they’re super affordable. Ours only cost about $5!
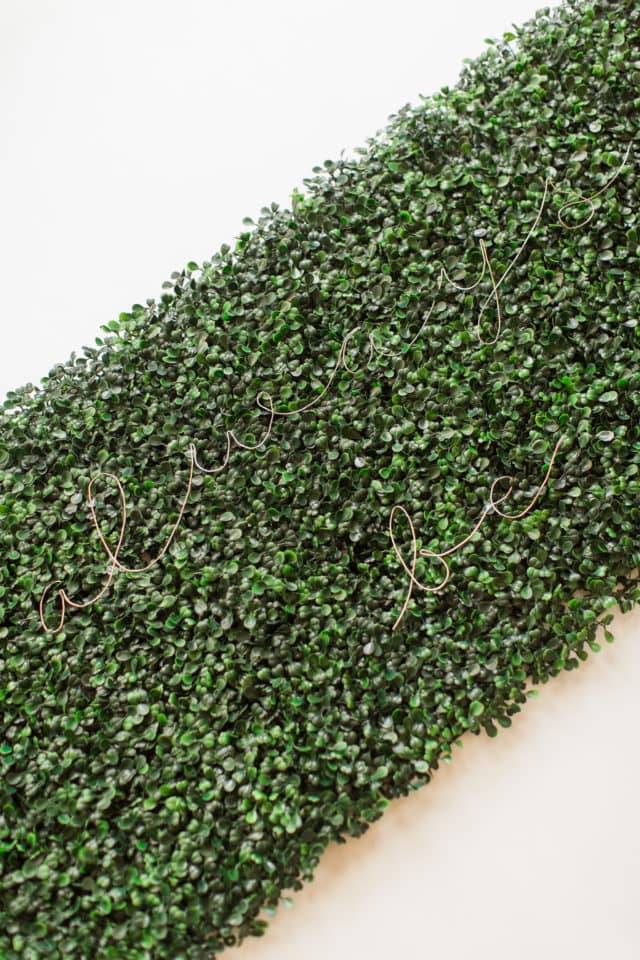
2 — With your printed phrase as your guide, start shaping your gauge wire letters!
Lay the printout flat and use it as a template. Grab your gauge wire and pliers. As you bend the gauge wire to follow the shape of each letter, the pliers will be helpful for making those larger curves smoothly.
Clever tip: Once you finish a letter, weigh it down with a heavy bowl or paperweight. This keeps the completed letters in place and prevents the rest of the word from getting tangled as you move on to the next one. Then, bend each word to be as flat as possible.

3 — Before attaching the EL wire, lay the pre-shaped gauge wire phrase on the boxwood panels to plan out its placement.
This is your chance to experiment with the positioning. When you start threading the EL wire through the boxwood, it will be difficult to adjust the words later. So take your time and make sure you like the placement! The gauge wire will serve as a placeholder for your EL wire.
Shaping Your Neon Sign
4 – Start by threading the EL wire from the back to the front of the boxwood.
Make sure to leave lots of additional room for the EL wire controller to hang behind the boxwood panel and still be within reach.
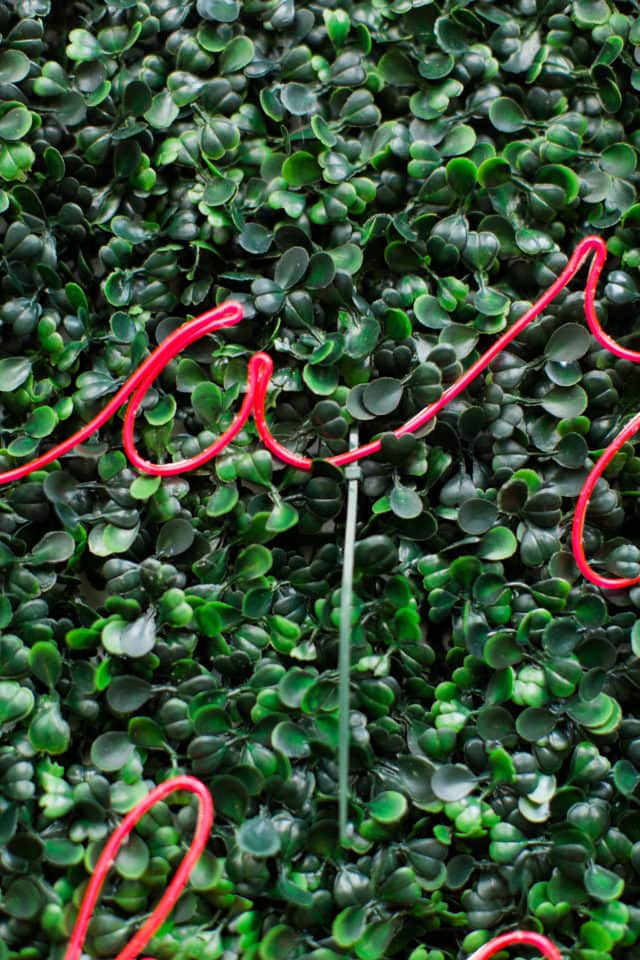
5 – Carefully mold the EL wire to the gauge wire template, applying E6000 glue as you go.
It helps to have another set of hands here, but it’s possible to do alone! Make sure to thread the wire to the the back of the boxwood panel and then out to the front again when you start another word in your phrase. Focus on the curves and bends when applying the glue.
As with the gauge wire, you can also use the needle-nose pliers to make tighter bends or to hold the wire in place while shaping.

6 — Use twist ties for temporary holding while the E6000 glue dries (24-72 hours).
It is important to have something holding the the gauge wire and the EL wire together as the glue completely cures. We secured the 2 wires with twist ties as we glued. At this point, the letters will look like a crazy twist-tied mess. But that means you’re doing it right!

6 — After about 2 hours, remove the twist ties.
Do not leave the twist ties on for more than 24 hours since the glue may fuse it together with the wires. For the bigger letter bends, you can leave the ties on for a bit longer to allow more time for the glue to set.
Don’t worry if there’s any rouge glue messiness on the side and front of the letters. The glue will be easy to clean off at the end. When the glue has completely dried and you’ve removed all of the twist ties, it’s time to attach the words more securely to the boxwood.
Securing the DIY Neon Sign to the Boxwood
7 — Using green zip ties, loosely secure the DIY neon sign to the boxwood panel.
Thread the zip ties between the gauge wire and EL wire through the gaps between the faux boxwood leaves. Use the them to loosely tie the EL wire to the backing of the boxwood panel.
It is important to LOOSELY attach the zip ties. Zip ties can potentially damage the delicate EL wire if pulled too forcefully. Also, if sign is secured too tightly, the words will start to get lost in the leaves.
Most boxwood panels already come with green zip ties, which are perfect for camouflaging. We found 4-6 spots per word where we could feed the zip tie between the gauge wire and EL wire. If you need to, you can carefully use an X-acto knife to cut the glue between the wires to make room for the zip tie.
Alternatively, you may also use finishing line or thread.

8 — Conceal excess EL wire with gorilla tape so that it does not shine through the front.
Gorilla tape was perfect for this purpose since it’s durable (for being outside) and opaque. Simply, wind up the excess wire and put a piece of tape between the wire and the boxwood to hide it and then another piece of tape on top of the wire to secure it. A tape sandwich, if you will!
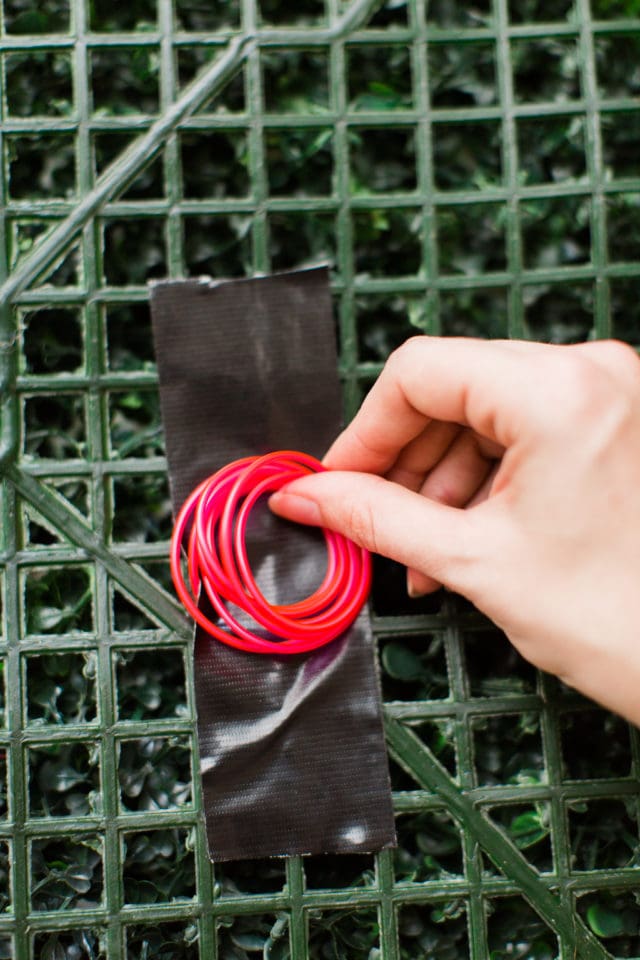
Do the same with the wires that are sticking through the back between each word.
Installing a Faux Boxwood Wall
9 — Prepare the backing for your faux boxwood wall and attach the hanging hardware according to the manufacturer’s instructions.
It is not ideal to drill many holes into exterior siding. So instead of using a large heavy piece of plywood that would require multiple screws. We cut up two 4’x 8′ pieces of pressure treated plywood into 4 separate sections to break up the weight since our sign took up four 20″ boxwood panels.
You also forgo the backing and attach the boxwood directly to the panel. But we wanted a temporary option of being able to take down the boxwood if needed, especially since we knew that this would not be our cover home.
10 — Assemble the faux boxwood panels.
Lay the faux boxwood panels face-up on a flat surface. If the panels have interlocking connectors, use them to connect the panels together. Trim any edges if needed.
And before we started going crazy attaching panels to the plywood, we measured out and marked exactly the placement of the boxwood.


11 – Using the staple gun, attach the boxwood panels to the plywood backing.
12 — Hang the wall securely on your chosen location.
13 — Connect the EL wire to the power supply following the manufacturer’s instructions. We purchased a kit that came with the wire and controller.
And now you’re all set! It shows up well in the daylight and it’s so fun to see it light up at night! Our EL wire set has 3 different settings ranging from a steady light to a blinking rave party. A choose-your-own party vibe, if you will!
Project Safety Notes
- Always follow the manufacturer’s instructions for your chosen EL wire. Do not cut or modify the electrical components of the EL wire or LED rope lights unless explicitly stated in the instructions.
- Avoid using these lighting options near water sources or in wet environments.
- Never leave lit lights unattended, especially around flammable materials like faux boxwood panels.
- If your faux boxwood wall and DIY neon sign are going to be exposed to the elements, it’s probably best to remove the battery packs or power source and reattach them when you’re ready to use them.
Project Tips
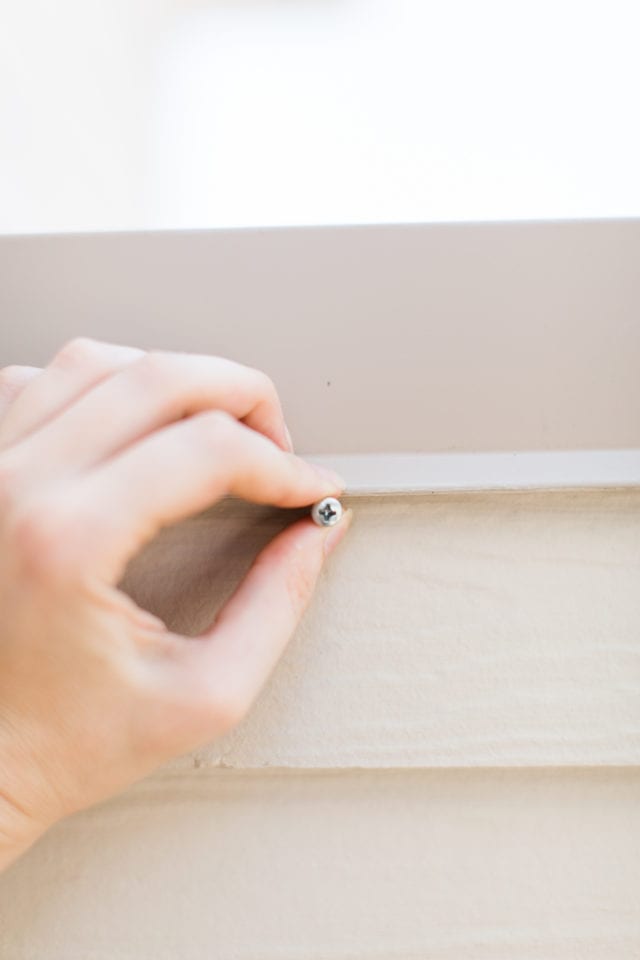
- Can this DIY be temporary?: By attaching the D-ring hangers to the plywood, the installation is easy to take the wall down just like a regular picture hanger. It was important to make sure it was easily removable. We hid the screws under the top ledge of the exterior wall so they’d be less noticeable after removal.
- Freestanding wall: If hanging isn’t an option, you can create a freestanding wall by attaching legs or a frame to the back of the plywood or PVC board.
- Party backdrop: This also makes for a great party decor or photo backdrop for a garden themed party, birthday party, wedding and more!

More Easy Outdoor DIY Projects
For more of our favorite DIY projects, check out a few favorites from the archives —
- 20 Great DIY Plant Stand Ideas That Show Off Your Plants
- How to Get Rid of Flies When Dining Outside
- Vertical Garden Wall Planter
- Colorblock Food Domes
Faux Boxwood Wall with DIY Neon Sign
Equipment
- Needle nose pliers
- Gorilla tape
- Staple gun and staples
Materials
- Pressure treated plywood
- Boxwood panels with green zip ties
- 16-gauge wire
- EL wire in the color of your choice
- Heavy duty wide D-ring hangers
Instructions
- Optional: Create a template guide with an engineering print of your design or sketch your desired design or lettering on paper.
- With your template, start shaping your gauge wire letters: Use pliers to bend the gauge wire to follow the shape of each letter. Once you finish a letter, weigh it down with a heavy bowl or paperweight. This keeps the completed letters in place and prevents the rest of the word from getting tangled as you move on to the next one. Then, bend each word to be as flat as possible.
- Lay the pre-shaped gauge wire phrase on the boxwood panels to plan out its placement.
- Now shape the EL wire using your gauge wire as a template. Start by threading the EL wire from the back to the front of the boxwood. Make sure to leave lots of additional room for the EL wire controller to hang behind the boxwood panel and still be within reach.
- Carefully mold the EL wire to the gauge wire template, applying E6000 glue as you go.
- Use twist ties for temporary holding while the E6000 glue dries (24-72 hours).
- After about 2 hours, remove the twist ties. For the bigger letter bends, you can leave the ties on for a bit longer to allow more time for the glue to set.
- Using green zip ties, loosely secure the DIY neon sign to the boxwood panel. It is important to LOOSELY attach the zip ties. Zip ties can potentially damage the delicate EL wire if pulled too forcefully. Also, if sign is secured too tightly, the words will start to get lost in the leaves.
- Conceal excess EL wire with gorilla tape so that it does not shine through the front. Do the same with the wires that are sticking through the back between each word.
- Prepare the backing for your faux boxwood wall and attach the hanging hardware according to the manufacturer’s instructions.
- Assemble the faux boxwood panels.
- Using the staple gun, attach the boxwood panels to the plywood backing.
- Hang the wall securely on your chosen location.
- Connect the EL wire to the power supply following the manufacturer’s instructions.
Notes
- Please refer to the tutorial post for detailed notes and explanations.
- The cost of the project is dependent on your desired wall size.

Tiled Backyard Patio Before & After
Patio before and after inspiration! See how we transformed a…
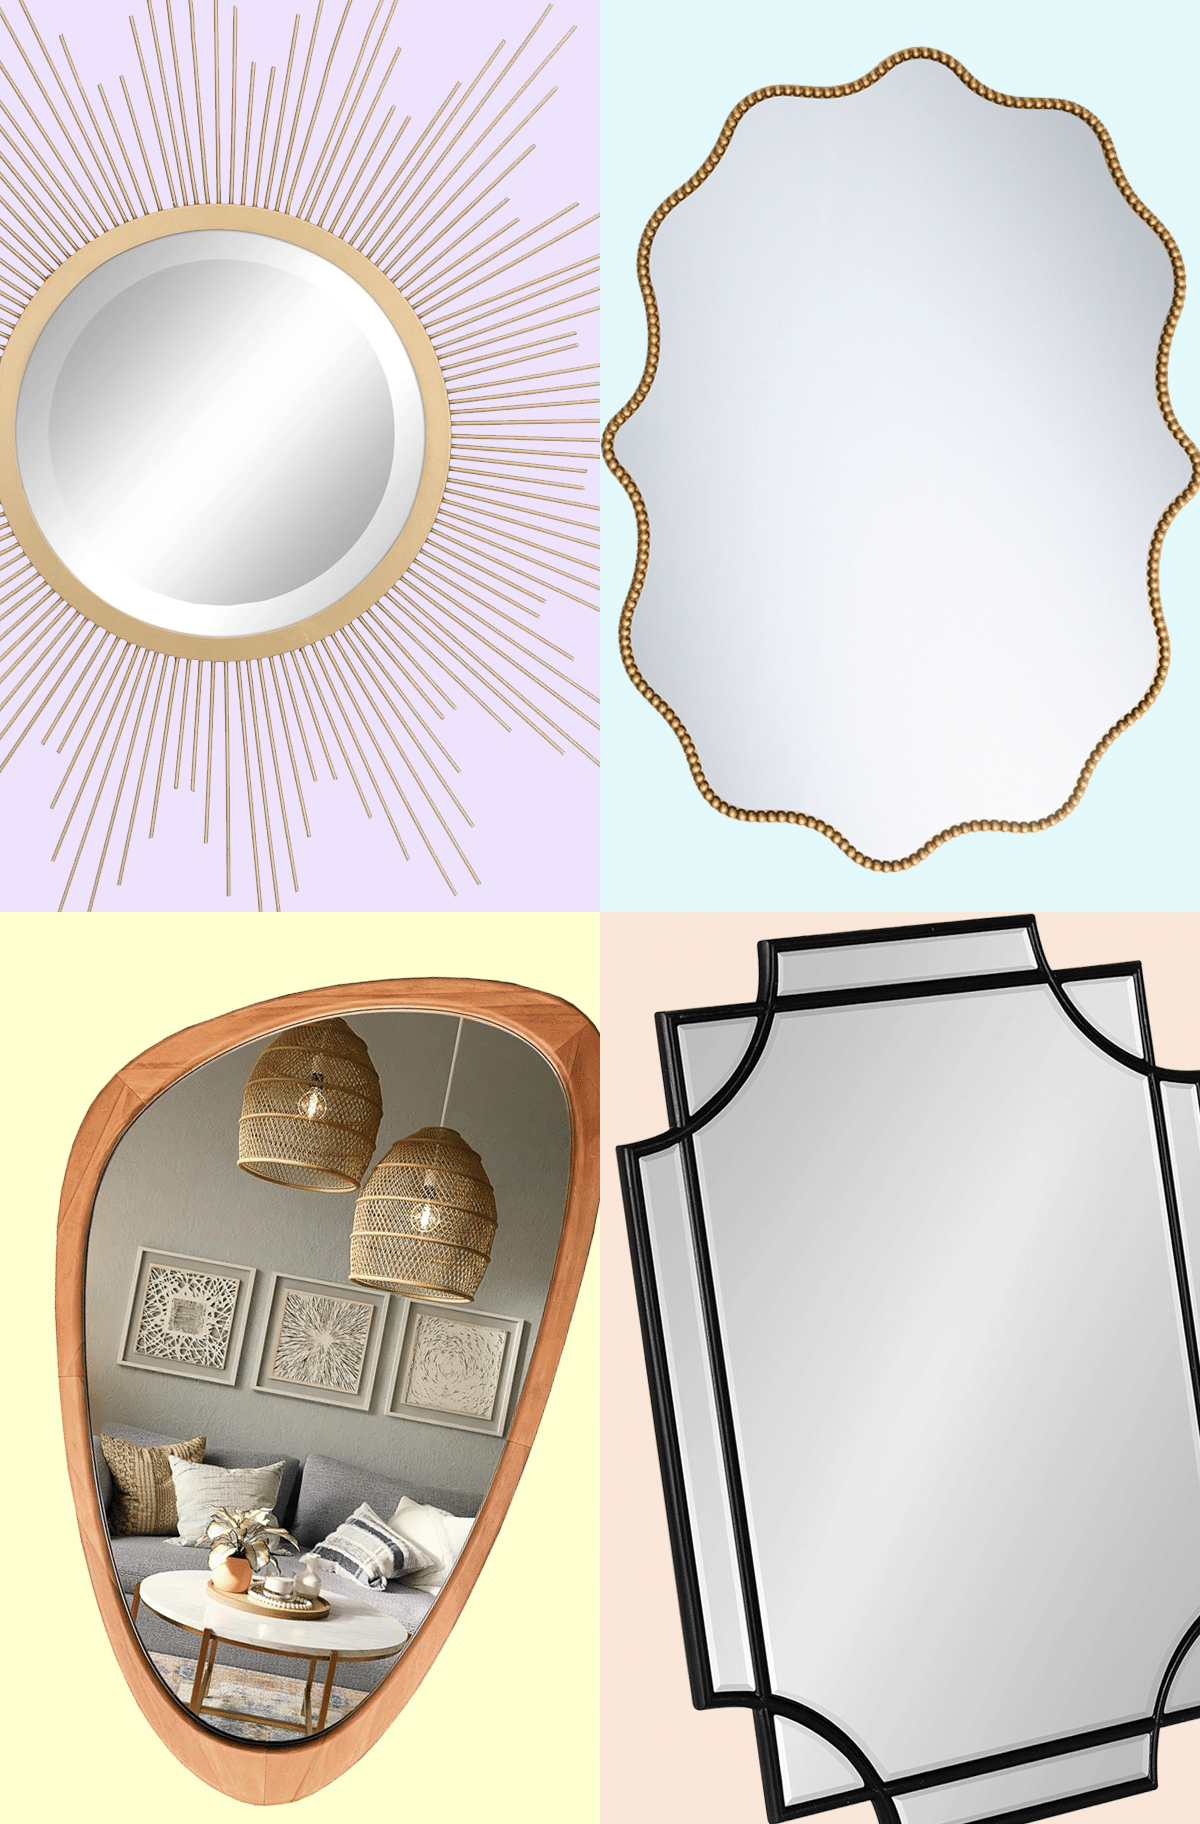
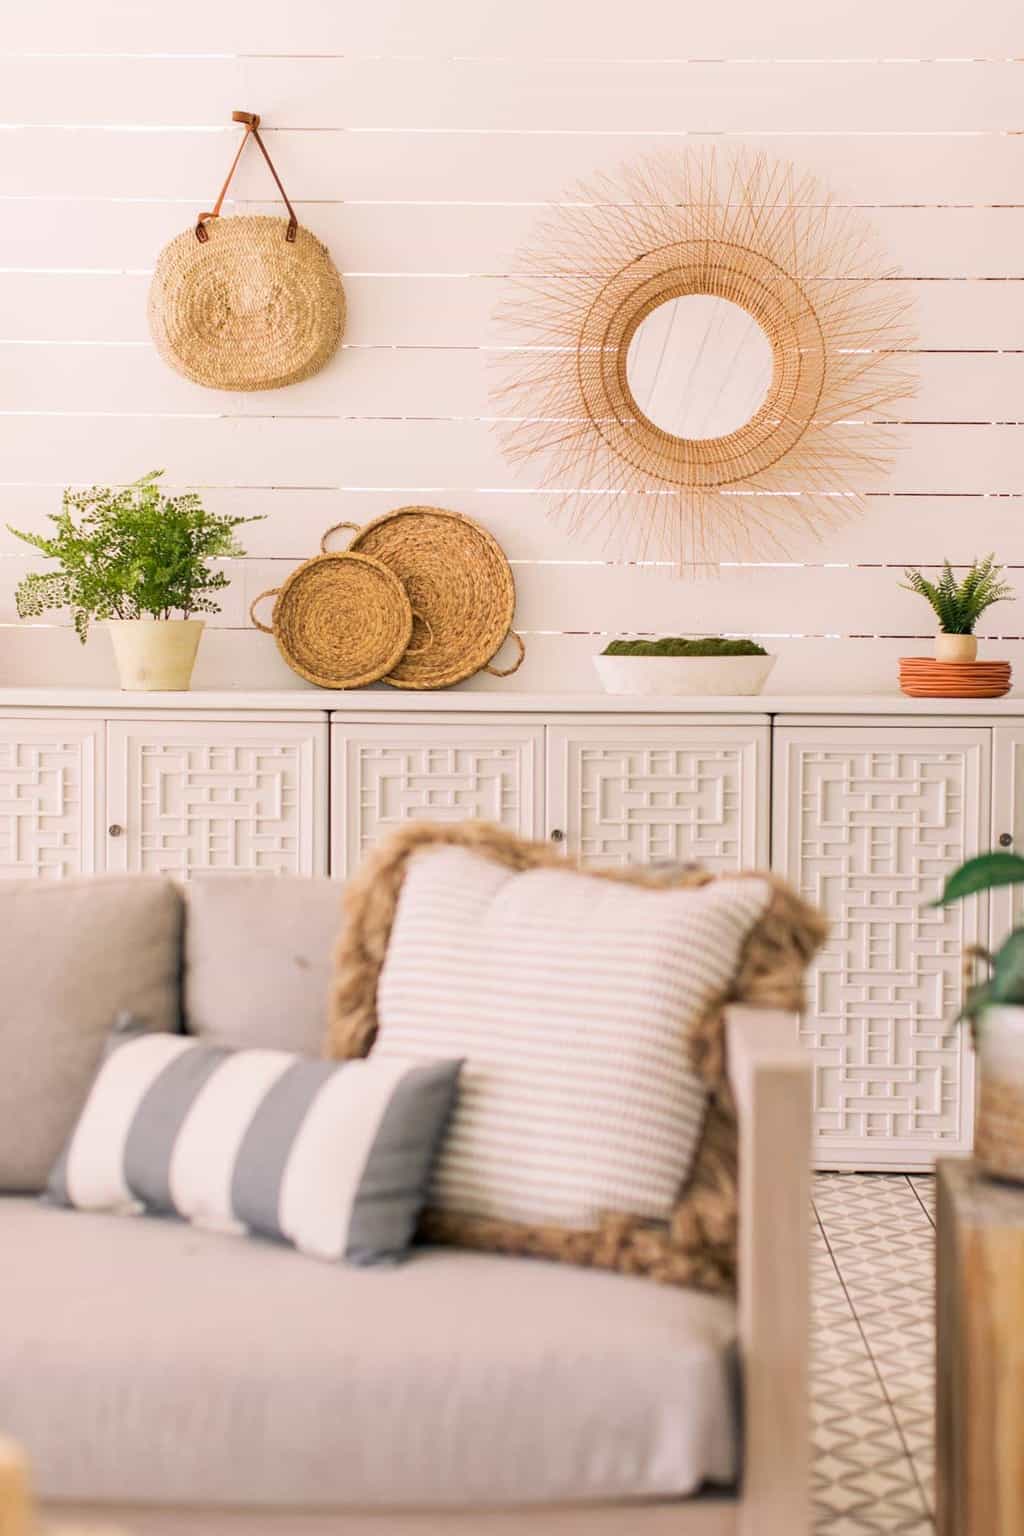
28 Decorative Wall Mirrors You’ll Wish You Bought Sooner
Looking for the perfect wall mirror? Explore our roundup of…
Continue Reading 28 Decorative Wall Mirrors You’ll Wish You Bought Sooner
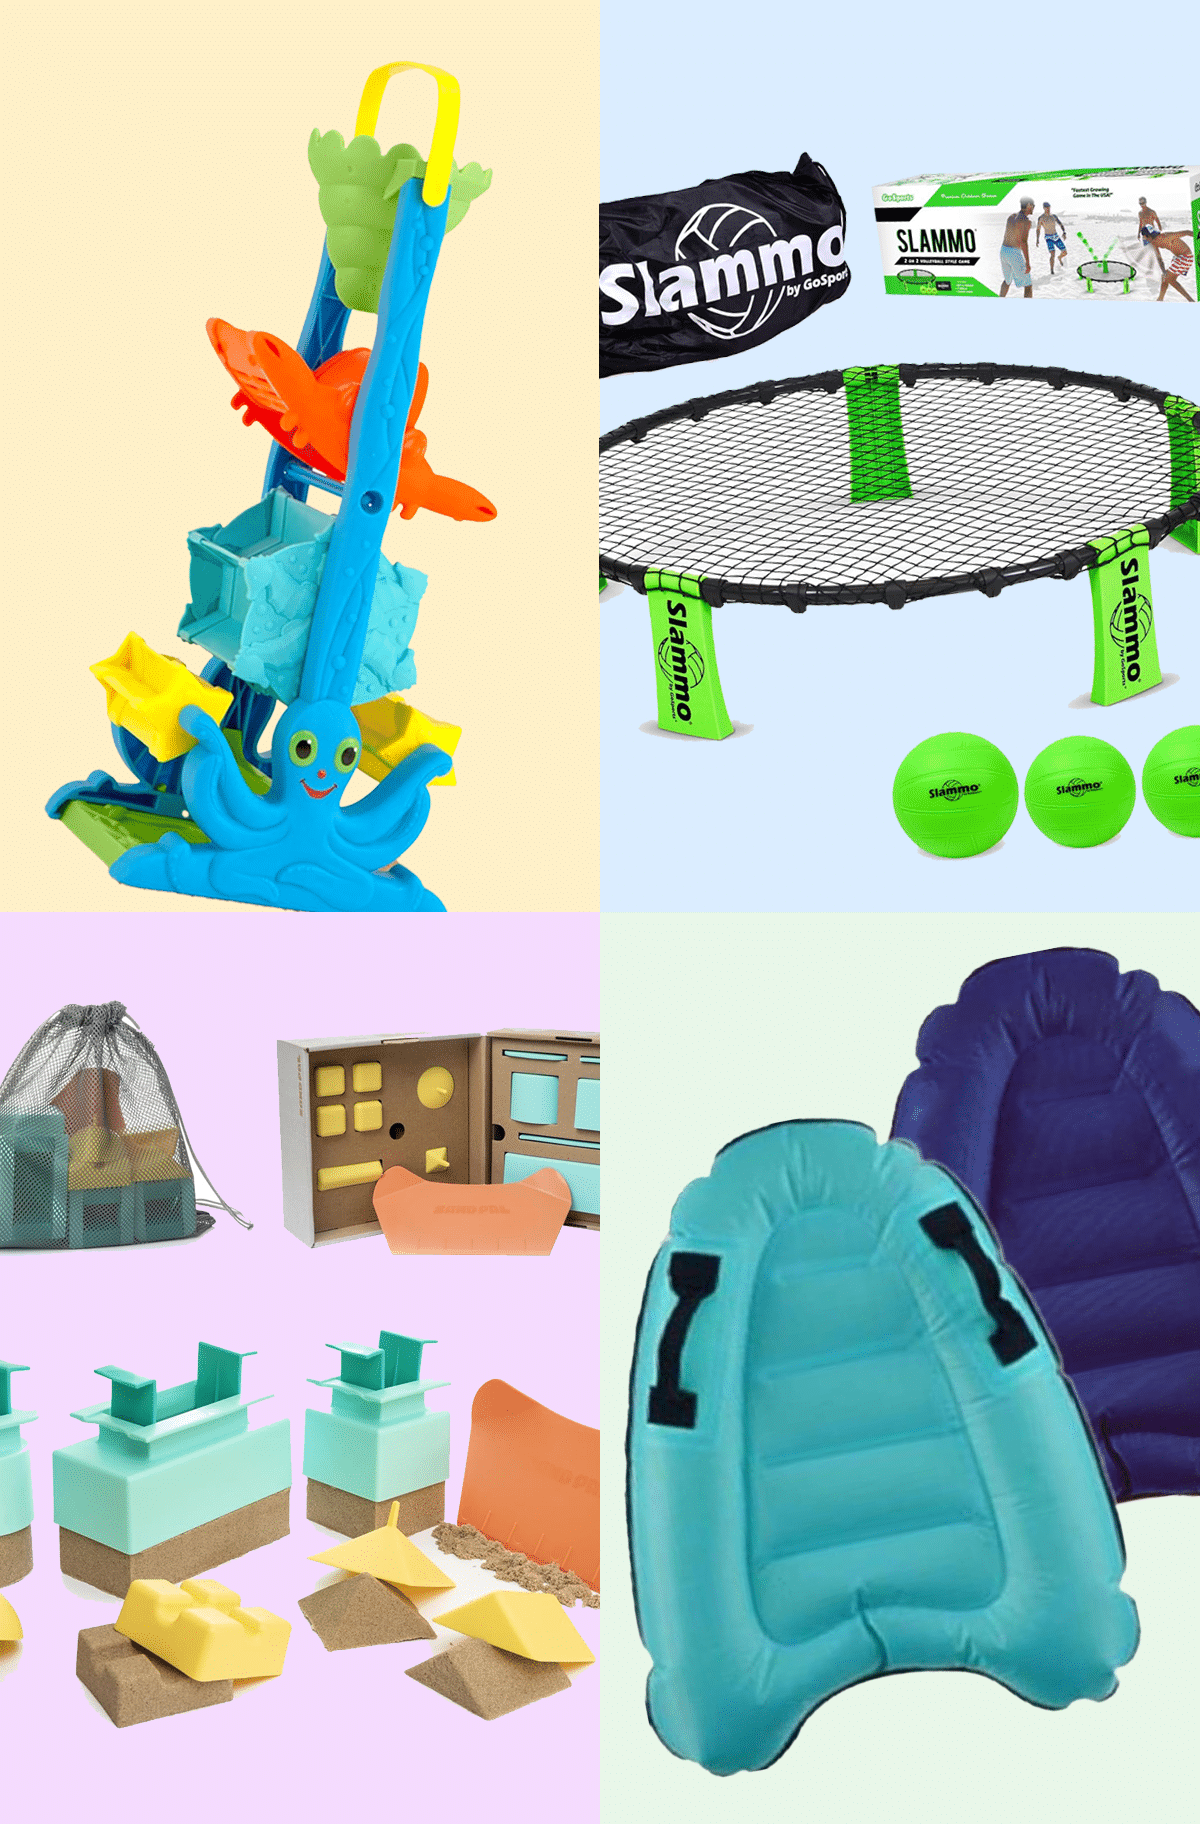
38 Best Beach Toys for Vacation Fun
Discover the best beach toys for kids, toddlers, and families…
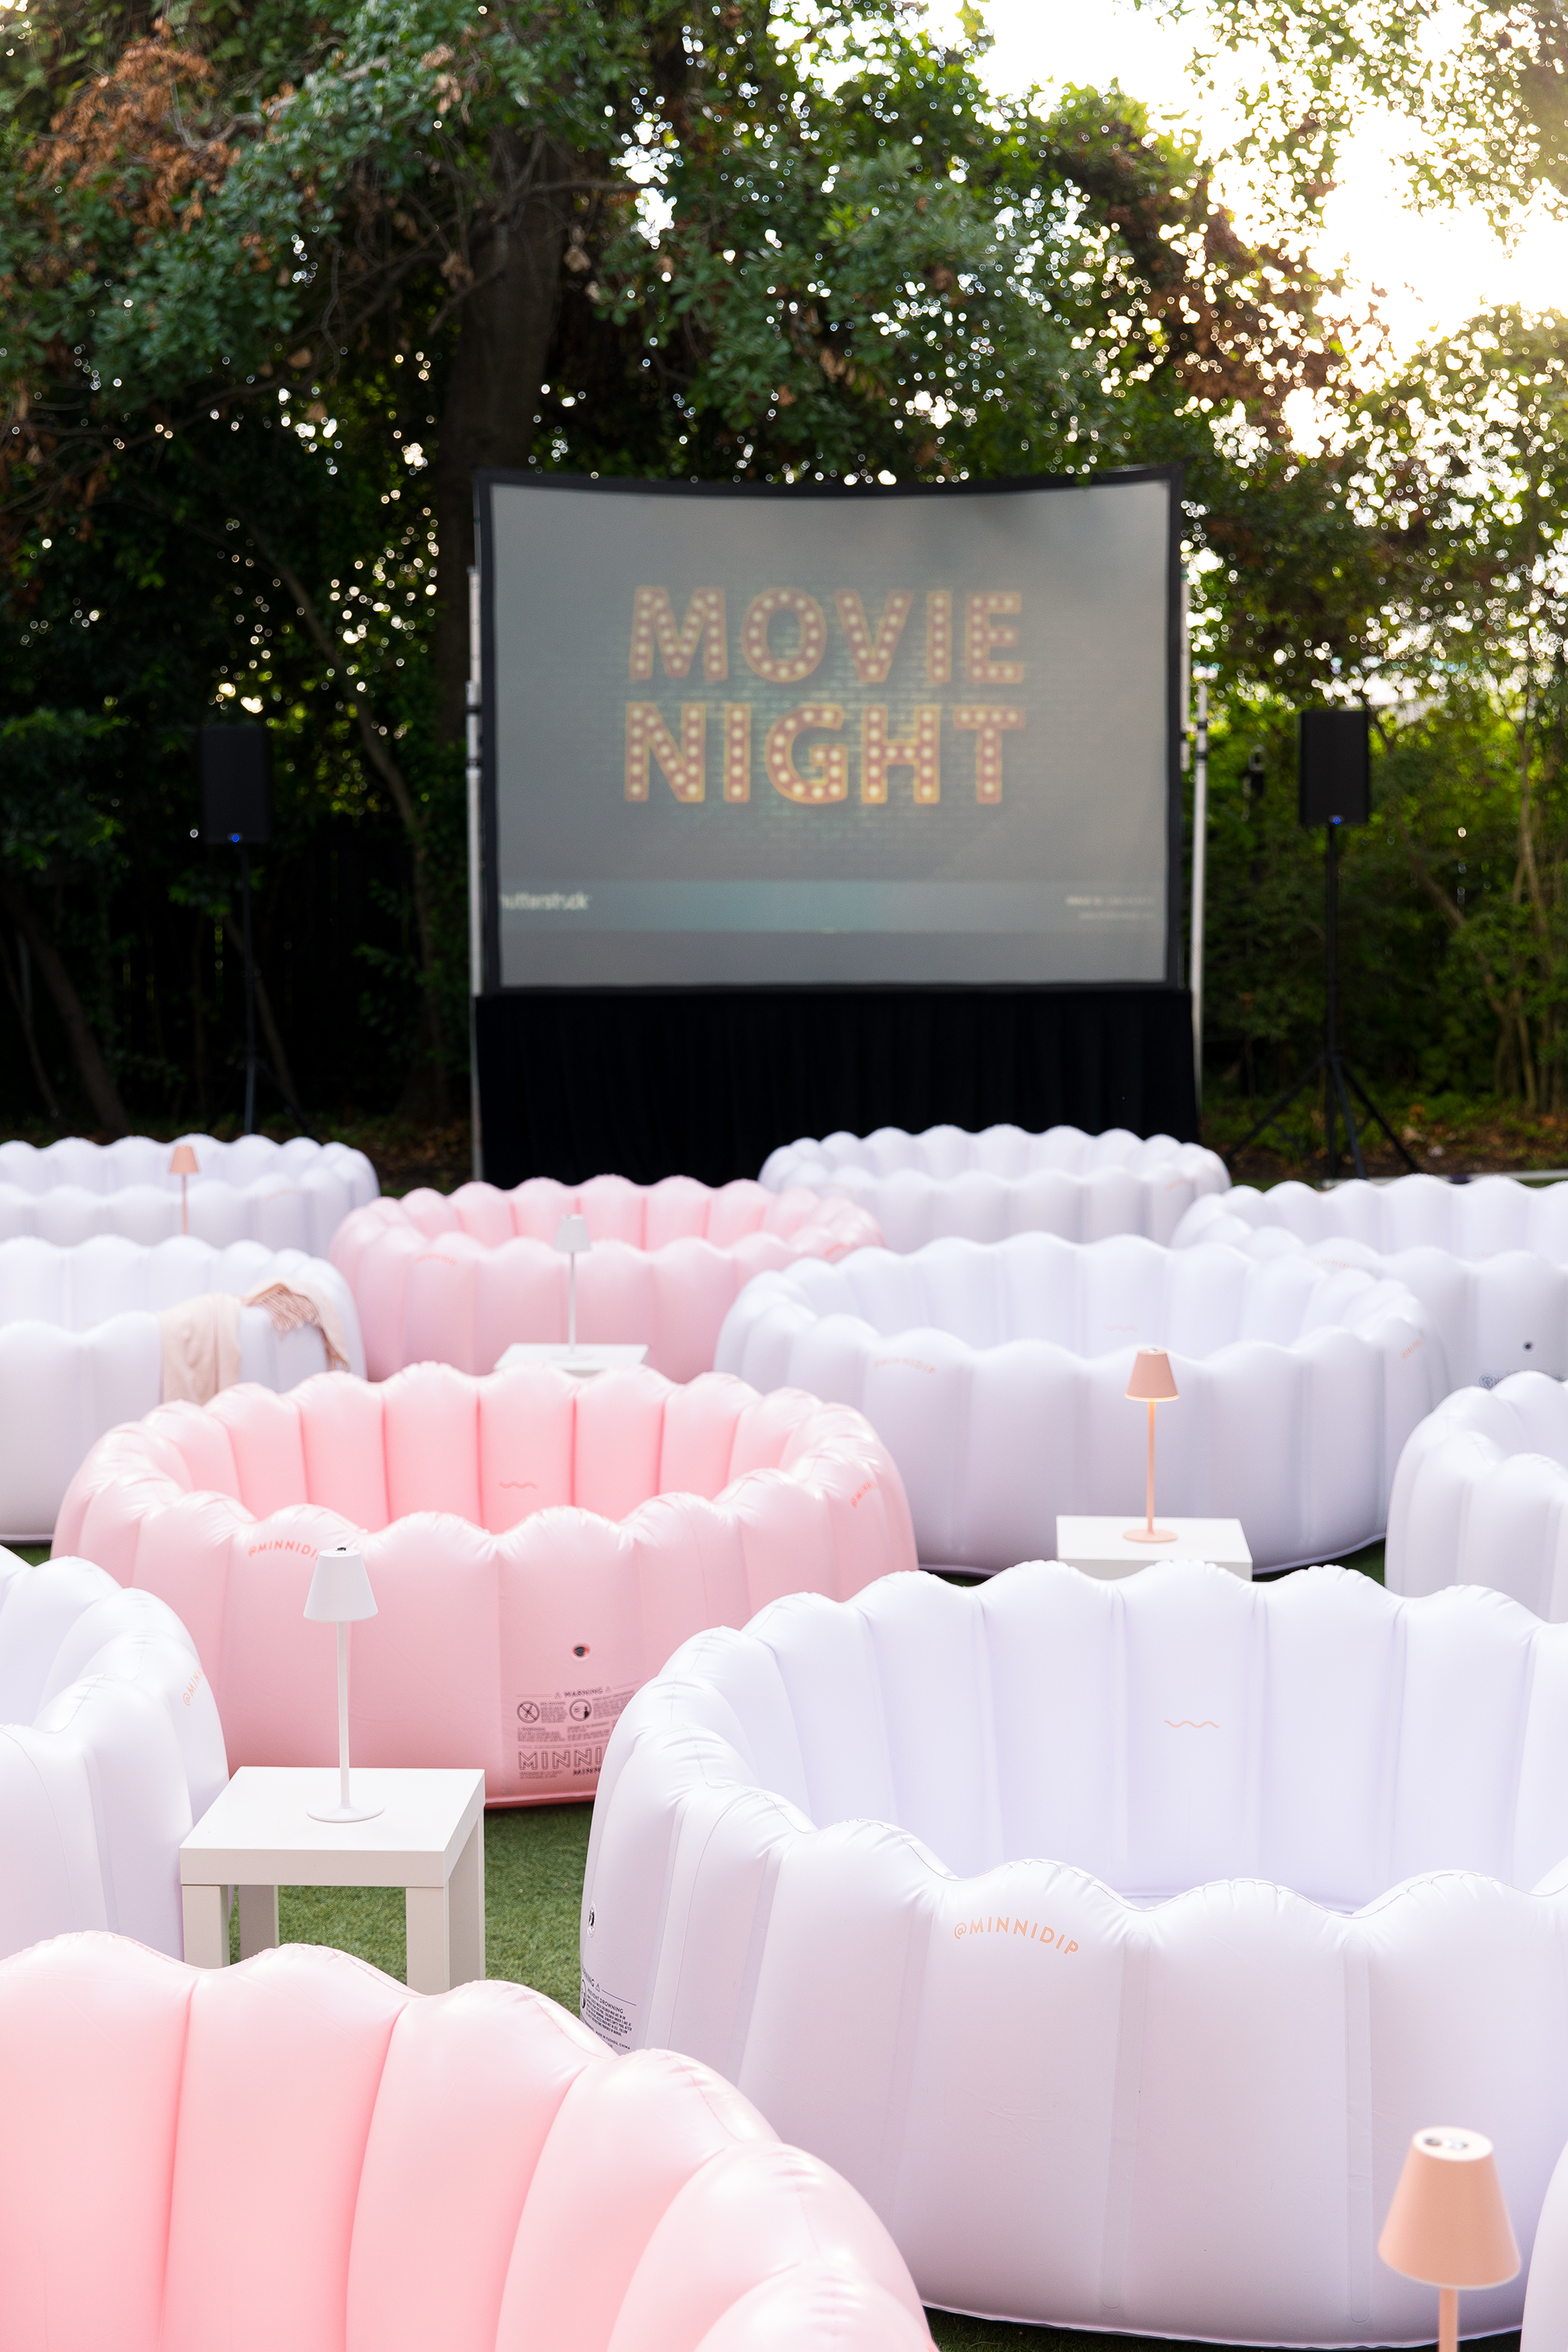
Your Guide to Hosting the Perfect Outdoor Movie Night
From DIY projectors to cozy seating arrangements, explore the best…
Continue Reading Your Guide to Hosting the Perfect Outdoor Movie Night
Please note that we may earn a commission for some of the above affiliate links. However, products featured are independently selected and personally well-loved by us!
Thank you! XOXO
Hi! Love love love this DIY and trying asap :)
I know you linked the EL wire you used but I wanted to confirm-did you only use 16 ft or did you use multiple packs to make the sign?
Hi! We used the 16-feet! That should be enough… However, we did buy an extra one just in case. Thankfully, Amazon has a good return policy.
Love this, and I’m going to attempt for my cousin’s sweet 16 next month! How long was the el wire you purchased for this?
Hi Marvel! How cool! Please share the photos of when you’re done. We linked the exact El Wire that we used in the blog post. It’s from Amazon and 16-ft!
wow!!! I would love to see how it looks at night!
That actually would’ve been a great photo to take and show everyone!
Sorry, but what does it say? I can’t read the last word.
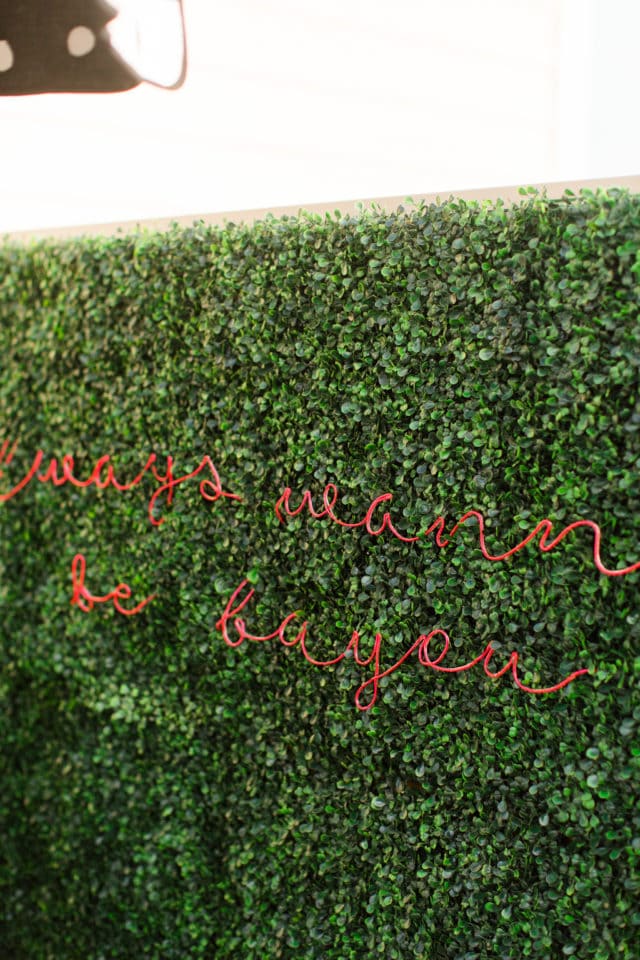
Hi Colleen, it says “Always Wanna Be Bayou”!
This is probably my favorite DIY you’ve ever posted! Thank you for sharing! I am absolutely going to try this one. What a GREAT idea!! <3
Thank you so much Nicki! Can’t wait to see how it turns out!