Give It A Twist: Gift Your DIY with Kate Spade!
The only thing better than getting to gift your DIY with kate spade new york, is getting an extra bag to keep for yourself, too. Or maybe that’s just me. Either way, I’m really excited to show you how to DIY your favorite kate spade pieces with their new personalization shop!
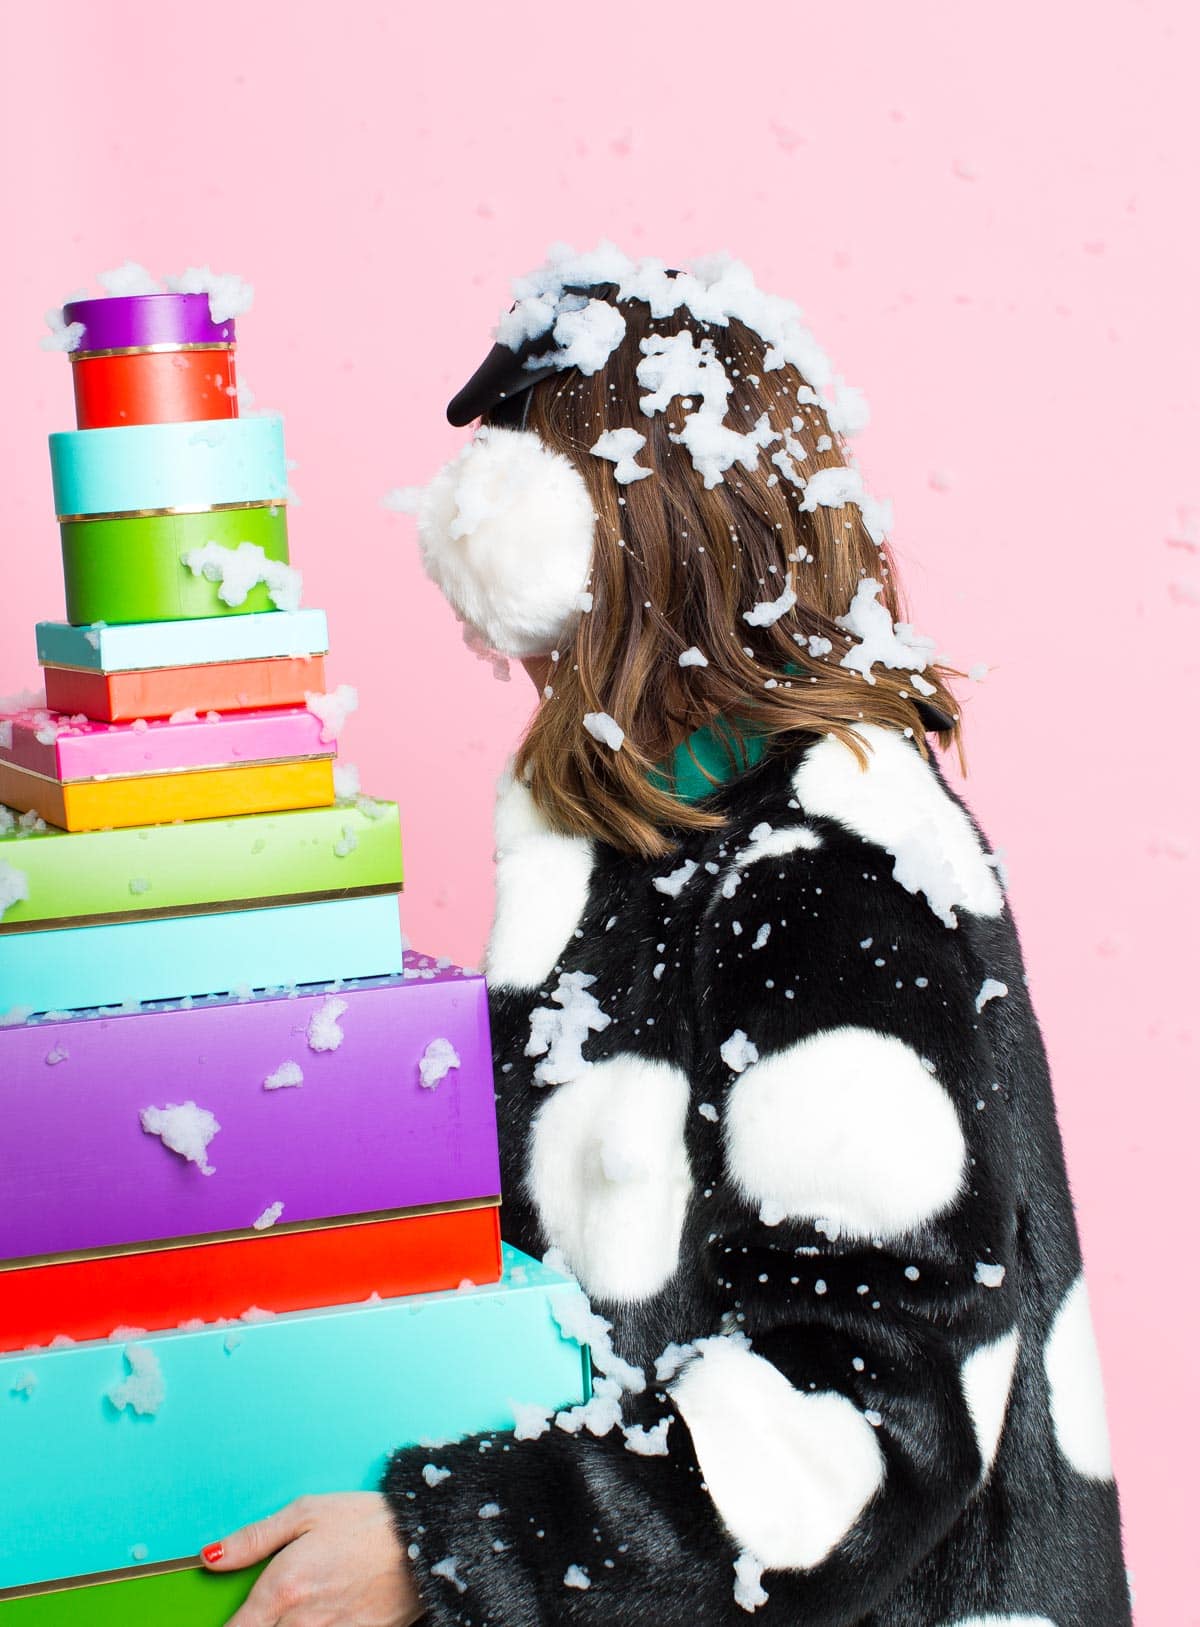
It was basically like getting asked out for cake by the hottest guy in school when they reached out about collaborating. Can you say- “mega girl crush”?! Plus we recently bought a fake snow machine for the studio, and no one around here was going to turn down a good reason to bust it out. A giant arm full of gift boxes was just asking for a little snow, don’t you think?
As for the DIY’ing, there are basically three ways to give your bag a twist— you can mix and max with tassels and straps, charms, and even spice things up with phrases and stickers. Or, bonus points if you do all the above! The hardest part is just deciding what bag to start with…
In the process of picking out goodies at our Houston flagship store, I decided that there are two kinds of kate spade new york shoppers. There are people that choose items like this…
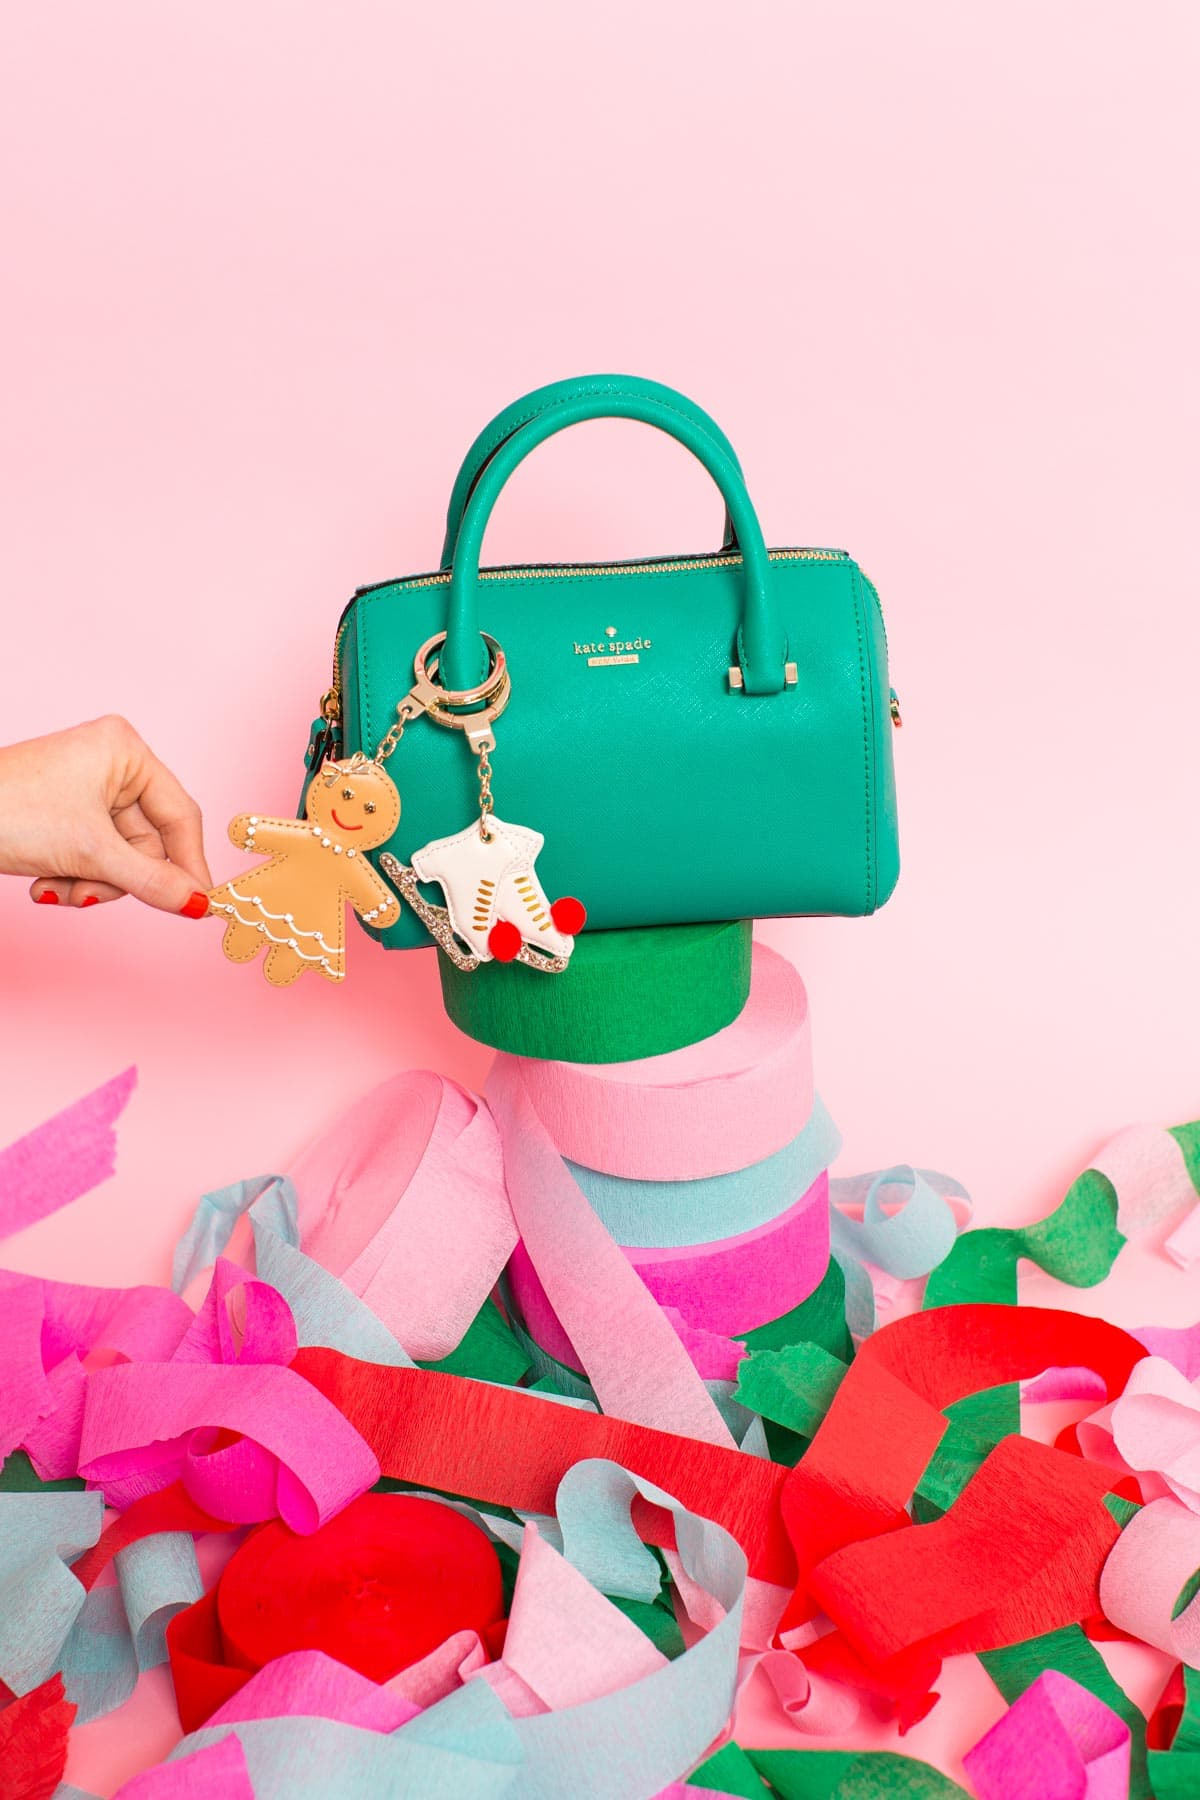
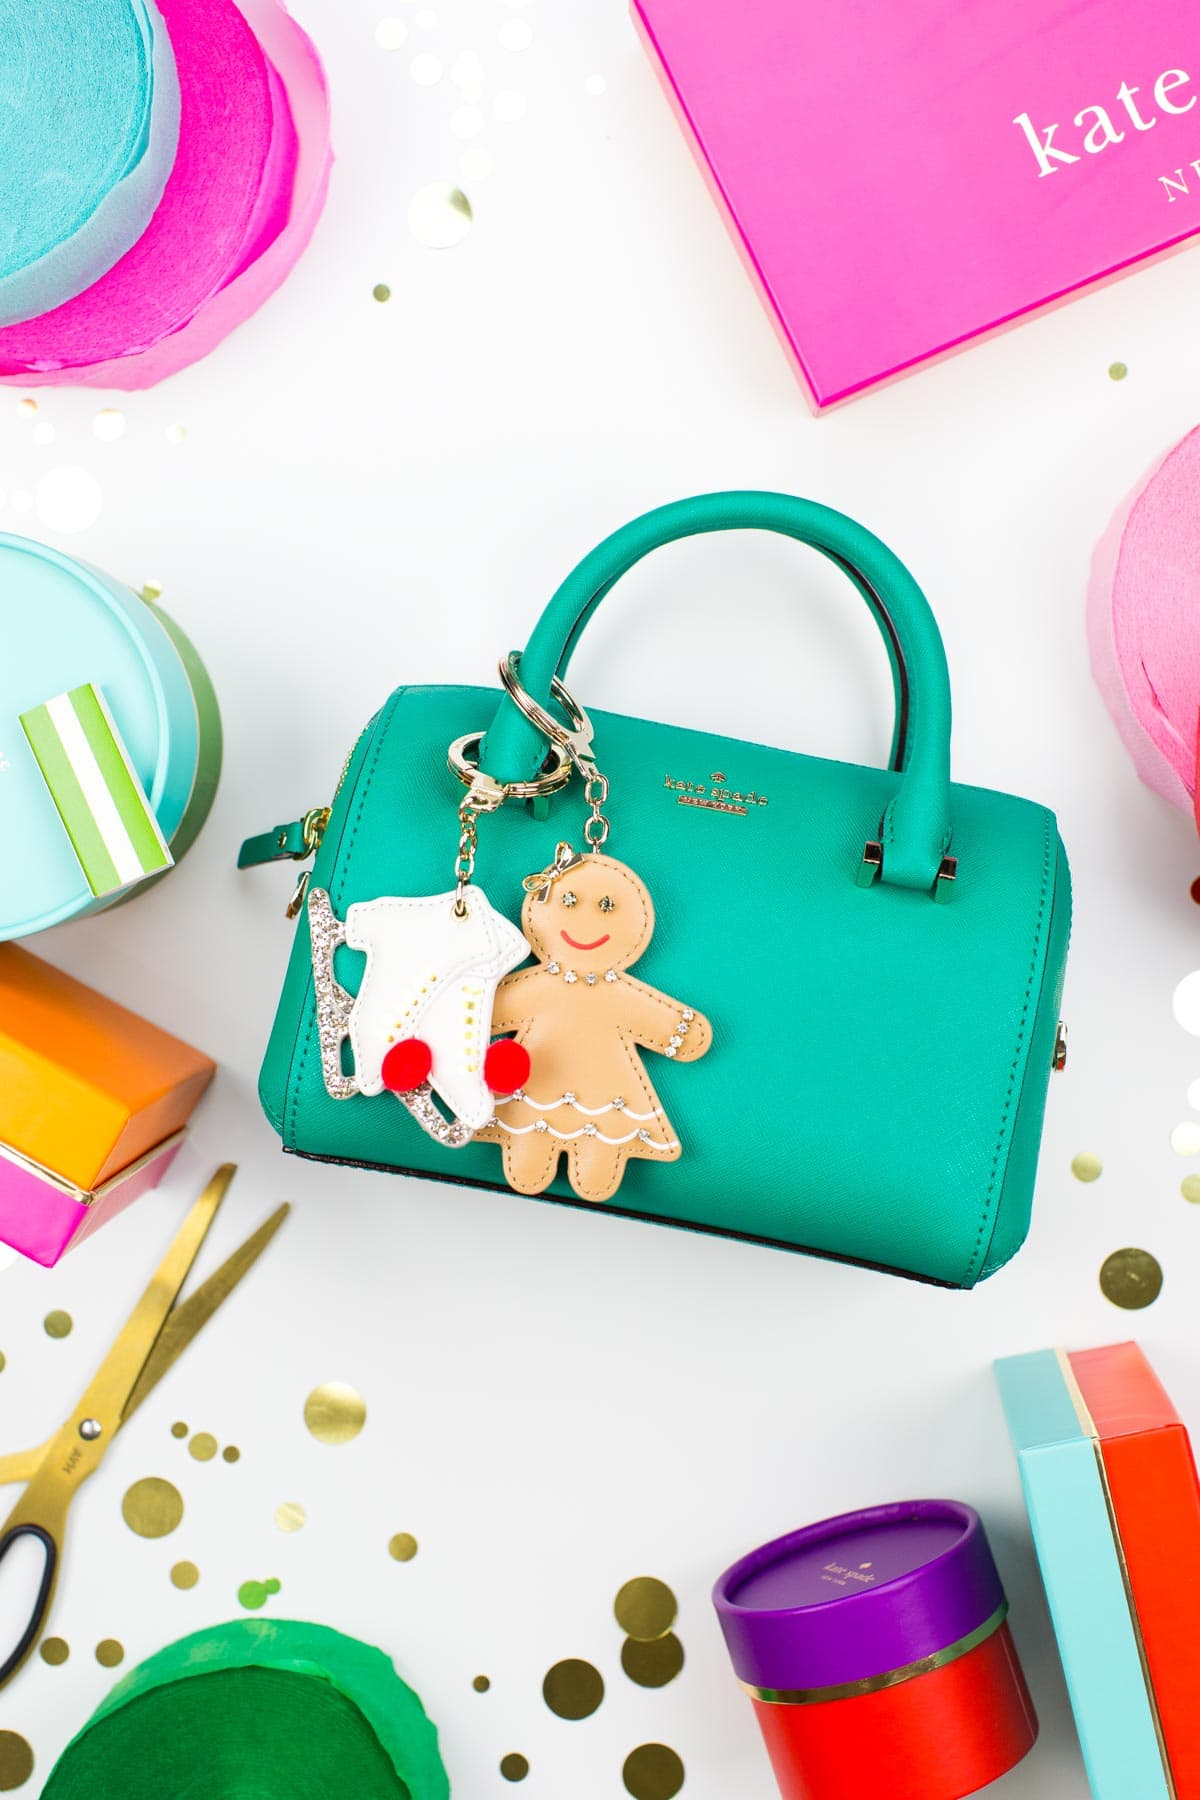
And then there are people like me. Pictured below. What can I say? I know what I like…and I like it all. Though I went home with literally a truck load of pretty things, we’ll start with the charms.
I’m not really one to buy super holiday specific items. Basically I like to keep my options open year-round, and charms are the perfect balance for being the right amount of festive on any occasion.
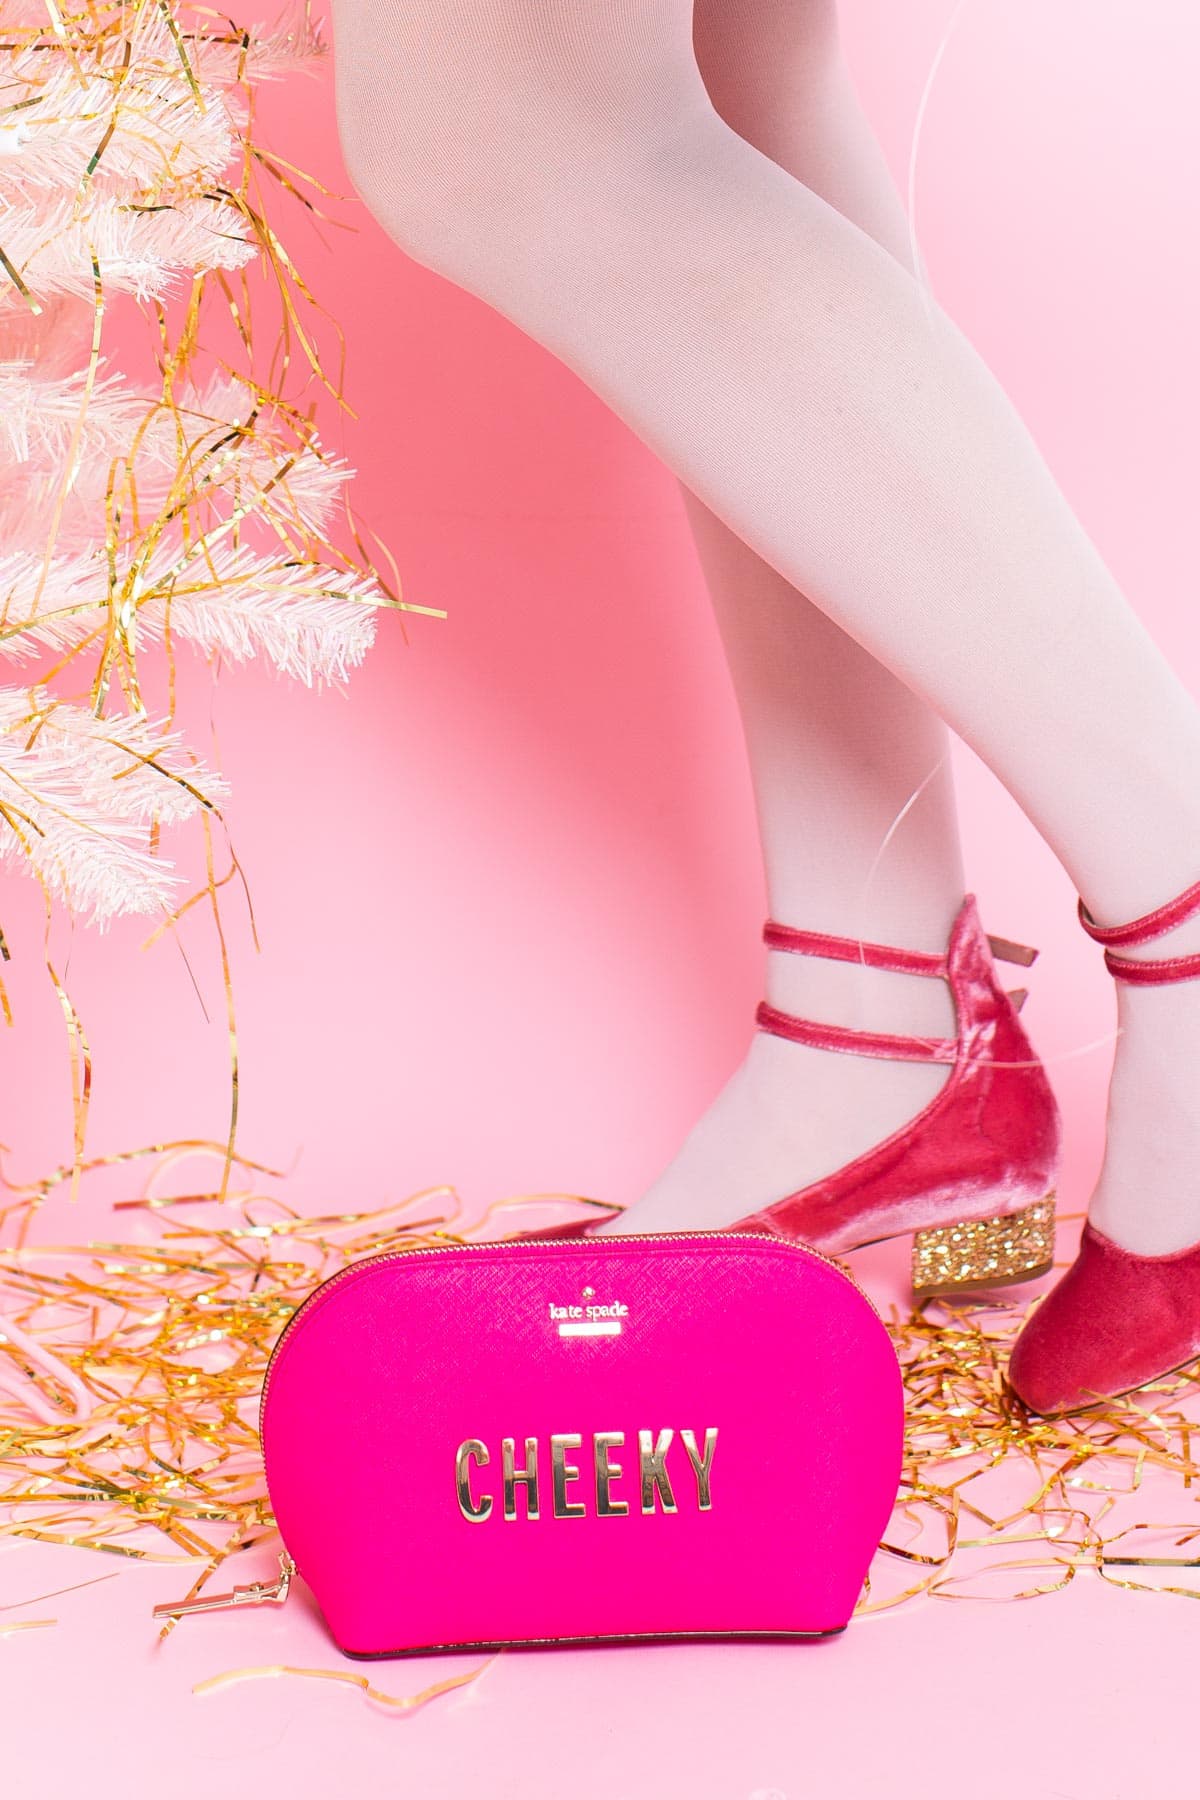
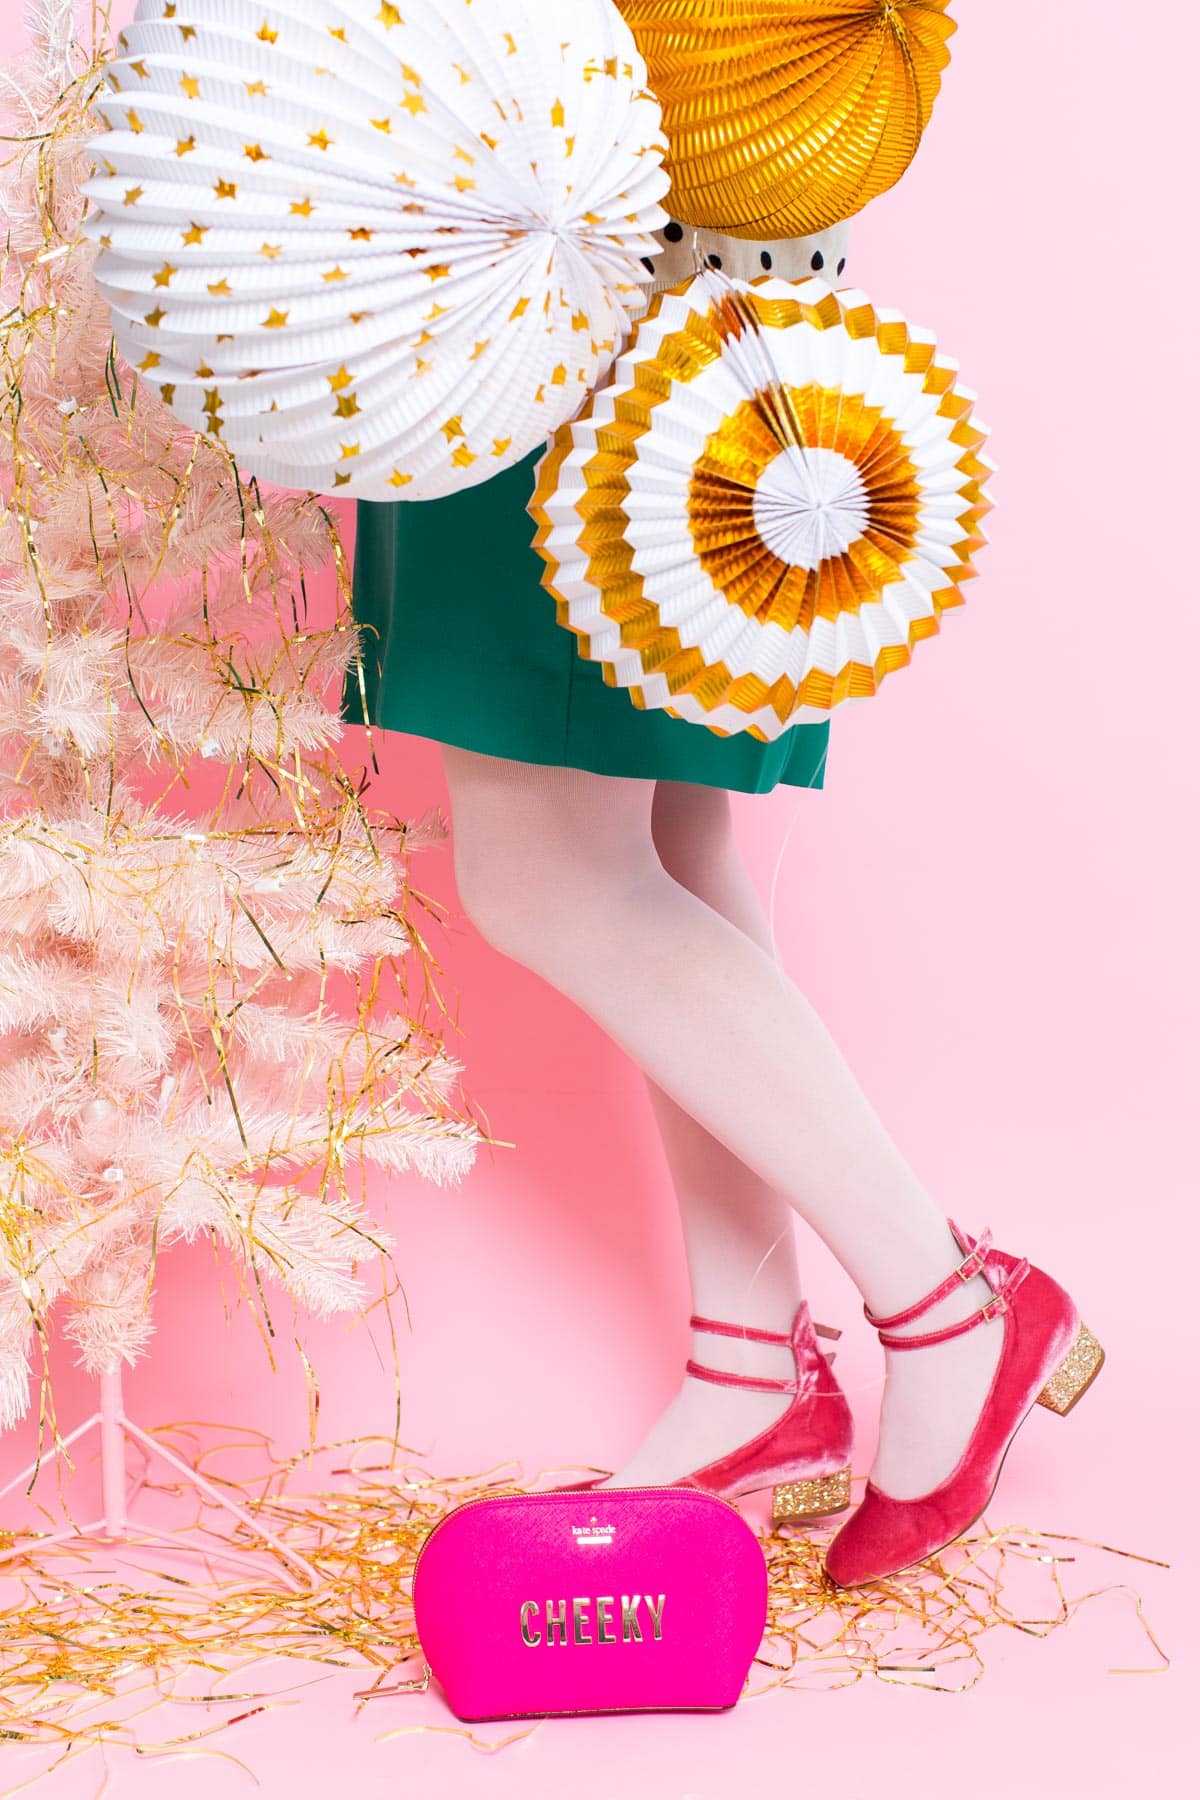
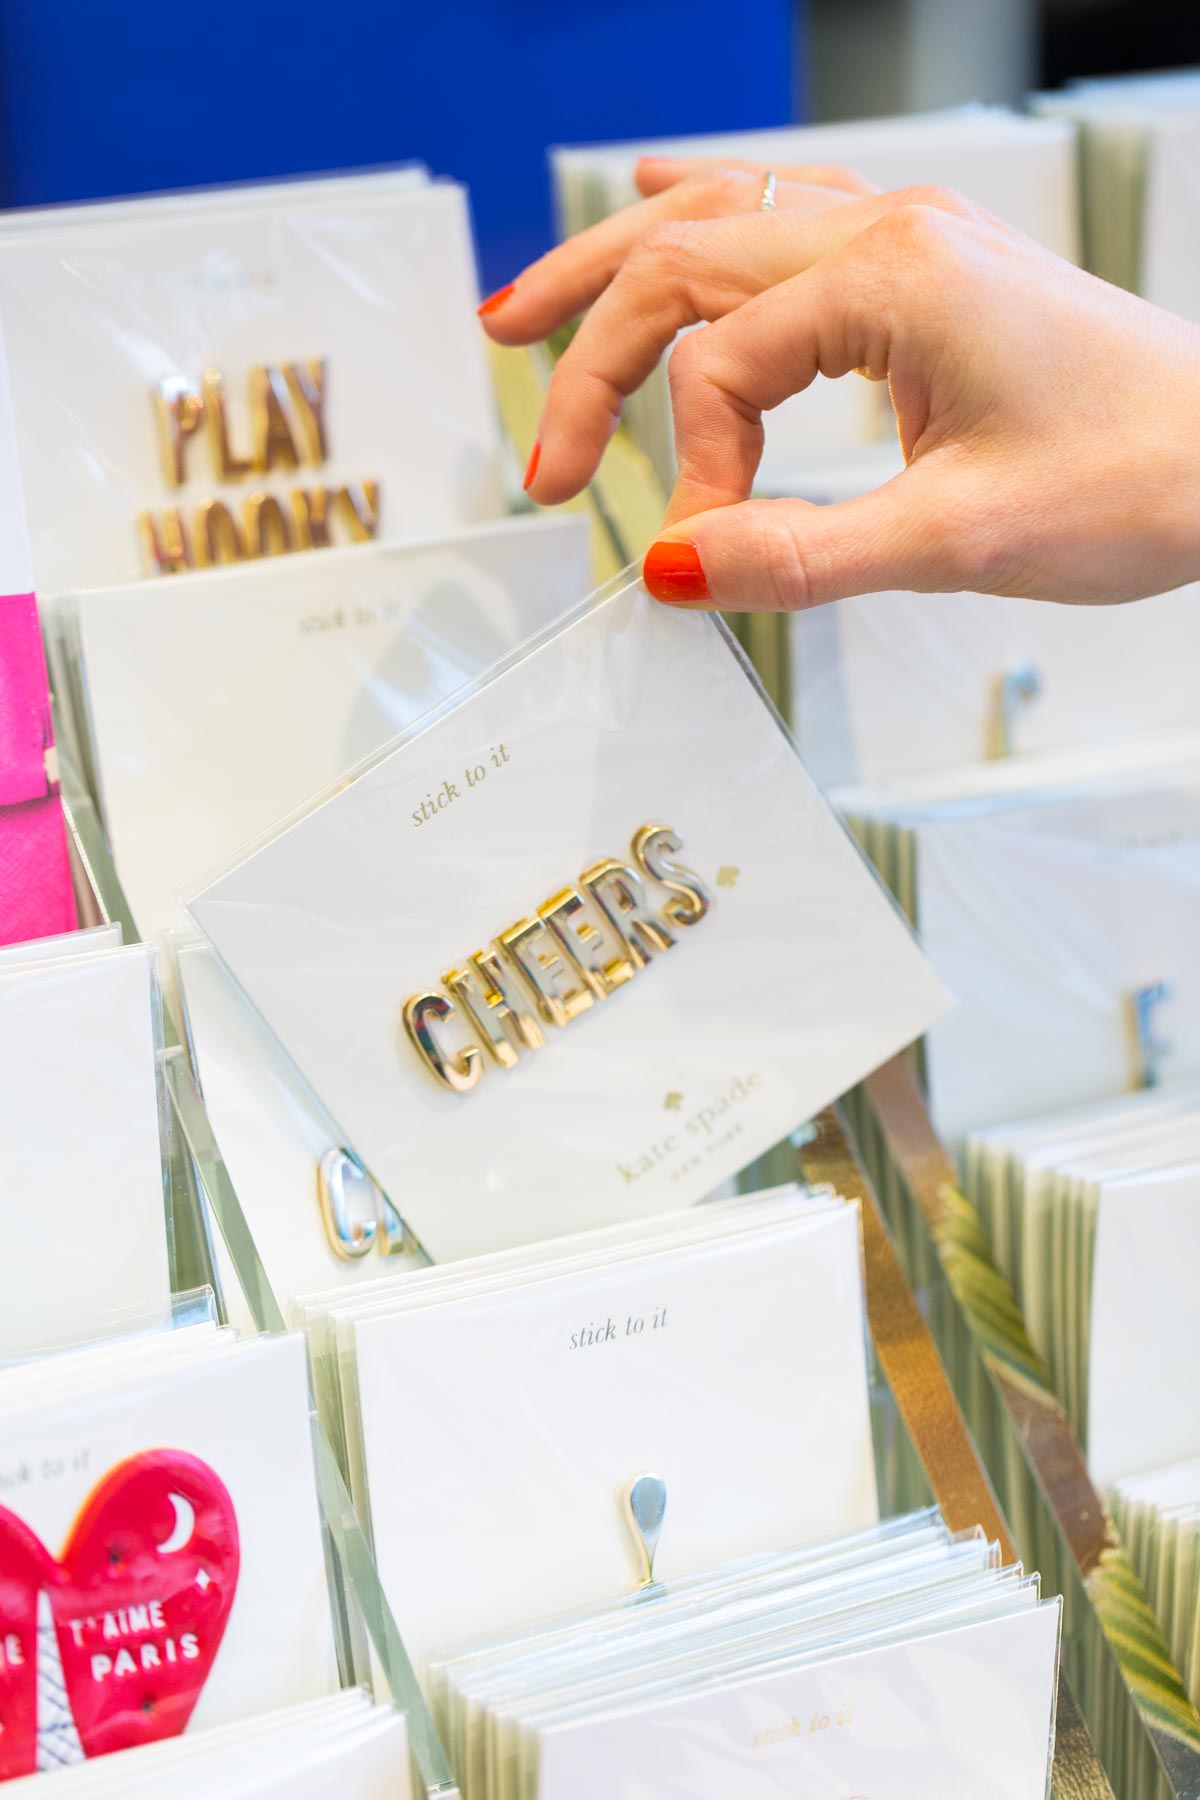
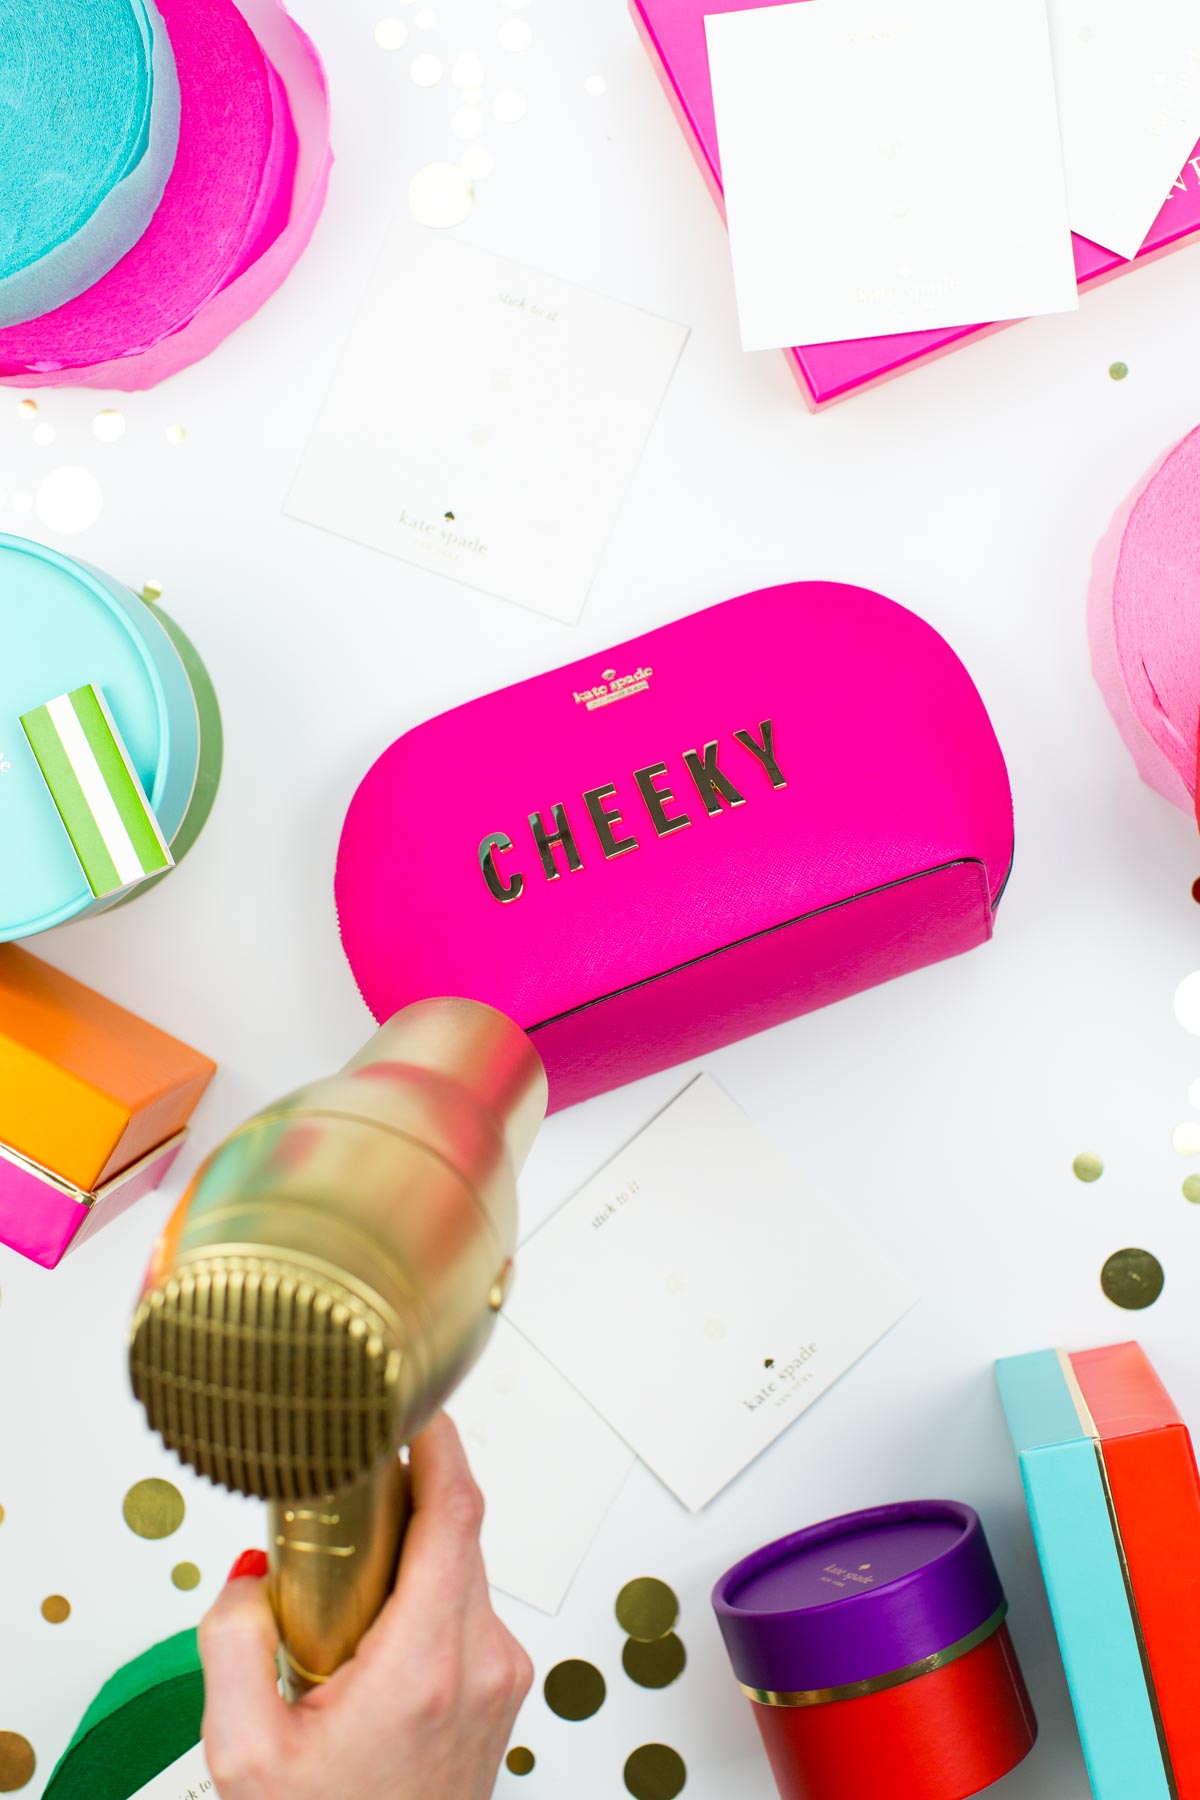
Next up are the letters. Whether it’s a monogram for your bestie, a “Mrs.” for your most recent wedding celebration, or a “cheeky” pouch for holding your unmentionables, it’s safe to say I’m obsessed with these metal gold letters. I secretly want to get the whole alphabet just to use for every day DIY’s, but don’t tell.
The trick to these is a nice flat surface (preferably colorful!), and a blow dryer. All you have to do is peel the sticker backing off, place them, and use the blow dryer on them for 10-20 seconds.
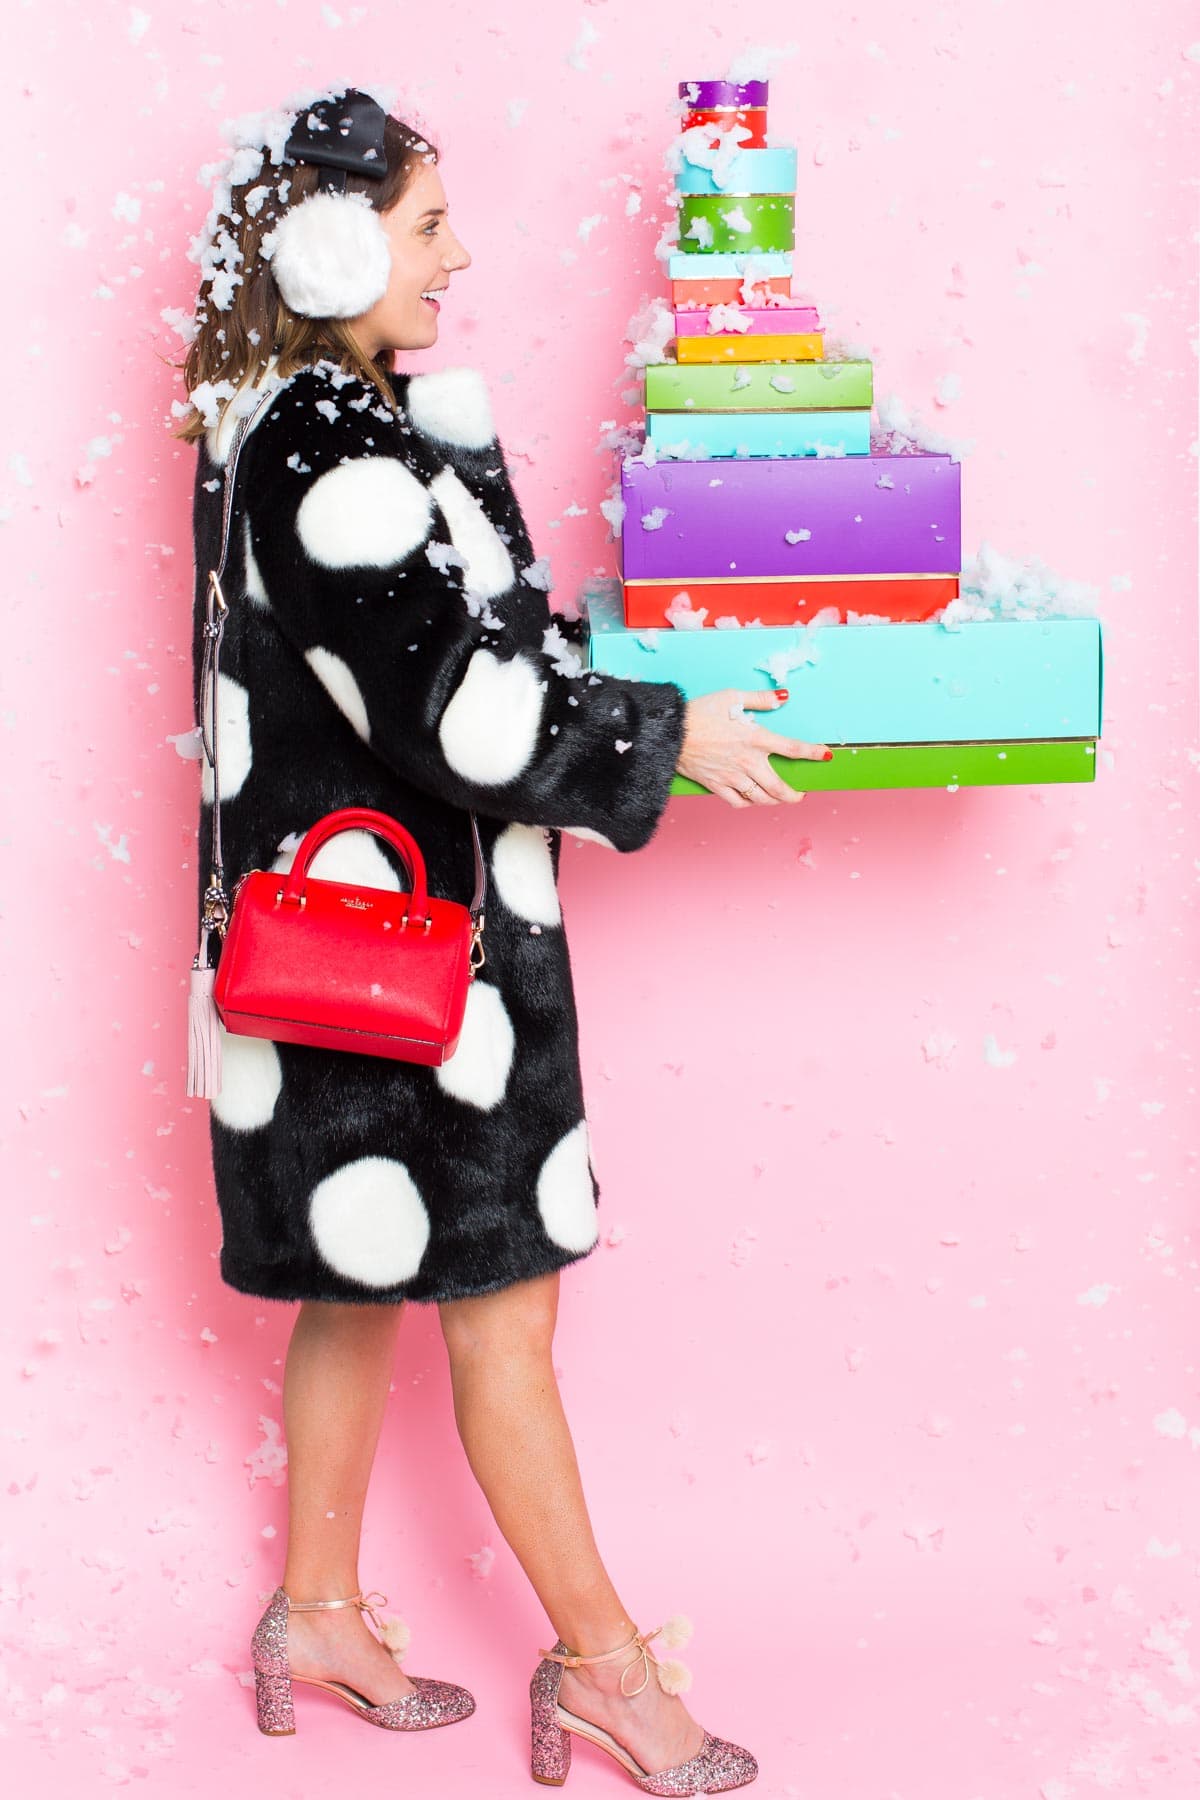
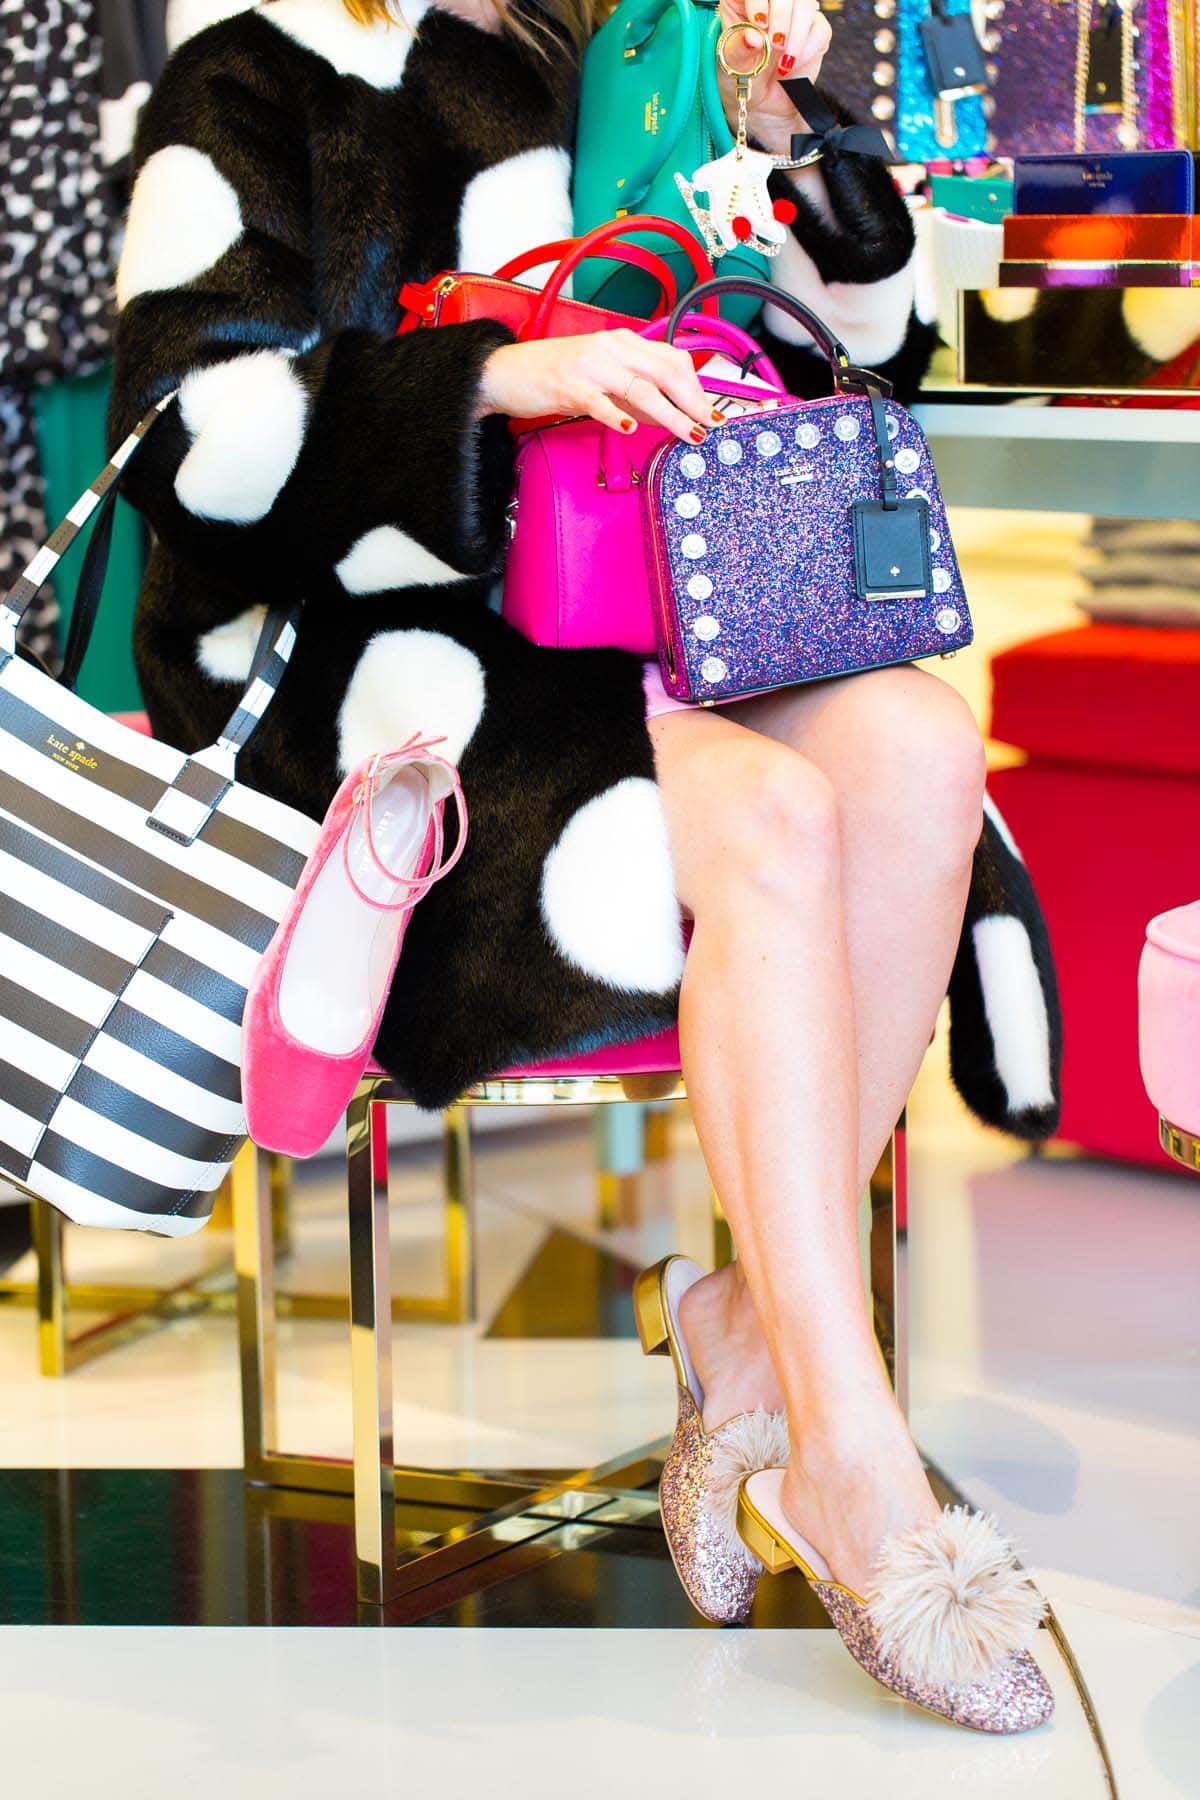
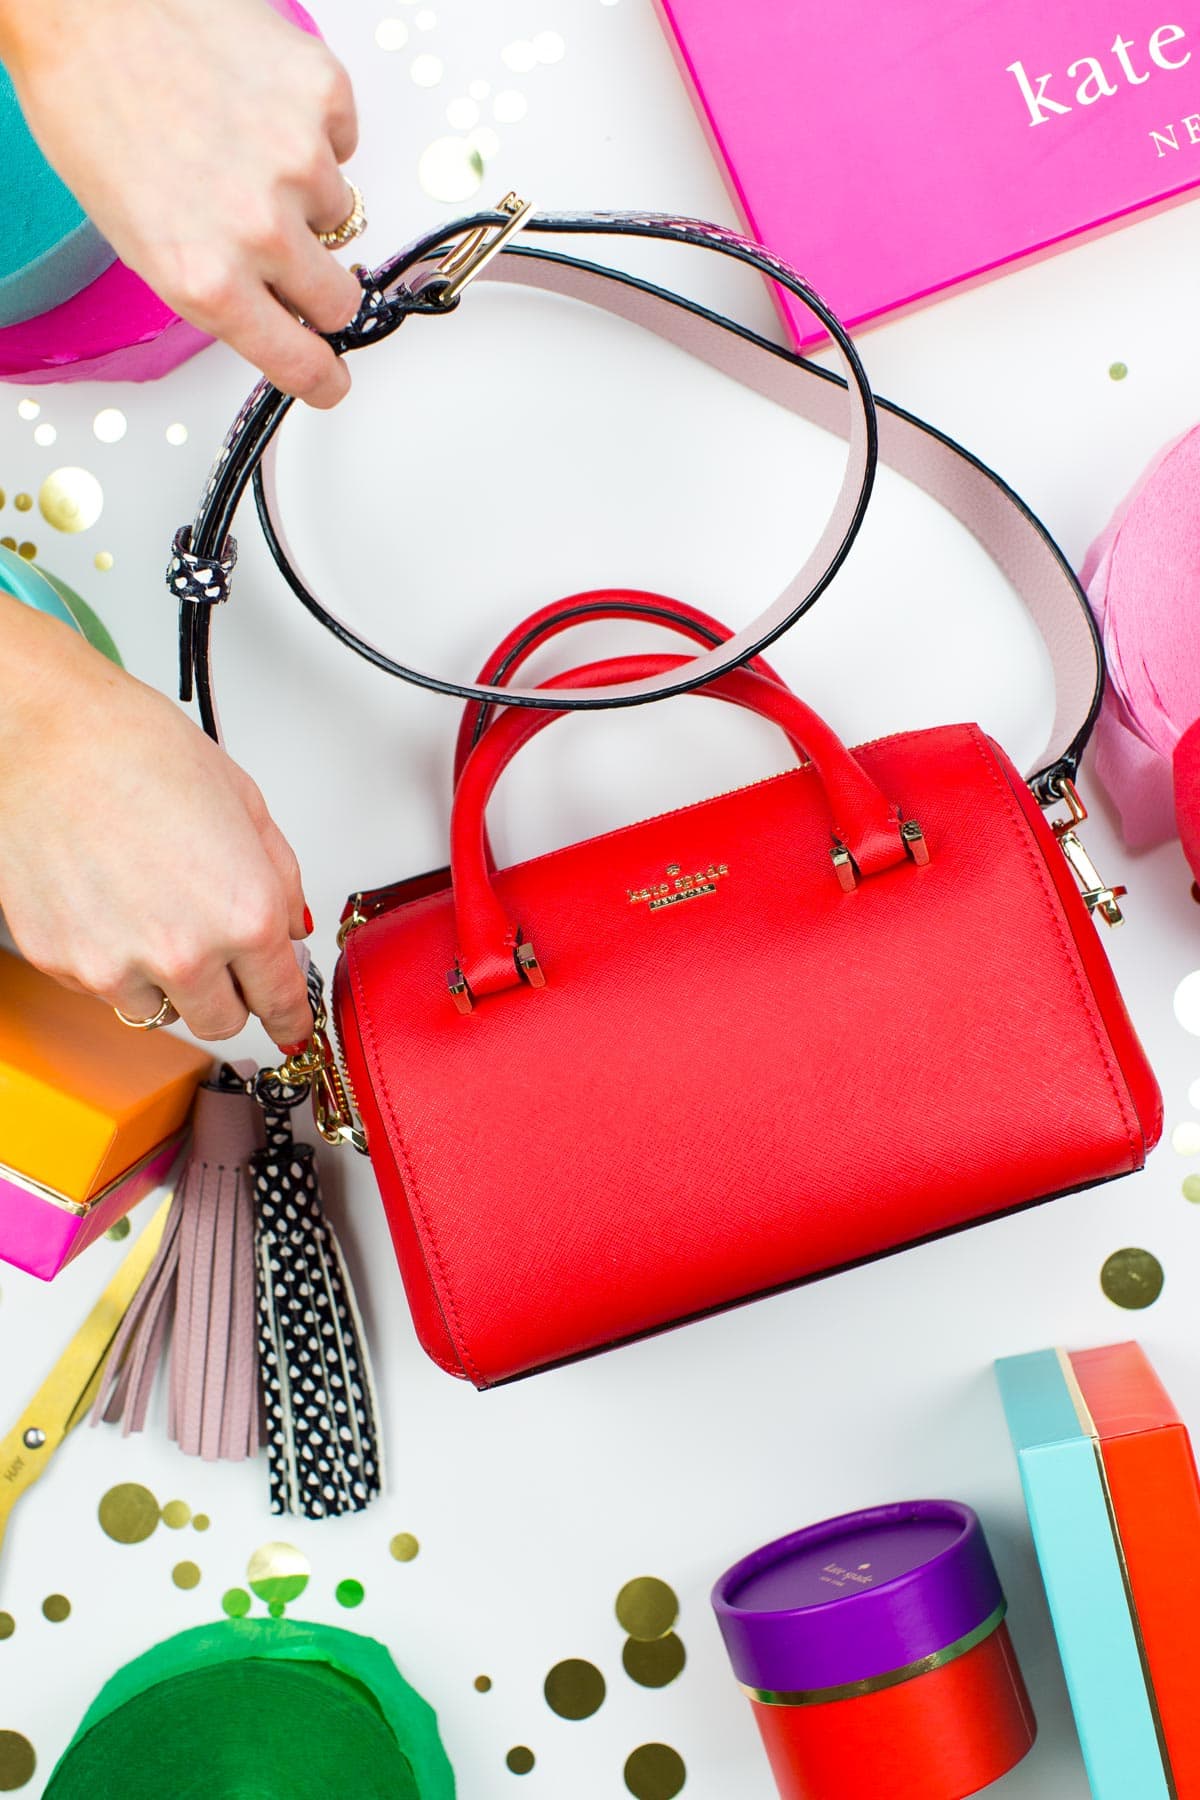
Last, but certainly not least, are tassels and straps. Not surprisingly, I went with an unexpected nude and polka dot combo attached to the red Cameron Street bag. It also didn’t hurt that the reversible side was polka dots to match my coat, too.
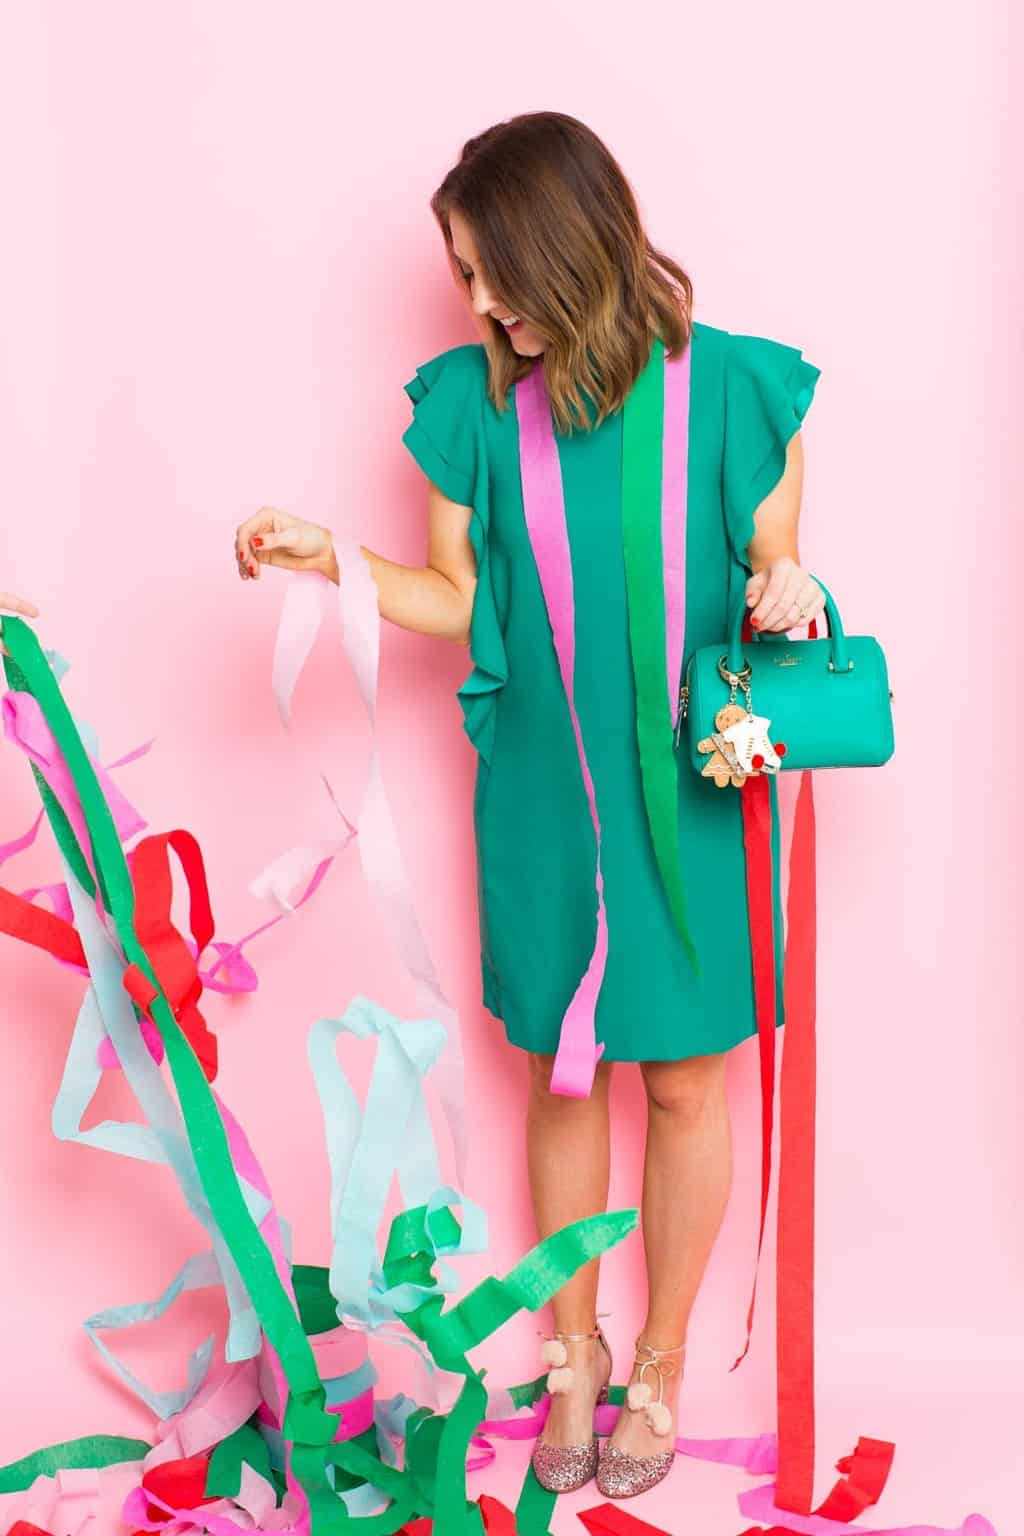
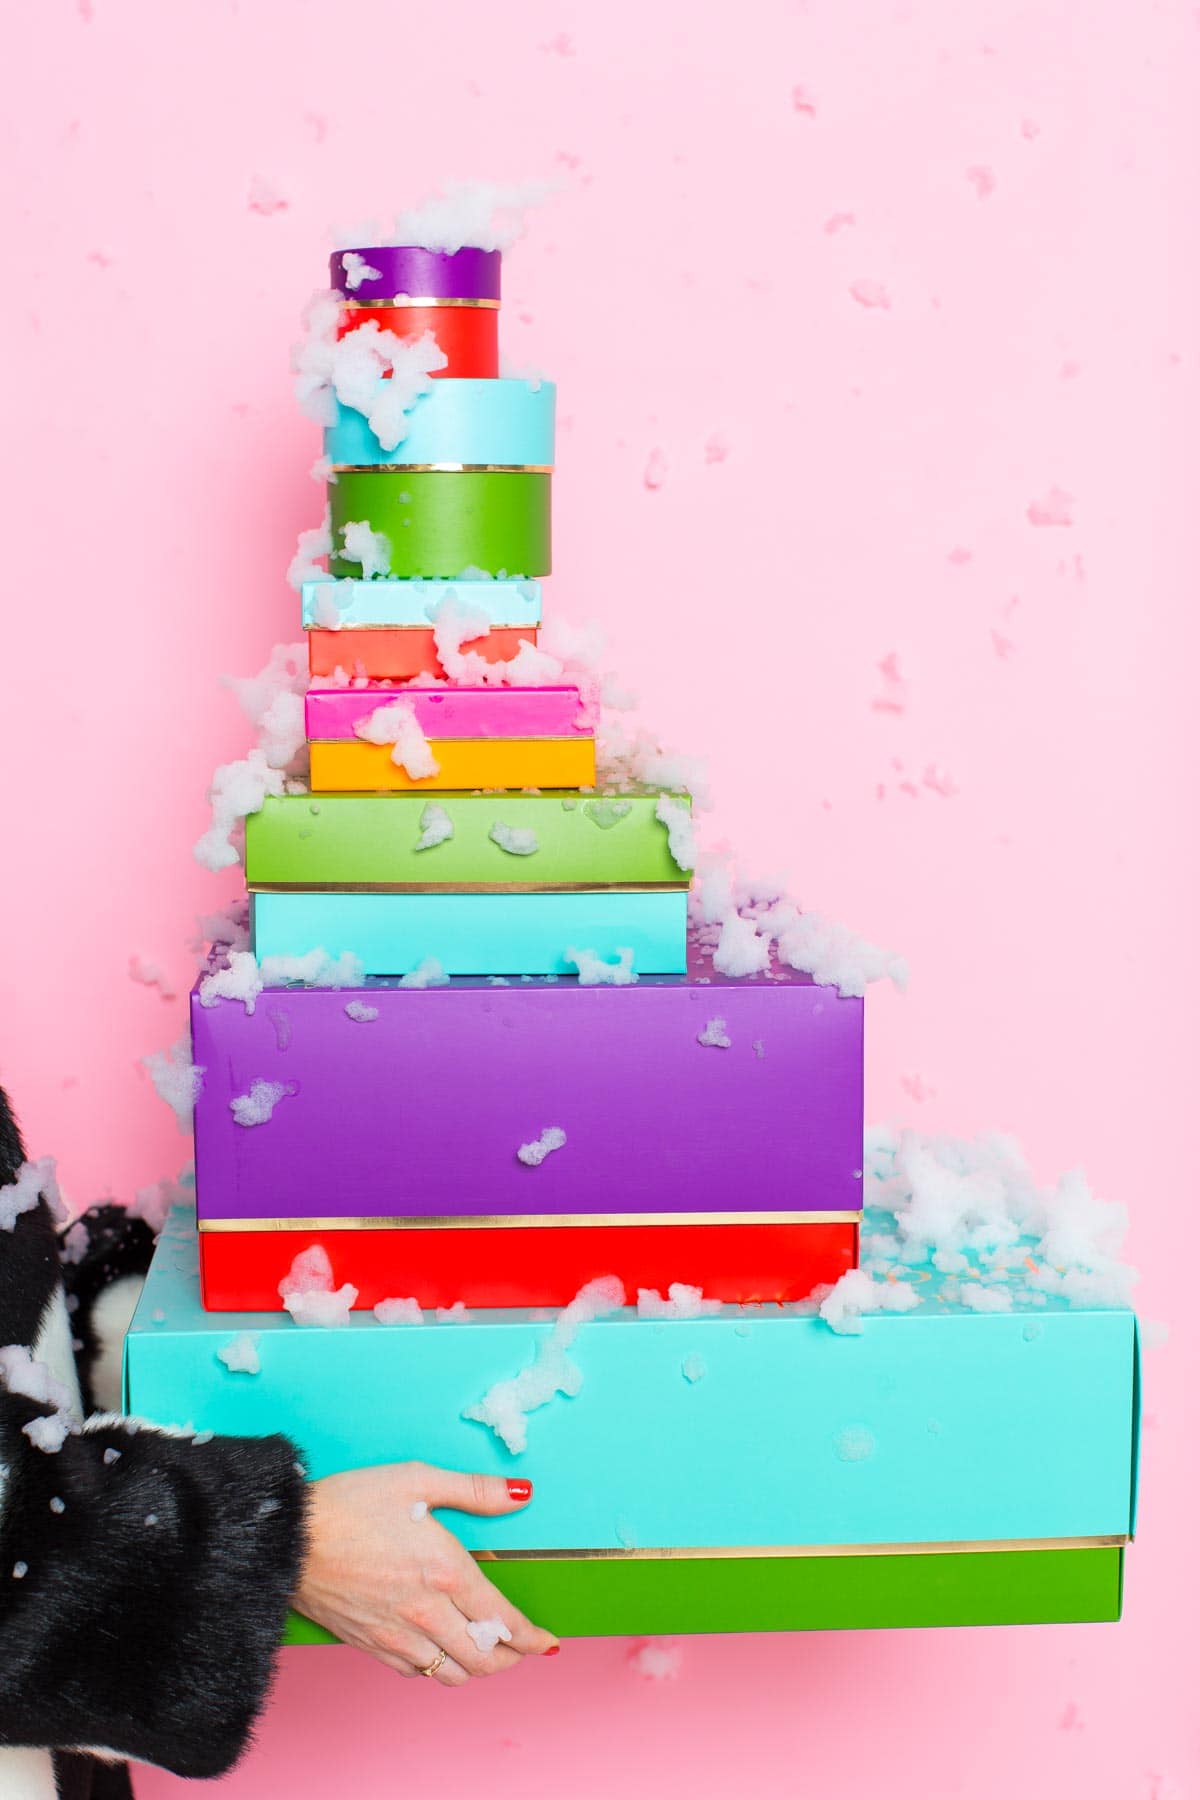
Seriously though, aren’t those little pom pom ice skates the cutest charm you ever did see?! Getting the pretty gift boxes to go with them doesn’t hurt either.
A huge hug and kiss to kate spade new york for partnering with us on this post! You can shop all of my pieces and outfits here:
Sources – Emerald Flutter Crepe Dress / Abigail Heels / Marcel
Please note that we may earn a commission for some of the above affiliate links. However, products featured are independently selected and personally well-loved by us!
Just wondering if you can remove the stickers once THEY’RE on?
Hi Marla! The stickers are designed to be permanent once they are sealed with heat. If you’re looking for a more temporary answer, it may be better to adhere them without the blow dryer.
Just a beautiful shoot! And so many things I need…
We were like kids in a candy shop there! xo
Thanks for the kind words! We had so much fun with this one..
What a dreamy collaboration!! Im looking this on my phone and cant wait to see it on my computEr 😍 I enjoyed reading your reaction when kate soade called you! Love!
Haha, we’re fan girls and we can’t hide it :)
This is such a nice idea to have a touch of Diy to your gifts. Love the photos too!
Thank you, Ambika! They were so much fun to make!
I aM obssessed with this! I adore kate spade and am insanely jealous you got to play with aLl these pretty things!
I was basically in heaven! So glad you like how it turned out :)
that ice skate keychain is totally my jam
It was our favorite too! So cute!
oh my gooooooosh! Totally buying those gold letters
You have too! We were pretty much in heaven getting to play around with them :)
Love this, such a nice way to make a gift even more special. these photos are amazing by the way
– Natalie
http://www.workovereasy.com
Thank you, Natalie! It was so much fun to shoot — glad you like them! xo