Before & After of Installing Skylights in Our New House
I seriously cannot tell you how much I am freaking out over these before and afters! When we finally closed on the new house, the VERY first thing I wanted to do was rip down all of the old curtains and pray for better natural light. The entire front side of the house had no windows so the interior hallway and bedrooms upstairs were horribly dark. We started looking into installing skylights and finally landed on Velux skylights and sun tunnels.
To be totally honest, I had zero prior knowledge on how skylights are installed, do skylights leak, how much skylights costs, etc. We were in the dark both literally and figuratively.
We were getting rid of our photography studio and our new house was going to serve as our creative space for lifestyle photos, so we needed natural light 911. See what I mean in the before and after photos at the bottom of the post!
We decided on Velux because they offer a no-leak warranty, but other than that, we didn’t know how many or what types to get. Since we’re newbies, we found a certified installer in our area to do a free consultation so we had an idea on placement and cost based on our wishlist.
If you’re in the Houston area, we really can’t recommend Dan from Innovative Skylights enough! This guy KNOWS his stuff when it comes to natural light, and he won’t try to oversell you. We were actually pushing for more sun tunnels than we really needed. Once they installed everything and we realized just how much light they let in, I think I cried actual happy tears. It all turned out perfectly!
We ended up installing VELUX No Leak Solar Powered Fresh Air Skylights with solar powered room darkening blinds in 3 bedrooms — Gwen’s future room, the master bedroom, and future kids room number 2 (#notpregnant). If you’re a fellow momma, you know the importance of having the rooms dark for naptimes.
We got the Active System which means we can use a remote control for room darkening shades or open the skylights to get fresh air via a window screen. Double bonus is that everything is solar powered and you can get a tax credit for them.
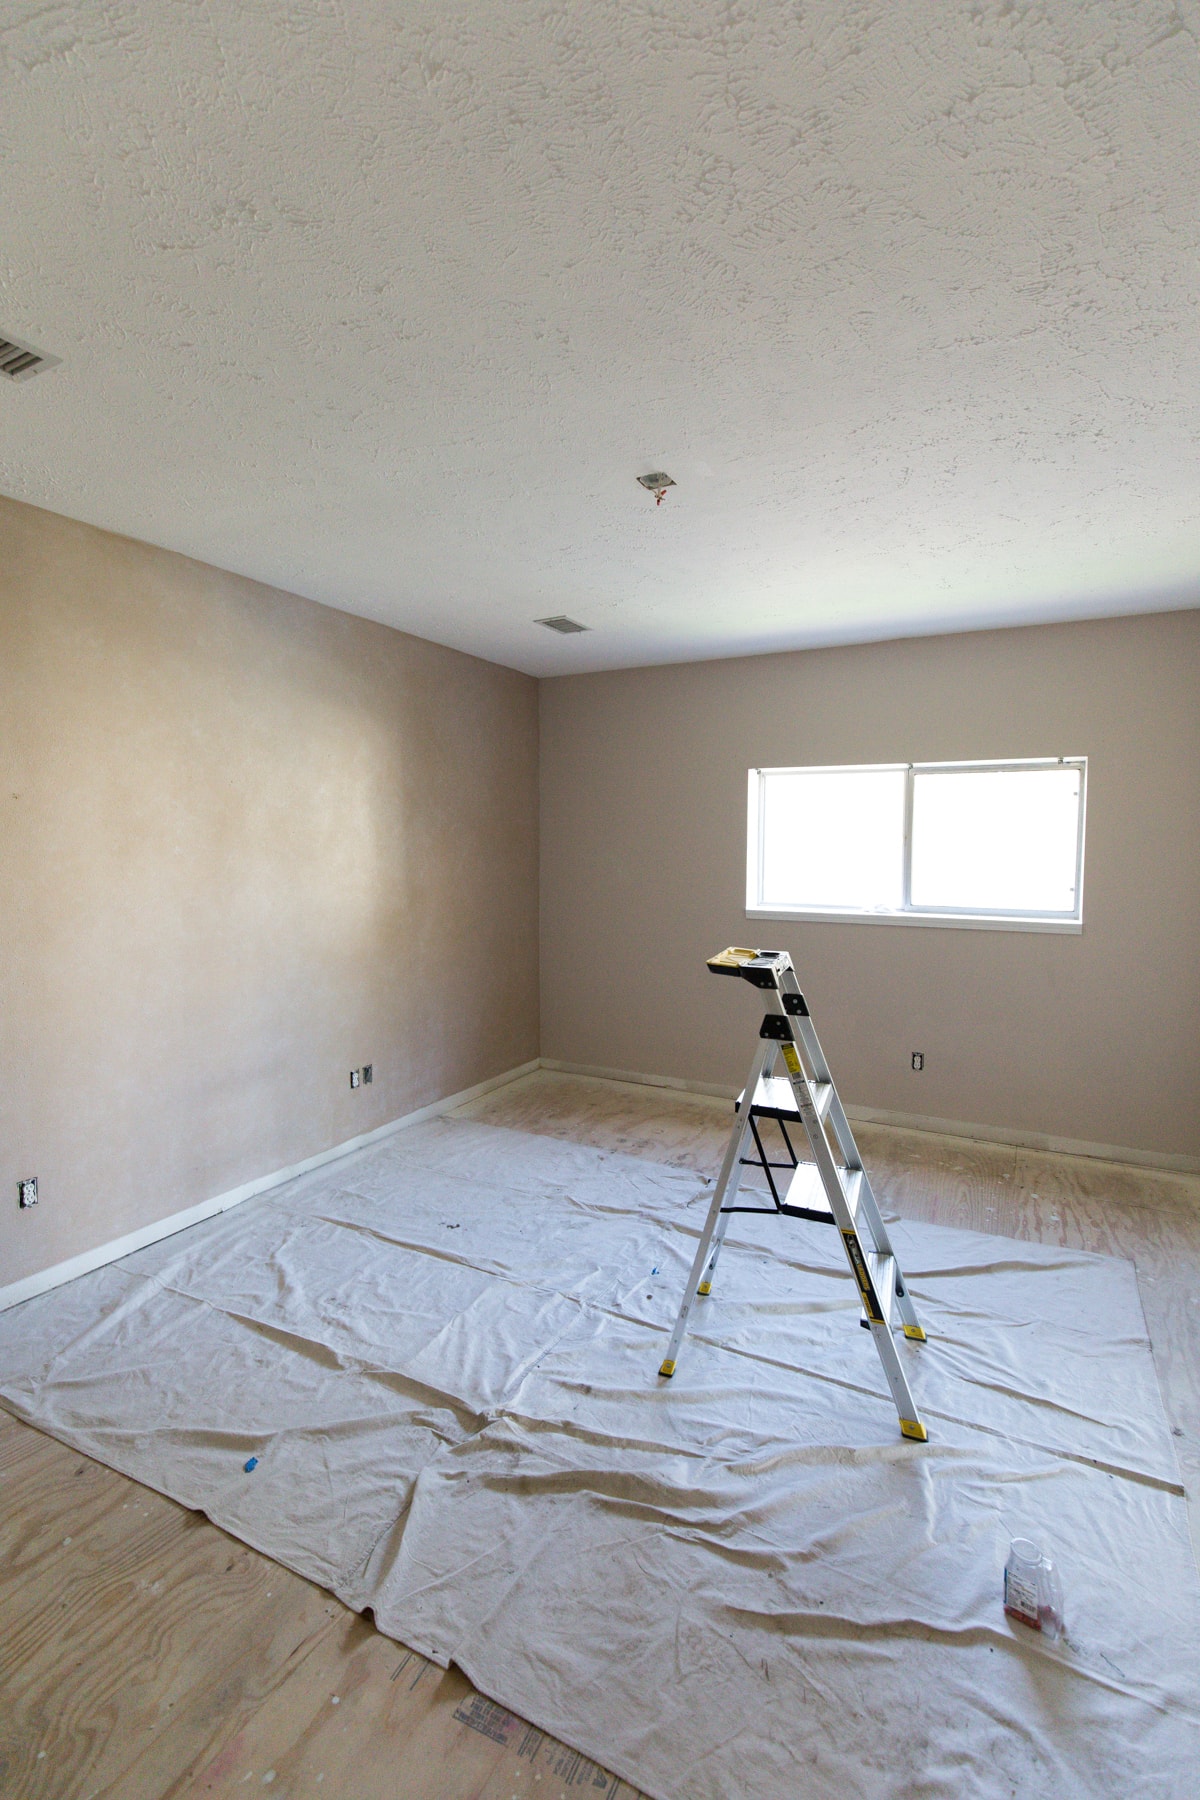
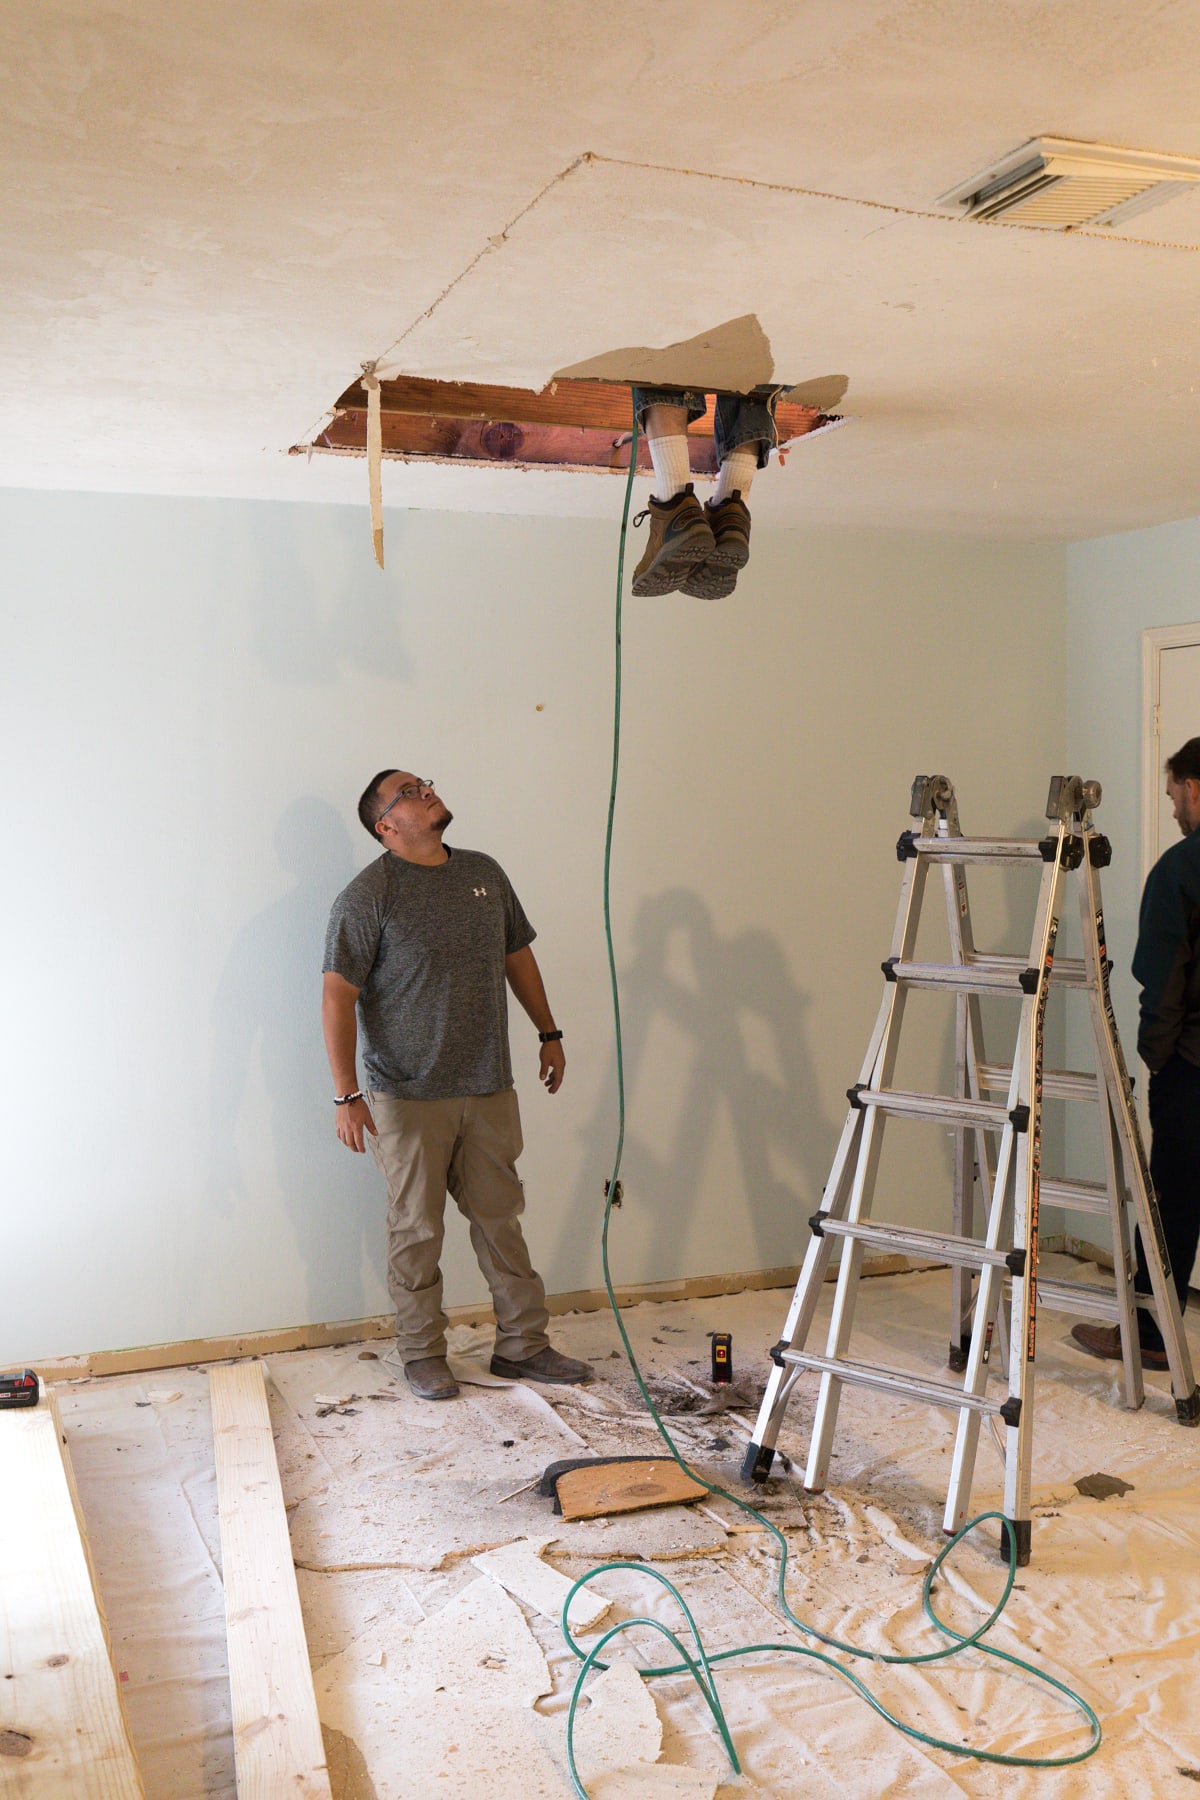
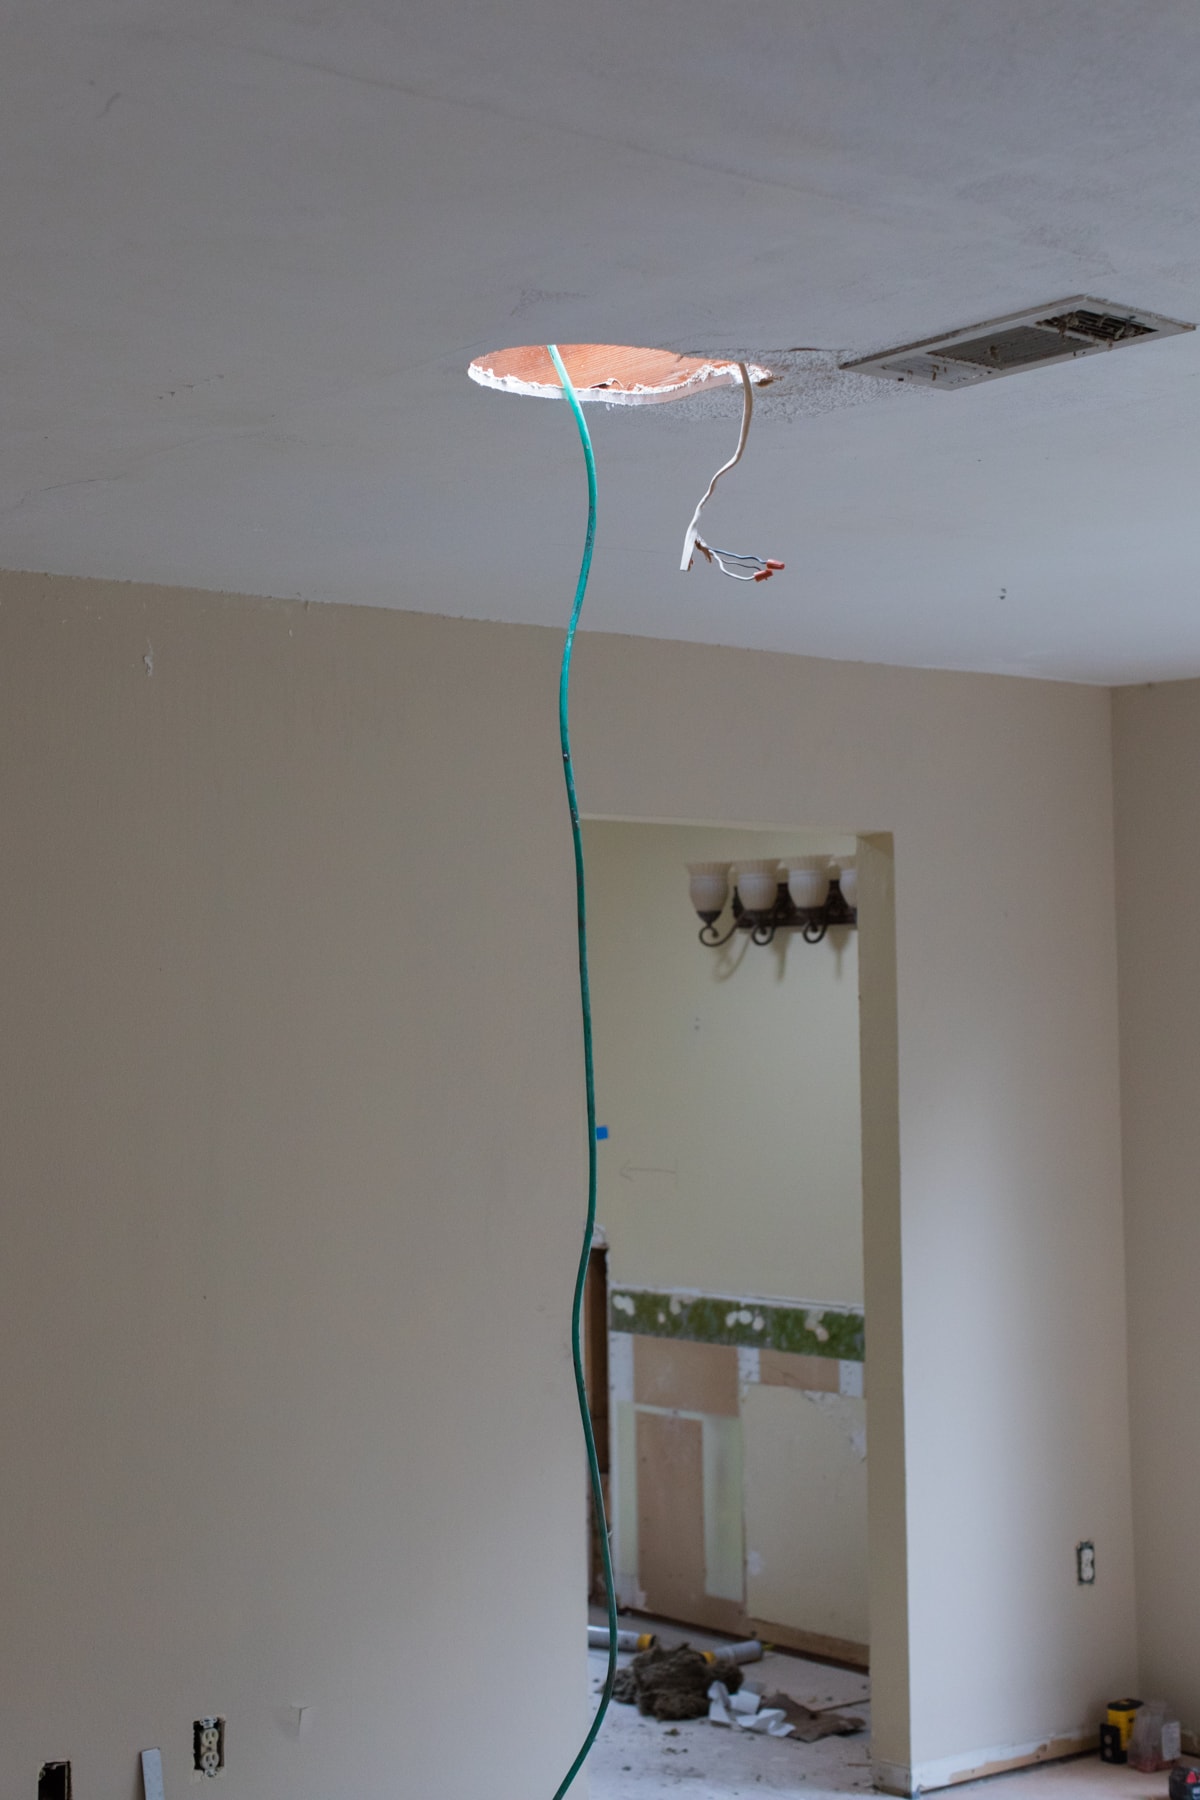
It’s kind of insane to watch them cut a giant hole through the roof into a bedroom, but let me tell you that it is SO WORTH IT! Here are a few snap from the installation process…
HOW SKYLIGHTS ARE INSTALLED
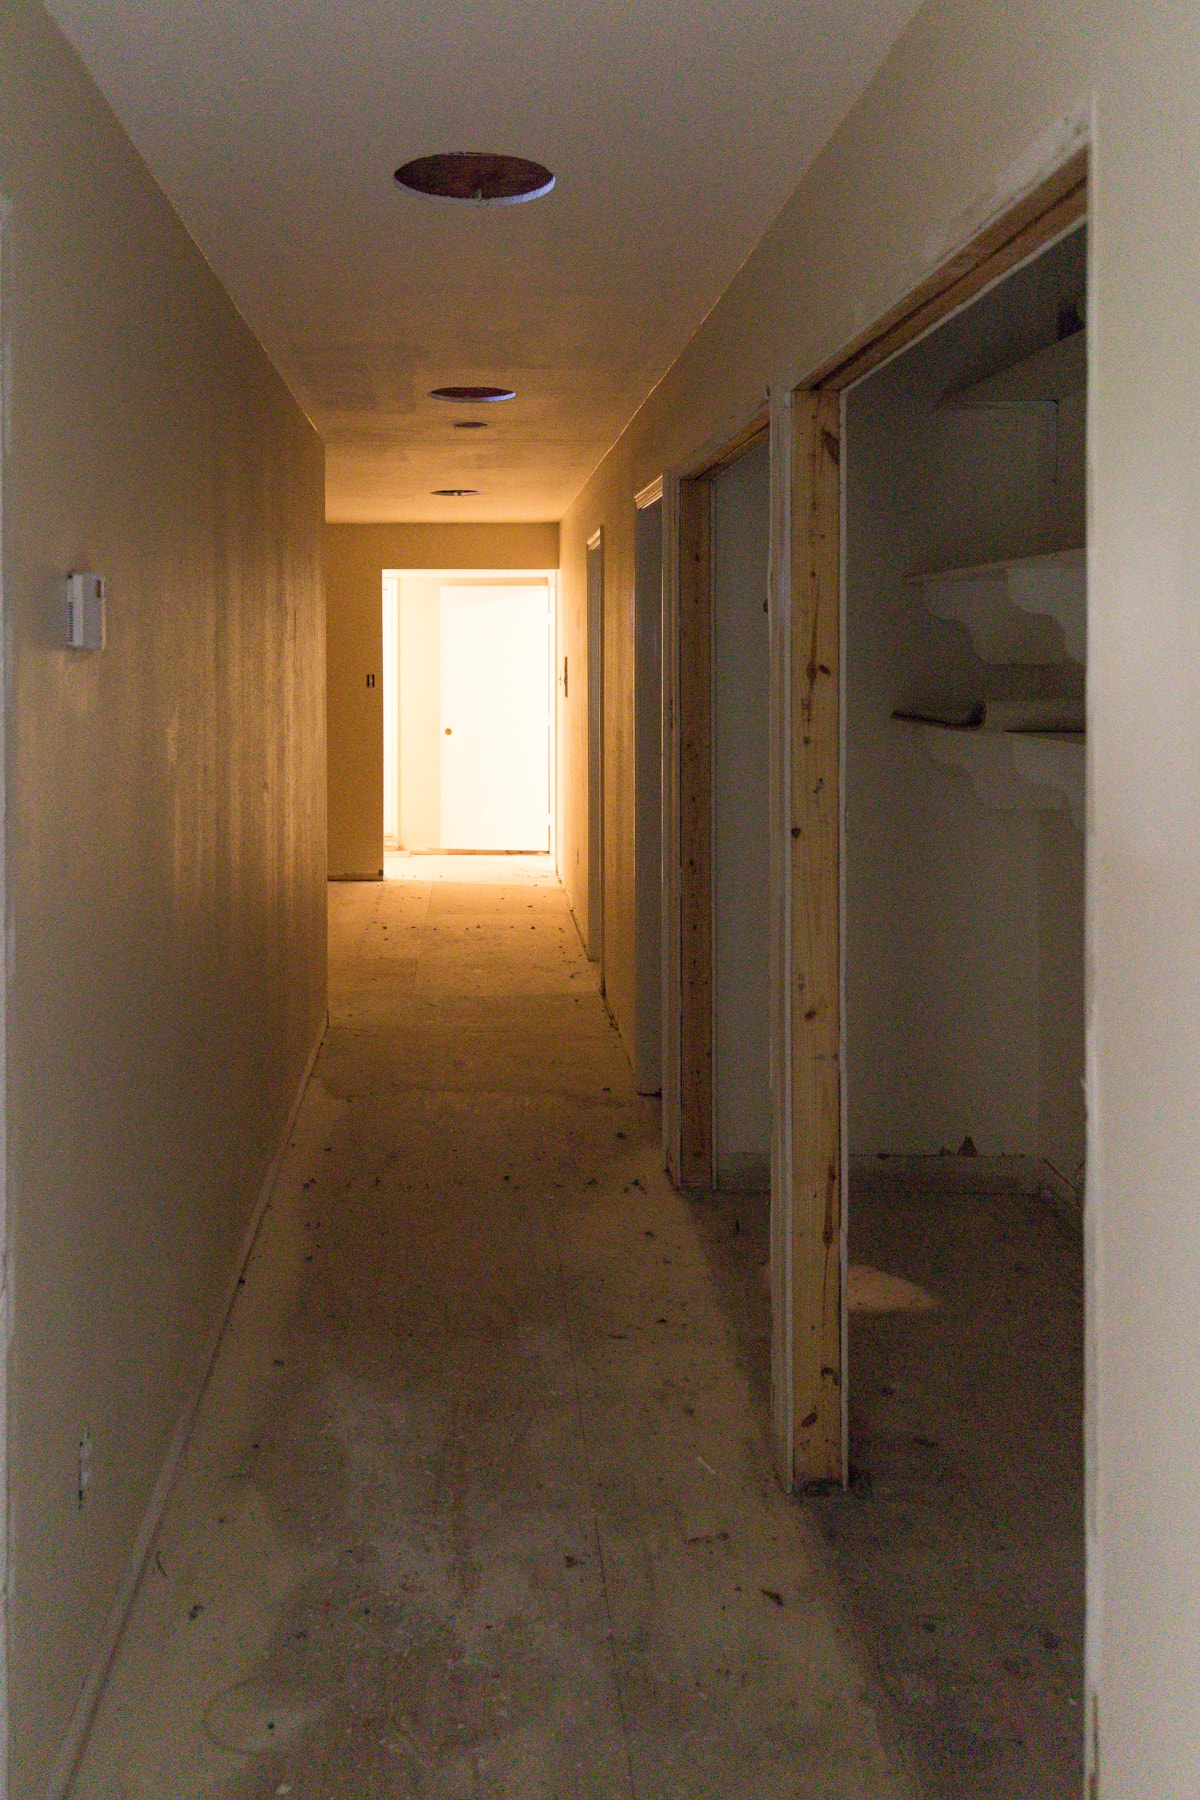
We also installed 7 sun tunnels in total — 3 in the main hallway, 1 in each en-suite bathroom off the kids rooms, and two in our master bath. I’m saving those details for our hallway before and after post so I’m not overwhelming you too much at once!
The general gist of the sun tunnels is that they mimic the look and feel of recessed lighting, except they’re natural light during the day and have an electric light kit inside the tunnel so that you can still turn the lights on at night or on gloomy days. They’re great for small spaces where you can manage a full skylight.
You also have the option of having sun tunnels with solar power nightlights, which we got for our master bathroom. They serve as an energy saving nightlight for trips to the bathroom or when you’re trying not to wake up your spouse (I’m looking at you, babe!).
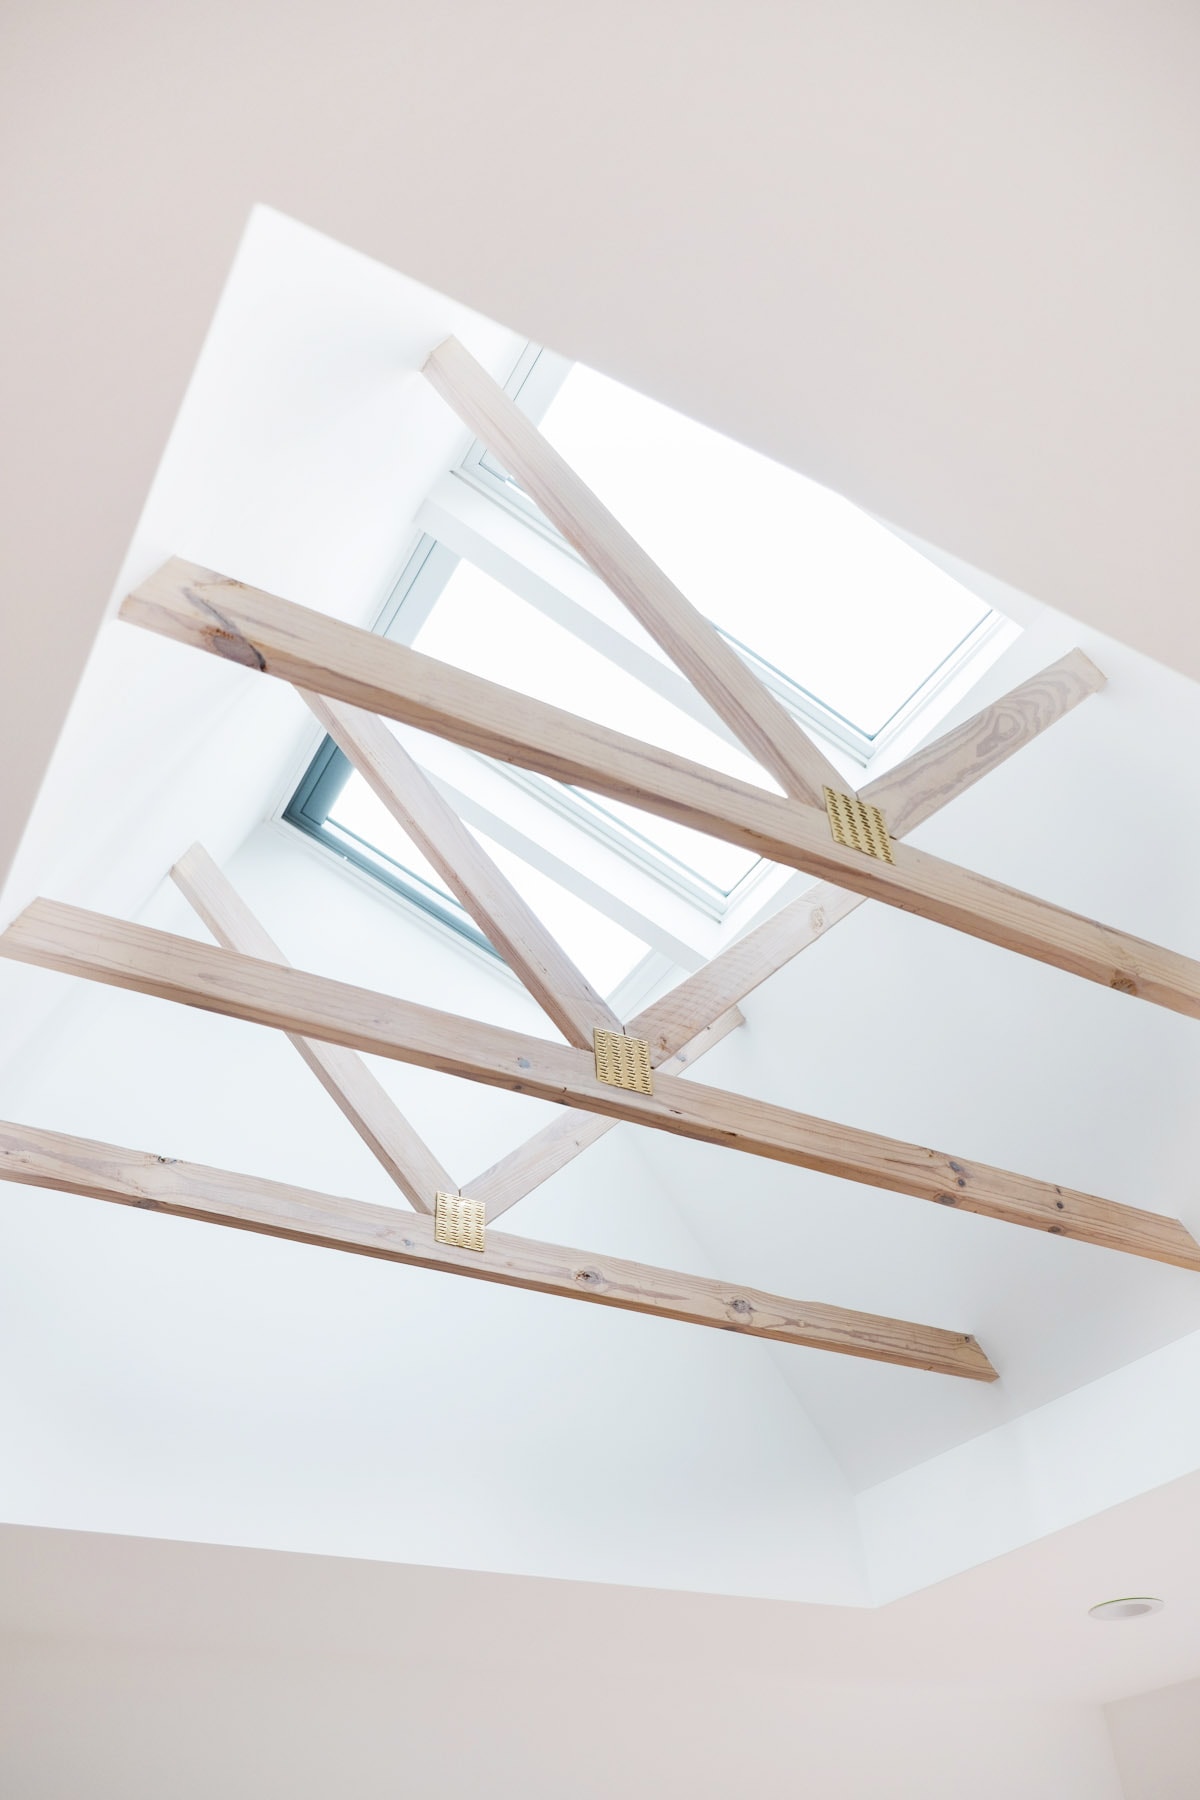
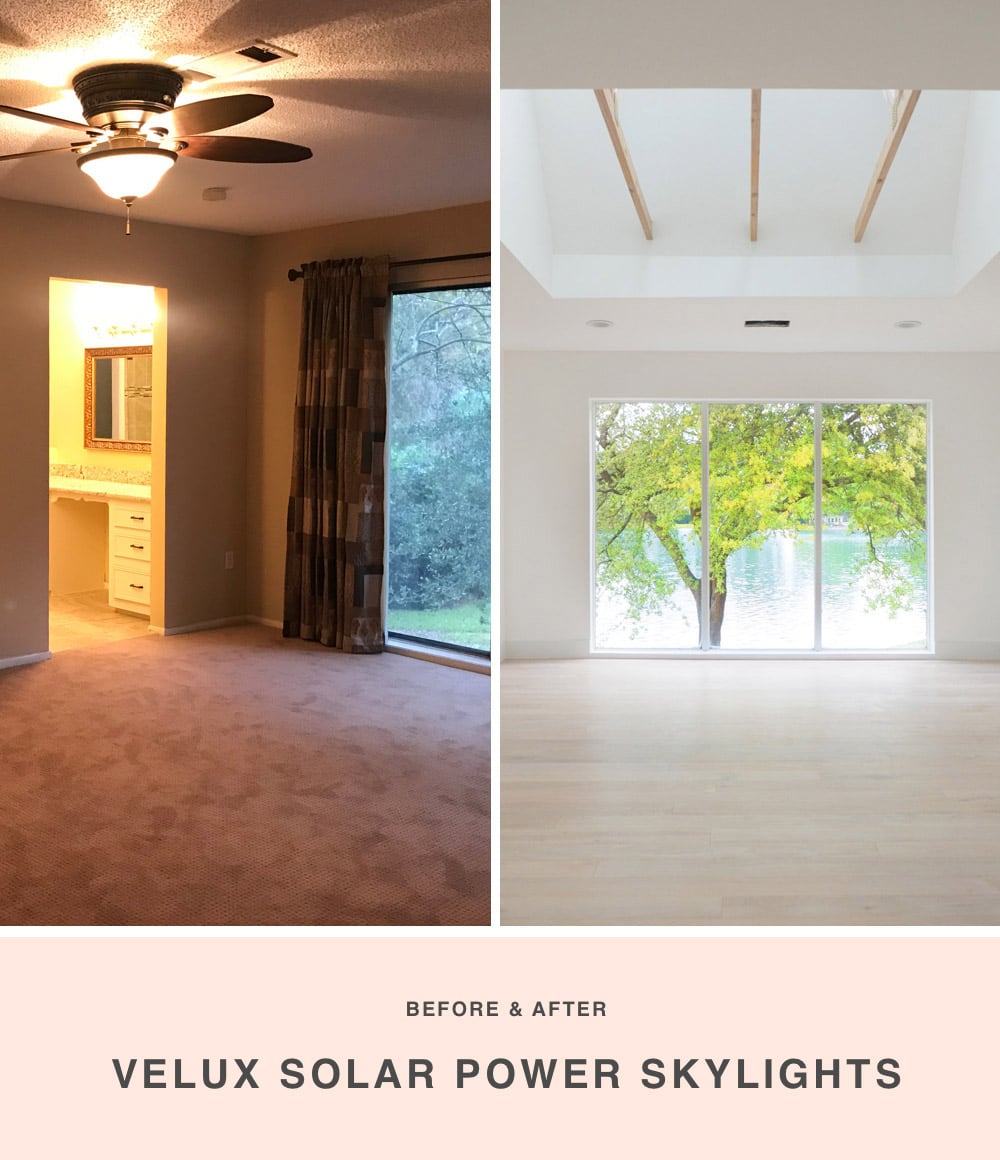
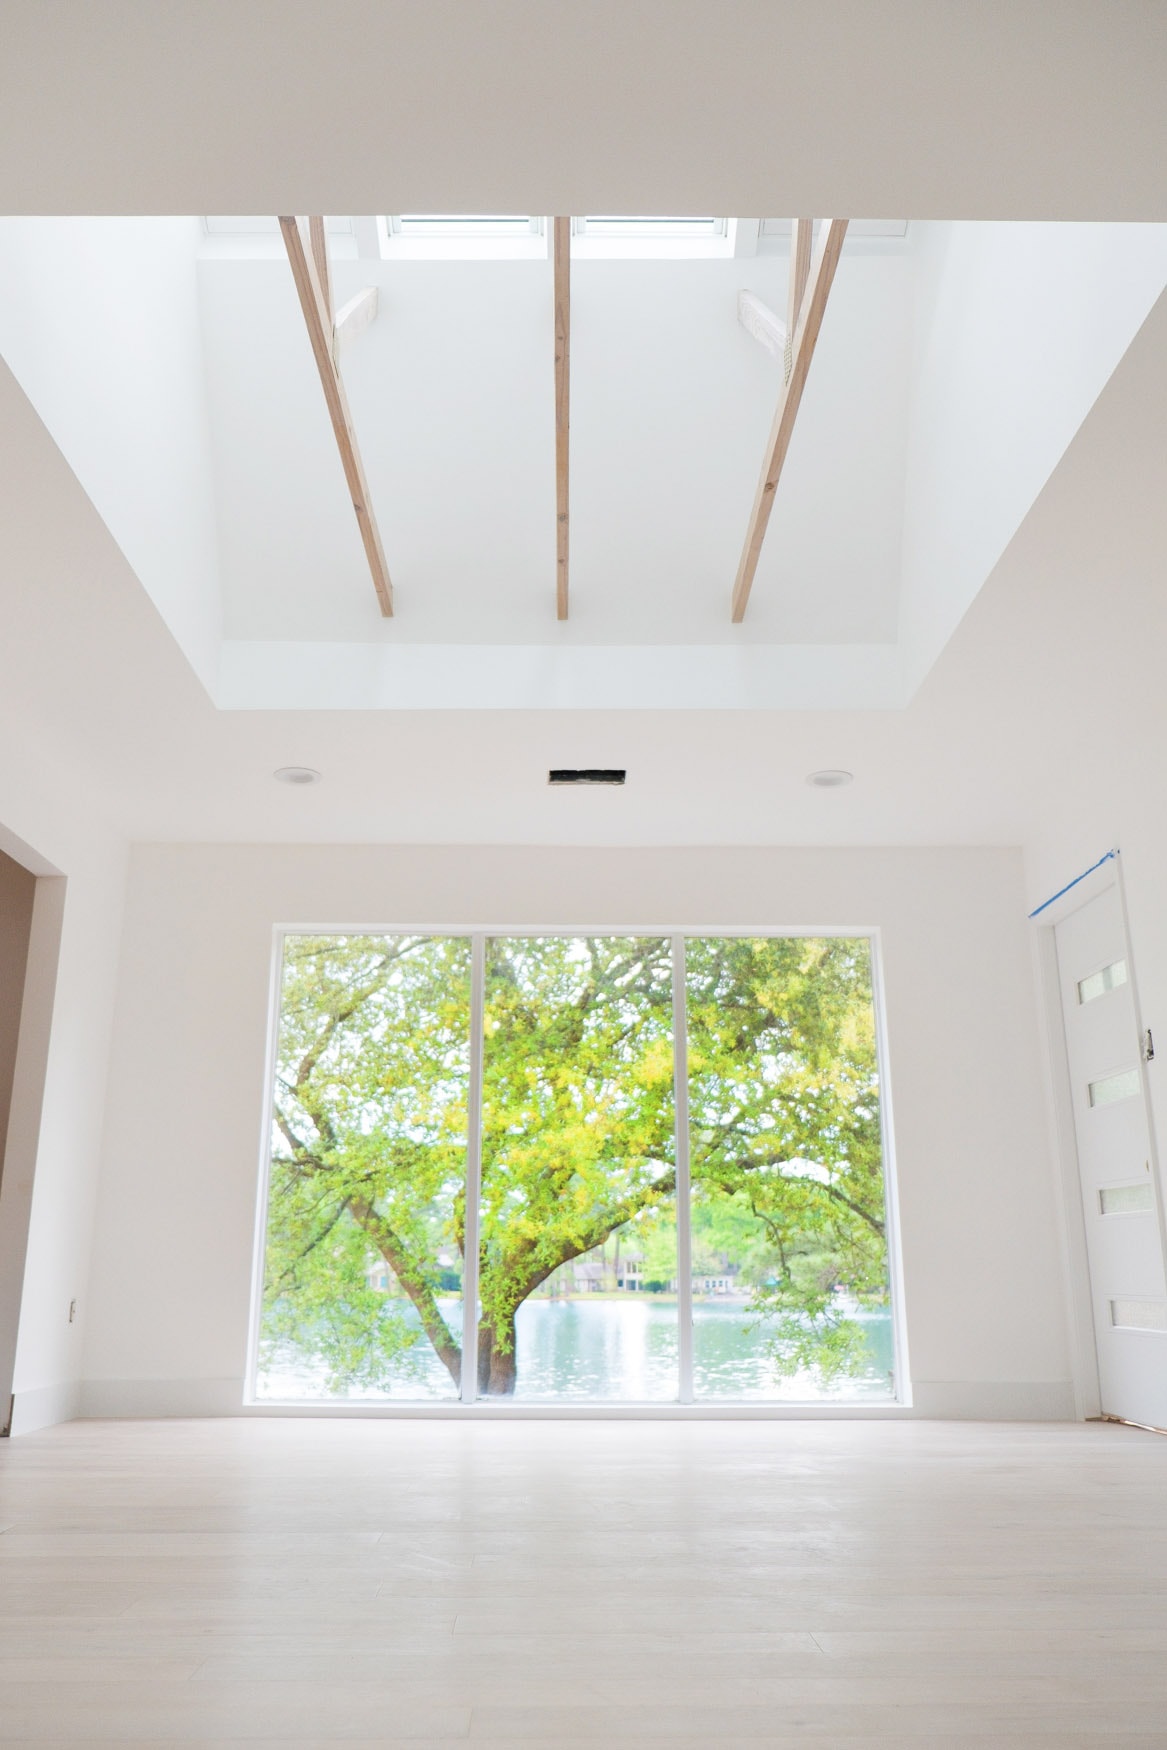
Our master bedroom has a set of four skylights, two opening, and two non-opening. It required A LOT of framing which was all done by the skylight installers, then our general contractor, Genesis, did all of the sheetrocking and finishing of the beams.
Genesis matched the flooring stained so that the exposed ceiling trusses that were structural to the house could stay exposed in a beautiful way. I asked them to paint the silver brackets gold to match our hardware, and I LOVE the way they turned out!
HOW MUCH DO SKYLIGHTS COST?
The prices of skylights really vary based on what’s required for framing them in, etc. That’s why sun tunnels are a great way for natural light if you’re nervous about initial costs.
For seven sun tunnels, six skylights, and a heck of an old house to work around for framing, it costs about $20,000 for both product and 5-star, certified installation of our skylights. That said, we did go for gold when it came to installing skylights and sun tunnels in 7 rooms to really brighten up most of the second-floor rooms. You can get a better picture of what that cost would like for you right here.
All of that to say that you could easily make a HUGE difference in your home for well under that.
THE BEFORE AND AFTER OF SKYLIGHT INSTALLATION
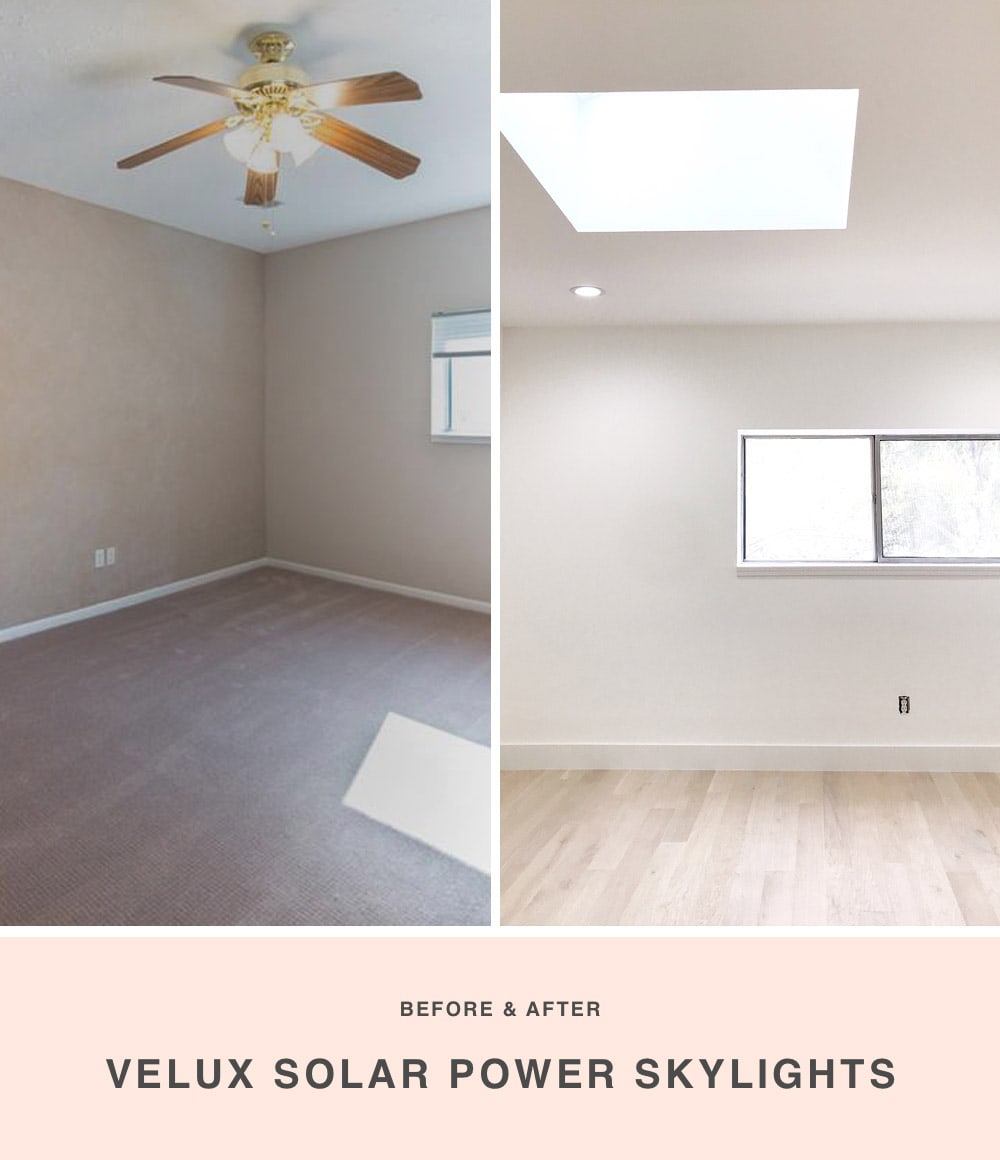
The above is the before and after of Gwen’s skylight. We also replaced the old carpet with Stuga Studio Oak Alpine throughout all of the rooms.
Below is the before and after of our master bedroom which just blows my mind! This space makes me so so happy now and we don’t even have AC vents or electrical outlets yet, haha!
And the last before and after comparison is the second upstairs kids room!
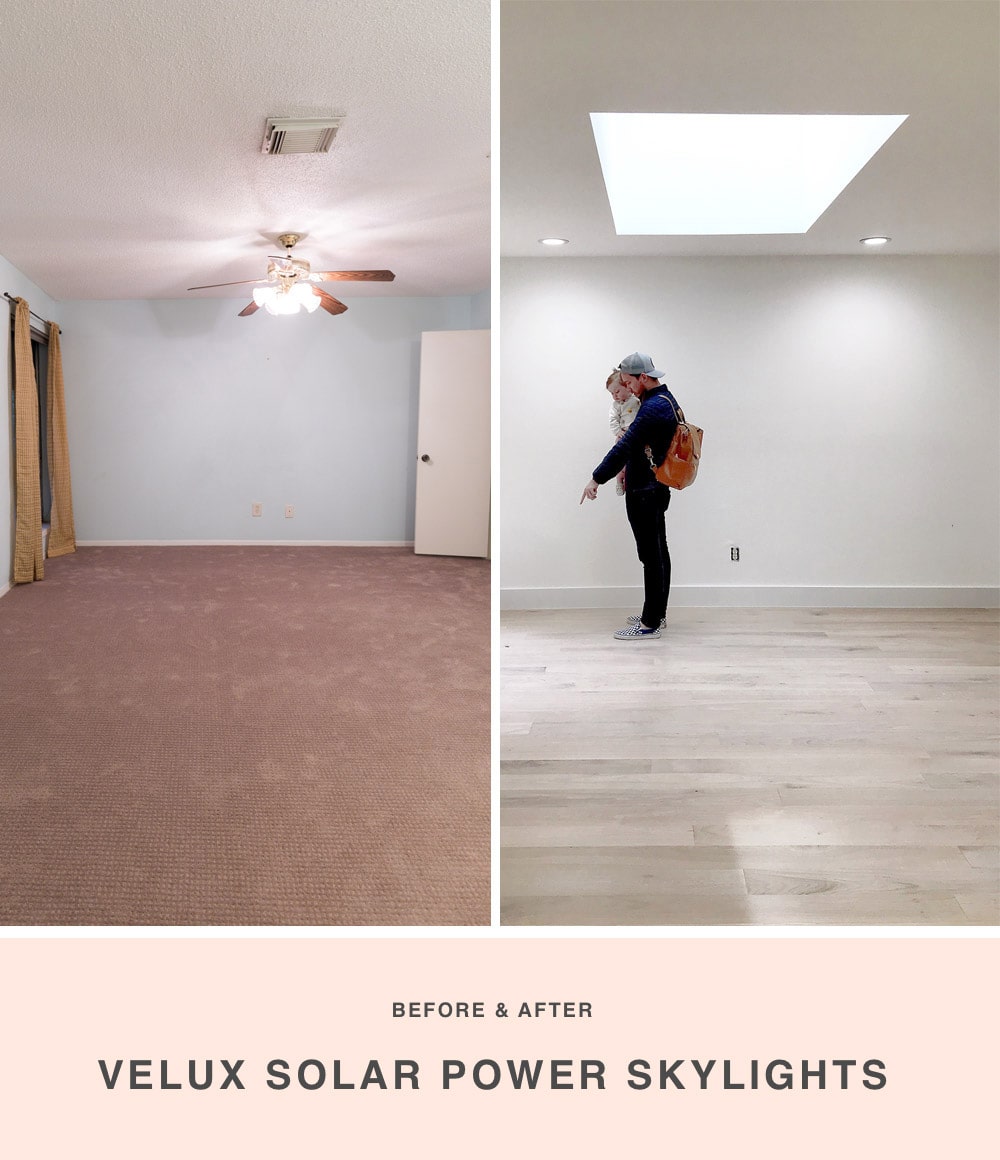
In case you missed the original listing photos for the full before photo hoorah, you can find those here!
Please note that we may earn a commission for some of the above affiliate links. However, products featured are independently selected and personally well-loved by us!
Beautiful! What color did you stain the roof trusses?
Hi, I imagine this is an old post now, but just wondered what size skylights you put in the kids rooms? Vs the size of the room? And how did you decide where in the room to position them? Trying to decide what size and where to add skylights to our two kids rooms atm, hence asking. They look great, thanks! :)
Hi Cara! We had a local installer come and quote us based on his recommended size and placement according to the beams in our ceilings/attic. None of the skylights are the same size, they’re all different based on room placement and what piping and things were happening in the ceiling. Thats the best way to make an educated decision and understand costs associated. Hope this helps!
I absolutely LOVE the way it turned out!! The skylights make the room!
Thanks, Taylor! We are dying over how much of a difference the skylights made! XOXO
What a gorgeous home! Love all the natural light you have.
Thanks, Som! We couldn’t have all the lighting without the skylights!
This is fascinating. I’d never heard of “sun tunnels”, and now I want to install them all over my house — along with a skylight, LOL!
Yay! Glad that we could familiarize yourself with them! XOXO
This is incredible! I want to addd skylights to my family room!
You should! We are already seeing a huge difference. XOXO
I love how it turned out! Really awesome!
Thanks, Toni! XOXO
The new house looks awesome with all the natural light!
Thanks, Megan! It seriously wouldn’t have all this light without the Velux Skylights! XOXO