DIY Door Tassel
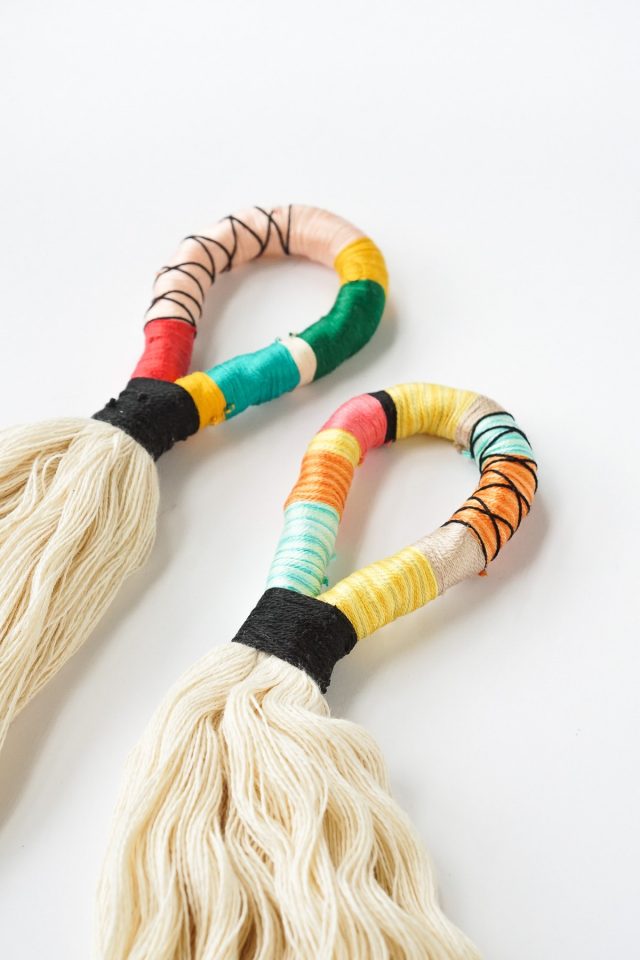
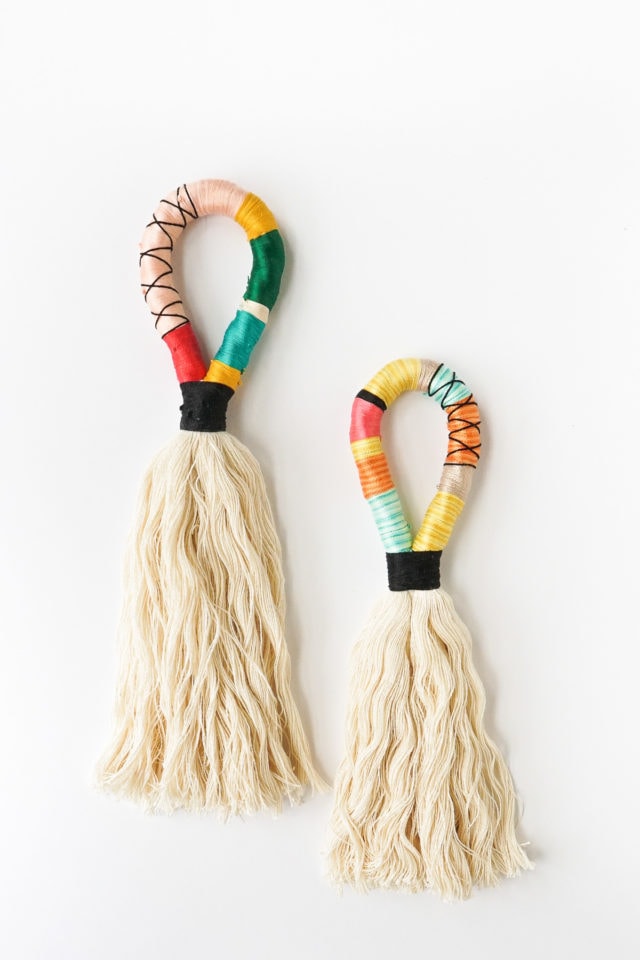
Inspired by the camel swag trend, these colorful DIY Door Tassels are the perfect detail to add texture and color in your home!
Door handle tassels as CAMEL SWAG, ya’ll! A.k.a. tassels, poms and other adornments used exactly the way the name implies: to decorate camels during times of celebration in India.
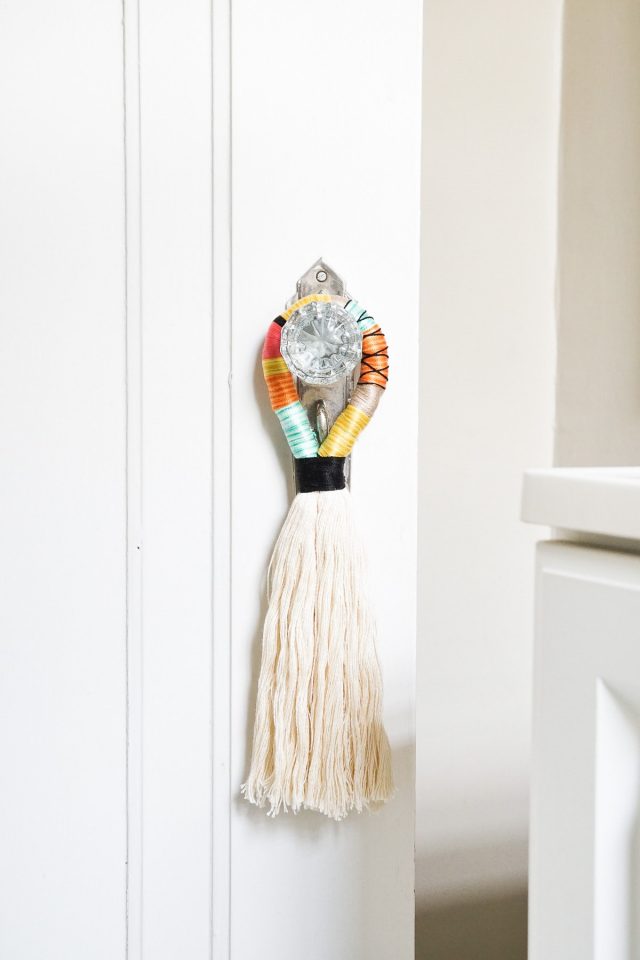
I, Erin enamored by the color mayhem finding its way into interior design, couldn’t help but interpret the trend through these oversized colorful DIY door handle tassels. They’re perfect for hanging on door handles around the house for an added boost of color and texture. We’re also no strangers to adding DIY tassels to things either!
The typically labor-intensive tassel-making process (there’s a reason they’re so expensive!), is made easy by a little trick that I can’t wait to share with you. So easy and simple, you’ll want one on for every door in the house, haha!
Materials Needed
- Jumbo cotton twisted roping — You can cotton roping online or sold at most fabric stores. I choose a natural color.
- Cotton string thread — Choose 7-8 colors. Flossing string is the same thread for embroidery, cross stitching, string art and friendship bracelets.
- Scissors
- Marker
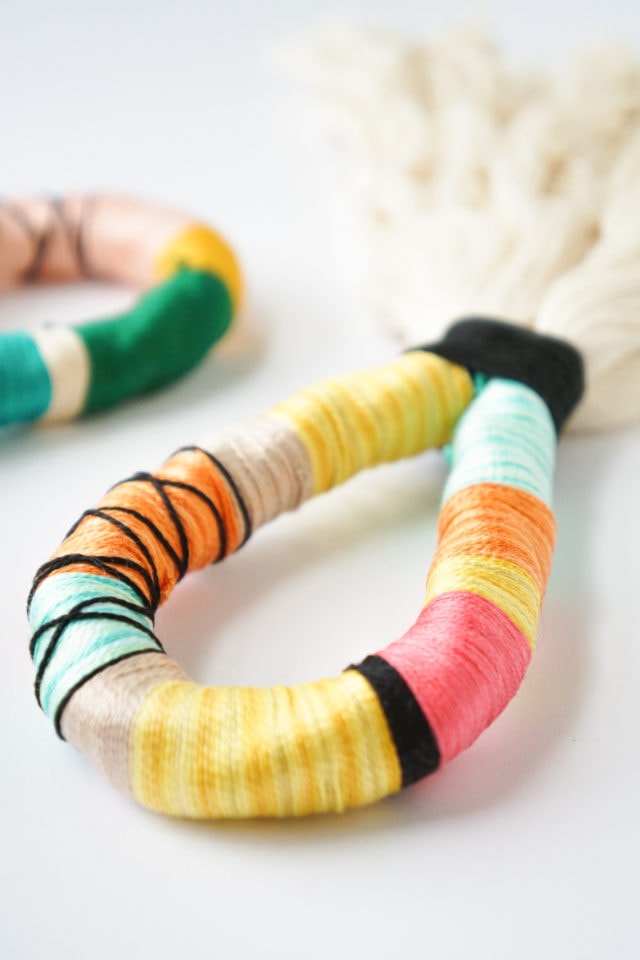
Door Handle Tassels: How To Make A DIY Tassel
1 — Cut a 28″ piece of jumbo cotton rope. Fold the rope in half and cinch it together roughly 4-5″ from the top to form a loop. Check to make sure the cinched loop fits around your doorknob.
2 — Mark the rope with a marker at the cinched location. These marks will denote where to start and stop the wrapped string.

3 — Decide what order the colors will wrap around the rope loop.
Double knot the first color around the rope at one of the marks made in the previous step, and begin tightly wrapping the rope with string. Don’t trim the string tail as you’ll need it later.
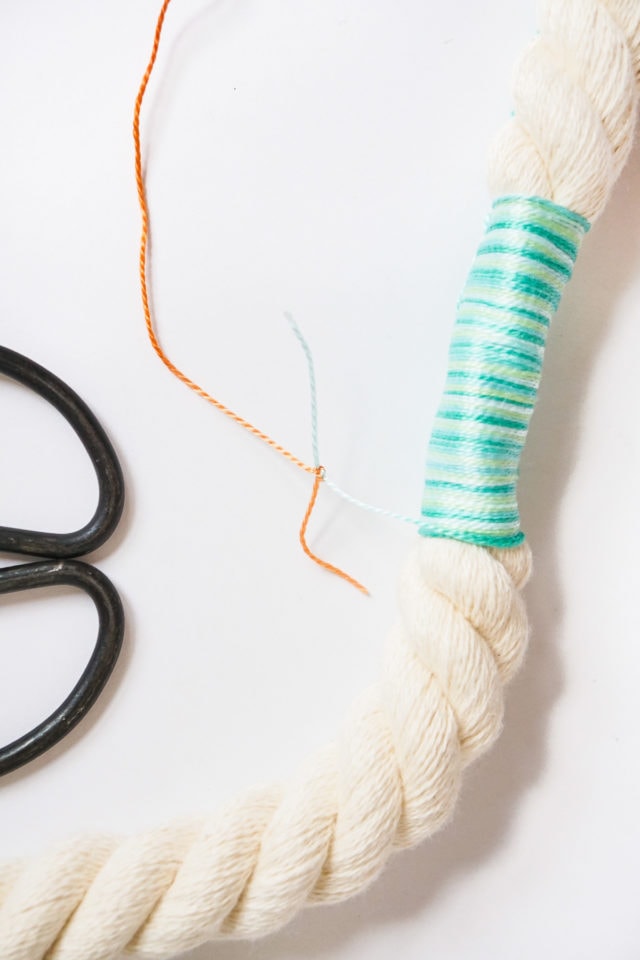
4 — When ready to switch colors, simply double knot the new color onto the end of the previous color.
When adding another color, try to position the knot so it falls towards the backside of the rope.
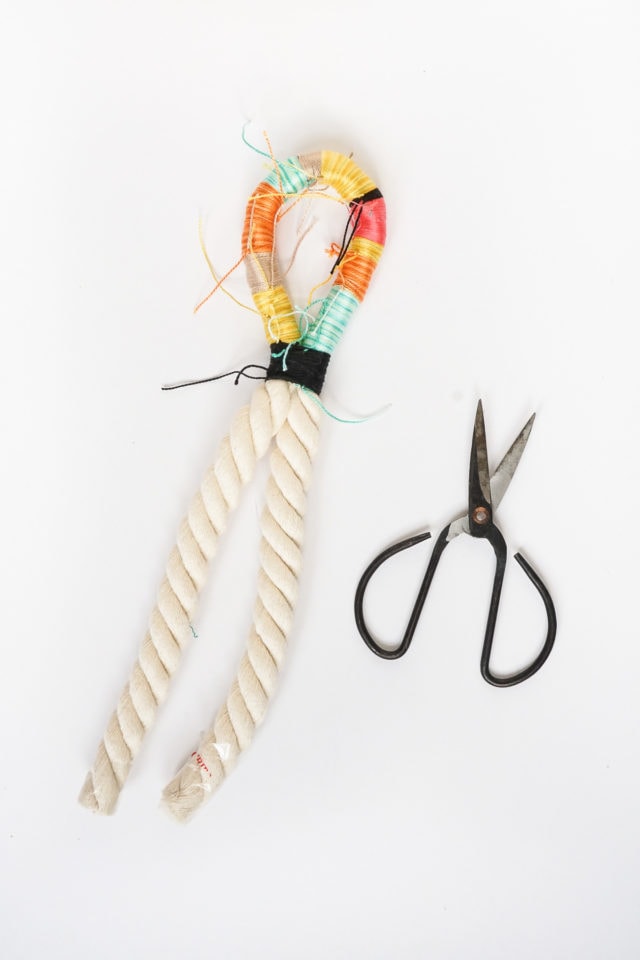
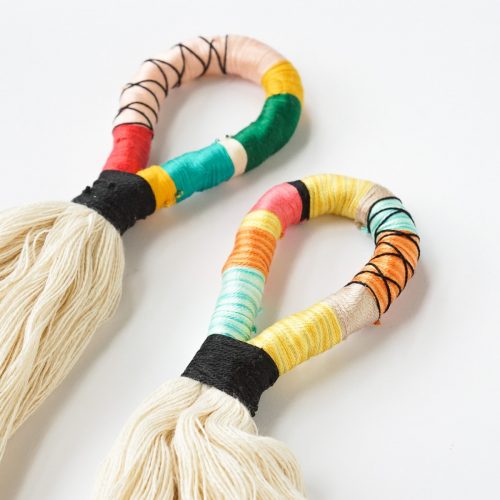
5 — Continue wrapping the rope with various colors until you reach the opposite rope mark, and bend the string-wrapped rope into a loop. Secure the loop with a contrasting string wrap.
6 — Double knot the contrasting color onto the preceding string color. (Same as you did in the previous step.)
7 — Begin at the bottom, and wrap the entire base with a 1” band. Tie off the string to the first string color used in Step 2.
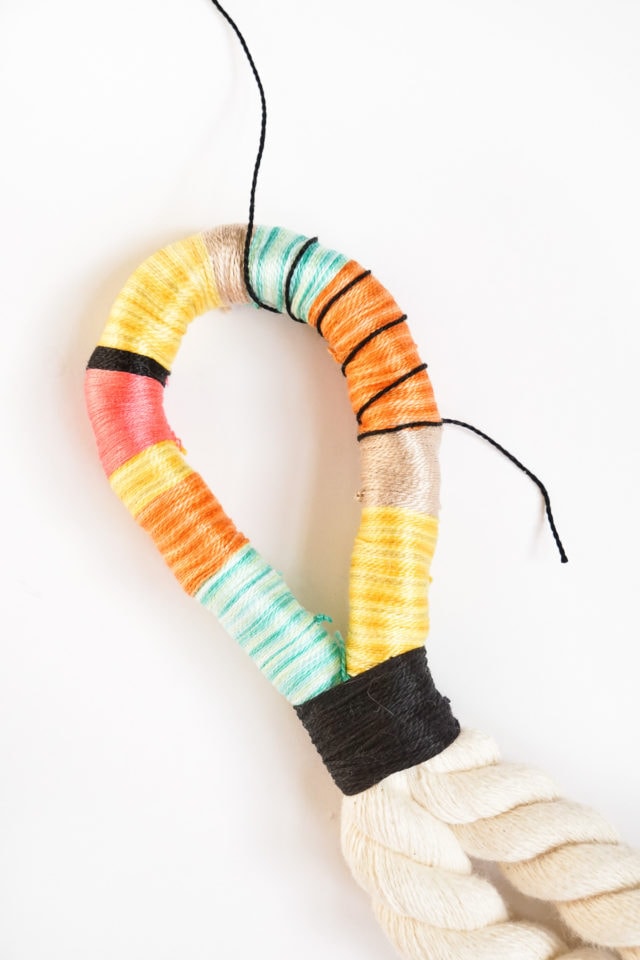
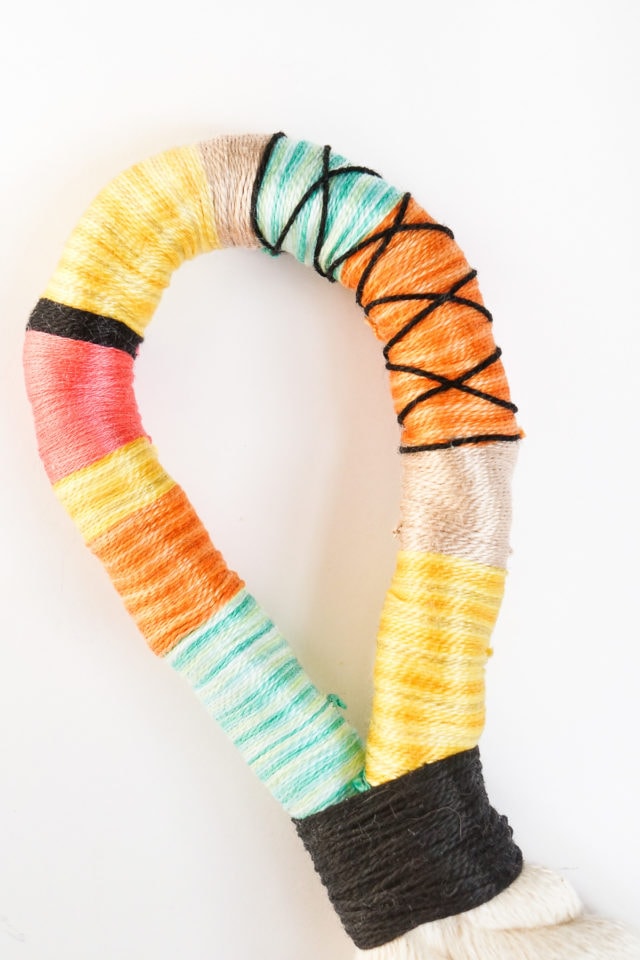
8 — For the criss-cross embellishment, wrap the contrasting string around the loop and double knot it placing the knot on the backside. Do not trim the tail just yet.
9 — Wind the string up diagonally a few times and then wrap it back down at the opposite angle to form an “X”. Tie the string to the tail formed at the beginning of this step.
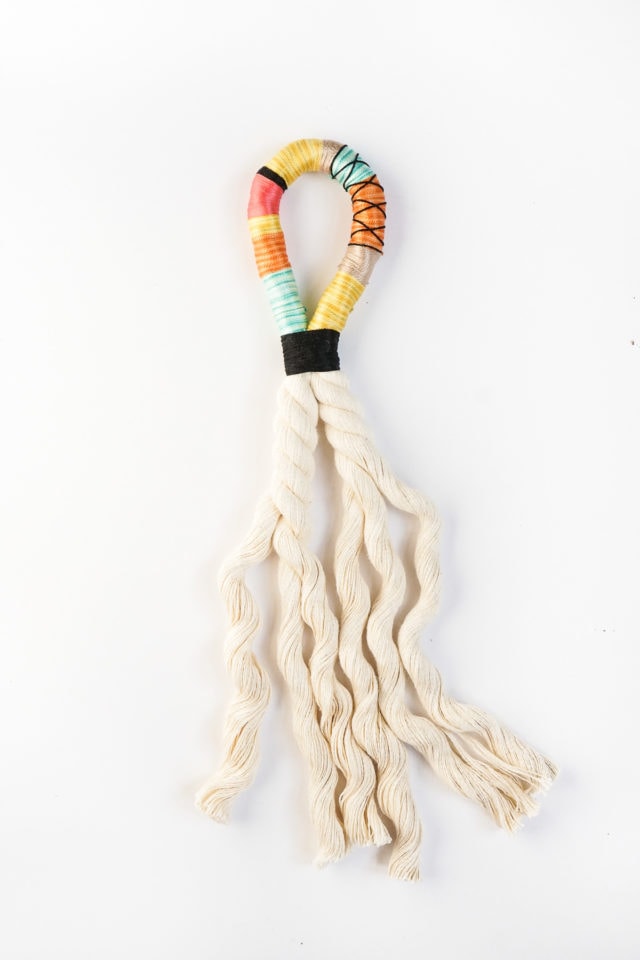
10 — Untwist and fluff the rope below the loop, and trim to your desired length. Hang on your door!
More Tassel DIY’s
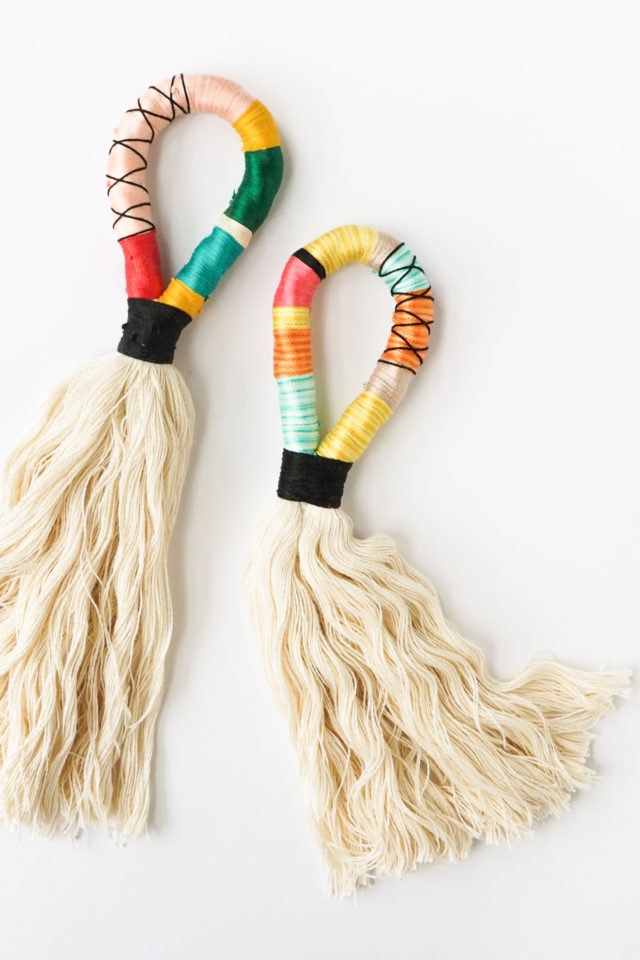
Go wild! Make these DIY door handle tassels in as many colors and designs as you want! Wasn’t that way easier than it looked? These would also make great gifts, make some in your friends’ favorite colors and you’re set. What’s also great is that these aren’t limited to any specific use! Whether as door decor or a wall hang, these colorful tassels are the perfect touch.
For more fun DIY’s with tassels and fringe, check out a few favorites from our archives below —
- Tasseled Throw Pillow
- Pom Pom Tassel Bag
- Yarn Fringed Throw Pillow
- Geometric Wall Hang
- Fringed Wall Mirror
DIY Door Tassel
Equipment
- Scissors
- Market
Materials
Instructions
- Cut a 28″ piece of jumbo cotton rope. Fold the rope in half and cinch it together roughly 4-5″ from the top to form a loop. Check to make sure the cinched loop fits around your doorknob.
- Mark the rope with a marker at the cinched location. These marks will denote where to start and stop the wrapped string.
- Decide what order the colors will wrap around the rope loop. Double knot the first color around the rope at one of the marks made in the previous step, and begin tightly wrapping the rope with string. Don’t trim the string tail as you’ll need it later.
- When ready to switch colors, simply double knot the new color onto the end of the previous color. When adding another color, try to position the knot so it falls towards the backside of the rope.
- Continue wrapping the rope with various colors until you reach the opposite rope mark, and bend the string-wrapped rope into a loop. Secure the loop with a contrasting string wrap.
- Double knot the contrasting color onto the preceding string color. (Same as you did in the previous step.)
- Begin at the bottom, and wrap the entire base with a 1” band. Tie off the string to the first string color used in Step 2.
- For the criss-cross embellishment, wrap the contrasting string around the loop and double knot it placing the knot on the backside. Do not trim the tail just yet
- Wind the string up diagonally a few times and then wrap it back down at the opposite angle to form an “X”. Tie the string to the tail formed at the beginning of this step.
- Untwist and fluff the rope below the loop, and trim to your desired length. Hang on your door!

Your Guide to Hosting the Perfect Outdoor Movie Night
From DIY projectors to cozy seating arrangements, explore the best…
Continue Reading Your Guide to Hosting the Perfect Outdoor Movie Night
60 Amazon Bedroom Decor Picks to Revamp Your Room
Discover the best Amazon bedroom decor items to create a…
Continue Reading 60 Amazon Bedroom Decor Picks to Revamp Your Room
33 Easy DIY Pumpkin Painting Ideas
Create festive and unique decorations with these pumpkin painting ideas…
DIY Ikea Play Kitchen Hacks to Make it One-of-a-Kind
Take your child’s pretend play to the next level with…
Continue Reading DIY Ikea Play Kitchen Hacks to Make it One-of-a-Kind
Please note that we may earn a commission for some of the above affiliate links. However, products featured are independently selected and personally well-loved by us!


Just gorgeous 😀
I’ve had something similar and tassels with old brass bells on my doors for about 30yrs.
They look wonderful…must be the ol hippy in me 😅
The bells let me know if someone is coming thru my door too 😊
Bells! That would be such a wonderful addition to this! Thanks, Kaz. XOXO
I really love these and will be adding some to my boho decor!
How thick is this rope?
I think it’s about 1″ but you can use whatever you think would be best!
What is the width of this rope? Thank you!
What a fantastic way to add a touch of glamour to your home.
Thank you, Jenny! We couldn’t agree more! Erin did such an amazing job. xo