DIY Pegboard Art
This DIY Pegboard Art is a statement piece that you can make your own with whatever colors, shapes, or seasons you want!
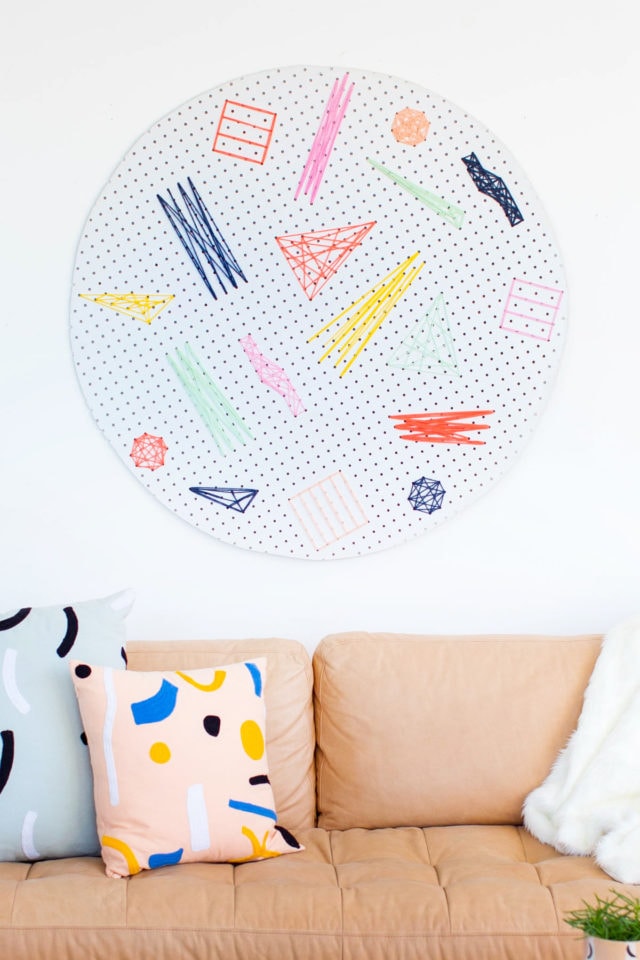
Elevate your space with a touch of personal flair using our guide to crafting a custom DIY pegboard art piece.
In case you’re one of those people that like to switch up their spring and summer decor with minimal commitment and investment, this DIY is for you!
Typically, pegboard is used for storage solutions so we love this unconventional pegboard idea of turning it into art.
Which is why we’re pretty obsessed with this wall art idea, and you can make it into whatever design or color scheme that you’d like.
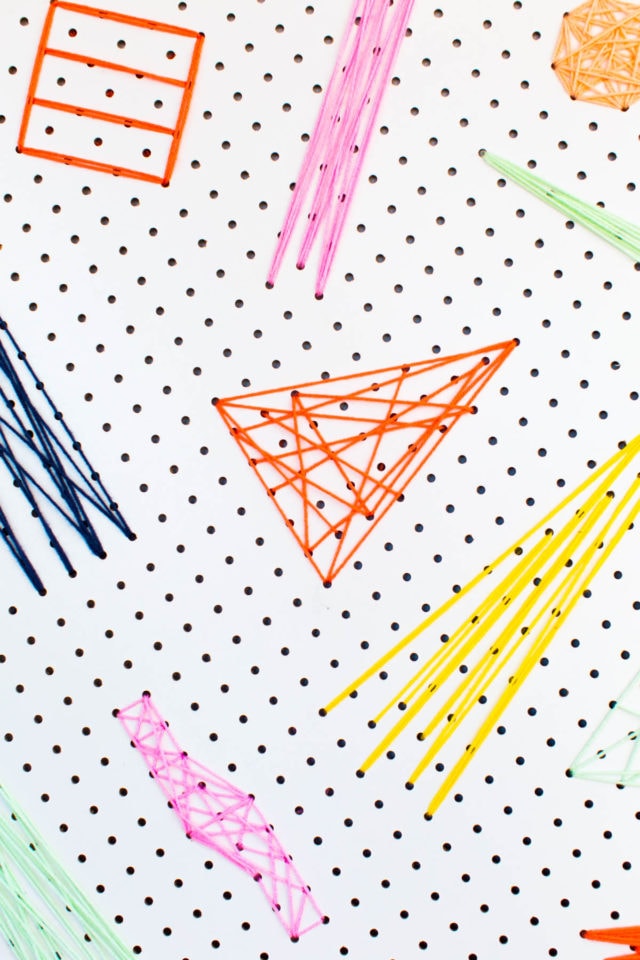
Materials and Tools Needed to Make a DIY Pegboard Art
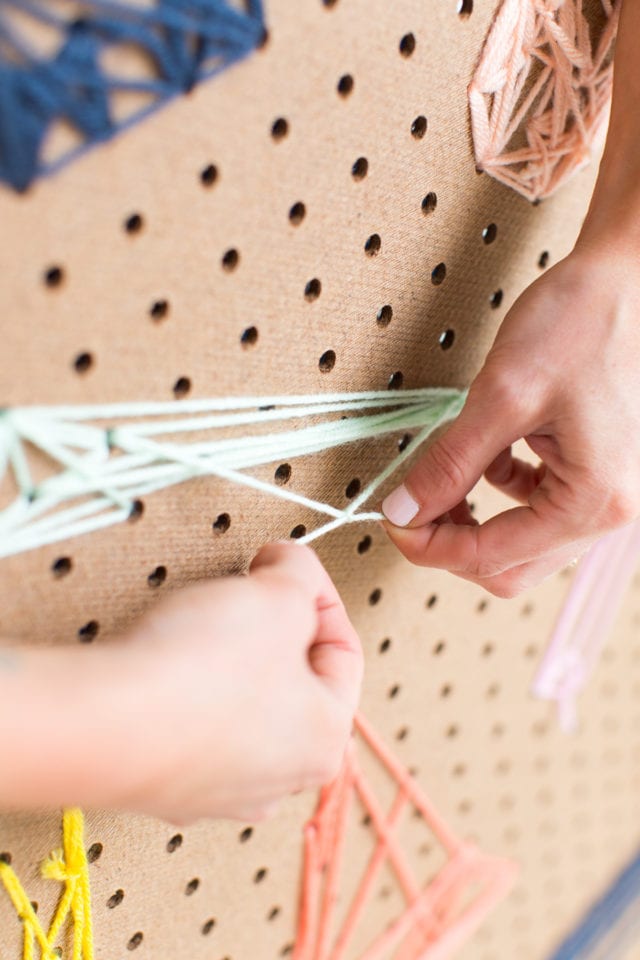
How to Make a DIY Pegboard Art
Let’s start with the finished pegboard circle instead.
When you have your shape cut out, all you have to do is spend time stringing shapes over and over through the pegboard holes with a yarn needle.
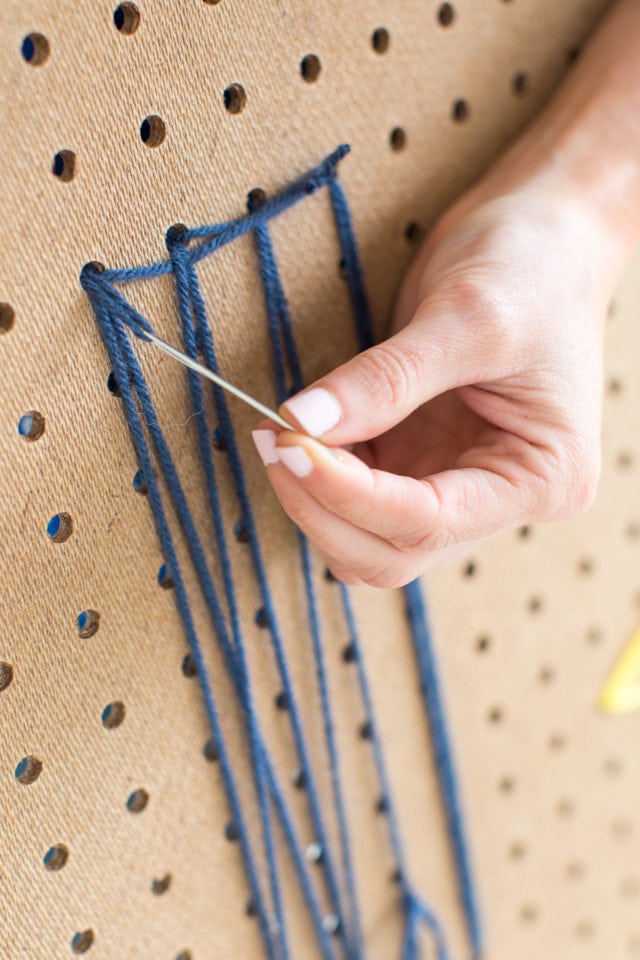
This one took longer since we made a giant 5-foot art piece. When you are finished, hang your final wall art.
Luckily the holes are already drilled for you, so we just used heavy duty white nails to blend in with the pegboard to mount it to the wall.
In hindsight, we wish we would have used the natural brown side of the pegboard instead of the white since it doesn’t pop quite as much with the white on white. 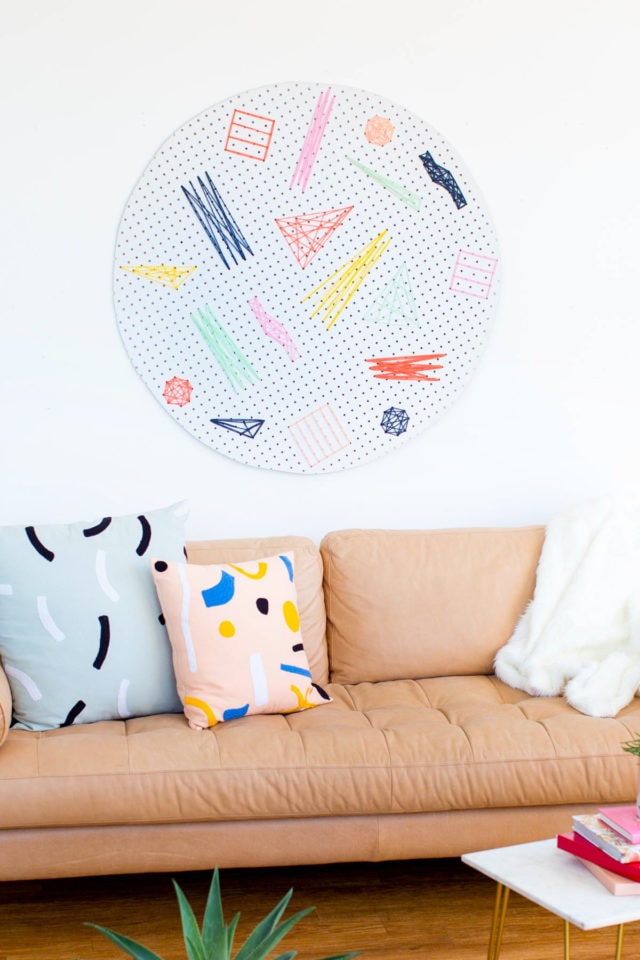
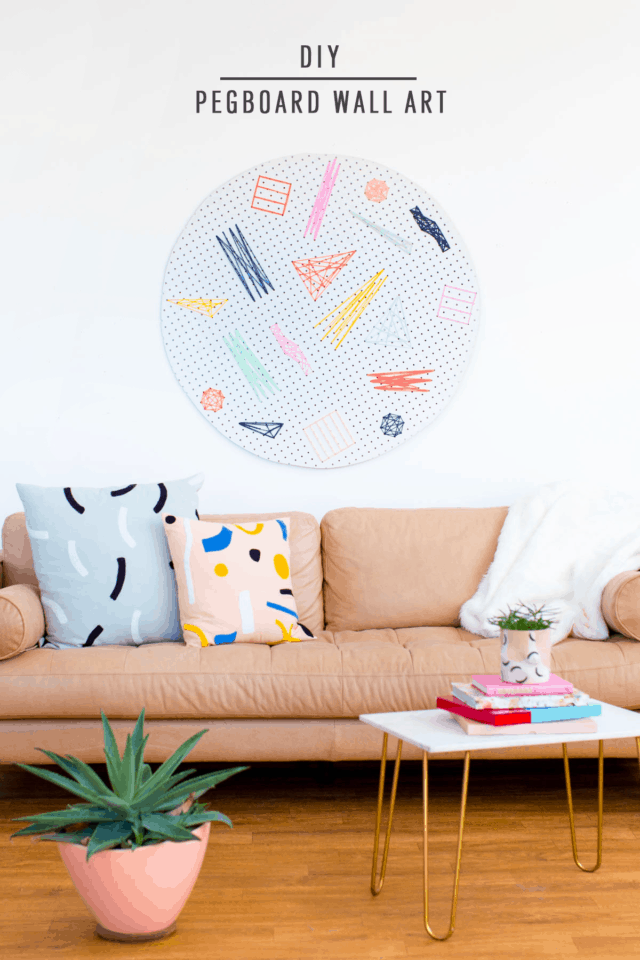
We also really love the idea of painting the pegboard a color first before threading it with yarn. What do you all think?! Yay or nay?
Please note that we may earn a commission for some of the above affiliate links. However, products featured are independently selected and personally well-loved by us!
Impressive DIY project! Looks like art to me!
Haha thank you so much Kate! I hope you try this one!
Where did you get those pillows? They are fabulous!
Hi Monica! They’re actually old patterns from Dusen Dusen!
I just woke and looked at the pegboard blurry eyed. I thought it was pegboard that some creative mom had encouraged her little kid(s) to draw on and then hung. Felt silly when I read it and saw what was really happening. You know, I still like my idea better.
hah, does sound like a lot of fun!
That is such a good idea- in practice cheap and easy to make, but aesthetically beautiful and original!
So glad you like the DIY! xo
I love that you can switch up the look whenever you’re in the mood for something new – with either new yearn designs or a coat of paint. V clever.
So true! Thanks, B :)
Love the texture it brings to your wall! 5hrs for a bold piece seems like a good trade off ;D
hahah, that’s our motto around here!