DIY Leather Cricut Placemats
The holiday season is officially around the corner! While you don’t exactly need a holiday to justify making some easy DIY placemats, it certainly doesn’t hurt!
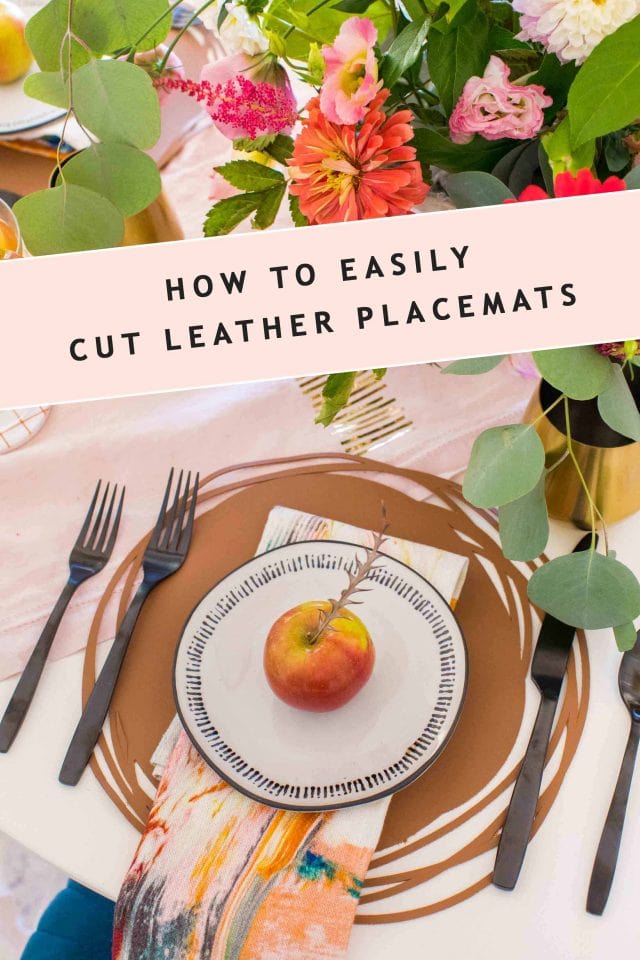
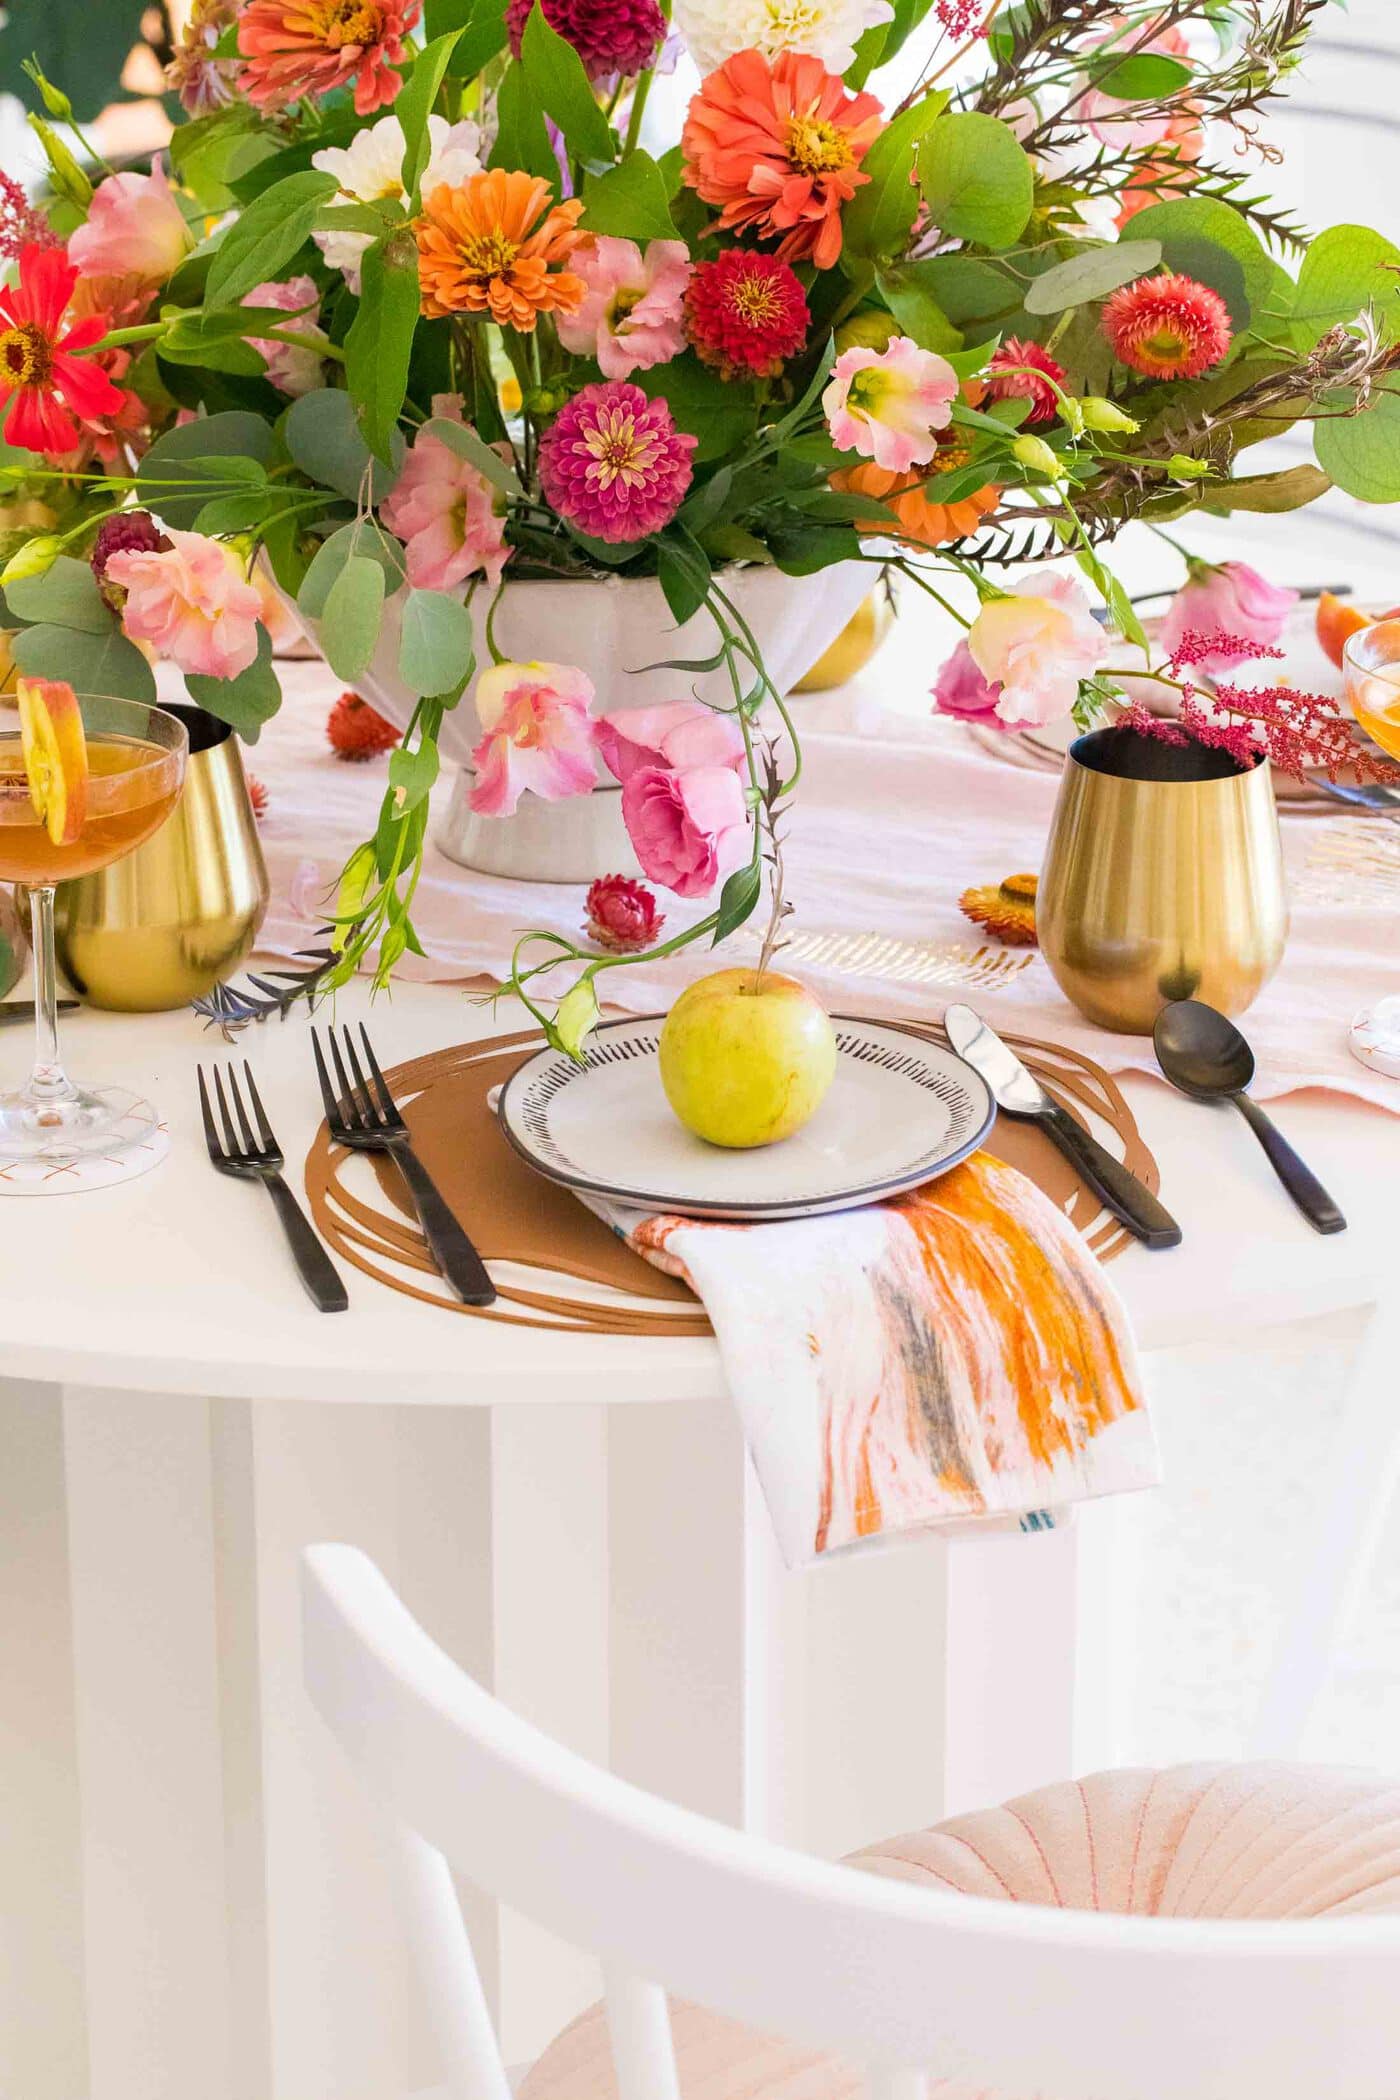
I actually made these to set the table as part of my dining table decor ideas with Cricut! I wanted to make something that felt like fall but was also inexpensive and versatile! Hence why I chose leather as my supply of choice!
That said, you can easily use these year-round! They’re inexpensive and reversible placemats to make and you don’t need to bust out a sewing machine either. That’s a major win in my book, haha!
That said, you can easily use these year-round! They’re inexpensive and reversible placemats that you don’t require you to bust out a sewing machine to make either.
Since they’re made from faux leather, they’re also much easier to clean after each use than traditional fabric placemats. That’s a major win in my book, haha!
While there are about a million placemat ideas that you can whip up as DIY projects, I love the way these flowed with our DIY table runner and fall home decor ideas!
Here’s how to make them, store them, and keep them clean!…
Easy DIY Placemats | How to Cut Leather With a Cricut
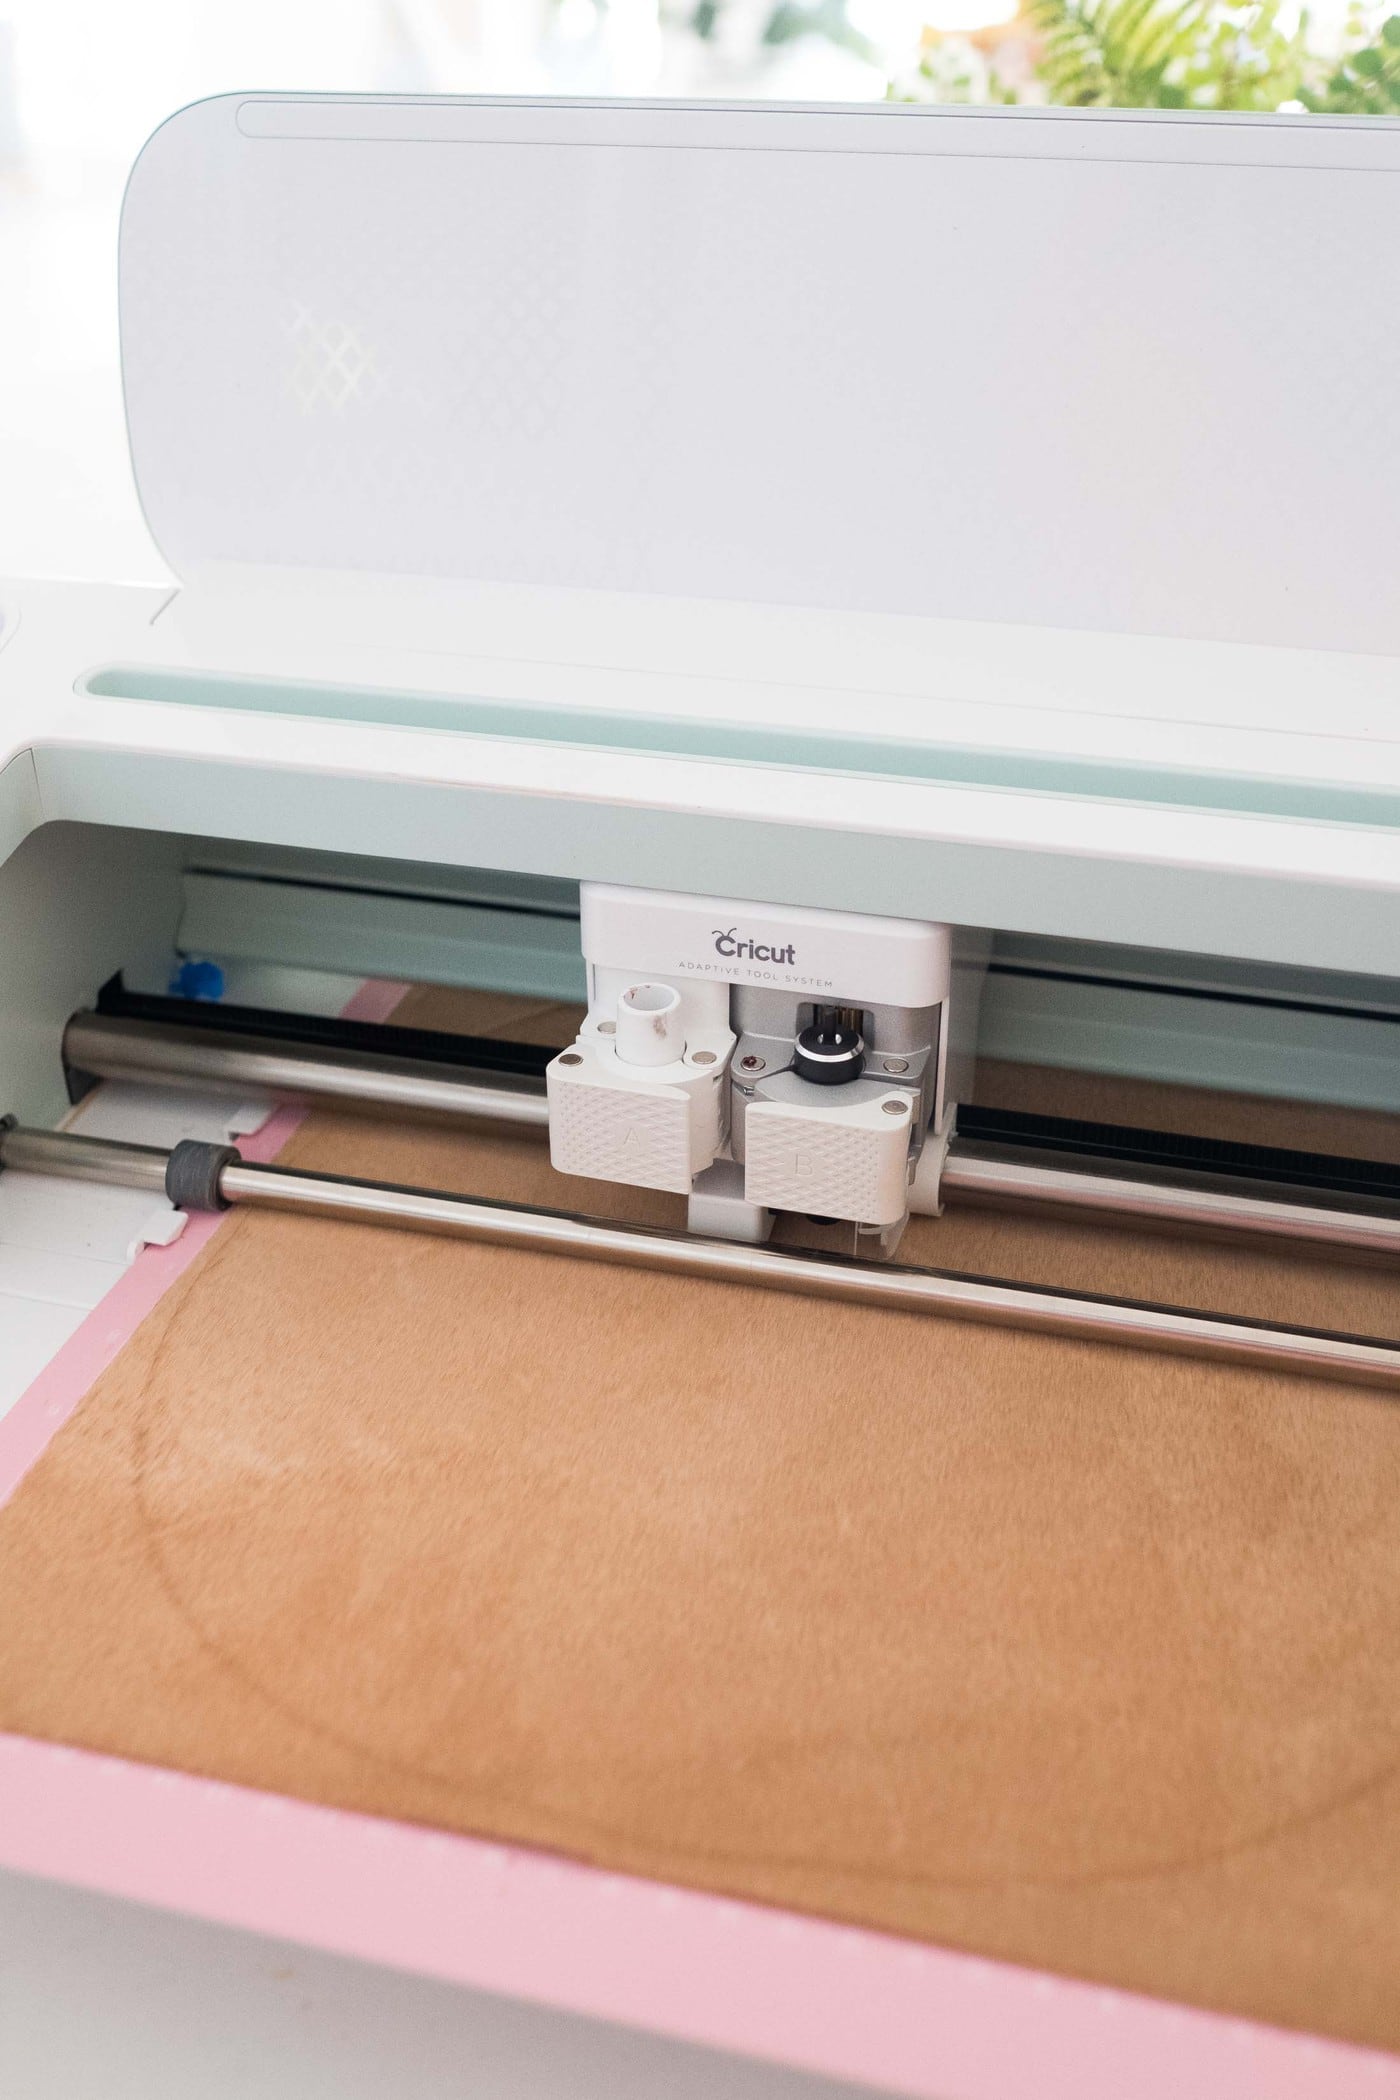
1 — Connect your Cricut Maker to your computer and place your deep point blade into side B of the machine.
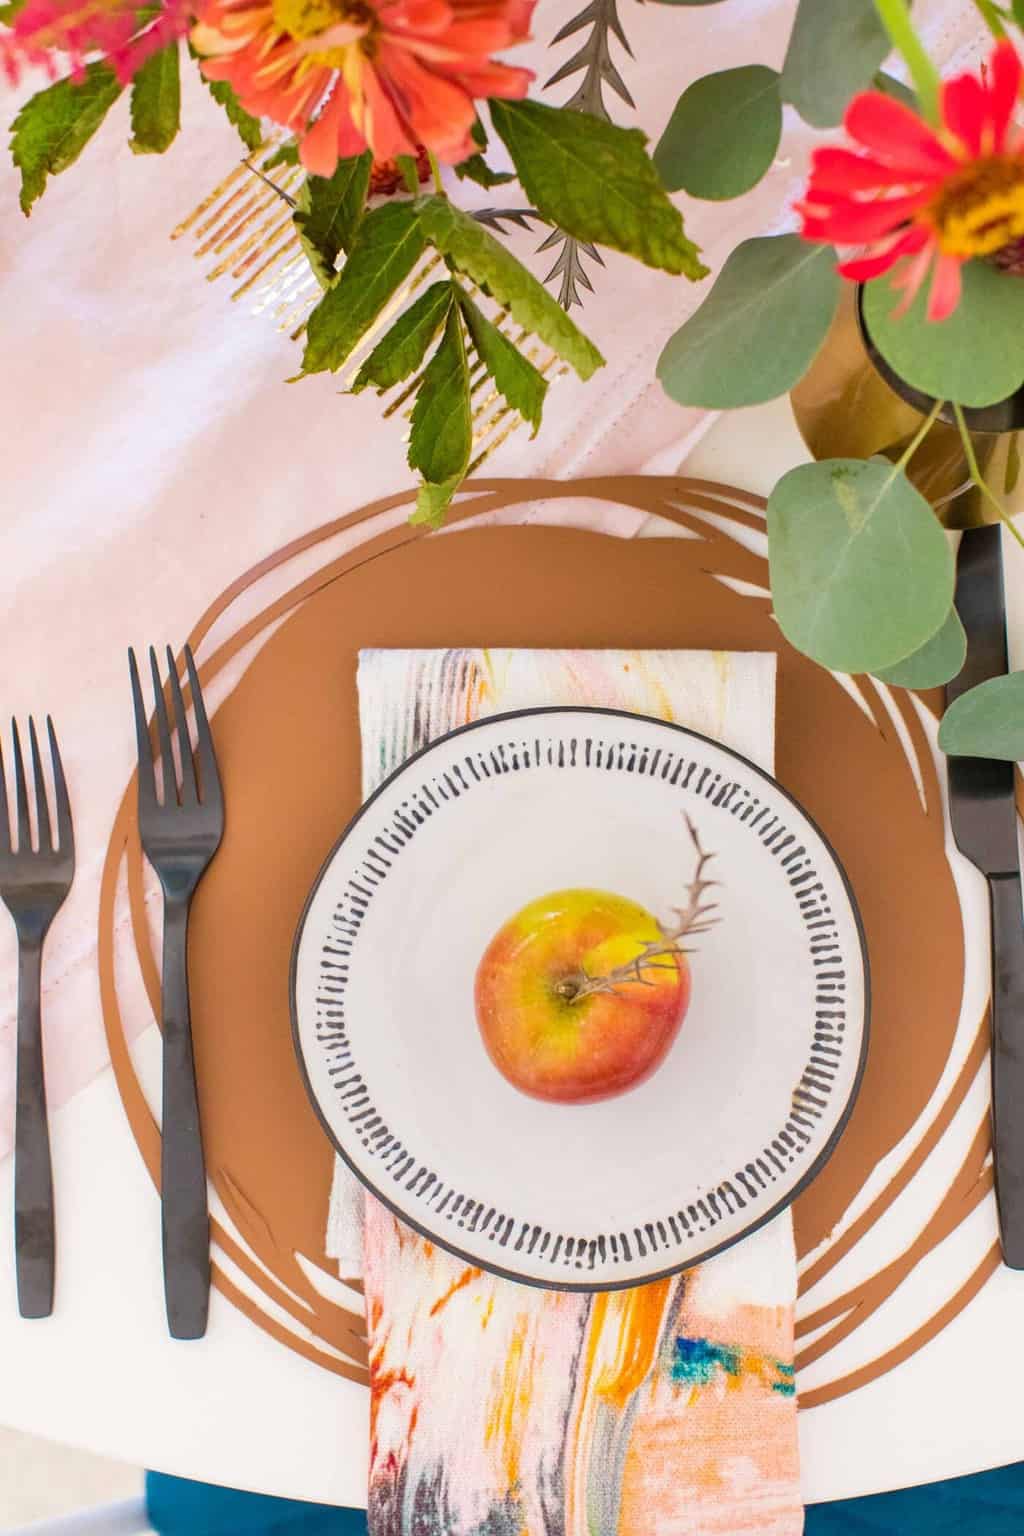
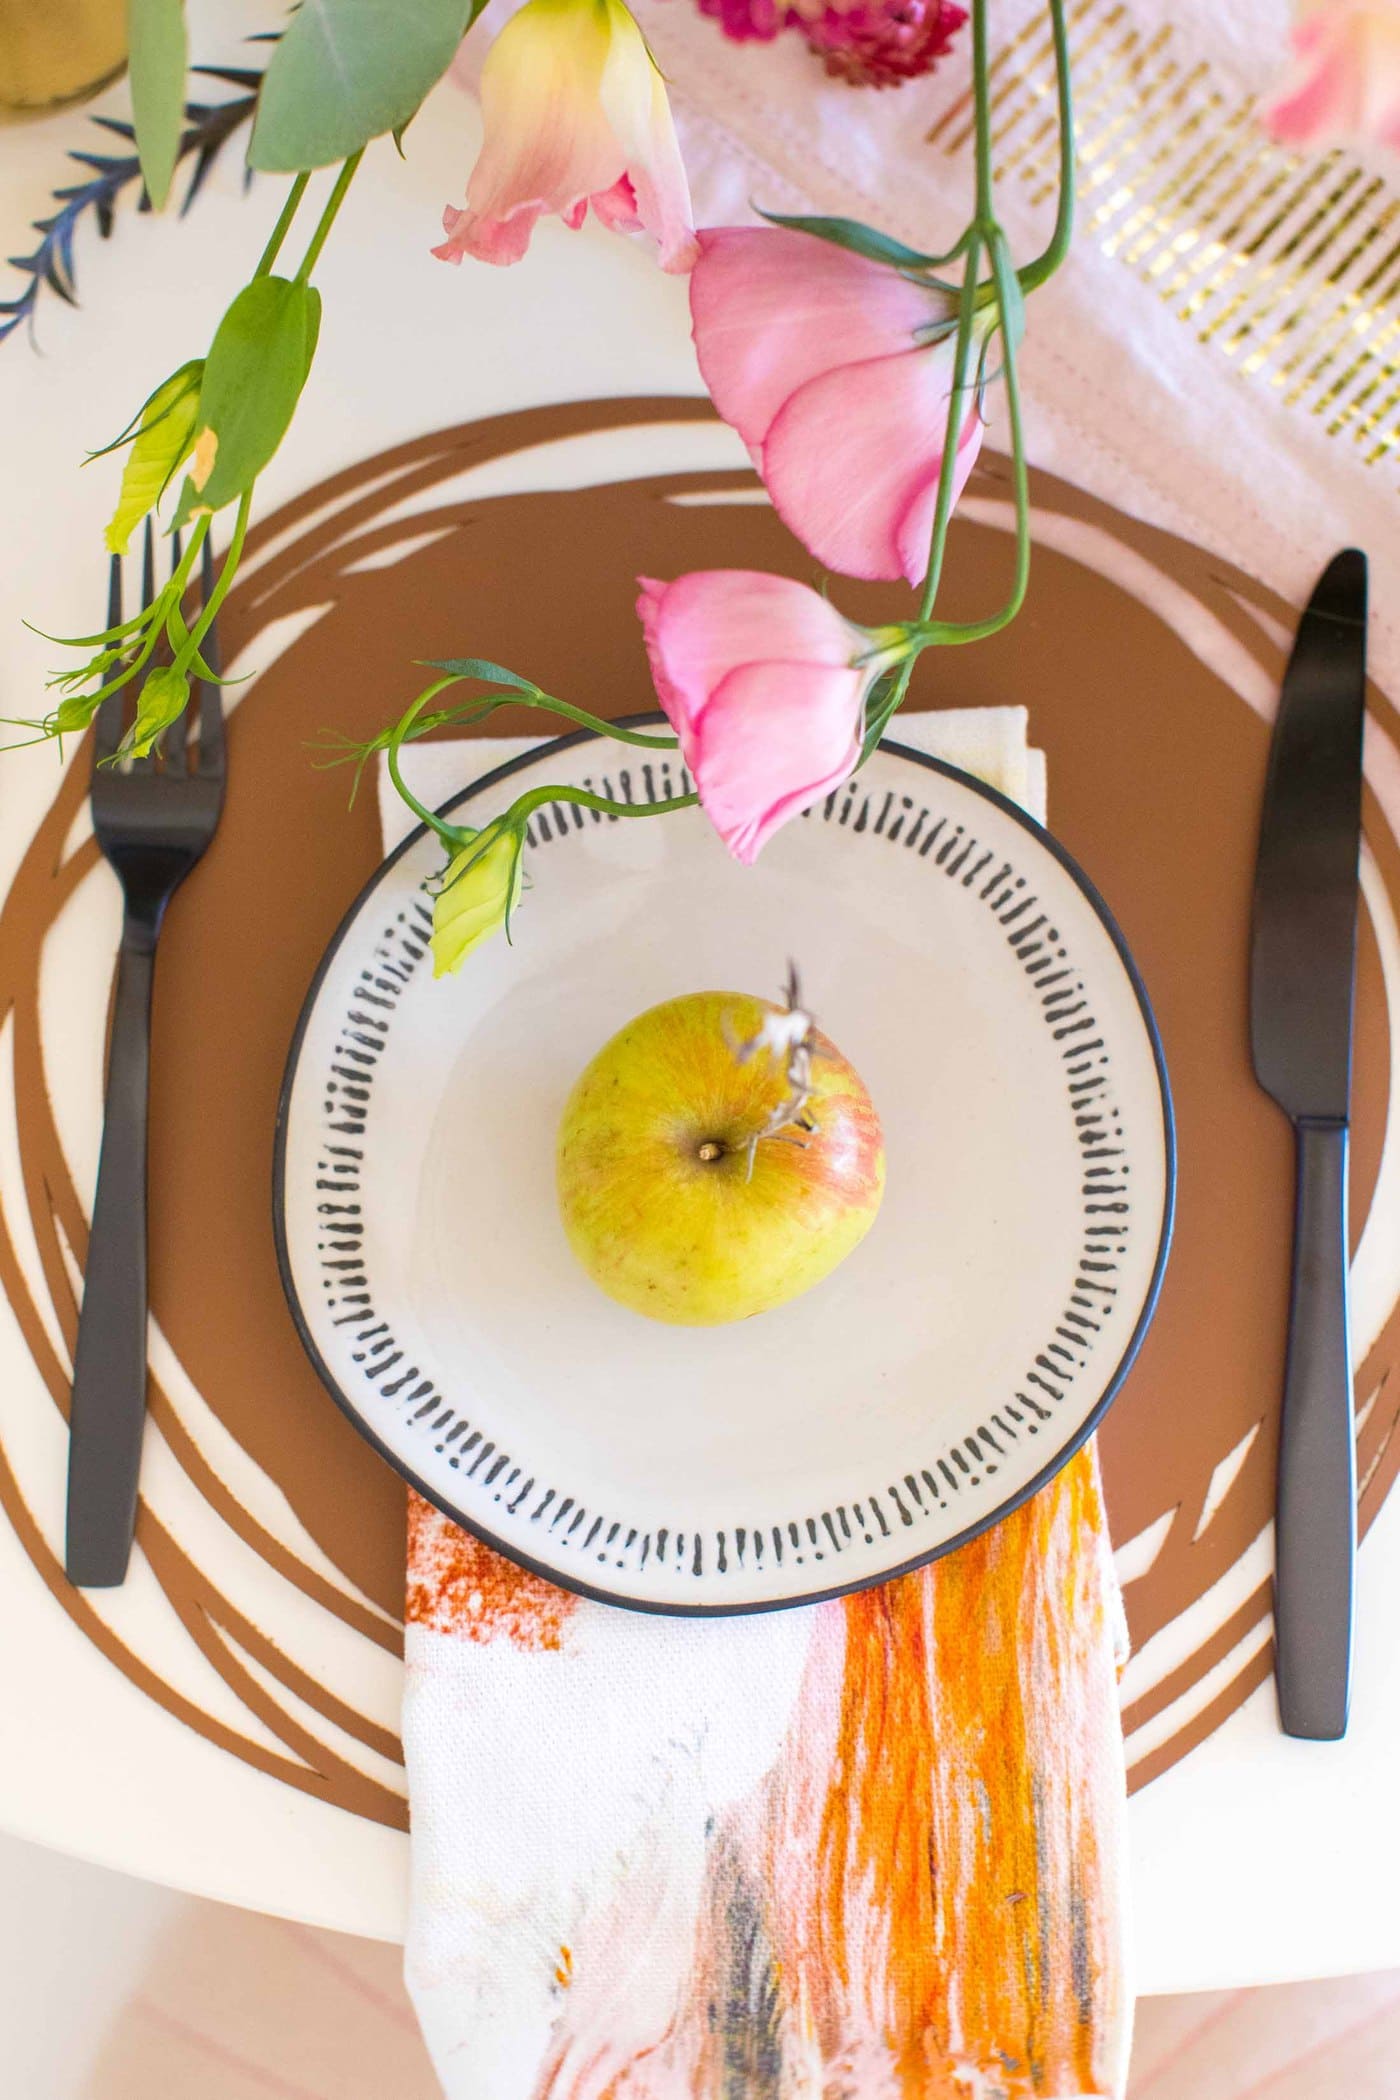
2 — You can easily use images supplied in Cricut Design Space for making your own custom placemats, but I used Photoshop to create my own template to upload into Design Space. I opted for a round placemat design instead of straight lines and the machine was invaluable for creating that look!
You can download my template for the modern round placemats right here!
Pro-tip: make sure lines aren’t too small or too close together or the Cricut machine will have issues cutting them on leather properly.

3 — Once you have your design set in Design Space, click the “Make It” button in the top right corner.
4 — Place your leather face down (suede side up) onto your mat and load it into the machine.
If your design allows it, I recommend taping down the sides using painters tape, then select “genuine leather” for your material and press the flashing Cricut logo on the machine to start the cut.
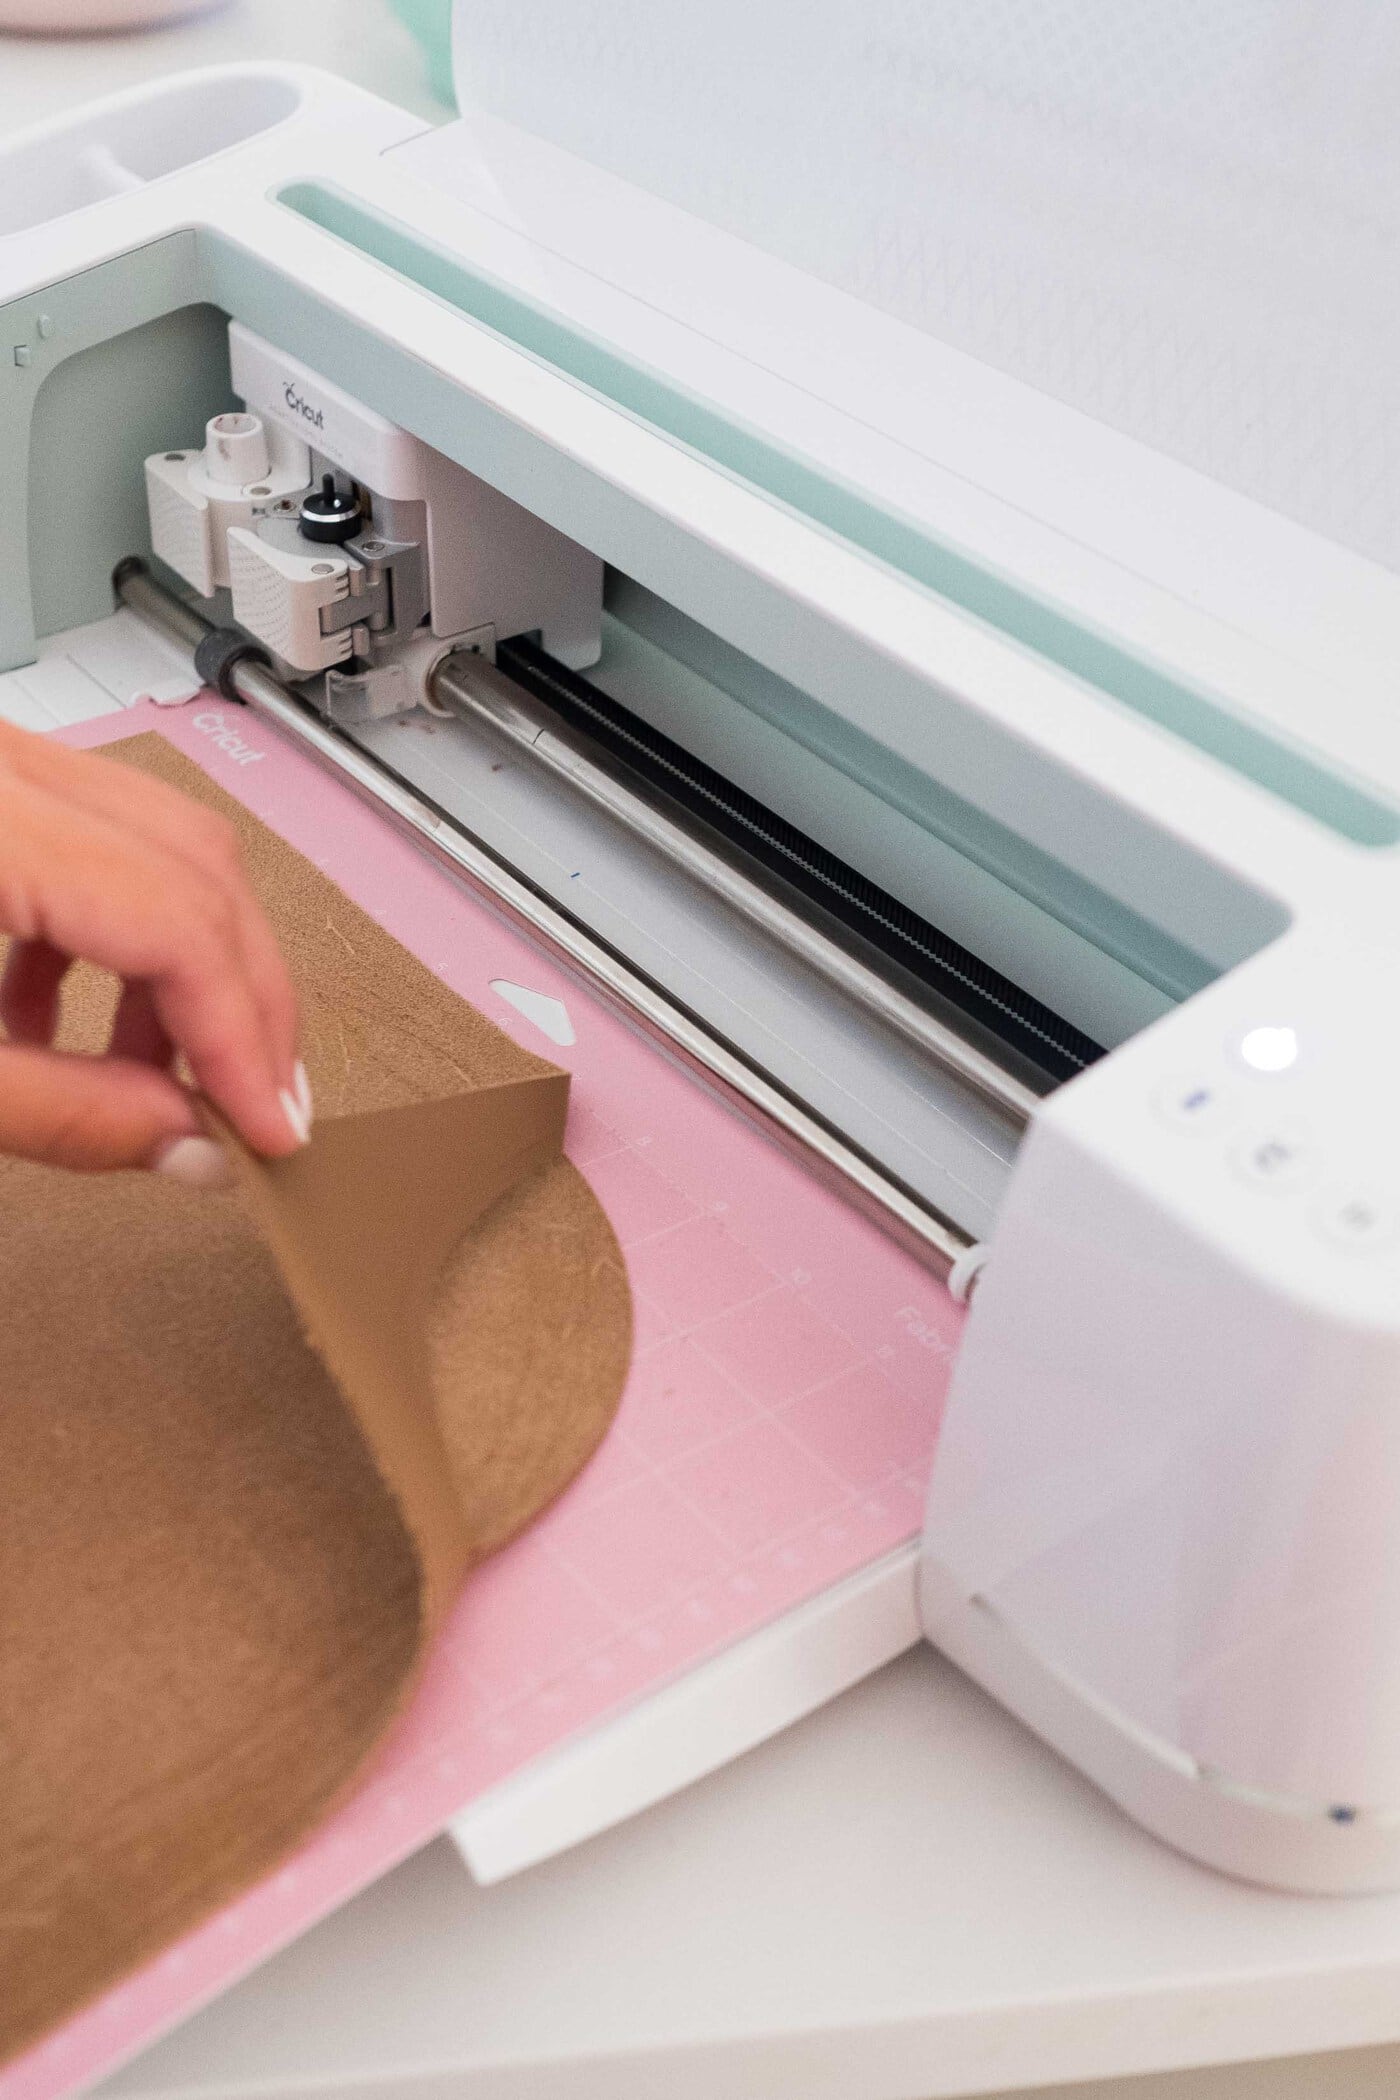
5 — Once your cut is complete, gently peel the design off of the mat and remove excess pieces.
6 — Once you have your finished cut, repeat this process for the total amount of place settings that you need to make for the table!

How to Store Your DIY Placemats
While placemats can totally make or break a table setting, they can also easily get creased or misshapen.
The faux leather is a little more forgiving, but if you spent time on a big sewing project for fabric placemats, then proper storage is especially important to not have to iron them over and over.
If you have the space, designate a drawer in your house for storing all of your placemats flat. You can also snag a plastic bin for them as well!
How To Clean Your DIY Placemats
Since these are made of faux leather, cleaning is SUPER simple thankfully! Simply use a damp cloth to wipe them down, but avoid using any type of harsh cleaners on the surface.
What Is The Best Size For A DIY Placemat?
A DIY placemat is one of the easiest ways to protect your table from stains and rings, but this also means that you need to pick a decent size. There are some guidelines for these types of mats which you can follow if you want your new purchase to look good.
For example , choose one with dimensions at least 15 cm longer than your tabletop . This way it will be able to catch spills before they run down the sides. Another suggestion is that you pick a larger placemat instead of several smaller pieces, as it’s always easier to tidy up spills when there is plenty of space around them .
If the design on the mat includes stitching , make sure not to choose anything smaller than 7 cm in width because this sort of detail will look odd when reduced to such a small size .
In case you’re looking for more DIY ideas for your fall table decor or to create with your Cricut, check out my DIY table runner right here and my DIY coasters using Cricut Infusible Ink that I made for the same fall table setting post here!
This post is sponsored by Cricut. Sugar & Cloth has chosen to donate 5% of all sponsored campaigns to charity, which you can read more about right here.
Please note that we may earn a commission for some of the above affiliate links. However, products featured are independently selected and personally well-loved by us!
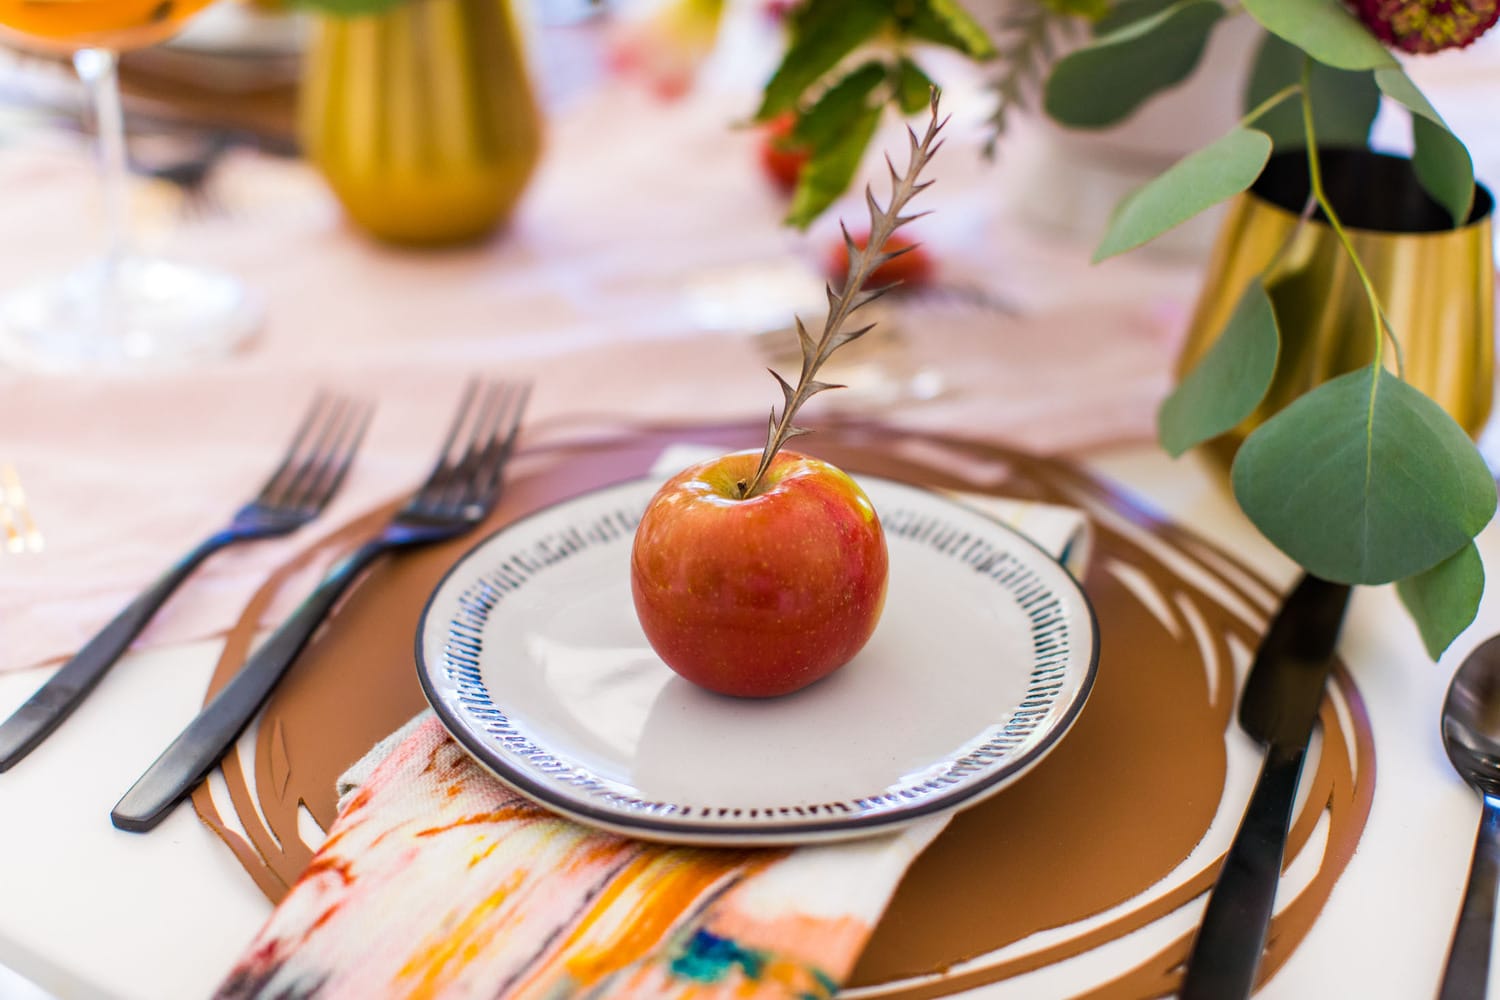
These are very cool! And that dish the apple is sitting on is gorgeous, can you share where it’s from?
Thanks, Kim! They are from At Home. XOXO
Oh good to know, thanks so much!
Hi. I would Love to see the DIY leather placemats but you can’t Open it.
Hi Sandra! Apologies! We are going through site design but you can now see the post! Please let us know if you have anymore issues.
These are really pretty! I love how they add a beautiful rustic flair to the table.
Thank you, April!
I really loved it! So cool and artistic!!
Thanks, Toni! XOXO
Absolutely LOVE these place mats! They look so upscale – you would never know you made them yourself!
That’s exactly what we were going for! Thanks, Taylor!
These are so pretty! I love the delicate edges, so much more interesting than just a traditional circle placemat!
The edges are our favorite too! Thanks, Kara.
These placemats are absolutely darling! I love the apple decoration as well.
Thanks, Julia! We are already totally thinking about fall.
😍😍so cool!
Thanks, Angel!