Fancy Frill DIY Balloon Tassels
Learn how to make DIY Balloon Tassels with this easy fringe tassel tail tutorial. Perfect for parties, showers, and celebrations with simple materials.

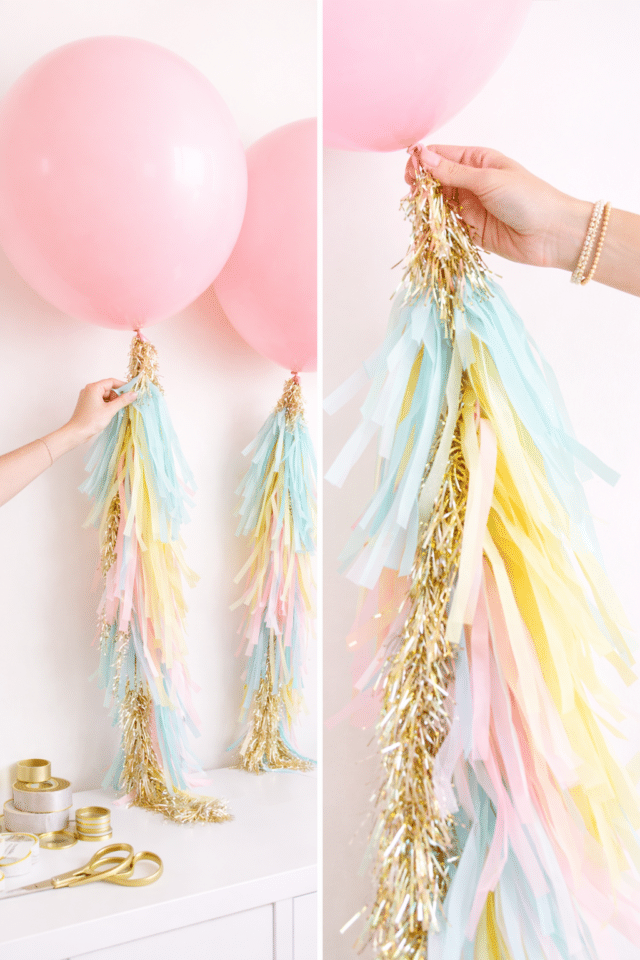
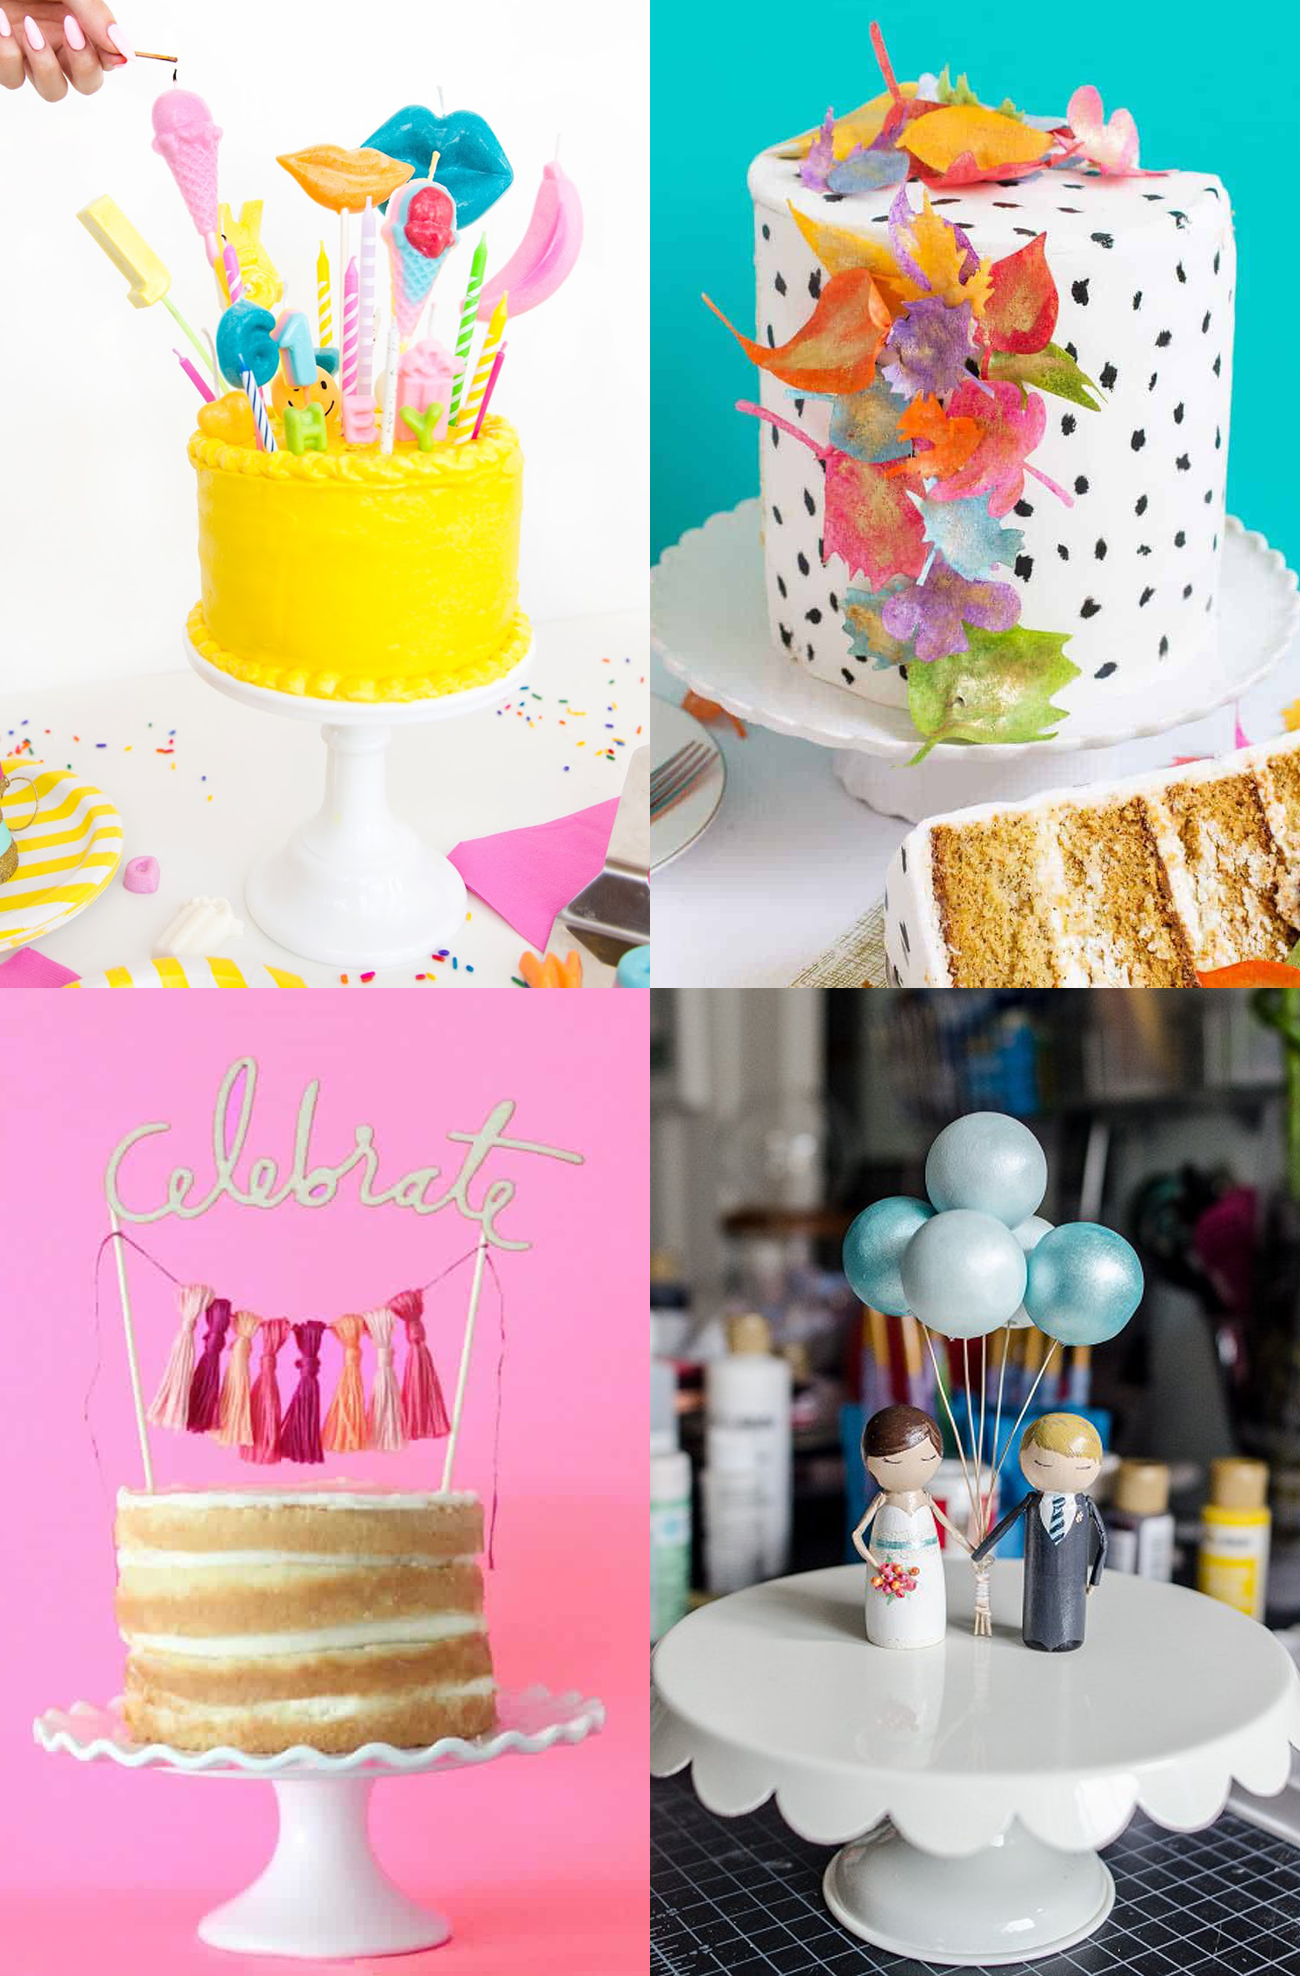
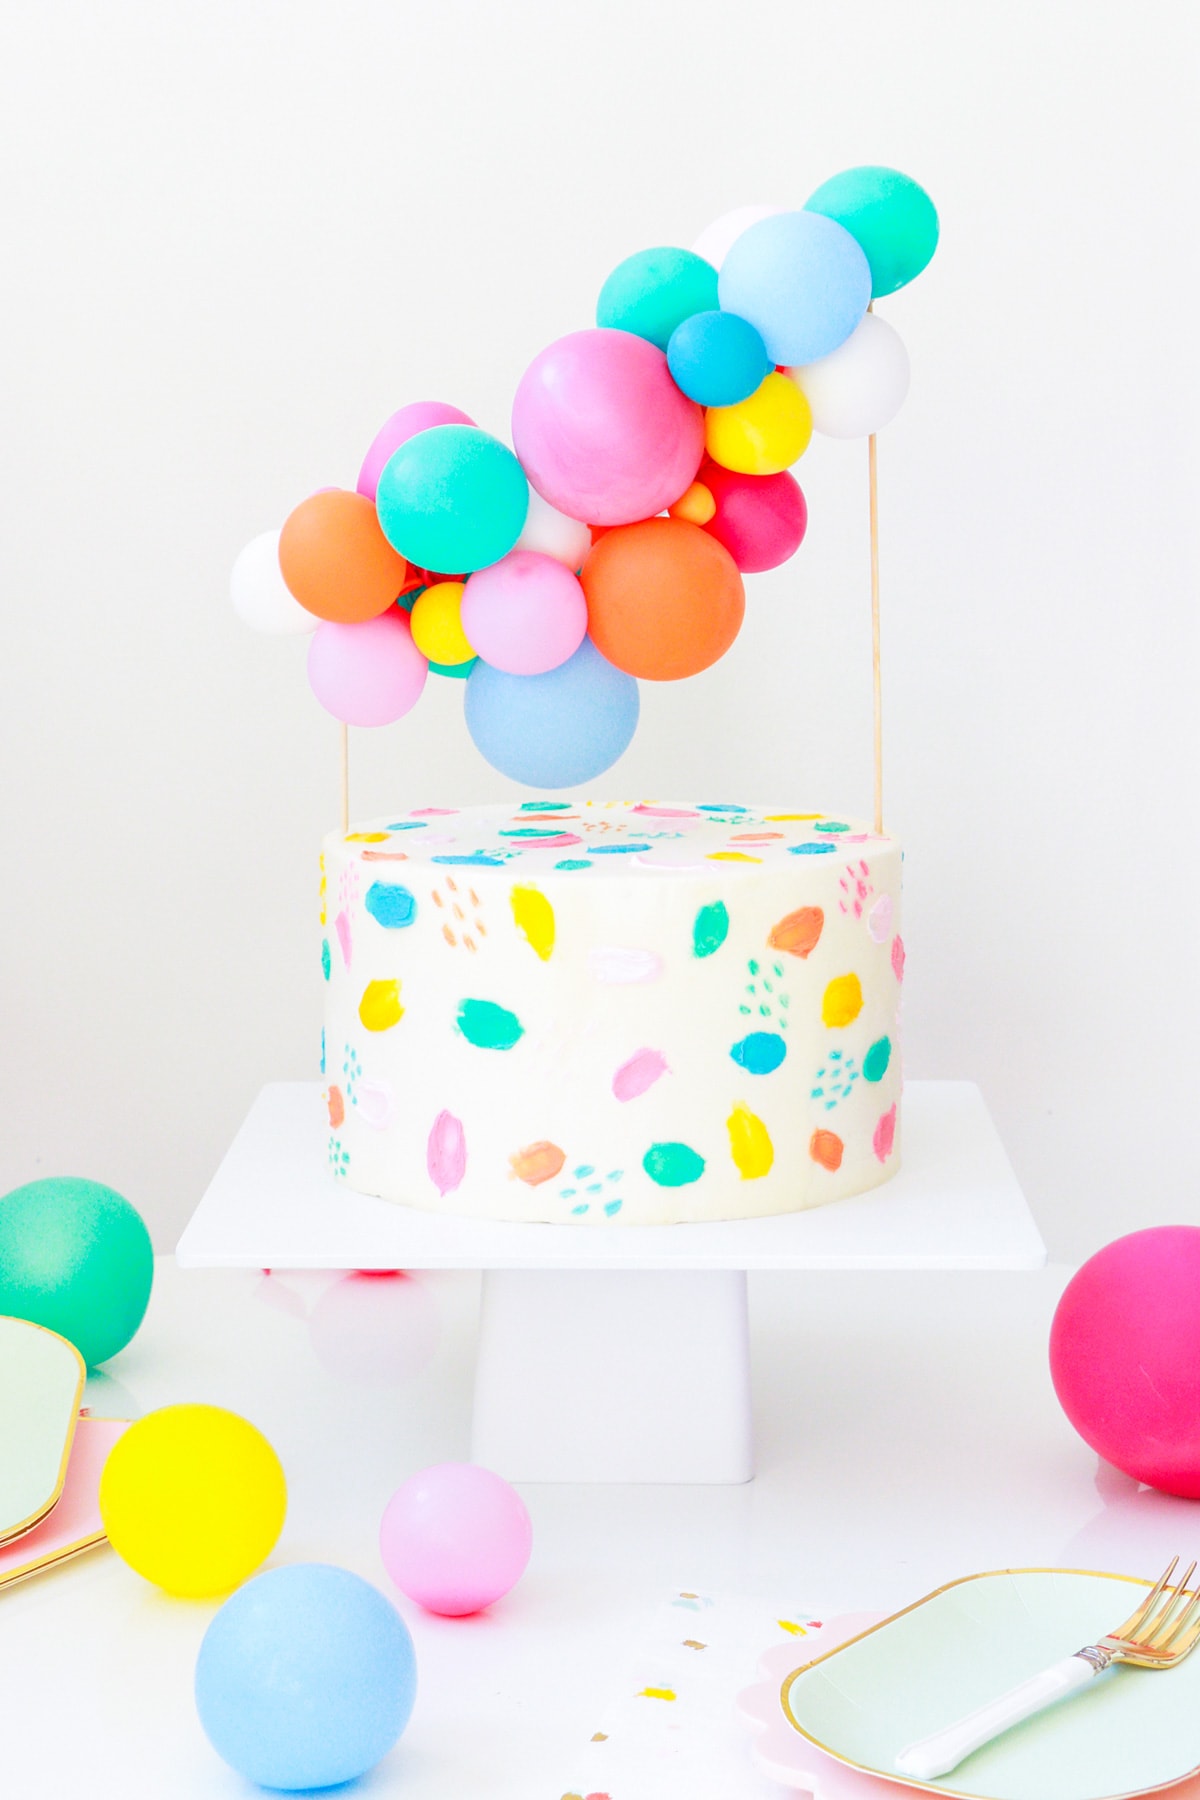
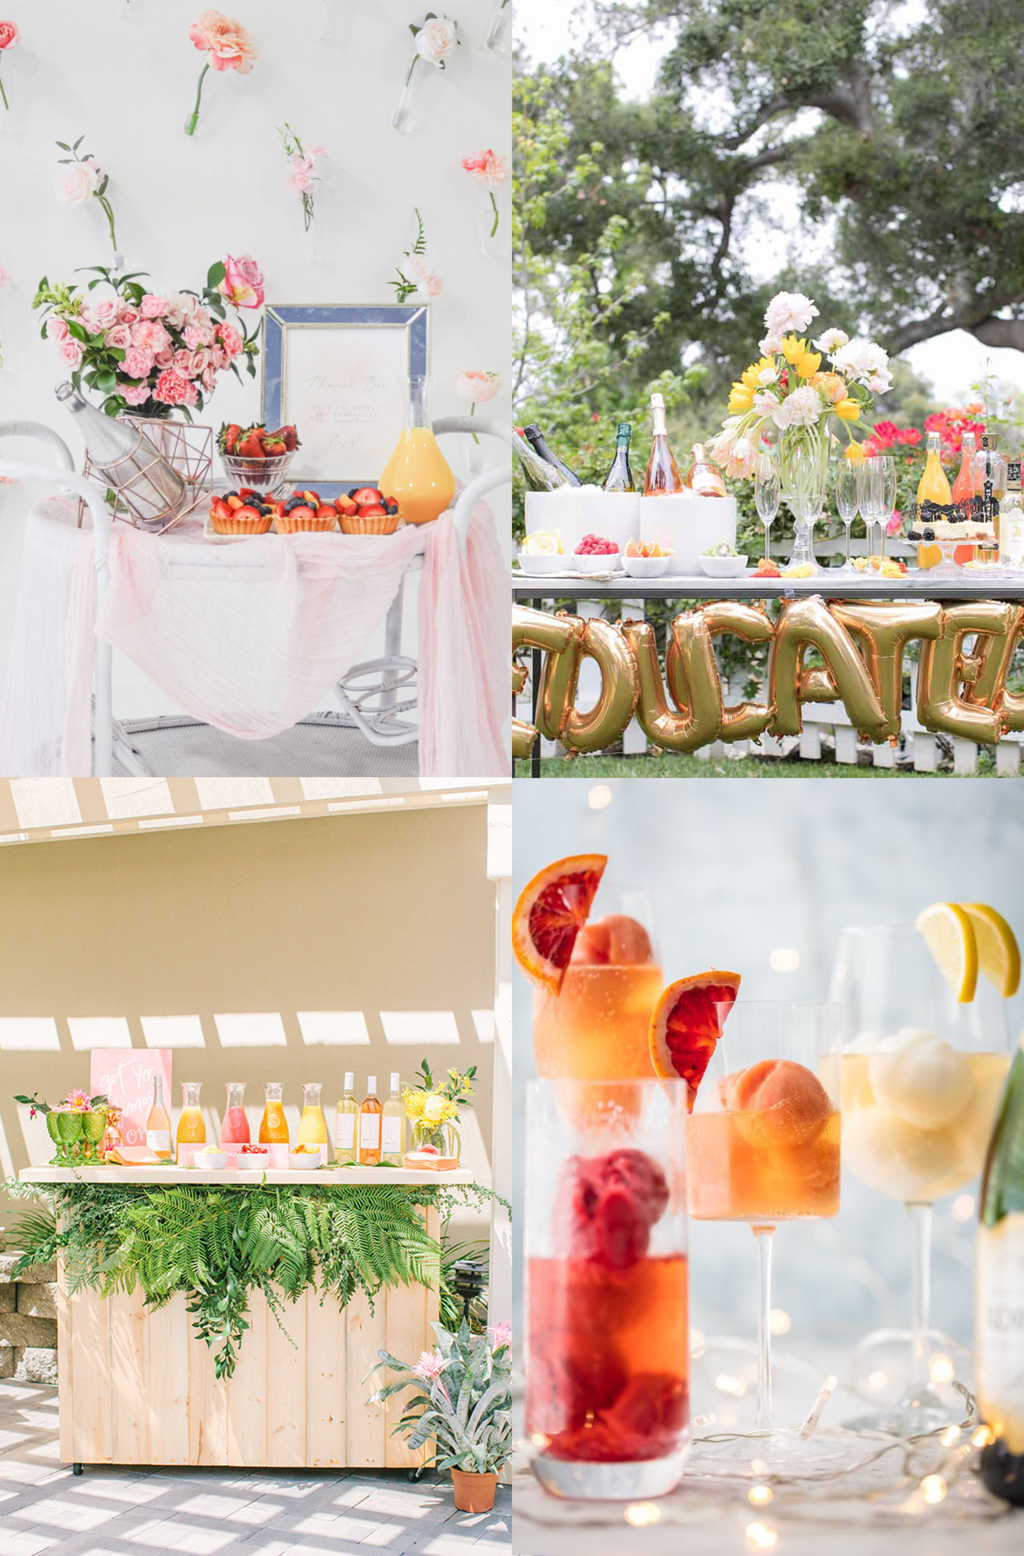
If you’re looking for a simple way to make your party decor feel instantly more elevated, this DIY balloon tassel tutorial is one of our all-time favorites. These fancy frill balloons take a basic helium balloon and turn it into a statement piece with colorful tassels and a touch of shimmer.
The best part? You don’t need any special tools or crafting skills. This DIY balloon tassel garland comes together quickly using tissue paper, ribbon, and a little creativity. Whether you’re decorating for a birthday, baby shower, or just love a good excuse for pretty decor, this is one of those easy projects that looks way more impressive than it actually is.
What Are Balloon Tassels?
A balloon tassel is a decorative garland made from strips of tissue paper, ribbon, or fringe that hangs from the base of a balloon. In this DIY balloon tassel tutorial, we’re creating a “fancy frill” version by layering soft pastel colors with metallic accents for extra texture and movement.
Supplies You’ll Need
- Large helium balloons: We love oversized like this 36-inch balloon for impact.
- Tissue paper or metallic sheets in (multiple colors for a layered look): We used plastic tablecloths.
- Ribbon and/or tinsel garland: Optional, but highly recommended for sparkle.
- Scissors
- Stapler

How to Make DIY Balloon Tassels
Step 1 — Cut the tissue paper
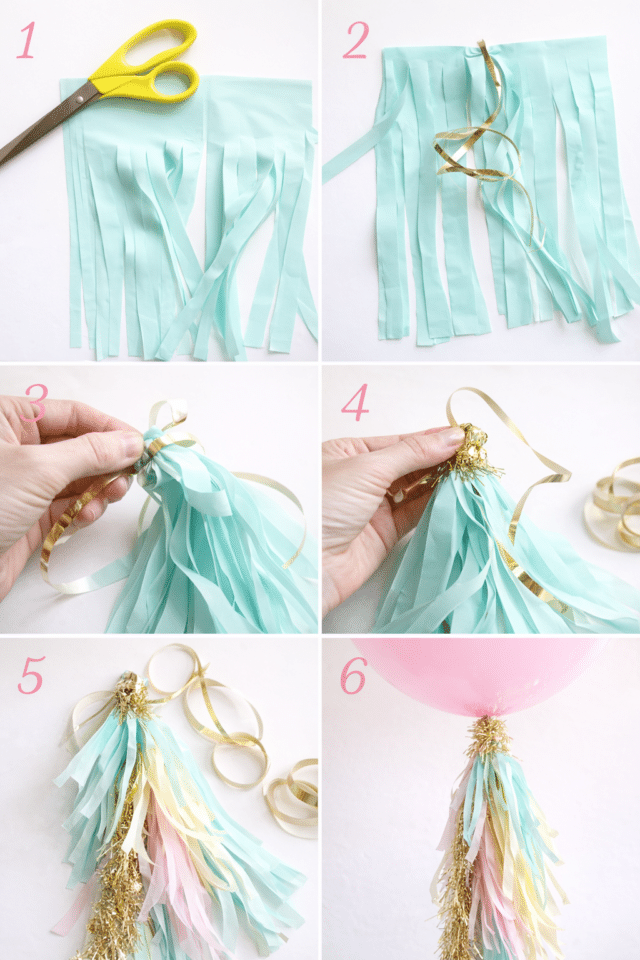
Start by cutting your tissue paper into long strips, leaving about an 1 1/2 ” area at the top. Stack a few sheets together to speed things up, then cut evenly for a clean, uniform look.
Step 2 — Create the tassel fringe
Fold each strip in half and cut fringe along the open edge, leaving about 1 inch uncut at the top so everything stays attached.
Step 3 — Twist into tassels
Gently twist the center of each fringed strip to form a tassel shape. This is what gives your DIY balloon tassels that signature “frill” effect.
Step 4 — Attach to your string
Tie or loop each tassel onto a long piece of ribbon or twine. Mix colors as you go to create a layered, dimensional look.
Step 5 — Add gold tinsel (optional)
For extra flair, weave in pieces of gold tinsel garland between the tissue tassels. Let it peek through for a subtle shimmer rather than overpowering the colors.
Step 6 — Attach to the balloon
Tie your finished tassel garland to the base of your balloon string. Adjust spacing and fluff the tassels so they fall naturally.
2 — Take a piece of ribbon and wrap it around the middle of the slits and knot. (This will be what you use to tie your tassel to the balloon strand with.
3 — Begin folding the edges of the of your paper in until you have about an inch width gathered in the middle.
4 — Take another piece of ribbon and staple it to the fold on the the top of your tassel, then begin wrapping the excess ribbon around the stapled piece.
5 — Once you’ve wrapped the top in ribbon, you can either staple, tie, or weave it to secure the hold. (Repeat steps 1-5 for as many tassels as you’d like, varying the lengths and colors to add dimension.)
6 — Tie your garland/ribbon for the main strand to the balloon.
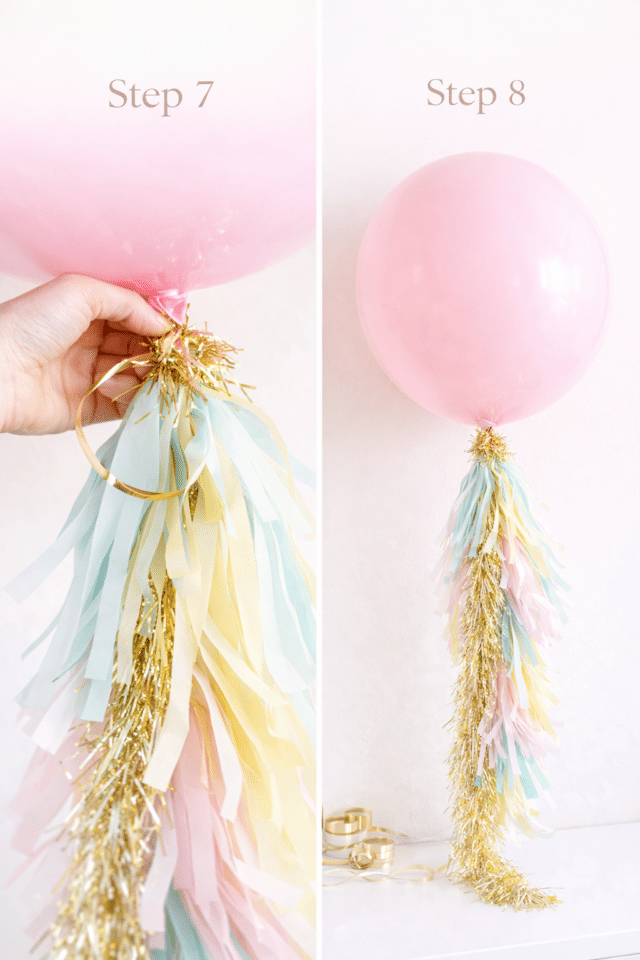
7 + 8 — Begin attaching the tassels to the main strand with the ribbon from step 2, and continue until your balloon is nice and fluffy!
Tips for the Best DIY Balloon Tassels
- Use multiple shades for a fuller, more designer look
- Don’t over-pack the tassels—a little movement makes them feel more elevated
- Mix textures like tissue paper + metallic tinsel for contrast
- Go oversized with your balloon for maximum visual impact

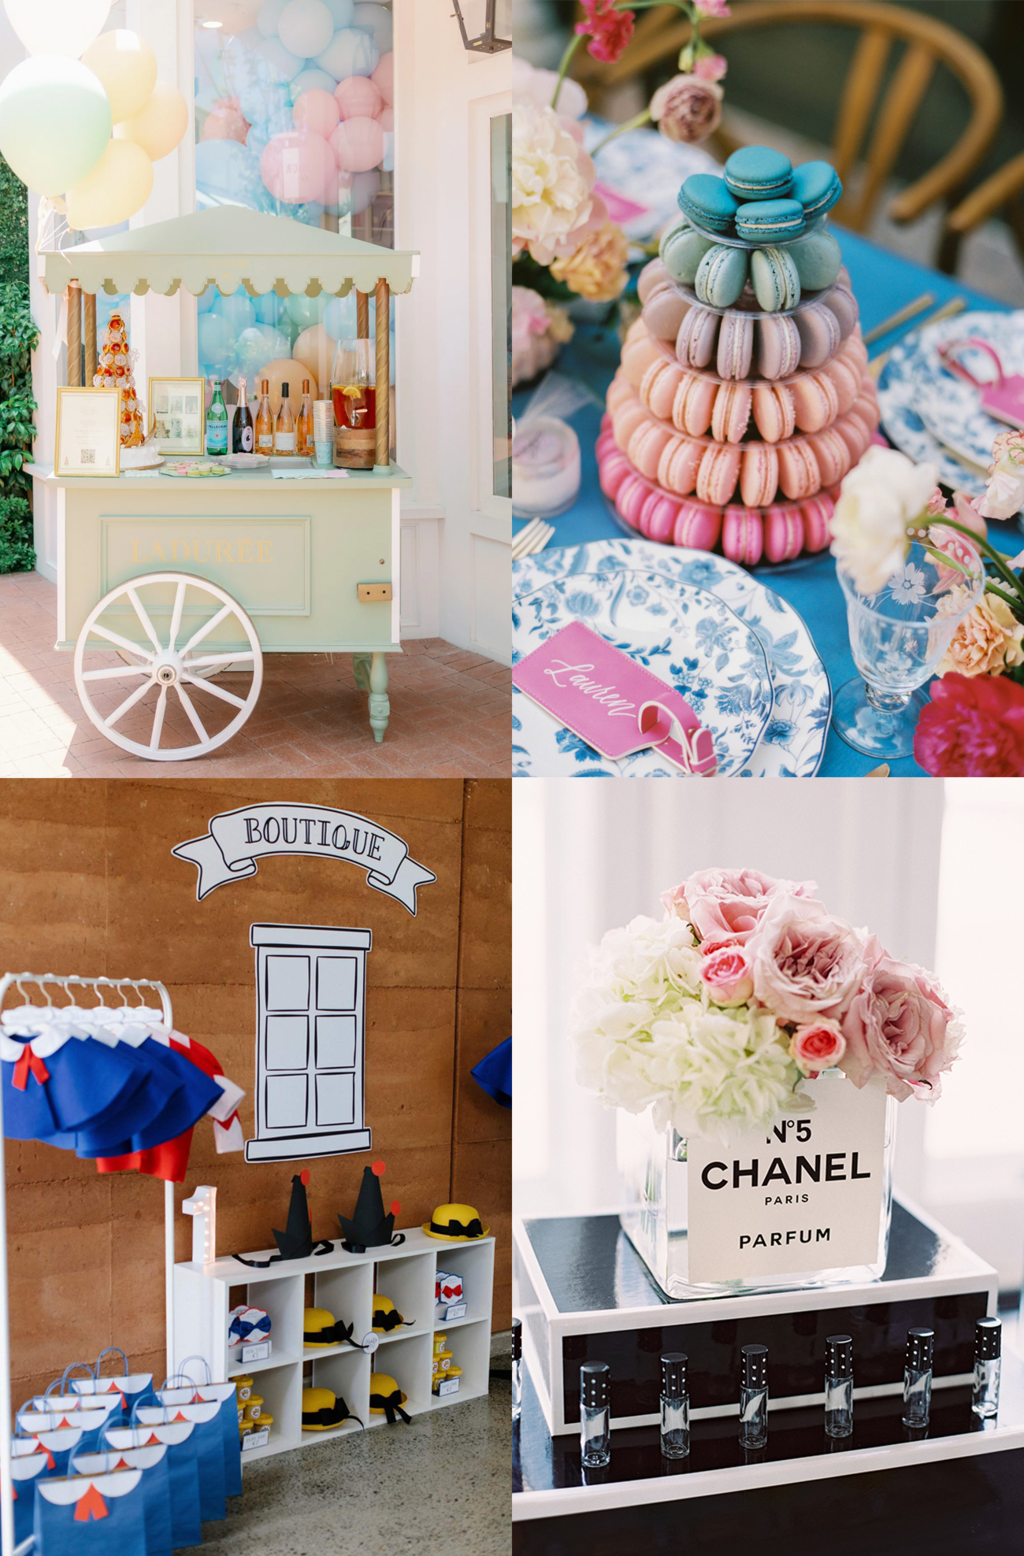
They also pair beautifully with other decor like our
👉 DIY balloon garlands
👉 easy party backdrop ideas
👉 colorful table styling guides

Please note that we may earn a commission for some of the above affiliate links. However, products featured are independently selected and personally well-loved by us!
what’s the best way to tie off the 36″ balloons? I’ve got some that I’m planning to use for my son’s first birthday and I’m not sure how to tie it off securely. I’ve read somewhere that some kind of plastic lock tie can be used.
Do you mean tying them off so they don’t float away? If so, you can tie them to just about anything with a decent weight. As for tying them once they’ve been inflated, you can tie them just the same as a regular balloon (that’s what the party store did when I had mine inflated). Let me know if you have anymore questions! :)
So sweet I wanna eat it!!! :) Love it!
xo Jenny
I love this! I have bought these huge balloons for photo shoots, my kids birthdays, and now as a backdrop for a table at a baby shower I’m throwing. Thanks so much for this DIY, I have been wanting to spruce up these already awesome big balloons!
-Kristy
roeandlee.blogspot.com
Thank you SO much for sharing :) I absolutely love the idea and can’t wait to do this for my daughters 5th birthday party this month.
X
p.s. I just posted a link to this on my blog.
Awesome! Let me know they turn out :)
I love this! I’ve been thinking about attempting a similar DIY. Did a party store fill the balloon for you? I heard they take a lot of helium? How long did the balloon last once it was filled?
Love your blog!
Mandy
The Klury Report & Kini Style
Thanks, Mandy! Yes, Party City filled them and it cost 50 cents each, not bad at all. They lasted about 3 days, hope this helps :)
These balloons are so fun and fancy- I love it! =)
Sooooooo beautiful!!!!!
these are gorgeous! great work : )
Thanks Ana, and same to you! Your whole blog is pretty :)
Love this! Such a cute idea!
Hha this is cute. I was thinking for my wedding too!
Yes! Especially using creamy, neutral colors.
i may use this for a tea party. i may hunt down some 36inch balloons to!
They’re easy to find online in lots of colors (and inexpensive). I found some at a local party store, too.