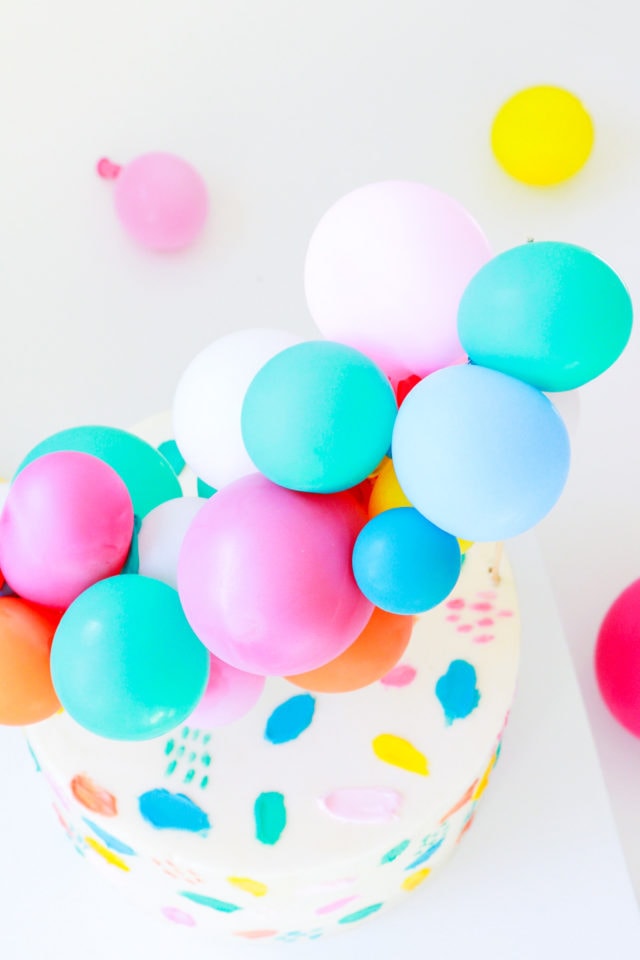
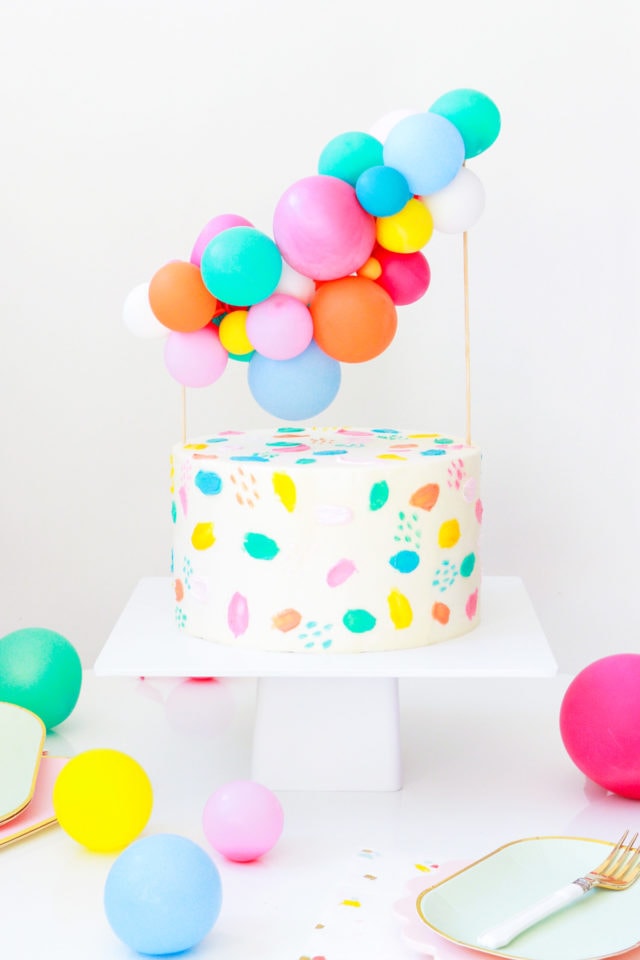
DIY Balloon Cake Topper & Cake Painting Tutorial
Add a touch of whimsy to your cake with a customizable and easy DIY Balloon Cake Topper tutorial, complete with pro how to paint on cake painting tips.
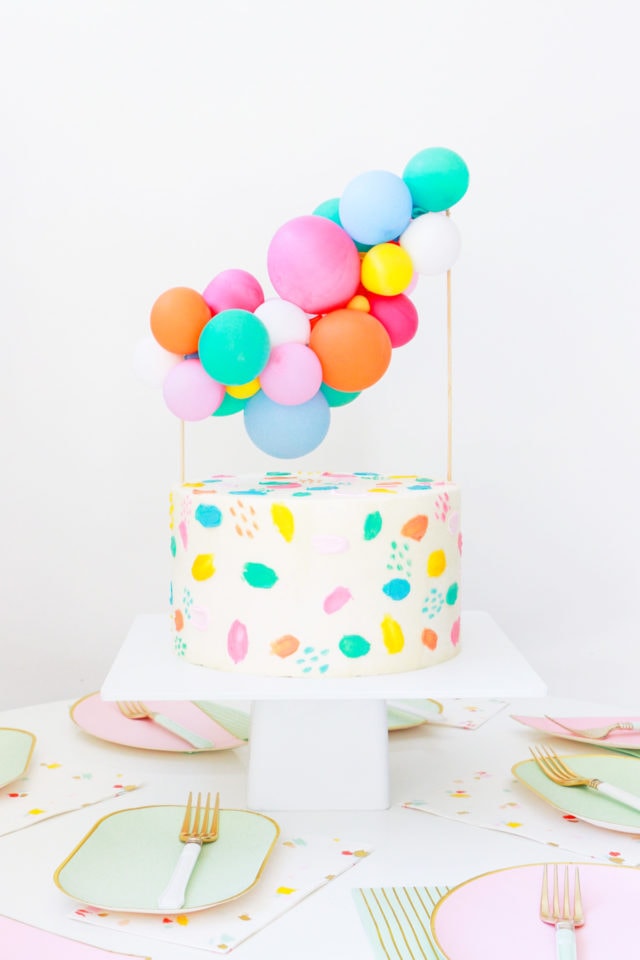
Discover the joy of transforming a simple cake into a delectable masterpiece with a mini balloon cake topper, coupled with invaluable cake painting tips!
Perhaps you are opting to go with a store-bought cake to save the stress. Or perhaps you’ve baked and frosted your own cake but don’t have much additional time for the decorating?
Whatever the situation may be I, Alana am here to help you give that plain cake a quick and easy transformation into a bright and beautiful work of art. It’s one of our favorite DIY cake topper ideas!
These simple yet stunning techniques are sure to elevate any dessert from ordinary to extraordinary. So let’s dive into the world of DIY cake decorating!
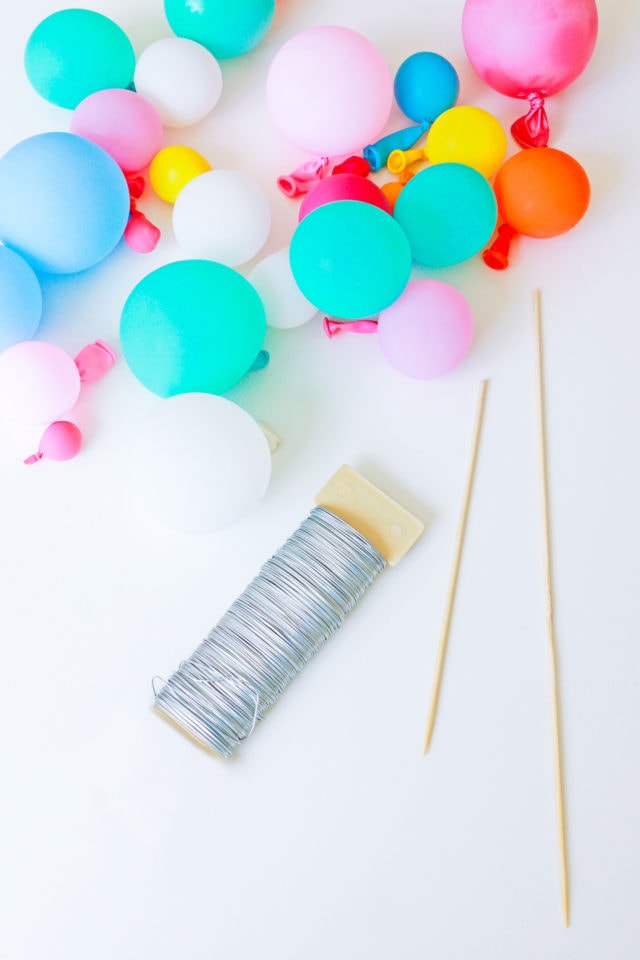
Materials and Tools Needed
For the balloon arch cake topper:
When creating a large balloon arch or balloon garland, people usually use something called balloon tape or fishing line. Since this is a mini version of a fun balloon garland, we’re going to do ours a little differently without any tape or glue!
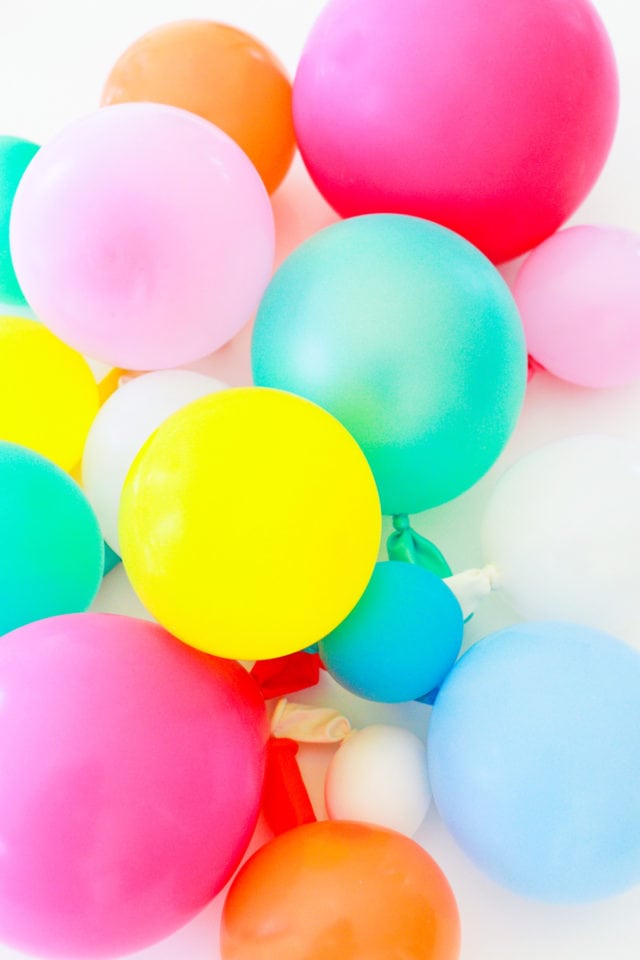
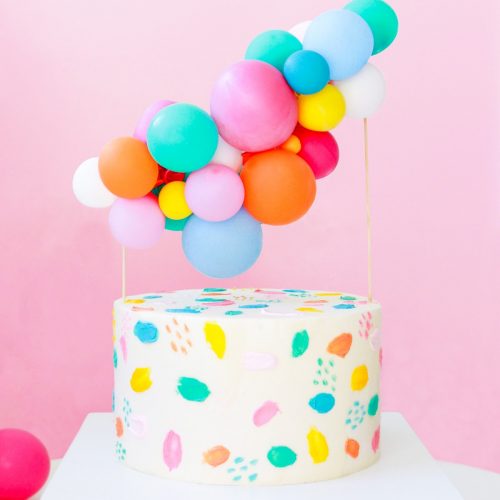
- Balloons — Choose an assortment of 5-inch balloons in colors that complement your cake or party theme. For an 8-inch round cake, you’ll need about 25 balloons. We made a rainbow balloon topper for a kids birthday.
- Floral wire — We used a steel 22-gauge wire.
- Skewers — We used 12-inch bamboo skewers.
- Heavy-duty scissors
For the cake and edible paint:
- Fondant-covered or buttercream-frosted cake — Store-bought or homemade. We used a vanilla buttercream cake. We’ve painted cakes many times (as we did for the girls’ Frozen birthday party). From our experience, painting on buttercream is the easiest.
- Gel food coloring in assorted colors — Opt for gel food coloring over liquid alternatives. Gels are concentrated, providing vibrant colors without altering the consistency of your paint.
- Small spatula
- Food safe decorating brush
- Palette or small containers — For mixing colors
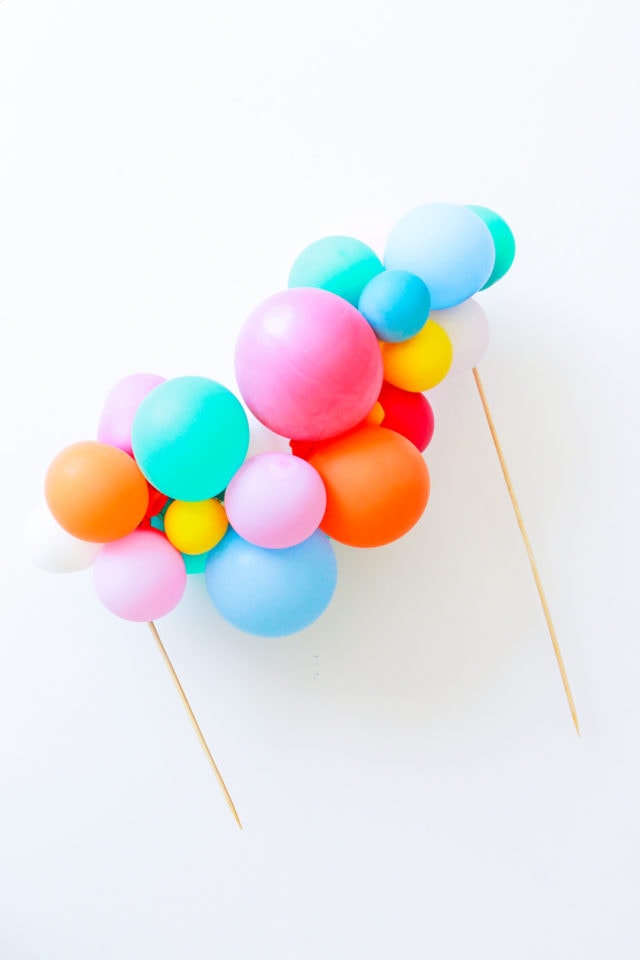
How to Make a Simple DIY Balloon Cake Topper
1 — Inflate, knot and tie an assortment of balloons in varying sizes. Make sure not to fill them more than halfway full to keep the balloon size proportionate to the cake.
2 — Measure and cut a 24-inch section of the floral wire. You can always trim it later if needed.
3 — Trim your skewers so that you have an 8-inch and 12-inch skewer.
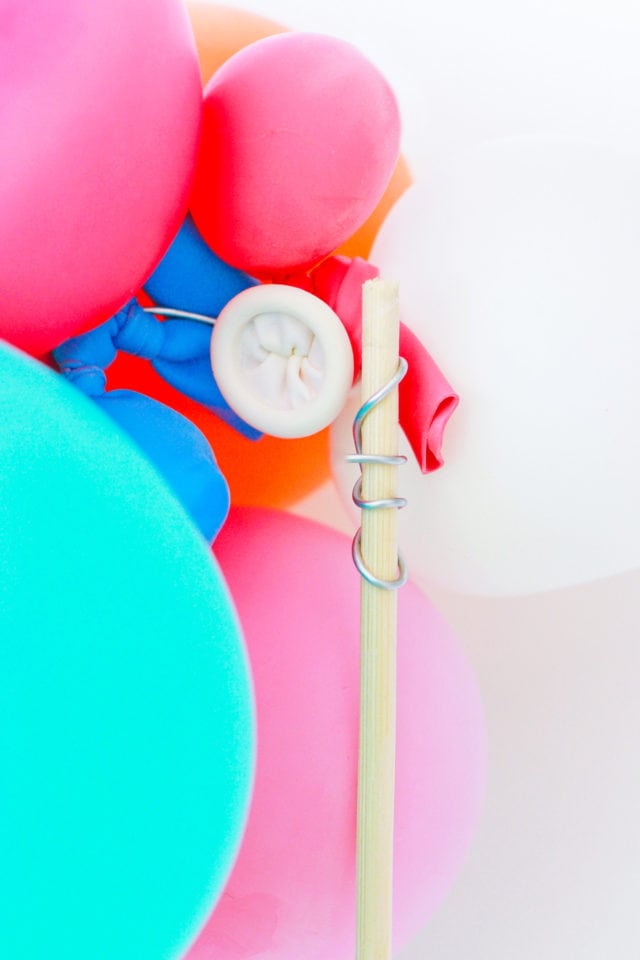
4 — To create the base support for your cake topper, wrap one end of your floral wire around the 8-inch skewer a few times until secure.
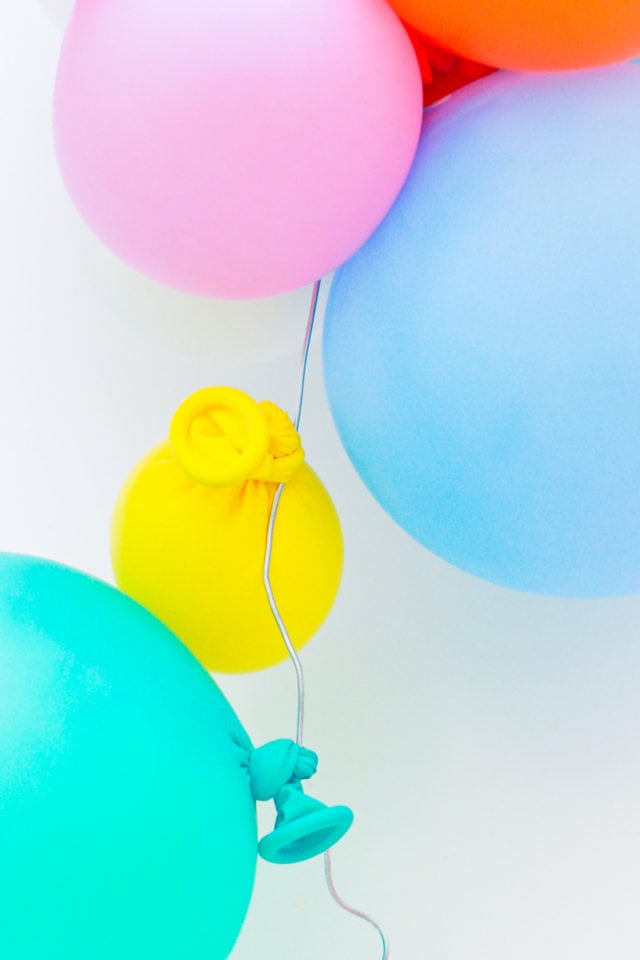
5 — Take one end of the floral wire and carefully thread it through the tied end of the inflated balloon. Gently pull the wire through until the balloon is snug against the wire. Repeat this step for each balloon, creating a colorful balloon garland.
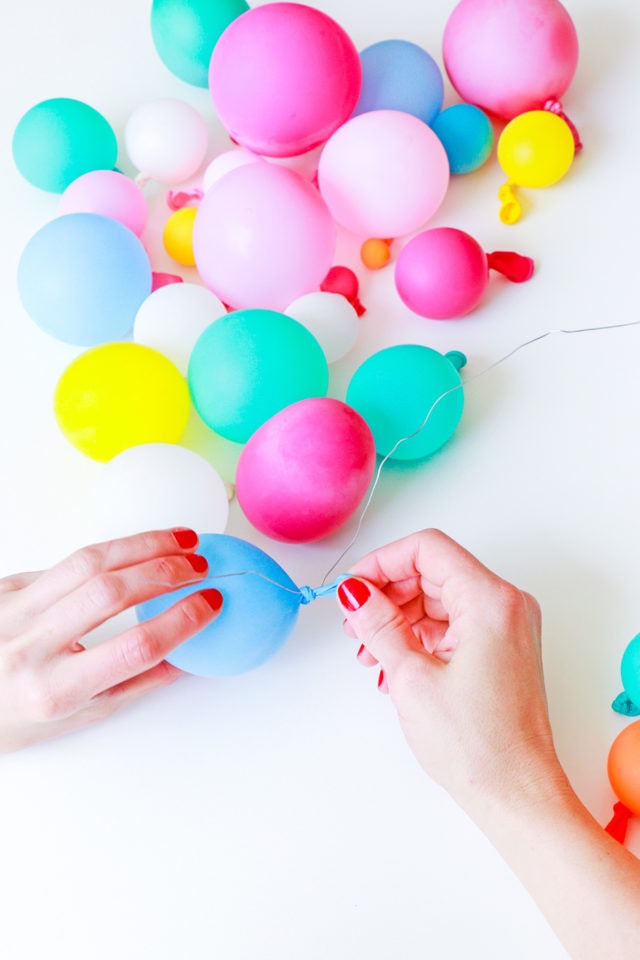
Make sure to scatter the larger balloons, so that they’re not all in one section. Play around with the positioning of the balloons, so that they don’t all face the same direction.
6 — Once you’ve added all of your balloons to the wire, wrap the open end of the wire around your 12-inch skewer until it’s secure. Trim any excess wire.

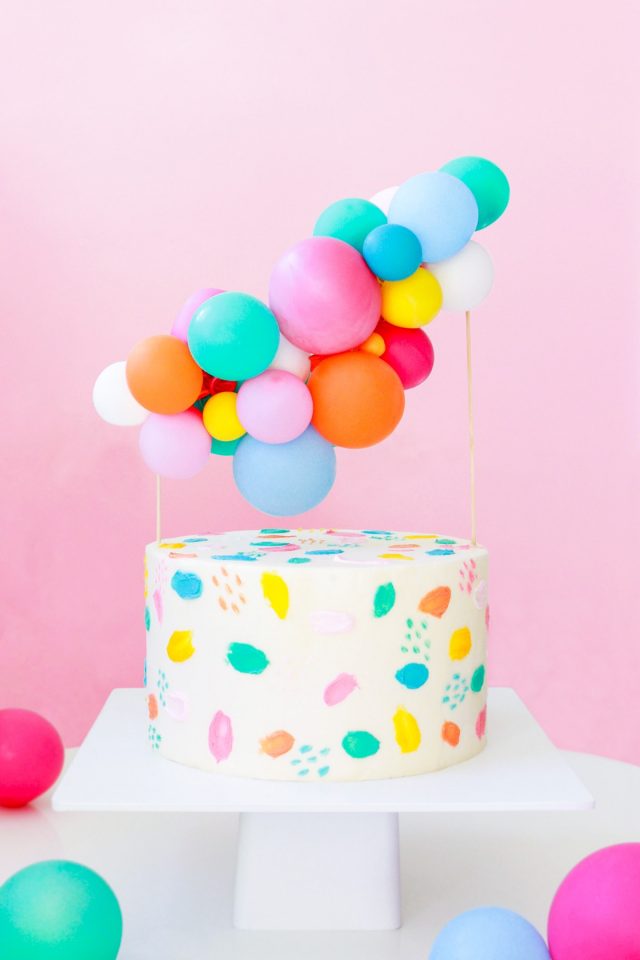
7 — Adjust the angle and position of your arch to your desired shape. Using a thick gauge wire, allows for you to easily bend or twist the wire. Play around with it until you’re happy with the shape.
Prepping Your Cake Before Painting On It
Before diving into the creative process of cake painting, it’s essential to prep your cake to ensure a smooth canvas and optimal results.
Make sure to chill your cake beforehand to allow the cake to set. The frosting needs to be firm to the touch before you begin working on it.
To achieve the most ideal cake canvas, keep the cake in the refrigerator until the moment you are ready to start working on it.
Tight on time and your cake is still not completely chilled? Place it in the freezer for 10-15 minutes to speed up the chilling process.
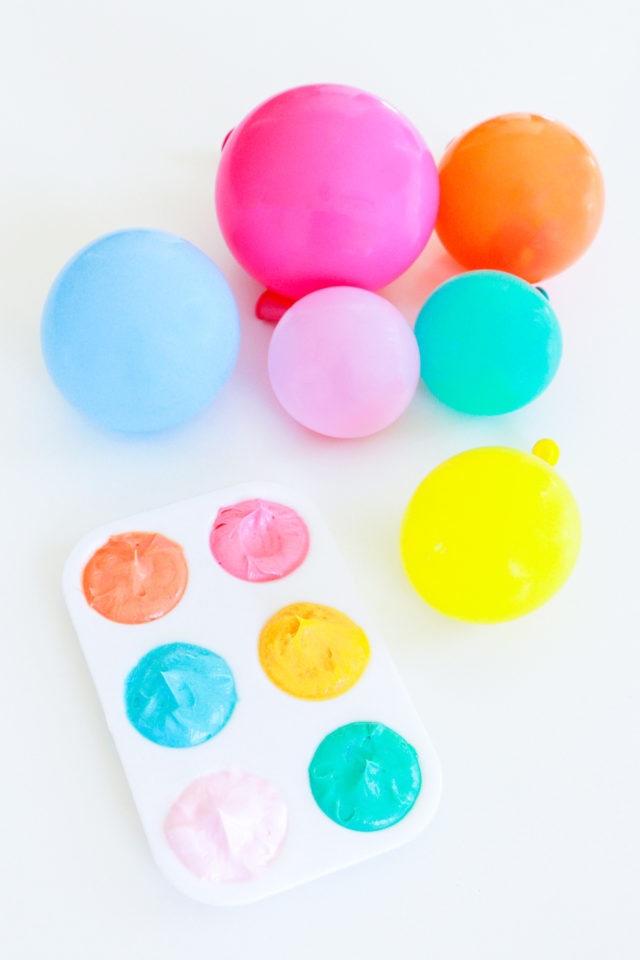
How to Paint a Cake
1 — For each desired color, add 1 drop of food coloring to a large spoonful of white frosting. Mix well until you achieve your desired color and consistency.
Gel colors are highly pigmented, so a little goes a long way. You can use a buttercream frosting or our paintable royal icing recipe.
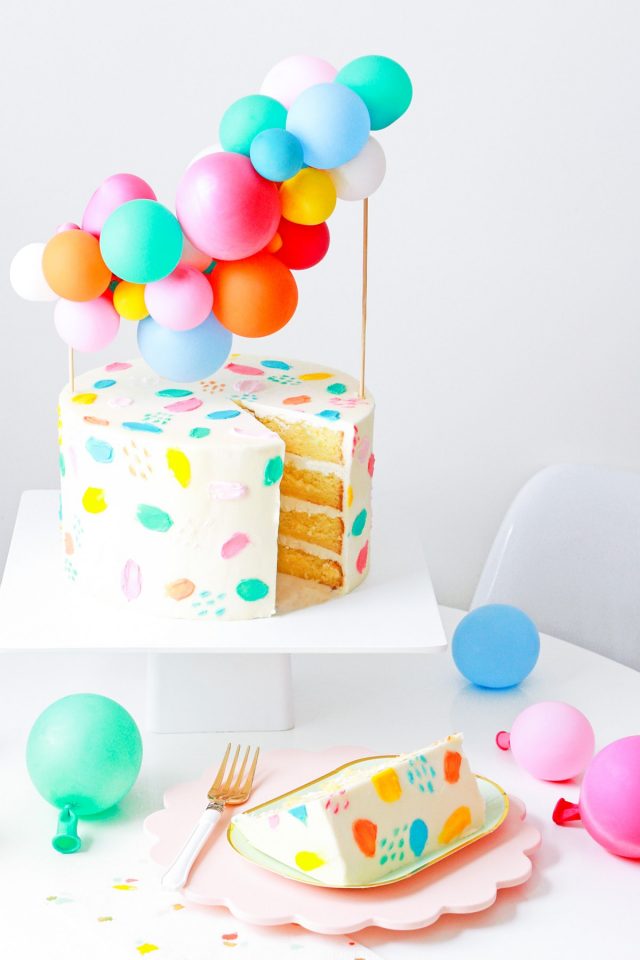
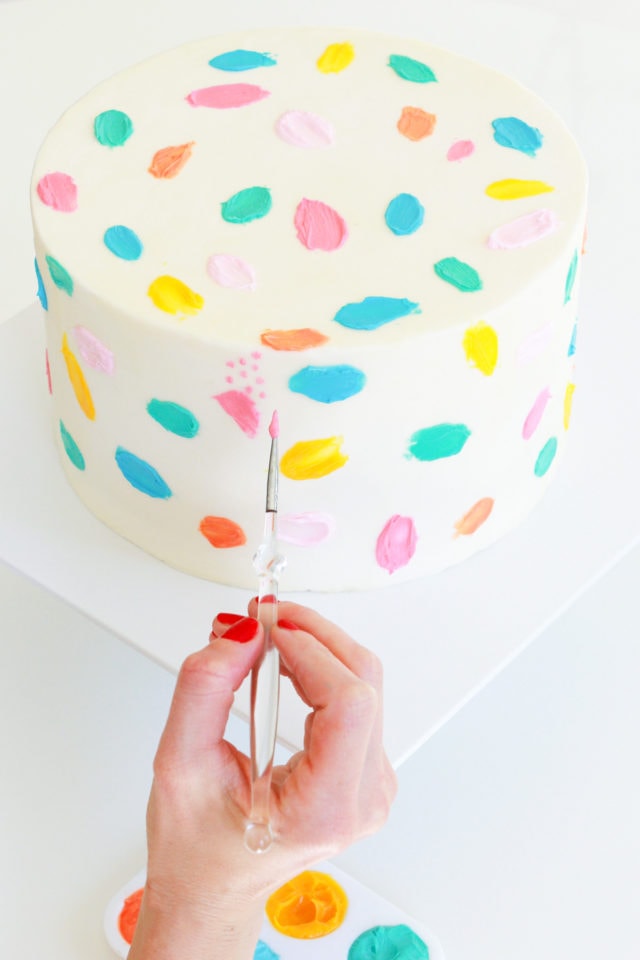
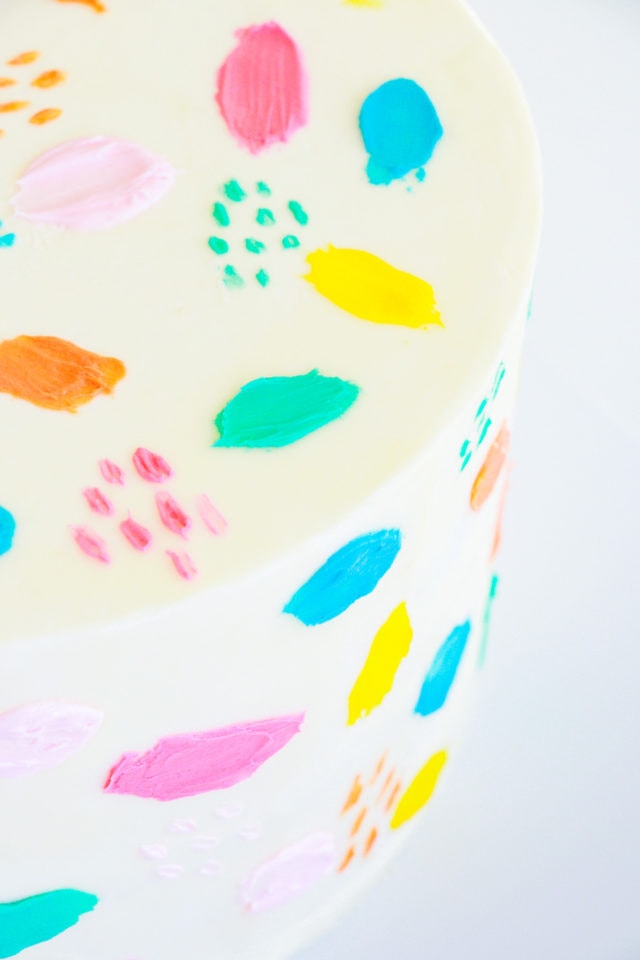
2 — To achieve the brushed buttercream look, paint small dollops of colored frosting onto your chilled cake. Gently smear each dollop using a small spatula.
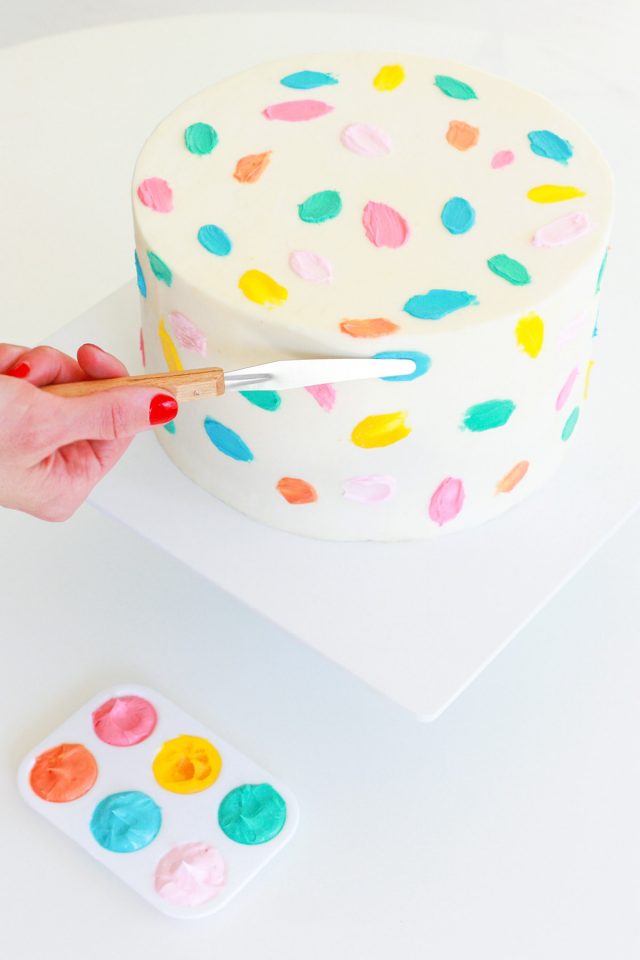
3 — Use finer brushes to add intricate details (like our small dots) to your design. Gel colors are perfect for fine lines and delicate features.
4 — Allow your painted cake to dry completely before handling or serving. This ensures that the colors set and won’t smudge.
Painted Cake Tips
- Practice your brushstrokes and design on parchment paper before painting on the cake. This allows you to refine your technique and get comfortable with the colors and brushes.
- If you make a mistake, don’t worry! Dab a clean brush in water and gently lift off the unwanted color. Pat the area dry with a paper towel and continue painting.
- If you notice that your painted buttercream cake is softening while you are painting, put the cake in the freezer for a few minutes to re-chill it.
- For a watercolor effect or to lighten colors, you can dilute gel food coloring with a few drops of water. Check out our watercolor cake painting tutorial here.
- For intricate details, consider using edible markers in addition to or instead of paint. Edible markers offer precision and are convenient for adding fine lines and accents.
- If you want to preserve your cake painting and add a sugar-free subtle sheen, consider sealing it with confectioner’s glaze. This step is optional but can enhance the overall appearance.

More Cake Balloon Decorations
Wouldn’t these cake decorating ideas be perfect for a baby shower or happy birthday cake?!? For more ways to spruce up your cake and party, check out a few of our other tips below —
- Faux Balloon DIY Letter Banner
- 21 DIY Cake Stand Ideas
- Mini Brushstrokes Confetti Cake — This tutorial follows a very similar painting cake design. However, the brushstrokes are 3-d and composed of homemade icing candies.
DIY Balloon Cake Topper
Equipment
- Scissors or wire cutters
Instructions
- Inflate, knot and tie an assortment of balloons in varying sizes. Make sure not to fill them more than halfway full to keep the balloon size proportionate to the cake.
- Measure and cut a 24-inch section of the floral wire. You can always trim it later if needed.
- Trim your skewers so that you have an 8-inch and 12-inch skewer.
- To create the first base support for your cake topper, wrap one end of your floral wire around the 8-inch skewer a few times until secure.
- Take the other end of the floral wire and carefully thread it through the tied end of the inflated balloon. Gently pull the wire through until the balloon is snug against the wire. Repeat this step for each balloon, creating a colorful balloon garland. Make sure to scatter the larger balloons, so that they’re not all in one section. Play around with the positioning of the balloons, so that they don’t all face the same direction.
- Once you’ve added all of your balloons to the wire, wrap the open end of the wire around your 12-inch skewer until it’s secure. Trim any excess wire.
- Once you’ve added all of your balloons to the wire, wrap the open end of the wire around your 12-inch skewer until it’s secure. Trim any excess wire.
- Adjust the angle and position of your arch to your desired shape. Using a thick gauge wire, allows for you to easily bend or twist the wire. Play around with it until you’re happy with the shape.

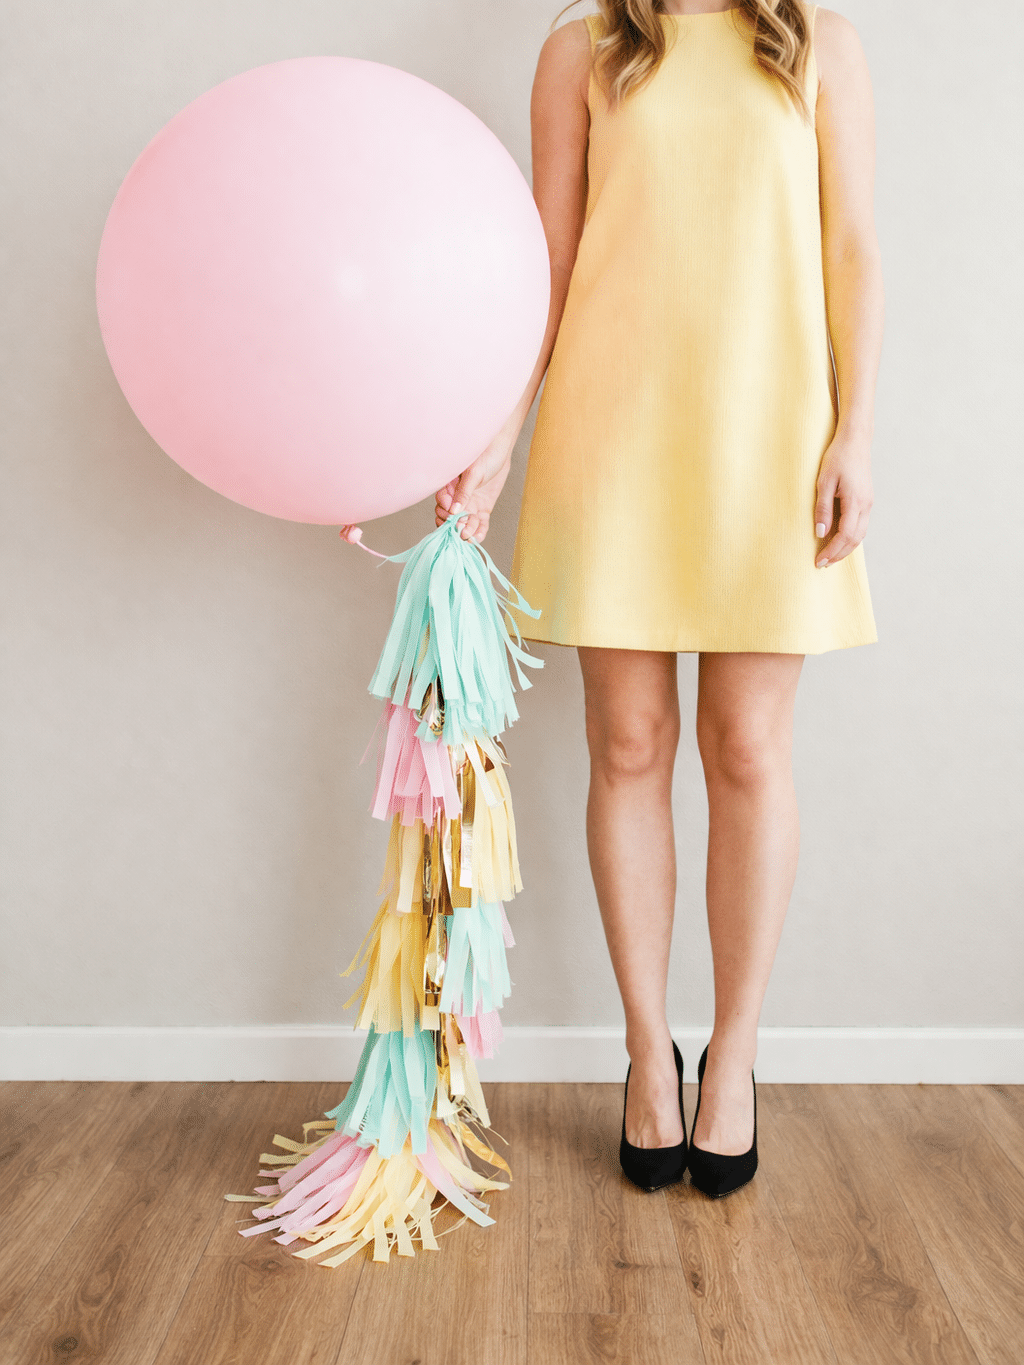
Fringe DIY Balloon Tassels
Learn how to make DIY Balloon Tassels with this easy…
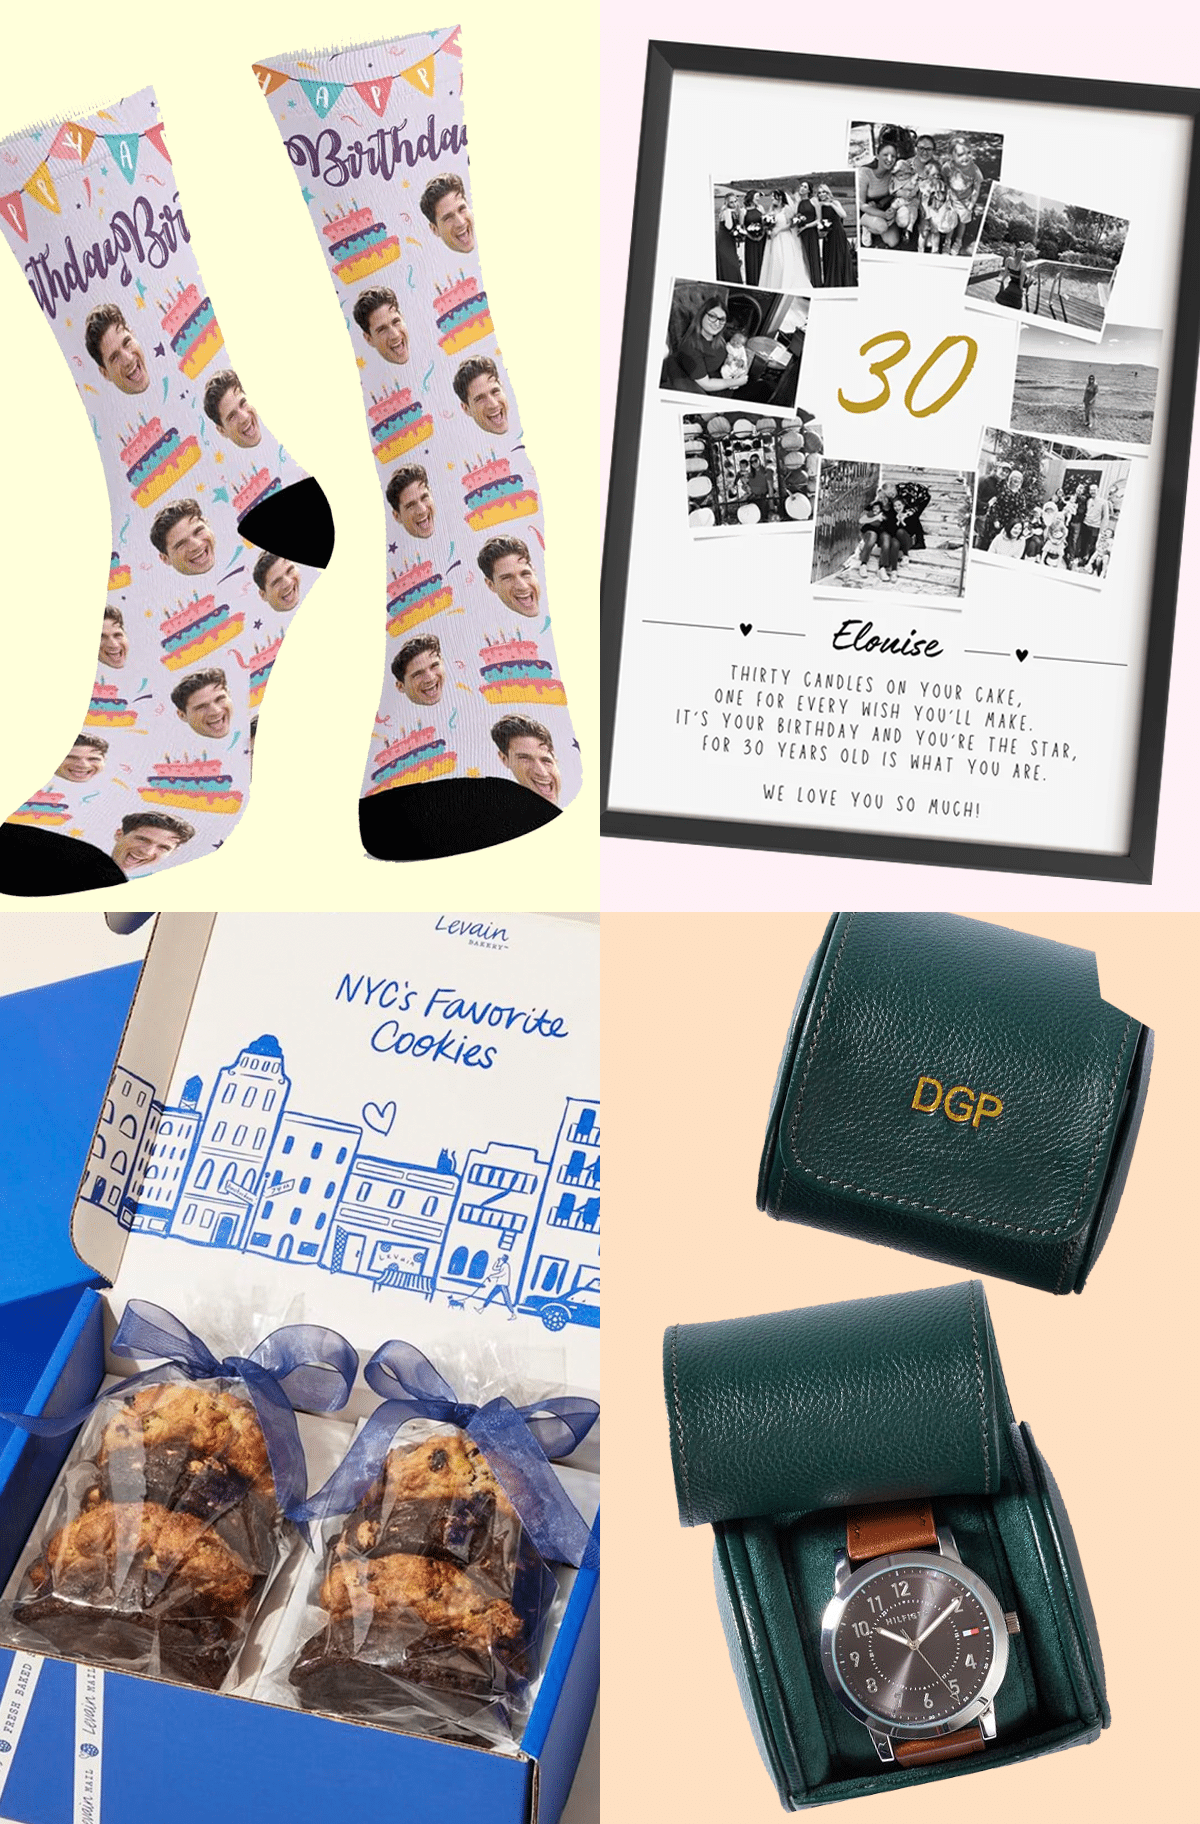
30th Birthday Gift Ideas: Unique & Meaningful Gifts for Turning 30
Celebrate the big 3-0 with unique and thoughtful 30th birthday…
Continue Reading 30th Birthday Gift Ideas: Unique & Meaningful Gifts for Turning 30
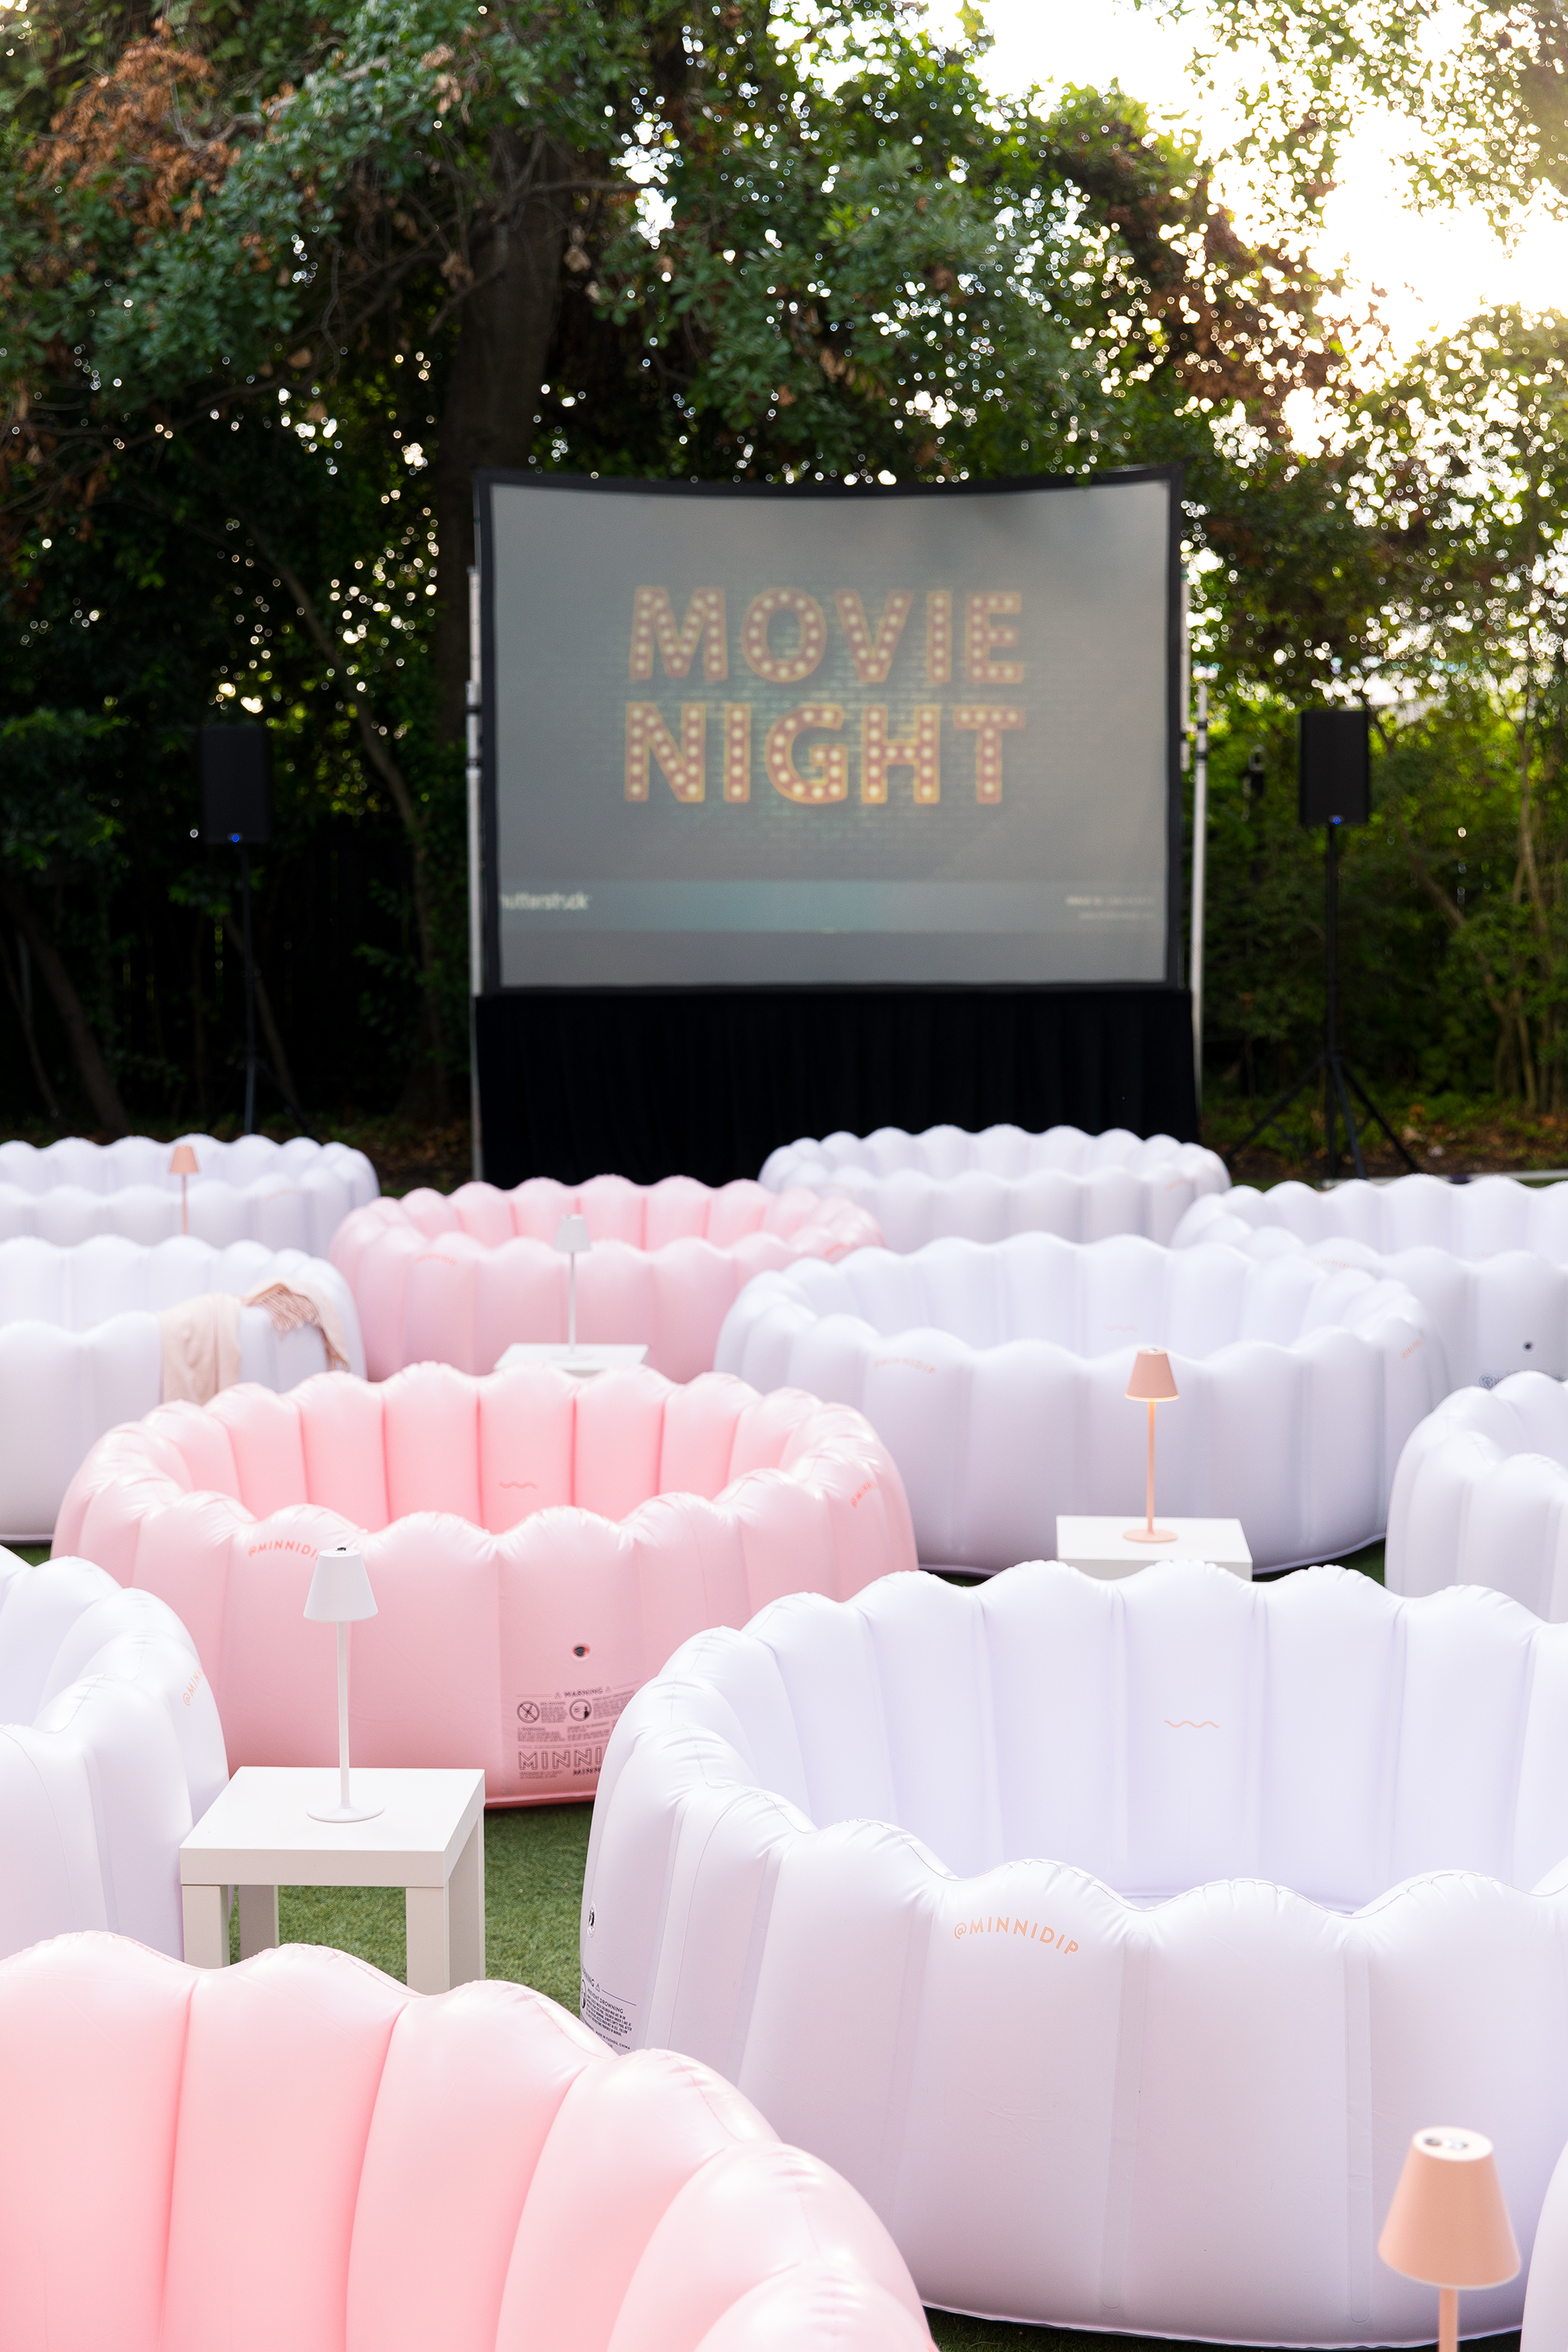
Your Guide to Hosting the Perfect Outdoor Movie Night
From DIY projectors to cozy seating arrangements, explore the best…
Continue Reading Your Guide to Hosting the Perfect Outdoor Movie Night
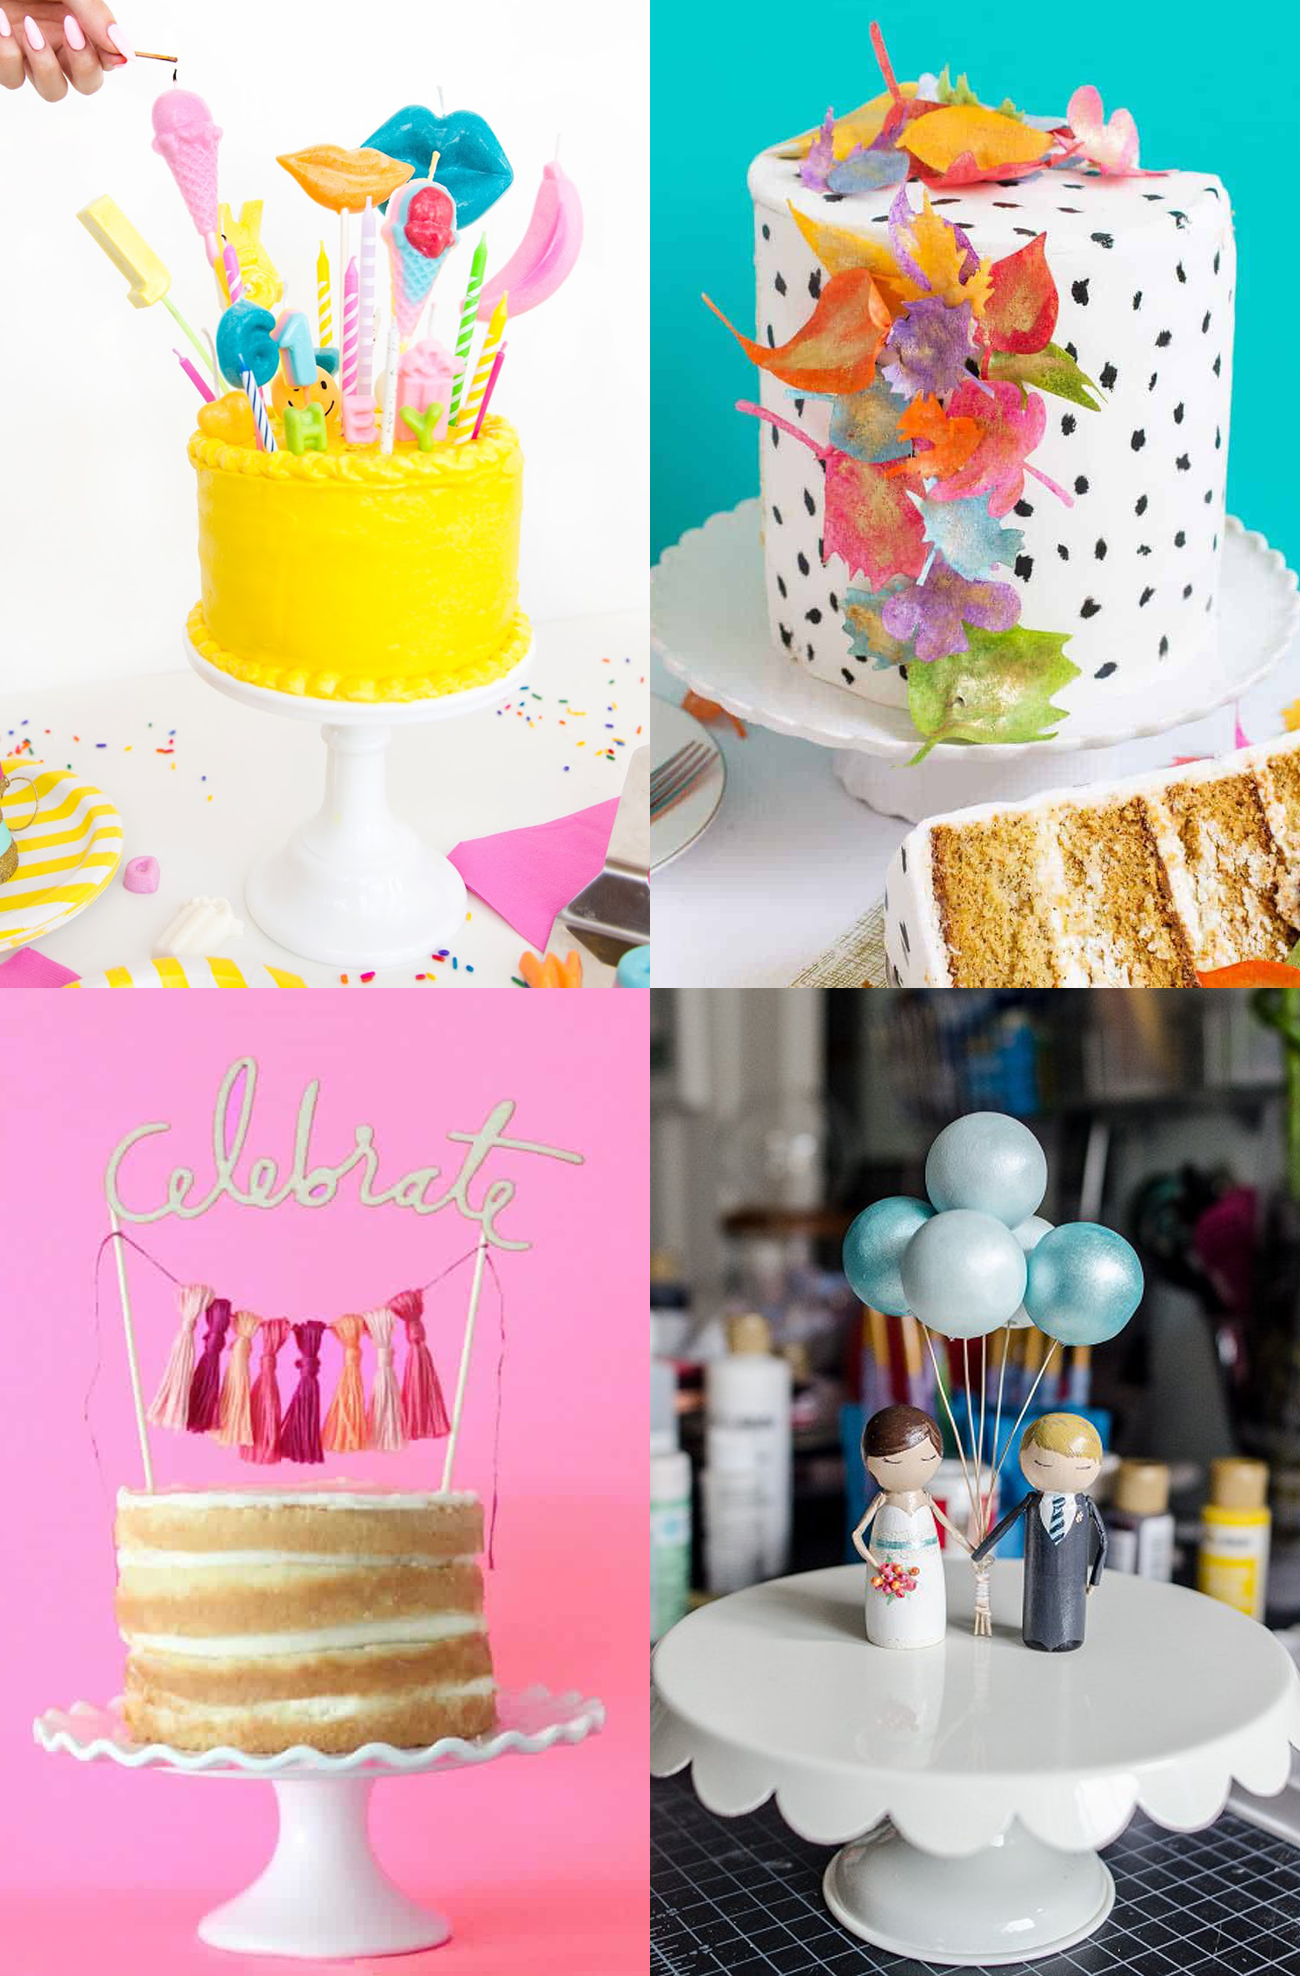
17 DIY Cake Toppers that Will Steal the Show at Your Next Celebration
Take your cake decorating skills to the next level with…
Continue Reading 17 DIY Cake Toppers that Will Steal the Show at Your Next Celebration
Please note that we may earn a commission for some of the above affiliate links. However, products featured are independently selected and personally well-loved by us!
Hi there! Did you cover the cake with fondant first or is that smoothed and chilled buttercream as the base? Thanks!
Hi! It’s smoothed and chilled buttercream as the base. Hope this helps!
Is it the “mixed colors” bag of balloons? Love the colors in this post!
Yes, the colors aren’t as saturated once they are blown up!
Amazing! I missed that – thanks!
Did you ever find balloons in these colors? Thanks!
Hi Jennifer! Yep, there’s a link in the post to the balloons if you want these exact colors!
Where did you find the balloons that you used? I am looking for bright colors such as yours but can only find pastels or pearl style balloons.
That’s one amazing garland! And I love the paw prints on the cake. Well Done, Ashley!
Isn’t it great?! All the credit goes to the amazing Alana!!
This is so super cute!! I love the idea of a mini balloon cake garland.
Right? As if the balloon garland couldn’t get any cooler!
Hi! I ordered 5-inch balloons, but when I try to blow them up halfway, they’re oblong-shaped because there isn’t enough air, and not like your pictures at all. Not sure what I’m doing wrong! :(
Hi Helen! How are you knotting them? You should blow up the ballon to your desired size but then squeeze them so they’re round and knot them when they are a round ball. If you only blow them halfway and knot them at the end of the balloon then it will be deflated since there’s still a lot of the ballon left. Hope this makes sense! You’ll have longer knotted “tails” but that can be trimmed and tucked within the wire.
Soooo cute and so many great tips and visuals for both the awesome balloon topper and painted buttercream cake! Cutest colours!!! Xo
I know, the colors she chose are perfect! My favorite! So glad you enjoyed it! :)