Faux Balloon DIY Letter Banner
Easy balloon decoration ideas? Yes, please! You can personalize this Faux Balloon DIY Letter Banner as much or as little as you’d like, and it never deflates!
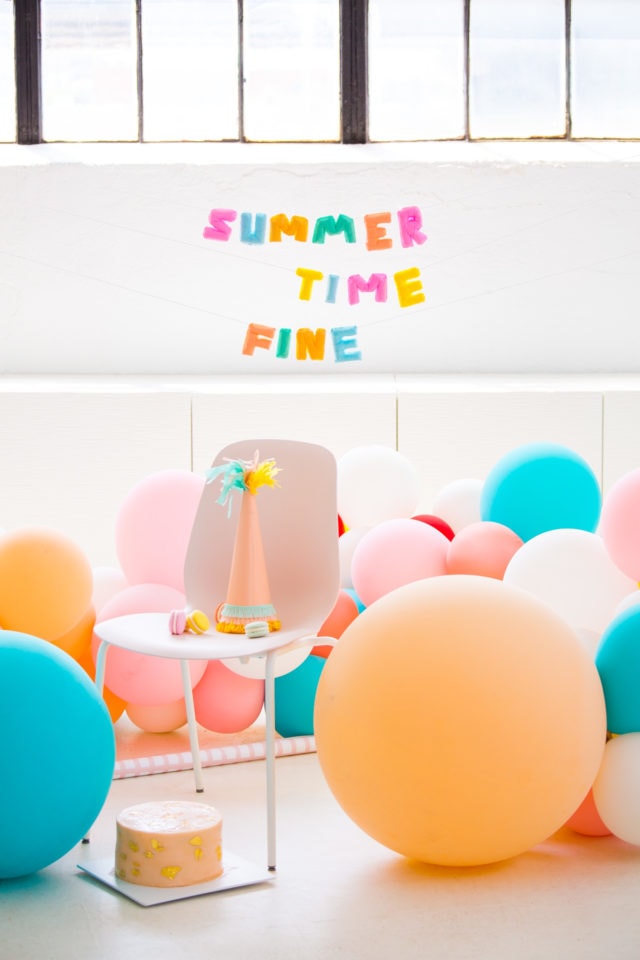
As you know, we’re all about the current balloon decoration ideas and obsessions. (Prime example here). The only thing that could make mounds of colorful balloons better, is if they never deflated, obviously!
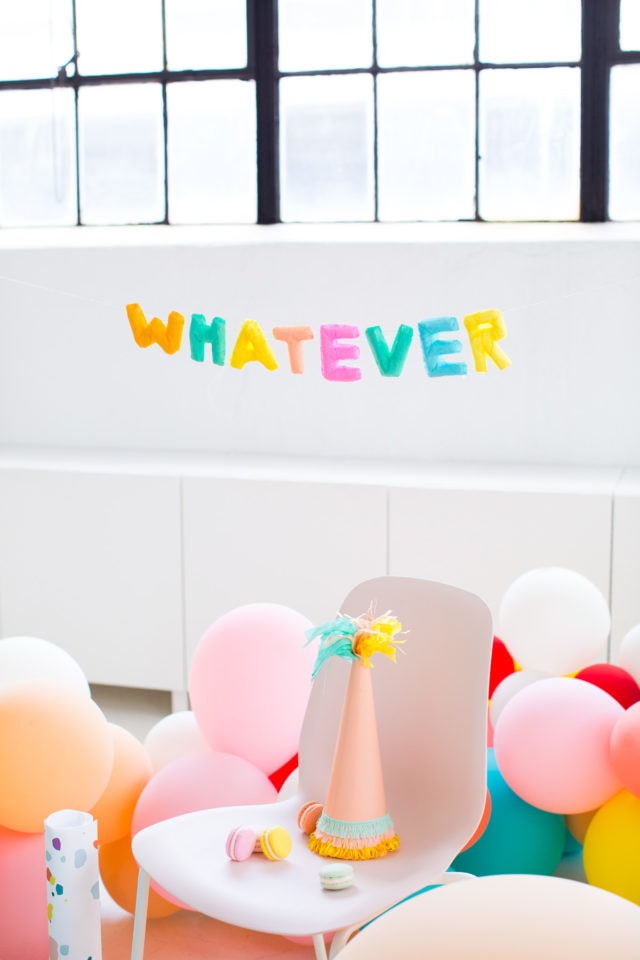
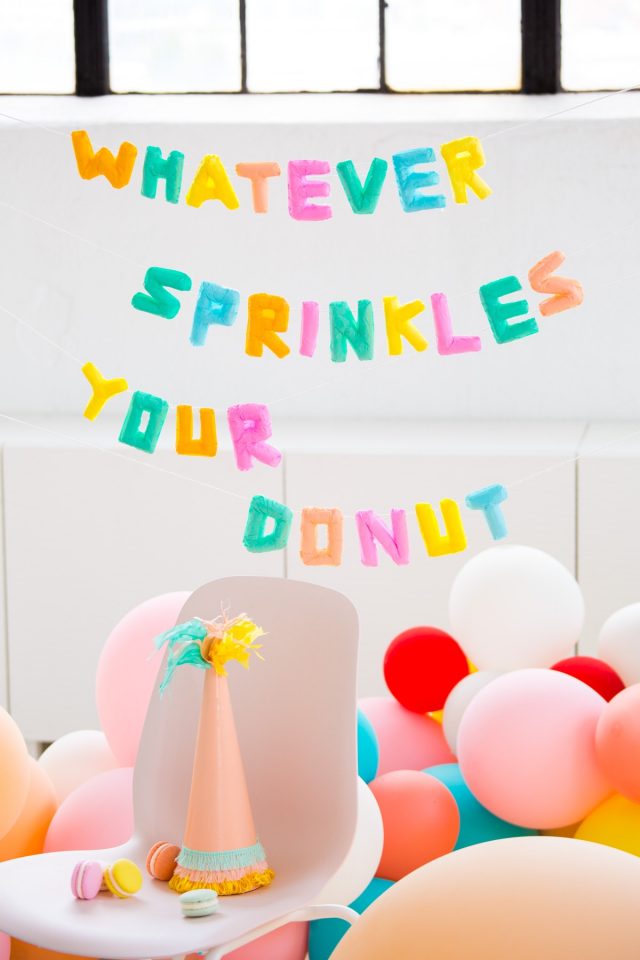
While we haven’t exactly solved the mystery of regular round balloons that never deflate, we are happy to announce that these Faux DIY Balloon Letters will solve your expensive letter balloon woes on a permanent basis.
To be totally candid, this project is super simple but will take you some time. The plus side is that it will last forever and it makes for very festive party decor or balloon centerpiece. You win some, you lose some right?! Any guesses yet on what these are made of?…
Easy DIY Balloon Decoration Ideas
Ah, the beauty of how to keep balloons from deflating! Nothing is worse than breaking a crazy sweat over party decorations only for them to last a few hours. Not to mention how long we spend just scheming up the decoration ideas to begin with!
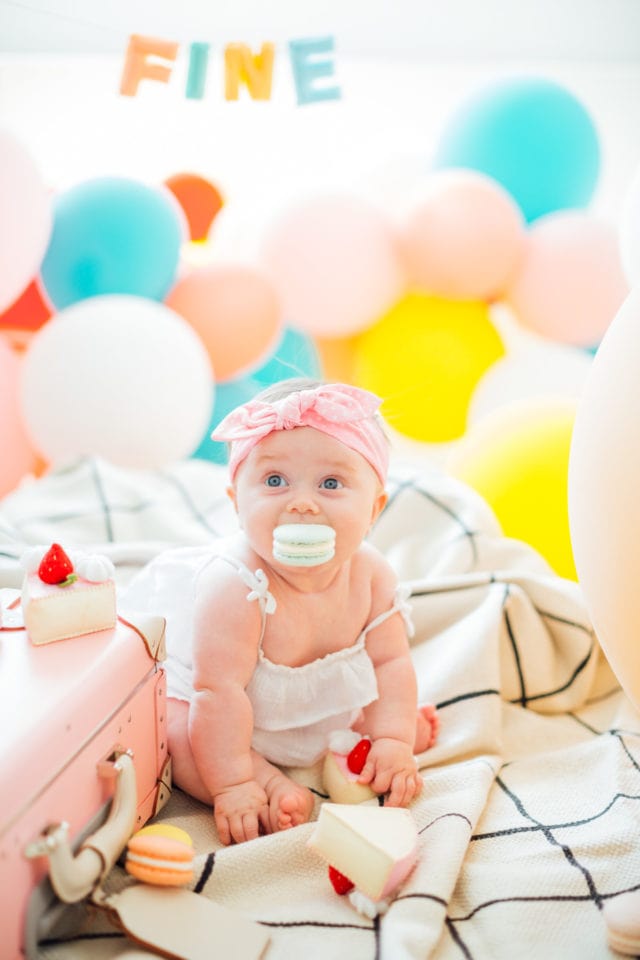
The step by step instructions for these super easy party balloons are perfect for a baby shower balloon installation, birthday parties, general party decor, and even weddings.
It’s also really convenient because you can create your own custom colors to match your decor.A lot of times letter balloons only come in plain colors like gold and silver, but this way you can make white balloons, rainbow balloons, you name it!
You know I’m all about a good balloon arch (as seen here for a bridal shower), or really any party idea for that matter! There’s just something really fun and playful when it comes to balloon decorations though. A balloons party, in general, is a personal dream of mine!
Materials Needed
- Tissue paper
- Scissors
- Hot glue gun
- Hot glue sticks (like, a looooot of them)
- Cotton pad squares
- String
How to Make a Faux DIY Balloon Garland
1 – To make each letter balloon decoration, you’ll first start out by gluing two cotton pads together by overlapping a small piece of each square in order to create one long cotton rectangle.
2 – Once you have the long cotton rectangle piece you’ll need to roll the cotton into a cylinder as tight as possible and hot glue the end shut.
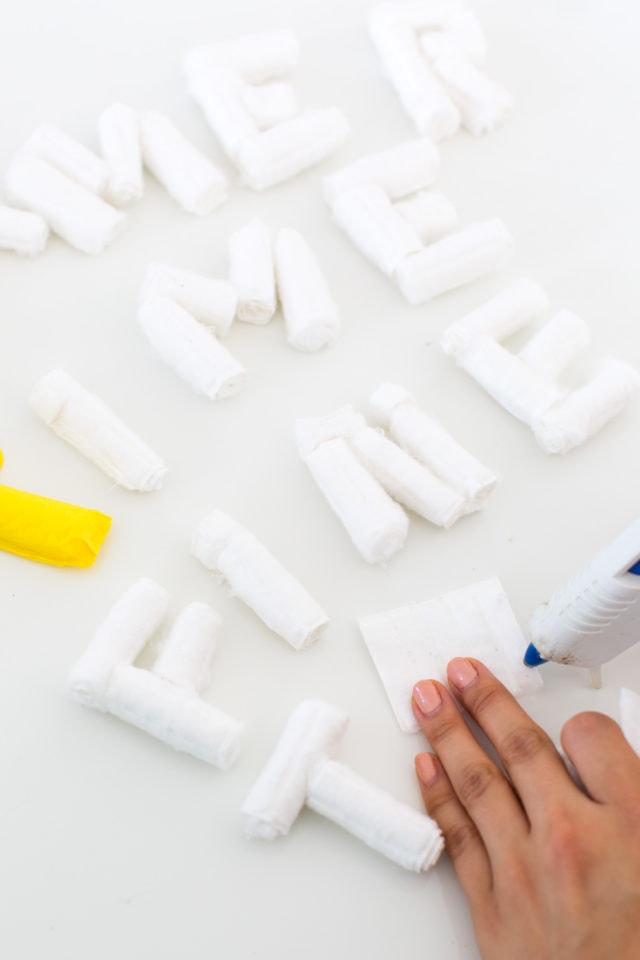
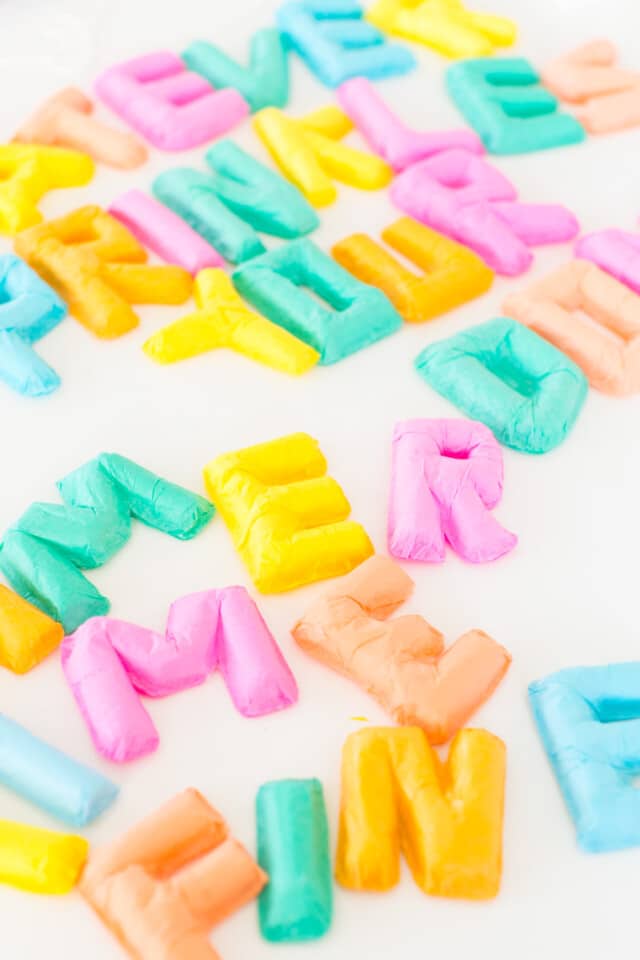
3 – Repeat the first two steps in order to create enough cotton cylinders to build your letters. The softness of the cotton is was will give the letters the “faux balloon” look.
4 – Now you can start building each letter individually. You’ll take the cotton cylinders and shape each letter to resemble mylar letter balloons as closely as you can. This may take some time as some pieces need to be cut to different sizes.
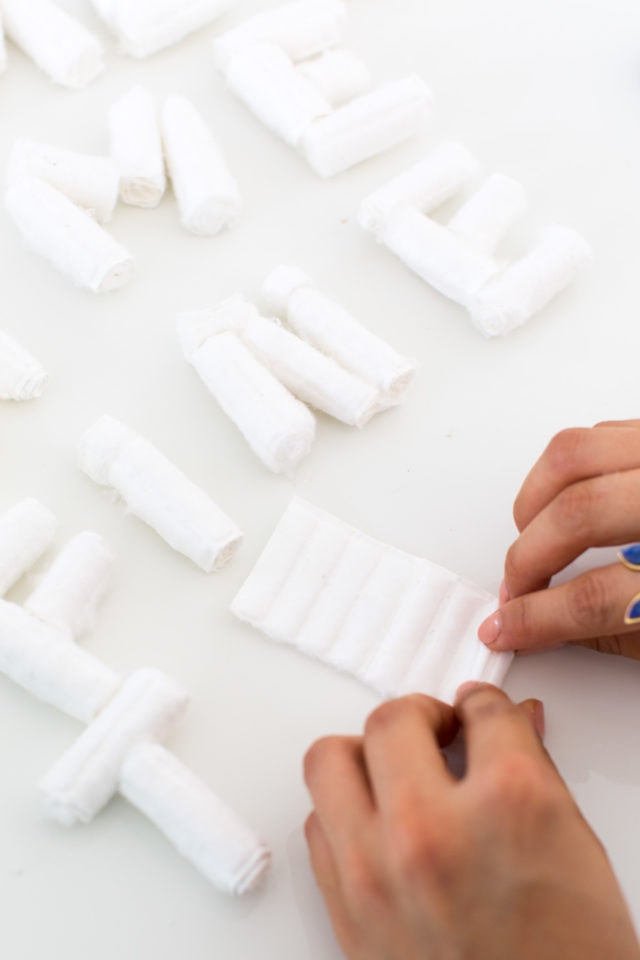
5 – Once you have all of your pieces laid out for each letter you’ll need to adhere them with hot glue.
6 – Now that the framework for your letters is finished you can start to wrap the letters in tissue paper with your desired colors. To do this you’ll need to cut out large squares to comfortably wrap each letter.
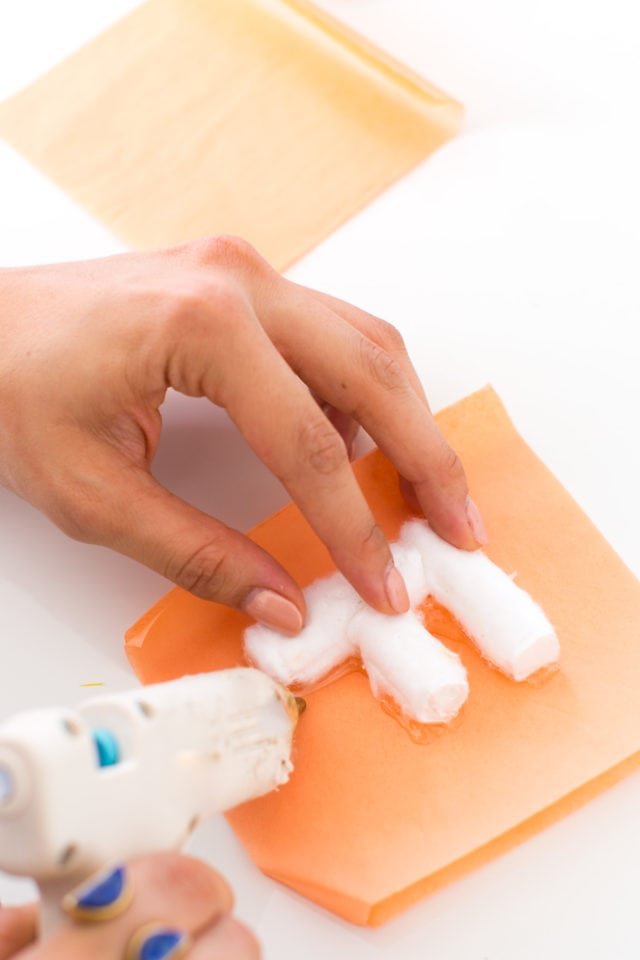
7 – First, begin by gluing down your letter on one square of tissue paper.
8 – Next, you’ll be placing hot glue around your letter as if you’re outlining it. You’ll do this in parts starting from the middle of the letter balloon and working your way outwards.
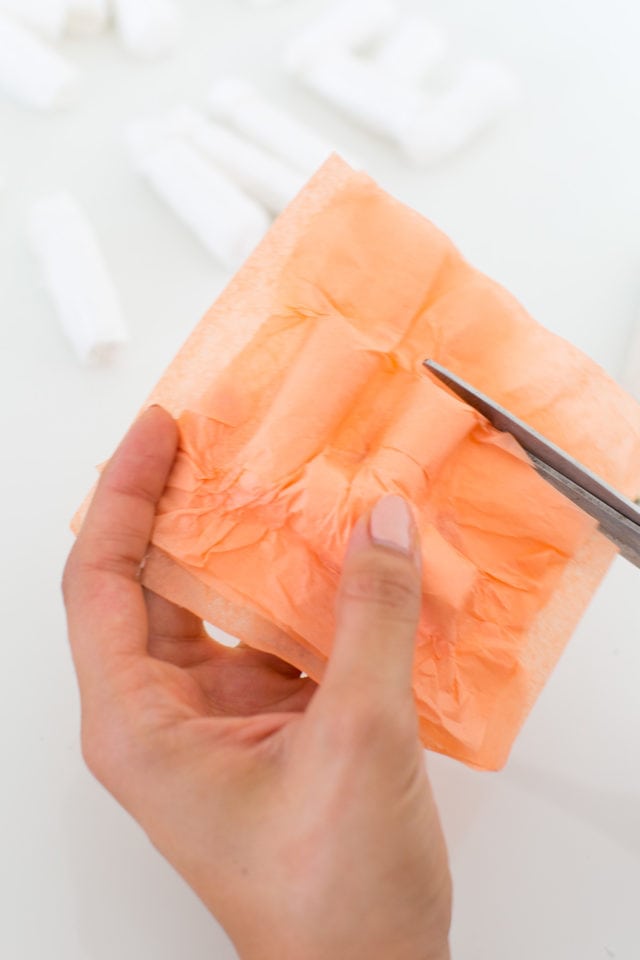
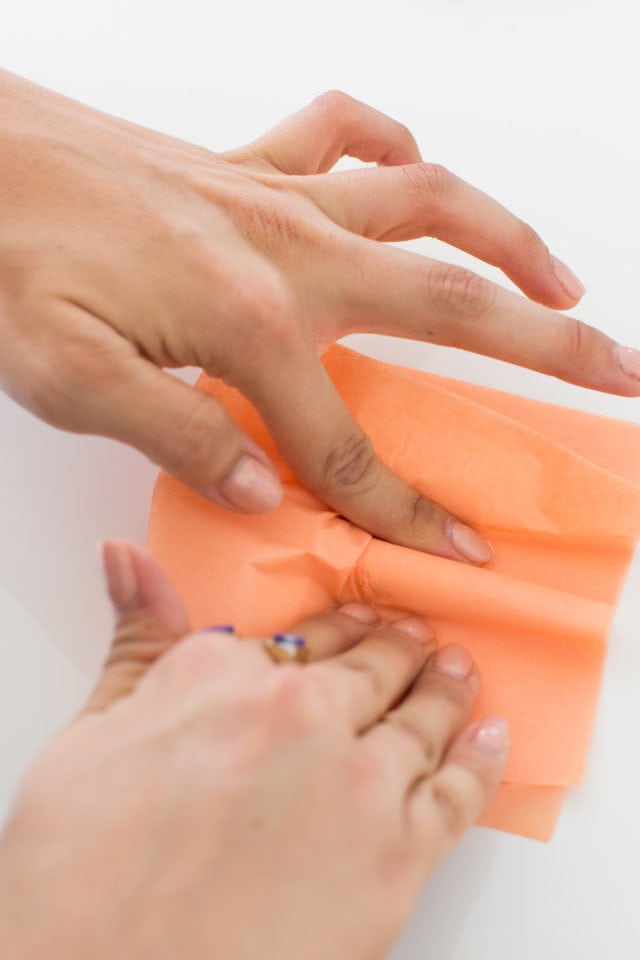
9 –You’ll need to start gluing a square of tissue paper to the top of the letter; adhering each piece as you outline with glue. Be sure to really pull the tissue paper to achieve the “faux balloon” look as if the letter were filled with helium. You may need to cover your letters twice depending on the thickness of your tissue paper.
10 – Once your letters are all glued and covered you can cut around each one as close as you can to the edge, without cutting too far into the letters!
Easy Balloon Decoration Ideas + Tips | Making Balloons into a Garland
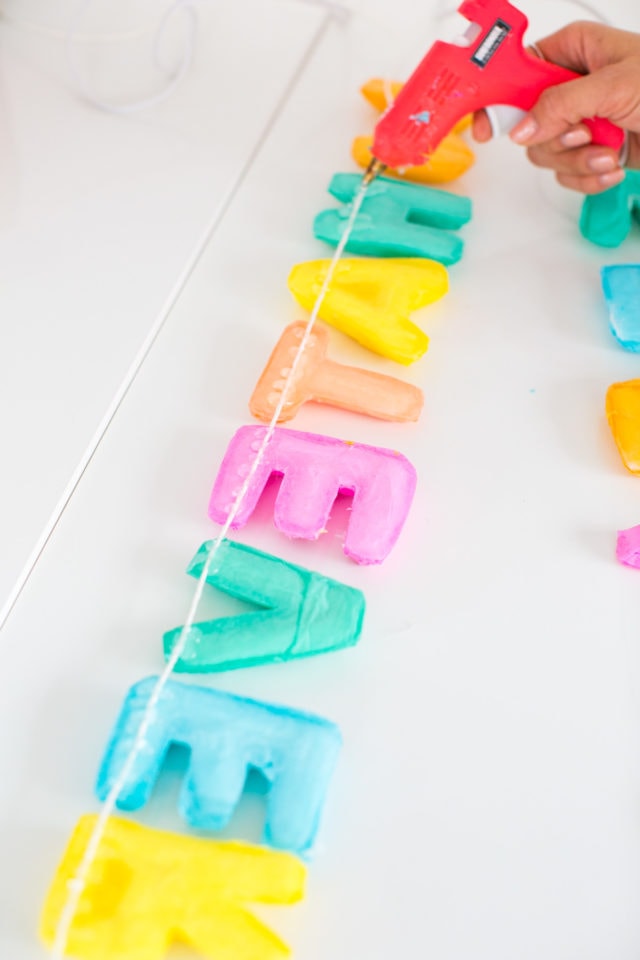
1 – Now that all of the letters are finished for your desired phrase you can turn them into a cute garland by simply placing them face down on the table in the order and spacing you’d like.
2 – Once the spacing is as you’d like, you can freely apply hot glue over the string to adhere it to the letters.
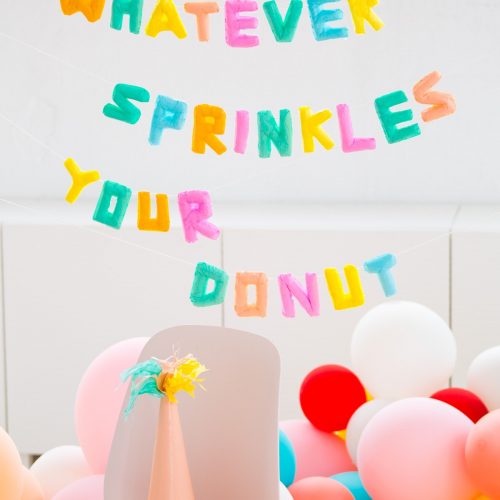
3 – After the hot glue dries for a few minutes you’ll have a faux balloon garland worthy of any celebration!
What do you think?! Think this is worth your time? It’s not a quick project but it is super simple and will last you forever! You could also recreate this into a really fun letter balloon bouquet for school or tie balloons to favor bags for kids to take home a balloon.
You can find some of my other favorite balloon decoration ideas for helium balloons, balloon backdrops, and more below! I’ll never tire of a good confetti balloon, balloon arch, or a tulle balloon for decorating the ice cream or cake table…
Faux Balloon DIY Letter Banner
Equipment
- Hot glue gun and glue sticks
- Scissors
Materials
- Colorful tissue paper
- Cotton pad squares
- String
Instructions
- To make each letter you’ll first start out by gluing two cotton pads together by overlapping a small piece of each square in order to create one long cotton rectangle.
- Once you have the long cotton rectangle piece you’ll need to roll the cotton into a cylinder as tight as possible and hot glue the end shut.
- Repeat the first two steps in order to create enough cotton cylinders to build your letters. The softness of the cotton is was will give the letters the “faux balloon” look.
- Now you can start building each letter individually. You’ll take the cotton cylinders and shape each letter to resemble mylar letter balloons as closely as you can. This may take some time as some pieces need to be cut to different sizes.
- Once you have all of your pieces laid out for each letter you’ll need to adhere them with hot glue.
- Now that the framework for your letters is finished you can start to wrap the letters in tissue paper with your desired colors. To do this you’ll need to cut out large squares to comfortably wrap each letter.
- First, begin by gluing down your letter on one square of tissue paper.
- Next, you’ll be placing hot glue around your letter as if you’re outlining it. You’ll do this in parts starting from the middle of the letter and working your way outwards.
- You’ll need to start gluing a square of tissue paper to the top of the letter; adhering each piece as you outline with glue. Be sure to really pull the tissue paper to achieve the “faux balloon” look as if the letter were filled with helium. You may need to cover your letters twice depending on the thickness of your tissue paper.
- Once your letters are all glued and covered you can cut around each one as close as you can to the edge, without cutting too far into the letters!
How to make the balloons into a garland:
- Now that all of the letters are finished for your desired phrase you can turn them into a cute garland by simply placing them face down on the table in the order and spacing you’d like.
- Once the spacing is as you’d like, you can freely apply hot glue over the string to adhere it to the letters.
- After the hot glue dries for a few minutes you’ll have a faux balloon garland worthy of any celebration!


Please note that we may earn a commission for some of the above affiliate links. However, products featured are independently selected and personally well-loved by us!
Very clever!! Loved your color choices too :). I’ll certainly check back for more ideas. Thanks!
Shelley
Funwithfunsize.com
Thank you, Shelley!
Great tips! These techniques of making balloon decoration are actually great. It is not quite easy to make the balloon decoration as there can be many issues regrading the exact techniques. Thanks for sharing this information here. It would be nice if you share some ore good information on this!
Reverse channel letters Oklahoma City
How big are these?
you can make them as big or as small a you’d like! with the cotton swabs we used, they’re about 3.5 inches tall.
So clever! I love it.
thank you, thank you!
I am so into this – this is so clever!!
Rebecca | http://www.peppermintdolly.com
thanks rebecca!