DIY Hanging Concrete Monogram
DIY Hanging Concrete Monogram — We turned this DIY Hanging Concrete Monogram into a custom keyring holder Once you conquer this project, you could make pretty much anything!
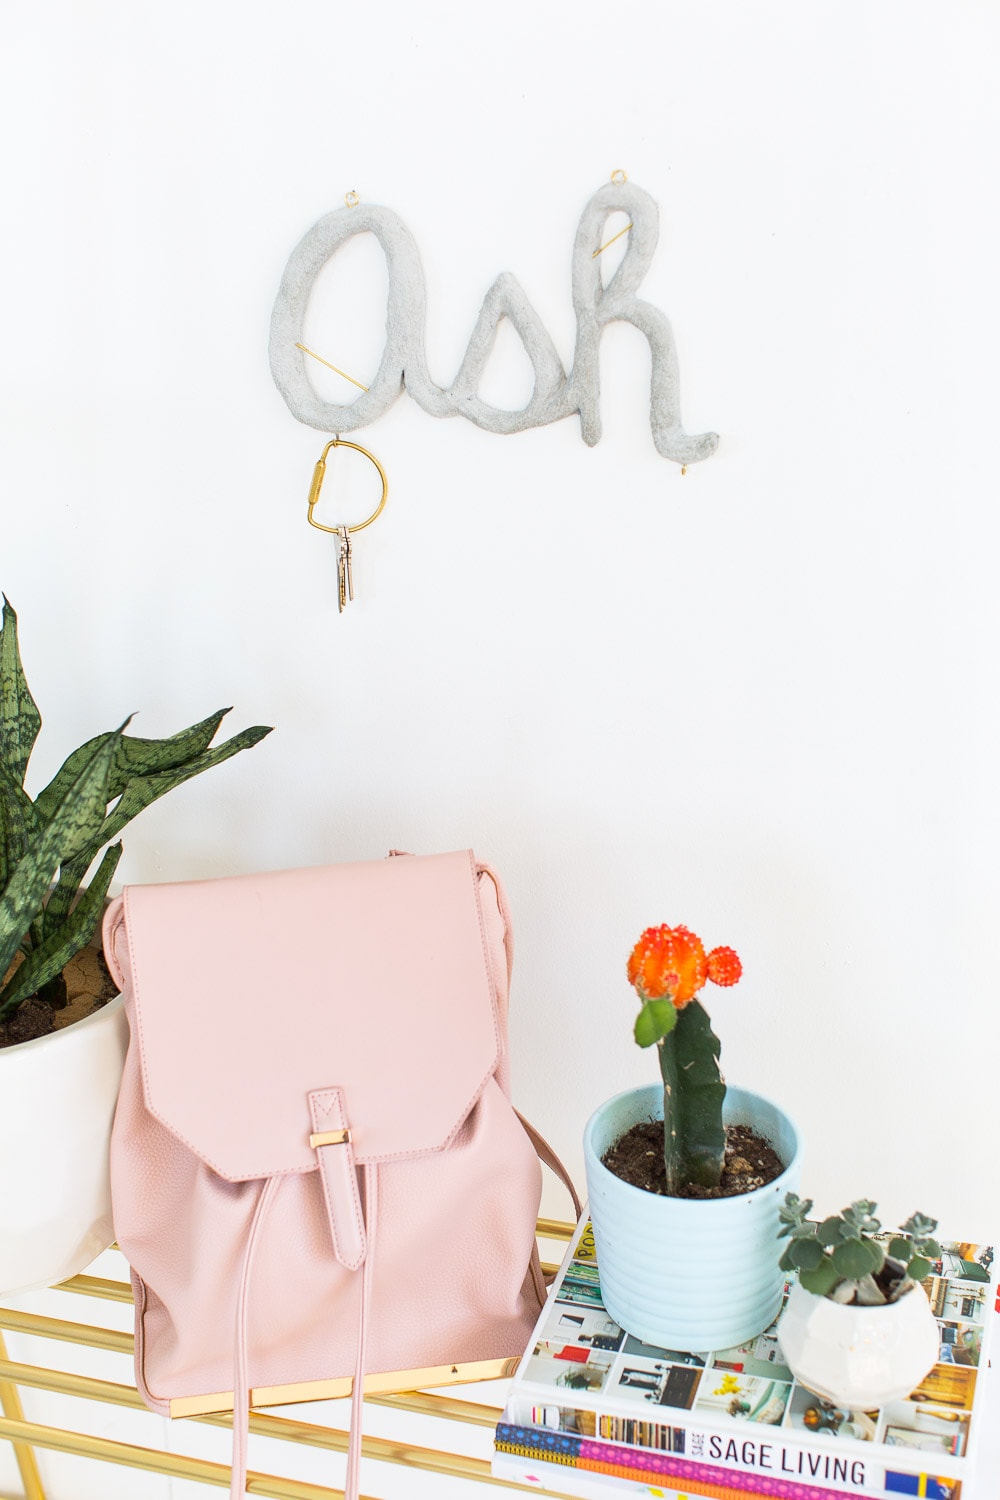
So I’m going to be totally honest here and say this isn’t my favorite project I’ve ever made. I think mainly it’s because it didn’t quite come out as crazy awesome as I had originally imagined it in my mind.
And every time that happens I feel a little let down with the end result no matter how it turns out… unless it turns out even better than I thought, of course.
Jared insists that it’s still really cool and that we need to share it. So here it goes!
The one thing about this DIY Hanging Concrete Monogram is that the material we used to make it is definitely solid like concrete. But you work with it like clay instead of having to make molds to pour it into.
So in that regard, the possibilities are pretty much endless. And you can definitely use this tutorial for concept for lots of things.
Seriously, you can make just about anything with this stuff. In this case, we turned it into a hanging custom keyring holder…
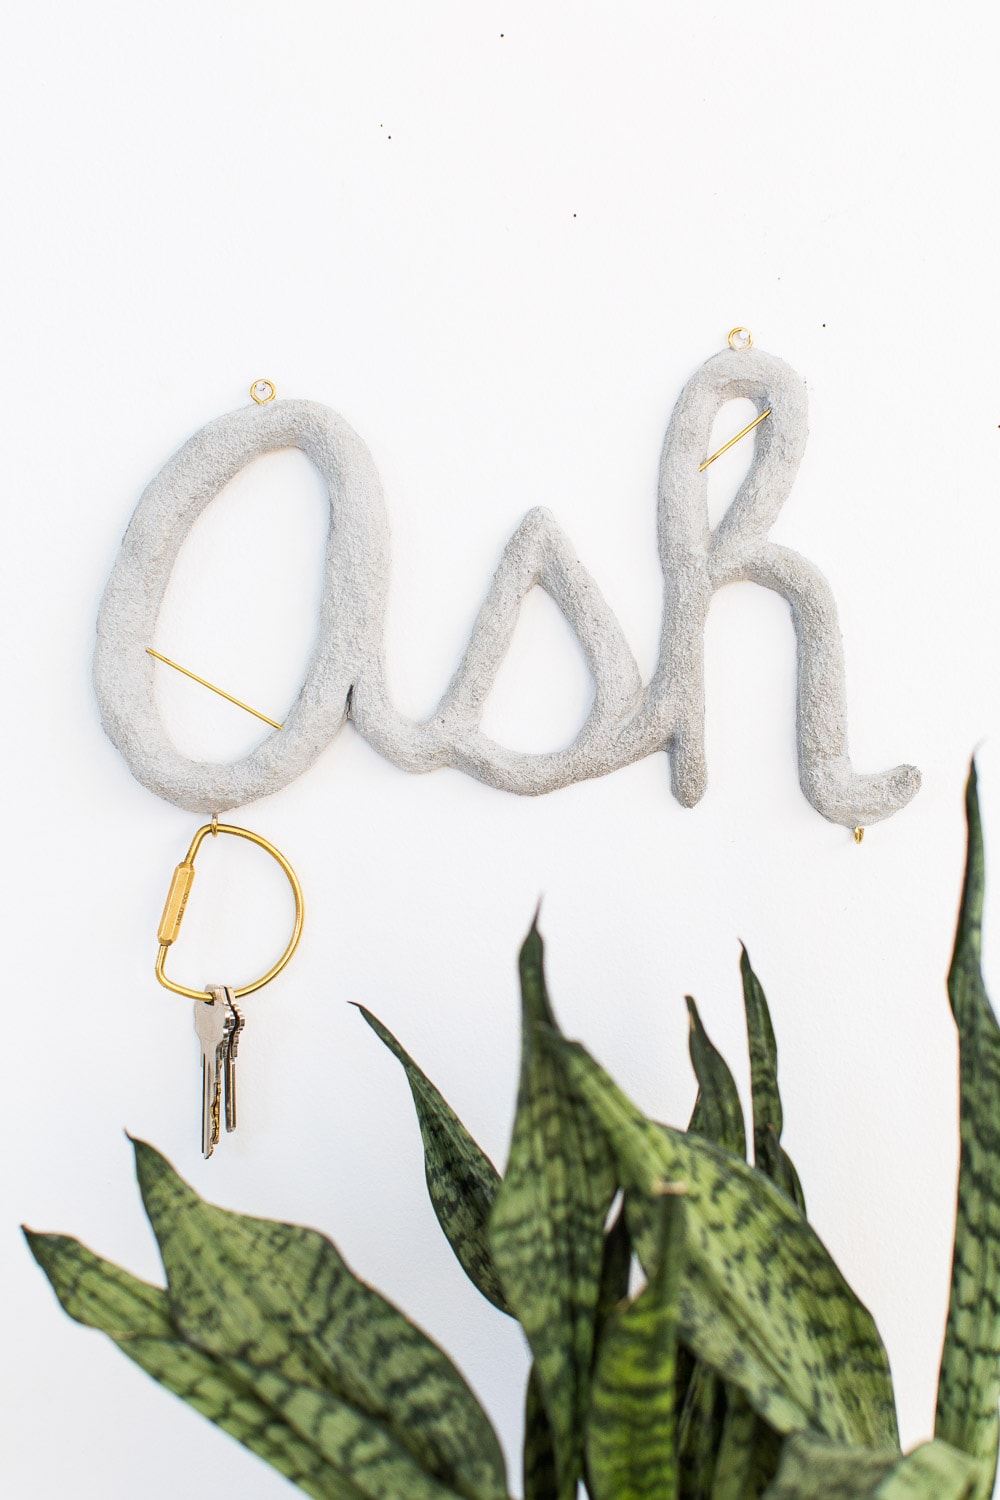
Materials And Tools Needed To Make A DIY Hanging Concrete Monogram
- Shapecrete — Or any self hardening shapeable concrete
- Brass hook and screw kit
- Thin brass rods for an added gold touch — Optional
- Paint brush and cup of water for touching up the edges
- Wax paper
- Disposable gloves — For easier cleanup on your hands!
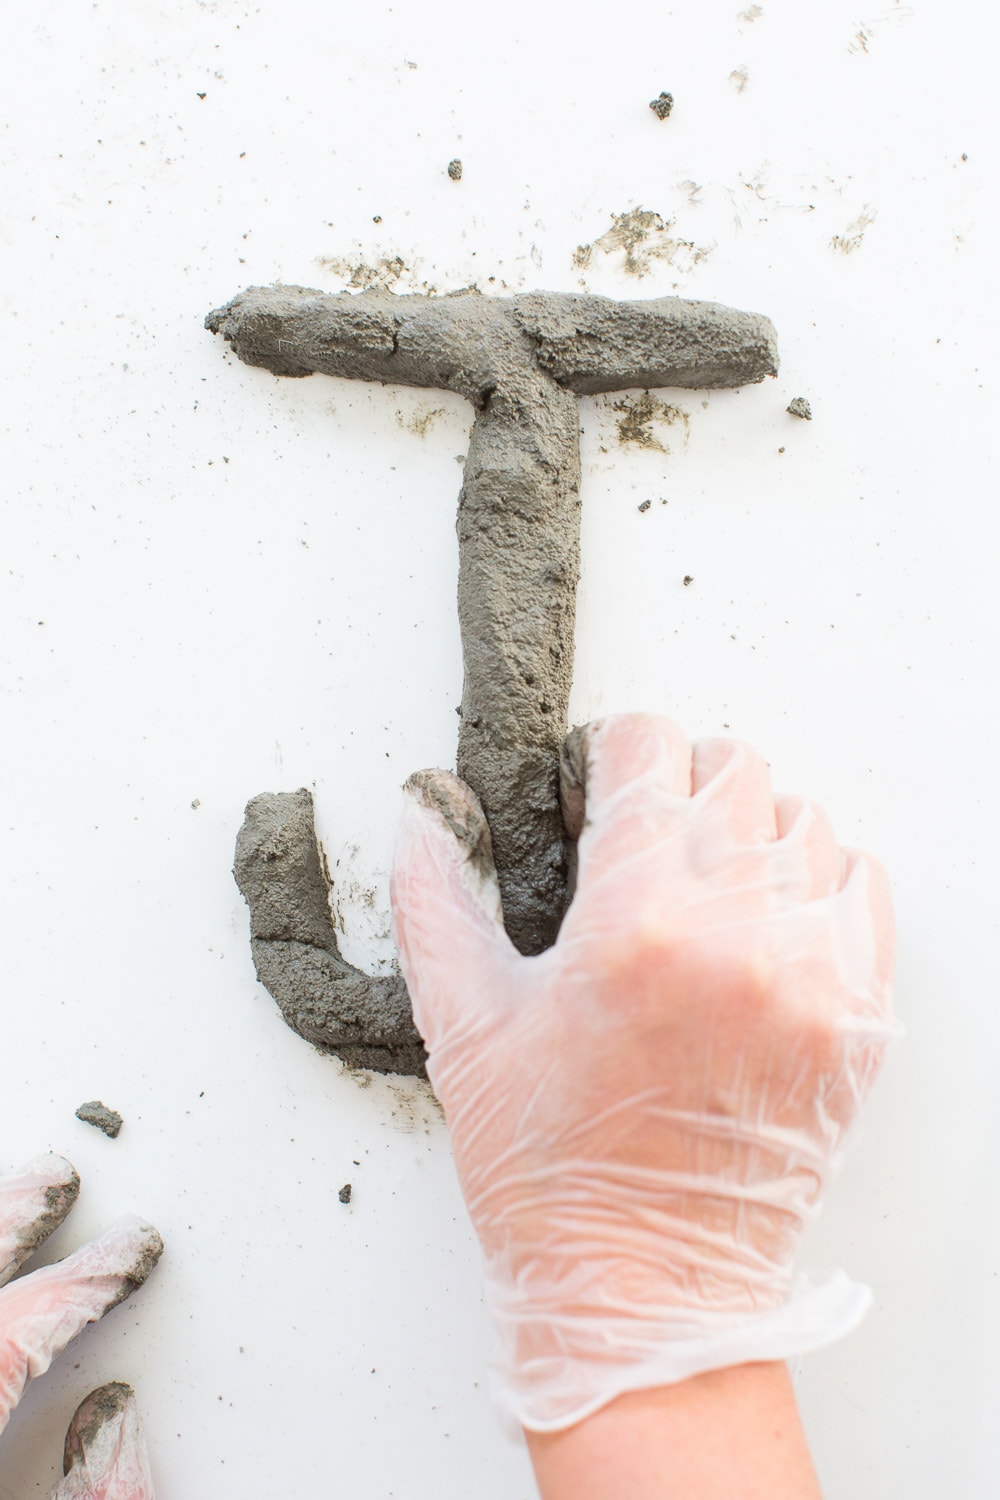
How To Make A DIY Hanging Concrete Monogram
Lay down a sheet of wax paper to work the cement on so that when it dries it doesn’t stick to the surface you’re working on.
Next, mix the Shapecrete according to the instructions on the container. This was the first time we’ve ever used it. It was plenty simple to mix!
Once you have it mixed to the consistency of clay, start molding your letters.
At first we made regular initials. But I decided I like the cursive name concept better. It’s more unique and the Shapecrete actually makes it easy to mold anything to your liking.
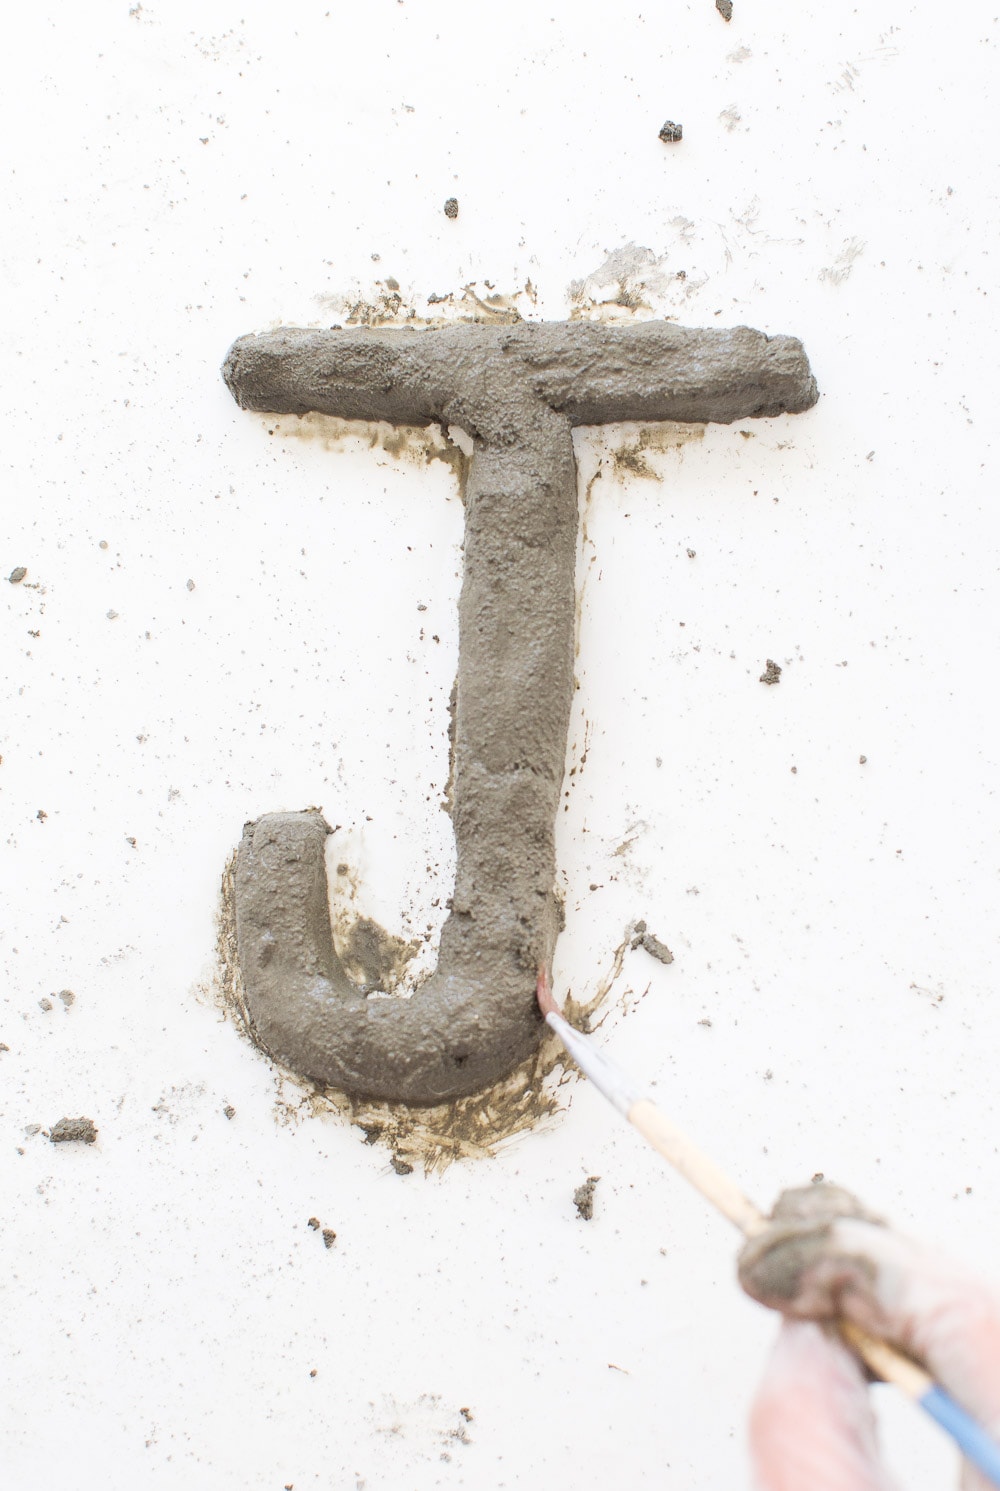
Once you have your general shapes molded, use a large paint brush dipped in a little bit of water to smooth out the rough edges and cleanup the lines on the sides of the monogram.
This is important since you want the lettering to be as smooth as possible.
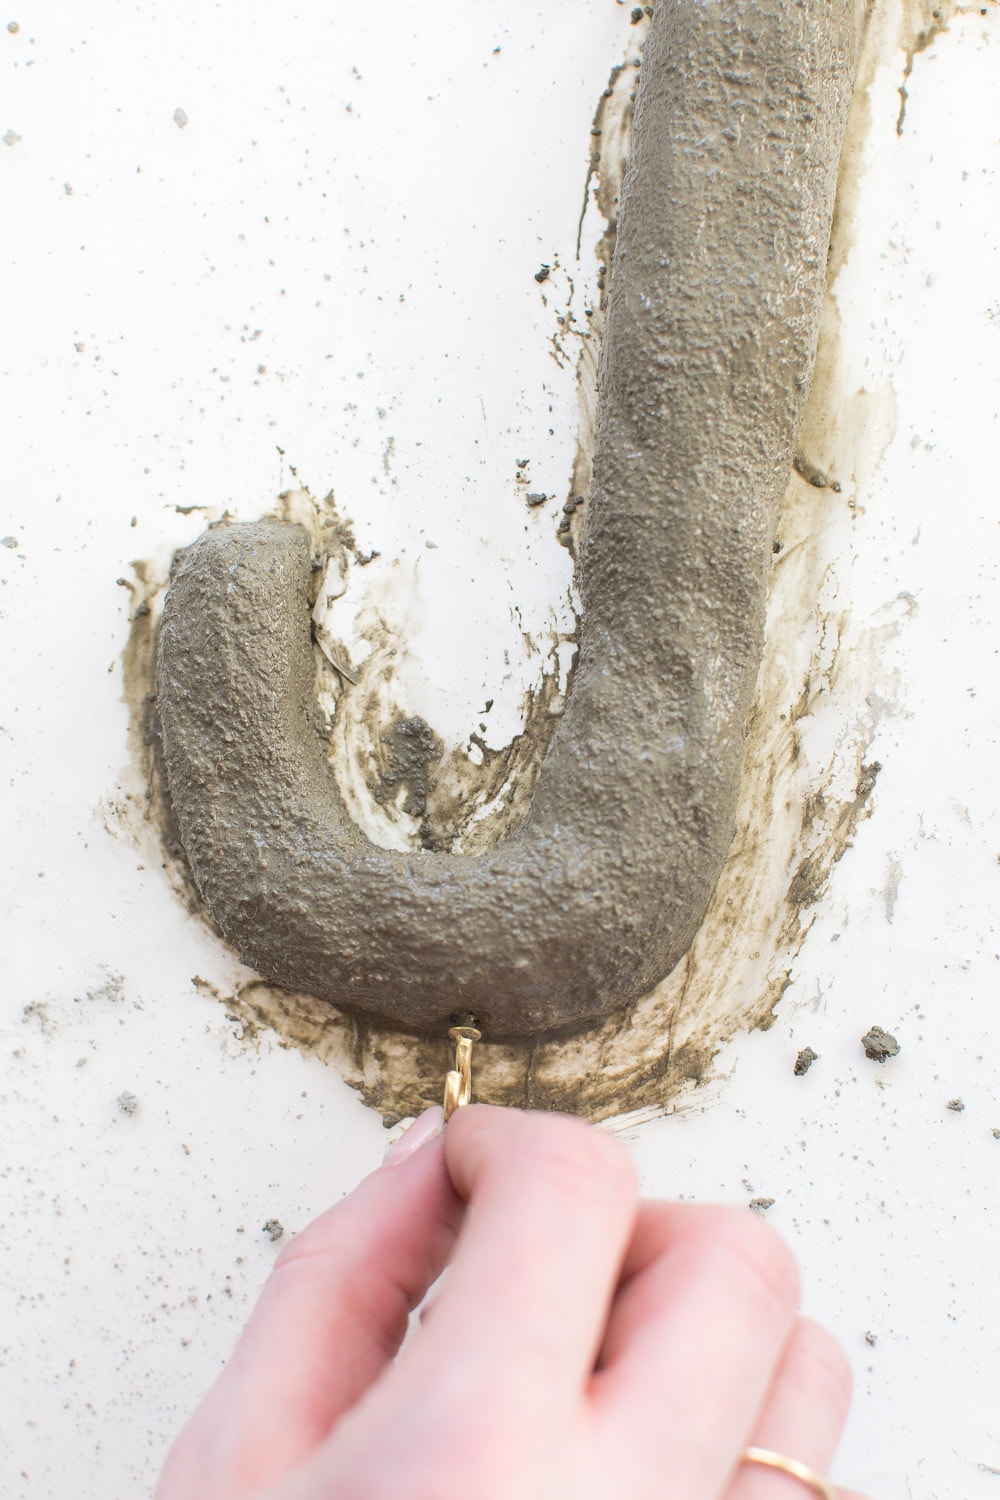
While the cement is still soft, insert the brass open ended hook in the bottom of the monogram. This will be what the keys hang on.
Insert the enclosed gold hooks at the top. This will be what the letters hang from on the wall.
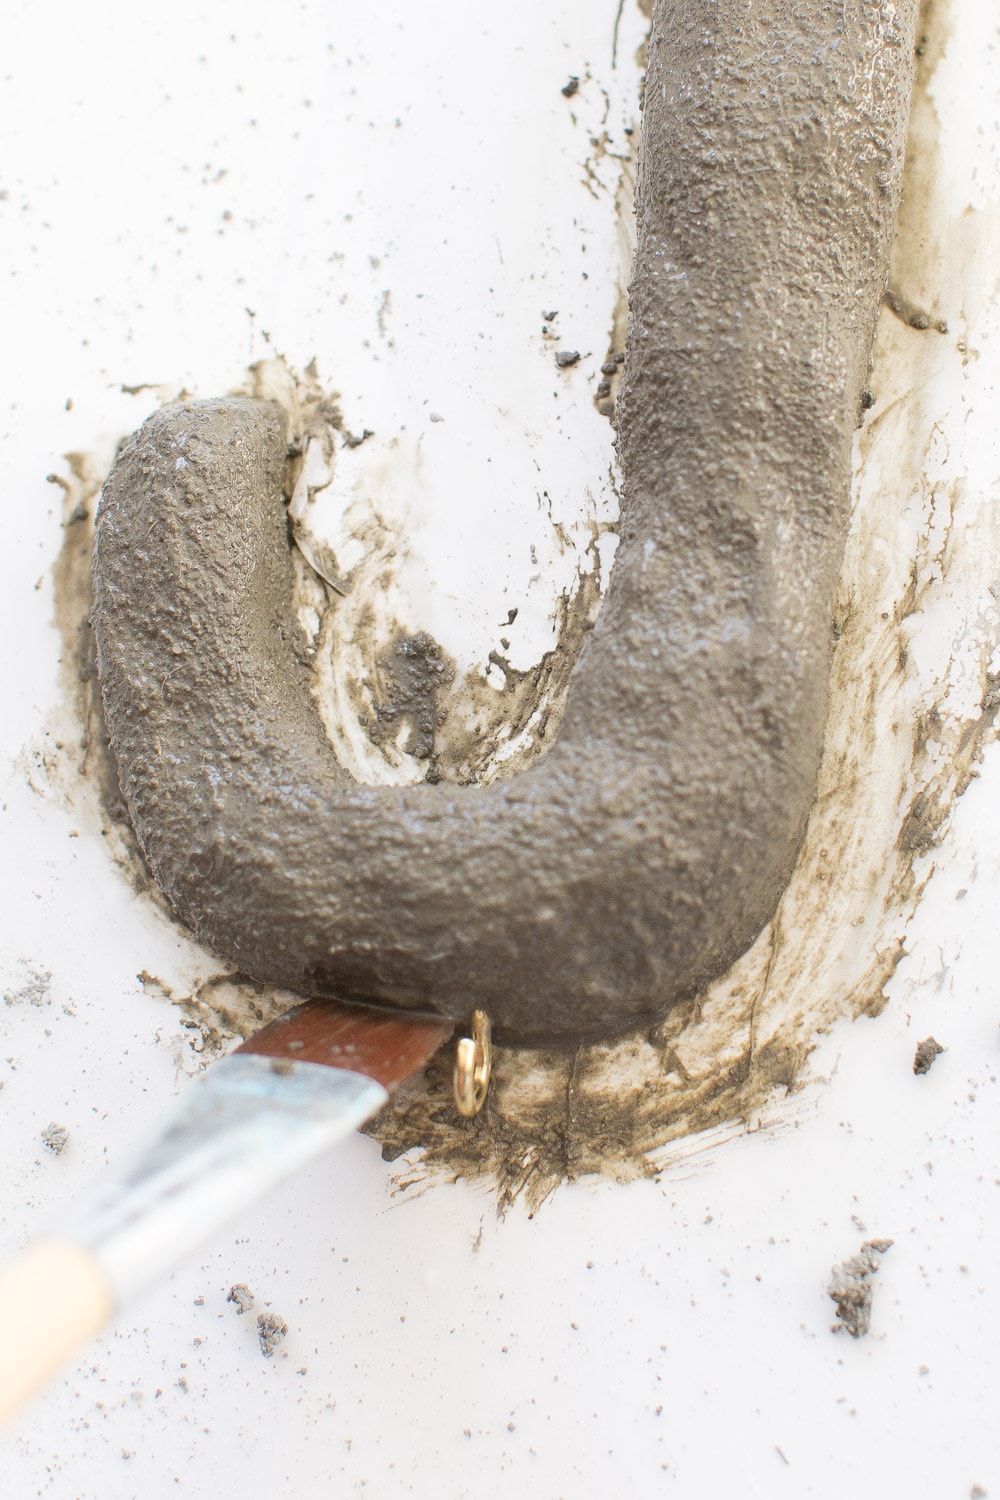
Then, use the water dipped paint brush to make sure the cement around the hooks is nice and smooth and pushed tightly against the hook.
You’ll want the letters fitted securely.
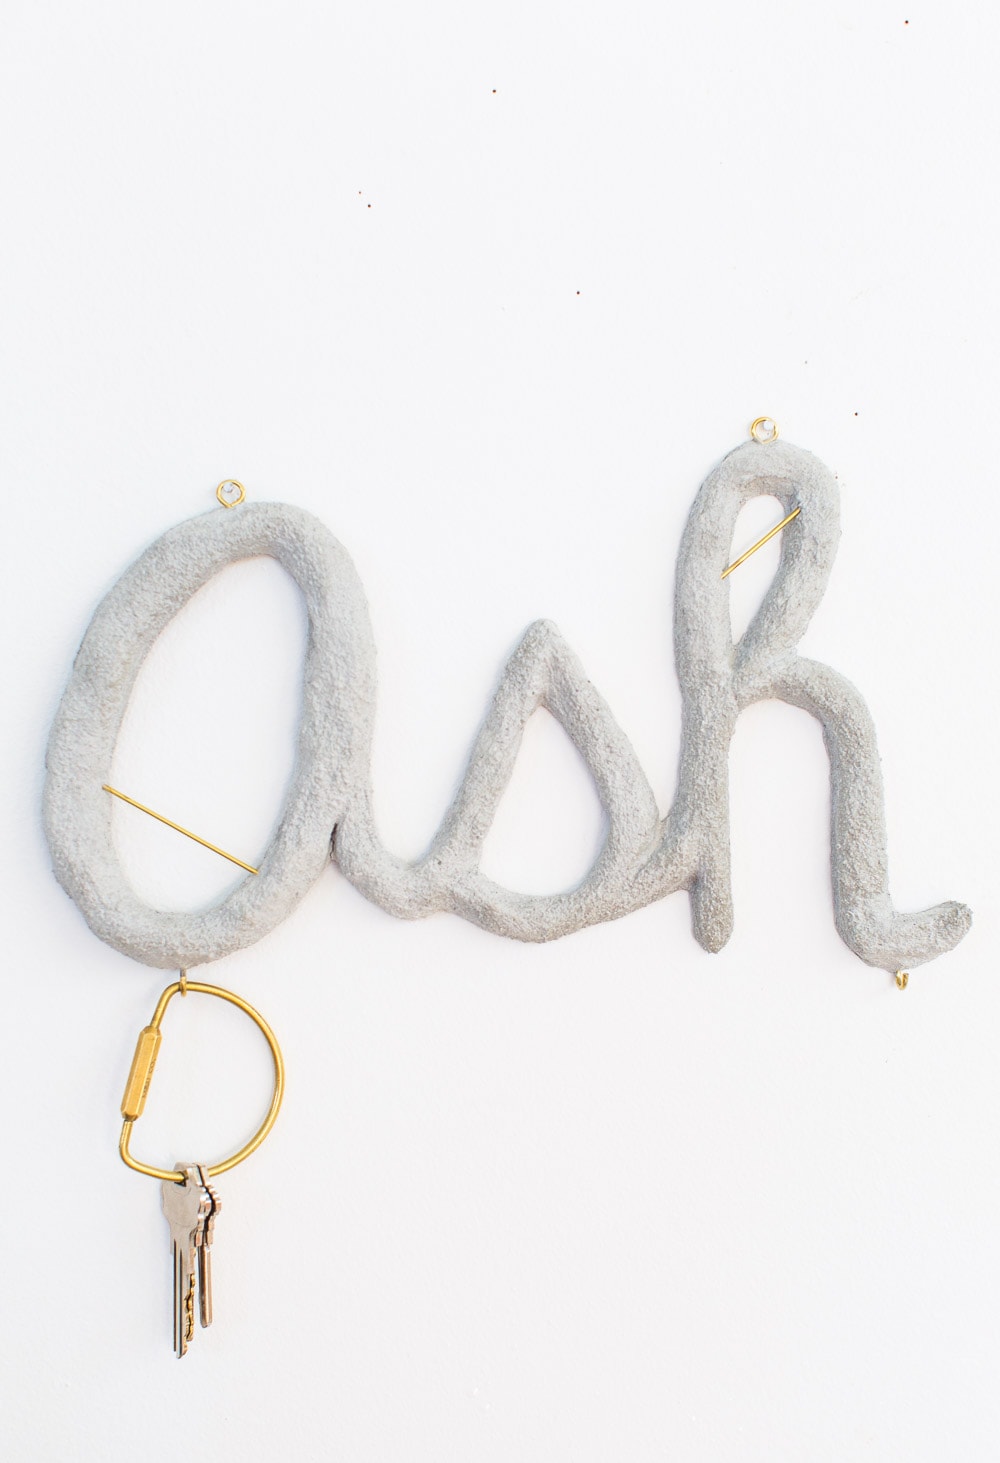
If you want to add some brass rod elements, you can do so while the cement is still soft and you’re inserting the hooks.
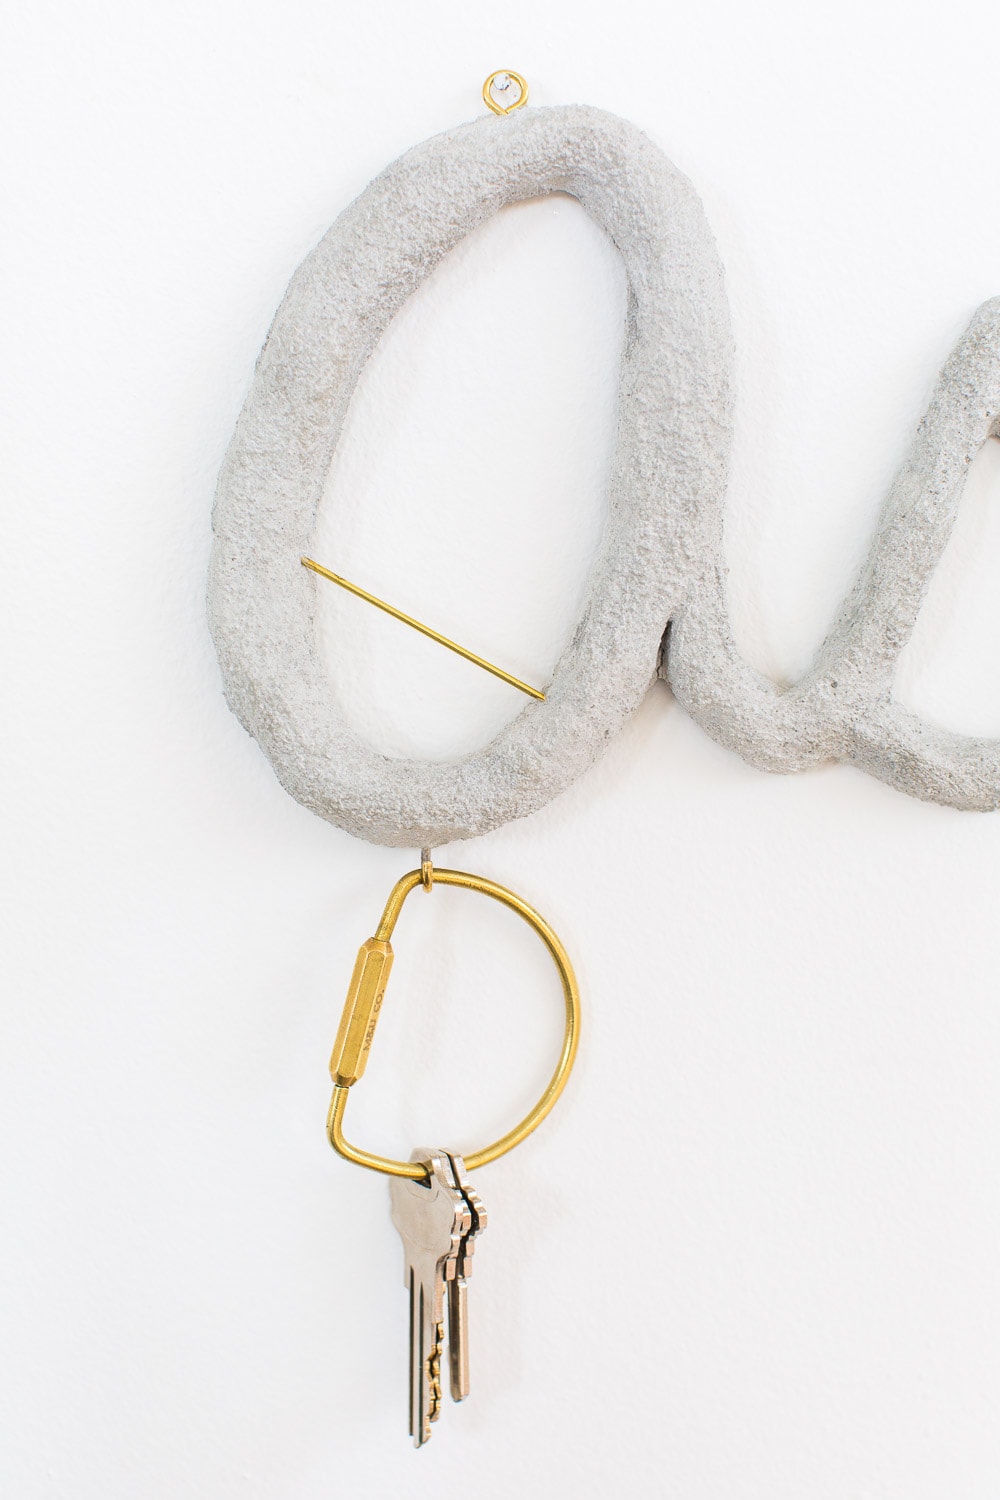
Once you have the look you want, let the cement dry for 48 hours.
And then, you’re ready to hang it!
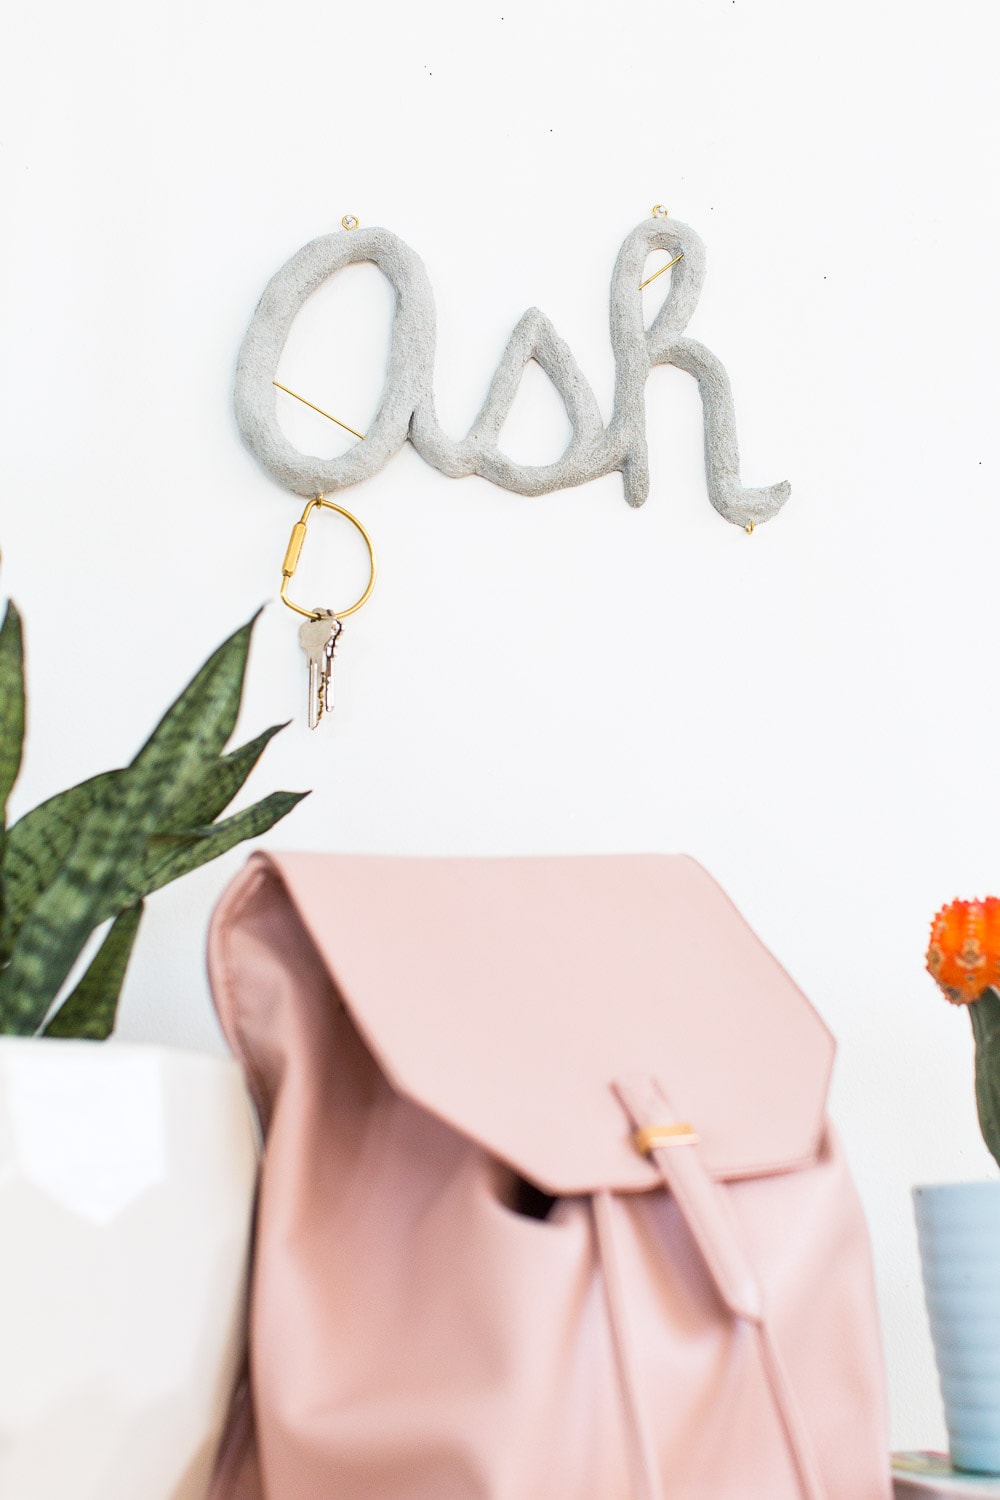
Do you all ever make things and they just don’t pan out the way you want, and it’s inevitably a let down? I’m definitely not exempt from that!
It’s kind of like when you’re just not feeling cute, and it doesn’t matter how many people tell you your outfit looks great, it just still doesn’t feel right. Do you know what I mean?
I hope some of you at least get some inspiration out of this project! It’s definitely a super cute idea for a gender neutral kids decor that has a functionality to it also!
Let me know what you think in the comments, and be sure to share your projects and recipes with #mysugarandcloth and #sugarandcloth so we can follow along with what you’re making from the blog too!
Please note that we may earn a commission for some of the above affiliate links. However, products featured are independently selected and personally well-loved by us!
Where’s your pretty backpack from?
Hey Rachel! It was from Topshop last year :)
What kind of pain I have to use to paint this beautiful home accessory?
You can really use any type of craft or outdoor/home paint depending on if it will inside or outside :)
you can use any type of craft paint :)
I totally know what you mean about things not coming out quite right. That said, I love this! And there are so many different kinds of projects you can use this for–I’ve never heard of Shapecrete, so this totally just opened up a whole new world of possibilities!
Alexandra Adams | X Height Ment
Yay, I’m glad you got some new ideas from it!!
yay, so glad you like it!
This is such a lovely idea and I LOVE that rucksack!!!
Thanks Francesca! I’m glad you love it! And I’m loving that watch in your recent post!
SO super cute!! I need a reason to try this!
Thanks, Chloe! You really could use it for so many different projects!
Just knowing such a thing as Shapecrete exists is awesome!!
I know! It’s so versatile and super easy to use! I definitely recommend trying it out
I think it looks great! Have you tried sanding it? I bet if you sanded it to create a more faceted look it would be cool. Or maybe just smooth the letters out a bit. I have never even heard of this product, but you are right in the fact that it could be used for tons of fun projects!
Thanks for the tip, Kara! Sanding it is a great idea. The possibilities are endless, I’m sure well be using it again in the near future!
I love the idea! Maybe it would look better if you flattened it out and gave it straight smooth edges & corners. So it looks more like it was poured in a mold?
Not a bad idea! It would definitely give it a cleaner look
This is so stinking cute! I need to make one of these for our house asap!
Paige
http://thehappyflammily.com
Thanks, Paige! I’m really glad you like it! You’ll have a lot of fun working with Shapecrete!
So fun, Ash! I love Shapecrete too… So much easier than regular concrete for this kind of stuff.
Thanks B! And of course you’d be one that already knew about Shapecrete!