DIY No Sew Apron
DIY No Sew Apron — These DIY No Sew Aprons make for the perfect handmade thank you or Christmas gift for the florist, gardener or DIY lover alike…
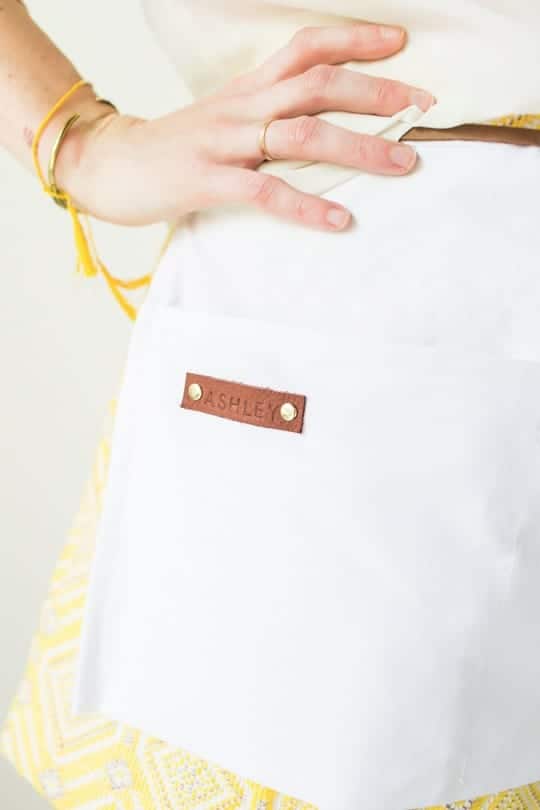
Now that the floral workshop is all wrapped up, I can finally share my DIY No Sew Apron project. As a thank you, we gifted all our workshop attendees with one from Sugar & Cloth.
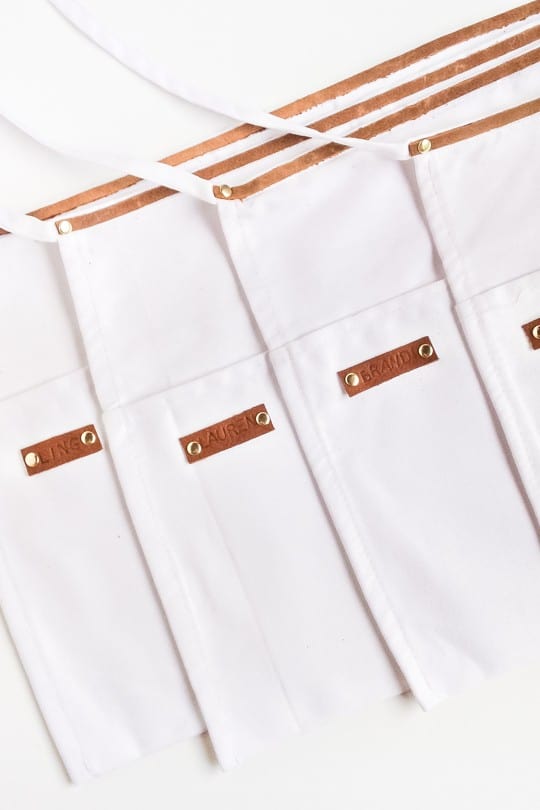
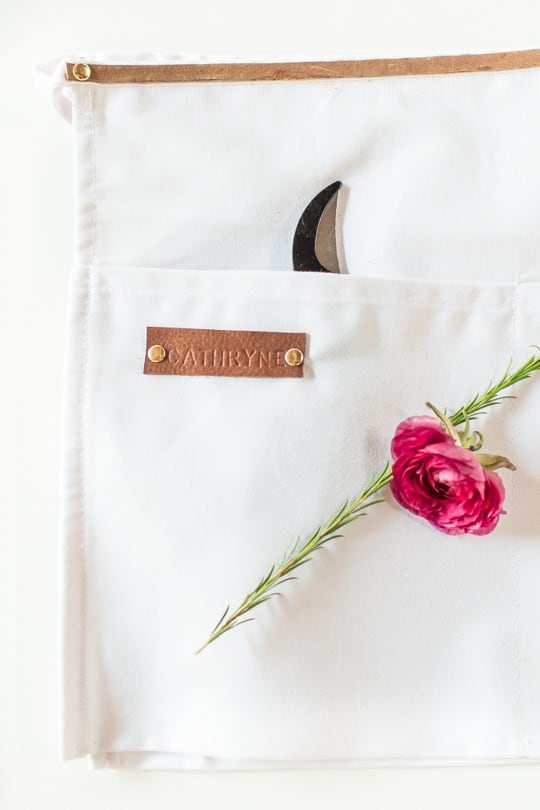
We also folded the no-sew aprons up and used them as place cards for the girls to find their seats. And tucked the shears and little workshop supplies inside each apron.
I reallllly loved how they turned out, even if it did take quite a few hours and an extra hand or two. (Thank you, Nancy and Aelish for helping us finish all all twenty aprons in time!)
I think these DIY No Sew Aprons would make the cutest thank you or Christmas gifts for florists, gardeners, or even the DIY lover (like myself). Because let’s be real… I have a black thumb.
And who doesn’t love a function gift when you can tuck all your tools in this apron?!?
Materials And Tools Needed To Make A DIY No Sew Apron
- Short waist apron
- Leather rotary punch — It’s a little tough to punch through layers with the rotary punch (especially leather). However, Jared had no problem so don’t be discouraged!
- Contact or spray adhesive
- Brass x-small rivets with setter and anvil — You can also purchase them as a kit.
- Leather letter stamp kit
- 1/8 inch leather lace
How To Make A DIY No Sew Apron
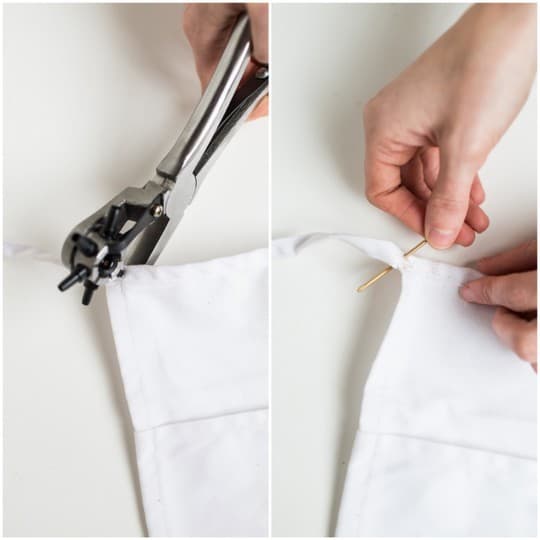
First, use the rotary punch to make a hole the same size as the rivets in the top corners of the apron.
To make inserting the rivets easier, you can use a thick needle or sharp point to push a hole all the way through.
Next, cut a strip of leather lace. Make sure the leather lace covers full length of the top of the apron. We recommend leaving about a half an inch extra on each side just to be safe.
Use the rotary punch to punch through one end of the precut leather. And then, insert a rivet through the apron and leather holes you punched.
(If you’re unfamiliar with inserting rivets, instructions should be included with all rivets kits. You can also view a how-to tutorial here.)
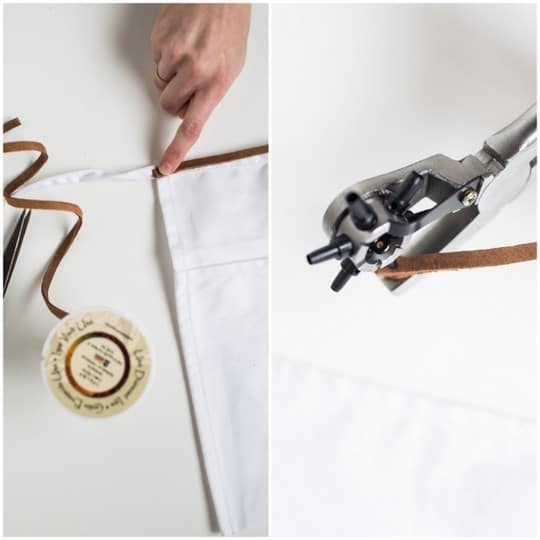
Now lay the leather lace flat along the top edge of the apron to the other side. (This should be where you already punched a hole through the apron.)
Mark where the hole in the leather needs to be to match up to it, and punch a hole there with the rotary again.
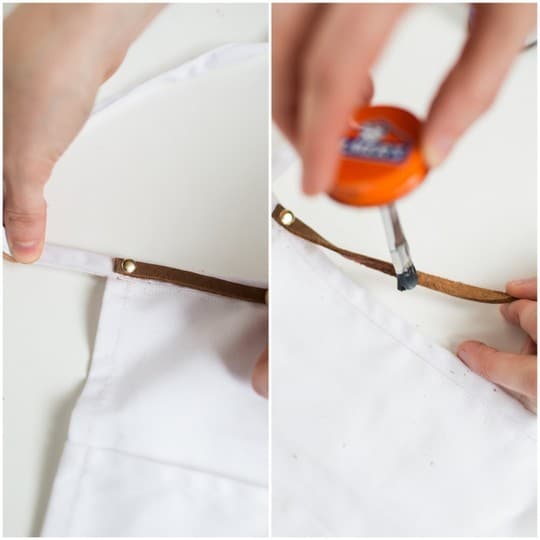
Before inserting a rivet on the other side of the apron, use rubber cement to glue the leather lace down. Do so by generously applying glue along the top edge with the rubber cement brush.
Then, applying glue to rim of the apron that you’re adhering it to, let the glue become tacky, and then push them together smoothing it down along the way.
Originally we were just putting glue on the leather band by itself. But it doesn’t stick together as well as when you apply glue to both.
Lastly, insert a rivet through the apron and leather lace on the remaining side of the apron.
And let it set until the glue is completely dry.
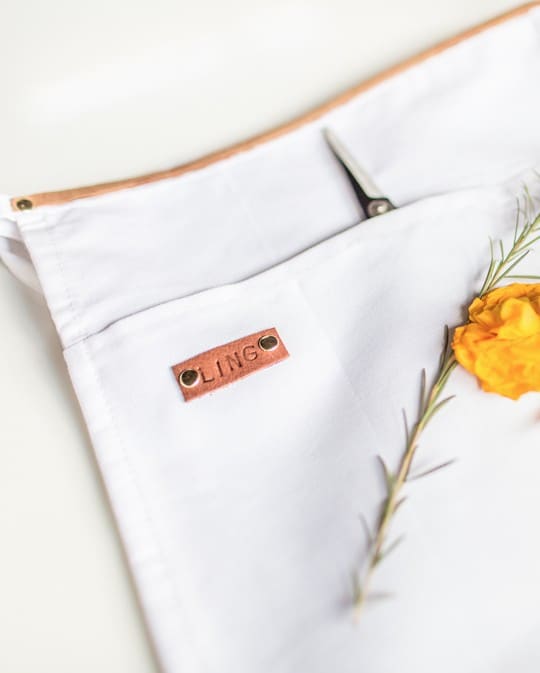
DIY No Sew Apron Customization | How To Create The Name Tags
For the name tags: Use the same steps to cut, glue, and insert rivets through the leather lace and apron.
However, this time it will be even easier to use the rotary punch through both at the same time instead of punching through the fabric and apron separately.
Be sure to stamp the leather with the alphabet kit before cutting the leather. This way you will know exactly how long your name tag will be.
(Please also refer to the included instructions in the alphabet kit for tips on leather stamping.)
Once it’s all set and dry, you’re ready to package and gift the apron to your favorite ladies (or lad)!
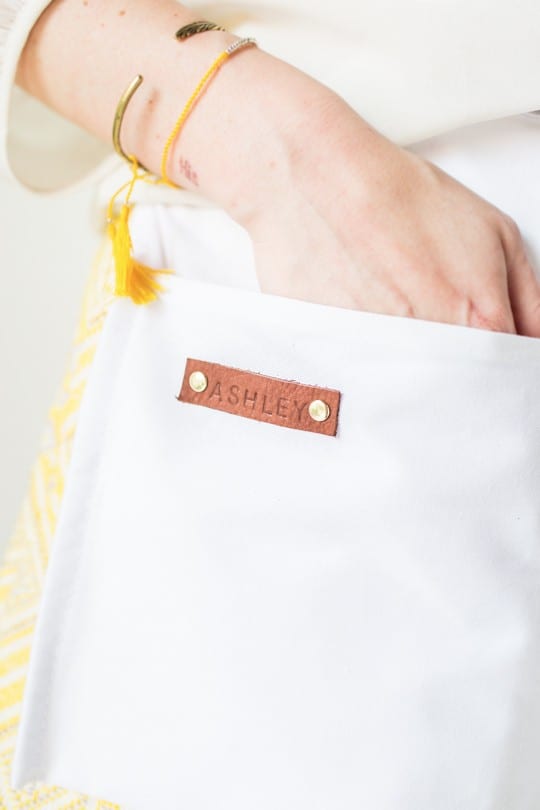
For A More Patterned Look
We love the minimal look to these aprons.
However, you could easily make these DIY No Sew Aprons more colorful and bold by using longer, pinstripe or dark canvas aprons in lieu of the petite white version.
You’ll get to see more of these aprons in action later this week when I share the recap of the flower workshop. So stay tuned!
Please note that we may earn a commission for some of the above affiliate links. However, products featured are independently selected and personally well-loved by us!




These are so fun! WIth the use o the glue , are they washable?
Super cute! Wish I could have come :)
These are so adorable!!! I need one.