DIY Dual Copper Candle Holder
DIY Dual Copper Candle Holder — Display your favorite candles and add instant character to any space with this easy DIY Dual Copper Candle Holder!
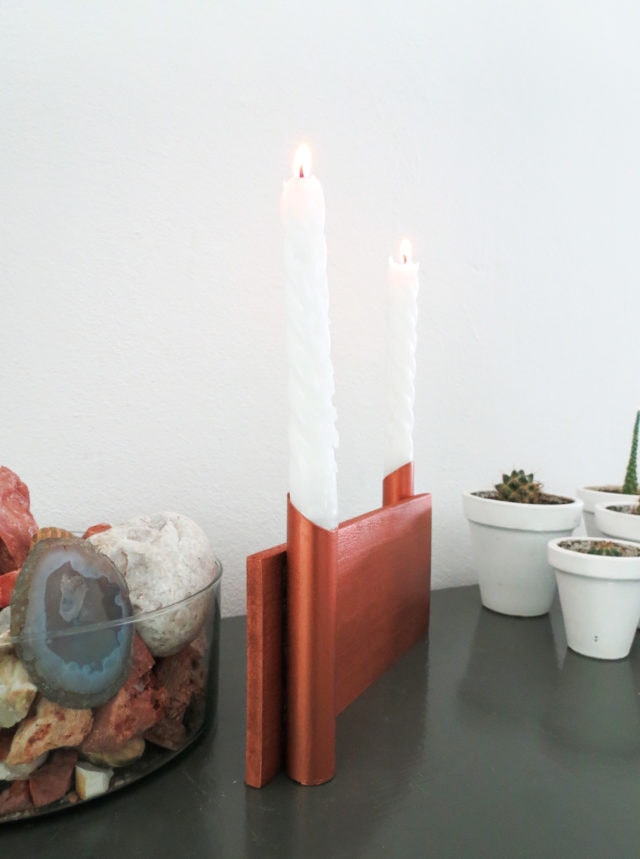
I love frequently changing things up around the house. So for me having small decor items I can easily move around is a must!
A personal favorite of mine is a nice candle. I, Amaryllis, love how lighting a candle can immediately gives a warm and inviting feel to any space.
What’s even better is the candle holders that come apart of the package! They are so versatile from being a show stopper center piece to a charming detail on a bookshelf or side table.
All of this sums up why I am so excited today to be sharing how to make this elegant DIY Dual Copper Candle Holder!
Copper adds a chic touch to anything. So a copper candle holder is just the perfect combination!
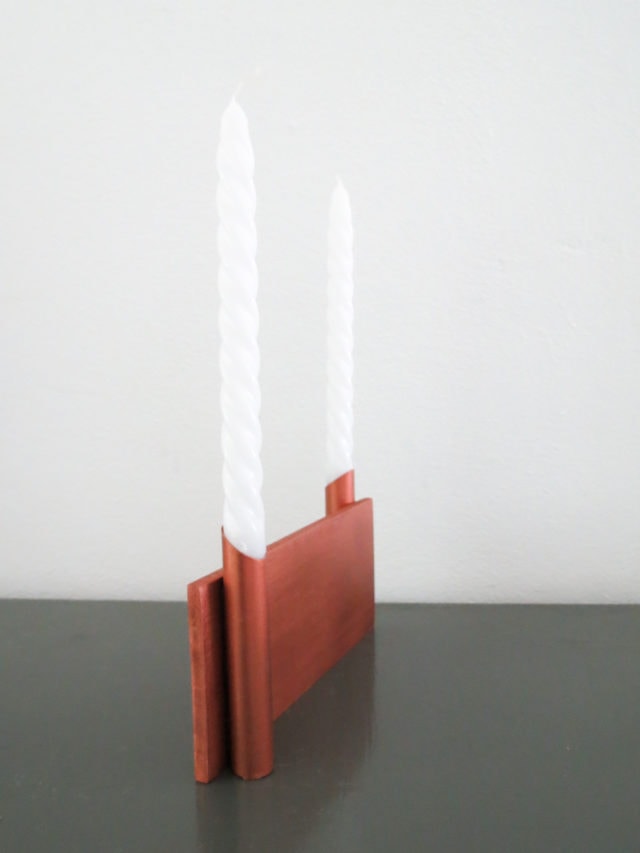
Materials Needed To Make A DIY Dual Copper Candle Holder
3/4 copper pipe
A piece of 6mm plywood or balsa
A hacksaw
Sanding paper
Masking tape
Concrete
A cutter
A ruler
Copper spray paint
All purpose glue
Candles
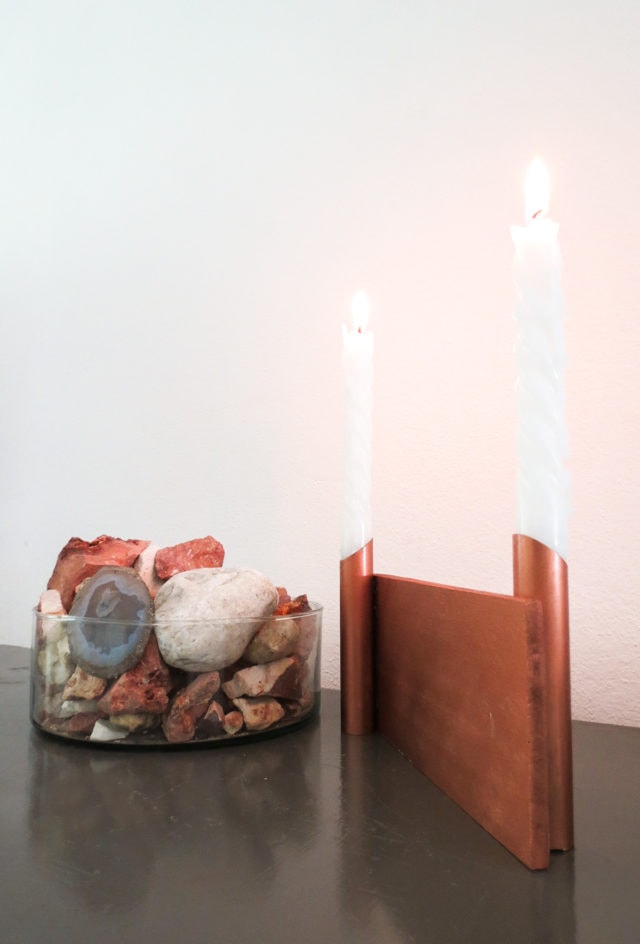
How To Make A DIY Dual Copper Candle Holder
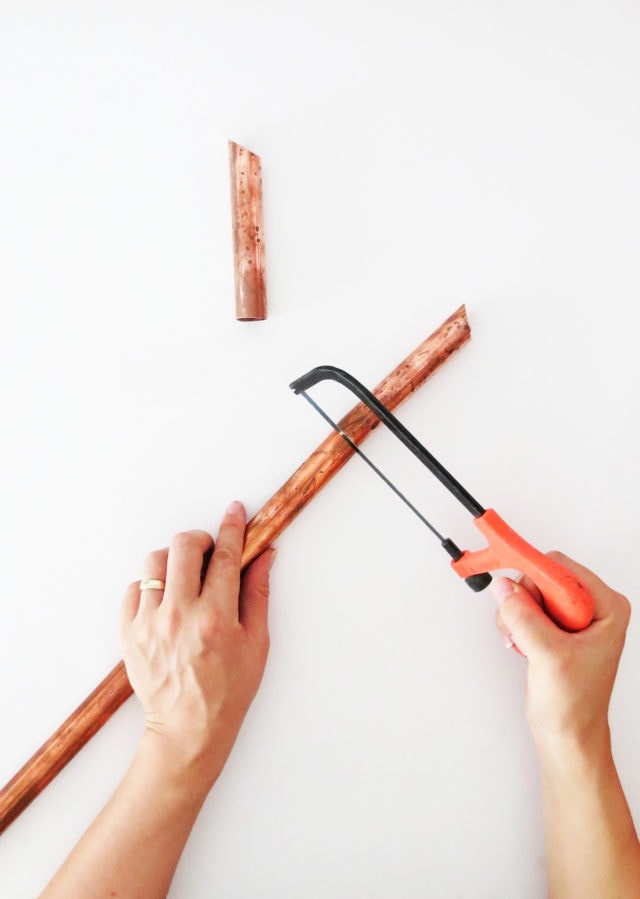
You first need two pieces of copper pipe to hold the candles. Use the hacksaw to cut the pipe at a length of 5 inches. Cut one end straight and the other at a 45 degree angle (approximately).
Sand the edges to remove all the splinters.
Clean the pipe if required. If you need to remove the red label, put a little nail polish remover on a clean cloth and rub the pipe.
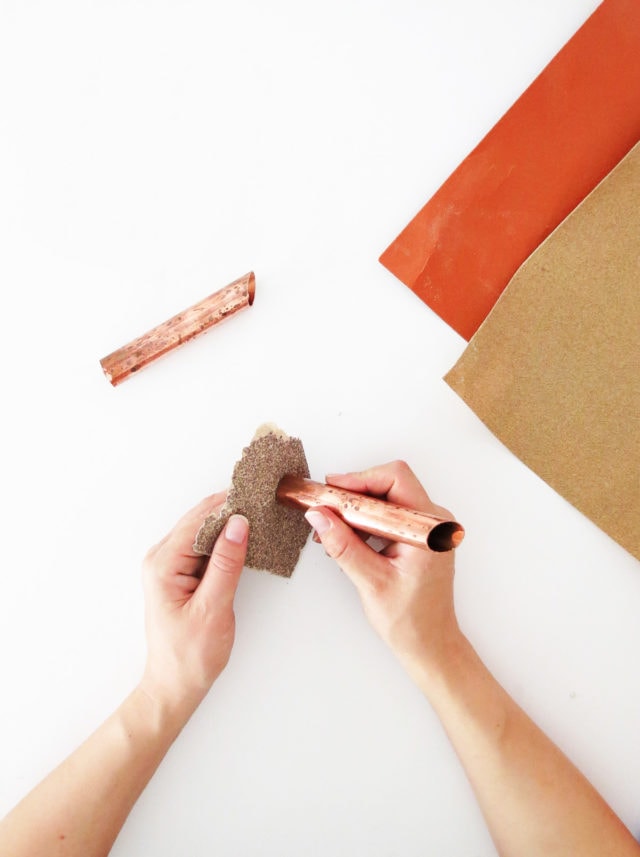
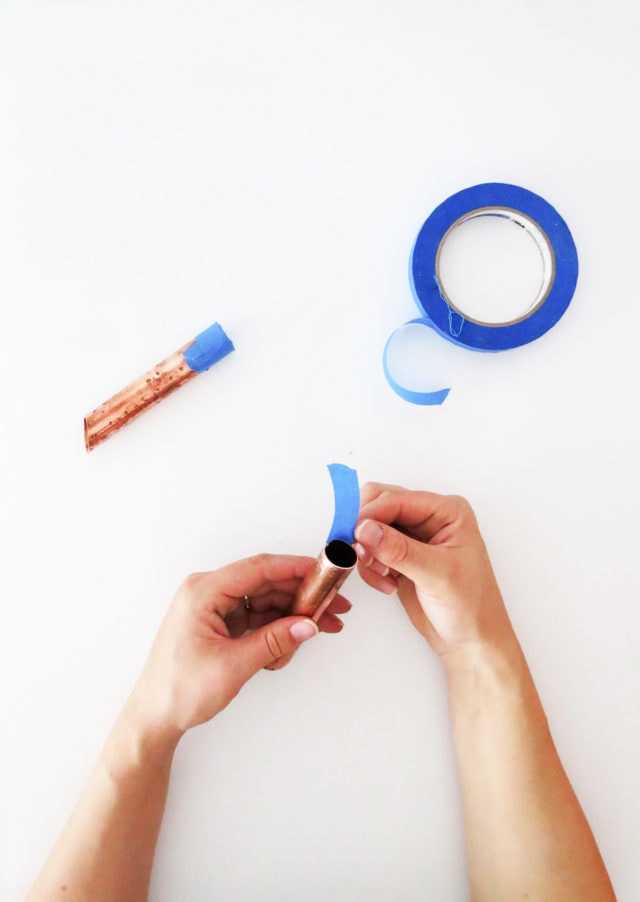
As we want to avoid any fire hazard, we need the candle holder to be heavy enough to stay stable. So you need to fill 2/3 of each copper pipe with concrete. Start by closing the bottom opening with a few layer of masking tape.
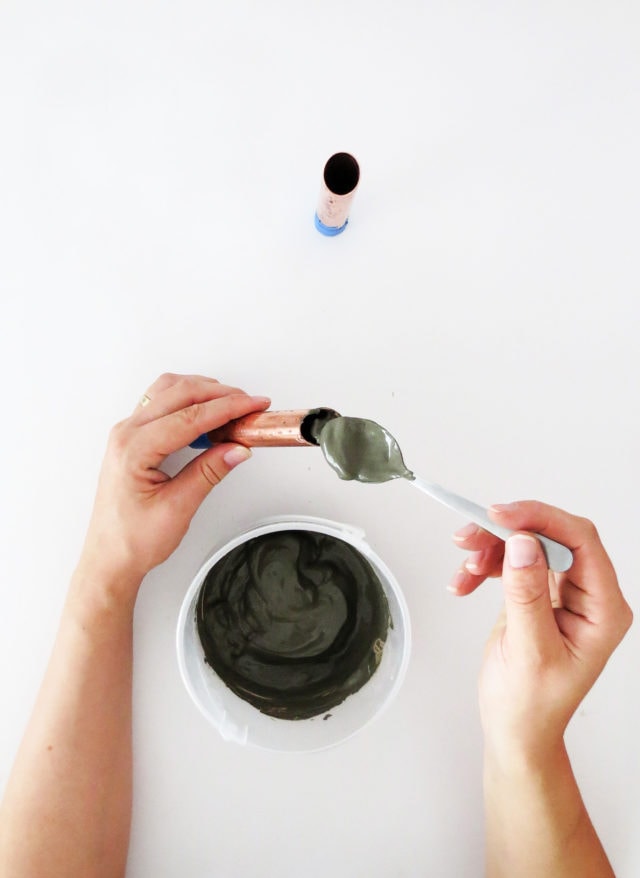
Mix the concrete in a container, following the package instruction, and pour it into the pipe. I found out that a small spoon was the accurate tool to do so.
Fill ⅔ of each pipe with concrete.
Place the pipes vertically and let the concrete dry for 24 hours (or the time required by your package instruction).
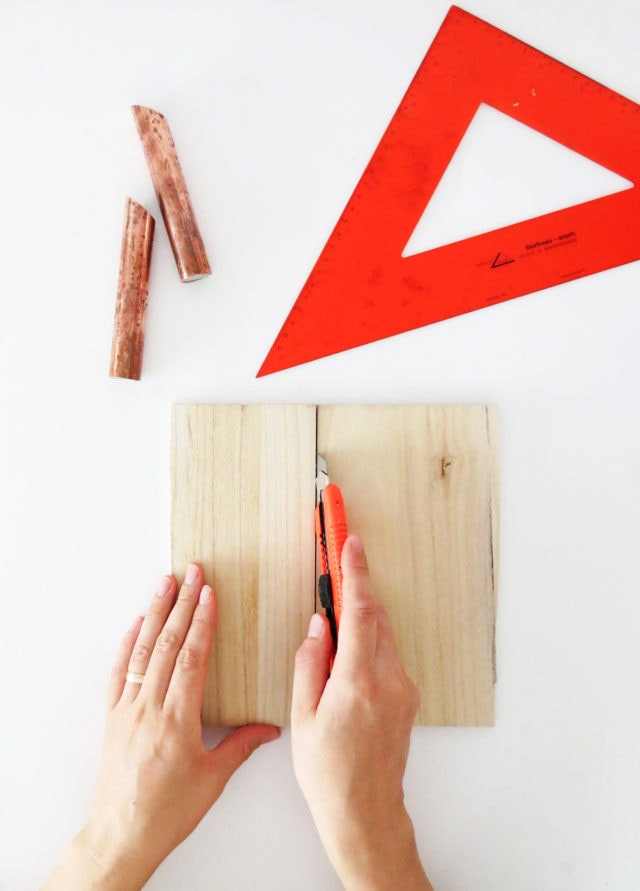
Meanwhile you wait for the concrete to cure, cut a rectangle of plywood (or balsa) at the following dimensions: 9 inches width by 4 inches high.
Sand it carefully with a 120 grit paper. The smoother the wood is the best will be the result.
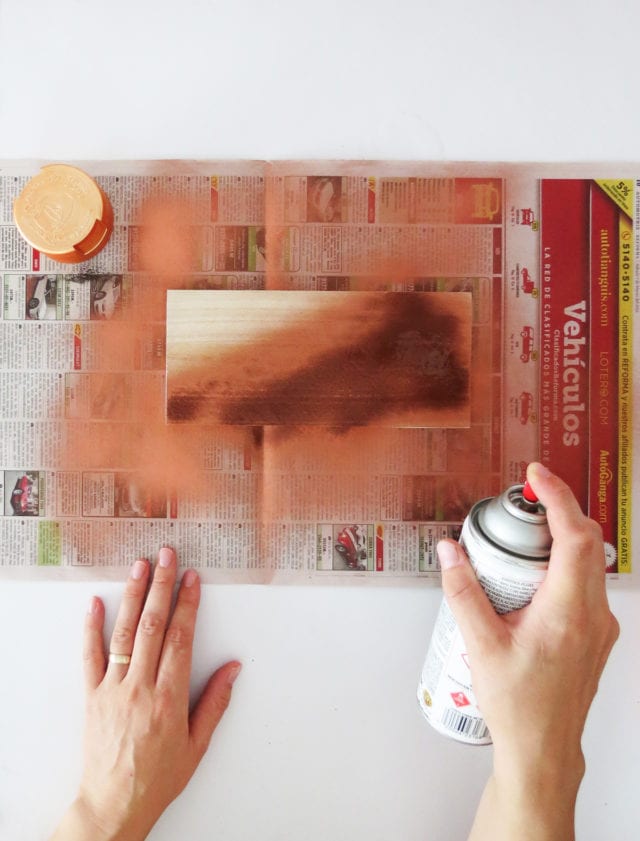
Apply several coats of copper spray paint on both sides of the wood.
Set aside and let dry.
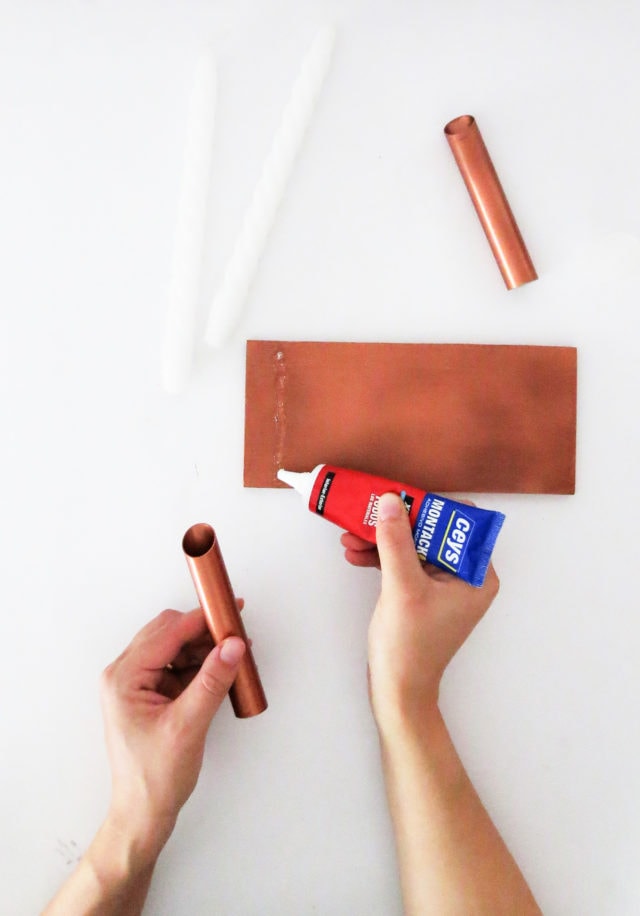
Once it is dry, take your glue and make a line where you would like your copper pipe to be.
Then, take your copper pipe and firmly press to make sure it is set in place.
Let dry and then repeat this step for the other side.
Now that both sides are set and dry, you are ready to set your handiwork on display and light those candles up!

How easy was that? Yup, it’s really that easy! This DIY Dual Copper Candle Holder is the perfect detail to add to any space.
Don’t hesitate to go wild with all different colored candles. Pastels tones look particularly great with this copper shade! The combinations are honestly endless!
More Candle And Aromatherapy DIY Ideas
In case you’re looking for a few other candle and aromatherapy DIY ideas, here are some of my favorites from the archives —
- How to make wax candles with rosemary and grapefruit
- DIY Reed Diffuser: How to make an essential oil diffuser
- DIY faux wood candle holder
- Rainbow DIY candle holder
- Wooden taper candle holder
- DIY citronella candles
Please note that we may earn a commission for some of the above affiliate links. However, products featured are independently selected and personally well-loved by us!
This is so cute! Great one! Thought it is all made from cooper.
Thank you so much, Jordan! Haha the copper spray paint definitely did the trick!
This is gorgeous! You did an awesome job!
Paige
http://thehappyflammily.com
So glad to hear that, Paige! Thank you! Amaryllis did a fantastic job! xo