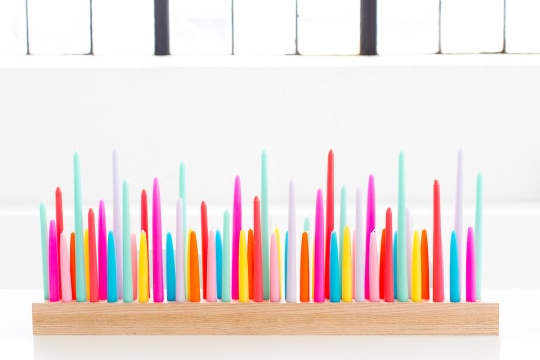
DIY Candle Holder for Taper Candles
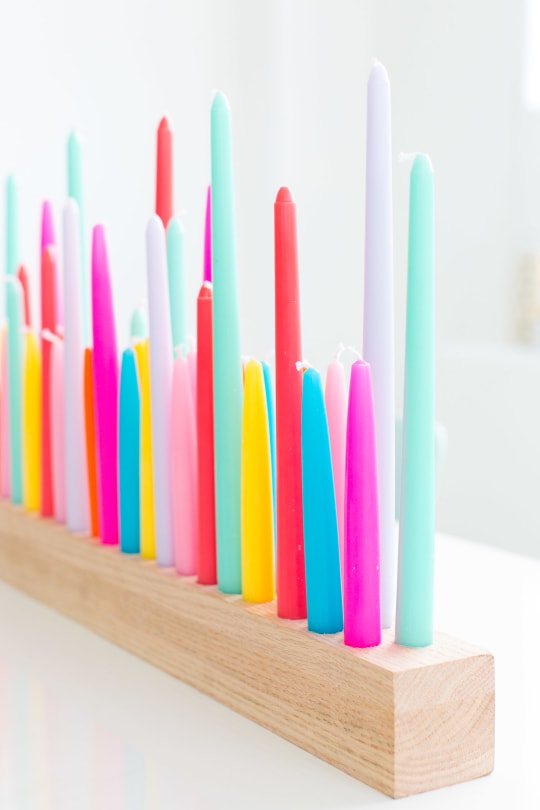
Bring the wow factor to your home with a Rainbow Taper DIY Candle Holder. This fun project is as simple as drilling holes into a piece of wood. And it looks just as pretty unlit as it does lit.


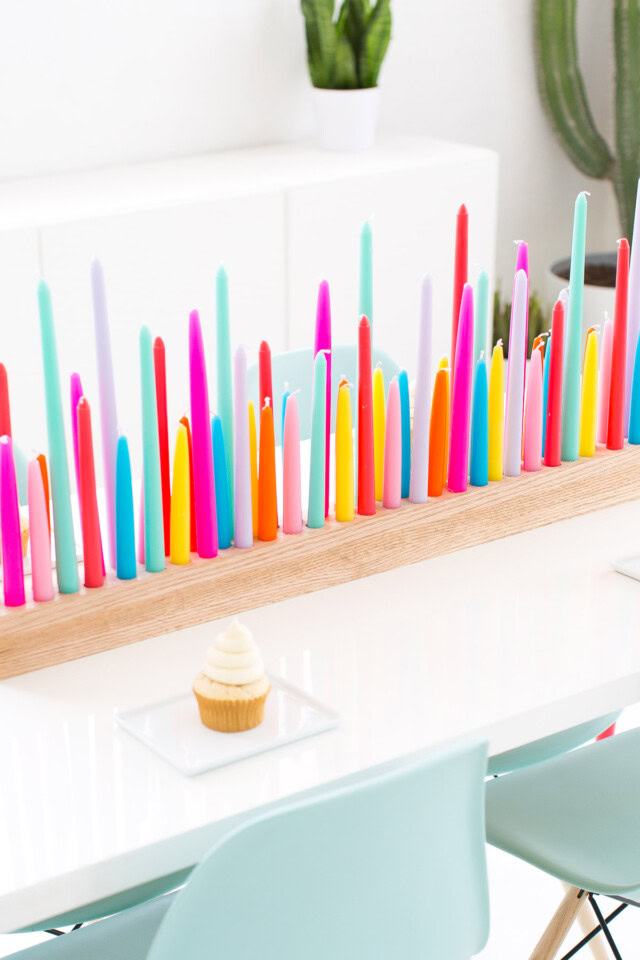
Tired of the same old store-bought candle holders? For those of you that are big romantic lighting fans that also have a special place in your heart for rainbows, prepare to freak out over your next dinner party table. Look no further!
This DIY Candle Holder for taper candles is the perfect solution. It’s surprisingly simple. Anyone can do it, even if you’re new to crafting. All you need is a piece of wood, a drill ,and a little bit of creativity.
In just a few easy steps, you’ll transform a plain piece of lumber (or even reuse some scrap wood) into a stunning candle holder that reflects your own style. Plus, this project is completely customizable. Choose the type of wood that suits your taste,from rustic and natural to sleek and modern.
You can even paint, stain, or embellish your creation to make it truly one-of-a-kind. So, grab your tools and get ready to unleash your inner DIY master. This easy project has been one of our most popular DIY candle holder ideassl. So it’s time to create a unique and beautiful candle holder that will add a warm glow to your home!


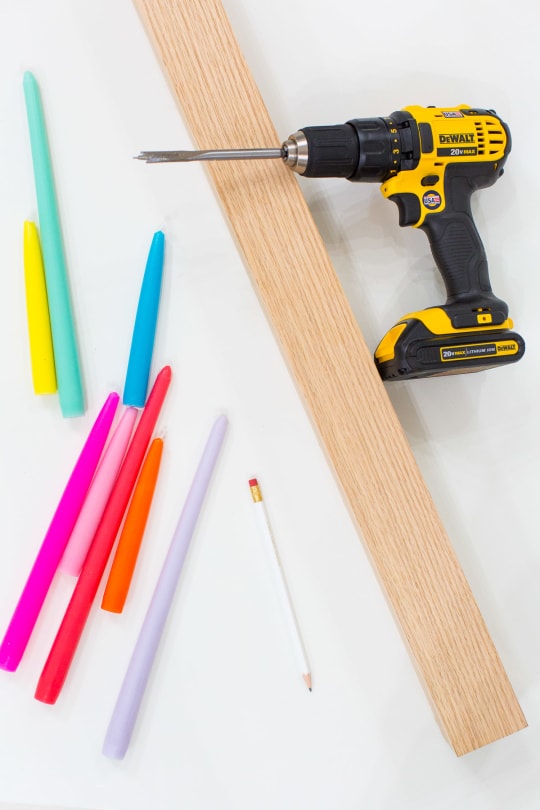
Tools and Materials Needed
- Wood board — Our oak wood board measures 4-inches high x 4-inches wide x 3-feet long.
- Drill
- 3/4-inch spade bit set — You’ll need a drill bit slightly wider than the diameter of your taper candles.
- Fine sand paper — Optional for a smoother finish on the wood.
- Colorful taper candles — We purchased the candles online in varying heights, sizes and colors from Zest Candle since we loved the staggered look with small candles and tall candles. Aim for a rainbow spectrum, but feel free to adjust based on your preference.

Candle Safety Tips
BEFORE WE GET STARTED: We’d like to preface that don’t condone playing with fire and/or making fire hazard DIY’s. So be careful when lighting this little centerpiece, especially if you’re making one as large as ours.
It is very important that none of the candle wicks ever touch. We also recommend only lighting a few at a time to make it a safer environment. And never leave lit candles unattended!

How To Make A Rainbow DIY Taper Candle Holder
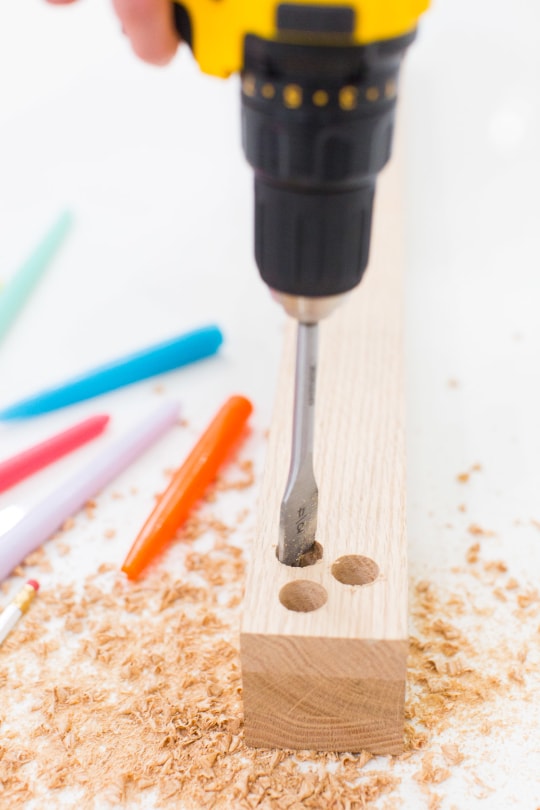
1 — Decide on the number of candles you want your holder to accommodate. Mark the exact spots where you’ll drill the holes for the taper candles. Ensure the spacing allows enough room for each candle without them touching when lit. We did a more freestyle approach and staggered the holes all the way down the wood.
2 — With a drill and the appropriate drill bit, carefully drill holes at the marked locations. Drill straight down, ensuring the holes are deep enough to hold the taper candles securely.
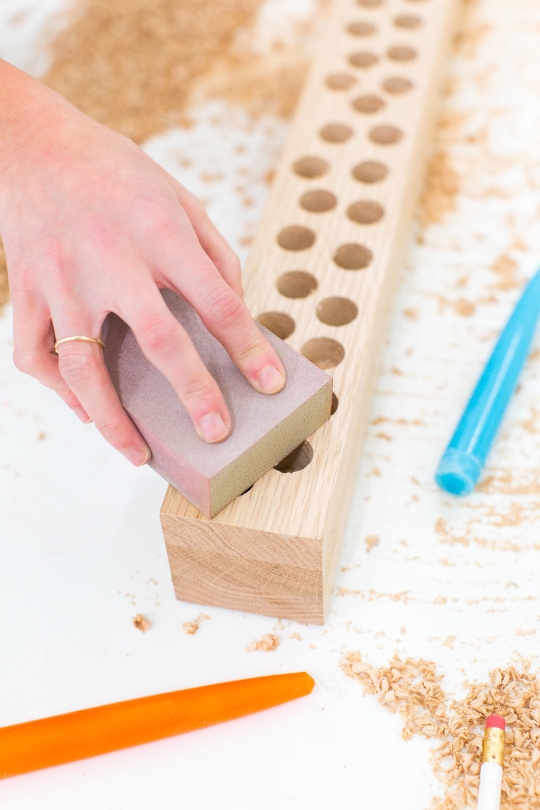
3 — Optional: Using a super fine grit sand paper, smooth the wood for a more finished look, especially if you used a rough-hewn piece. Now you’re all set to place your taper candles in the drilled holes!
Tutorial Notes and Tips
- Choose a size and thickness that suits your taste. Consider a branch for a natural look, a reclaimed board for a rustic vibe, or a pre-cut piece of lumber for a clean finish.
- If desired, paint or stain the wood in a color that complements your décor. Ensure it’s heat resistant. Let the paint or stain dry completely.

How to Get a Drip Candle Look
Now to get the cool melted look (without having to wait a million years for each candle to burn down enough), we used a butane (or culinary) torch instead of lighting them each individually.
All you have to do is run the torch along the candle a handful of times. And you get the full effect in seconds.
More Candle and Aromatherapy DIY Ideas
We hope all of my fellow color lovers enjoy this DIY Candle Holder idea! We have to say it might be be seen styled in the background of upcoming posts because we love it so much! In case you’re looking for a few other candle and aromatherapy DIY projects, here are some of my favorites from the archives —
- How to make wax candles with rosemary and grapefruit
- DIY Reed Diffuser: How to make an essential oil diffuser
- Faux wood candle holder
- Copper candle holder
- Wooden taper candle holder
- DIY citronella candles (using a glass jar and balloons)

DIY Candle Holder for Taper Candles
Equipment
- Drill
- 3/4-inch spade drill bit
Materials
Instructions
- Decide on the number of candles you want your holder to accommodate. Mark the exact spots where you’ll drill the holes for the taper candles. Ensure the spacing allows enough room for each candle without them touching when lit. We did a more freestyle approach and staggered the holes all the way down the wood.
- With a drill and the appropriate drill bit, carefully drill holes at the marked locations. Drill straight down, ensuring the holes are deep enough to hold the taper candles securely.
- Optional: Using a super fine grit sand paper, smooth the wood for a more finished look

Don’t forget to share your Rainbow DIY Taper Candle Holder with us on Instagram using the hashtag #sugarandclothloves. We always love seeing all of your creations! And if you’re looking for more quick DIY’s find them all right here!

Affordable Wall Art: 54 Stylish Prints Under $200
Looking for affordable wall art that still makes a big…
Continue Reading Affordable Wall Art: 54 Stylish Prints Under $200
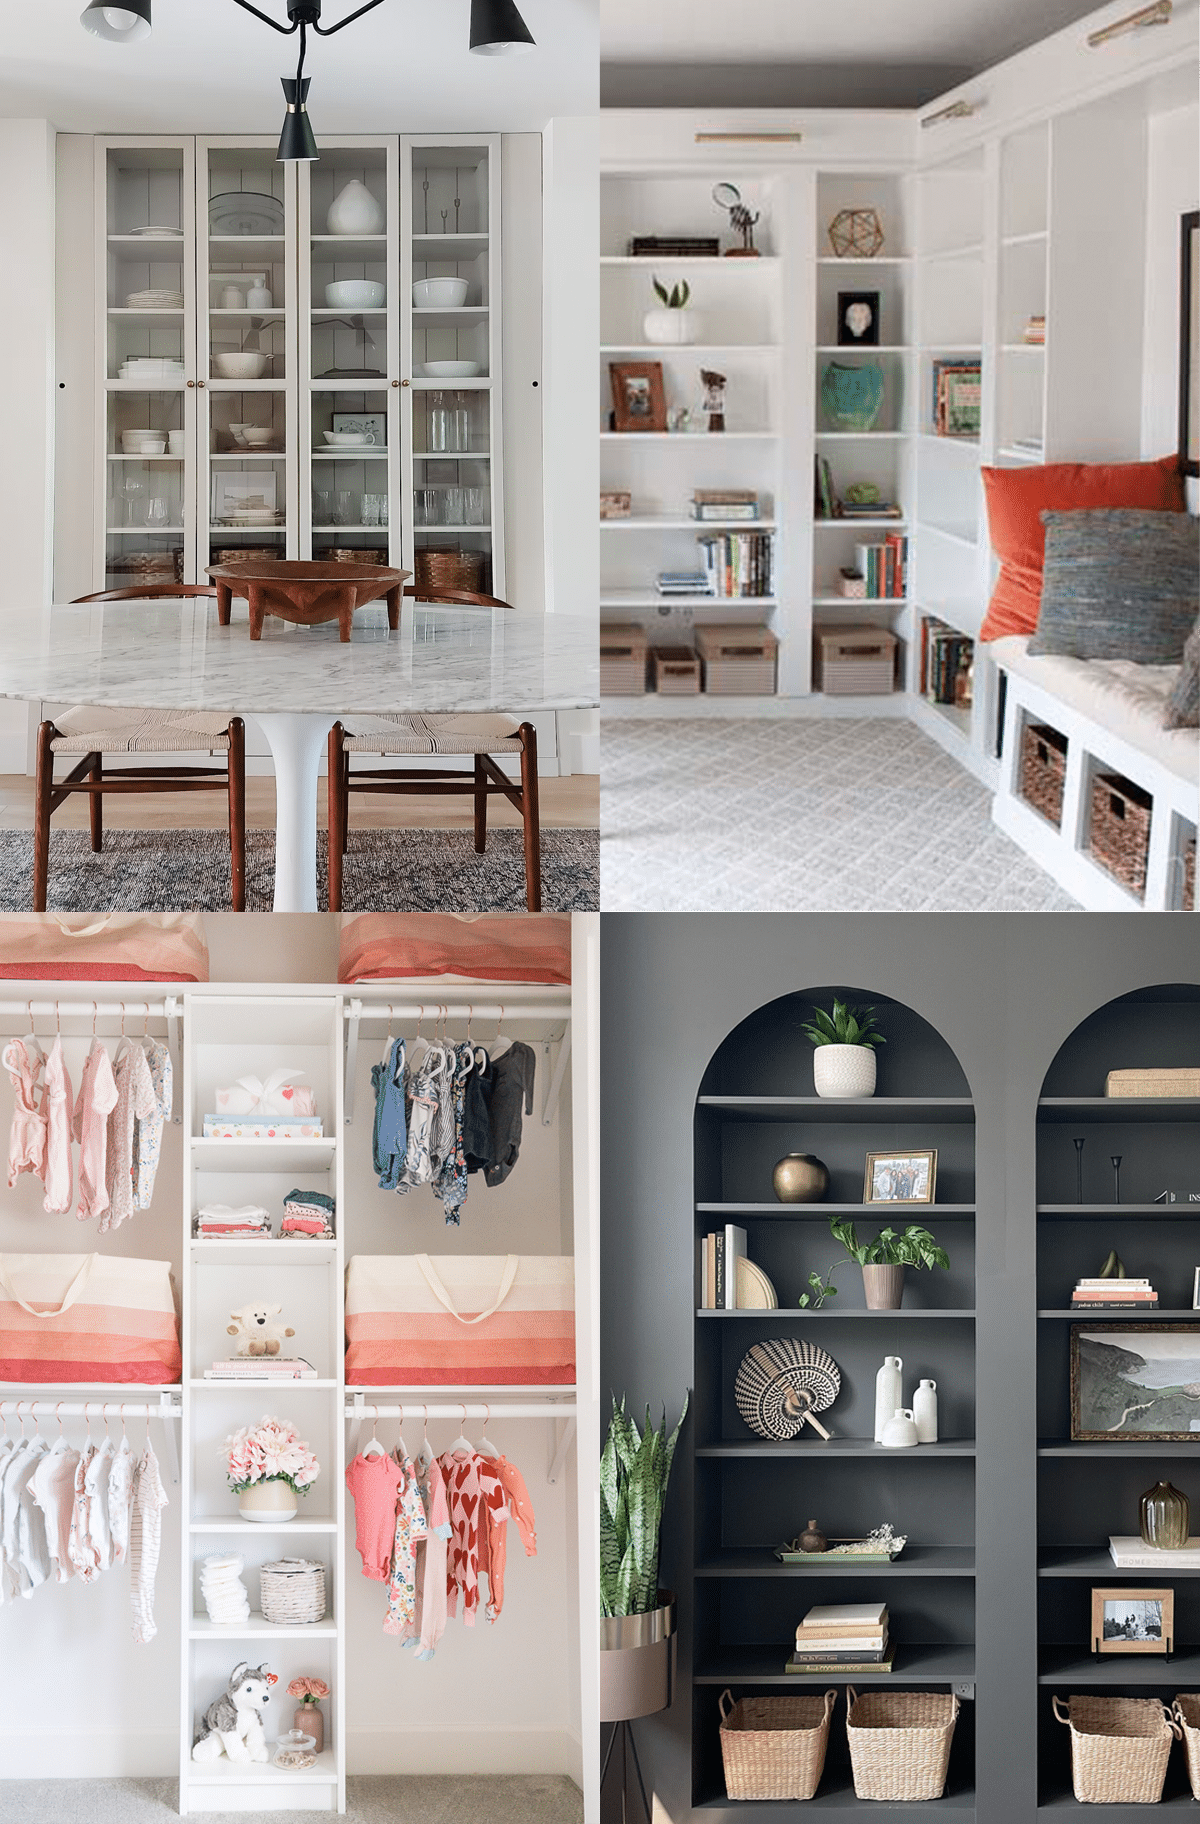
Easy IKEA Billy Hacks Anyone Can DIY at Home
Get inspired by clever IKEA Billy hacks for living rooms,…
Continue Reading Easy IKEA Billy Hacks Anyone Can DIY at Home
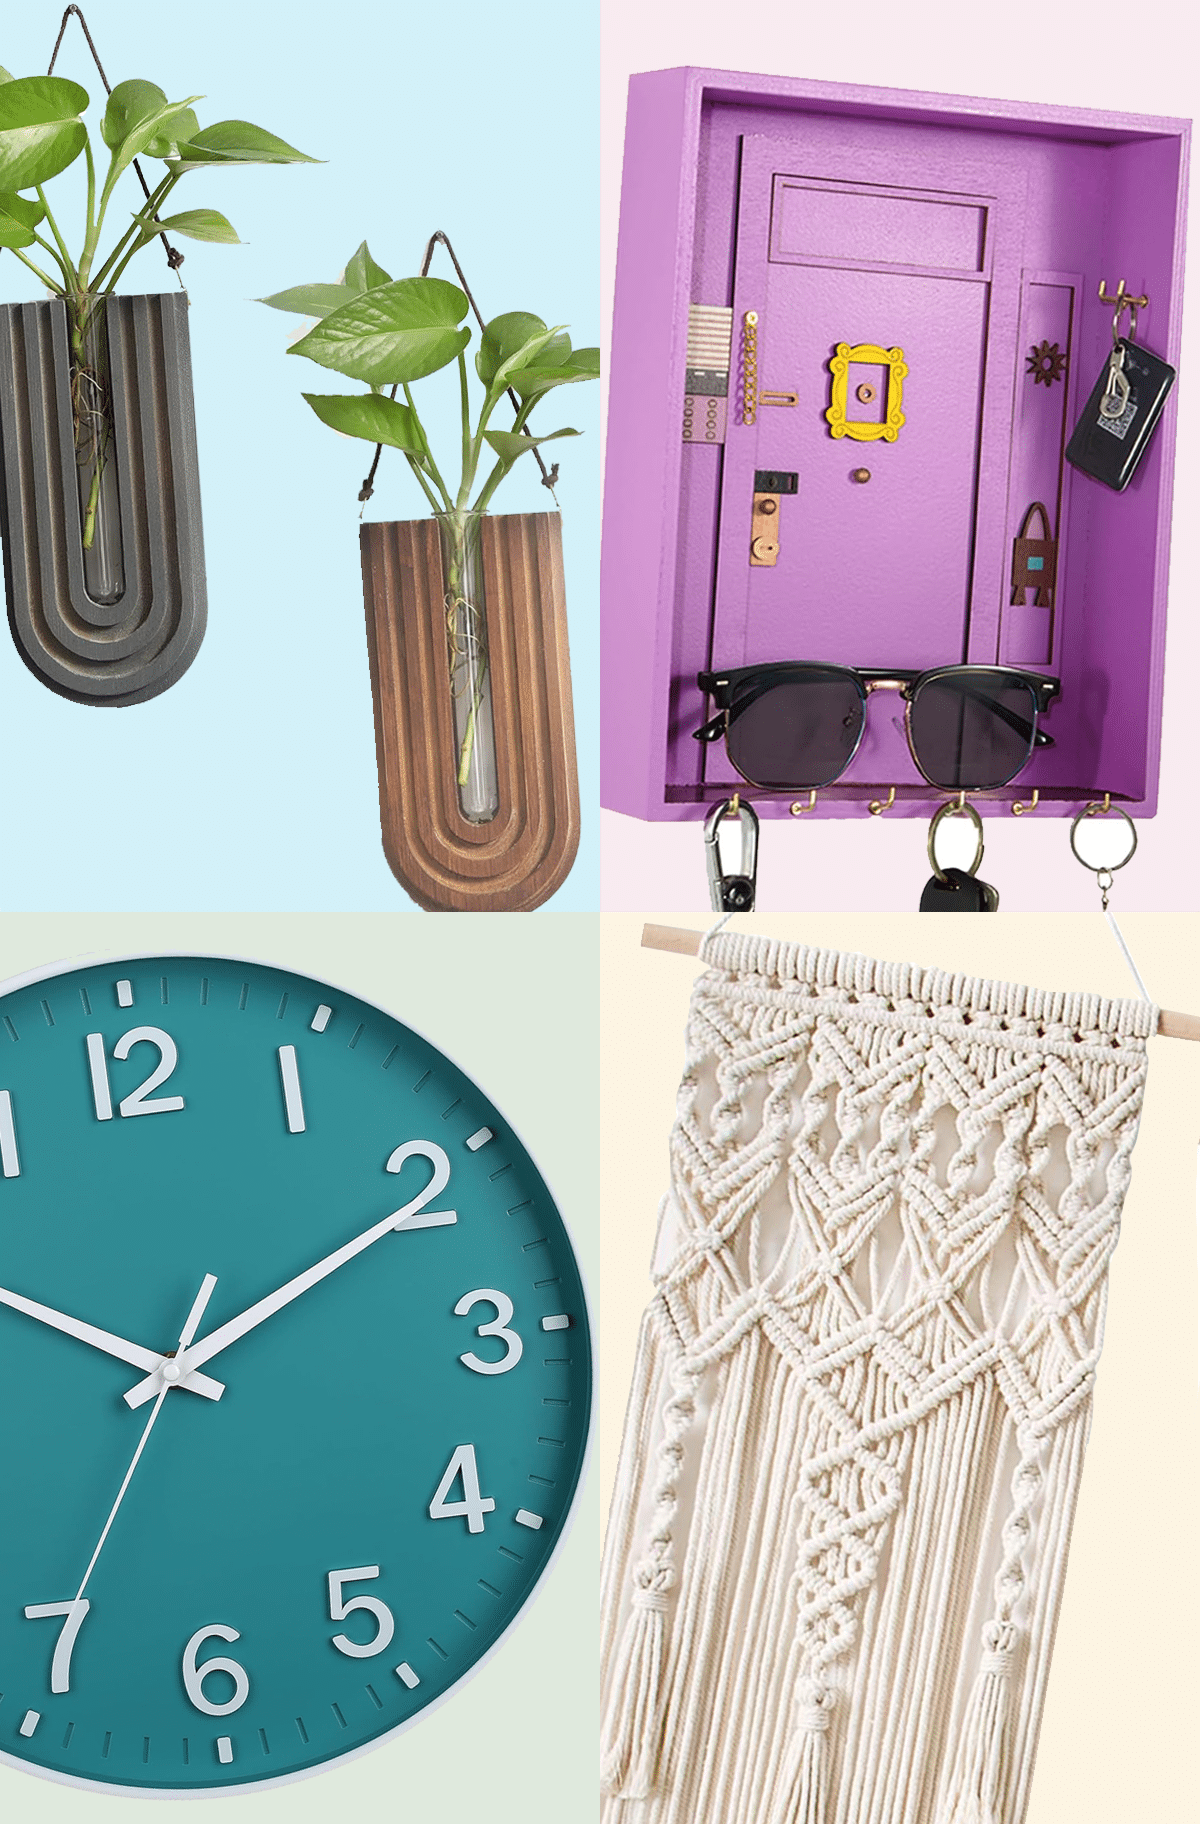
43 Top Amazon Wall Decor Ideas for Every Room in Your Home
Find gorgeous Amazon wall decor that makes a big impact…
Continue Reading 43 Top Amazon Wall Decor Ideas for Every Room in Your Home
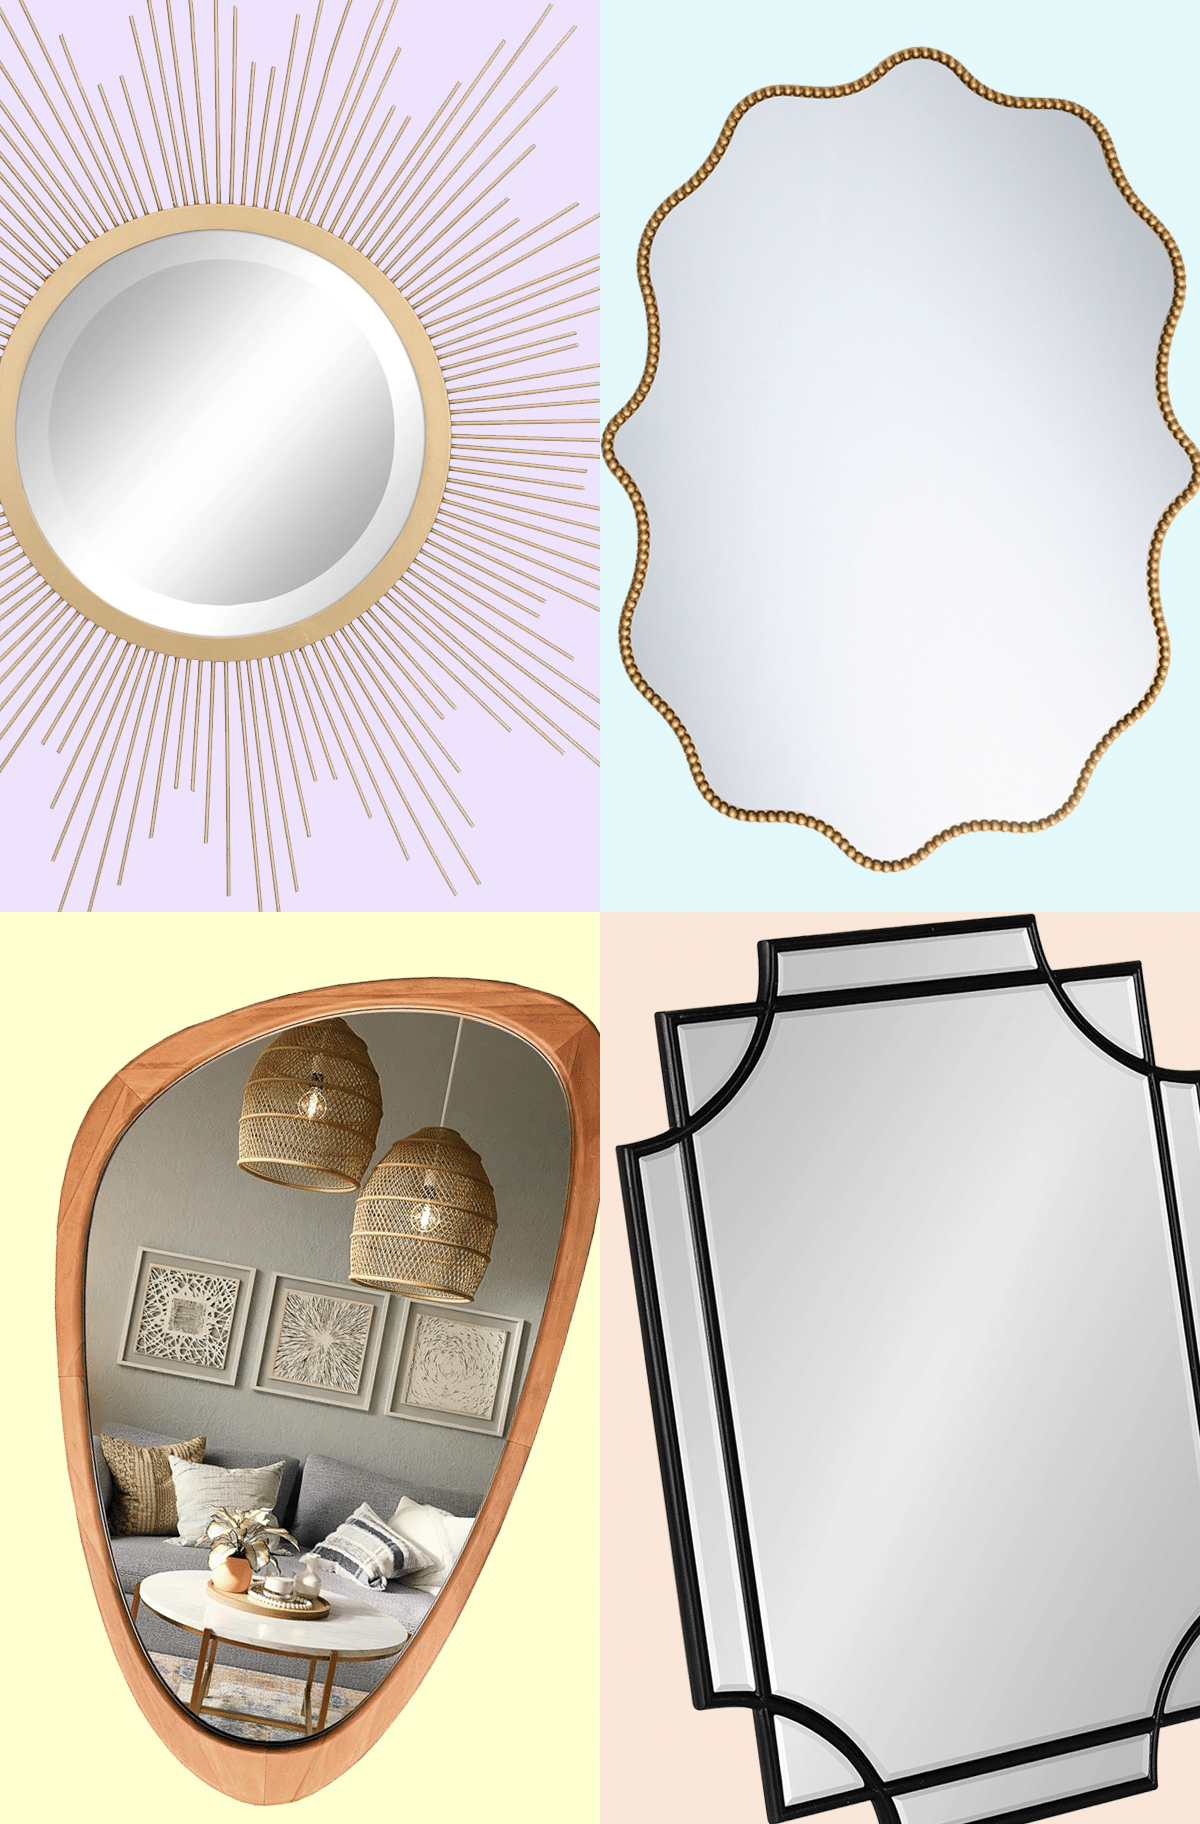
28 Decorative Wall Mirrors You’ll Wish You Bought Sooner
Looking for the perfect wall mirror? Explore our roundup of…
Continue Reading 28 Decorative Wall Mirrors You’ll Wish You Bought Sooner
Please note that we may earn a commission for some of the above affiliate links. However, products featured are independently selected and personally well-loved by us!
We made this today and it turned out epically amazing. We did 4 feet long and used just hot pink, light pink, orange, yellow and red of the candles you used to go with my Dining room. So obsessed. Thank you.
So glad to hear it turned out great! A 4-foot holder sounds amazing!!
Hi! Love this idea! I just made 4 of these following you directions with the 3/4” spade drill. I ordered some zest candles but they don’t fit! Do you happen to have a link for where you purchased your candles. I’m worried I have all these candle holders now and no candles to fit! Hope you can help! Thanks!!
Hi Heather! Oh no! Did you order the Zest Candles linked? We checked and even though they’re different heights, they’re all the same diameters. What are the diameters of yours?
We haven’t had anyone else tell us about fit issues. It is a tight fit so that the candles don’t wobble around or fall out. Since you already drilled them, you can trim the base of the taper candles to get them in. We highly recommend sanding the holes beforehand also. There’s also a super cheap candle shaver to make it easier.
Great suggestions. I can’t wait to make a candle holder.
Thank you, Mammy!
I am so in love with this, I’m trying to mentally work out a solution to the wax dripping onto the table top because I think I want to make one.
Hi Hayley! We purposely melted the candles to drip like this! You can fake the drip effect so that it’s not as “melted” as ours! Also, don’t worry. If you are lighting the candles, they won’t drip down like ours in the photo. That was just a visual effect. It won’t be until you’ve really burned them for a long period of time (which we don’t recommend) would the candles melt like this! XOXO
OMG I love this so much, totaly woth making, definetly saving this for when I have a place of my own.
Btw, I love your dress, can you tell me where did you get it?
Aww! So glad to hear that, Daniela! The dress is from Kate Spade, but unfortunately it’s all sold out :(
It looks really lovely, but it’s super dangerous. All those candles would give off immense heat, which is a definite fire hazard. Please bear this in mind!! It’s a wonderful centrepiece, but don’t light it up, please…
yes, that’s why the post explains to only light a few at a time ;)
Lovely! And so festive!
Thank you, Queti! XOXO
Beautiful! Can you Please share Your source for the candles? I could not get The link to work!
Super cute, but the re-user in me would love to know how easy it was to scrape the wax off and clean? Also, did the shorter candles melt the taller ones on the side?
Hi Christy! We spaced the candles far enough so that they’ll didn’t touch and melt each other. We highly recommend doing the same or it would be a fire hazard. It’s easy scraping off the wax if it’s all dried, but it’s definitely a bit harder to totally get rid of all the wax. Doable but lots of scraping and scrubbing! You’d have to take off all the candles.
^^ And I can’t spell
Ummmm….i sense a hanukkah proEjct coming on!!!
ohhhh…if ever there was a reason to learn to use a power drill ^^ those candle colors are amazing!
Wow love it! Where can i get such candles?
Hi Efrat! They’re Zest Candles. We purchased them on Amazon. They’re linked in the post!
Gorgeous idea! Love this DIY and it’s so very simple and easy to craft!
Love the colors – perfect springtime diy! <3
-Clarissa @ The View From Here
thanks clarissa!
Ashley! I am dying. This might be one of my favorite projects of yours EVER – which is saying a lot. Bravo.
Carrie
http://www.wearwherewell.com
Thank you Carrie! You’re the best cheerleader ever, ha! ;) xo
Good GOD, this is beautiful!!! Love it!
Thank you!!! xo
Love this! Also adore your dress, perfect for this setup!
It was a coincidence it matched so well, but I love how it turned out! haha xo
I LOVE THE COLORS!
thanks Kristina!
Stunning! Love It!
http://www.windlasse.com
Ah! Such a lovely idea!
Thanks Monique!
You have picked the candle colors so well! It looks wonderful!
Well thank you Lynn!