DIY Pattern Throw Pillows
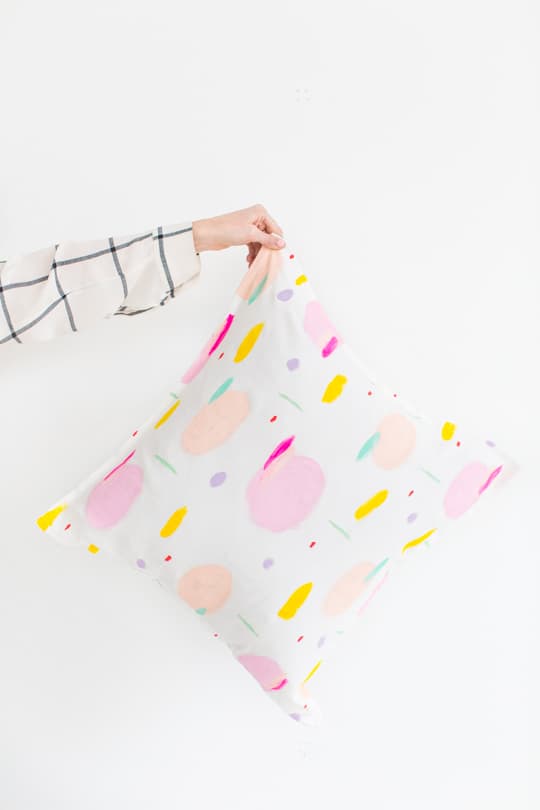
DIY Pattern Throw Pillows — These DIY pattern throw pillows are a sure fire way to add some color to a modern room!
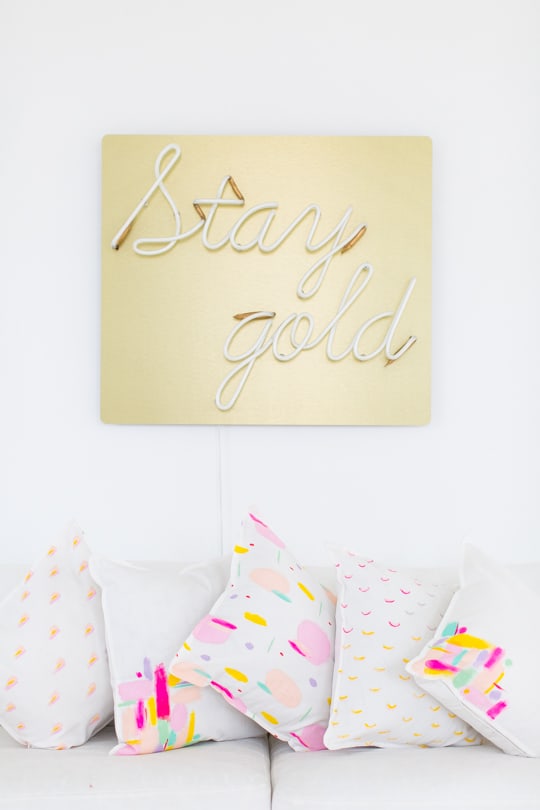
If you all follow along on Instagram, then you got a sneak peek at today’s project whilst I was trying to show off my party nail. (Priorities, you guys, priorities). But I’m super pumped about how these DIY Pattern Throw Pillows turned out!
Mostly, I’m using them to cover up the ridiculous amounts of crap that this white couch insists on collecting. So let this be a lesson to you to never buy a white cotton couch. You will hate (lounging) life.
Since I couldn’t find exactly the pattern or color scheme I was looking for in pillows, I snagged some plain white pillow covers to give myself a blank slate to work with lots of crazy colors.
And though the color choices may be a bit much for an average home, the small doses of them make it easier to add to a space.
Of course, you can always tone down the the color palette to your room decor too…
Materials Needed To Make Painted DIY Pattern Throw Pillows
- Paint brushes
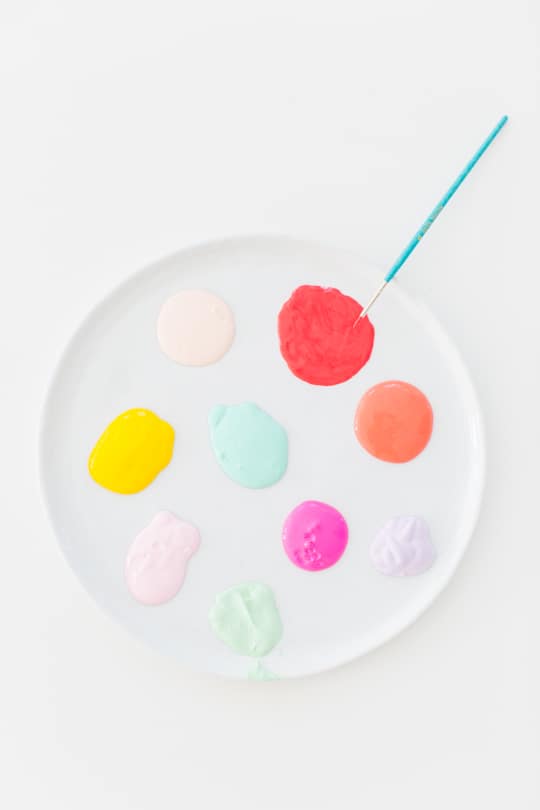
- Fabric paints in various colors — I used DecoArt SoSoft paints because they dry soft instead of a weird stiff texture.
- Plain white throw pillow cover
- Newspaper or cardboard — To insert between the cover sides when you are painting
How To Make Painted DIY Pattern Throw Pillows
Side note: This is totally a blooper moment because I only have one nail painted in this tutorial (which I had done for a quick photo for a shoot before this)!
I totally didn’t realize I left it painted for the rest of the day in regular photos too. My bad… now you know my one-nail painting secrets for styling!
Back to the project!
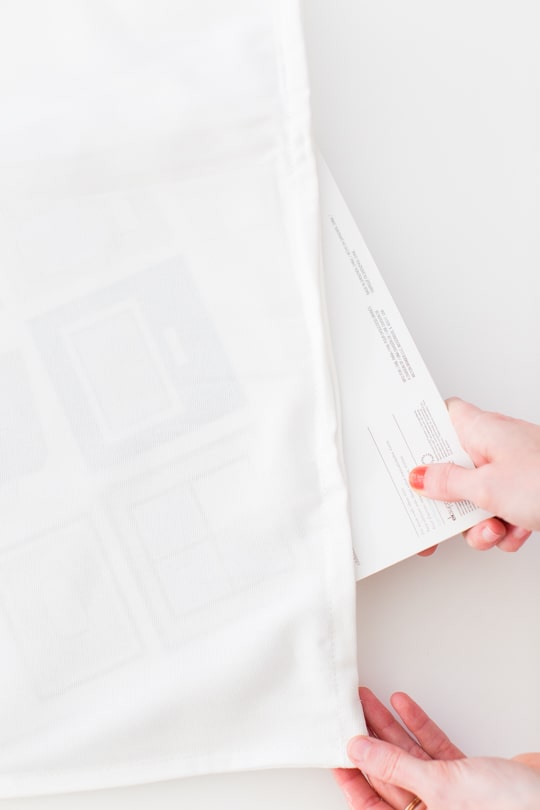
First, place some paper in between the cover so the paint doesn’t bleed through.
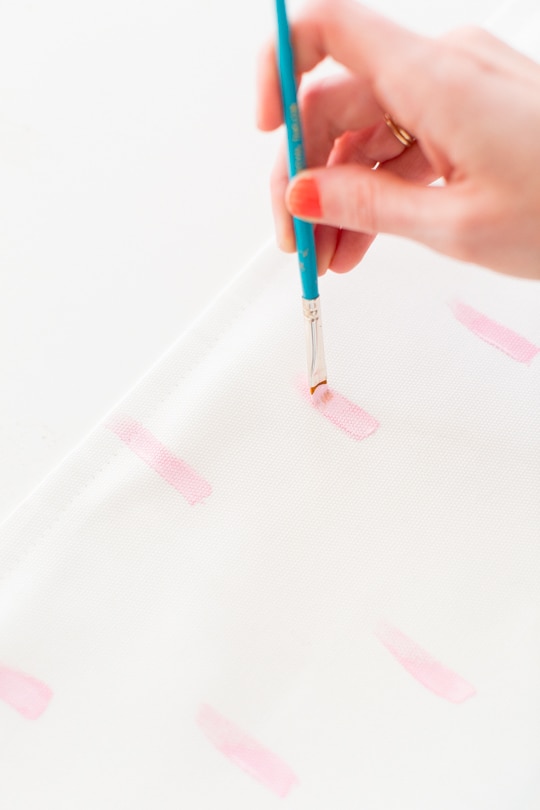
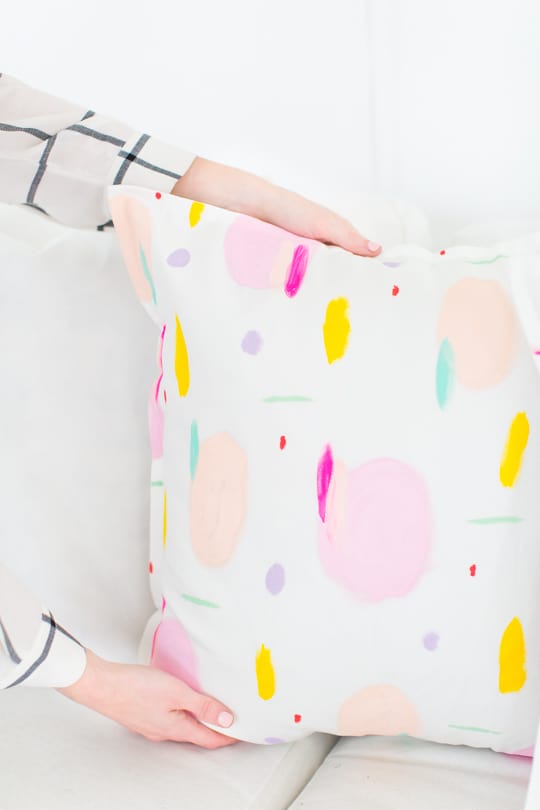
Next, you can create whatever patterns you’d like for this DIY Pattern Throw Pillow project. But the trick is letting the colors dry in between each layer so they don’t bleed.
I also used just a small amount of paint for each small stroke and made sure to make every stroke in the same direction to make it look like natural watercolors.
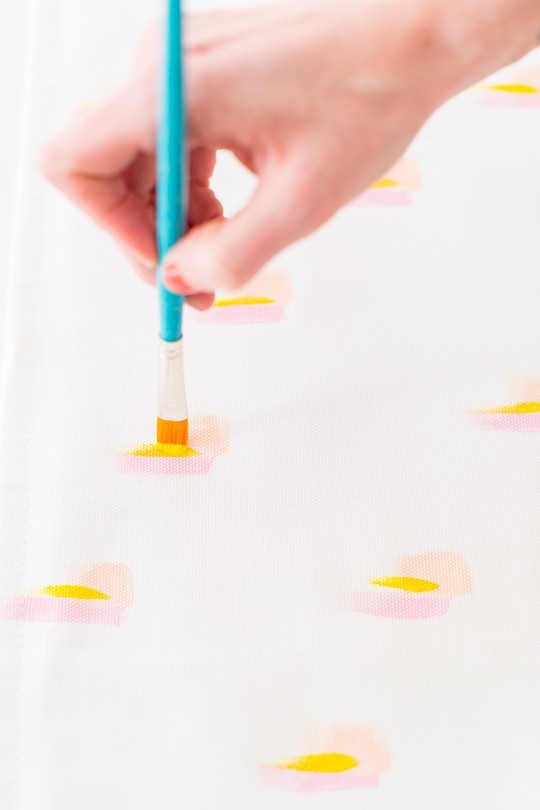
You’ll use this same technique for each pattern you create. And then, lay the pillow covers out to dry for 24 hours before using them.
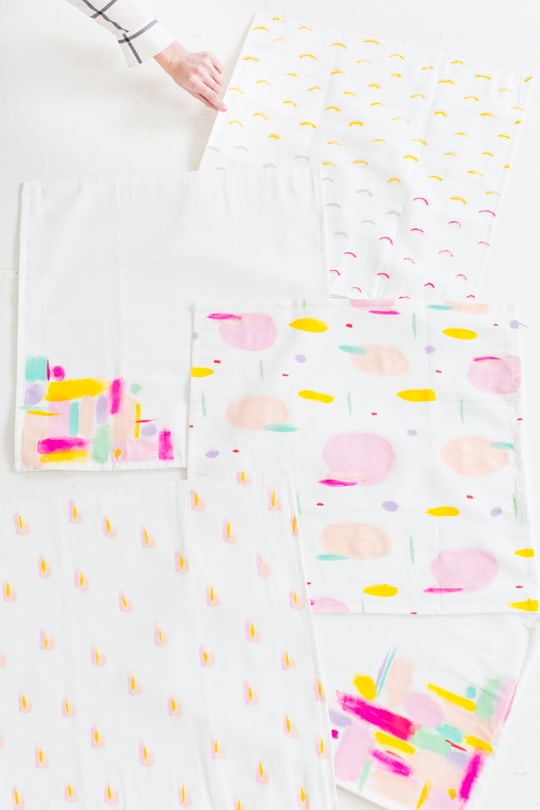
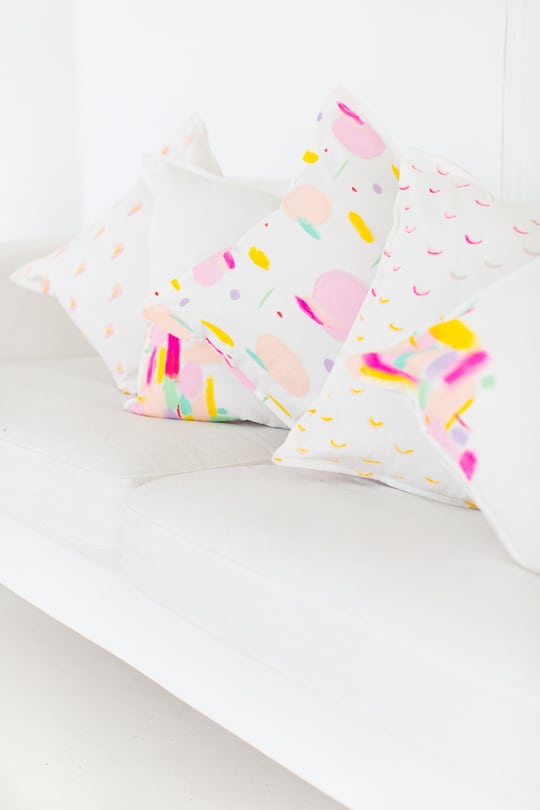
I started getting a little wild and crazy with patterns after the first few. But I think this one ended up being my favorite!
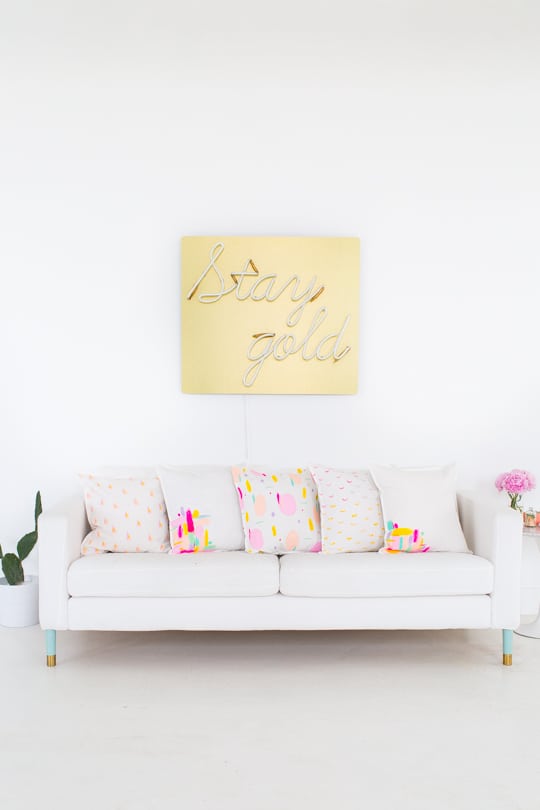
For those of you wondering where the neon sign is from, I actually had it custom made from The Neon Gallery here locally. The couple that runs it is SO awesome. I wanted to just hang out there all day!
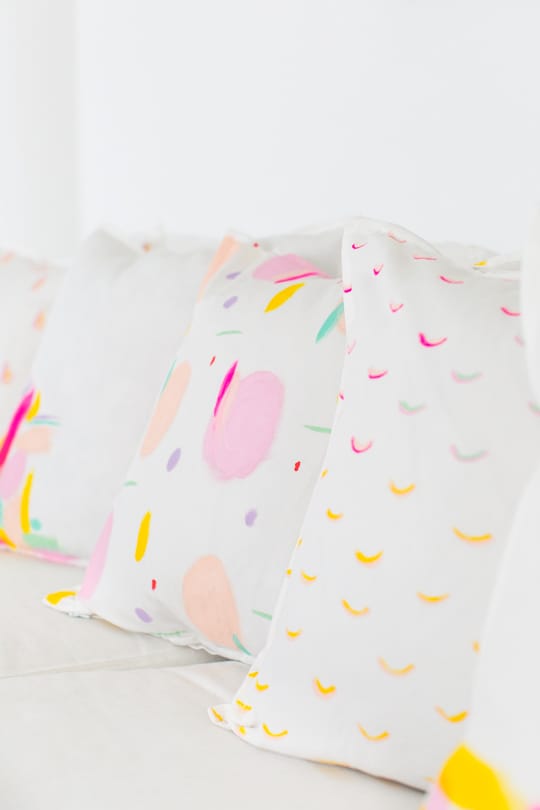
So what do you guys think? Are these DIY pattern pillows something you’d make for your own space?
It’s pretty inexpensive so you could definitely cater them towards seasons to mix and match your space throughout the year!
Or you could just go buck wild on some crazy outdoor ones!
Please note that we may earn a commission for some of the above affiliate links. However, products featured are independently selected and personally well-loved by us!
I have tons of pillows on my bed, but only use one. It’s be great find another brand that will foster a good night rest.
wooow wonderful!!
is itit washable??am thinking seriously of buying these paints from amazon !!
Just love how these turned out! And they are all in my favorite colors.
Absolutely love this! Nice little pop of color to a white sofa or a white room! Very cute! :)
Oh my dear, these are amazing! I will definitely make a few paint pillow designs for my place. I adore the colour scheme you’ve achieved.
Bravo! <3
This is such a cute and fun project!Thanks for sharing
xx Skay
I love the colors you used for this!
Oh! These are so perfect! and so perfect mixed together as well! Perfect!
These are really, really fun.
These pillow are gorgeous! I want to spruce up are living room with some!
Paige
http://thehappyflammily.com
So beautiful! I love all of your creative projects!
Ashley! These turned out SO GREAT. Like, really really beautiful. I’ve never been so inspired to DIY a pillow!
How can a brush stroke end up so beautiful?…gorgeous
love the patterns!
SO cute Ashley! You better believe I would try this out in our home in a hot second…Bravo!
So cute, Ashley!
Carrie
http://www.wearwherewell.com
those paint colors have me drooling!
Those colours are beautiful! You’re so creative
Jenna // Beauty And The Style
These are so much fun, I love them! And your neon sign is absolutely fantastic!!