Color Block DIY Hanging Wall Mirror
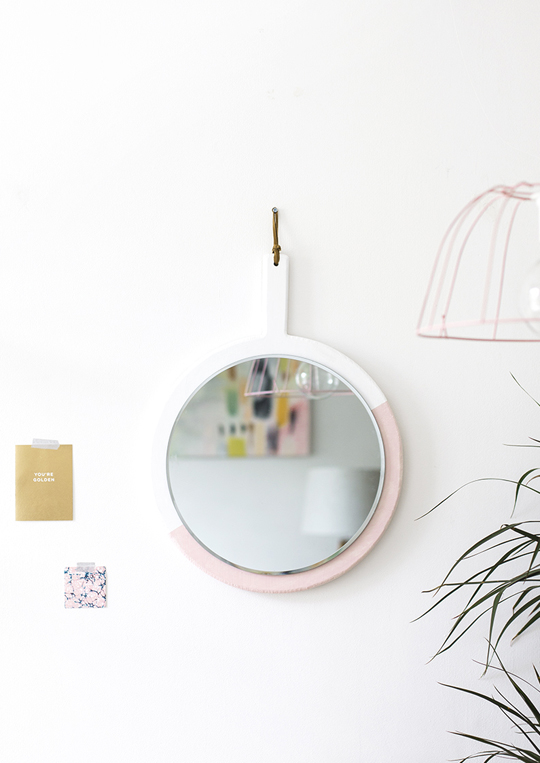
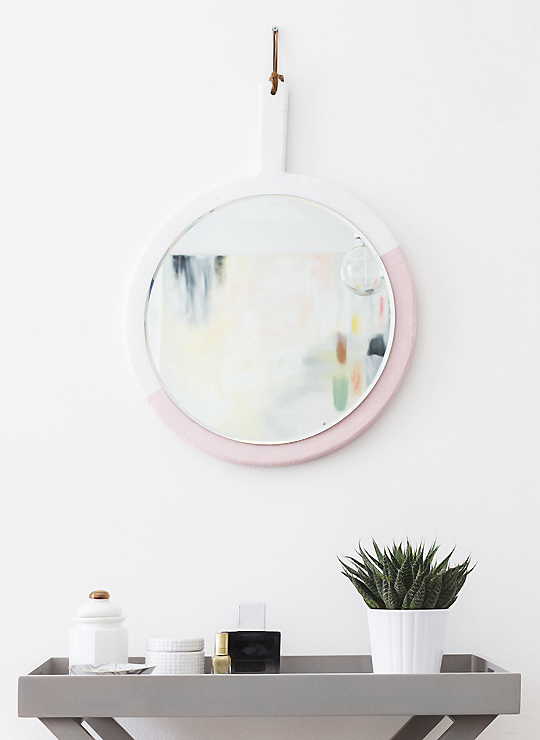
Who knew a cutting board could look this good? This colorful DIY Hanging Wall Mirror project is part kitchen hack, part wall art, all style.
Hi DIYers! Teri here from The Lovely Drawer. And I’ve got a fun little project that doubles as serious wall candy. It’s no secret that round mirrors are having a moment. I’ll admit, I’ve bought one (or two) myself. But I started wondering: could you create your own version with a bit more personality? Spoiler alert. You can.
A handled wooden chopping board makes the perfect base, especially if it already has a hanging hole. (No drill needed is always a win in my book). The best part? You get to choose the colors, finish, and mirror size to match your space and style. After a bit of experimenting to figure out how to secure the mirror properly, I found a method that’s simple, sturdy, and totally DIY-friendly. Let’s get started!
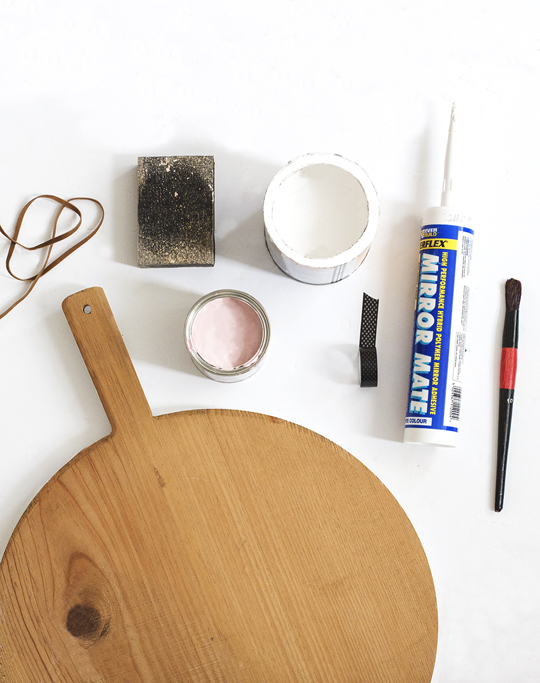
Materials and Tools Needed
- Wooden cutting board with handle: We used this pizza serving board. One with a pre-drilled hanging hole makes things even easier! If your cutting board has a glossy or sealed finish, sand it down to help the paint adhere better. Focus especially on the center where the mirror will be placed.
- Round craft mirror: Choose one that’s 1–1.5 inches smaller in diameter than your board. Similar one here.
- Painter’s tape
- Two paint colors: For a color-blocked design. One can be your base coat.
- Paint brush
- Cord or string for hanging: Suede cord adds a nice touch. Double up for strength.
- Sanding block: Only needed if your chopping board has a glossy or sealed finish.
- Mirror adhesive: Use with a caulking gun for secure application.
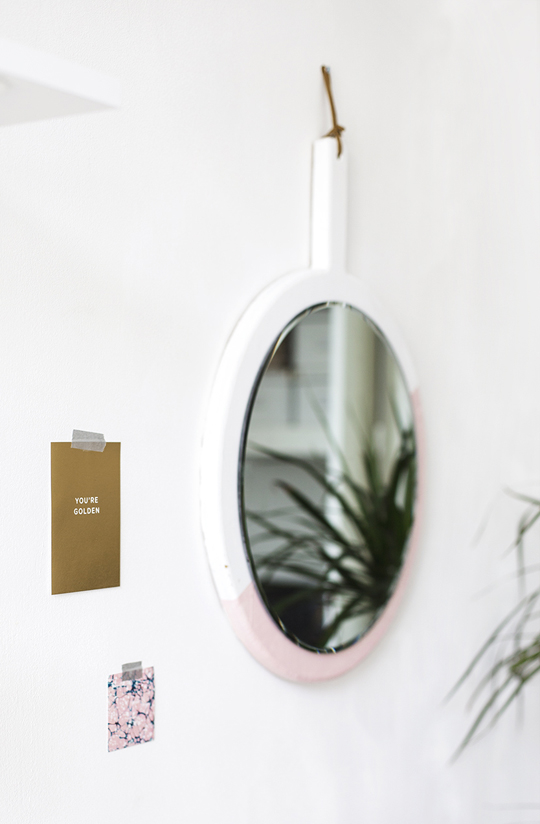
How to Make a Color Block DIY Hanging Wall Mirror
1 — Prep the board: Lightly mark out a center circle slightly smaller than your mirror. (Or forgo this if you simply want to paint around it by eye.) This center area will remain unpainted so the adhesive can bond directly to raw wood.
2 — Prep for color blocking: Use masking tape to create a diagonal line across the board. This will serve as a clean edge and guide for your color-blocked paint.
3 — Paint: Paint one section of the board in your chosen color, including the sides and back. Let dry completely. Apply a second coat if needed.
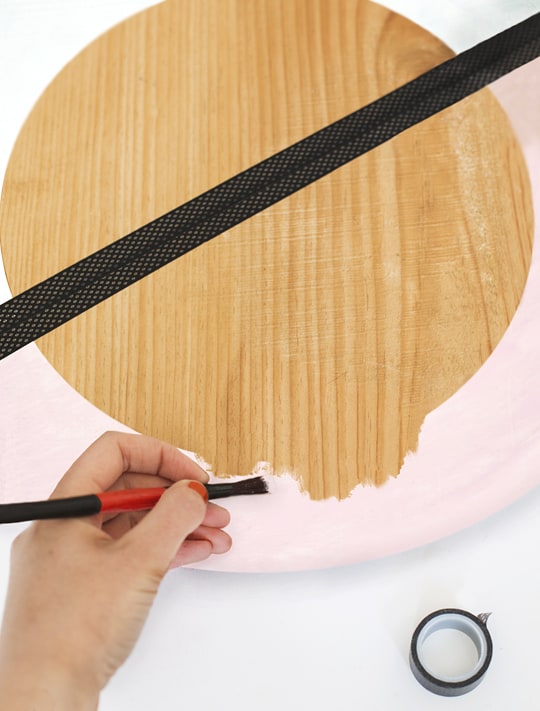
Apply your second paint color to the bottom section of the board, again leaving the center area bare as before.
4 — Remove tape and sand center (if needed): Once dry, carefully peel away the tape. If the exposed center wasn’t fully sanded before, now’s the time to ensure it’s smooth, untreated, and clean.
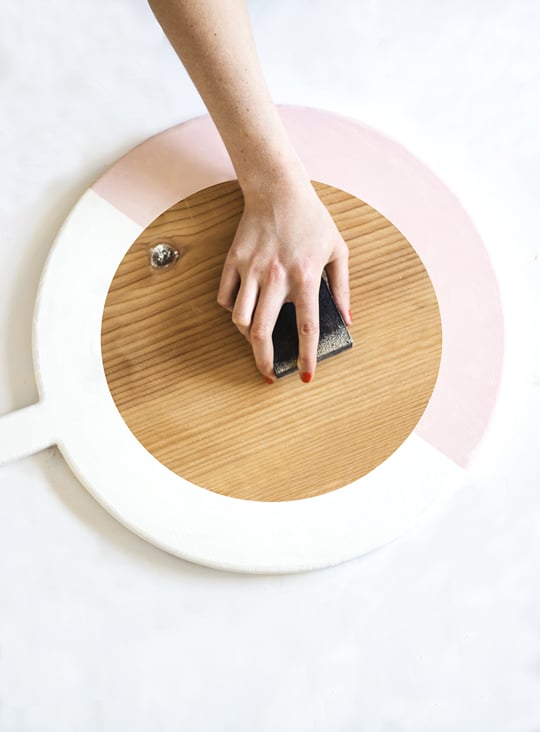
5 — Attach the mirror: Apply glue within the bare middle area of the board. Quickly center and press the mirror into place, making sure the border around it is even. Let it set fully according to the adhesive’s drying time.
Quickly center and press the mirror into place, making sure the border around it is even. Let it set fully according to the adhesive’s drying time.
6 — Create the hanging loop:
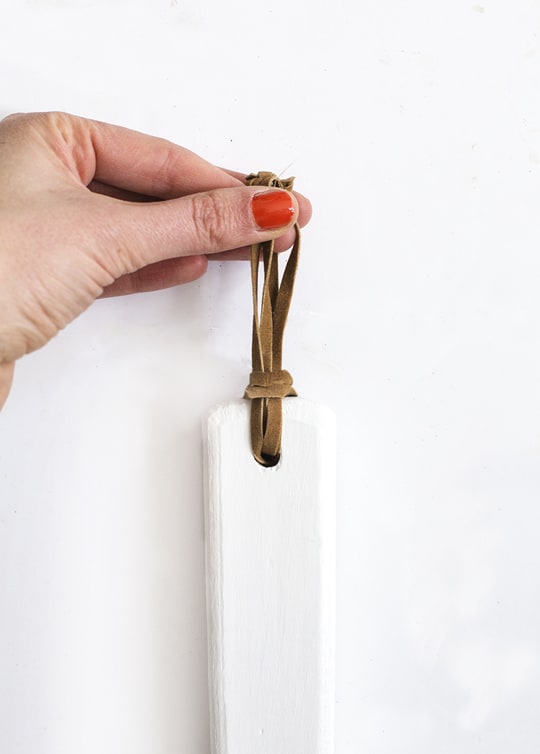
Cut 2 equal lengths of suede cord and tie each into a small loop with a double knot. Feed both loops through the hanging hole in the board from front to back. Then, thread the long end of your hanging cord through both loops and pull tight to secure.
As our mirror was quite a large one, it was important to double up the cord for extra strength. Now you’re ready to hang up the mirror!
Tutorial Notes and Tips
- Mind the center area: Be sure the center wood area under the mirror is clean, untreated, and smooth to help the mirror adhesive bond properly.
- Customize your colors: This is a great chance to match your mirror to your space. Go bold with contrasting colors or keep it neutral with tone-on-tone shades.
- Hang it securely: Use a sturdy wall anchor or plug, especially if your mirror or board is on the heavier side. Better safe (and stylish) than sorry!
More Living Room Decor Ideas
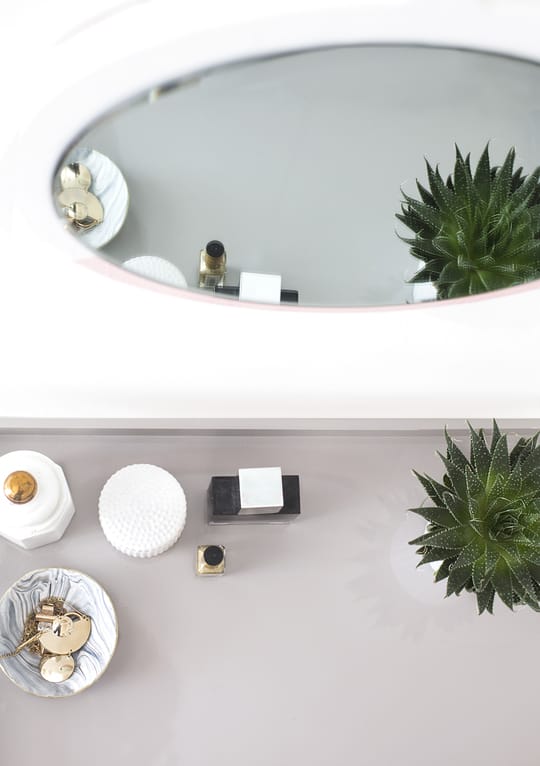
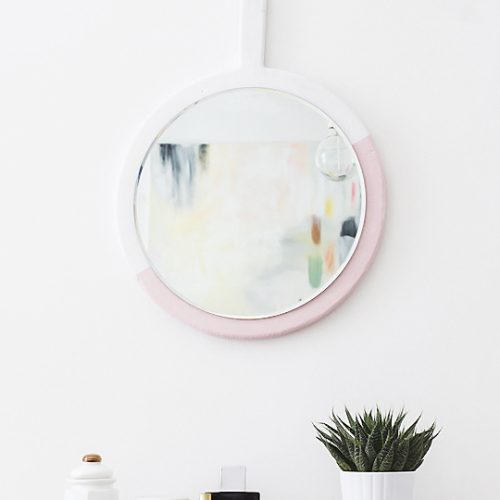
There you have it! Whether you want one for you bathroom, living space or in your bedroom for morning primping it will add a lovely focal point to the room. Who knew a chopping board could be handy for anything other than cooking?!
- Inspiring Ikea Kallax Hacks for Every Room
- 20 Creative DIY Pillow Ideas
- DIY Faux Terrazzo Coffee Table
- DIY Watercolor Printable Wall Art
Color Block DIY Hanging Wall Mirror
Equipment
- Sandpaper or sanding block
- Paint brush
- Industrial strength adhesive
Materials
- 1 cutting board with handle sanded down if there is glossy or sealed finish
- 1 round mirror 1–1.5 " smaller in diameter than your board
- Paint any 2 color
- String or cord for hanging
Instructions
- Optional: Lightly mark out a center circle slightly smaller than your mirror. This center area will remain unpainted so the adhesive can bond directly to raw wood.
- Use masking tape to create a diagonal line across the board. This will serve as a clean edge and guide for your color-blocked paint.
- Paint one section of the board in your chosen color, including the sides and back. Let dry completely. Apply a second coat if needed.
- Apply your second paint color to the other section of the board, again leaving the center area bare as before. Let dry completely. Apply a second coat if needed.
- Carefully peel away the tape. If the exposed center wasn’t fully sanded before, now’s the time to ensure it’s smooth, untreated, and clean.
- Apply glue within the bare middle area of the board. Quickly center and press the mirror into place, making sure the border around it is even. Let it set fully according to the adhesive’s drying time.
- Cut 2 equal lengths of suede cord and tie each into a small loop with a double knot. Feed both loops through the hanging hole in the board from front to back. Then, thread the long end of your hanging cord through both loops and pull tight to secure.

43 Top Amazon Wall Decor Ideas for Every Room in Your Home
Find gorgeous Amazon wall decor that makes a big impact…
Continue Reading 43 Top Amazon Wall Decor Ideas for Every Room in Your Home
28 Decorative Wall Mirrors You’ll Wish You Bought Sooner
Looking for the perfect wall mirror? Explore our roundup of…
Continue Reading 28 Decorative Wall Mirrors You’ll Wish You Bought Sooner
60+ Affordable Amazon Bathroom Decor Finds
From shower curtains to bath mats, elevate your bathroom style…
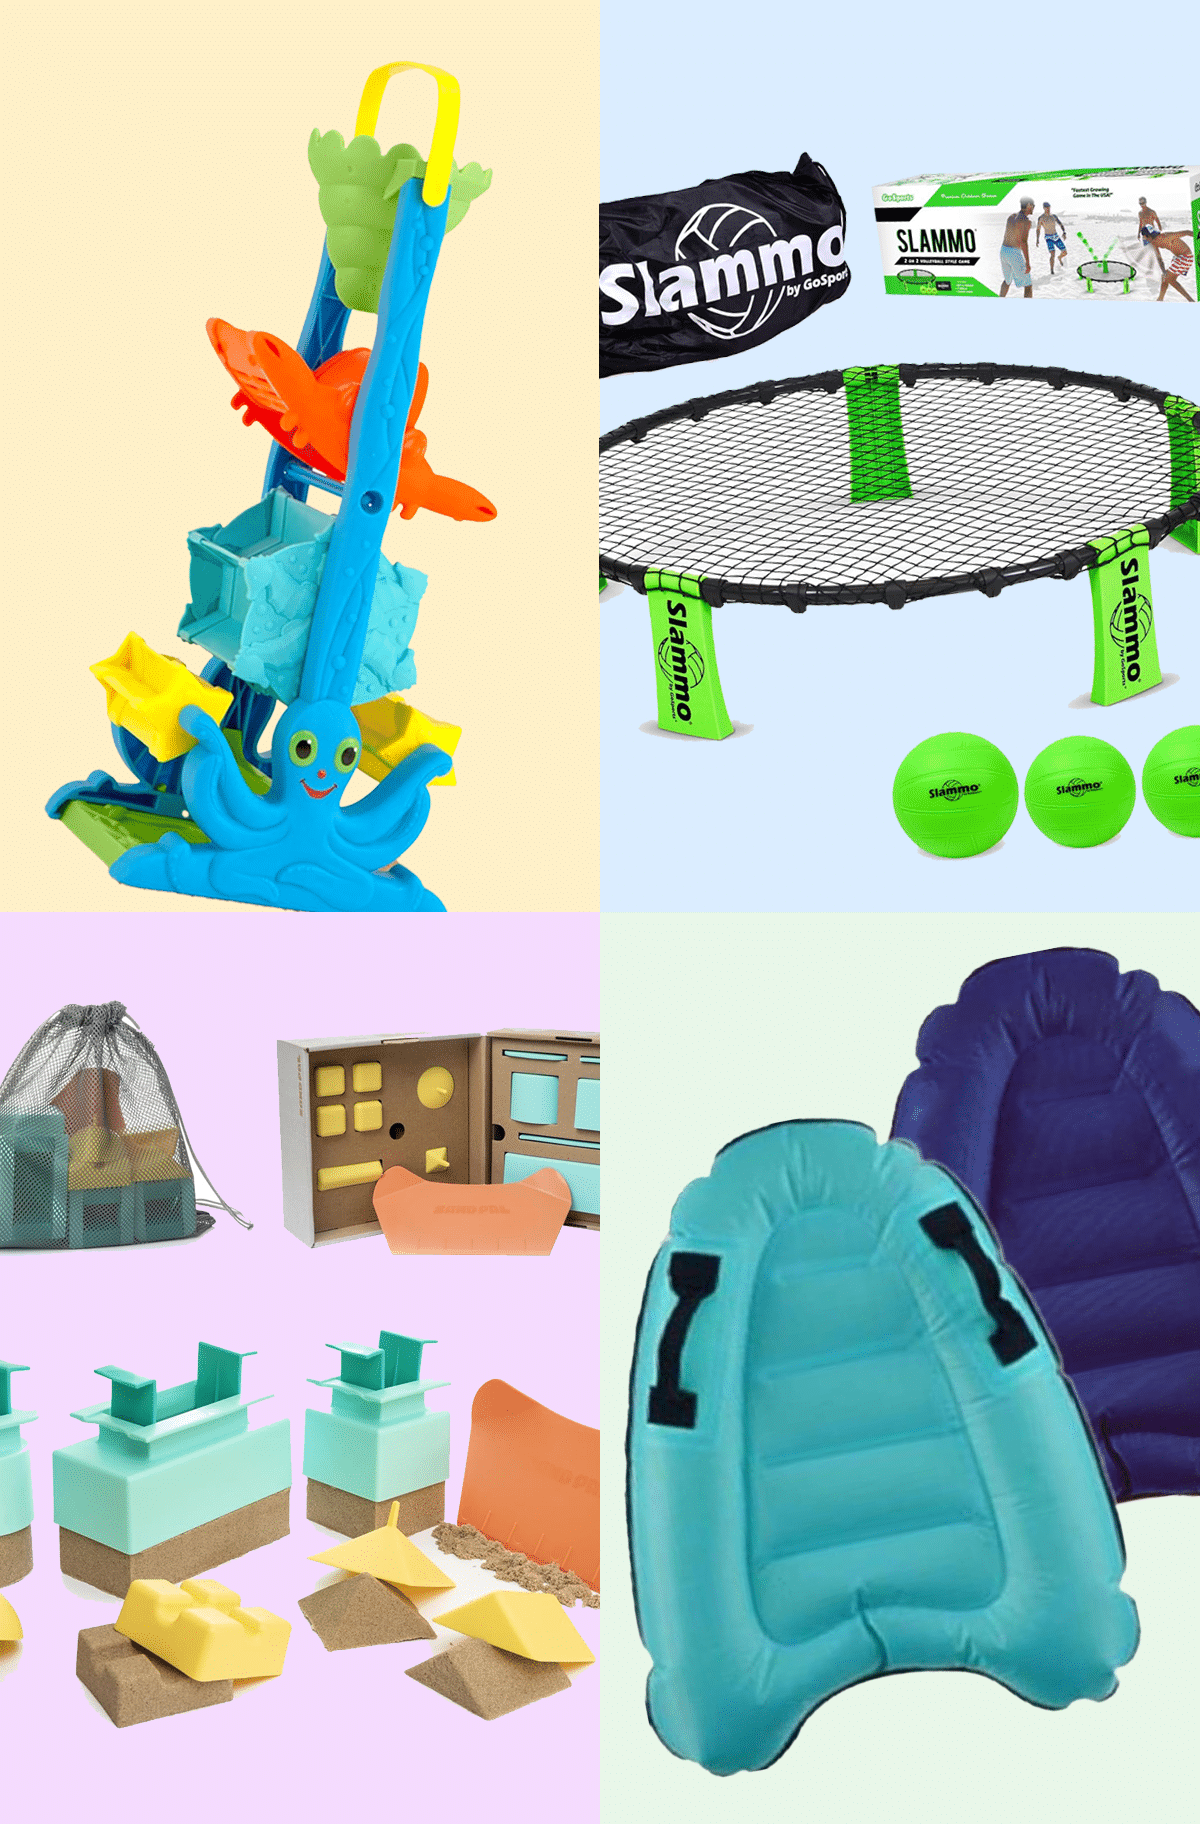
37 Best Beach Toys for Vacation Fun
Discover the best beach toys for kids, toddlers, and families…
Please note that we may earn a commission for some of the above affiliate links. However, products featured are independently selected and personally well-loved by us!
This is such a clever and inspiring DIY! I love how you’ve transformed a simple wooden chopping board into a stylish, modern wall mirror — the color blocking really elevates it from “wooden kitchen item” to statement décor. The step-by-step instructions are clear and approachable, and I especially appreciate the practical tips about prepping the center for proper adhesion and doubling the cord for strength. Proof that with a bit of creativity, everyday objects can become beautiful, functional art for the home.
I sure wish paint colors were mentioned more often! :)
Love it !
Supercool DIY !
➕♡
elise
Teri you combined two trends so well, also love the idea of going diagonal with pink and white !
Thanx:)
very cute!!! Love the pink and white color!!
Rachel x
thehappybits.blogspot.com
I am so in love with this & how simple it was to make! I never would have thought to use a cutting board in this way, but now seeing it done, it seems so obvious. Love the color scheme as well, pinning!
Such a cute idea! Looks great!
Very cute and creative! Probably costs a lot less than going out and buying a large hanging mirror! Another project to add to my list of decor ideas! :)
I love the result; so cute! Such an amazing idea!
Genius! Love the way it turned out