Behind the Scenes of a DIY Blog – How to Write a Blog Post
Behind The Scenes of a DIY Blog — I’m sharing how to write a blog post, plus a peek behind the scenes and how-to videos for creating social media graphics!
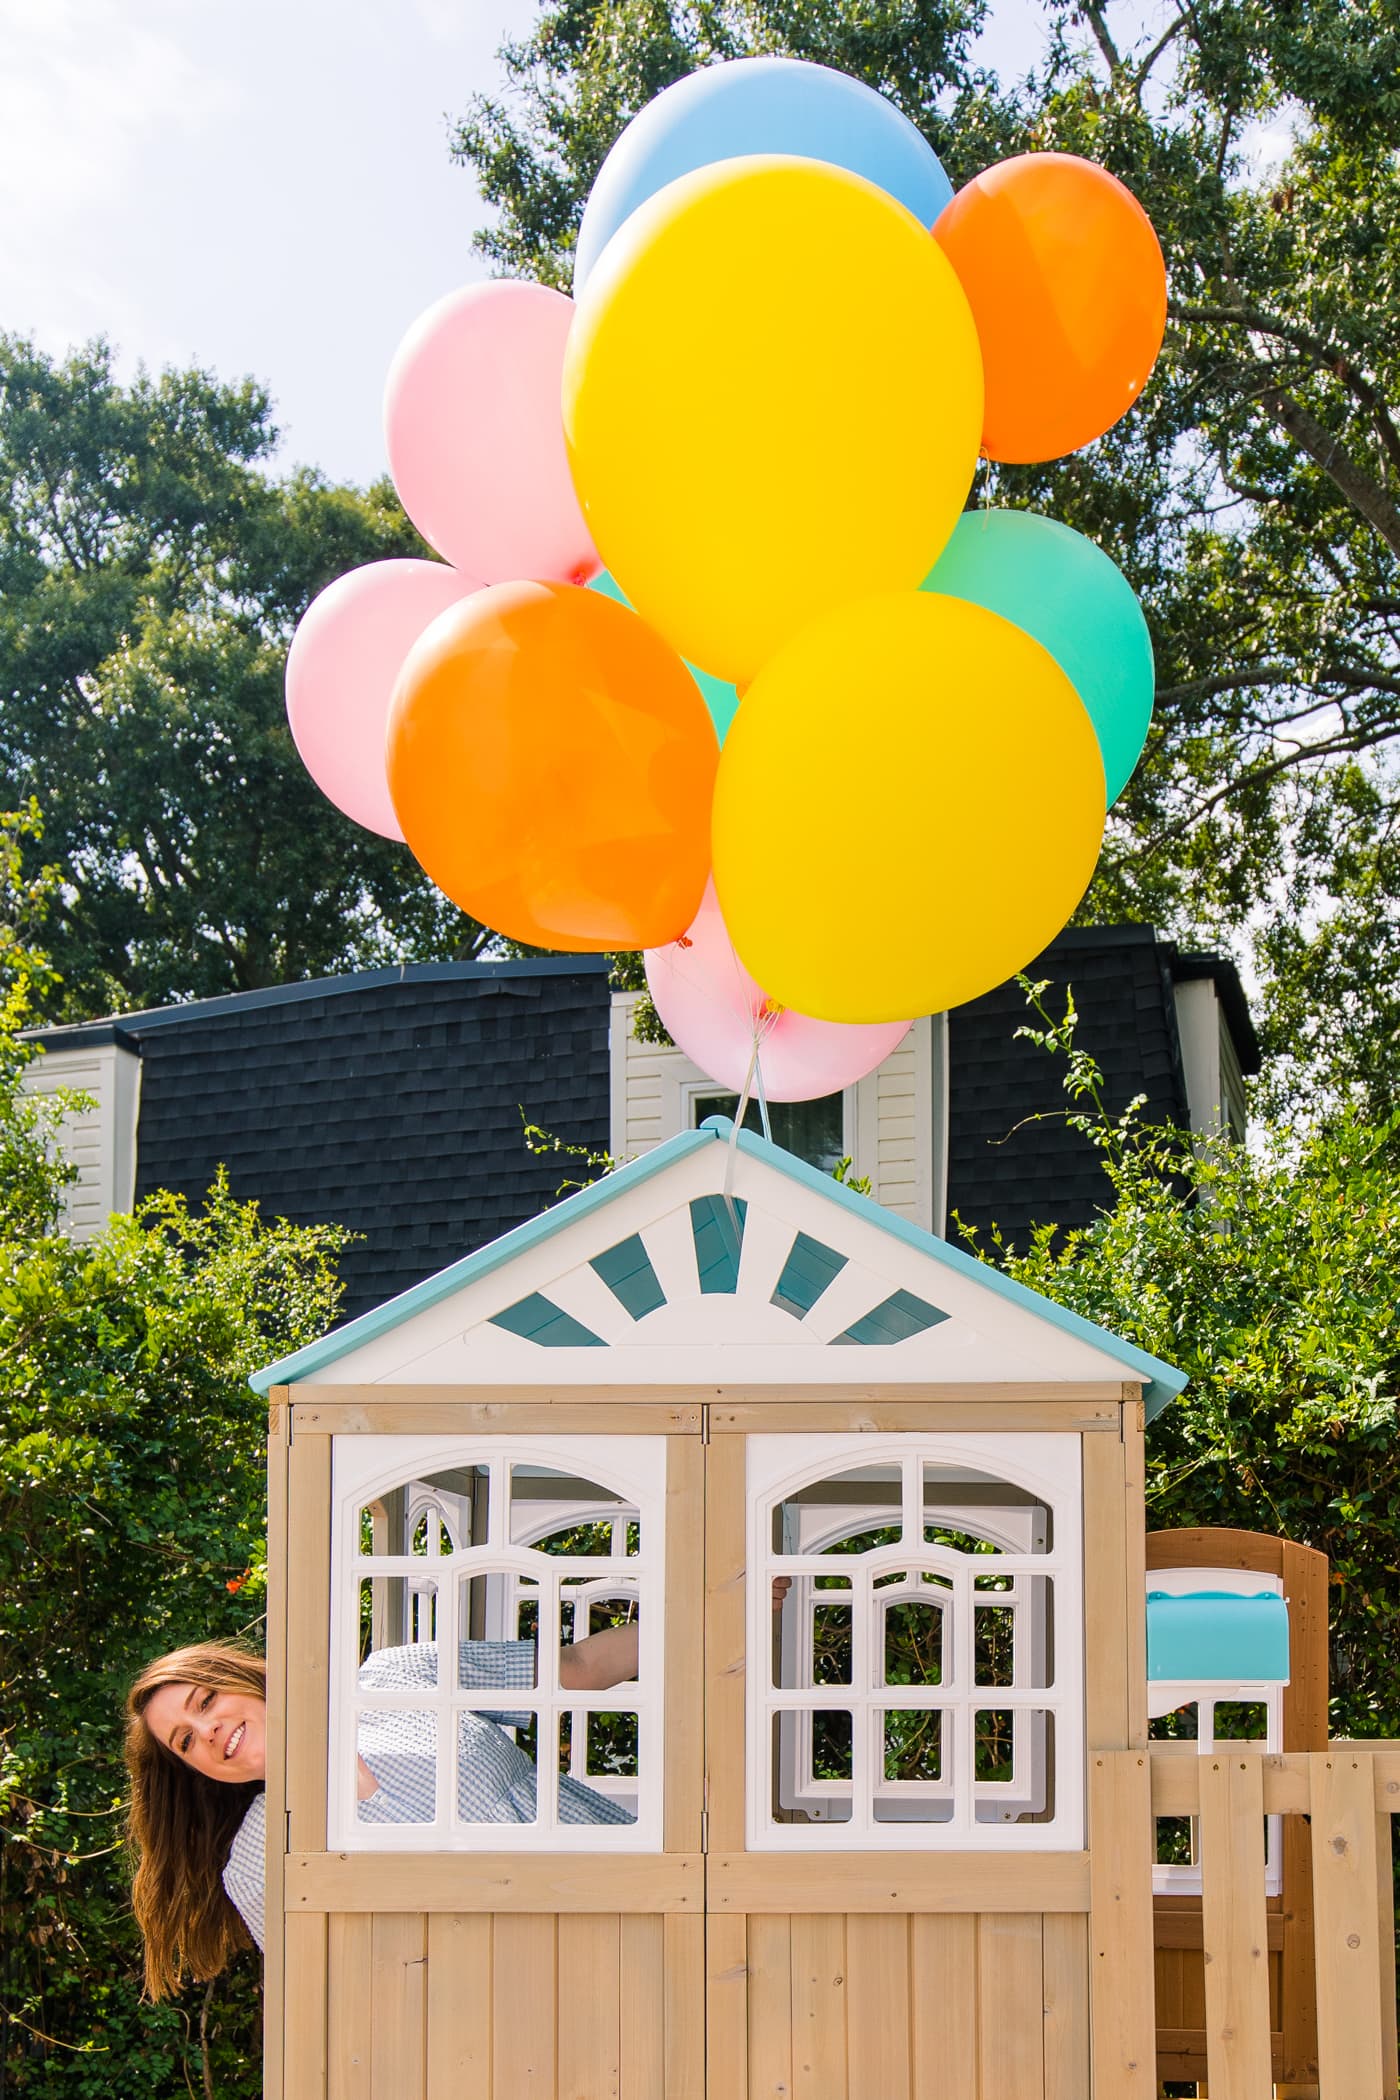
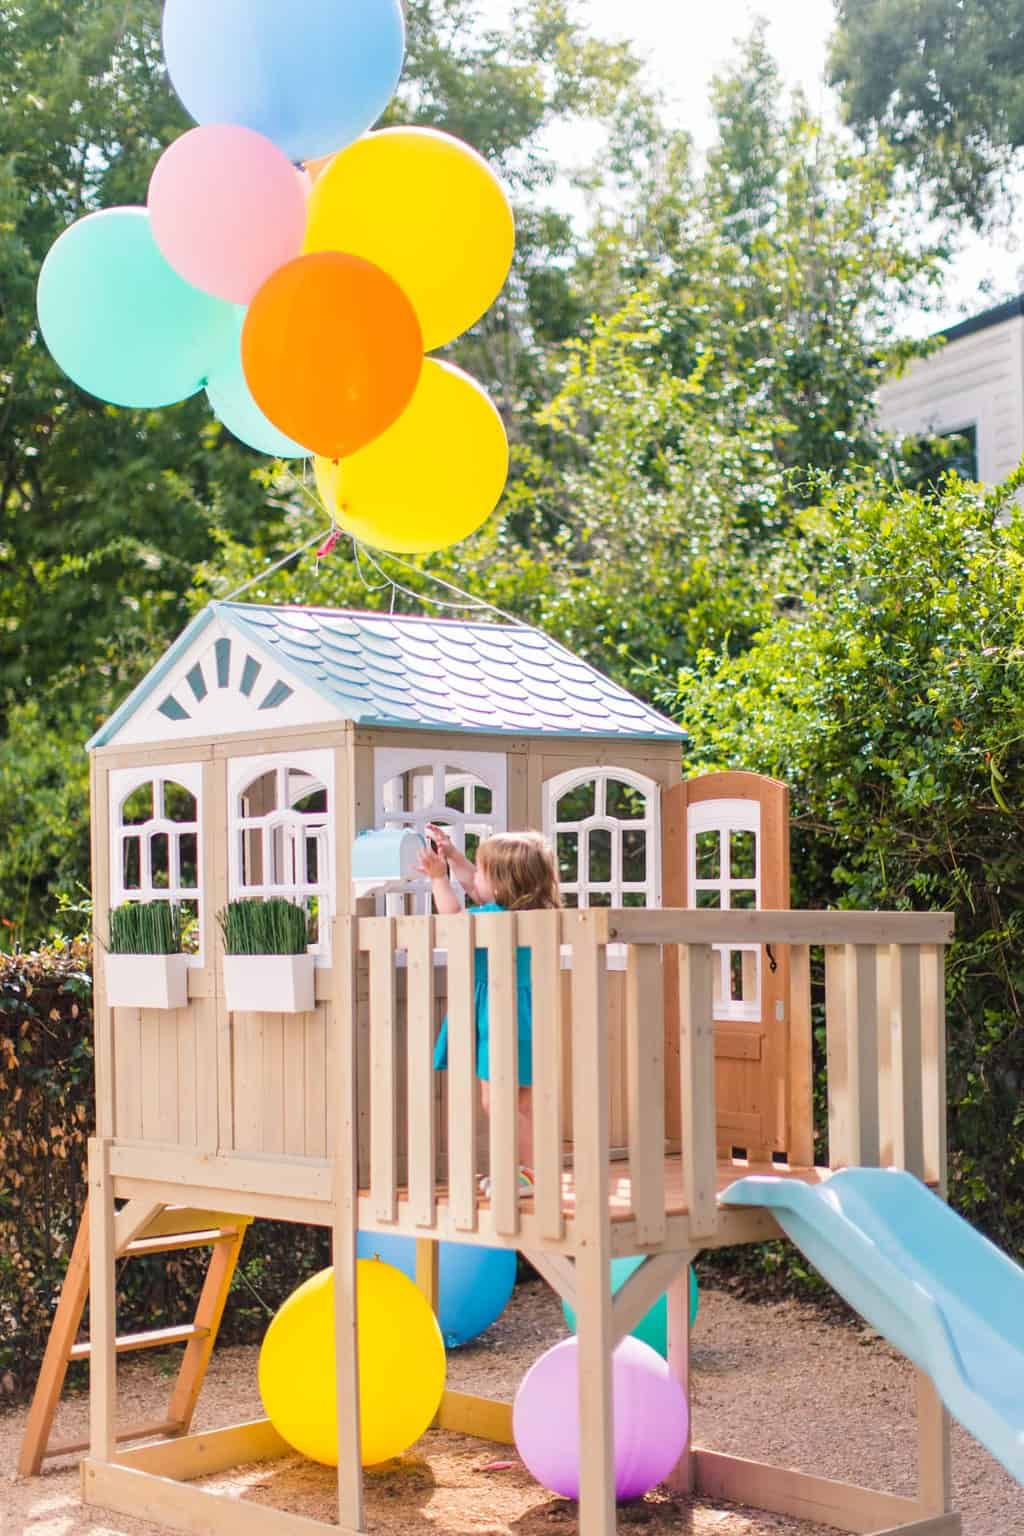
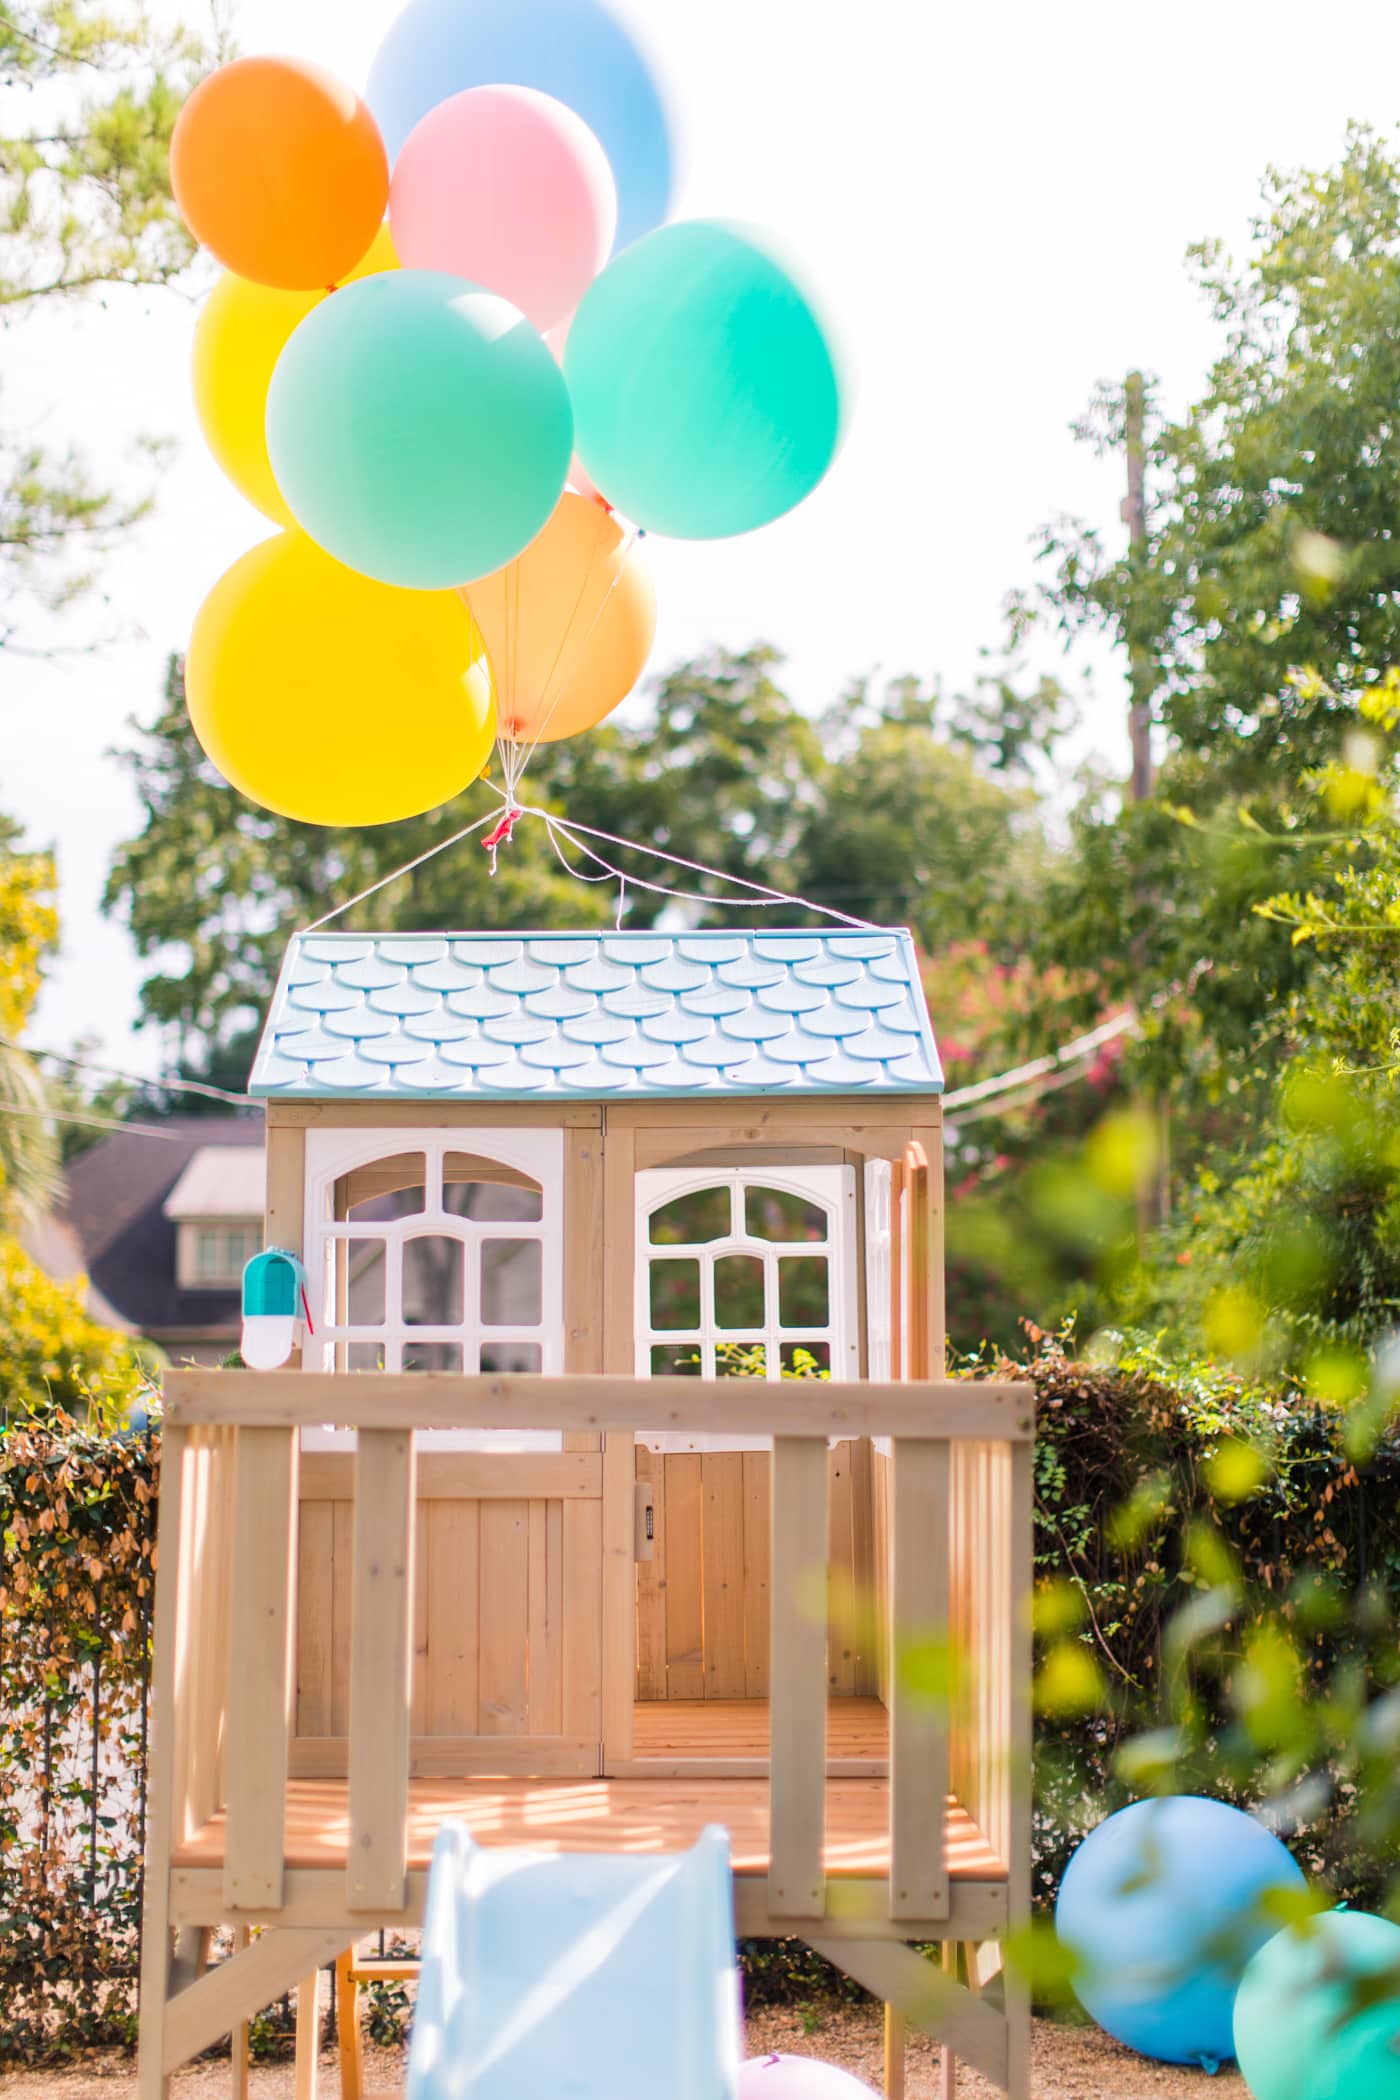
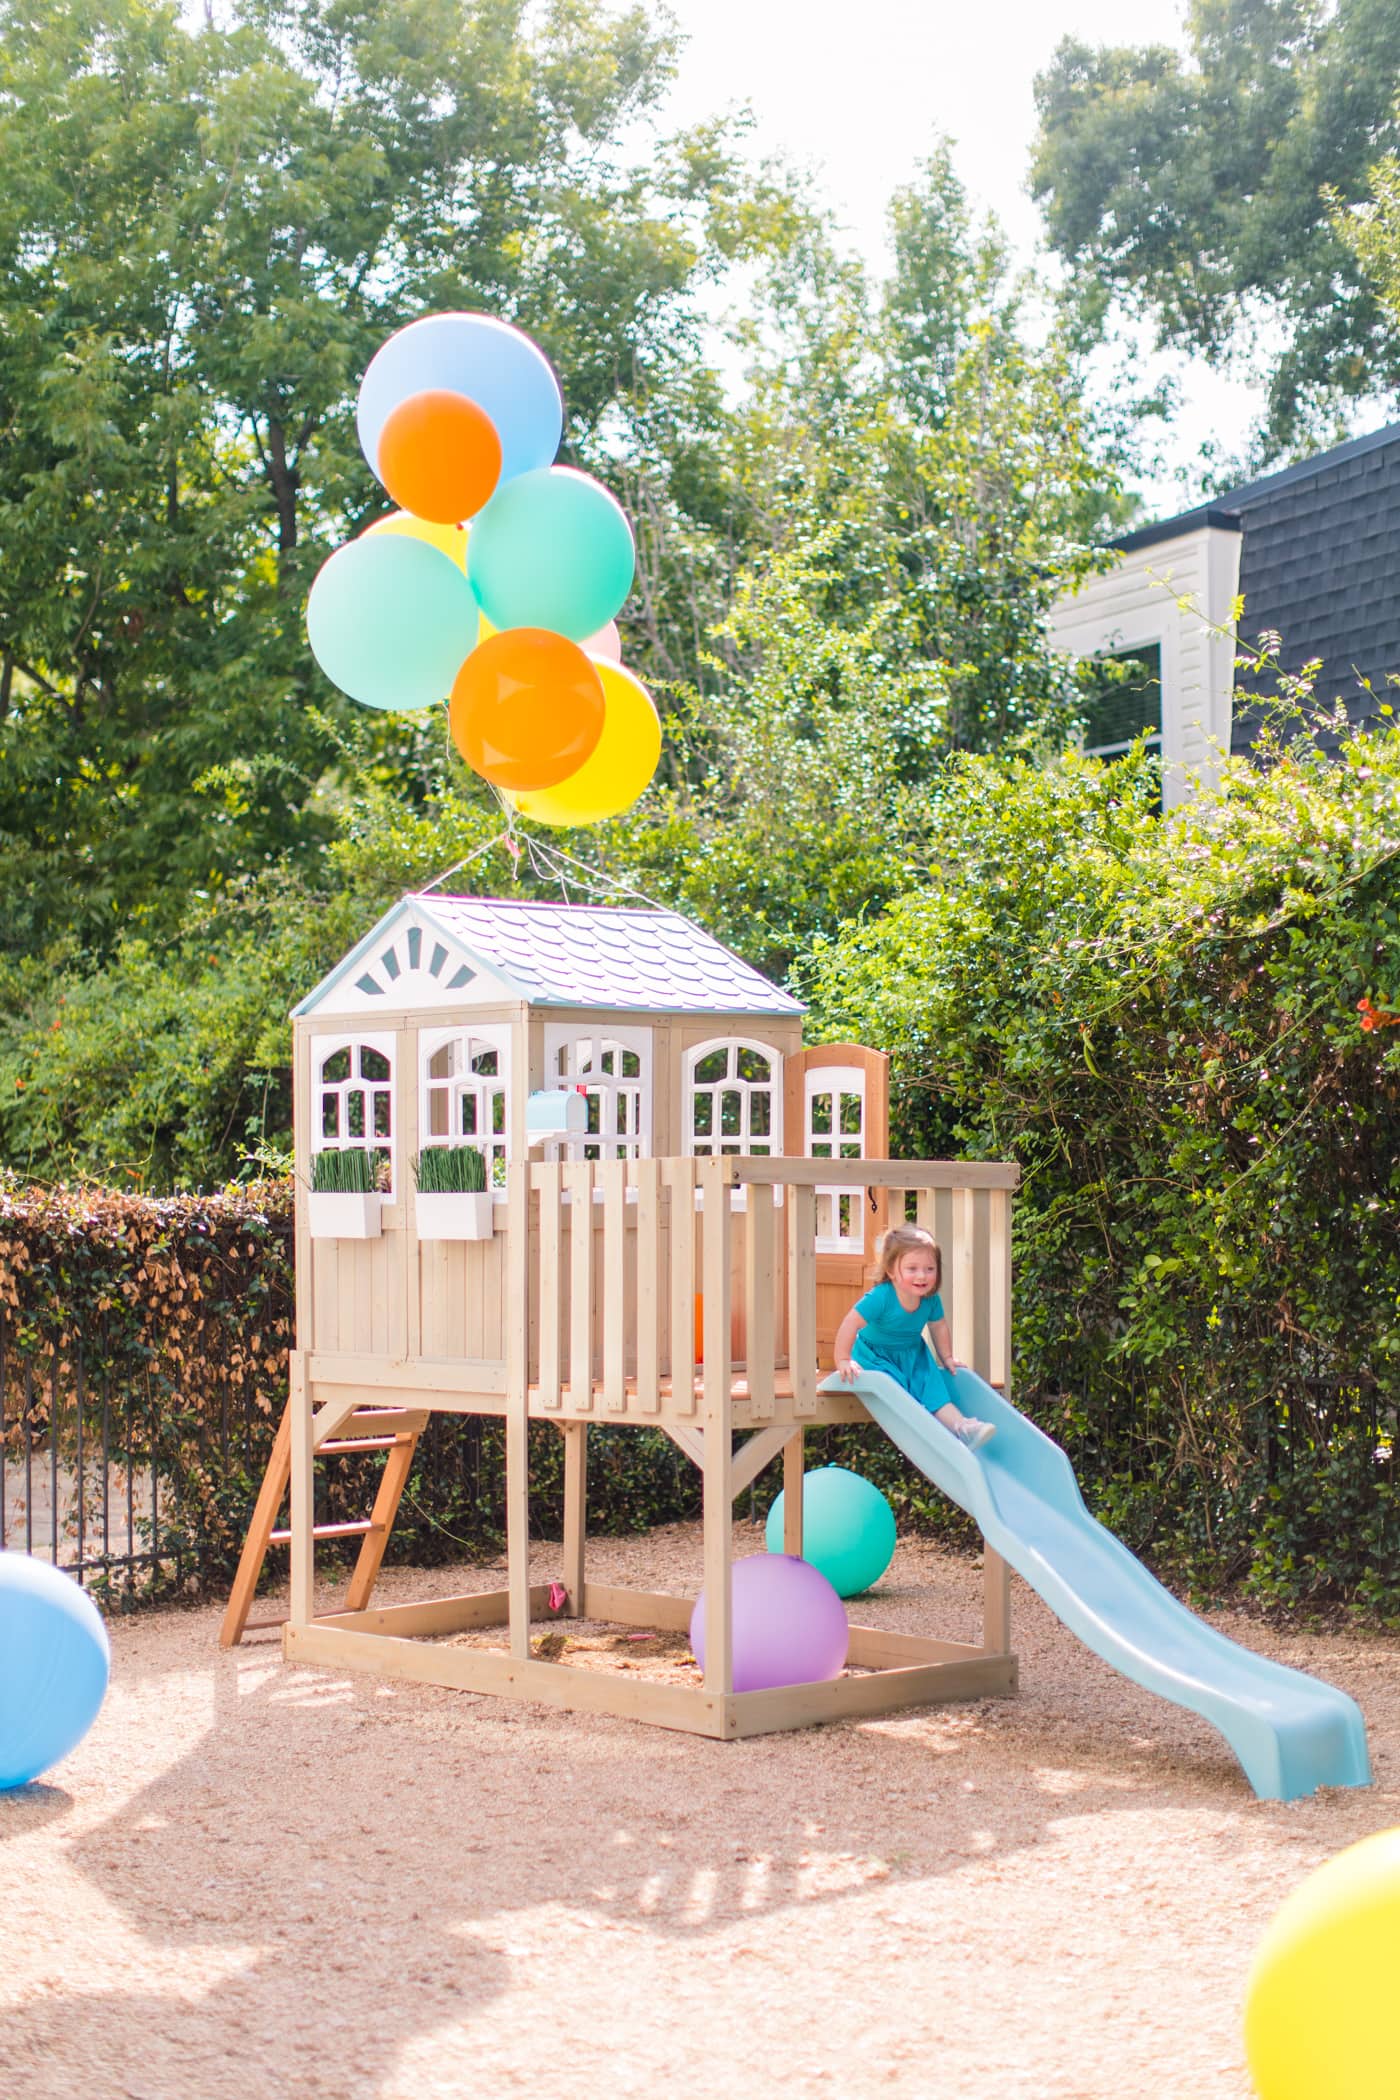
I’ve also gotten a TON of questions about Gwen’s playset, so scroll to the bottom of the post for a link to that, too!

Lately, I’ve gotten A LOT of questions about my tips for starting a DIY blog or interior design blog. Rather than just a general quick answer here and there, I thought I share how to write a blog post and what it looks like behind the scenes.
There’s definitely a connotation that blogging is glamorous, and let me just say that I must have gone into the wrong blogging field if that’s the case!
It can be very rewarding and has its fair share of perks, but it’s also a MAJOR time commitment. A single DIY blog post can easily take 20-30 or more hours depending on how involved the project is.
There’s making a mood board, coming up with a supply list, shopping for supplies, making the project, photographing the content, editing the content, creating graphics, writing the post, and so on. You see where I’m going with this!
I’ll be walking you through my process along with sharing how I create custom-looking graphics easily with Picmonkey, too!
Here’s how I’m breaking it down — the text will focus on how to write a blog post, checklists, mood boards, and tutorial videos for graphics.
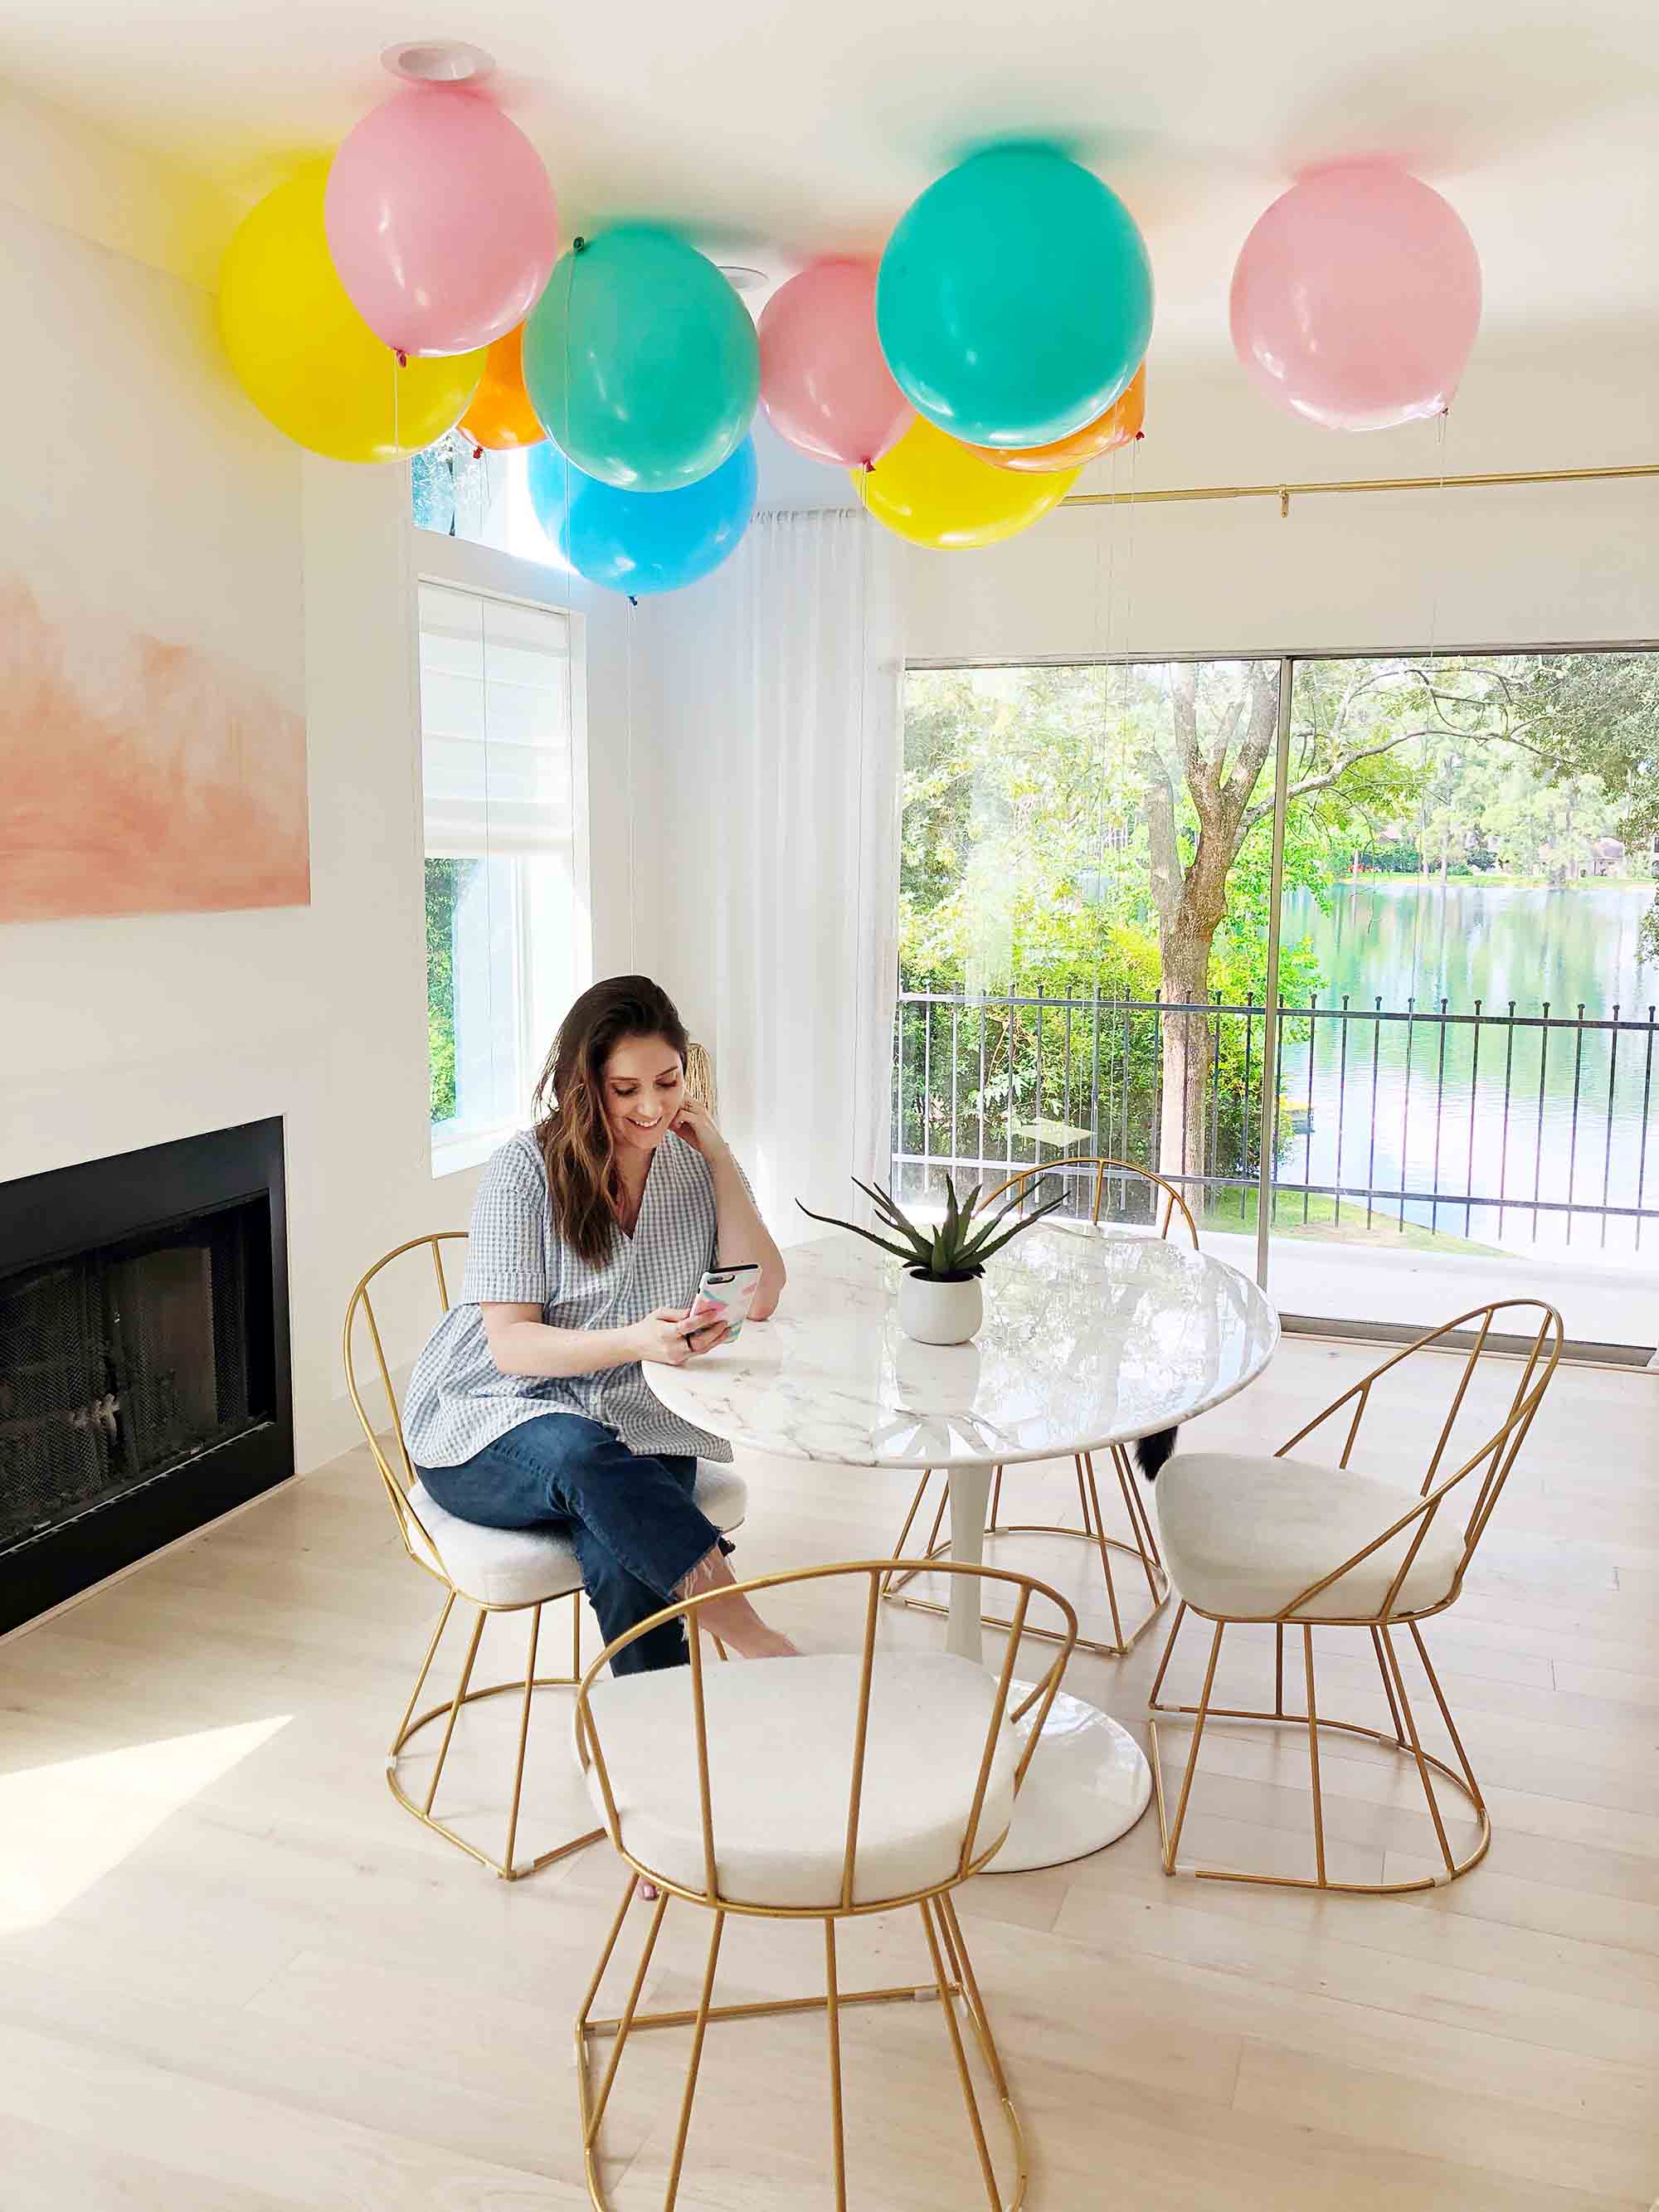
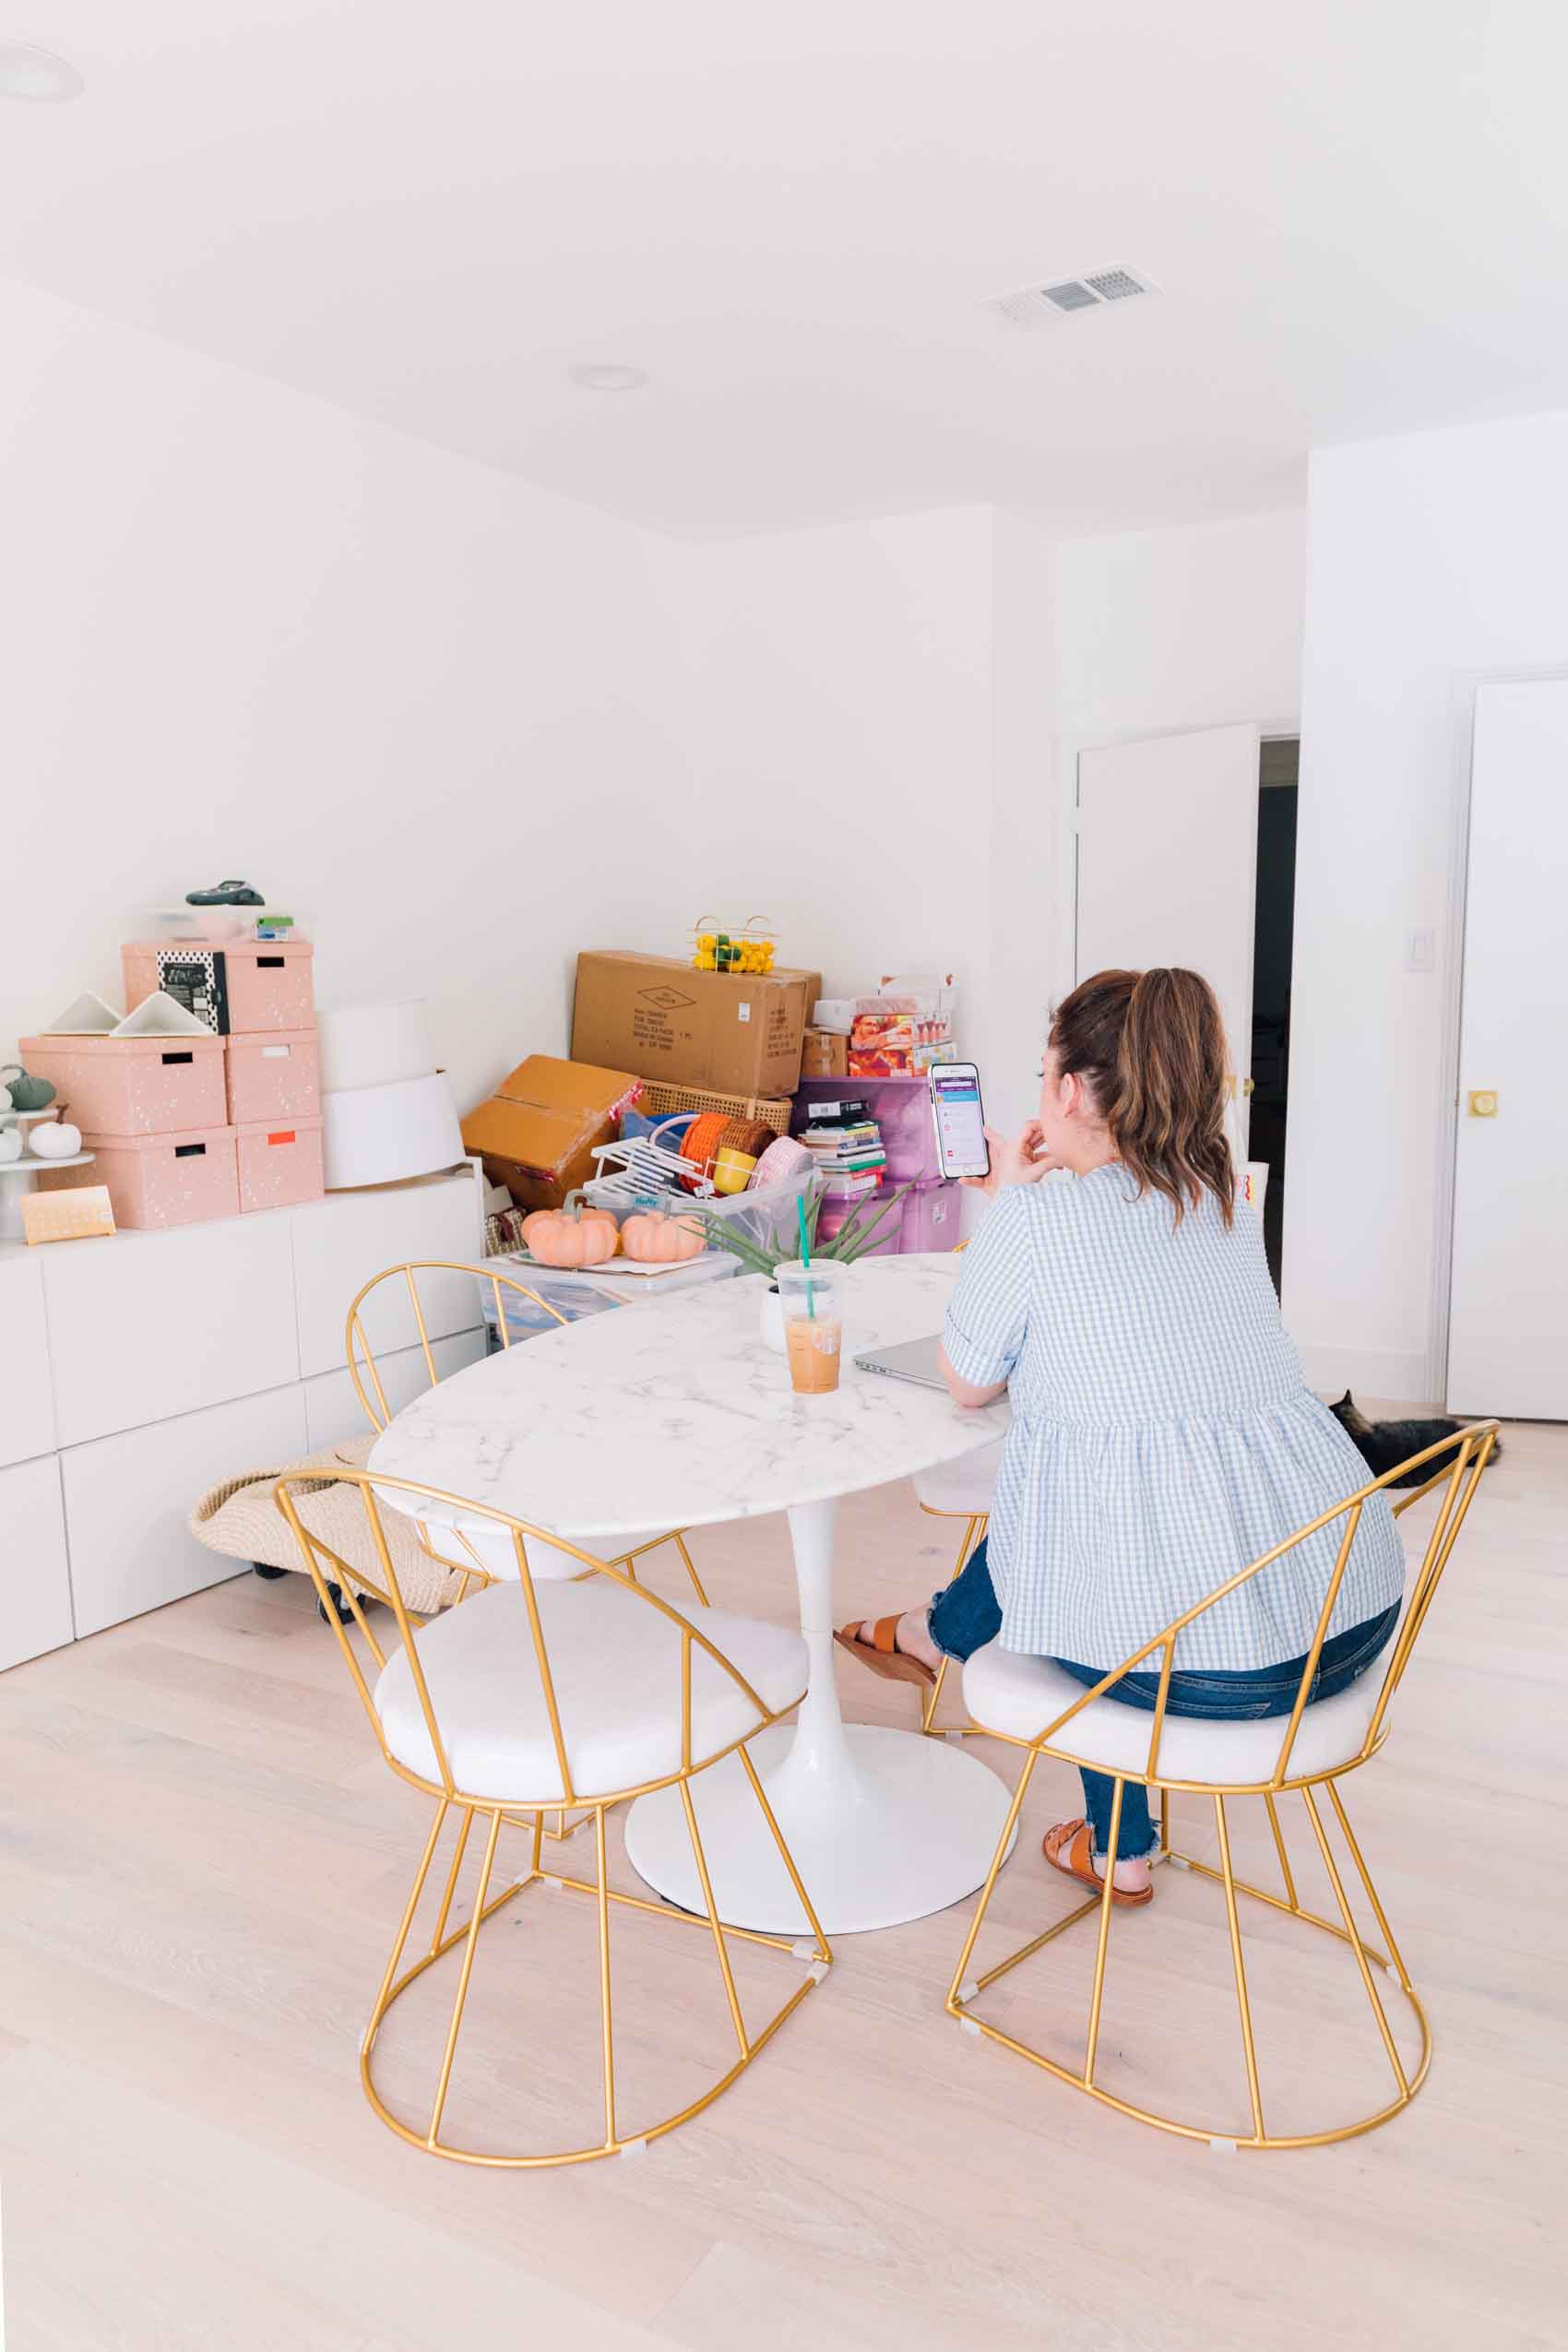
The images will show the behind-the-scenes and how the mood board came to life via the photos…
Behind The Scenes of a DIY Blog — How to Write A Blog Post
Step 1 — Conceptualizing the idea + SEO optimizing.
What are you going to make? Is it unique from someone else? Is there a need for it?
A lot of times I’ve come up with a random idea for a DIY project, but it’s not necessarily something people are actually SEARCHING for. This is a big missed opportunity!
I wish I could go back and tell myself eight years ago to mix just-for-fun project ideas with what people are actually searching for online for better SEO and Pinterest traffic.
Now my new process is looking to see what is regularly being searched for and then catering an idea to fit the bill for both. Learn from my mistakes on this one, friends!
Step 2 — Creating a mood board for the project so that your team understands the vision.
I’m a big fan of simplifying as many tasks as possible (who’s not, though?!) and Picmonkey is a great way to maximize your time on this. I’m sharing more on how I create a mood board below!
Step 3 — Creating a checklist or shopping list for the project itself.
I almost always underestimate the time that this one takes, so needless to say that Amazon Prime has become my best friend!
Step 4 — Create a list of images that you need for both step by step photos as well as.
I really can’t tell you how many times we’ve accidentally overlooked tutorial photos, missed a step of the process, or wish we’d gotten a better “hero” photo for Instagram or Pinterest.
Creating a list in advance takes a lot of stress off making sure you’re getting all of your T’s crossed along the way.
Step 5 — Styling and photographing the content + Editing.
Once a project has been made, I style the end result for Jared (my hubby if you’re new here) to photograph.
You can make the most genius project in the world but if you’re not selling it well with you’re styling and photography, it’s going to be a bust!
I usually spend quite a lot of time on this portion because I’m very particular about making sure it’s coming across the way I want it to on-screen.
Luckily Jared takes care of the editing process after the photos are complete and will upload them to Dropbox so that our entire team can access them from anywhere.
Our team has become pretty obsessed with dreaming up tips, tricks, and hacks for Instagram stories. Not only did we compile some not-so-well-known tricks of the trade, but we broke it down into some simple design inspirations for jazzing things up on the fly
Step 6 — Writing the blog post and tutorial.
Writing the blog post itself ALWAYS takes me the most amount of time unless I’ve made a seriously extreme DIY project.
Writing the step-by-step instructions alone is taxing in the sense that you want it to be easy to understand and doable for someone who’s just glancing at photos to follow along with the tutorial.
These are especially tricky if it’s a DIY home improvement project, home renovations, or Ikea hacks post!
Writing a blog post consists of — making sure the intro is catchy and has all of the SEO keywords needed, the images are uploaded and titled correctly for searching etc, the content makes sense to a new reader for the tutorial or recipe, writing all of the social captions, proofreading, and adding links to all supplies to home decor sources.
Note that the above is a VERY summarized version and it can easily take me 4-6 hours to write a thorough blog post from top to bottom!
Step 7 — Preparing for social posts and scheduling content.
It doesn’t matter how great of a post you have if no one knows about it.
So the next step is making sure you have captions and optimized photos (like a Pinterest long pin or IG stories swipe up, which I’m showing you how to make below!) are created and scheduled.
Not everything can be scheduled in advance, but preparing the graphics in advance is a must! Especially when you have various people helping promote content on your team.
Step 8 — Blog post is published and pushing out social content.
Once a blog post is live, it’s now all about getting as many people to see what you’re sharing as possible
For us, this means sharing to Facebook, Twitter, Pinterest, Instagram, and Instagram stories.
Each social platform has its own best practices for what works well there, which is why I’m showing you how we make Pinterest and IG story graphics with Picmonkey below!
Now that you have a general breakdown of how a DIY blog post comes together, I’m going to go into more detail about creating some of those elements using Picmonkey.
I realize not everyone here is a DIY blogger, so you can also repurpose some of these ideas for general photo collages, party invitations, entertaining DIYs, etc!
Also, if you have school-age kids working on classroom projects, Picmonkey can be SUPER helpful for them as well.
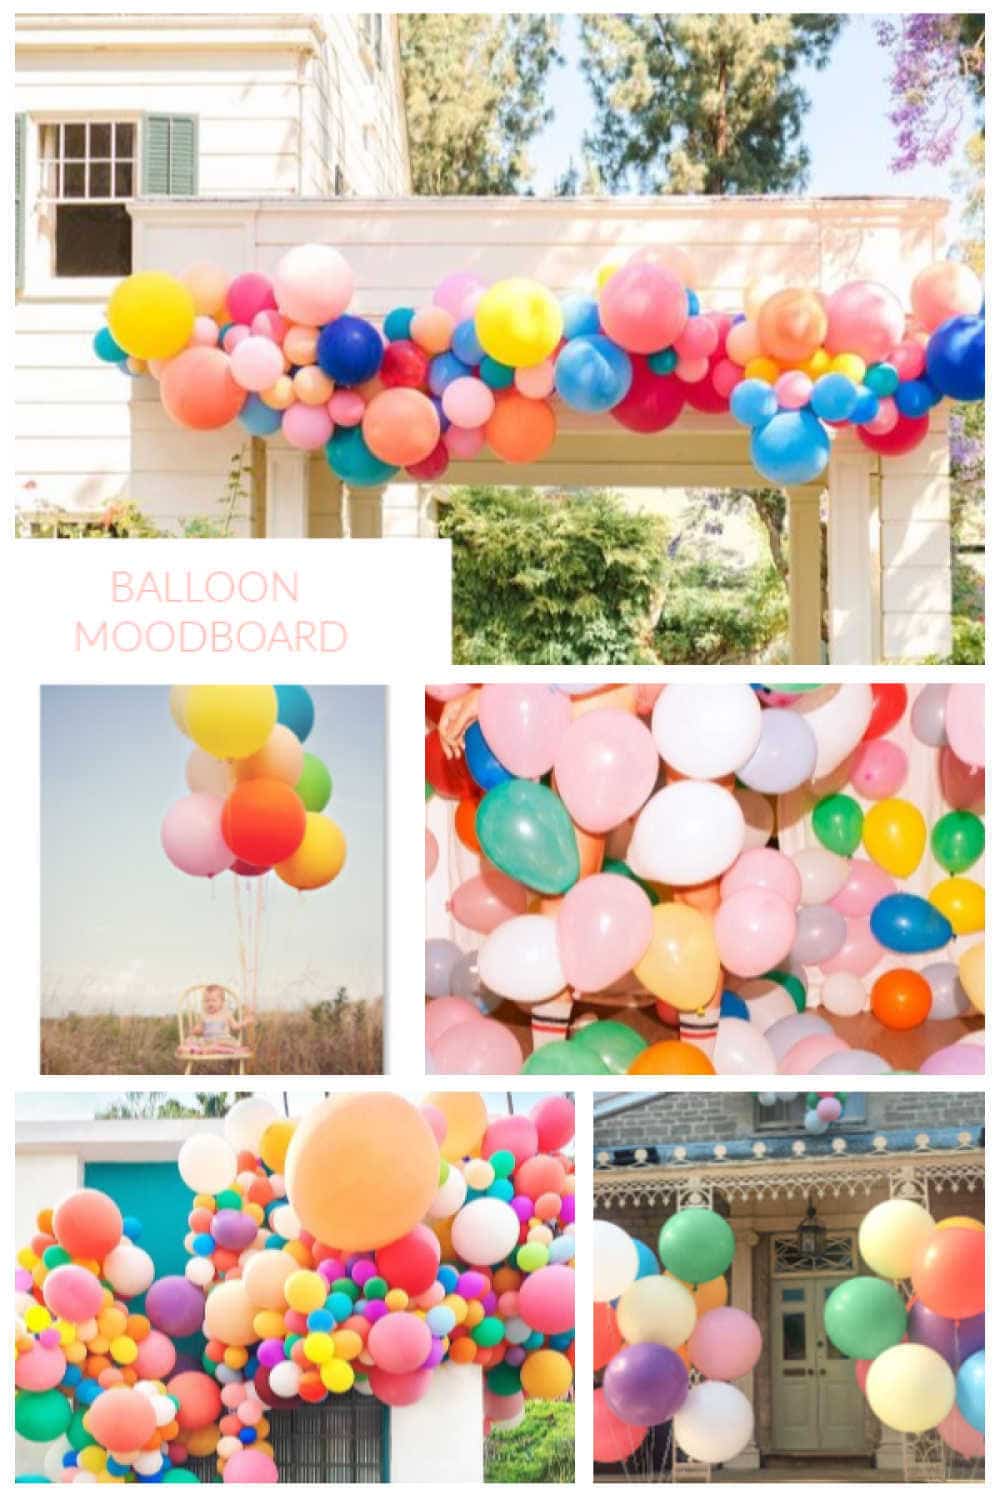
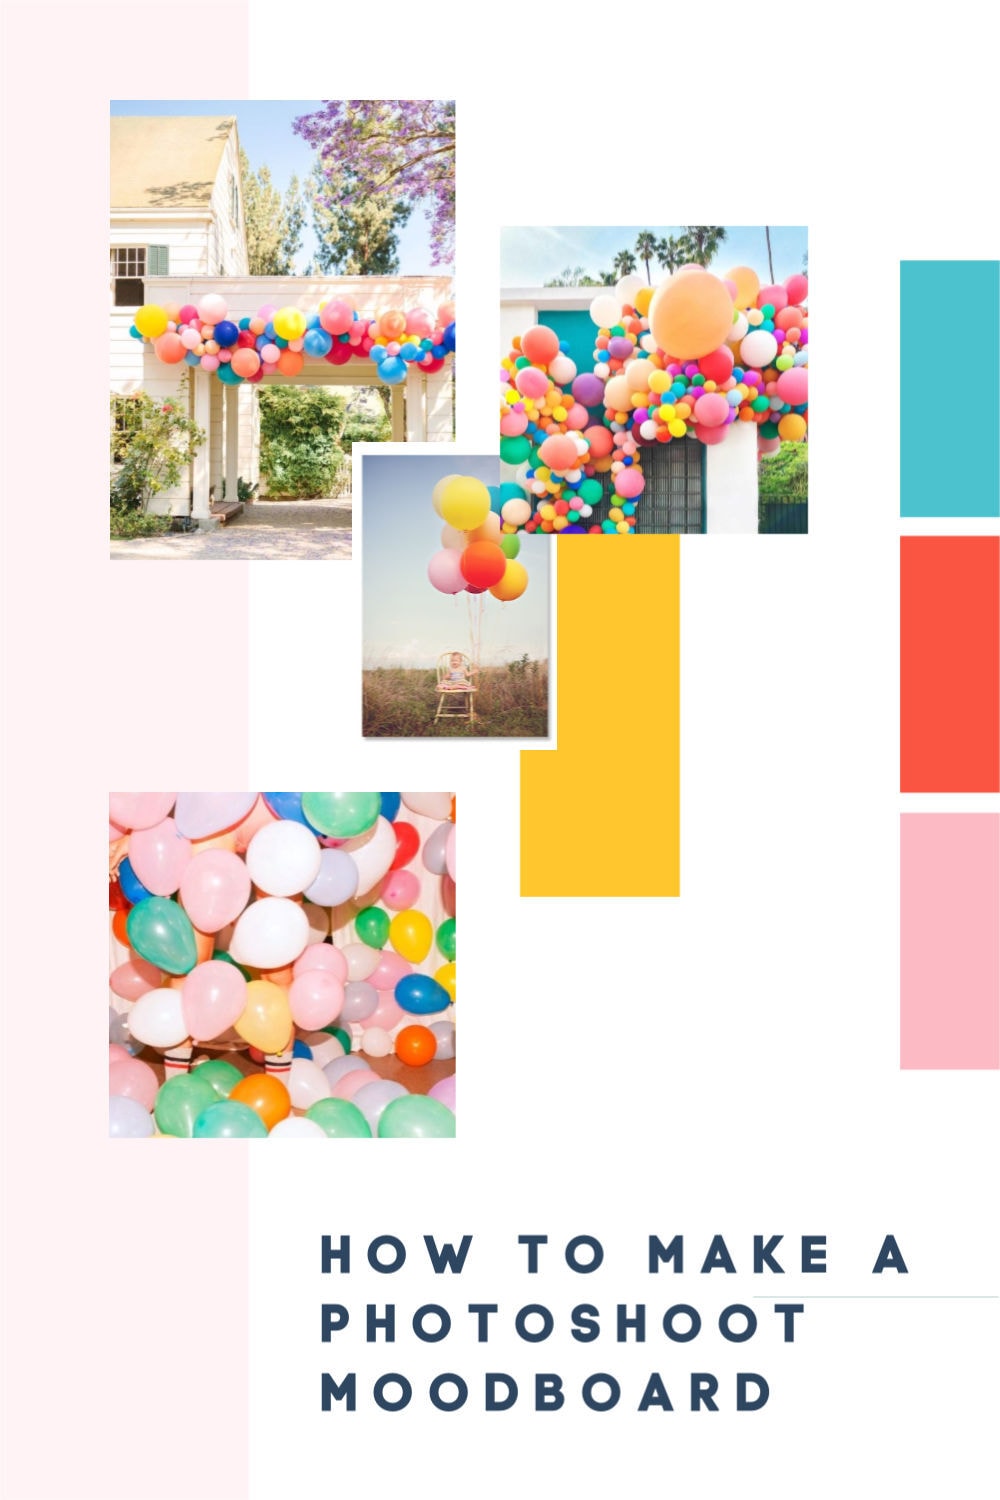
How To Easily Make a Mood Board With a Template
One thing that’s really not worth your time is creating templates for social channels and mood boards from scratch.
Above are two photos of mood boards that I created in less than 4 minutes using Picmonkey templates!
The first thing I do is find my inspiration online and save all of the images and sources in one place on Dropbox. Then I log in to Picmonkey and find a template I like that I can plug those images into quickly.
You can watch the whole process from start to finish in the video below…
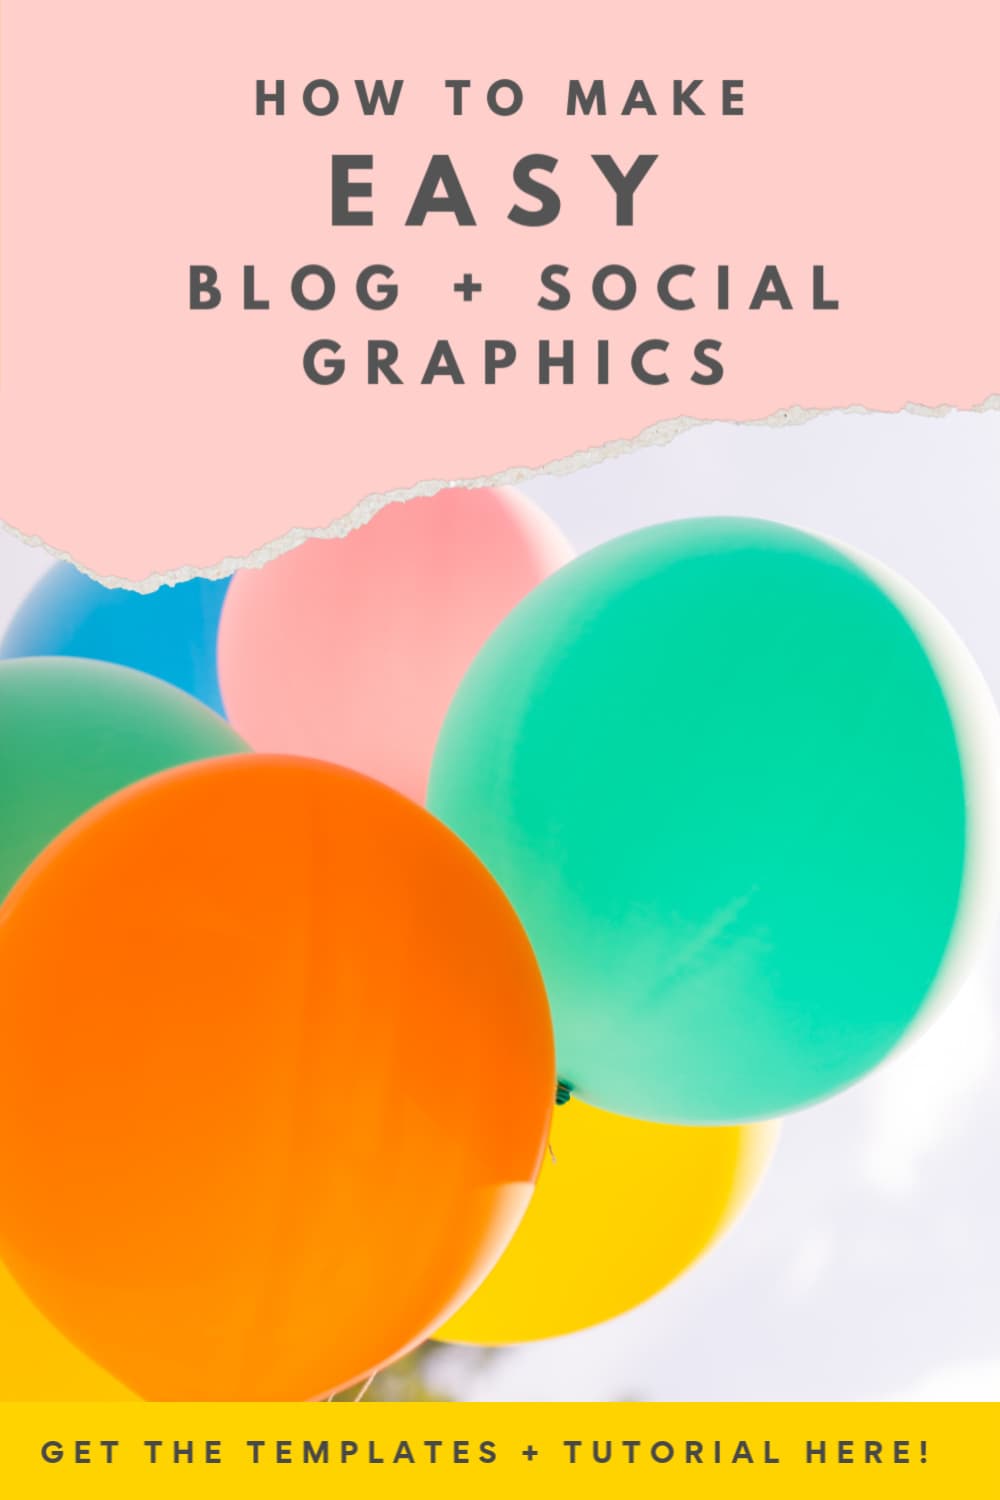
How to Make an Easy Pinterest Graphic or Pinterest Long Pin
Following the blog post checklist, the next graphic I’ll make is an attention-grabbing Pinterest graphic.
I used to be VERY against giant text graphics on Pinterest (like the above graphic), but I’ve since gotten off my high horse and am willing to admit that they definitely out-perform a plain photo without text.
An image with pronounced text for Pinterest will not only tell the reader what they’re looking at, but it also helps make your content stand out in a feed full of other pretty images.
To make the Pinterest graphic above, I simply customized a Picmonkey Pinterest template which is already optimized for current Pinterest best practices for image sizing, etc.
See the video below for how I went about the process…

How to Make Easy Instagram Stories Graphics with Templates
Now the last graphic to make for the final posting is for IG stories.
Admittedly, I usually just wing this one and pull something together within Instagram itself, but I’m attempting to do better about making sure it’s done in advance!
A lot of people spend money on a set of 5 or so templates for Instagram Stories, but I much prefer having the option in Picmonkey to mix things up with new templates and customizable color and font options that save to a hub for me.
You can get the Picmonkey seven-day trial for free any time to try out, and you can get a yearly standard membership for $60 through our Sugar & Cloth discounted code right here!
We have the pro account ($100 yearly through our discount code here) that allows us to do team sharing so that other employees can access the same templates and designs remotely by logging into our Picmonkey hub.
Watch the video below for how I quickly put together the IG stories graphic for this post…


Now once all graphics, photos, and content are produced, we start on the next one!
There’s not much in the way of sitting back and basking in a finished DIY blog post these days, but hopefully, this gives you a decent idea of the process along the way!
If you have any additional questions on how I go about the process or if you’re needing tips along the way, be sure to let me know in the comments below or shoot me a message via our contact page!
And for those of you looking for Gwen’s playset, you can find it right here.
This post has been sponsored by Picmonkey, but all opinions are my own and we’re happy to work with them since they’re a platform we use regularly! Sugar & Cloth has chosen to donate 5% of all sponsored campaigns to charity, which you can read more about right here.
Related posts:
Please note that we may earn a commission for some of the above affiliate links. However, products featured are independently selected and personally well-loved by us!
I found this post to be really helpful and full of valuable information. As someone who loves DIY projects, I’ve been thinking about starting my own DIY blog for a while now, and reading about your process gives me a lot of inspiration and practical tips. Thanks for sharing all these insights — please keep the amazing content coming!
Good luck with your DIY blog!
vip 79 – game bài đại thần tài tải ngay phiên bản mới nhất 2025 tại vip79.reviews. Thử cược ngay, nhận thưởng khủng, dễ chơi, trúng lớn và nhận ngay code 179k!
We recently explored your website and were quite impressed with its design and layout. We are interested in potentially posting on your platform.
Could you kindly provide details regarding the pricing for guest/sponsor posts?
Furthermore, if you offer link insertion services, could you please share the associated pricing as well?
We are eagerly awaiting your response.
Thank you.
Hey, Thanks for posting such amazing content about the DIY post it really helpful to all beginners, I search for such a post from last month but didn’t get informative content like you it’s really good & appreciated. Thanks once again & keep posting such valuable content in future.
Thanks, Anna!
I’m wanting to build a web based, DIY, home improvement, home repair etc. platform that gives everyday DIYers How To instructions on almost anything for their home projects. This would include basic maintenance to major renovations.
Good luck, Lance! XOXO
Here is a very convenient system for creating a Mood Board, and a picture of what you want and size as desired. I believe that in order to attract a person’s attention to the text, there should be a good visual picture. And also thanks for the 8 tips that will help me write a post! Regards, Andy from https://papercheap.co.uk/write-my-essay
You’re welcome!
lauraall@aol.com
So many great tips here. Really love the info on making the graphics.
Hi Laura! We glad this was useful for you! XOXO
This is some really great info! A lot of people don’t know how much work writing a blog really is; thank you for sharing!
Thanks, Beth! Yes, everyone thinks it’s really easy and fun. Fun, yes. But it’s a lot of work!
It’s crazy how much time goes into making a post. I do both DIY and food posts on my site, and sometimes I miss the days of just working on something without having to stop to take pictures every few minutes. Haha! I finally learned how to use lightroom, but I still use Picmonkey for my collages, it’s so easy!
Lightroom is definitely wonderful for bulk simple editing! Honestly, we use Lightroom more than PhotoShop to edit high res blog photos. PicMonkey is our go-to for collages and quick edits and quick graphics, especially for social media!
Super interesting to read and understand and not super different than a food blog post. Thanks for sharing.
Nope, not different at all for food blogging! Thank you for checking it out, Billy!
This is so thorough! Thank you. You have such a lovely blog and so much work goes into each post!
Hi Rachael! Thank you for the kind words. We really wanted this to be helpful for other bloggers or just anyone who is curious about all the work that goes into blogging. XOXO
Intense! Amazing! Fantastic!
Best of the best in sharing so many informative suggestions, ideas, topics, lessons, and secrets to having a better blog, photos, and tools.
BRAVO!!!!!!!
May I add, it’s easy sometimes to just focus on the narrative with an Instagram photo and not read blog posts but here is a perfect example of what I can miss out on.
This seriously made our day! Thank you so much for your kind words. Our main goal is to get readers following us on social media to also check out the blog too! XOXO
This was fascinating to read, I admit I am
a total DIY blogger wannabe. I’ve made everything in photoshop up until now and I can see how picmonkey makes it soooo much simpler and quicker! One question, how can you tell what DIYs people are searching for on google and Pinterest—is there some kind of “trending now” plugin or something you use?
Hi Jani! We love PhotoShop too but PicMonkey is definitely way more faster and simpler. Google does have a site: https://trends.google.com/trends/?geo=U to search trends and keywords. For Pinterest, you can click in the search bar and Pinterest will recommend some “trending ideas”. There are apps also for Pinterest.
Thanks so much for the reply, I appreciate it!!
Anytime!