How to Paint a Porch for an Easy Home Upgrade
Looking for a quick makeover to your exterior? We’re sharing an easy tutorial on how to paint a porch. It’s one of the quickest and most affordable ways to add curb appeal to your home.
Your front porch is the first thing people see when walking by, driving by or even visiting your home. And we all know that first impressions are everything so don’t neglect your porch.
You want your guests (or potential homebuyers) ooh-ing and aah-ing to see the inside once they’ve seen the outside. Whether it’s a concrete porch or wooden porch, all porches need a little TLC from time to time. And painting your porch is an instant (and affordable) way to add curb apparel.
All you need is a day (or two) and a can of paint (or two) for a quick porch refresh. You’ll be stunned by the dramatic transformation from a simple paint job.
We’ve already seen the power of paint with a geometric accent wall in our guest bedroom makeover and limewash paint on our in-law’s brick home revamp.
So grab a brush because we’re taking you behind the scenes on our budget-friendly porch upgrade with a step by step tutorial on how to paint a porch.

Materials and Tools Needed for a DIY Painted Porch
- Pressure washer
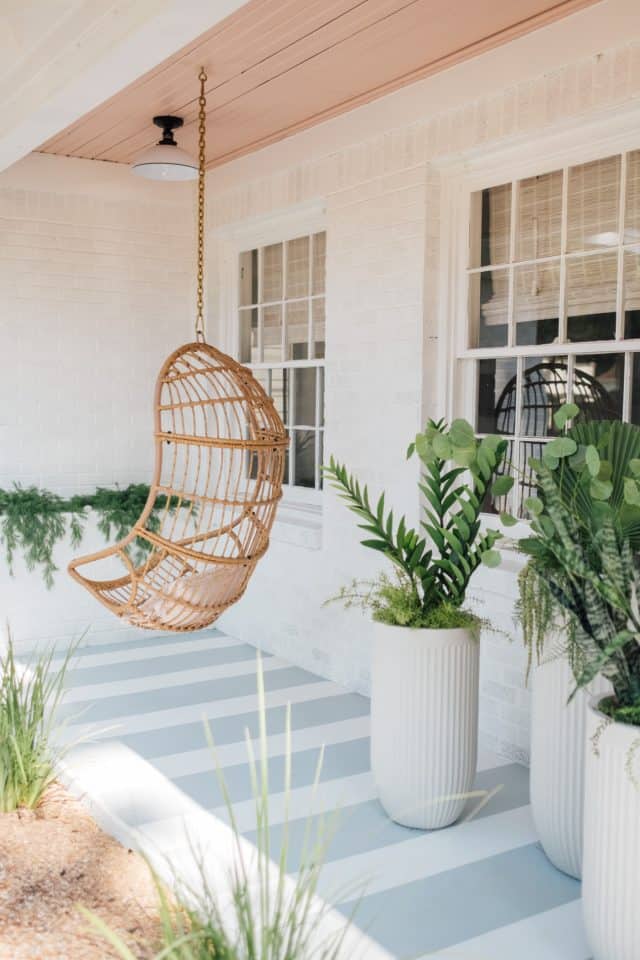
- Exterior porch paint – Ours is in Polar Bear White and Heirloom Silver by Behr.
- Paint brush
- Paint roller
- Scotch® Rough Surface Painter’s Tape (2060)
- ScotchBlue™ Original Painter’s Tape (2090)
- Straight edge and ruler
- Pencil
- Optional: Concrete etching solution
- Optional: Paint sealant
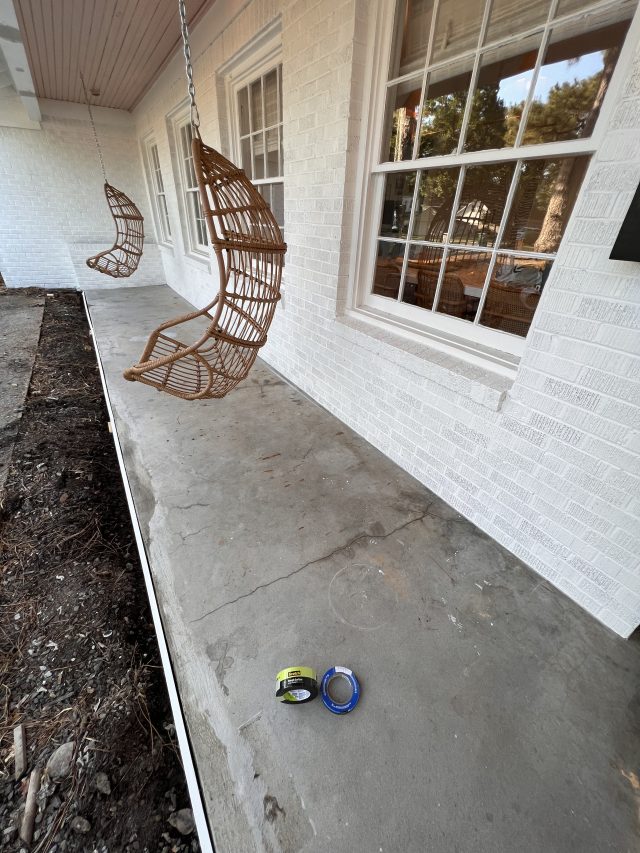
Prepping Your Porch
Before you start, clean and clear everything off your work surface. This step cannot be skipped!The more thorough the cleaning and prep work, the better the paint will adhere and be longer lasting over time.
If you have any delicate plants or items nearby that cannot be moved, protect them with drop cloths or 3MTM Hand-MaskerTM Advanced Masking Film.
You can sweep, mop and hose any debris, but a pressure washer or power washer will speed the process. If your porch already has existing paint, use a paint scraper to prime the surface and a concrete etching solution.
It usually takes 24 hours to dry after a wash. The hardest part is now over, and it’s time to paint!
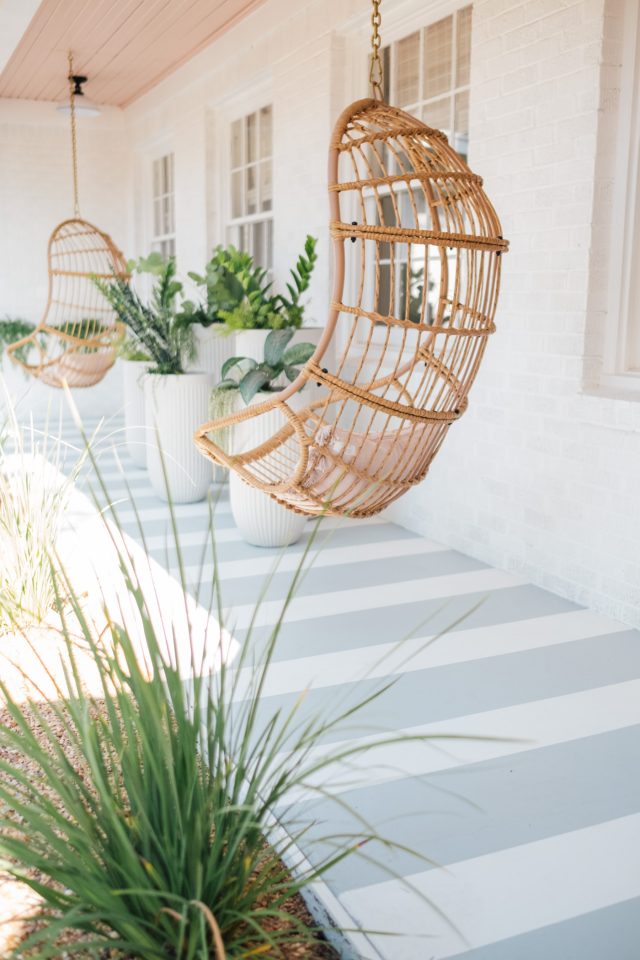
How to Paint a Porch
Step 1 — Clean the surface:
Prep the porch surface by thoroughly cleaning off any residue, dirt, and debris with a pressure washer and/or an outdoor cleaning agent.
Step 2 — Prep the porch:
If your porch surface has previously been painted or sealed, sand the existing surface an/or etch with etching solution. This will allow a better grip for the paint.
Step 3 — Tape off areas you want to keep clean:
Determine which painter’s tape is best for your porch border.
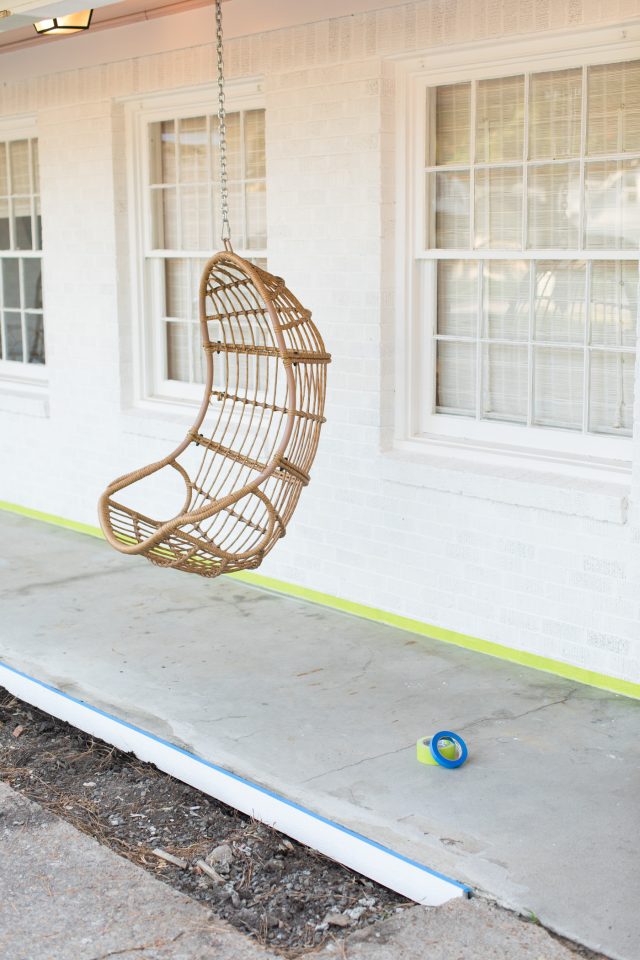
We have textured brick walls, so we used the Scotch® Rough Surface Painter’s Tape (2060) to tape off the side walls. The tape is specifically designed for use on concrete, brick, stucco, and rough wood.
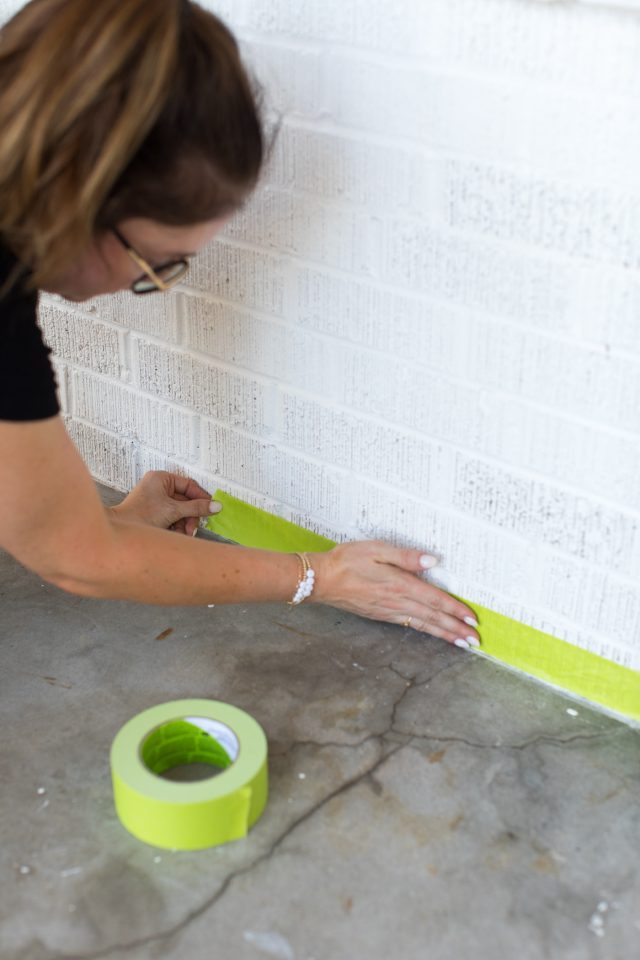
We also have a wood base/PVC trim along the front around the concrete. So we taped off those sections with the ScotchBlue™ Original Painter’s Tape (2090).
Step 4 — Apply the primer and/or first coat of paint:
Next, paint the first color of your choice as the base. We used Behr Porch and Floor Paint in satin finish that also is a primer.
Porch paint is already durable so priming is not necessary. However, we highly recommend doing so or purchasing an all-in-one paint. You’ll get a smoother application and stronger hold.
Allow the base coat to dry for a full 24 hours before measuring and taping off the stripe design.
Step 5 — Tape your design:
For stripes, we measured and marked 10 inches from one edge of the Scotch® Rough Surface Painter’s Tape (2060).
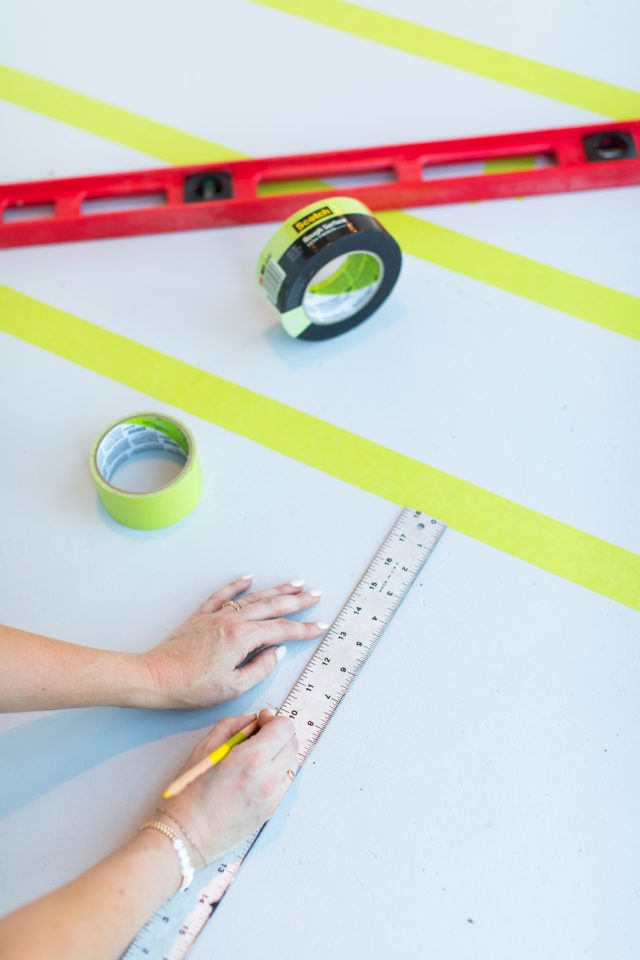
Then, we placed the next line of tape on the outside edge of the 10 inch mark, which makes it a total width of 10 inches once the width of the tape is accounted for.
Be sure to always place the tape on the same side of your marked lines for continuity in the width of the lines.
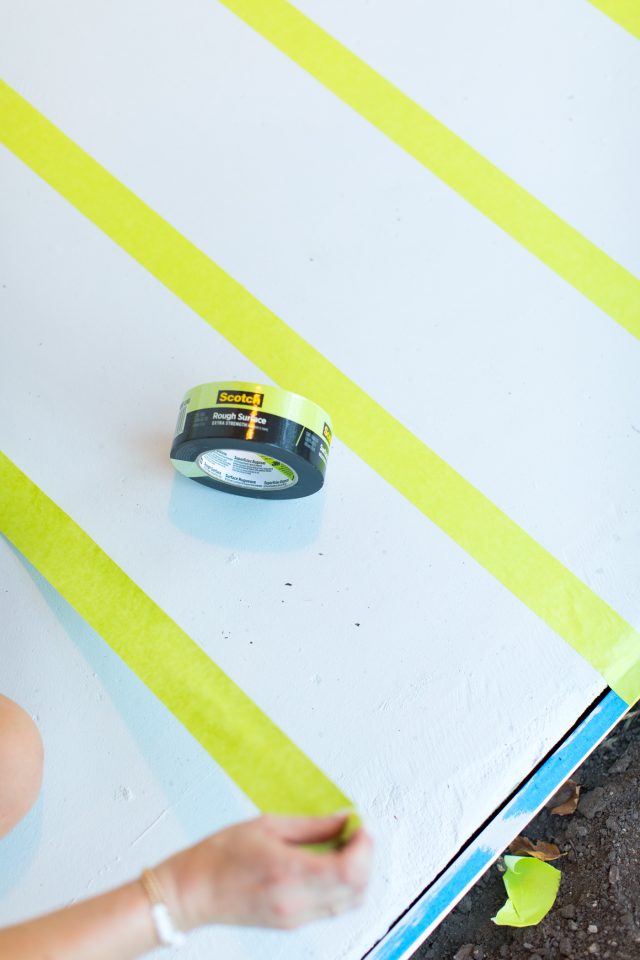
Step 6 — Start painting:
Using a mini roller, paint in the stripes. Apply two coats of paint evenly. Allow the first coat of paint to dry before starting on the second coat.
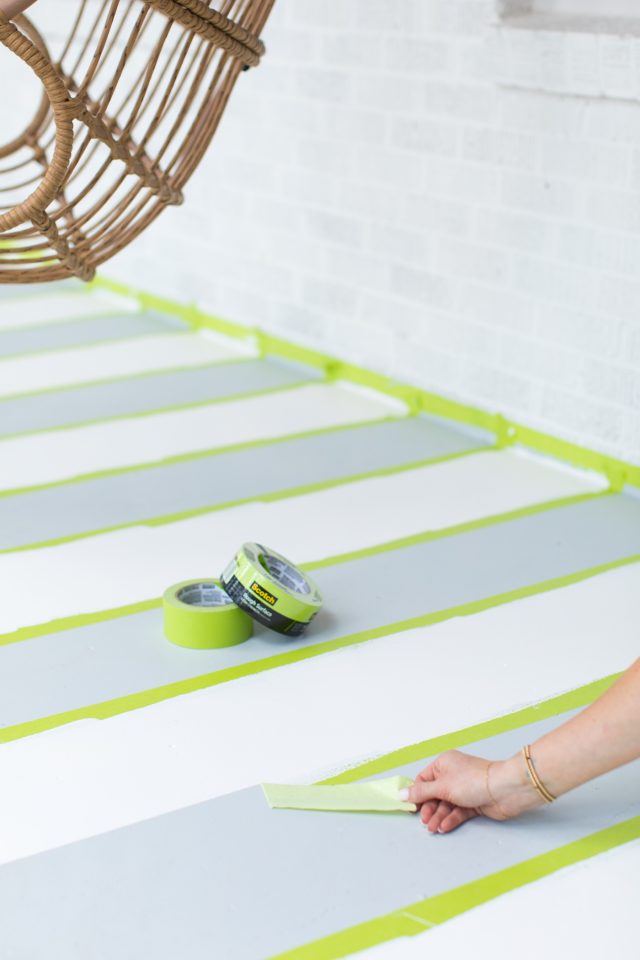
Step 7 — Remove the tape:
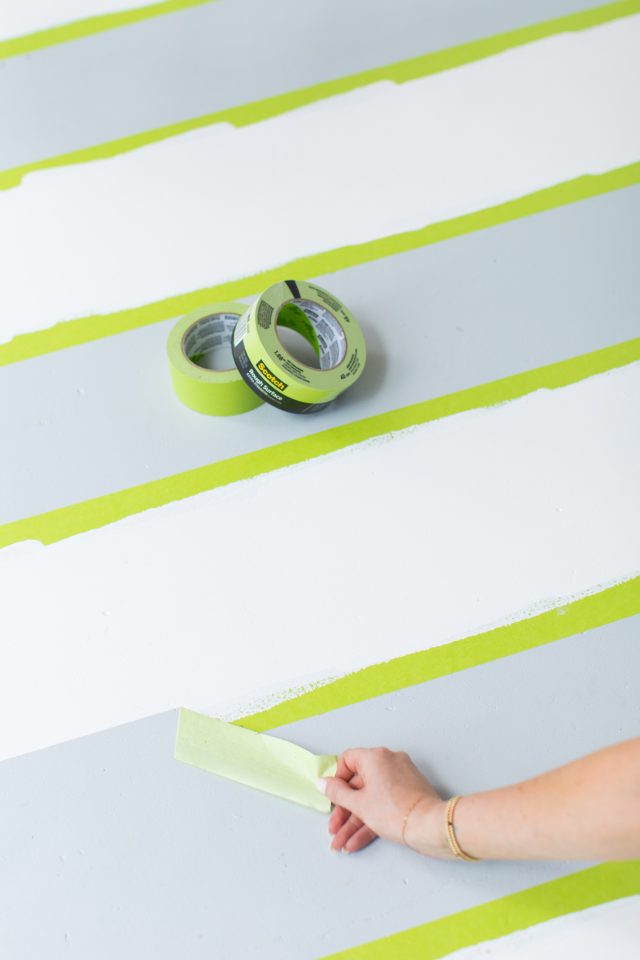
Once the stripes have fully dried, gently remove all of the tape, pulling back at a 45 degree angle. And now you’re all set to decorate your porch!
Can This Technique Work on a Wood Porch?
Yes, this process can be also be applied to wood porch! Make sure to pressure wash in between the boards where dirt and debris can easily hide.
If you don’t have a bare wood surface, you will also still need to remove and scrape off any existing and peeling paint.
Since etching solution is only meant for concrete, keep in mind that wooden porches may need an additional sanding and/or priming coat to remove old residue.
Choosing Your Paint
Choose paint colors that complement the existing exterior walls and roof. No matter what you choose, make sure to pick a paint made specifically for floors and porches.
Exterior paint will not be good enough. Porch paints are formulated for high traffic areas and can withstand harsh weather conditions. Some paints also include exterior primer.
Tips on How to Use Painter’s Tape
- Make sure the paint is completely dry to the touch before removing the tape. Slowly pull the tape away from the painted lines at a 45 degree angle.
- When applying the tape to rough surfaces, press the edges down firmly to get a smooth line.
- For more design inspiration, check out these handmade wall painting ideas. Many of our favorite picks utilize painter’s tape to create unique designs that can be also be applied to any porch.
More Easy Outdoor Makeovers
For more easy DIYs and painting projects, check out some of our other renovations —
- Our Before and After Front Door Makeover
- Stair Riser Ideas
- Why You Should Limewash Paint on Brick
- Tiled Backyard Patio Before and After

Equipment
- Pressure washer
- Straight edge and ruler
- Pencil
- Paint brush
- Paint brush roller
Materials
- 2 exterior porch paint any color of your choice
- 1 Scotch® Rough Surface Painter’s Tape (2060)
- 1 ScotchBlue™ Original Painter’s Tape (2090)
- 1 concrete etching solution optional
- 1 paint sealant optional
Instructions
- Prep the porch surface by thoroughly cleaning off any residue, dirt, and debris with a pressure washer and/or an outdoor cleaning agent.
- If your porch surface has previously been painted or sealed, sand the existing surface and/or etch with etching solution (if you have a concrete porch). This will allow a better grip for the paint.
- Tape off the porch border. We have textured brick walls, so we used the Scotch® Rough Surface Painter’s Tape (2060) to tape off the side walls. We also have a wood base/PVC trim around the concrete. So we taped off those sections with the ScotchBlue™ Original Painter's Tape (2090).
- Next, paint the first color of your choice as the base. We used Behr Porch and Floor Paint in satin finish that also is a primer. However, we highly recommend priming your porch or purchasing an all-in-one paint and primer. You'll get a smoother application and stronger hold.Allow the base coat to dry for a full 24 hours before measuring and taping off the stripe design.
- For stripes, we measured and marked 10 inches from one edge of the Scotch® Rough Surface Painter’s Tape (2060).Then, we placed the next line of tape on the outside edge of the 10 inch mark, which makes it a total width of 10 inches once the width of the tape is accounted for. Be sure to always place the tape on the same side of your marked lines for continuity in the width of the lines.
- Using a mini roller, paint in the stripes. Apply 2 coats of paint evenly. Allow the first coat of paint to dry before starting on the second coat.
- Once the stripes have fully dried, gently remove all of the tape, pulling back at a 45 degree angle.
Notes
- Project cost and total time is dependent on your porch size, design and the conditions of your current porch. Our porch measures 20 ft x 7 ft.

28 Decorative Wall Mirrors You’ll Wish You Bought Sooner
Looking for the perfect wall mirror? Explore our roundup of…
Continue Reading 28 Decorative Wall Mirrors You’ll Wish You Bought Sooner
37 Best Beach Toys for Vacation Fun
Discover the best beach toys for kids, toddlers, and families…
Your Guide to Hosting the Perfect Outdoor Movie Night
From DIY projectors to cozy seating arrangements, explore the best…
Continue Reading Your Guide to Hosting the Perfect Outdoor Movie Night
33 Easy DIY Pumpkin Painting Ideas
Create festive and unique decorations with these pumpkin painting ideas…
Please note that we may earn a commission for some of the above affiliate links. However, products featured are independently selected and personally well-loved by us!



What color paint did you use?
Hi Joi! Great question. We just updated the blog. We used Polar Bear White and Heirloom Silver by Behr.
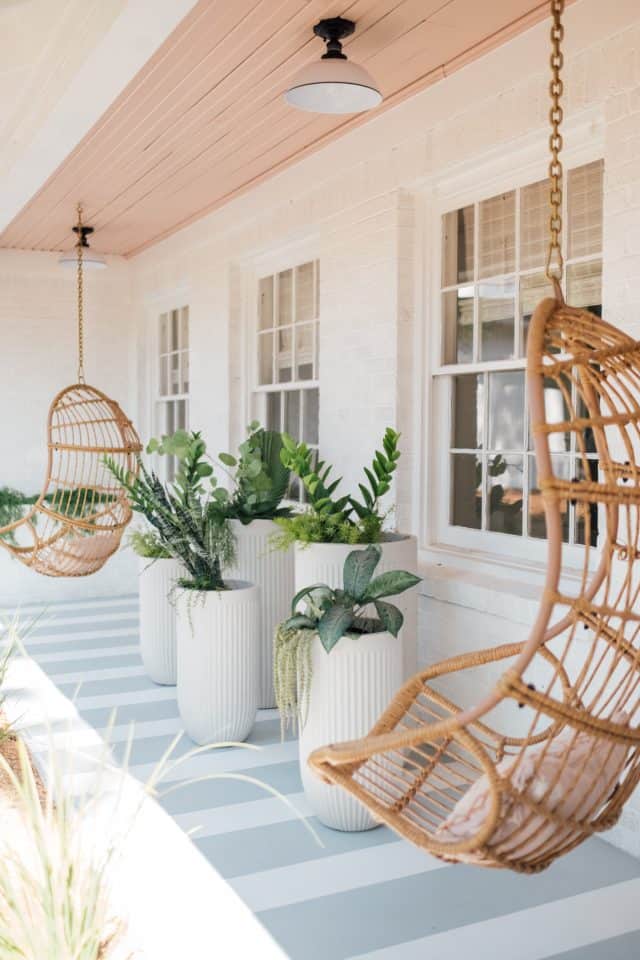
I love the planters! Do you have a link?
Thanks, Denise! They’re plastic resin planters from At Home. We don’t have an exact link because we purchased them in store. These are the planters here (but in dark grey). There are more options in the store! Hope this helps.
Wow! I love how much paint can transform a space!!
Right?!? It makes such as huge difference! XOXO