DIY Kids Table Ikea Hack
An easy DIY Kids Play Table that’s customizable for any age and size and for storing all your little one’s little things.
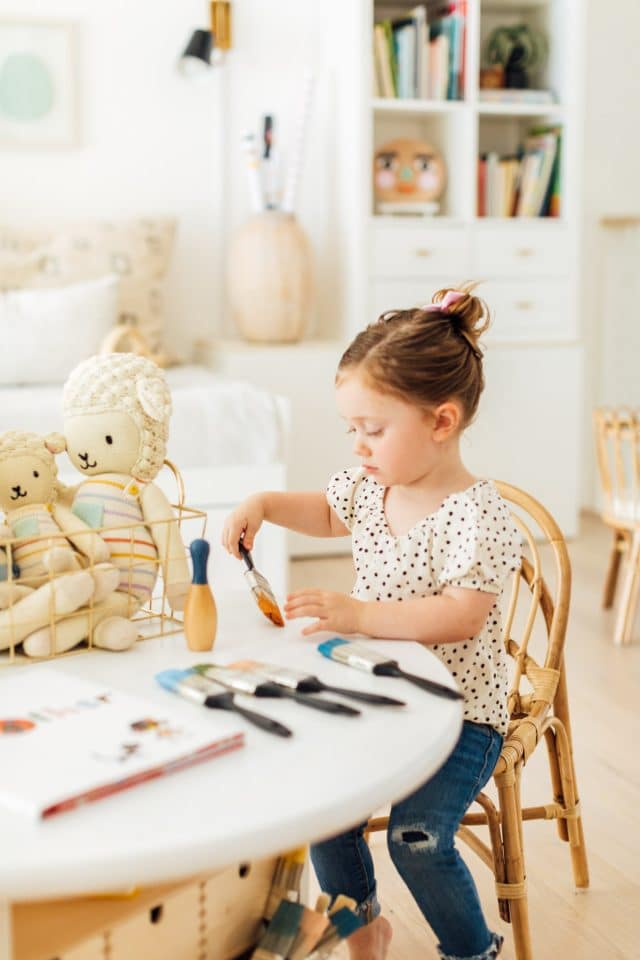
Did you catch the sneak peek of this DIY Kids Play Table from our kids playroom makeover!
This children’s table really is much simpler to make than it seems. And you can use it for storing all sorts of things. LEGOS, art supplies, magnets, stickers. The options are really endless when you have so much storage space!
Plus, we love that you can easily customize this table to any color scheme, room size, or height that you’d like depending on your child’s age and interests.
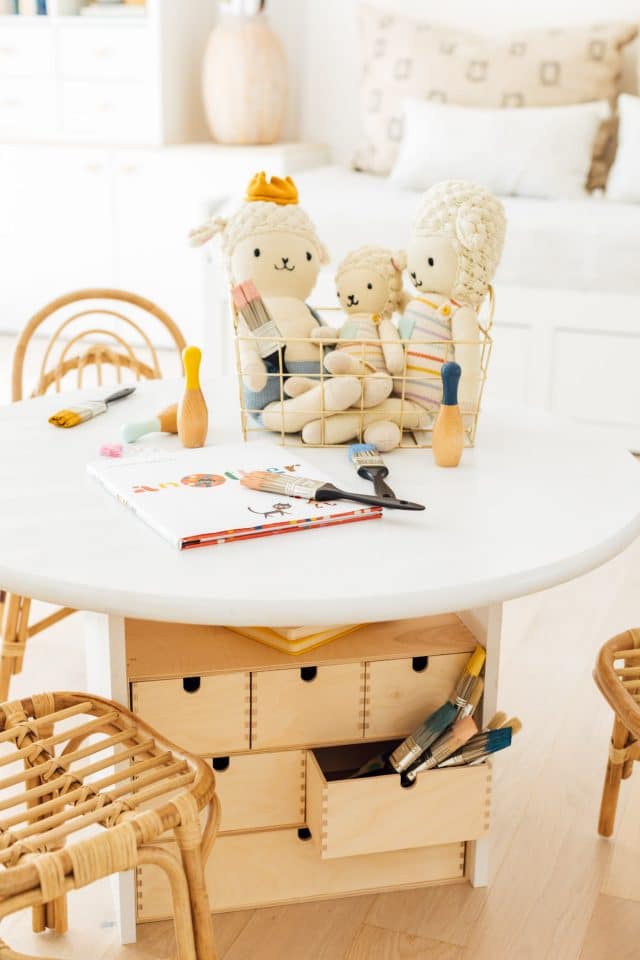
Determining Your the Height of Your DIY Table
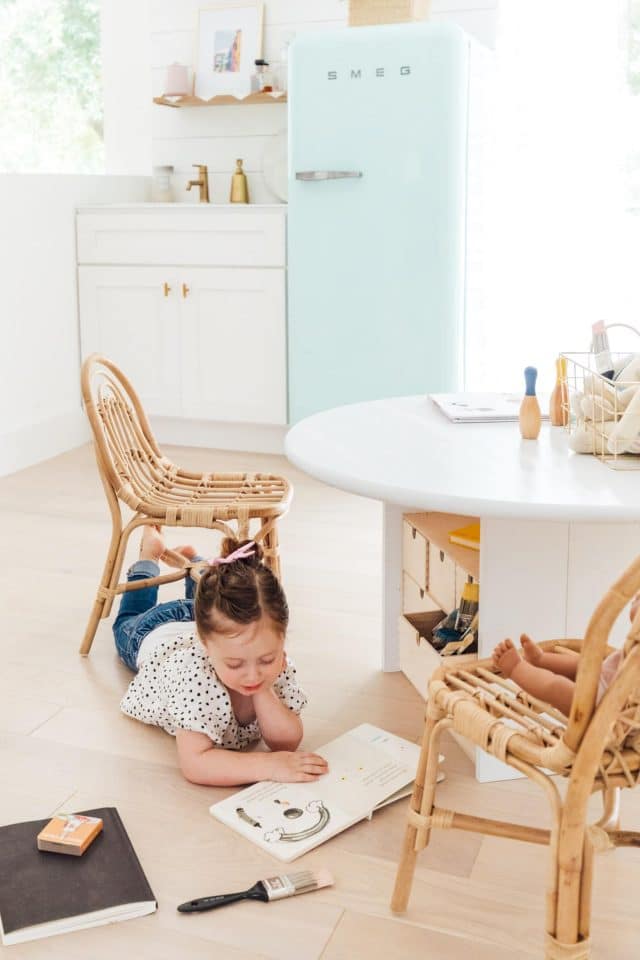
Traditionally, a standard kids table height is around 20 inches. But we wanted to make sure our table would fit with our Ellie & Becks Co. rattan chairs. So the overall height of this table is about 24 inches once you assemble the tabletop.
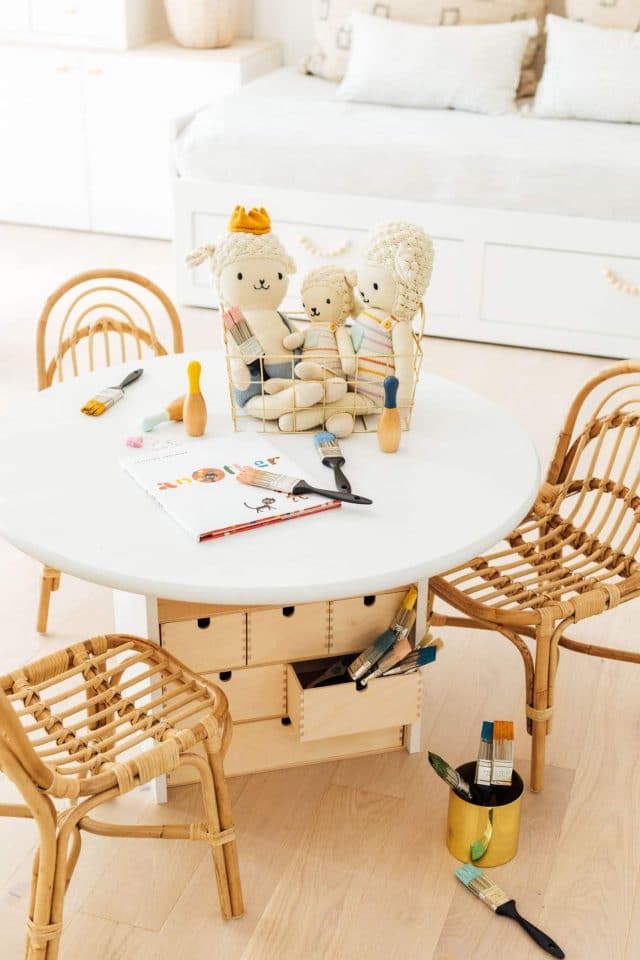
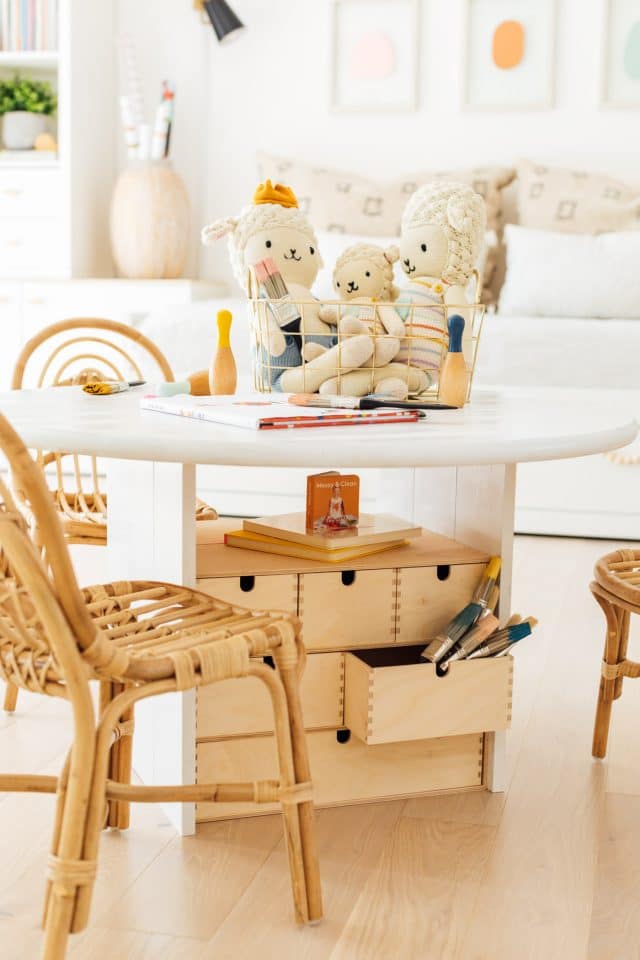
Ikea Kids Table | Materials and Tools Needed to Make a DIY Kids Play Table
While this kids table might look intimidating, it’s actually as simple as assembling a few different pieces of pre-cut wood! Here are the materials that you’ll need —
- 2 Ikea Moppe mini storage chests — Or any storage bins of your choice. We also left ours unfinished for a cohesive look with the desk and chairs.
- 6 pieces of 1″x6″ wood that are cut to 22 inches in length each — We used thick solid wood boards to make sure that they create a sturdy working surface and table top. Don’t be intimated by the idea of cutting wood to size! If you don’t own the proper power tools, your local home improvement store like Home Depot will cut these to length for you.
- High gloss white paint — Or paint color of your choice
- Bin shellac finish — Optional. However, this creates a food-safe non-toxic finish for kids.
- 16 flat head screws that are 3/4 inch in length
- 4 metal L brackets — The brackets usually come with screws. Otherwise you’ll need 8 more 3/4 inch screws.
- 1 wooden tabletop — Ours is 36 inches in diameter.
- Fine sandpaper
- Drill
- Paint roller

Easy DIY Kids Activity Table | How To Make a DIY Kids Play Table
1 — The first thing you’ll need to do is make sure that the ends of your boards and the edge of the table are smooth. Using fine sandpaper, run your hand over the edges of the wood.
2 — Once smooth, paint the 1″x6″ boards on the front and back, as well as all sides of the tabletop. Let them dry completely.
3 — And then, spray a thin coat of BIN Shellac finish on the top and sides of the table.
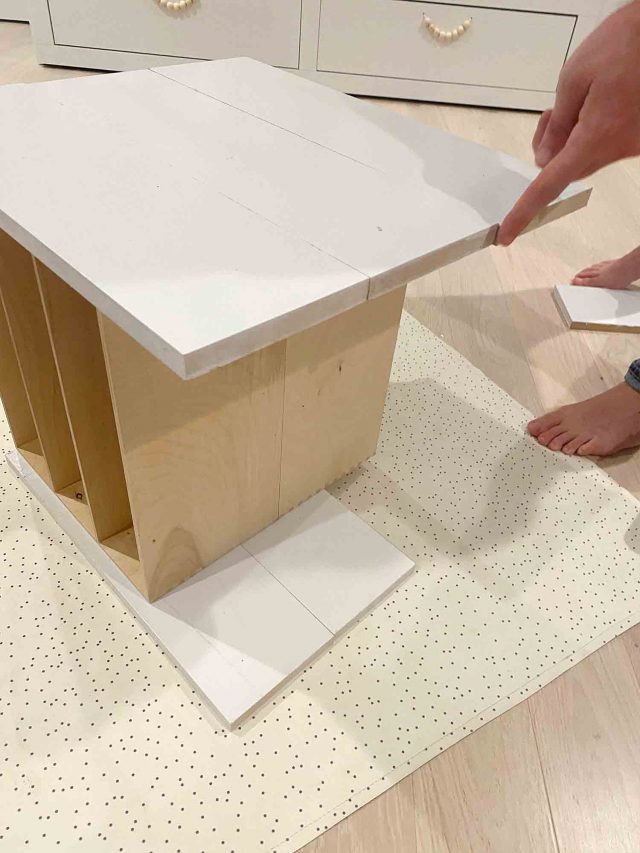
4 — Next, you will be assembling the sides of the tables.
To attach the sides, lay 3 of your 1″x6″ boards side by side on a flat surface. And then, place the Ikea Moppe storage back to back on top of them. Make sure the storage bins are flush together and resting in the center at the very bottom of the boards.
5 — Remove the storage bins from the Moppe and use the 3/4 inch screws to attach the Moppe to the 1″x6″ boards on the side in all four corners of the inside of the Moppe.
Be sure to make the screws VERY flush or slightly inset in the wood. Otherwise, the storage drawers for the Moppe won’t close.
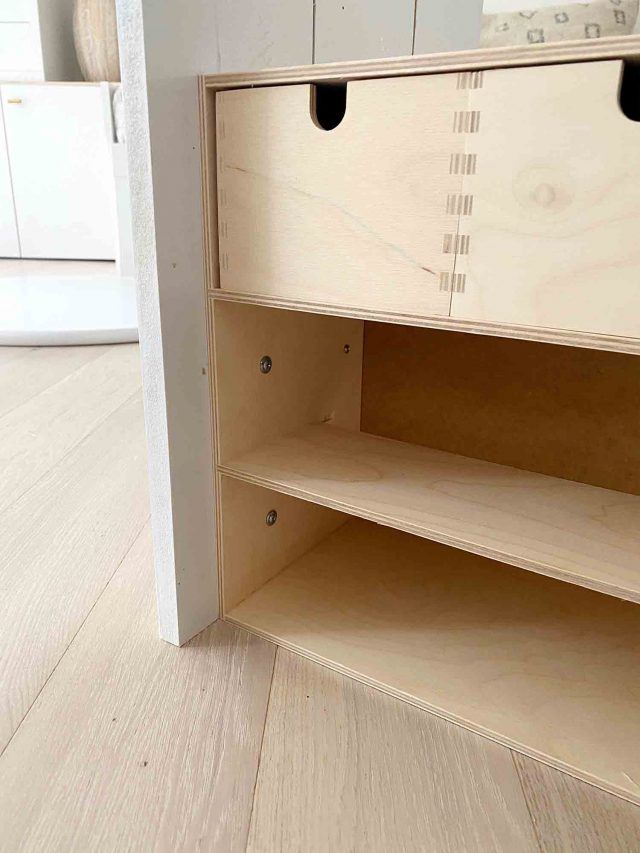
6 — Once you have the 1″x6″ boards attached to both sides of the Moppe, use the L brackets to attach the top of the table. Place the top side of your round tabletop on the floor, with the bottom facing up.
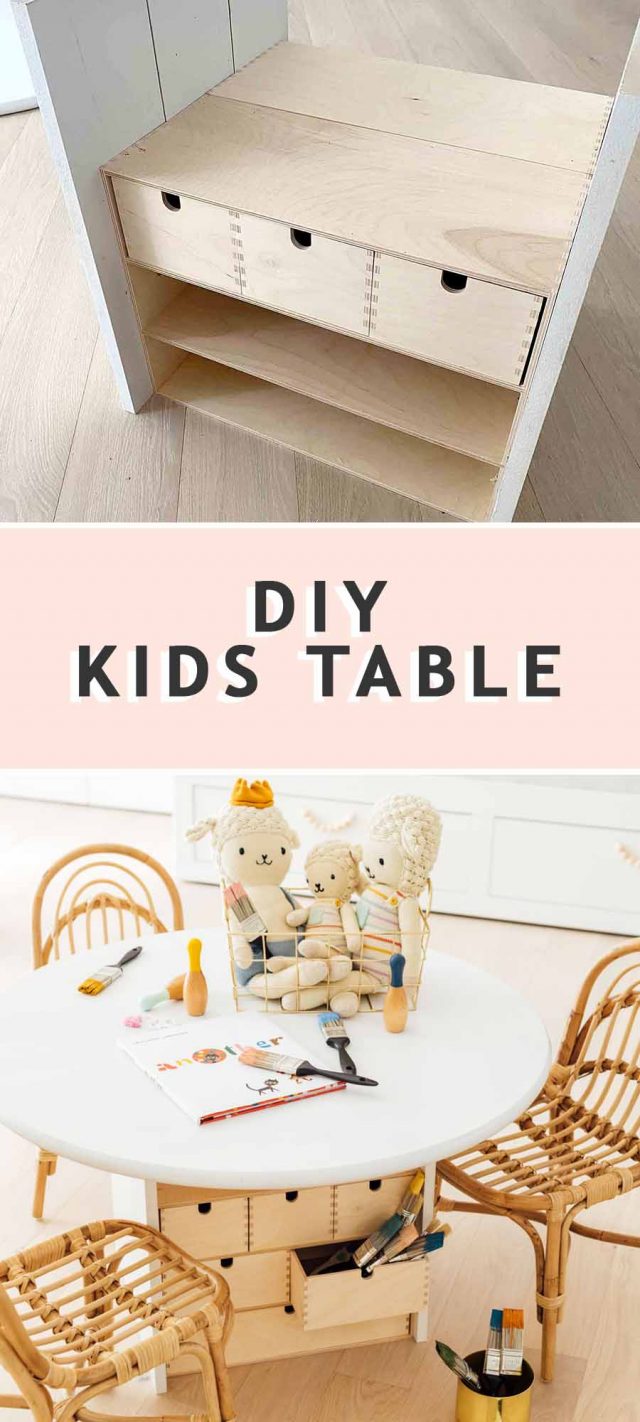
7 — Next, flip the base of your storage table (as seen below) on top of the upside table, making sure that it’s centered.
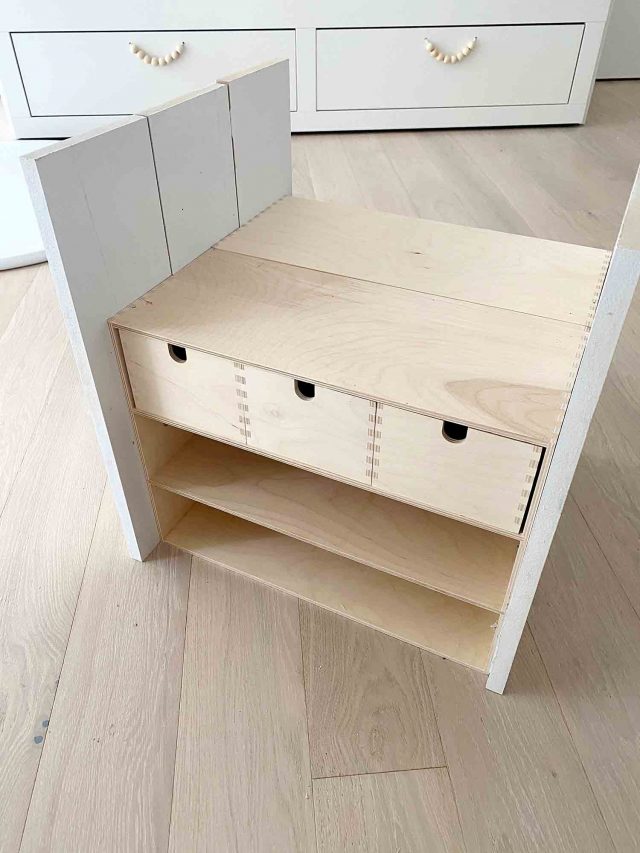
8 — Attach the L brackets (with the screws that came with them on all four corners) underneath the tabletop.
9 — Flip the table upright. Insert the storage bins for the Moppe back inside.
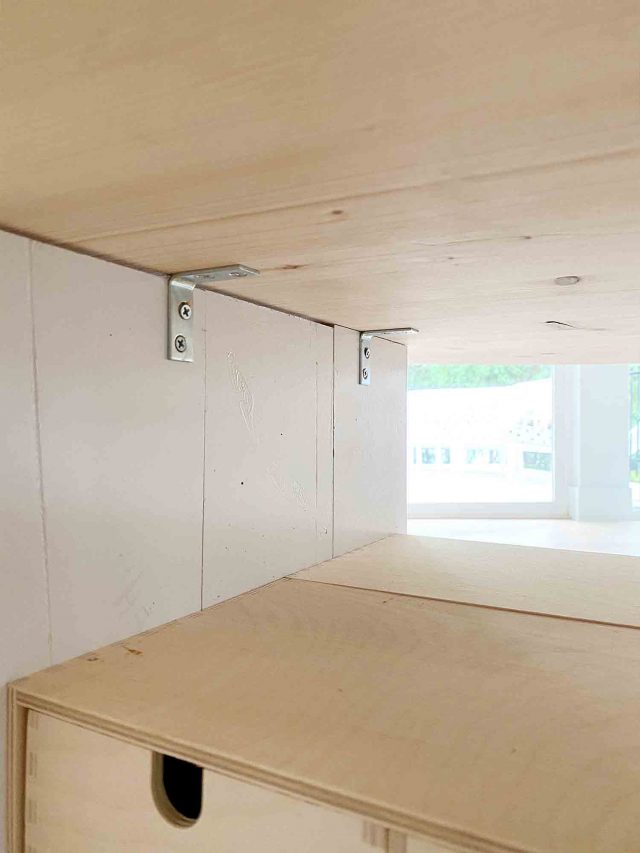
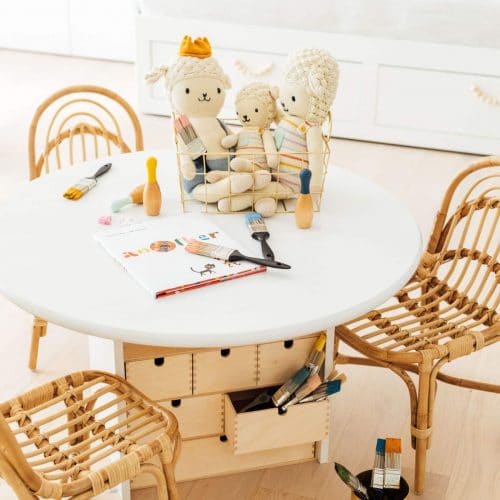
Now you’re all set for storing your kids learning table and/or craft table supplies, dollhouse miniatures, stickers, you name it!
We know the Latt Table is everyone’s go-to children s desk, but this DIY table just gives you so much more storage and play space!
More Kids Decor and Play Ideas
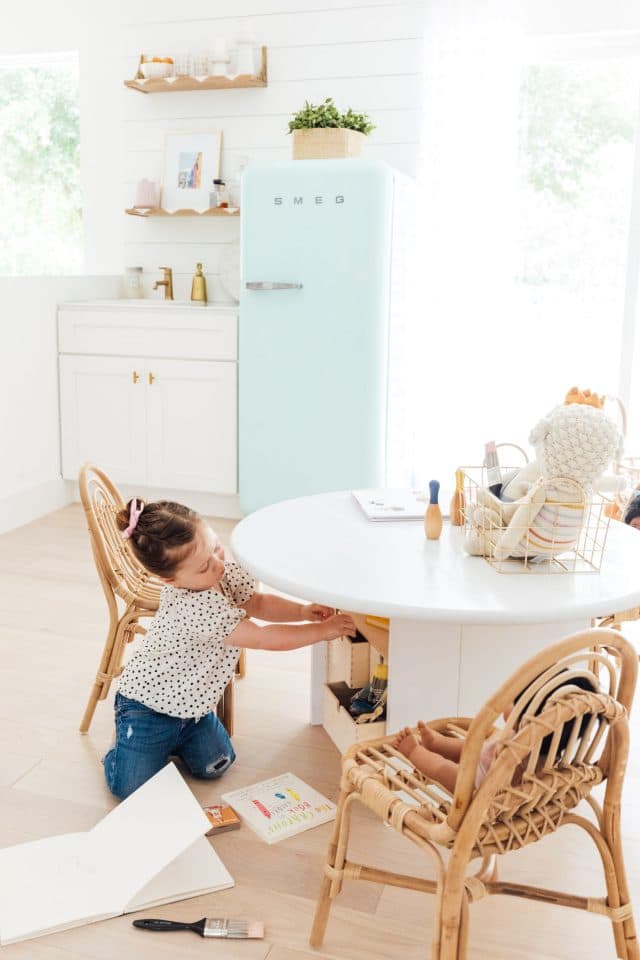
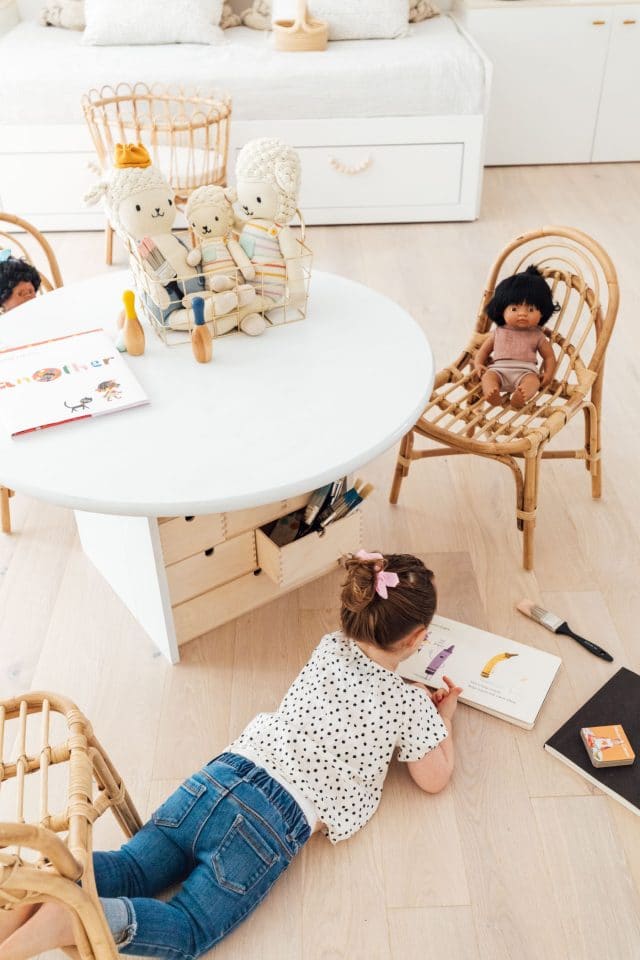
At the moment, the table and chair set serves as Gwen’s kids art table and art center (and occasionally, her dolls’ dining table.) Love our DIY art desk? Check out a few our our favorite kids decor and play ideas from our archives below —
- Our kids playroom makeover — How we made the playroom kid-friendly with faux built in storage
- Little girl room ideas — Our before and after of Gwen’s big girl room renovation.
- DIY Book Nook — A special space for your little bookworm.
- DIY Flamingo Ring Toss — A fun and easy DIY game for all ages to enjoy.
- A DIY Cooling Neckerchief for your teething babies
- At a loss on what to buy? Our gift guide highlights all the unique birthday gifts for girls.
- Our tips for how to host a drive thru baby shower parade.
- How to make an easy DIY kids activity table
DIY Kids Table
Equipment
- Drill
- Paint roller
Materials
- 1 wooden tabletop ours has a 36" diameter
- 2 Ikea Moppe mini storage chest or any storage bins of your choice
- 6 1"x6"x22" wood lumber or any length of your desired height
- 16 flat head screws 3/4" length
- 4 metal L brackets if brackets do not come with screws you will need an additional 8 of the 3/4" screws
- High gloss white paint or any color of your choice
- Shellac finish optional but creates food-safe non-toxic finish for kids
- Fine sandpaper
Instructions
To prep your wood:
- Using fine sandpaper, run your hand over the edges of the wood to smooth the ends of your boards and the edge of the table.
- Once smooth, paint the front and back of the 1"x6" boards and the tabletop sides. Allow them to dry completely.
- Spray a thin coat of the shellac finish on the top and sides of the table.
To assemble the sides the table:
- Lay 3 of your 1"x6" wood boards side by side on a flat surface for each side of the table.
- Place the Ikea Moppe storage chests back to back on top of them. Make sure the storage chests are flush together and resting in the center at the very bottom of the boards.
- Remove the storage bins from the Moppe and use the 3/4" screws to attach the Moppe to the 1″x6″ boards on the side in all four corners of the inside of the Moppe. Be sure to make the screws VERY flush or slightly inset in the wood. Otherwise, the storage drawers for the Moppe won’t close.
To assemble the tabletop:
- Place the top side of your round tabletop on the floor, with the bottom facing up.
- Flip the base of your storage table on top of the upside table, making sure that it’s centered.
- Attach the L brackets (with the screws that came with them on all four corners) underneath the tabletop.
- Flip the table upright and insert the storage bins for the Moppe back inside.
Notes
- A standard kids table height is about 20-inches. However, our table is 24-inches tall accommodate our chairs.
- If you don’t own the proper power tools, your local home improvement store can cut your wood at any length.

Don’t forget to share your home decor projects with us on Instagram using the hashtag #sugarandclothloves. We always love seeing all of your creations! Looking for more interior design inspiration? You can find them all of our home decor tutorials and ideas right here!
Easy IKEA Billy Hacks Anyone Can DIY at Home
Get inspired by clever IKEA Billy hacks for living rooms,…
Continue Reading Easy IKEA Billy Hacks Anyone Can DIY at Home
DIY Ikea Play Kitchen Hacks to Make it One-of-a-Kind
Take your child’s pretend play to the next level with…
Continue Reading DIY Ikea Play Kitchen Hacks to Make it One-of-a-Kind
16 Genius Ikea Desk Hacks You Need In Your Life
Discover the ultimate IKEA desk hack guide for a stylish…
Continue Reading 16 Genius Ikea Desk Hacks You Need In Your Life
22 Home Office Ideas that Promote Productivity & Creativity
Tired of the same ol’ 9-5 grind? These home office…
Continue Reading 22 Home Office Ideas that Promote Productivity & Creativity
Please note that we may earn a commission for some of the above affiliate links. However, products featured are independently selected and personally well-loved by us!
This is such a wonderful guide and idea! I will definitely buy the things that I need for this activity table and surprise my kids. They will absolutely love this!
Thank you, Natasha! I hope your kids enjoy the table!
This is such a cute idea! It would make an awesome addition to our homeschooling space.
Thank you, April! Definitely great for anyone homeschooling!