Small Laundry Room Makeover & DIY Dryer Sheet Dispenser
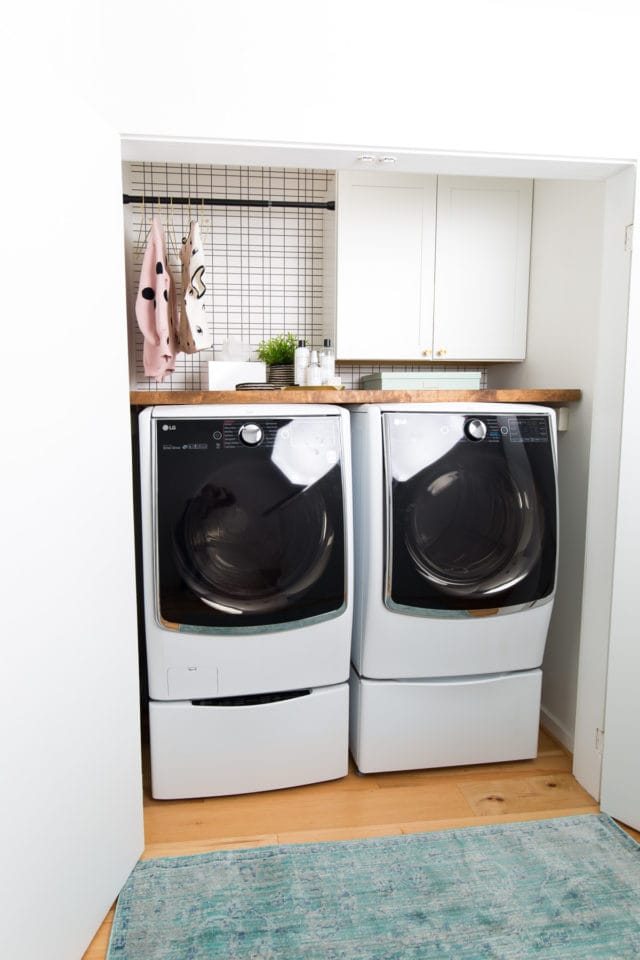
It might be a small space, but it packs a serious punch! Excited to be sharing the before and after of our small laundry room makeover!
Have you ever had one of those house renovation projects where you think to yourself, “oh, this is going to take no time at all”! And then it ends up being the longest project ever?
That’s 100% what happened with our laundry room renovation at our townhouse. We did 90% of the work to this space ourselves back in AUGUST (2 months ago)! So it’s seriously crazy that we’re just now sharing the final before and after of our laundry room makeover.
But that’s because the 10% of that what was left is part of our most laughable renovation nightmare yet. Thanks to the world’s worst flooring guy.
Not to worry, we’ve included photos for your viewing pleasure. Despite the few hiccups, the transformation is still pretty awesome, even with it being a very small space! This was definitely one of our favorite small laundry room ideas.
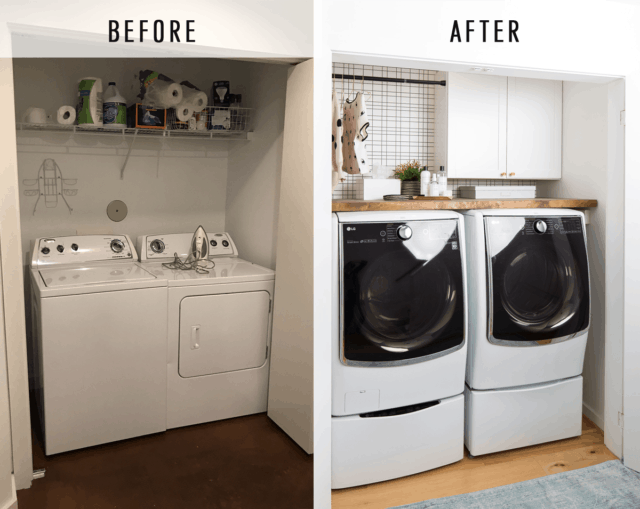
Our Laundry Room Makeover Checklist
- Paint the room
- Remove the old pocket doors that were falling off
- Remove the old shelving
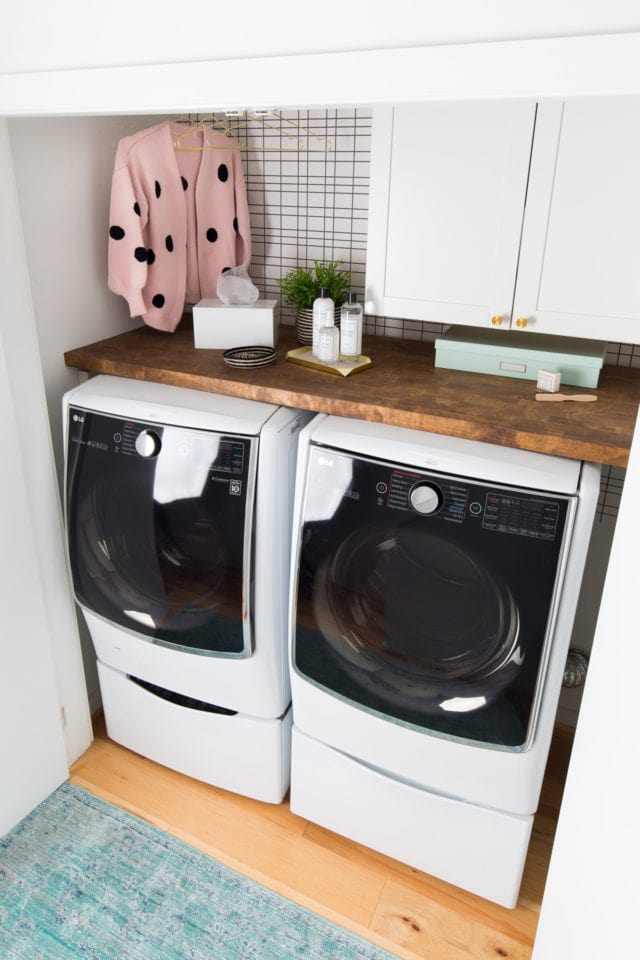
- Install the accent wallpaper and tension rod, new cabinet and door pulls, and the new LG front load washer and dryer
- Stain and cut the butcher block countertop: We chose a butch block birch countertop from the Baltic Butch Block that was 1.75″ thick
- Replace the flooring: We had to wait until after the chaos from Hurricane Harvey died down to book someone to do the flooring installation to get rid of the ugly dark orange stained concrete. We wanted to replace the original floors with this Pergo Variable Width Autumn Hickory engineered wood flooring. Check these similar options on Amazon.
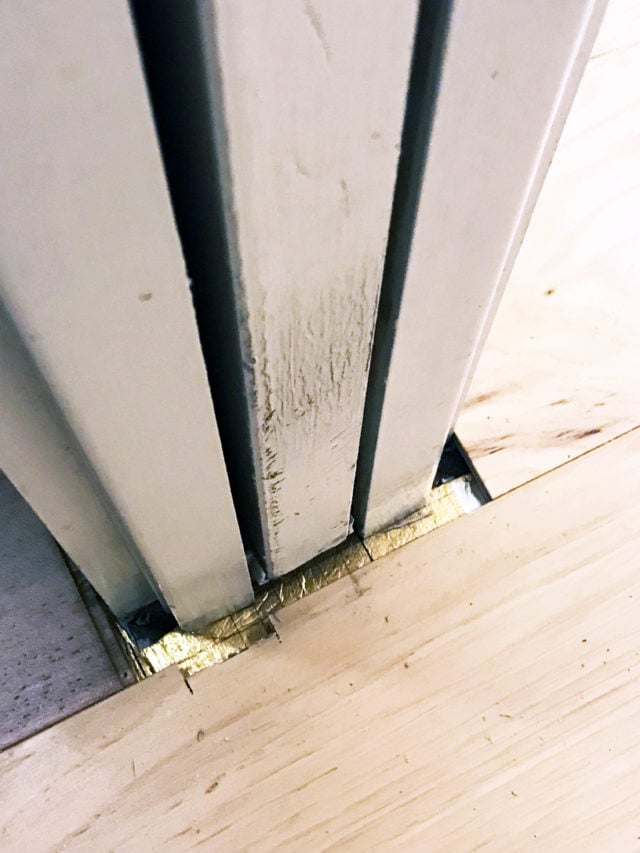
Our Biggest Makeover Setback: The Floors
Originally, we would have it installed by a Lowe’s flooring specialists. But because of the storm, the wait time for an installation was now crazy. (Real regrets not having booked this before then!!).
So instead, we booked someone with A++ reviews from Angie’s List. They had all great ratings, photos of their work, etc. Well, when they finally came out to install the floors a month later, they did this….
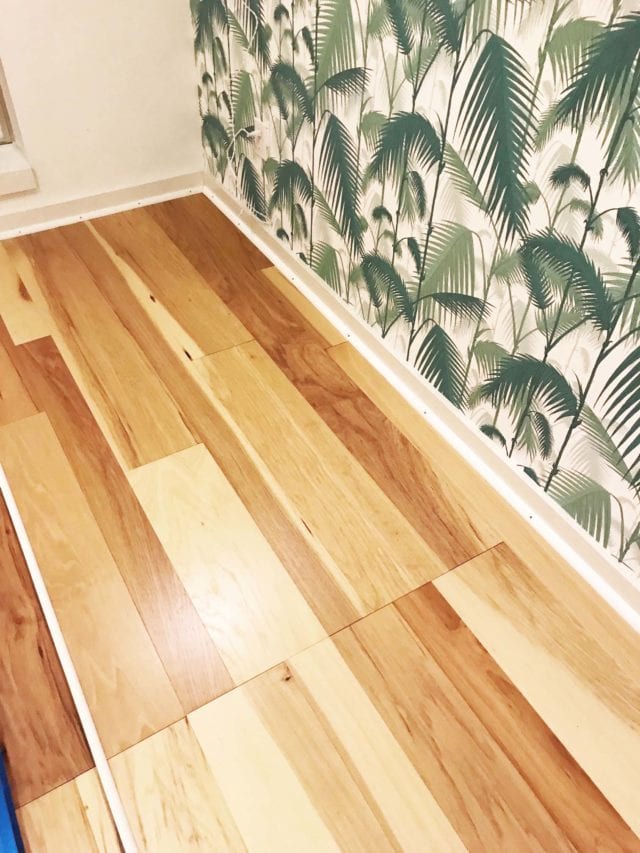
Do you see the GIANT straight line down the middle of the floor?! What in the world?! And they completely butchered the edges of the door frames, etc. We were mortified.
All of our first floors (where the laundry room is) had weirdly stained concrete throughout. So we wanted to change all of them when we did the laundry room makeover.
This guy had NO clue what he was doing. And even after repeatedly explaining to him how wrong this was and that he needed to fix it. He just literally didn’t know how.
Alas, we didn’t even let them get far enough into the first floor to do the laundry room portion. We lost our half down payment because the guy refused to give our money back!! After sharing the whole saga half in tears on IG stories, a reader recommended her brother in law that does flooring, and he was a LIFESAVER.
We will happily give you his contact info if you want it. Just message us! He came out and uninstalled the disaster that was the first flooring job, and reinstalled it correctly. And thankfully were able to save most of the material, so we didn’t have to pay too much extra. It was crazy!
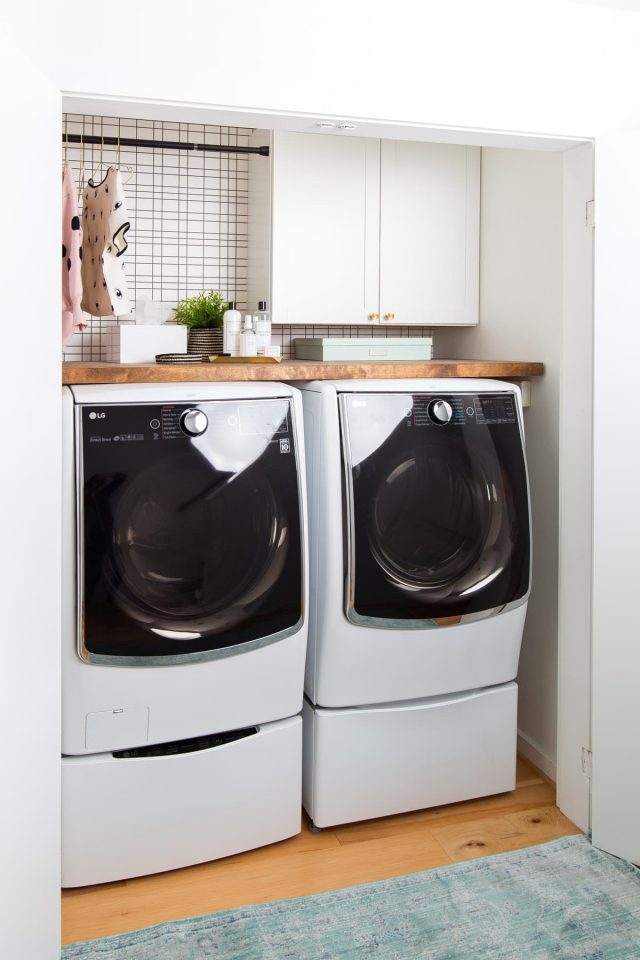
Laundry Room Door Installation
Once we got the flooring fixed (see how nice and perfect the corners are now?!), the last thing we had to figure out was the pocket door situation.
Originally, we had picked out really pretty pocket doors from Lowe’s to replace the old ones that wouldn’t slide on the track anymore. The issue was that the new washer and dryer were substantially bigger than the ones I had bought from scratch and dent shop a few years ago.
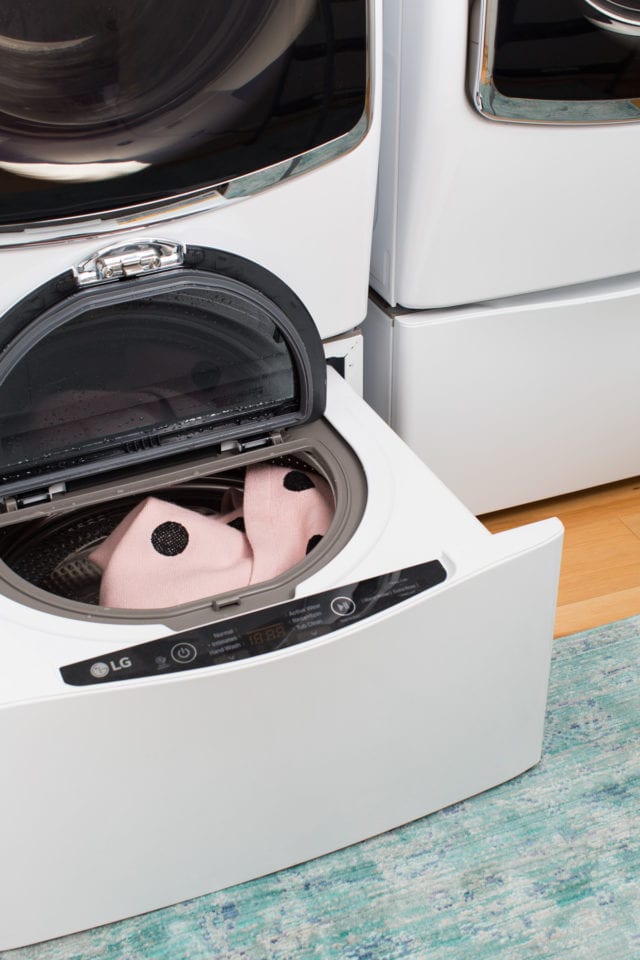
To be able to use the INSANELY AWESOME twin wash pedestal drawer washer that washes mini loads of laundry while you ALSO do a regular load of laundry… we couldn’t keep the pocket doors.
The pocket doors didn’t slide far enough to the left or right to be able to let us open the drawers. We had 8 different door installers come out to try and come up with a solution to expanding the door frame ever so slightly to allow for the drawers to open.
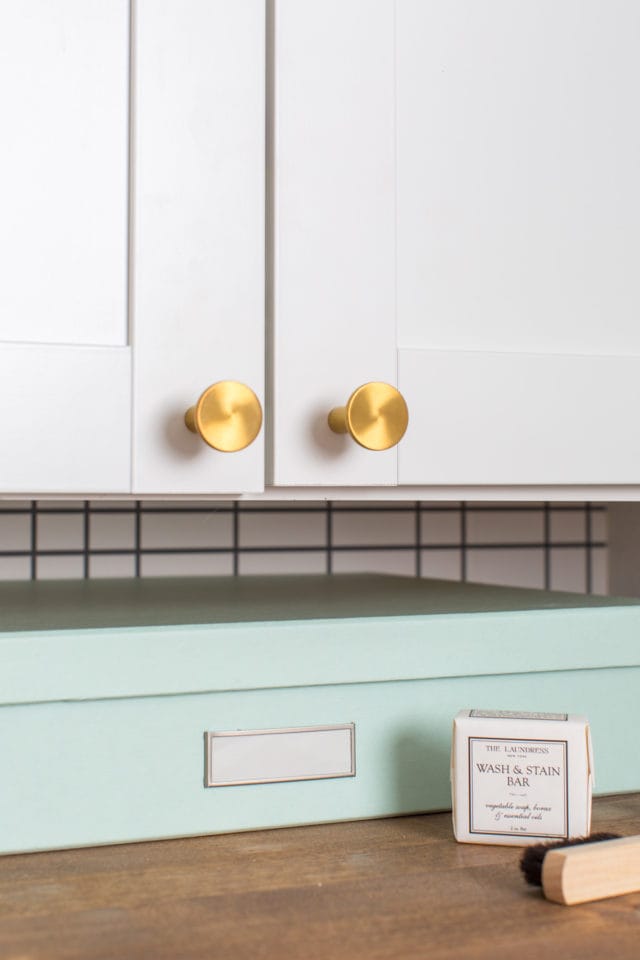
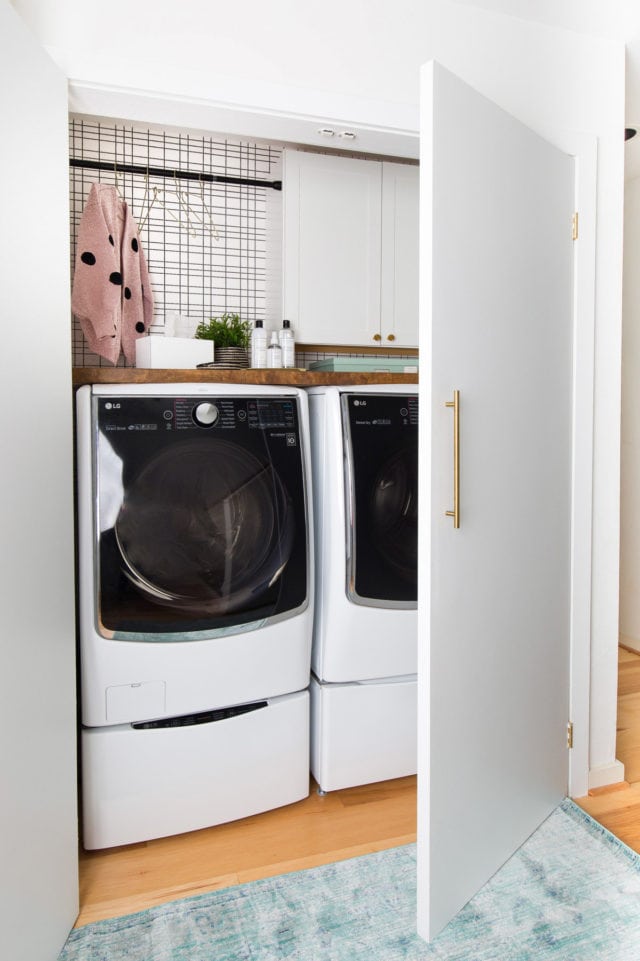
Finally, we decided it wasn’t worth the extra money and had regular slab doors installed instead. The gold handle pulls still make it feel fancy.
This twin wash pedestal is our newest favorite party trick! We will show it to everyone. It’s a huge upgrade from our last washer and dryer set!
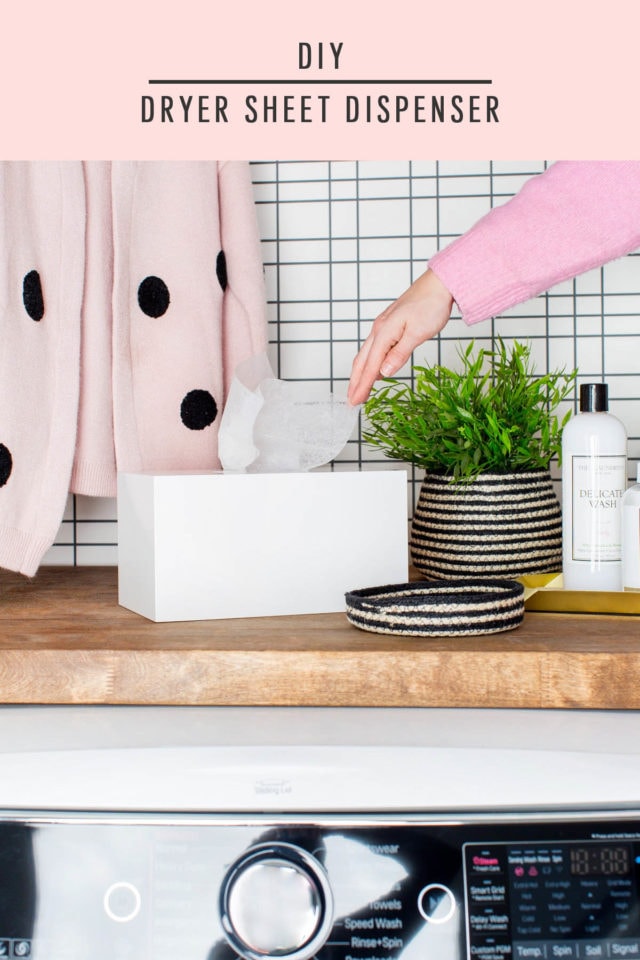
How to Make a DIY Dryer Sheet Dispenser
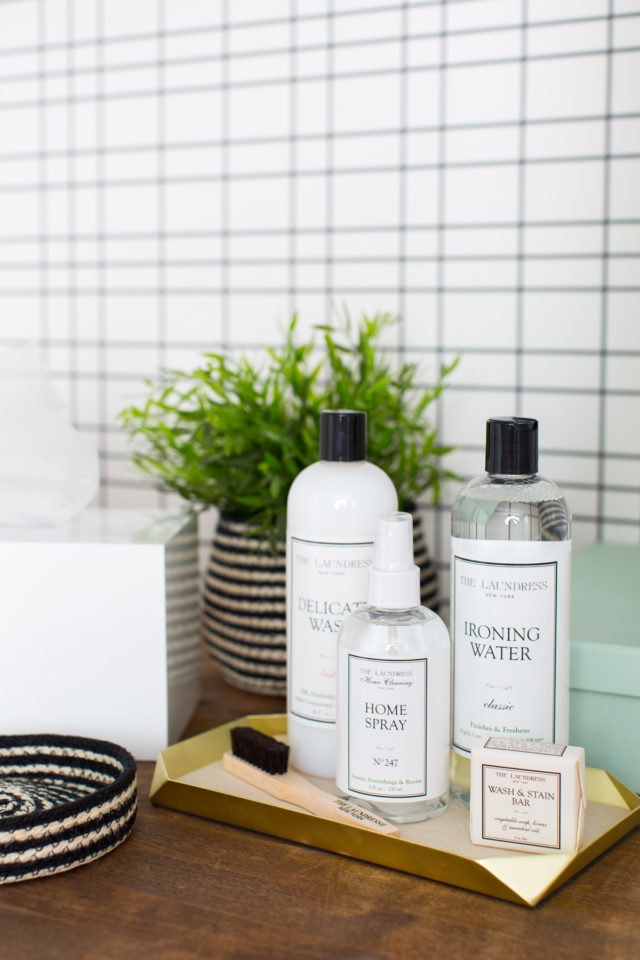
Since the new space is so pretty, we wanted to have a few things to style the new butcher block shelf with regularly. So I devised this 2-minute DIY Dryer Sheet Dispenser idea using an old Kleenex cover box we had.
That’s all you need! We used our simple tissue box cover, but there are so many other fun ones to choose from. It makes the space smell nice when you first walk into the house. Plus, it’s easy peasy to get to the dryer sheets now!
Lastly, we spent all Saturday trying to take photos in this small space that didn’t look like a funhouse mirror reflection in this tiny space.
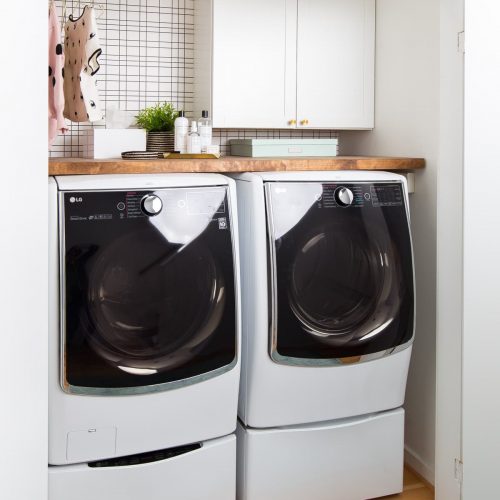
I’d say it’s about time I start calling it a “laundry closet” instead of a “laundry room.” Ha! What do you all think?! Still a pretty big transformation even for a super small space, right?!
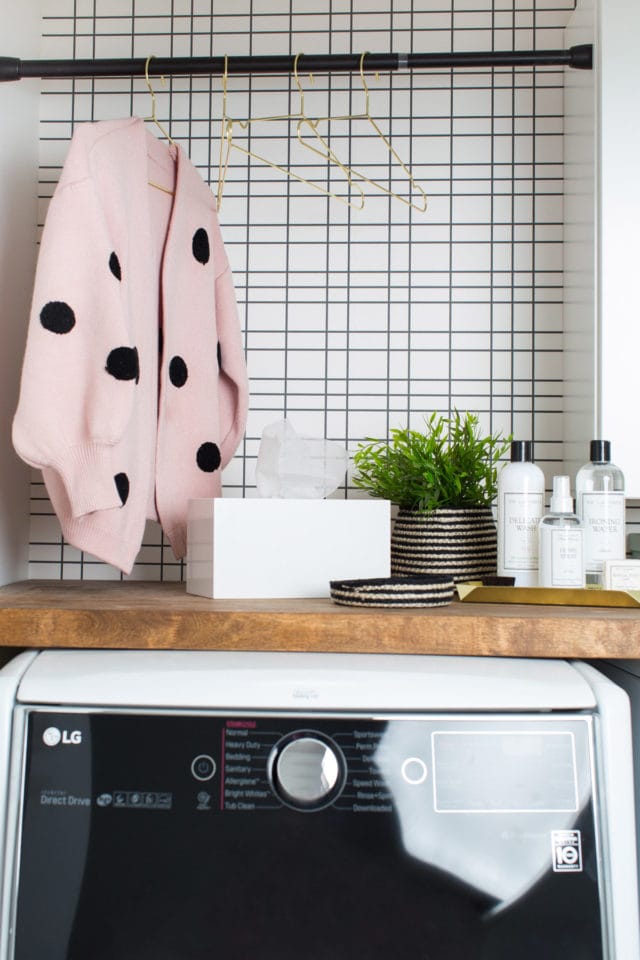
Laundry Room Sources
- Kohler’s gold pulls from Amazon
- White shaker cabinet from Lowe’s
- Kohler gold knobs from Amazon
- Black and white grid print wallpaper from Lowe’s — Check these similar options on Amazon or some of our favorite bold wallpaper designs.
- 3’×5′ blue runner from Lowe’s
- Fold flush mount light from Lowe’s — Check these similar options on Amazon
- LG twinwash compatible washer with pedestal washer from Amazon
- LG front-load dryer with pedestal storage from Lowe’s
- Hollow core veneer wood slab door from Lowe’s
- 8-foot butcher block from Lowe’s
More Room Makeover
Get inspired with more of our home makeover projects below —
- Before and After of Our Townhome Living Room Makeover
- Living Room Makeover – How to Choose the Perfect White Wall Paint
- Sugar & Cloth Casa: The Before + After Of Our Guest Bathroom Makeover
- The Holiday Living Room Makeover We Gifted with Lowe’s
DIY Dryer Sheet Dispenser
Equipment
- Scissors
Materials
- Old kleenex tissue box cover
Instructions
- Using scissors, smooth out the hole in the tissue box
- All you need to do is put dryer sheets in the tissue box

Don’t forget to share your Home renovation with us on Instagram using the hashtag #sugarandclothloves. We always love seeing all of your creations! Looking for more interior design inspiration? You can find them all of our home decor tutorials and ideas right here!
How to Paint a Porch for an Easy Home Upgrade
Looking for a quick makeover to your exterior? We’re sharing…
Continue Reading How to Paint a Porch for an Easy Home Upgrade
We’re Moving!
That’s right, we’re moving! I know, I know. A ton…
Our Revamped, Open Concept Living Room & Dining Room Design
Explore a harmonious blend of style and functionality as we…
Continue Reading Our Revamped, Open Concept Living Room & Dining Room Design
Lakeside Modern Living Room Before & After
This bright white lakeside modern living room design is the…
Please note that we may earn a commission for some of the above affiliate links. However, products featured are independently selected and personally well-loved by us!


Hello,
Does your butcher block just sit on top of the washer and dryer or is it installed into the wall like a floating shelf?
Thanks!
Hi Phyllis! Great question! If you look closely in the some of the photos, you may be able to see two wood pieces added along both sides of the wall. The butcher block is sitting on top of those pieces for support. We wouldn’t recommend having the butcher block sitting on top of and only being supported up by the washer dryer because there’s potential for the wood block to slide out easier. If possible, the best thing is to secure it into the wall. We definitely would’ve done that if we were still living there with two kids (who love to grab, pull and hang on things).
Do you have a step stool nearby to reach in the cabinet, etc? I’m trying to do a similar DIY and my washer and dryer are also on pedestals which make everything above so high!
Hi Emily! Jared did not need one but we had a collapsible ladder hidden along the side just in case we ever needed to reach the top of the cabinets. Good luck with your DIY! XOXO
So you hype the 2 minute dryer sheet trick and then DON’T EVEN SAY HOW/WHAT YOU DID until someone asked you here in the comments??? Tacky
Hi! We actually did mention how to make the DIY Dryer Sheet Dispenser the post. It’s under the section labeled “DIY Dryer Sheet Dispenser”. Sometimes we get a lot of questions where the answers and sources are actually already in the blog post. Most likely, the person asking probably overlooked the info in the blog post. This may have been the case for the previous commenter so we were more than happy to explain the DIY again. Hope this helps!
Looks wonderful!! How did you make the dryer sheet box?
Thank you, Sue! We actually just used a white tissue cover box! So literally all we did was replace the tissue inside with dryer sheets. Hope this helps
Looks awesome. You managed to fit a whole lot into a small space and it looks so good now. Love that wallpaper too.
thanks so much for the love, B! xo