DIY Color Coded Bookshelf
Building a color-coded bookshelf is the perfect way to organize your home library. Learn how to make a DIY color-coded bookshelf with this tutorial.
Are you all ready for what could quite possibly be the easiest DIY of all time?! It’s also super inexpensive and…wait for it…VERY colorful.
Plus, we thought this DIY Color Coded bookshelf happened to be fitting for St. Patrick’s Day rainbow festivities.
And speaking of St. Patrick’s day, you don’t want to miss these DIY Lucky Charms Macarons For St. Patrick’s Day that are easy as coloring giant second-grade-level shapes onto cookies.
You might recognize this fireplace from our living room makeover and the “how we decorated for Christmas” decor post.
We had a ton of people ask about our fireplace books. And they’re so simple to make that we almost feel bad for calling them a DIY.
You don’t have to rush out and buy a bunch of books to make an expensive rainbow shelf.
Instead, you just need three craft supplies and old books you already own.
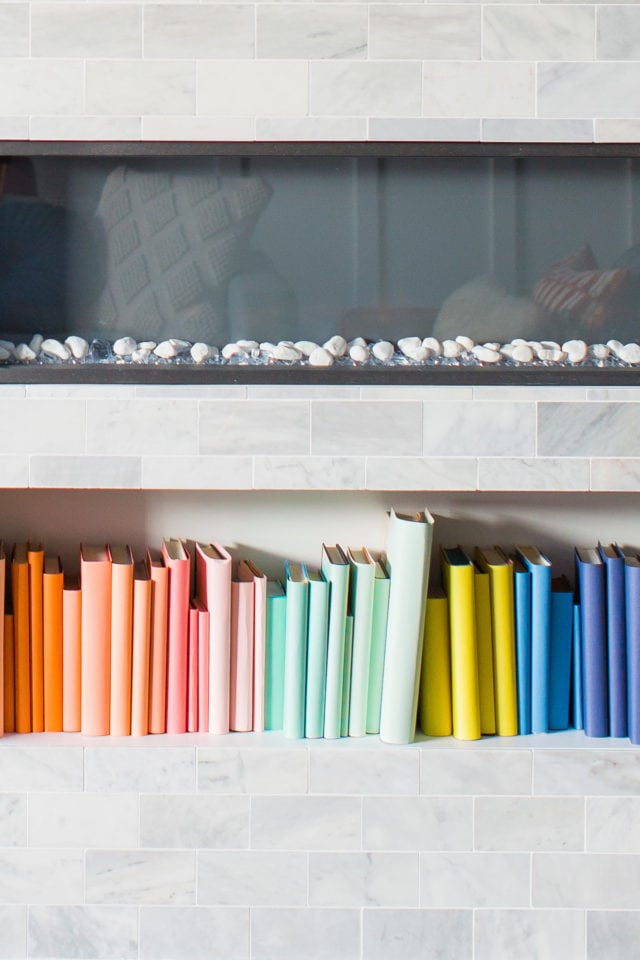
Materials and Tools Needed to Make a DIY Color Coded Bookshelf
Old books — We used our own and also snagged a few in different sizes from the Dollar store and Goodwill!
Scissors or a handy paper cutter to make it even quicker
Colorful cardstock in the colors of your choice
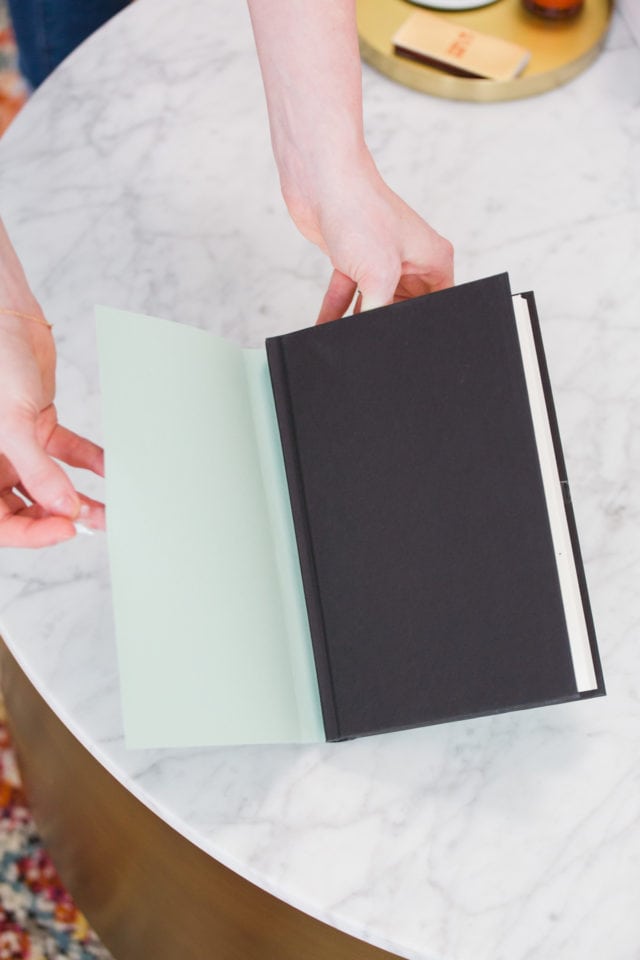
How to Make a DIY Color Coded Bookshelf
1 — All you have to do is cut down the card stock to size so that you can’t see the cover of the book, and crease the edges firmly.
2 — Then, use the clear tape to tape each end to the inside of the front and back covers, and you’re all set!
Pretty nifty, right?! It does take some time to wrap each one to size.
But hey, it’s cheap! So you can’t win them all.
This hack is especially perfect idea on how to style an unused fireplace.
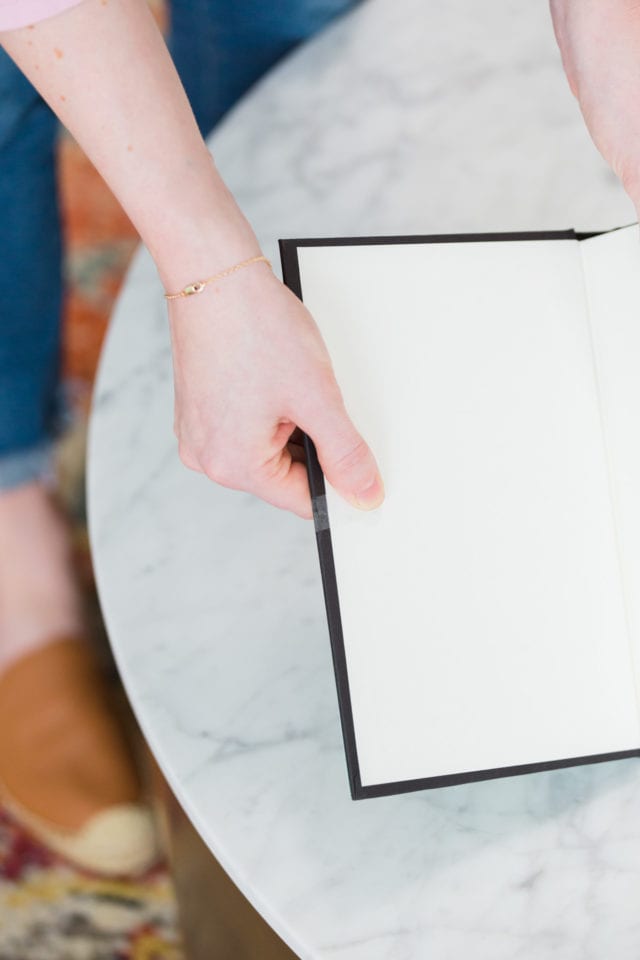
More Easy Living Room DIYs
- DIY Mini Patterned Side Table
- DIY Ikea TV Stand: How to Hack A Rattan Ikea TV Unit
- 20 Simple and Attractive DIY Plant Stand Ideas
- DIY Structured Pleat Lumbar Pillow

DIY Color Coded Bookshelf
Equipment
- Scissors or paper cutter
- Clear tape
Materials
- Old books
- Colorful card stock in the colors of your choice
Instructions
- Cut down the card stock to size so that you can’t see the cover of the book, and crease the edges firmly.
- Use the clear tape to tape each end to the inside of front and back covers. And you’re all set!

Please note that we may earn a commission for some of the above affiliate links. However, products featured are independently selected and personally well-loved by us!

I will definitely try this.
Yay! Glad you were inspired! :)