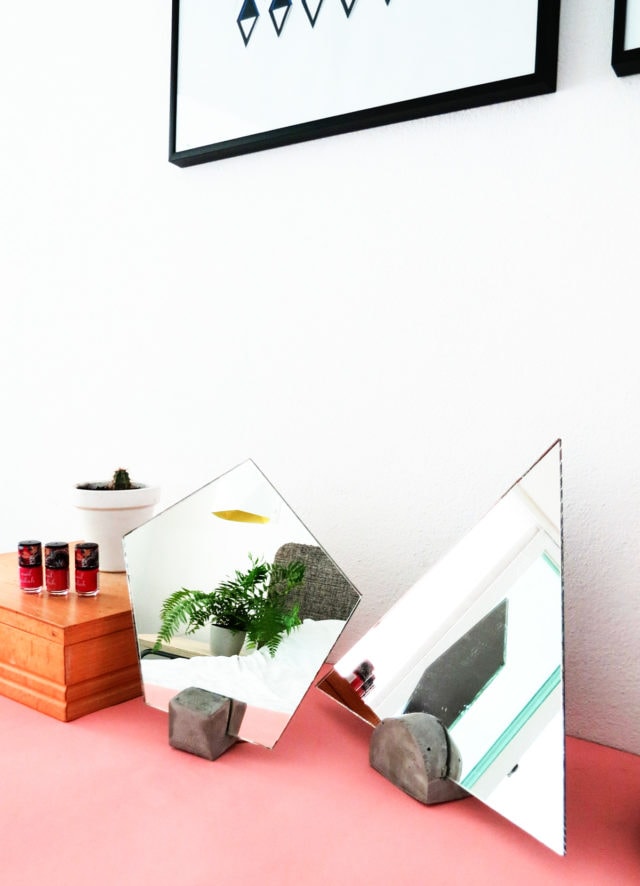
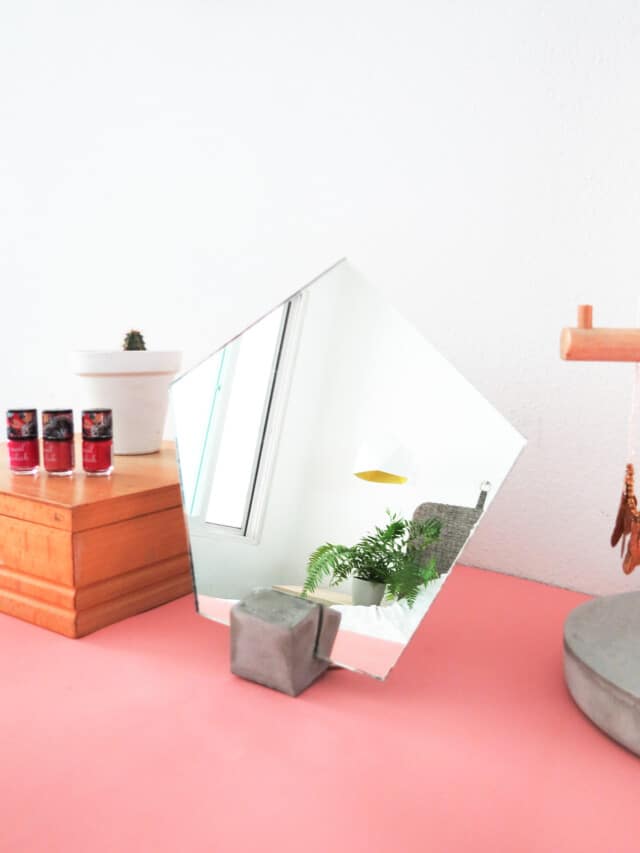
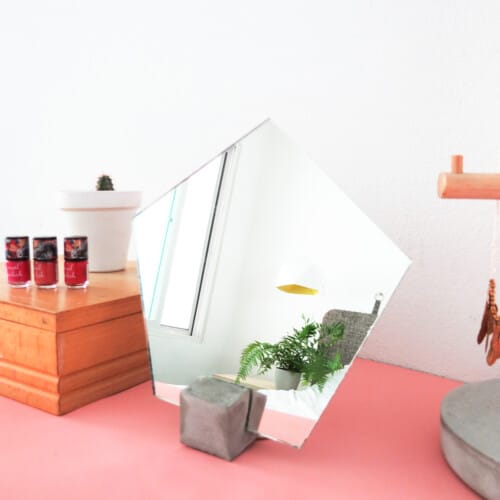
Concrete DIY Vanity Mirror
This Concrete DIY Vanity Mirror serves double duty by adding a stylish touch to your vanity and also adding function to your morning routine.

Mornings always feel like a race against the clock. No matter how early we wake up, we somehow end up rushing out the door. One thing that’s made a big difference? Keeping our essentials organized and easy to grab. Since we share one bathroom in our home, I, Amaryllis have found it much easier to get ready in the bedroom instead. That way, I can have everything laid out just how I like it, without battling for sink space.
I’ve always dreamed of having a dedicated vanity. But like many of us, I don’t exactly have room for a full beauty station. So I got creative and turned a small corner of our dresser into a compact, functional vanity space… complete with this sleek and modern DIY Concrete Vanity Mirror.
It’s the perfect solution for anyone working with tight quarters but still wanting a little style and structure in their morning routine. Plus, we’ve done other DIY projects before with concrete like our DIY hanging concrete monogram sign and DIY concrete tray. So we thought this material would give the mirror and modern industrial feel. Keep reading to learn how to make your own!
Materials and Tools Needed
- Geometric shaped mirror or round mirror: Measuring about 8 inches diameter/side.
- Lightweight concrete mix
- Repurposed package container: To create a concrete mold for your mirror base. We chose a Tetra Pak carton because its inner plastic lining makes it easy to remove the concrete once it sets. However, you can use any type of container with a smooth, plastic-lined interior. The key is making sure the surface won’t stick to the concrete. Just make sure to thoroughly cleaning and dry it.
- Scissors
- Ruler
- Glue gun
- Masking tape
- Sand paper
How to Make a Concrete DIY Vanity Mirror
1 — Measure your mold for your mirror base: This cube mold will form the sturdy base for your mirror, so pick a shape and size that suits your space and style.
Carefully cut open your repurposed container to create a flat sheet you can work with.
Using a ruler, draw a 2-by-2-inch square for the base of your mold, adding small flaps to each side to help with assembly.
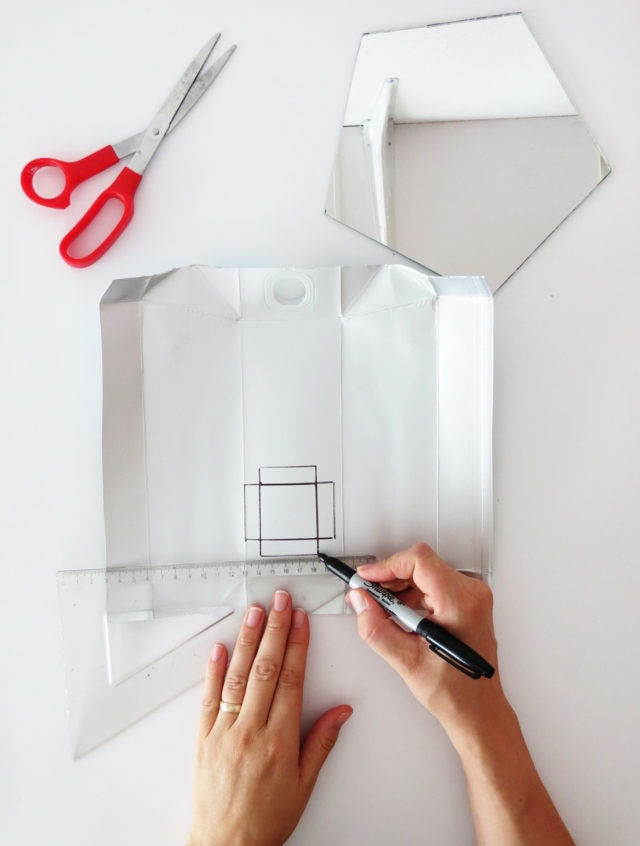
Then, draw a rectangle measuring 8 inches long by 2 inches high to form the sides of the cube. Add an extra flap at one end of the rectangle for securing the sides together.
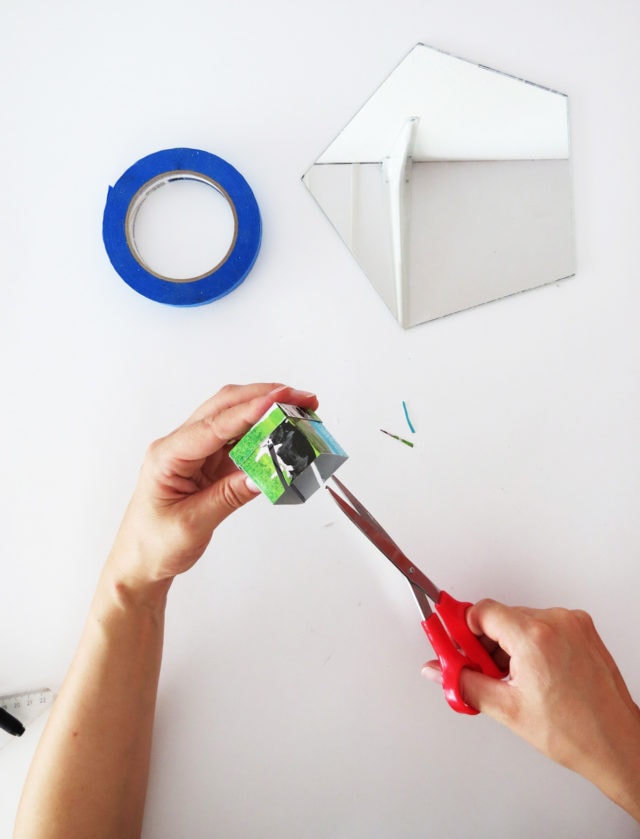
2 — Cut your mold: Cut out both shapes and fold the long rectangle into four equal sections lengthwise to form the cube’s walls.

3 — Assemble your mold: Use a hot glue gun to attach the base and sides together, gluing the flaps on the outside. This will help create a smooth finish for the concrete surface.
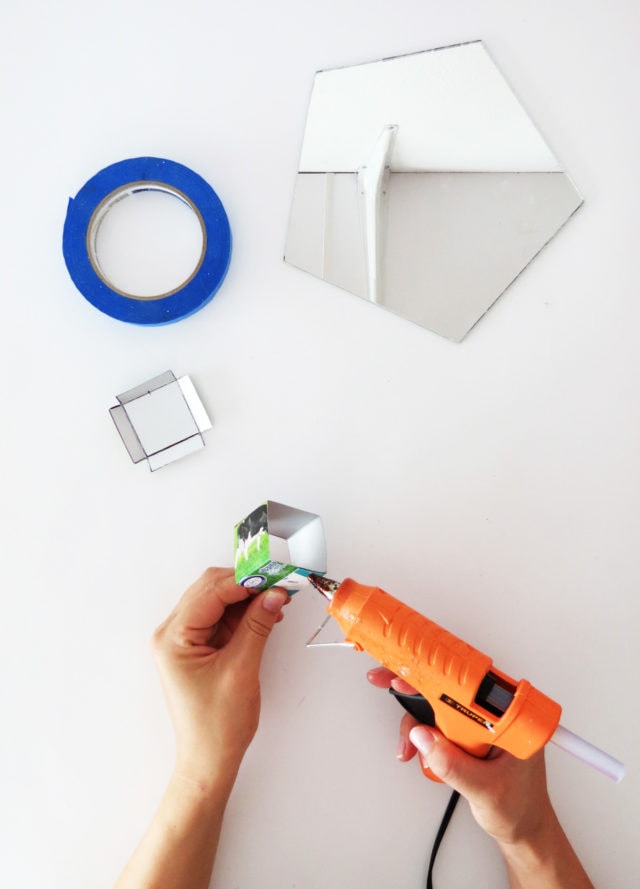
Next, use scissors to cut two diagonal notches on opposite sides of the cube. These notches should be wide enough to allow you to slide the mirror into place once the concrete has set.
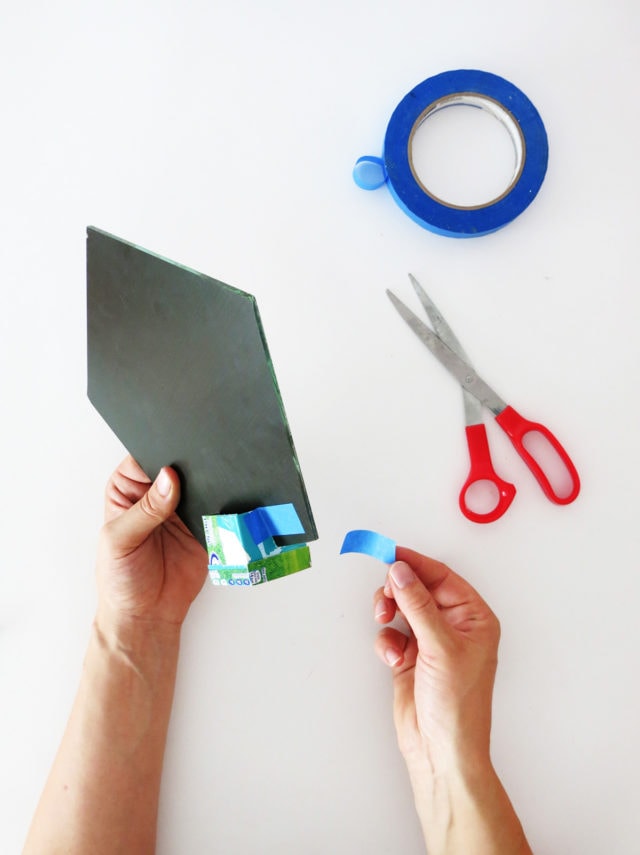
4 — Insert the mirror: Slide the mirror into the notches of your cube mold, making sure it’s centered and standing upright.
Use masking tape to secure the mirror in place. Don’t be shy with the tape! It’s important that the mirror stays steady while you pour the concrete.
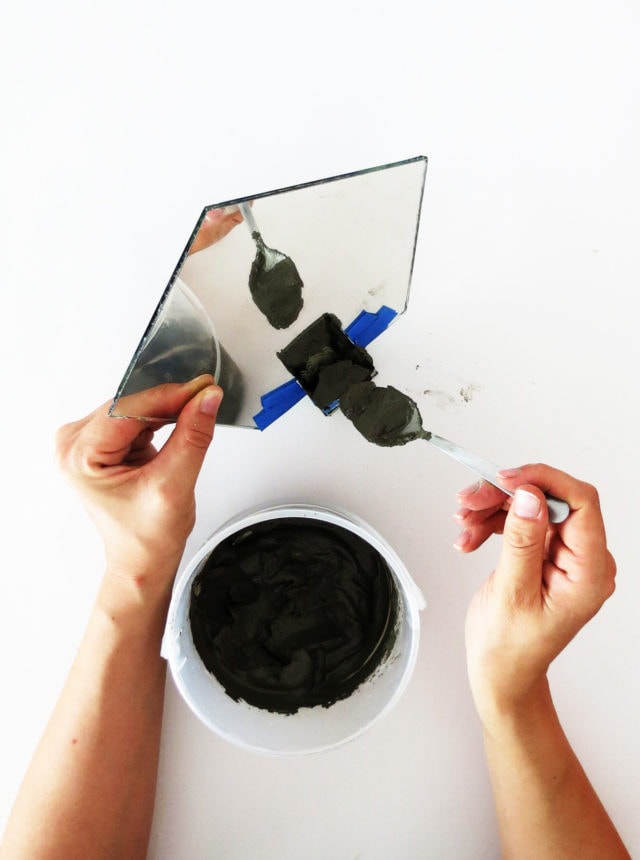
5 — Pour the concrete: Following the instructions on your concrete packaging, mix the concrete. Then, hold the mirror firmly in position, and carefully pour the mixed concrete into the mold.
Be sure to fill the mold evenly, checking behind the mirror to ensure there are no gaps or air pockets. Keep the mirror in a vertical position as the concrete sets, leaning it gently against a wall can help stabilize it. Don’t hesitate to put some extra tape layers. You don’t want the mirror to move when pouring concrete.
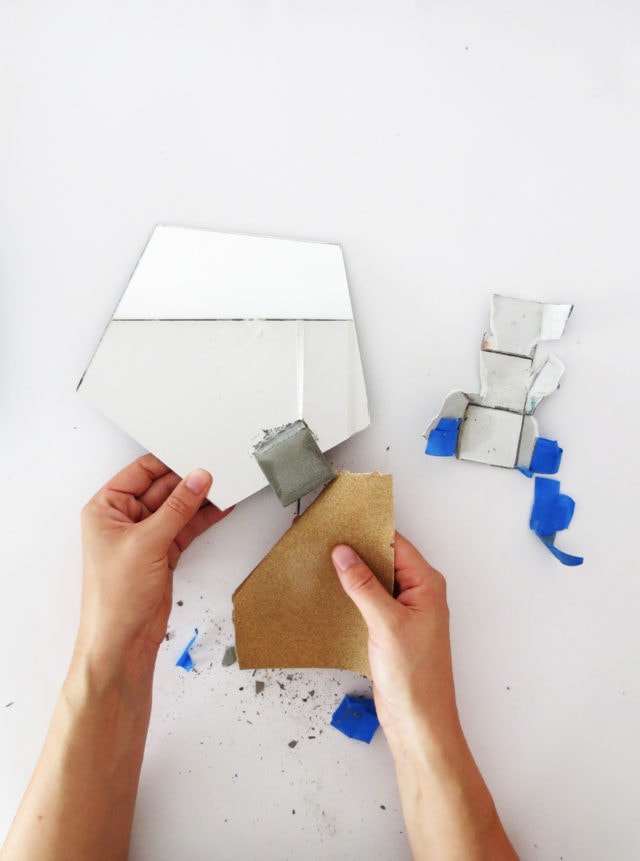
6 — Cure and de-mold: Once the concrete is fully dry (usually after 24–48 hours, depending on the mix), gently remove the mold.
7 — Finish the surface: Sand any rough edges for a cleaner finish and rinse off any dust with water. Add optional sealant and pigmented topcoat for color or texture.
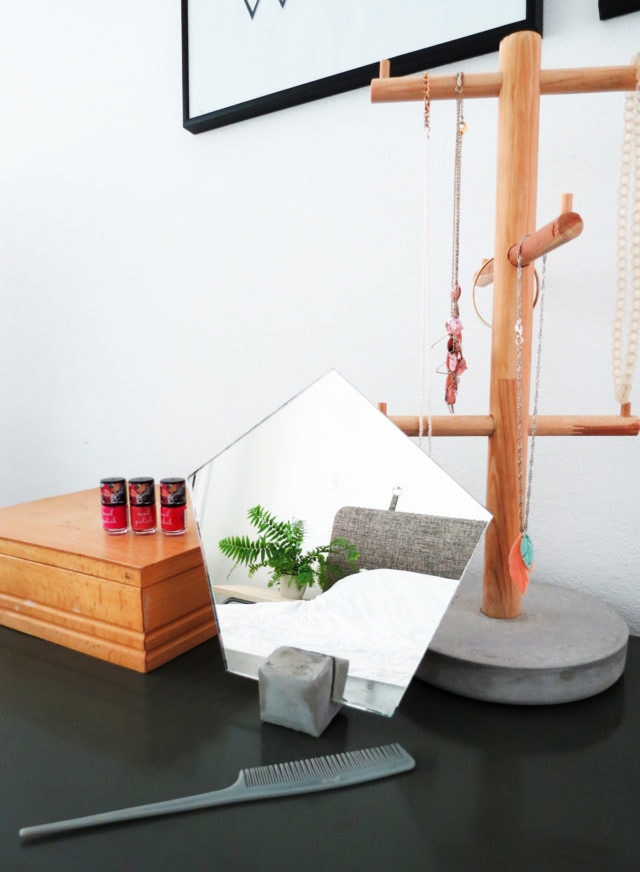
Finally, clean the mirror surface, and your DIY vanity mirror is ready to be displayed on your dresser or any spot that needs a touch of modern charm!
Tutorial Notes and Tips
- Concrete mix consistency matters: Aim for a thick, pourable consistency (similar to pancake batter). If it’s too watery, the surface may crack or dry unevenly.
- Tap out air bubbles: After pouring the concrete, tap the mold gently on your work surface or use a toothpick to pop visible bubbles near the edges. This helps create a smooth, polished look.
- Let it cure fully: Don’t rush the curing process! Let the concrete sit at least 24–48 hours, and avoid handling it until it’s fully hardened.
- Finish with finesse: Use fine-grit sandpaper to smooth the surface, especially around edges. If desired, you can seal the concrete with a clear matte sealant for a more finished look and to reduce dust.
- Customize your look: Add a few drops of concrete pigment to the mix for a pop of color, or press in decorative stones, gold leaf, or even terrazzo-style chips before it sets.
- Safety first: Work in a well-ventilated area, and wear gloves when mixing or sanding concrete to protect your hands.

More Beauty DIYs to Try
- Leather Hexagon DIY Vanity Tray
- Sand Art DIY Sugar Scrub
- Patterned DIY No Sew Neckerchief
- DIY Pom Pom Slippers
Concrete DIY Vanity Mirror
Equipment
- Scissors
- Ruler
- Hot glue gun and glue sticks
- Masking tape
- Sandpaper
- Repurposed package container
Materials
- 1 mirror
- Concrete mix
Instructions
- Measure your mold for your mirror base: Carefully cut open your repurposed container to create a flat sheet you can work with. Using a ruler, draw a 2-by-2-inch square for the base of your mold, adding small flaps to each side to help with assembly. Then, draw a rectangle measuring 8 inches long by 2 inches high to form the sides of the cube. Add an extra flap at one end of the rectangle for securing the sides together.
- Cut your mold: Cut out both shapes and fold the long rectangle into four equal sections lengthwise to form the cube’s walls.
- Assemble your mold: Use a hot glue gun to attach the base and sides together, gluing the flaps on the outside. This will help create a smooth finish for the concrete surface. Next, use scissors to cut two diagonal notches on opposite sides of the cube. These notches should be wide enough to allow you to slide the mirror into place once the concrete has set.
- Insert the mirror: Slide the mirror into the notches of your cube mold, making sure it’s centered and standing upright. Use masking tape to secure the mirror in place. Don’t be shy with the tape! It’s important that the mirror stays steady while you pour the concrete.
- Pour the concrete: Following the instructions on your concrete packaging, mix the concrete. Then, hold the mirror firmly in position, and carefully pour the mixed concrete into the mold. Be sure to fill the mold evenly, checking behind the mirror to ensure there are no gaps or air pockets. Keep the mirror in a vertical position as the concrete sets, leaning it gently against a wall can help stabilize it. Don’t hesitate to put some extra tape layers. You don’t want the mirror to move when pouring concrete.
- Cure and de-mold: Once the concrete is fully dry (usually after 24–48 hours, depending on the mix), gently remove the mold.
- Finish the surface: Sand any rough edges for a cleaner finish and rinse off any dust with water. Add optional sealant and pigmented topcoat for color or texture. Finally, clean the mirror surface, and your DIY vanity mirror is ready to be displayed.


25 Best Clear Stadium Bags for Concerts, Sports & Events
Stay stylish and compliant with the best clear stadium bags…
Continue Reading 25 Best Clear Stadium Bags for Concerts, Sports & Events

31 Best Beach Bags for Your Summer Essentials
From tote bags to straw bags, stay organized and chic…
Continue Reading 31 Best Beach Bags for Your Summer Essentials

Our 41 Favorite Amazon Women’s Swimsuits
Get ready to hit the beach or pool in style…

Leather Hexagon DIY Vanity Tray
Keep yourself organized and in style with this Leather Hexagon…
Please note that we may earn a commission for some of the above affiliate links. However, products featured are independently selected and personally well-loved by us!