DIY Fringe Boho Mirror
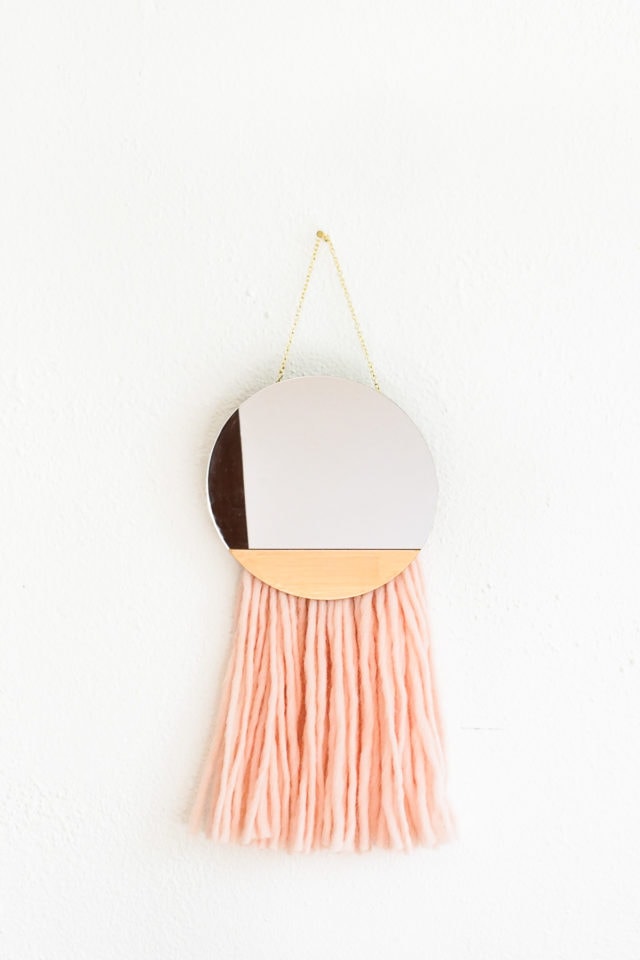
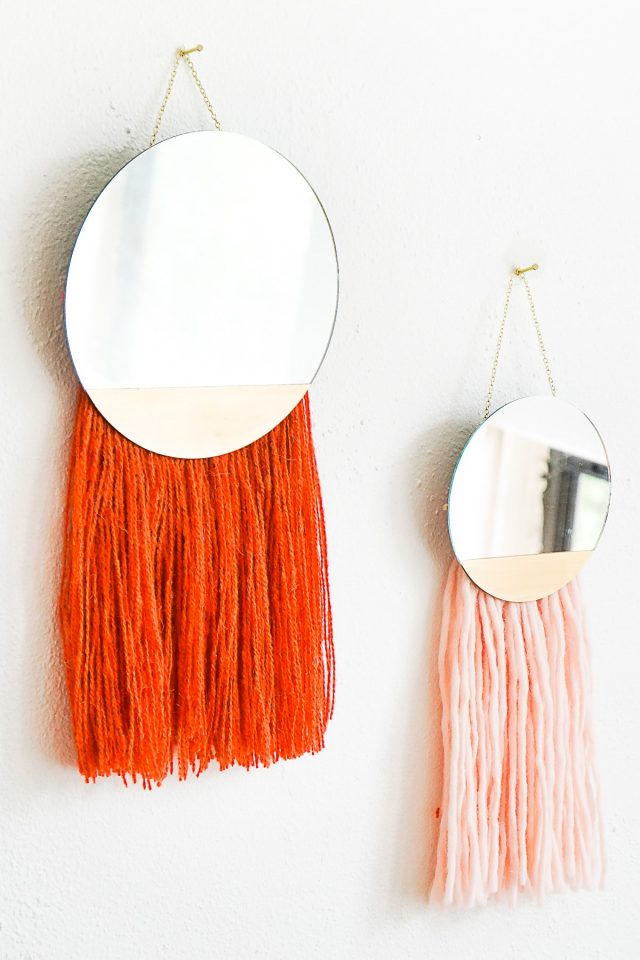
Create your own DIY Fringe Boho Mirror with yarn, a round mirror, and gold accents. An easy wall hanging project for chic, modern boho decor!
As the seasons shift and natural light becomes a little more scarce, we find ourselves reaching for one of my favorite decorating tricks: mirrors. Not only do mirrors help reflect light and brighten up darker corners, but they also add visual interest and can make smaller spaces feel more open and airy.
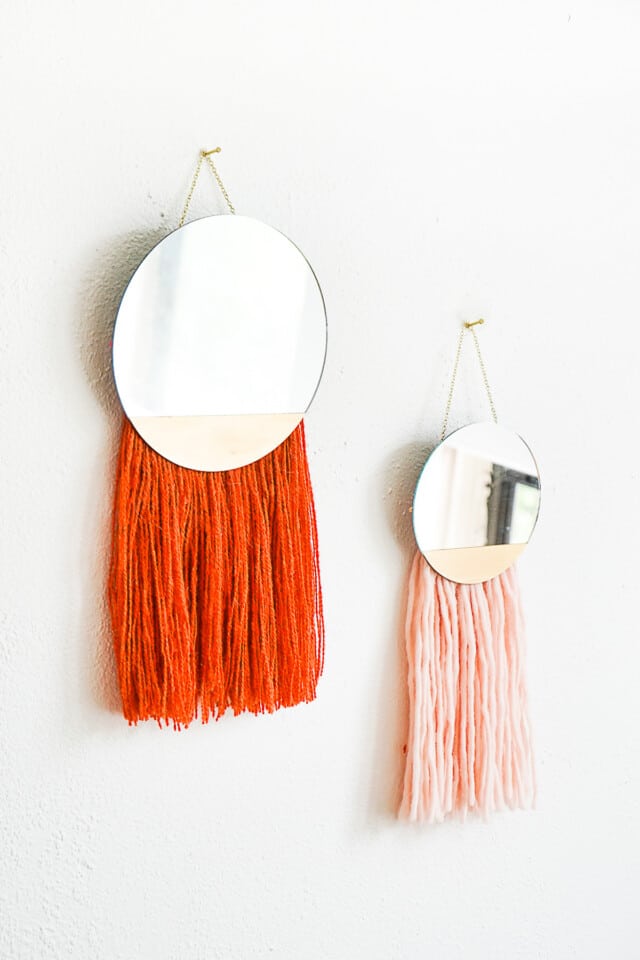
That’s why I, Erin am so excited to share this DIY Fringe Mirror, a perfect blend of function and boho-chic style. This easy wall decor project combines soft yarn fringe with a hint of metallic gold, creating a handmade mirror that’s as stylish as it is practical. Whether you hang it by the back door or entryway for a quick glance on your way out, or pair it with a gallery wall in the living room, it’s a versatile piece that instantly elevates any space.
And this isn’t our first rodeo with a DIY mirror. We’ve created other similar mirror projects before with our DIY concrete vanity mirror, color block DIY hanging mirror, and DIY leather mirror.
If you love DIY home decor projects with texture, warmth, and a touch of glam, this boho mirror tutorial is one you’ll want to bookmark. Keep reading for the step-by-step instructions!
Materials and Tools Needed
- Mirror: Ours measures 7″ across. Find a similar one here. You can purchase or thrift a mirror of your choice. However, opt for lightweight mirror (like acrylic or a frameless craft mirror) that is ideal to prevent strain on the adhesive and wall. If you’re repurposing a heavier mirror, consider using stronger mounting hardware instead of moldable adhesive.
- Yarn: Cut into 160 × 23″ pieces, divided into 4 bundles.
- Wooden skewer or dowel: Cut to 6” length if using a 7″ mirror.
- Metallic gold paint
- 12” gold link chain
- Jump rings
- Moldable adhesive glue: For mounting.
- Painter’s tape
- Foam paint brush
- Scissors
How to Make a DIY Fringe Boho Mirror
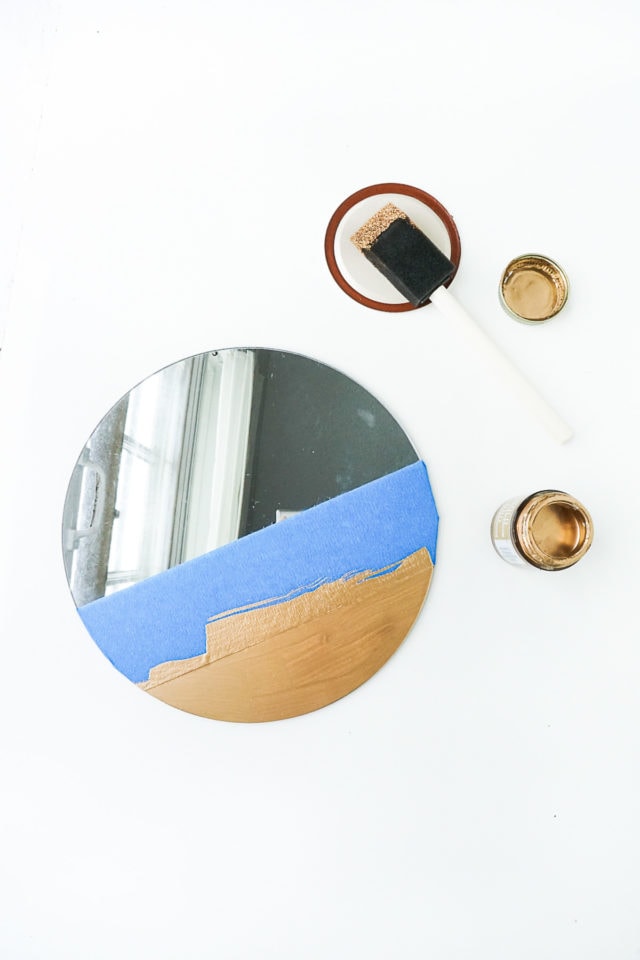
1 — Paint mirror accents: Use painter’s tape to mask off the bottom section of the mirror. Apply metallic gold paint to the taped-off area. Set aside and let dry completely.
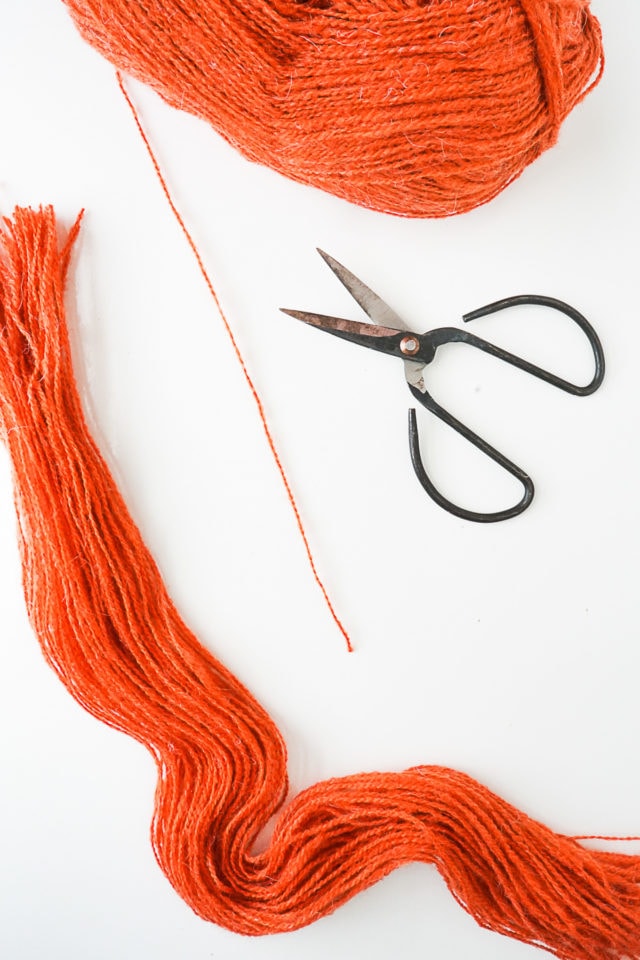
2 — Prepare the yarn fringe: Cut 160 pieces of yarn, each measuring 23 inches long. Divide the yarn into 4 equal bundles.
Take one bundle and fold it in half lengthwise. Wrap the folded bundle over the wooden skewer. Then, thread the loose ends through the loop to create a lark’s head knot. Pull tight to secure.
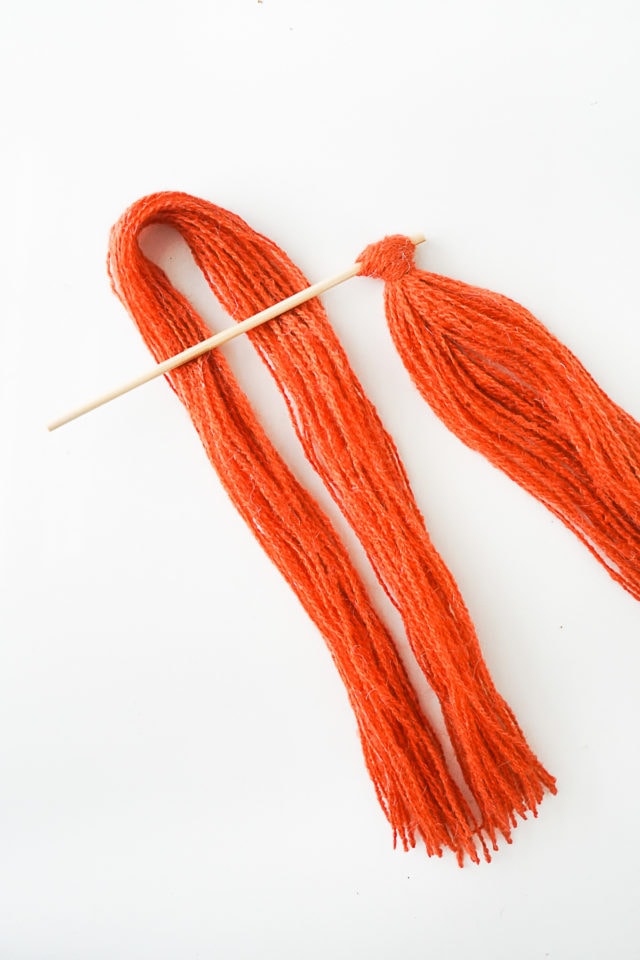
Repeat with the remaining 3 bundles, spacing them evenly along the skewer to create a thick fringe effect along the skewer.
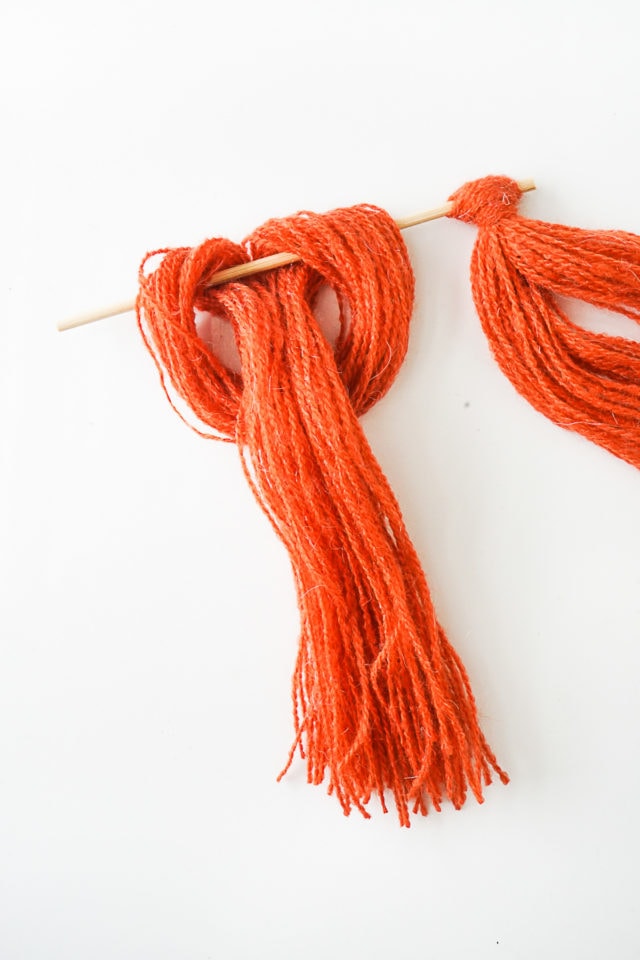
3 — Attach the hanging chain: Use jump rings to connect each end of the metal chain.
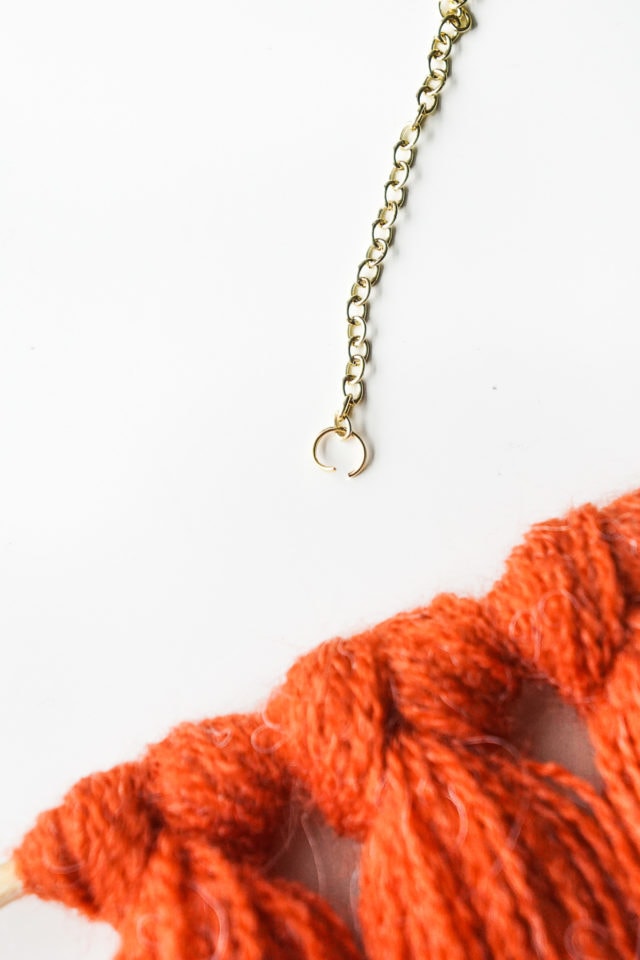
Loop one jump ring around each end of the wooden skewer so the chain forms an arc above the fringe to hang centered.
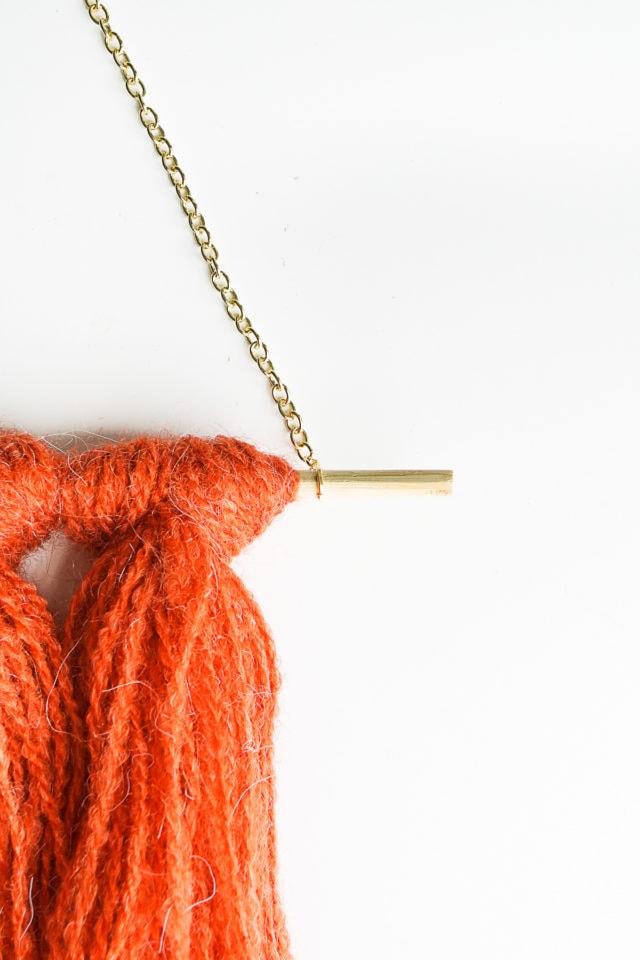
4 — Mount the fringe to the mirror: Lay the mirror face-down on a soft cloth to avoid scratching the surface or disturbing the gold paint. Form the moldable adhesive into 2 evenly sized ovals. Press each adhesive oval onto the ends of the wooden skewer. Firmly attach the skewer to the back of the mirror, positioning it just above the gold-painted section. Allow the adhesive to cure for at least 24 hours before hanging.
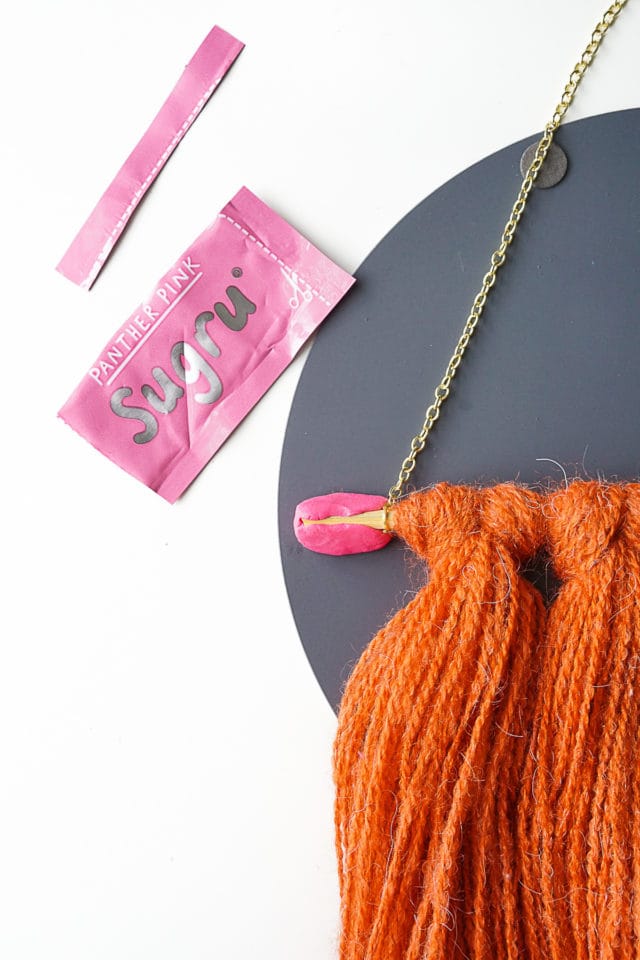
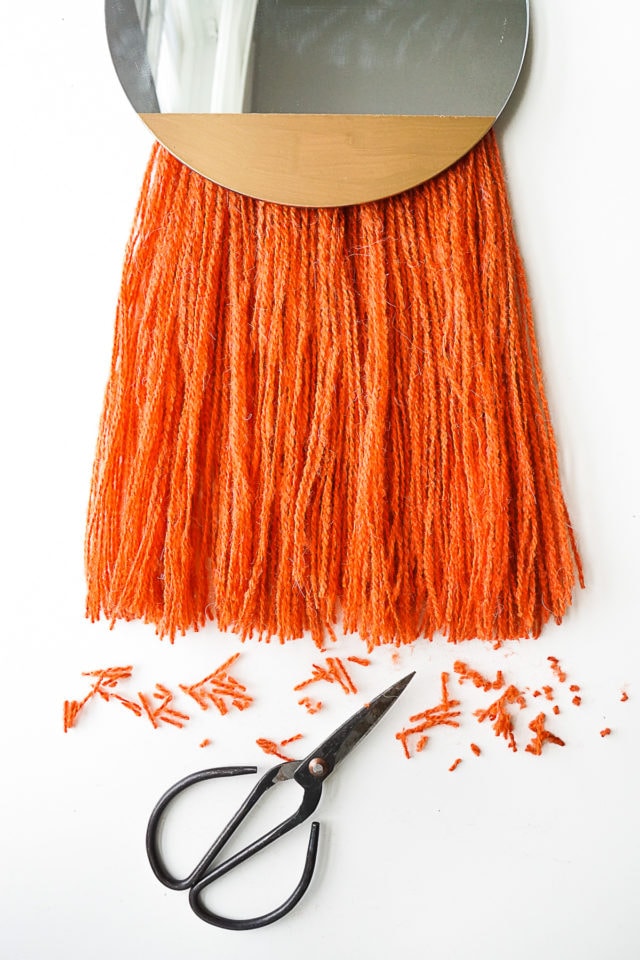
5 — Finish the fringe: Flip the mirror over, trim excess yarn for uniform length, and fluff the fringe for a polished look.
Tutorial Notes and Tips
- Try different yarn textures: Want more visual texture? Mix in chunky yarn, braided cotton cord, or even metallic threads with your standard yarn for added interest and dimension.
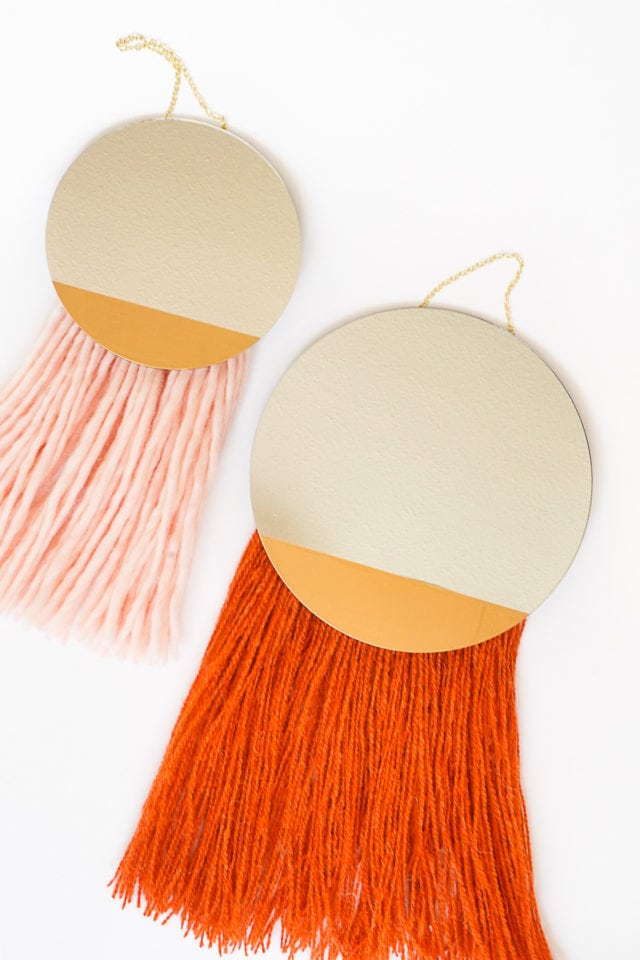
- Customize the color scheme: Feel free to switch it up! Try black fringe for a bold contrast, soft blush for a feminine touch, or even a rainbow effect with multiple yarn colors.
- Keep your fringe even: Use masking tape or a ruler as a guide when trimming the fringe to get that nice, straight bottom edge. Don’t rush. Uneven fringe can make the piece look messy.
- Add beads or charms: For extra personality, thread a few wooden beads or tassels onto some strands of yarn before securing them to the skewer.
- Test the adhesive grip: It’s very important to let the glue cure fully for 24+ hours and hang it on a secure hook. If you prefer, you can also hot glue the skewer directly to the mirror frame or use command strips rated for the mirror’s weight.
More Easy Fringe and Boho Decor
For more DIY home decor ideas, check out our related posts below –
- Cane Decor Trend: Rattan Furniture We’re Loving
- DIY Yarn Fringe Pillow
- Ikea Hack: DIY Rattan Drawers
- DIY Door Knob Tassel
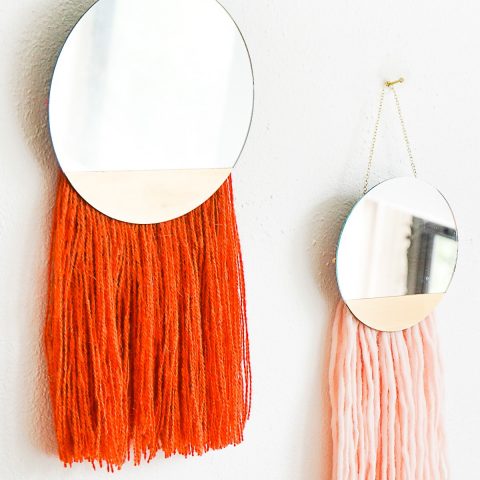
DIY Fringe Boho Mirror
Equipment
- Scissors
- Foam paint brush
Materials
- 1 mirror
- 160 pcs yarn
- 1 wooden skewer 6” length
- 1 gold chain 12" length
- 2 jump ring
- Metallic gold paint
- Moldable glue
Instructions
- Paint the mirror: Use painter’s tape to mask off a small section along the bottom of the mirror. Apply metallic gold paint to the taped-off area. Set aside and let dry completely.
- Prepare the yarn fringe: Cut 160 strands of yarn, each measuring 23 inches long. Divide the yarn into 4 equal bundles.
- Take one bundle and fold it in half lengthwise. Wrap the folded bundle over the wooden skewer. Then, thread the loose ends through the loop to create a lark’s head knot. Pull tight to secure.
- Repeat with the remaining 3 bundles, spacing them evenly along the skewer.
- Attach the hanging chain: Use jump rings to connect each end of the metal chain. Loop one jump ring around each end of the wooden skewer so the chain forms an arc above the fringe.
- Mount the fringe to the mirror: Lay the mirror face-down on a soft cloth to avoid scratching the surface or disturbing the gold paint. Form the moldable adhesive into two evenly sized ovals. Press each adhesive oval onto the ends of the wooden skewer.
- Firmly attach the skewer to the back of the mirror, positioning it just above the gold-painted section. Allow the adhesive to cure for at least 24 hours before hanging.
- Trim the fringe: Once fully cured, flip the mirror over and trim the yarn to create an even, polished fringe edge. Hang and enjoy your new boho mirror wall decor!

Don’t forget to share your DIY Boho Mirror with us on Instagram using the hashtag #sugarandclothloves. We always love seeing all of your creations! Looking for more interior design inspiration? You can find all of our home decor tutorials and ideas right here!
Easy IKEA Billy Hacks Anyone Can DIY at Home
Get inspired by clever IKEA Billy hacks for living rooms,…
Continue Reading Easy IKEA Billy Hacks Anyone Can DIY at Home
43 Top Amazon Wall Decor Ideas for Every Room in Your Home
Find gorgeous Amazon wall decor that makes a big impact…
Continue Reading 43 Top Amazon Wall Decor Ideas for Every Room in Your Home
28 Decorative Wall Mirrors You’ll Wish You Bought Sooner
Looking for the perfect wall mirror? Explore our roundup of…
Continue Reading 28 Decorative Wall Mirrors You’ll Wish You Bought Sooner
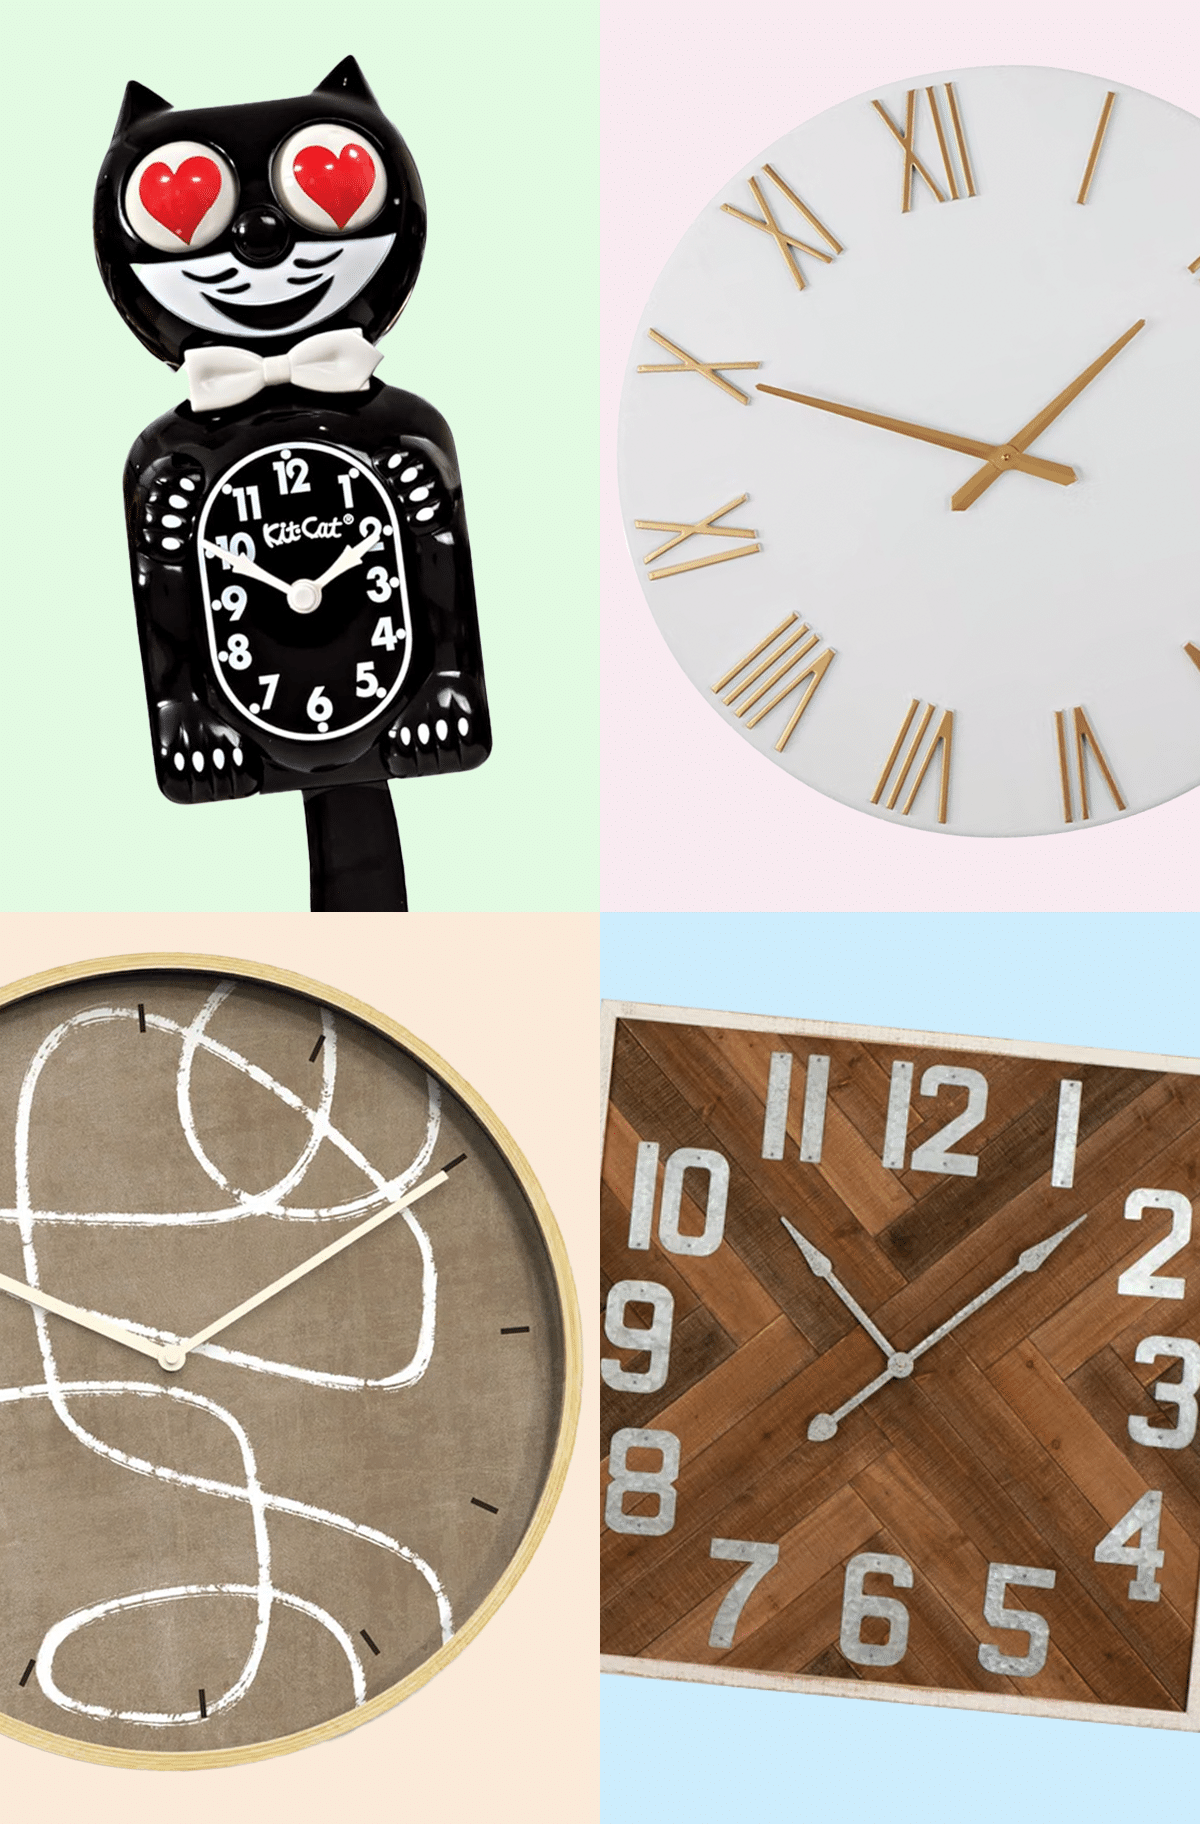
25 Large Wall Clocks for Your Living Room
Looking for the perfect extra large wall clock? Explore stylish…
Please note that we may earn a commission for some of the above affiliate links. However, products featured are independently selected and personally well-loved by us!

Where do you get the moldable adhesive pieces? I need to hang a mirror craft piece my gf is working on
Hi Tim! We linked the exact adhesive that we used in the blog post! It’s Sugru Moldable Glue from Amazon.
The things you can do with yarn! They turned out amazing!
thank you, Lou! Erin can really work wonders xo
So cute–and I love Sugru!
xx Hannah // http://www.HomemadeBanana.com
thanks so much, Hannah! xo