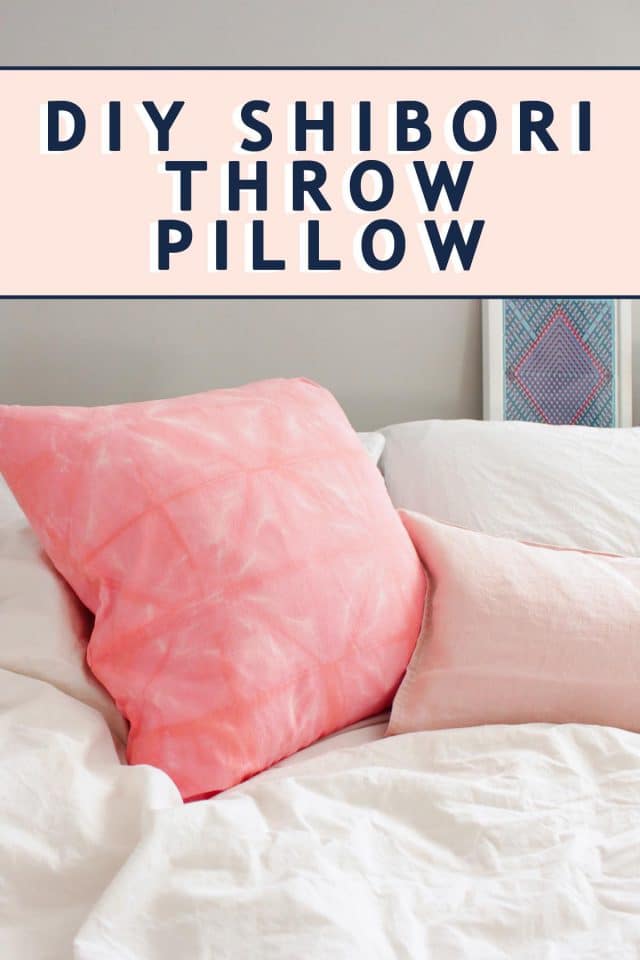
Tie Dye DIY Shibori Pillow
Learn how to make a gorgeous shibori throw pillow using natural dyes. With this easy tutorial, you can create your own tie dye pillowcase.
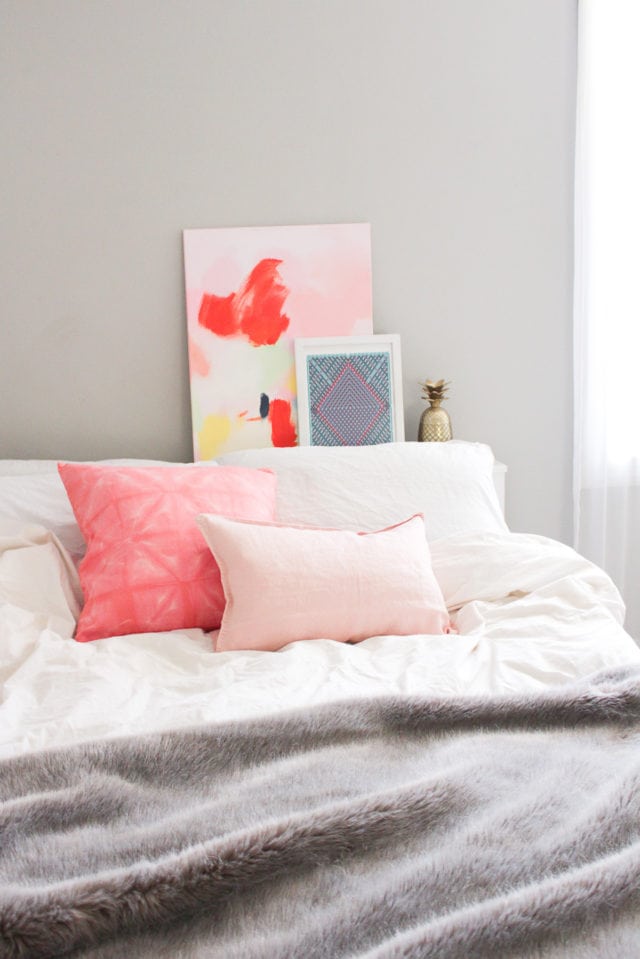
A new season seems like a perfect time to try a new style or a bright pop of color in your home. Out with the old, and in with the DIY!
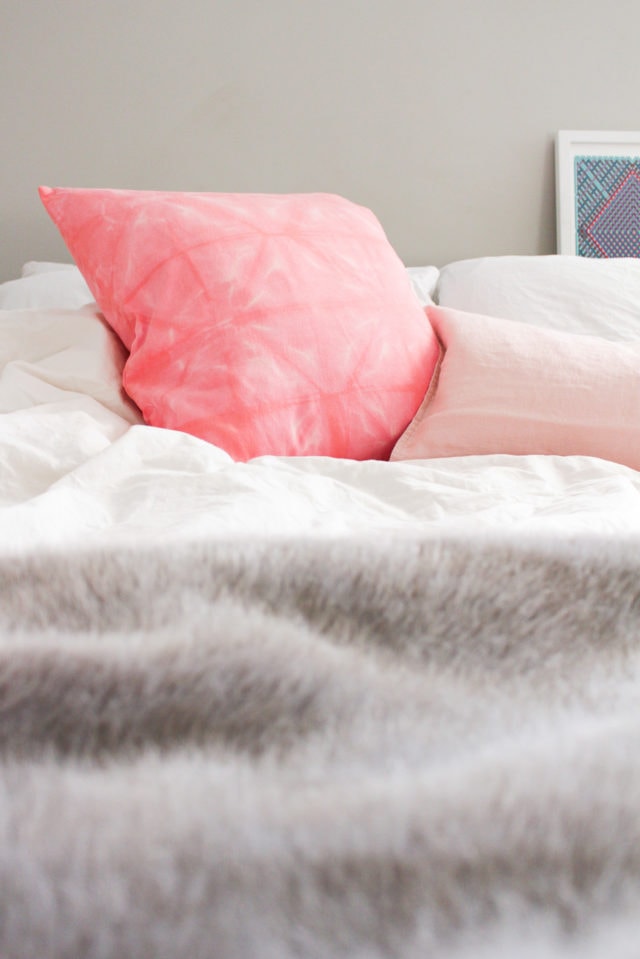
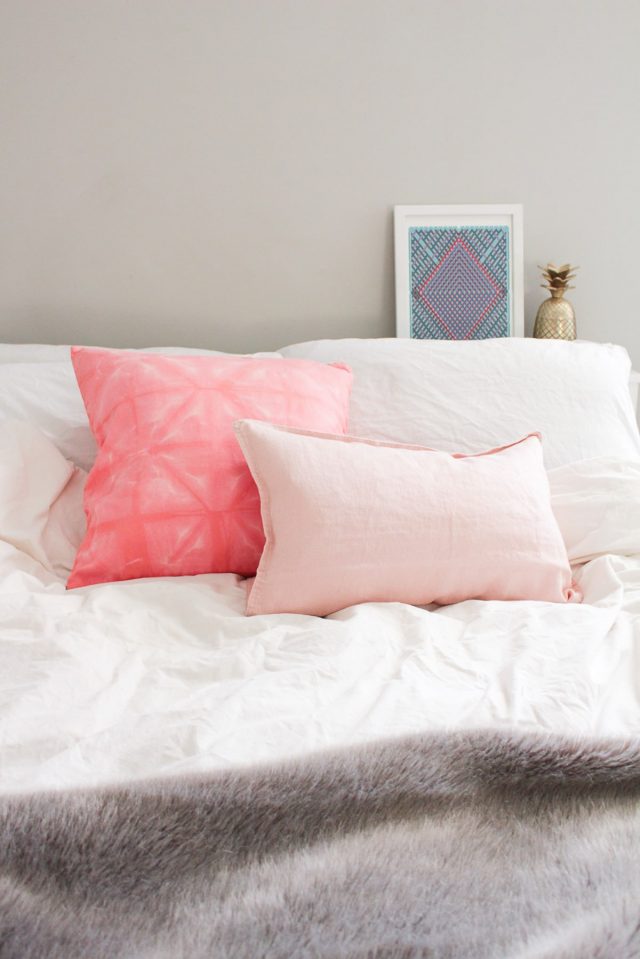
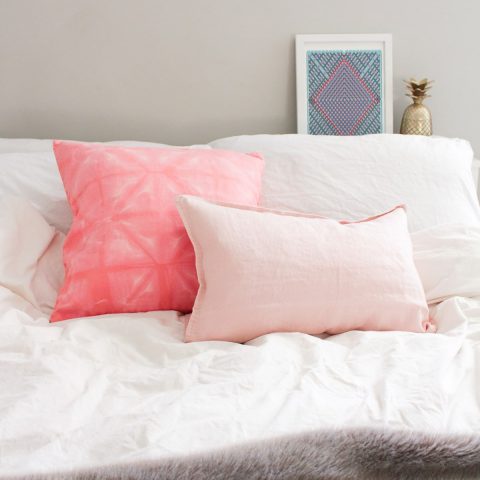
Inspired by spring colors and cherry blossoms, this Pink DIY Shibori Throw Pillow is in a rosy pink color instead of the traditionally used indigo blue. I, Anusha, have always wanted to try Shibori, a Japanese dyeing technique that’s easier than you would think.
If you haven’t tried it yet, the great thing about it is you can fold and bind the fabric to create your own unique design or follow our instructions below to replicate mine. Plus, you don’t even need to buy a dye kit so you really can’t mess this one up…
Additionally, nothing says summer like pretty pink flamingos, so we’ve created this super simple DIY no-sew flamingo lumbar pillow to fill the void.
DIY Shibori | What is Shibori Dyeing?
Shibori dyeing is an ancient Japanese manual resist dyeing technique. The word “shibori” translates to wring or squeeze. With shibori dying, you are essentially folding, twisting, binding, wringing, or squeezing different patterns on natural fiber fabric.
Shibori is similar to tie-dye and traditionally uses indigo dye. However, the patterning of shibori dye is more intricate, geometric, and repetitive compared to modern tie-dyeing. There is still tying involved, but shibori adds the extra step of folding your fabric.
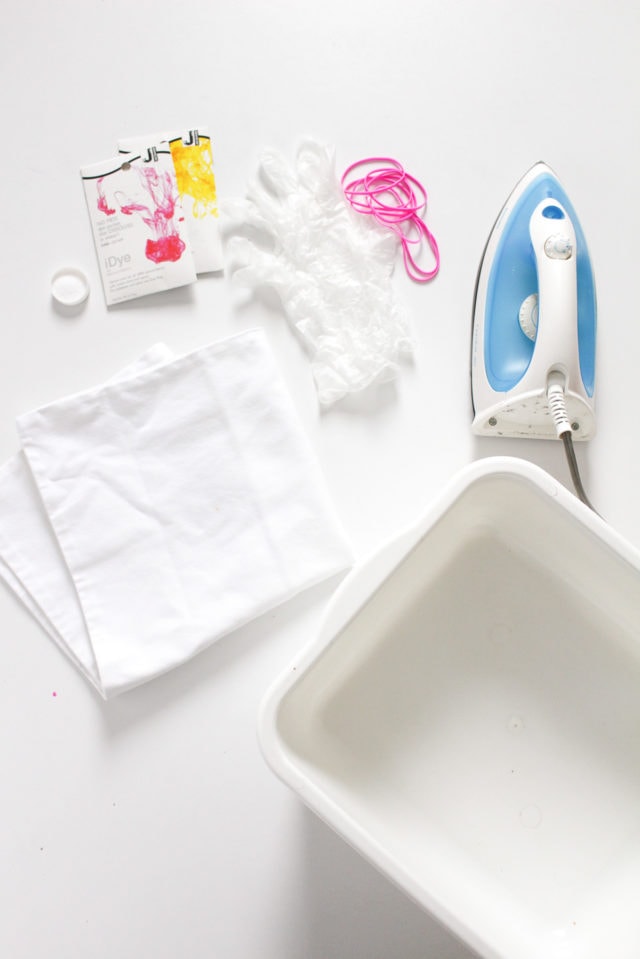
Materials Needed to Make a Pink DIY Shibori Pillow
- Cotton cushion cover: Make sure to prewash the cover before you start. Choose natural fibers like cotton, silk, wool, and linen because they absorb dye better.
- Rubber bands: We recommend using thick rubber bands since you’ll be tying up the fabric.
- Pink dye for natural fabrics: You can also opt for a more traditional indigo blue color but who doesn’t love pink?!?
- Non-iodized salt: Do not use iodized salt as it can lead to dye streaking.
- Plastic bucket
- Plastic gloves
- Iron
- Scrap of fabric: Optional to test your dye

How to Make a Pink DIY Shibori Pillow
Step 1 — Prepare the cushion cover for dyeing by washing and drying it first. This process will remove any residue.
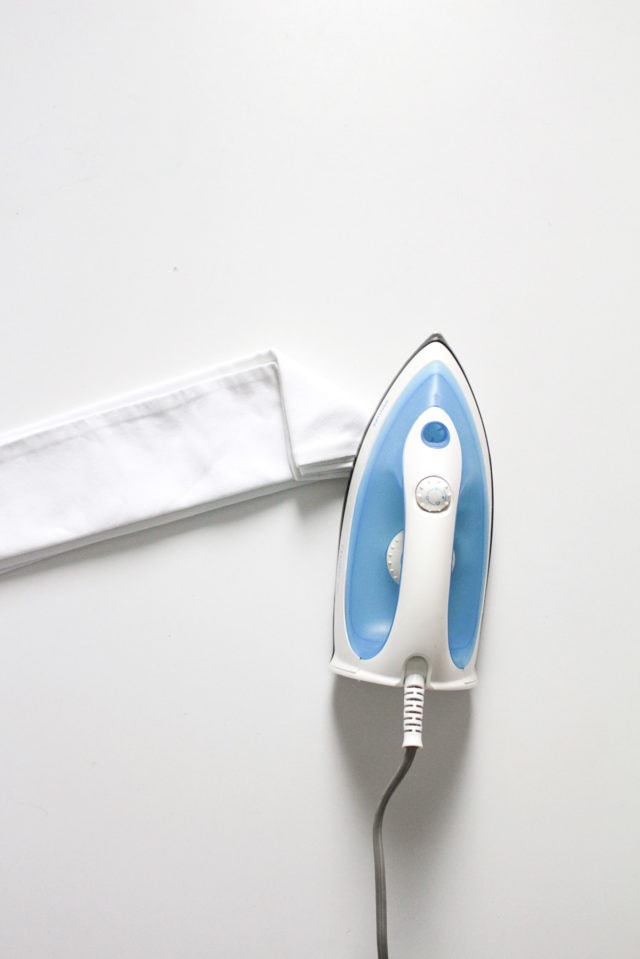
Step 2 — Fold the fabric in an accordion fold style, stopping to iron each fold as you go.
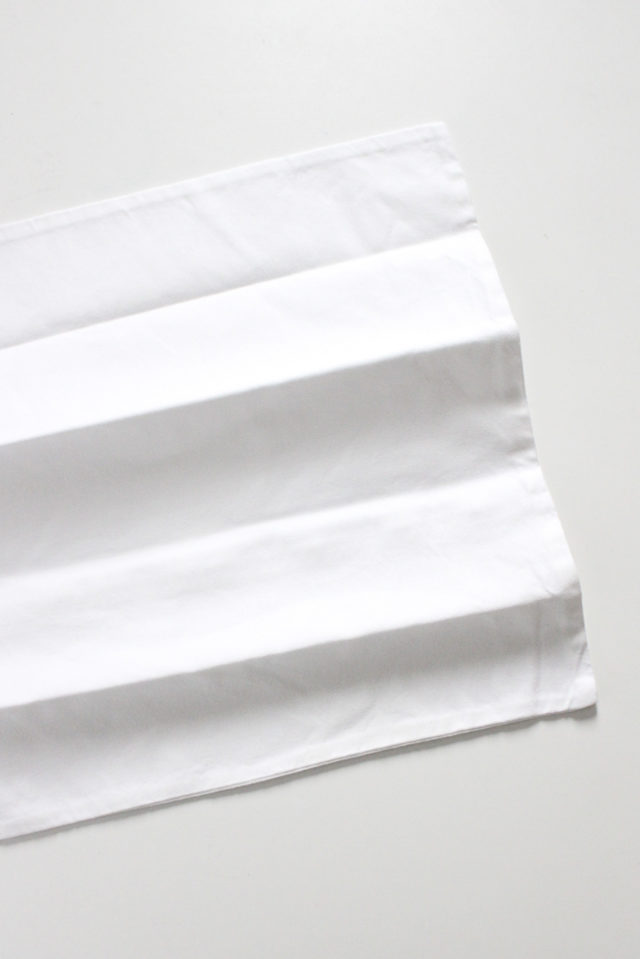
Then, fold the fabric in a triangle accordion style.
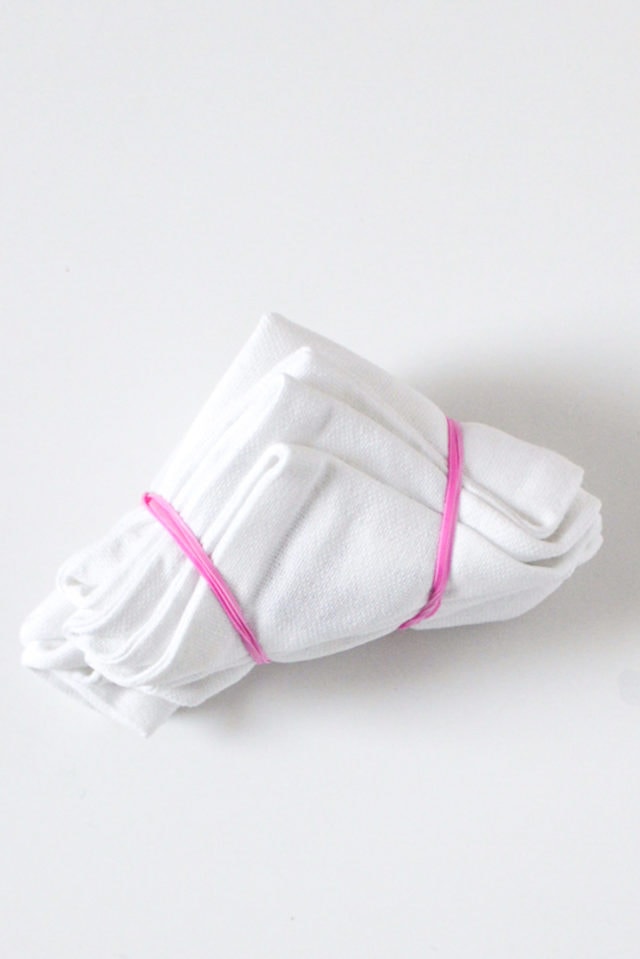
Step 3 — When you have finished folding the fabric, tie the two triangle corners with a rubber band.
Step 4 — Finally, prepare the dye bath according to the package instructions and dye your fabric. This is when you will need to use the salt.
You can test the dye on a piece of scrap fabric. Make sure to wear plastic gloves to avoid dyeing your hands.
Step 5 — Once dyed, rinse the fabric in warm water, followed by cold water until the water runs clear.
Step 6 — Wash, dry, and insert a cushion into your new DIY Shibori cushion cover. That’s it!
DIY Dyeing | How Long Do You Soak the Dye?
Make sure to slowly soak and dip your folded cushion in the dye. The soak time length depends on your dye and color preference.
The longer you soak your fabric, the darker it will be. A longer soak will also cause the dye to blend through the patterns more.
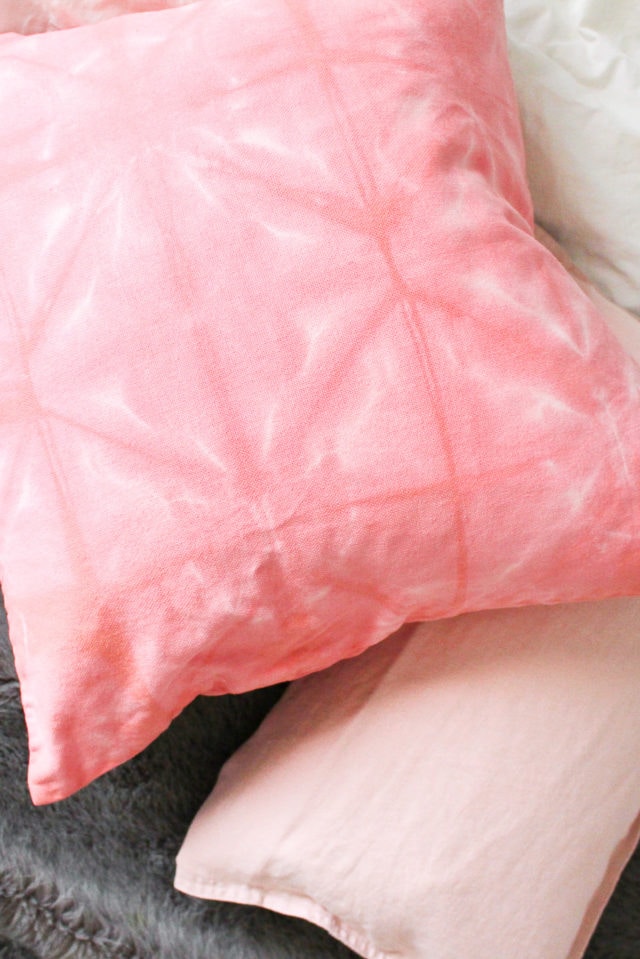
If you soak your fabric less, the dye will be lighter and there will be more distinct white lines at your folds.
Ten minutes is typically enough time for the dye to set. But please also make sure to refer to your dye box. You can test the dye on a scrap of fabric before you start the shibori dye project.
What do you think? Do you prefer the trend in the traditional blue or do you love the pop of pink like us You can apply this DIY shibori project to other items like your tea towels, cloth napkins, blankets, or even your clothes!
Are you looking for a colorful pillow with tassels? These DIY Tasseled Throw Pillows will add a little extra coziness to your indoor get-togethers.
More Quick and Easy DIY Projects
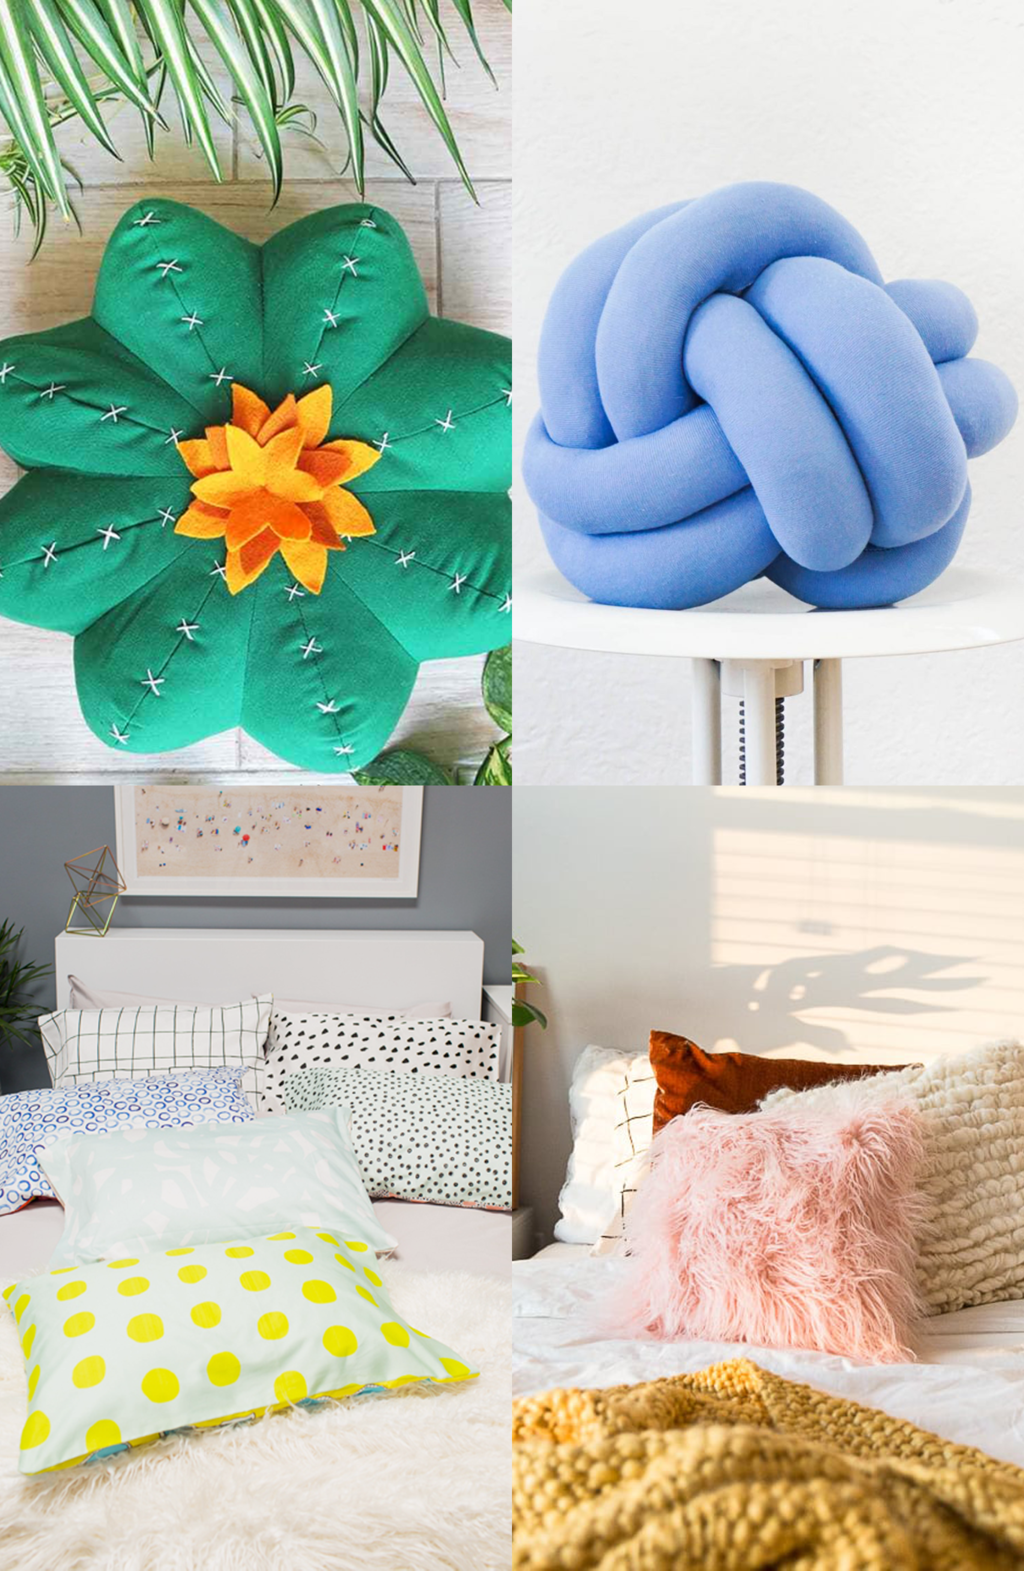
If you love this DIY Shibori dye project, then you’ll love our other favorite living room decor DIY’s from our archive —
- Paper Shapes Wall Art
- Marble Table Top With Gold Accents
- Color Glazed Stacked Vases
- Beaded Blanket Holder & Hanger
- Fringed Mirror Wall Hanging
DIY Shibori Throw Pillow
Equipment
- Iron
- Plastic bucket
- Plastic gloves
Materials
- 1 cotton cushion cover
- 2 rubber band
- 1 pink dye for natural fabrics
- non-iodized salt
- Scrap piece of fabric optional
Instructions
- Fold the fabric in an accordion fold style, stopping to iron each fold as you go.
- Fold the fabric in a triangle accordion style.
- When you have finishing folding the fabric, tie the two triangle corners with a rubber band.
- Prepare the dye bath according to the package instructions and dye your fabric. You can test the dye on a piece of scrap fabric before dyeing the cusion cover. Make sure to wear plastic gloves to avoid dyeing your hands.
- Once dyed, rinse the fabric in warm water, followed by cold water until the water runs clear.
- Wash, dry and insert a cushion into the cushion cover.
Notes
- To prepare the cushion cover for dyeing, wash and dry it first to remove any residue.
- Dye times will vary on how light or dark you want your cushion to be. 10 minutes of soaking the fabric in the dye is typically ideal.

Don’t forget to share your DIY shibori tie dye pillow with us on Instagram using the hashtag #sugarandclothloves. We always love seeing all of your creations! Looking for more interior design inspiration? You can find all of our home decor tutorials and ideas right here!

Please note that we may earn a commission for some of the above affiliate links. However, products featured are independently selected and personally well-loved by us!
very adorable diy of a pillow. Thank you for sharing great article. simple but pretty. I love it.
– plaster 27100 0.61
Thank you, Jean!
Thanks for sharing this amazing post… Soorarai Pottru Tamilrockers
LOVE this DIY throw pillow idea!
Thank you so much, Valentina!
Love how simple you made this. Thanks for the clear steps.
I rarely leave comments, but i did a few searching and wound up here DIY Pink Shibori Throw Pillow | Sugar & Cloth Home
Decor DIY. And I actually do have a few questions for you if you do not mind.
Is it just me or does it appear like a few of these comments look as if they are written by brain dead individuals?
:-P And, if you are posting on other online social sites, I’d like to keep up
with everything fresh you have to post. Would you list of all of all your social pages like your Facebook page, twitter feed, or linkedin profile?
Hi, I think your website might be having browser compatibility issues.
When I look at your blog in Safari, it looks
fine but when opening in Internet Explorer, it has some overlapping.
I just wanted to give you a quick heads up! Other then that, excellent blog!
Thank you for sharing the information, it is very lovely, I will try to do it
Beautiful!! I can’t wait to get my hands on a pillow cover and create this beauty. Thanks for sharing this idea. ❤️
Thank you, Jenna! We love it too! Anusha did an amazing job! xo
This is so brilliant! I love the look of this with the little triangles.
A pink shibori is a good idea. :-) More colorful and bright than blue.
So glad you like the pillow DIY! We’re big fans of the pink too..
Do you prefer the trend in the traditional blue,
I love the unique take on this one! Peach is always one of our favorites.
I love the results! Nice pattern and simple to do! Love it!
So glad you like the project, Miriam! xo
Thanks for sharing this project! I love the shibori dye pieces and I love that these pillows come in pink, my favorite color! I can’t wait to try this!
-Helen
http://www.sweethelengrace.com
Thanks, Helen! Let us know how it turns out! We prefer it in pink then the traditional blue too!