DIY Mini Face Planters
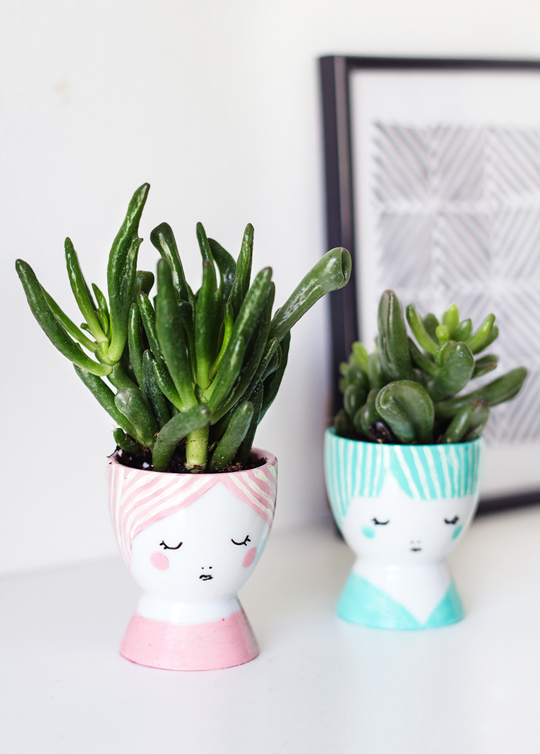
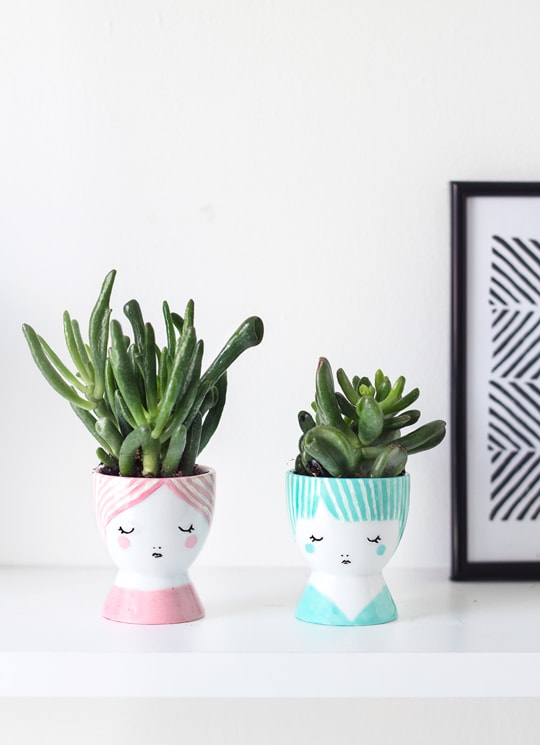
A quick and easy tutorial on how to make a DIY Mini Face Planter or terrarium. It’s perfect for tabletop decor, succulent gardens, houseplants, and more!
I, Teri, am a little planter obsessed at the moment! Any excuse to bring a bit of green into the house and create a pretty pot to go with it is good. For this project, I delved back into my childhood memories of poached eggs and soldiers, and growing cress plants in eggshells.
I had a moment of rediscovery (deep, I know) since not having any use for them since childhood. And I’d totally forgotten about egg cups, which make the perfect little DIY Mini Face Planters! It sprang to mind that the cups needed faces because, of course, everything looks better with a face on it these days, right?
This tutorial is so simple to follow and gives you scope to get creative and choose all manner of crazy plants for the hair.
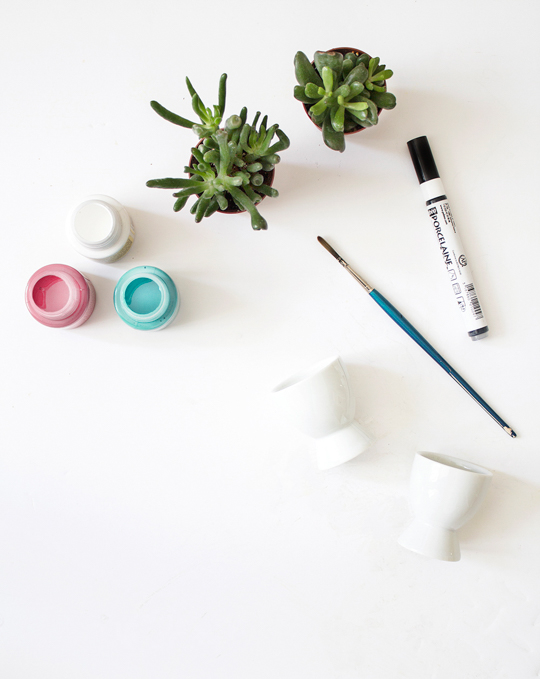
Materials and Tools
- Plain white porcelain egg cups — You can find similar ones here that also come in different colors
- Porcelain paint in colors of your choice — Make sure you use a fine porcelain pen for the features rather than a paintbrush. This will make it so much easier to get the details nice and neat. Once baked, the paint will set onto the egg cups and should be dishwasher resistant depending on the make of paint you use.
- White and black fine tip porcelain paint pen — Make sure to use a fine porcelain pen for the features rather than a paintbrush. This will make it easier to get the details nice and neat.
- Paint brush
- Mini potting plants
How to Make DIY Mini Face Planters
1 — Preheat the oven to the suggested temperature on the porcelain paint instructions.
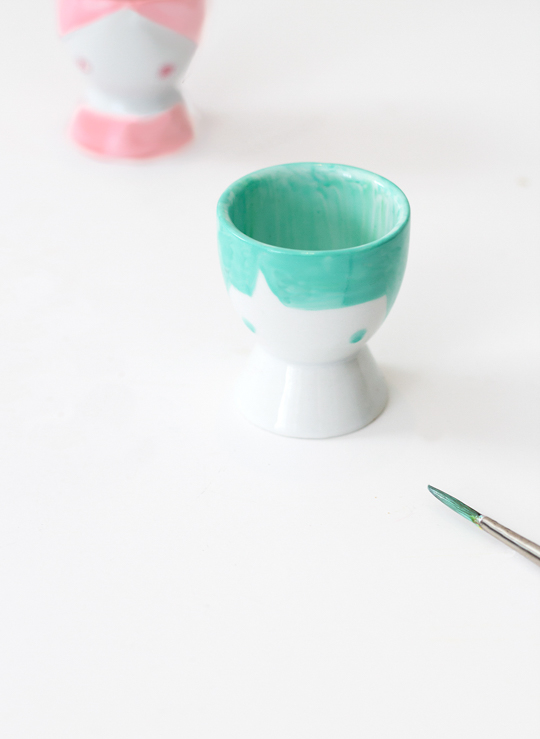
2 — Next, paint the base of your hair with one of your colors. Create bangs or whatever style you want.
3 —Then, paint on two cheeks fairly low down and far apart. Add in a neckline of your choice at the bottom of the egg cup.
4 — When this is dry, use the paintbrush with some white paint to create the lines in the hair/bangs.
5 — Now use your black porcelain pen to draw on the eyes, just above the cheeks.
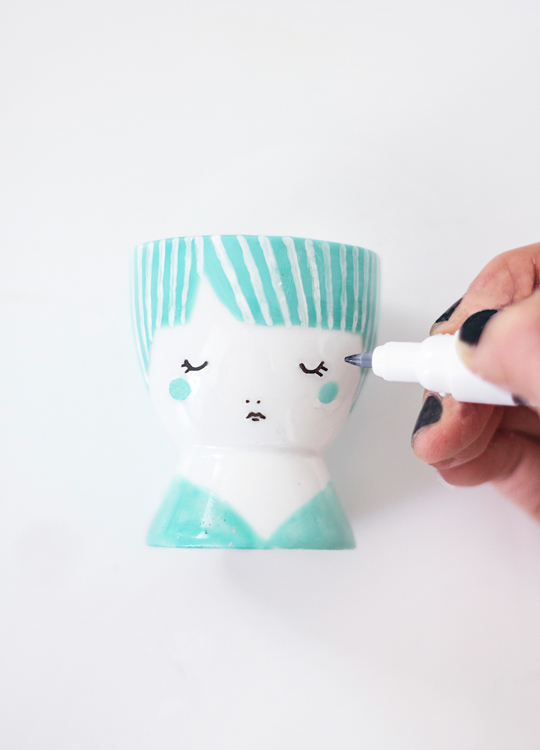
To create closed eyes, just draw a shallow ‘u’ shape and add two lines for eyelashes.
6 — Create nostrils with two little dots and some lips. You could even give them a smile if you’d like.
Leave to dry completely. To be safe, leave for up to 24 hours.
7 — Place on a baking tray and bake for the time suggested on the paint instructions.
Once baked, allow the face planters to cool.
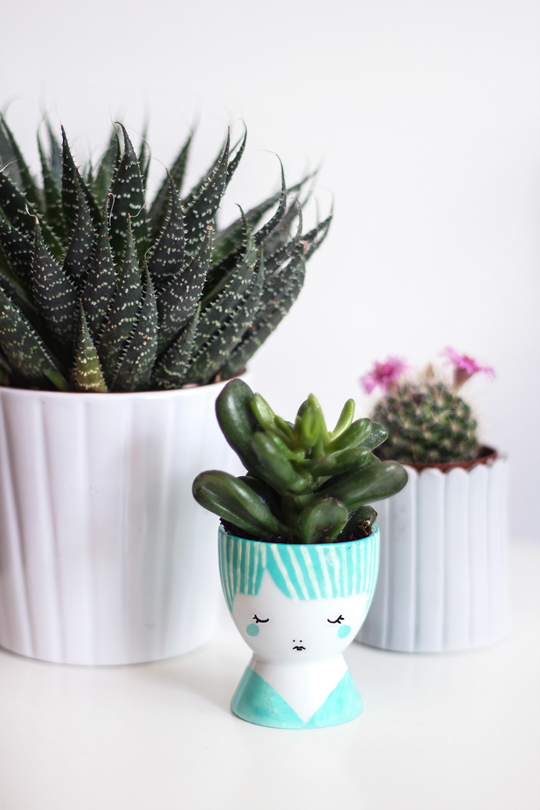
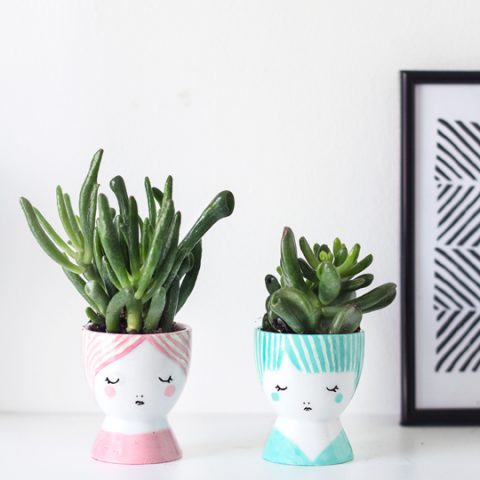
Then, you can plant up your greenery and give them a fancy hairdo. These DIY Face Planters really are that easy to make!
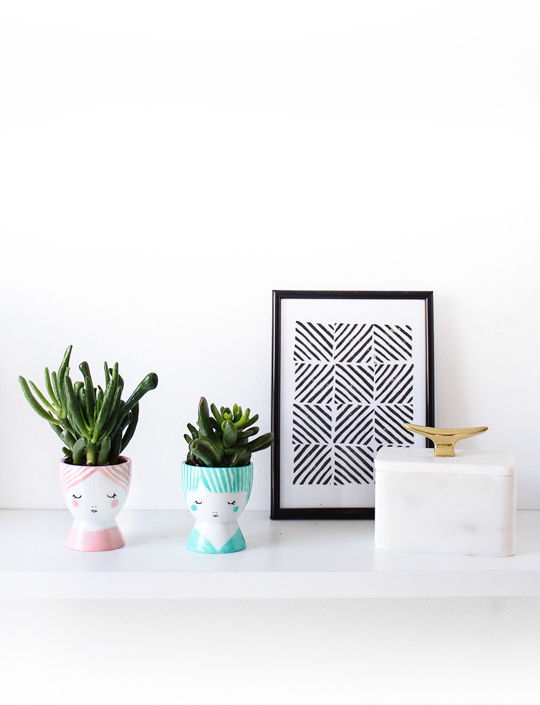
Try out different colors and facial expressions or make a family! Basically go crazy and have fun making these not so edible little treats.
Tips When Making a DIY Face Planter
- Allow the planter to dry completely before adding any plants: This will help ensure that your plants stay healthy.
- Choose plants that will thrive in your planter: Consider the amount of sunlight and water your DIY Face Planter will get. Succulents and cacti are a good option for those who don’t want to worry about watering too often. You can even opt for a plant that doesn’t require soil like how we went with an air plant for our Mini DIY Plant Pots.
- Add some personality to your face planter: Once you’ve added your plants, you can further personalize your DIY face planter by adding paint, stones, or other decorations. Get creative and have fun!
More DIY Planters and Vases Projects
DIY Mini Face Planters
Equipment
- Paint brush
Materials
- Plain white porcelain egg cups
- Porcelain paint dishwasher resistant in the colors of your choice
- White fine tip porcelain paint pen
- Black fine tip porcelain paint pen
- Mini potting plants
Instructions
- Preheat the oven to the suggested temperature on the porcelain paint instructions.
- Paint the base of your hair with one of your colors. Create bangs or whatever style you want.
- Paint on two cheeks fairly low down and far apart. Add in a neckline of your choice at the bottom of the egg cup.
- When this is dry, use the paintbrush with some white paint to create the lines in the hair and bangs.
- Now use your black porcelain pen to draw on the eyes, just above the cheeks. To create closed eyes, just draw a shallow ‘u’ shape and add two lines for eyelashes.
- Create nostrils with two little dots and some lips. You could even give them a smile if you’d like. Leave to dry completely. To be safe, leave for up to 24 hours.
- Place on a baking tray and bake for the time suggested on the paint instructions. Once baked, allow the face planters to cool.

Be sure to share your DIY Mini Face Planters with us on Instagram using the hashtag #sugarandclothloves, so we can follow along, too! We always love seeing all of your creations!
Please note that we may earn a commission for some of the above affiliate links. However, products featured are independently selected and personally well-loved by us!
Hello!! I absolutely am in love with your site & this post! I just bought my egg cups today but I was wondering if you could please inform me of the colors/ brand you used if you don’t mind. I love the soft colors you chose! Look forward to hearing back from you, I would most definitely be obliged! Thanks again for such an awesome tutorial (:
I love this project abd I love your site! Question tho about this – what is the white pen for? Should I or can I use it for creating libes in the hair instead of white paint? Thanks!
How cute! They look like little Medusa’s! :)
Cute! Love this idea!
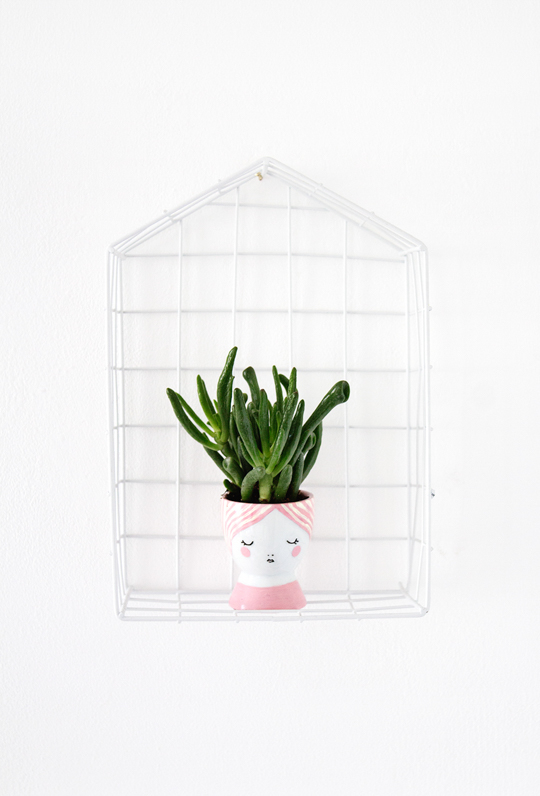
Jenni – i live in the UK, and I’ve seen the wire house-shapes in a shop called “Tiger”. They’re about £3. Its a really cute homewares/crafts shop. Dunno if that helps!
Awww. These planters are so cute.
These are adorable!
Love these! Where is the white wire house-shaped shelf thing from? :)
These are so precious! <3