Raspberry Layer Cake Recipe
Sweet, tart, and irresistibly beautiful, this Raspberry Layer Cake is perfect for celebrations or a special treat for loved ones!
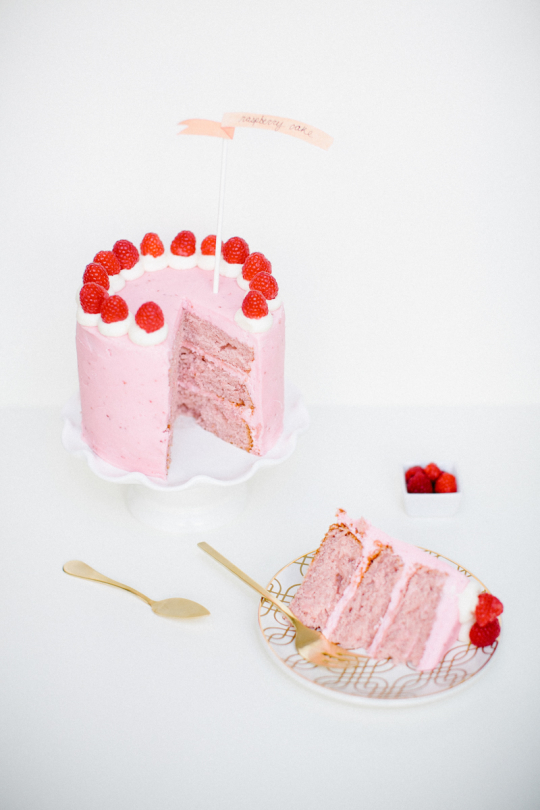
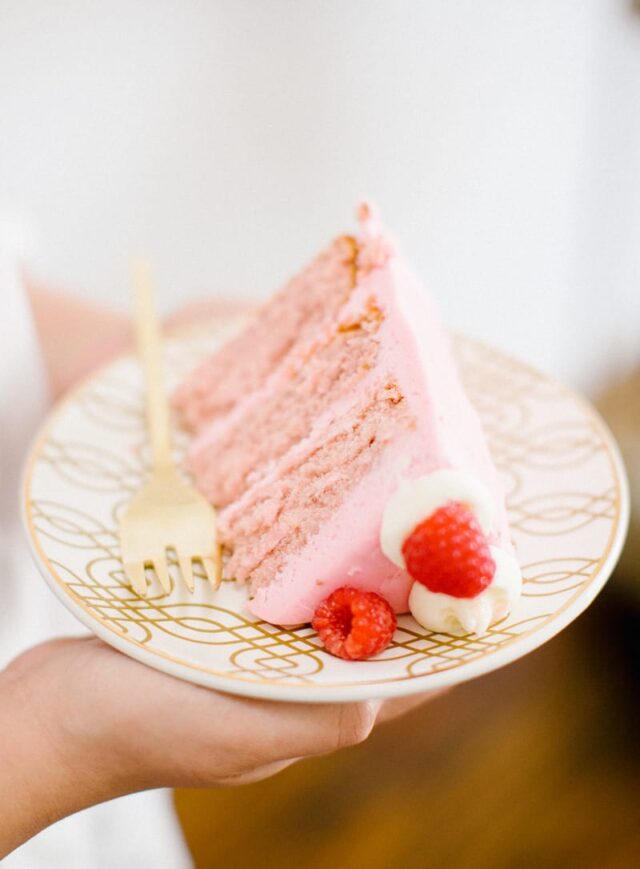
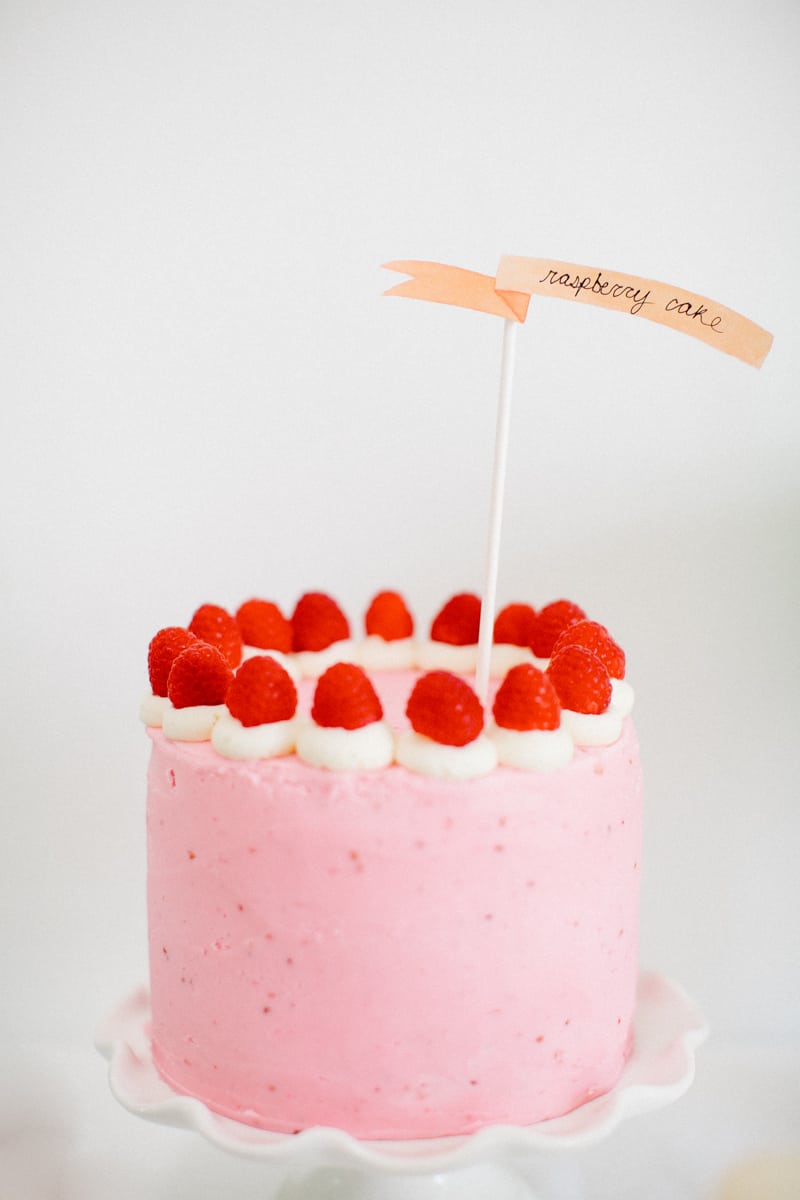
Few desserts are as eye-catching and crowd-pleasing as a Raspberry Layer Cake. This cake combines soft, fluffy layers raspberry-infused cake in a decadent raspberry buttercream frosting. Whether you’re baking for a birthday, a bridal shower, or Valentine’s Day party, this recipe will leave everyone swooning over its vibrant flavors and stunning presentation.
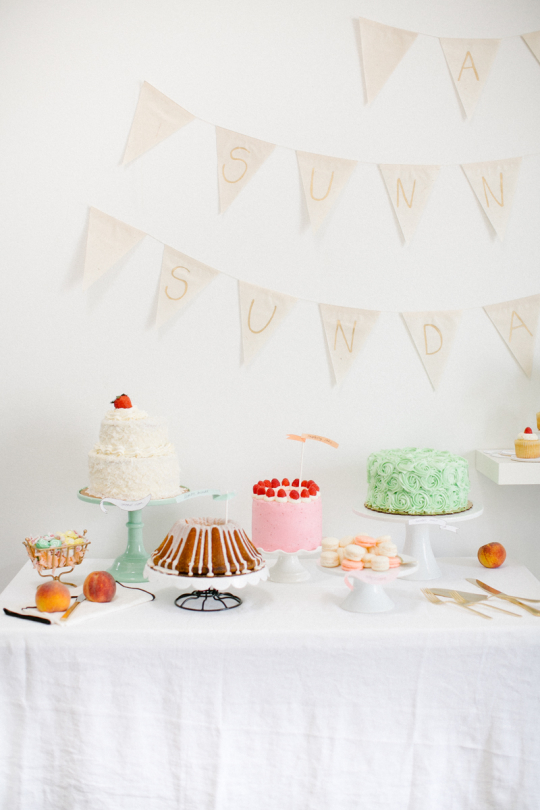
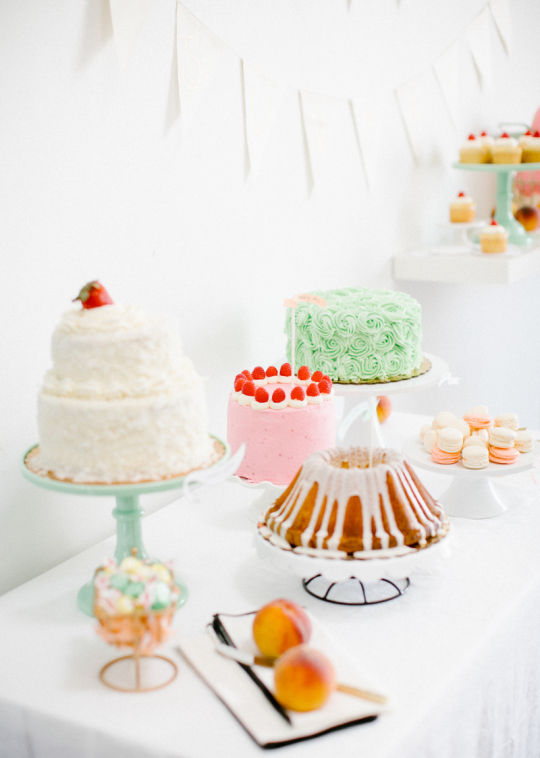
This cake was actually part of our Easter Sunday dessert table and baked by Kristina of Buttercup Bakery. Luckily, she’s willing to share infamous easy raspberry cake recipe! Making this cake is easier than it looks. Our tutorial will guide you step by step, so you’ll have a professional-looking cake with all the homemade charm.
Ready to impress your guests? Gather your ingredients, preheat the oven, and let’s get baking! Whether you’re an experienced baker or a beginner, this Raspberry Layer Cake will be your new favorite go-to dessert.
Ingredients Needed
For the raspberry lake cake
- Sifted cake flour — Always sift the cake flour to achieve a lighter, fluffier cake texture. This step helps to eliminate lumps and evenly distribute dry ingredients.
- White granulated sugar
- Whole milk
- Raspberry jam or raspberry puree — Raspberry jam adds sweetness and depth, while raspberry puree provides a fresher, tangier flavor. Choose based on your taste preference or try a mix of both!
- Eggs
- Egg yolks
- Unsalted butter
- Baking powder
- Vanilla extract
- Salt
- Optional: Red food coloring — Adding food coloring is optional, but it can enhance the cake’s presentation by giving it a vibrant raspberry hue. Use sparingly to achieve your desired shade.
For the raspberry buttercream frosting:
- Powdered sugar
- Butter
- Raspberry jam
- Vanilla
- Optional: Red food coloring
- Optional: Fresh raspberries — For garnish
How to Make an Easy Raspberry Layer Cake
Prepare the raspberry cake batter:
1 — Preheat your oven to 350°F (175°C). Prepare three 8-inch cake pans by buttering, flouring, and lining them with parchment paper. Set them aside.
2 — Sift the cake flour, baking powder, and salt into a bowl. In a separate container, combine the vanilla extract with the milk and set both aside.
3 — In a stand mixer or using a hand mixer set to medium speed, cream the butter and sugar together for about 5 minutes until light and fluffy.
4 — Scrape down the sides of the bowl, then add the eggs one at a time. Allow each egg to fully incorporate, about 15 seconds, before adding the next. Scrape down the bowl again to ensure everything is evenly mixed.
5 — Mix in the raspberry puree or jam until it is fully combined and the batter takes on a fruity aroma and slight color.
6 — Reduce the mixer speed to low. Gradually add the dry ingredients in three parts, alternating with the wet milk mixture. Begin and end with the dry ingredients, mixing just until combined after each addition.
7 — Optional: Add a few drops of red food coloring for a richer raspberry hue.
8 — Gently fold the batter with a spatula to ensure everything is evenly incorporated. Divide the batter evenly between the 3 prepared pans. Smooth the tops with a spatula.
9 — Bake the cakes for 17–22 minutes, or until a toothpick inserted in the center comes out with a few crumbs. Keep an eye on them after 17 minutes. When your kitchen smells like cake, they’re likely close to done. Cool the cakes completely before frosting.
Make the raspberry buttercream frosting:
1 — Beat the butter on medium speed for 5 minutes until it becomes light and creamy. Then, reduce the speed to the lowest setting.
2 — Gradually add powdered sugar, about 2 cups at a time, mixing on low until each addition is fully incorporated. Continue adding sugar until all is blended into the butter.
3 — Add the vanilla extract and any desired food coloring. Increase the speed to medium and beat for another 2 minutes, or until the frosting lightens in texture and becomes fluffy. Reduce the mixer speed to the lowest setting again and beat for 2 minutes to eliminate air bubbles and achieve a smooth frosting texture.
Assembling the cake:
1 — Place one cake layer on a serving plate. Spread a thin layer of raspberry buttercream. Top with the second cake layer. Repeat with the desired stacks.
2 — Use an offset spatula to coat the entire cake with buttercream, smoothing it out for a polished look.
Recipe Notes and Tips
- Room temperature ingredients: For the best results, make sure butter, eggs, and milk are at room temperature. This ensures a smoother batter and more even baking.
- Cooling is key: Ensure the cakes are completely cooled before frosting. Even slight warmth can cause the buttercream to melt and slide.
- Chill the frosting: If your buttercream feels too soft, refrigerate it for 10–15 minutes to firm it up before frosting the cake.
- Level the cake layers: If needed, trim the tops of the cake layers to create a flat surface.
- Make ahead: You can prepare the cake layers a day in advance. Wrap them tightly in plastic wrap and store at room temperature. The buttercream can also be made ahead and refrigerated, but bring it to room temperature and re-whip before using.
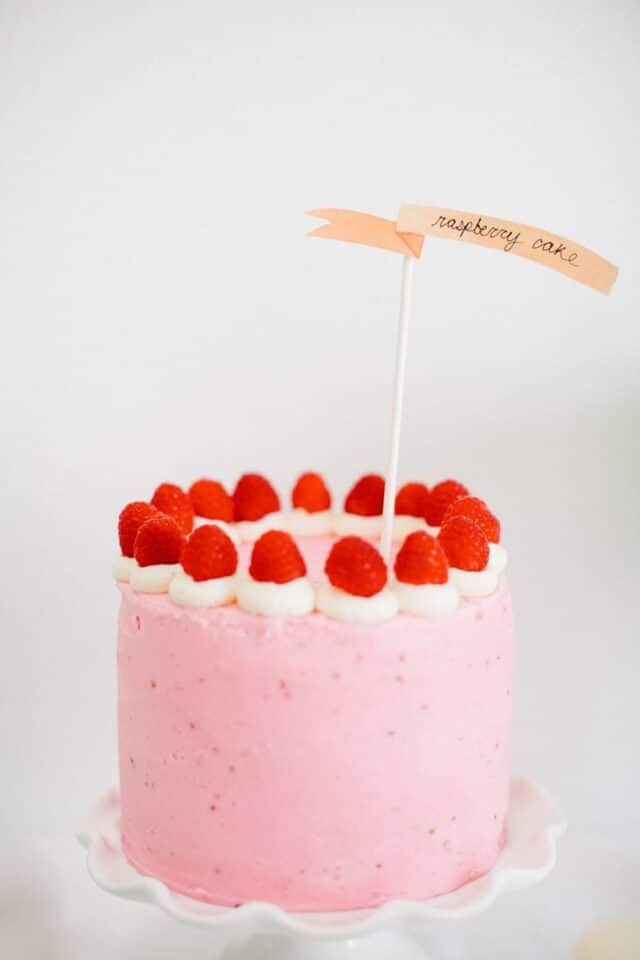
- Garnishing tips: For a professional look, use fresh raspberries and a dusting of powdered sugar. Alternatively, pipe decorative swirls of buttercream around the edges.
- Storage: Store leftovers in an airtight container in the fridge for up to 3 days. Bring to room temperature before serving for the best flavor and texture.
- Variation ideas: Try layering the cake with lemon curd for a bright citrus twist, or add chocolate ganache between layers for a decadent combo. Or opt for a classic Italian meringue buttercream frosting.
More Dessert Recipes
Equipment
- 3 8-inch round cake pan
- Mixer
- Large mixing bowl
- Medium mixing bowl
- Spatula
Ingredients
For the cake:
- 3 cup cake flour sifted
- 2 cup white granulated sugar
- ½ cup raspberry jam or raspberry pureered food coloring optional
- 3 eggs room temperature
- 3 egg yolk room temperature
- 2 stick unsalted butter
- 2 ½ tsp baking powder
- 2 tsp vanilla extract
- 1 ½ cup whole milk
- 1 tsp salt
For the buttercream frosting:
- 2 lb sifted powdered sugar
- 1 lb butter room temperature
- ½ cup raspberry jam
- 1 tsp vanilla
- Red food coloring optional
- Fresh raspberries optional for garnish
Instructions
To make the cake:
- Preheat your oven to 350°F (175°C). Prepare three 8-inch cake pans by buttering, flouring, and lining them with parchment paper. Set them aside.
- Sift the cake flour, baking powder, and salt into a bowl. In a separate container, combine the vanilla extract with the milk and set both aside.
- In a stand mixer or using a hand mixer set to medium speed, cream the butter and sugar together for about 5 minutes until light and fluffy.
- Scrape down the sides of the bowl, then add the eggs one at a time. Allow each egg to fully incorporate, about 15 seconds, before adding the next. Scrape down the bowl again to ensure everything is evenly mixed.
- Mix in the raspberry puree or jam until it is fully combined and the batter takes on a fruity aroma and slight color.
- Reduce the mixer speed to low. Gradually add the dry ingredients in three parts, alternating with the wet milk mixture. Begin and end with the dry ingredients, mixing just until combined after each addition.
- If desired, add a few drops of red food coloring for a richer raspberry hue,
- Optional: Add in food coloring at this point.
- Gently fold the batter with a spatula to ensure everything is evenly incorporated. Divide the batter evenly between the 3 prepared pans. Smooth the tops with a spatula.
- Bake the cakes for 17–22 minutes, or until a toothpick inserted in the center comes out with a few crumbs. Keep an eye on them after 17 minutes. When your kitchen smells like cake, they’re likely close to done. Cool the cakes completely before frosting.
To make the raspberry buttercream frosting:
- Beat the butter on medium speed for 5 minutes until it becomes light and creamy. Then, reduce the speed to the lowest setting.
- Gradually add powdered sugar, about 2 cups at a time, mixing on low until each addition is fully incorporated. Continue adding sugar until all is blended into the butter.
- Gradually add powdered sugar, about 2 cups at a time, mixing on low until each addition is fully incorporated. Continue adding sugar until all is blended into the butter.
Assembling the cake:
- Place one cake layer on a serving plate. Spread a thin layer of raspberry buttercream. Top with the second cake layer. Repeat with the desired stacks.
- Use an offset spatula to coat the entire cake with buttercream, smoothing it out for a polished look.
Nutrition

Styling and DIY’s by Sugar & Cloth // Photography by Kimberly Chau // Desserts by Buttercup // Illustrations by Lisa Chow // Mint green and white cake stands and bunting c/o Minted // Gold flatware and serving utensils West Elm
Don’t forget to share your raspberry layer cake with us on Instagram using the hashtag #sugarandclothloves. We always love seeing all of your creations! Looking for more quick and delicious recipes? You can find them all right here.
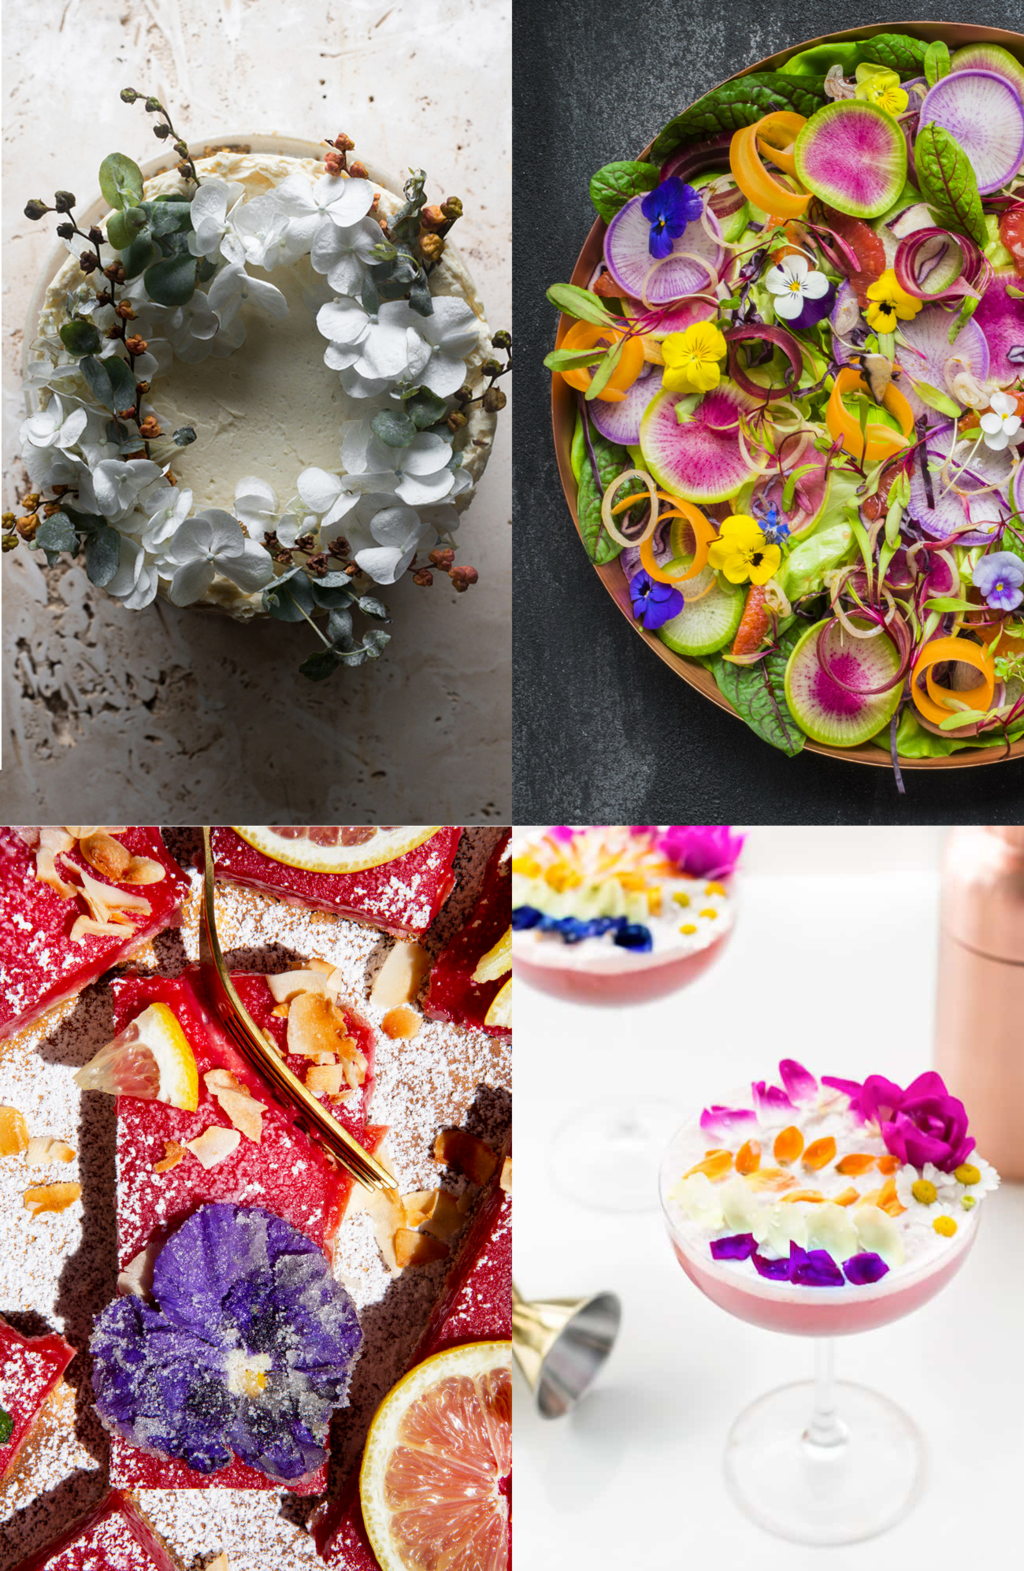
26 Edible Flowers Recipes
Sharing a collection of edible flowers recipes for you to…
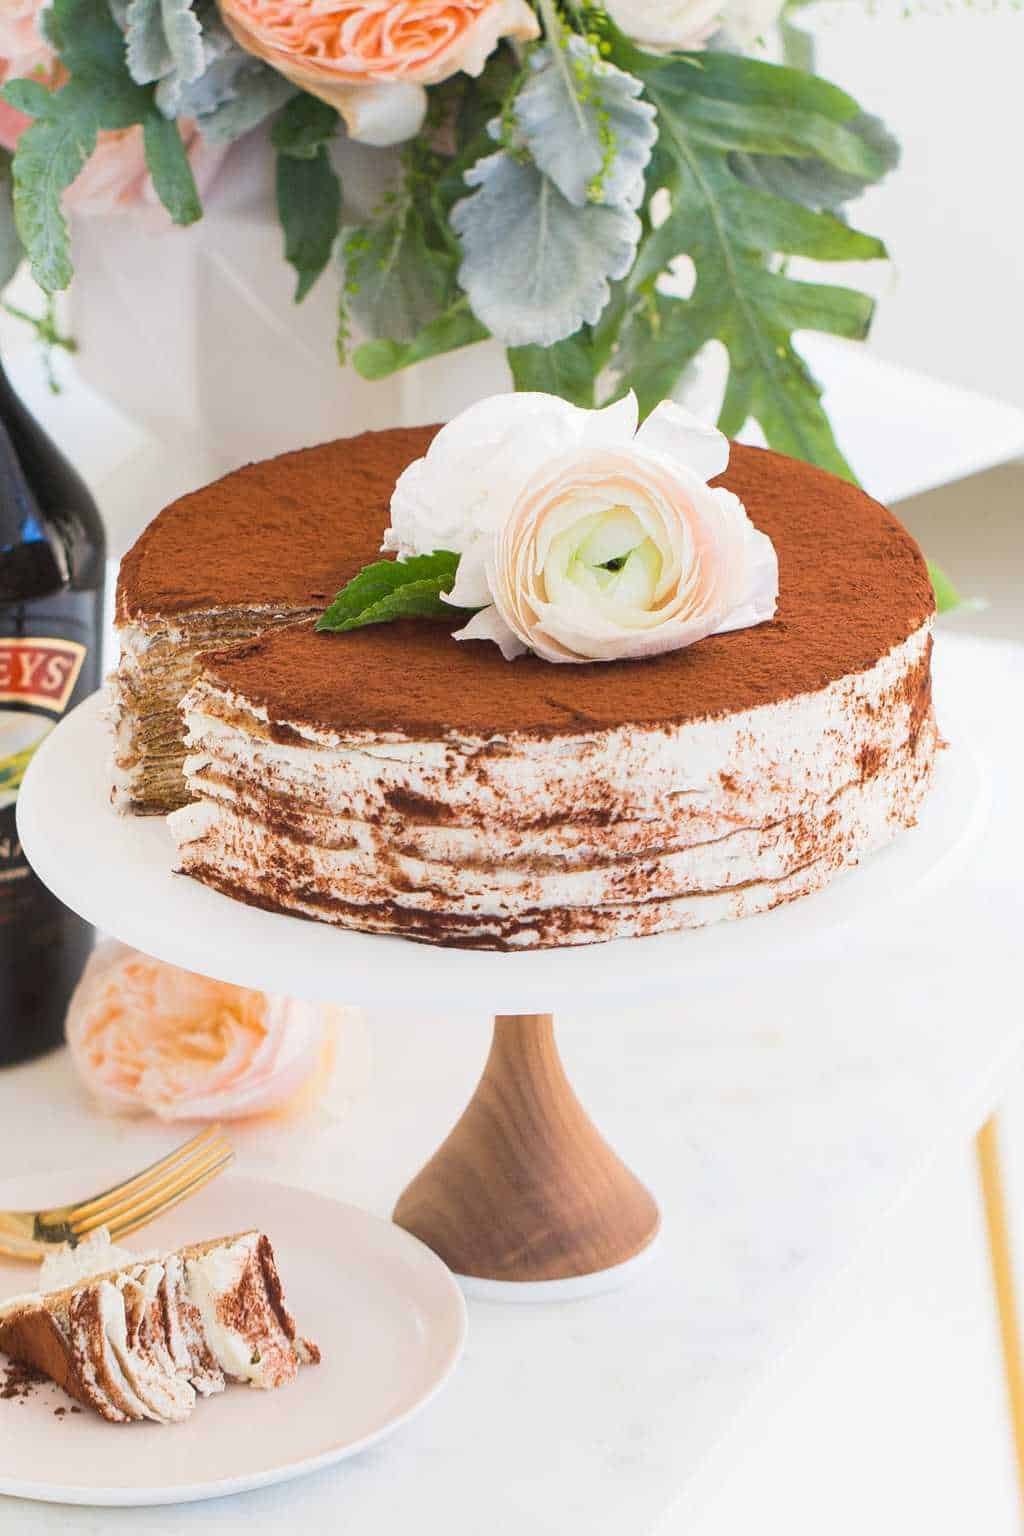
Baileys Tiramisu Crepe Cake Recipe
Infused with Baileys and using crepes as a twist on…
40 Delicious Easter Desserts to Sweeten Your Celebration
Get inspired by these festive and easy-to-make Easter desserts that…
Continue Reading 40 Delicious Easter Desserts to Sweeten Your Celebration
34 Decadent Desserts for Valentine’s Day
Sweeten up your celebration with these irresistible desserts for Valentine’s…
Please note that we may earn a commission for some of the above affiliate links. However, products featured are independently selected and personally well-loved by us!
This is the raspberry cake recipe I have been looking for! Every recipe I have found calls for raspberry puree, which I don’t want to make because I don’t want to deal with seeds. I am so happy yours has the option to use jam. I have one question: Does the raspberry buttercream pipe well? I would like to do some elaborate piping on the cake. Thank you.
Hi Rachel! Buttercream is actually a better cream to pipe with than most frostings like whipped cream. We aren’t sure how elaborate it can hold up though but it should do the job! If you are going to be doing an elaborate design, we highly recommend that you completely cool the cake and even let it sit in the fridge and don’t make the frosting way in advance. It’s best made right before you plan to pipe it. Hope this helps! We’d love to see how it turns out!
When the directions say to add the eggs are we adding 3 whole eggs and then the 3 egg yolks? It seems like a lot of egg so I figured I would check.
Yes, it is 3 eggs and 3 yolks! It comes together nice and creamy!
Delicious cake! Too dense but I’m working on it. Still delicious! Used a strainer to remove seeds from smuckers natural raspberry. It was amazing! Never had cake this good.
I was really excited to try this cake. Unfortunately, I’ve been left disappointed. As others have said, it tastes good, but is really heavy and dense. It also really doesn’t taste that’s strongly of raspberries.
I made this for my daughter’s 20th birthday. The taste was great, but the cake was heavy and dense. Not what I expected. Too many eggs/yolks? And even with food coloring I didn’t get the nice color.
your cake looked beautiful, so I decided to use it for one of the layers of a wedding cake….I used raspberry coolie…which by the way is quite expensive….as you suggested and it turned a muddy purple color…very disappointed not to mention the expense of a double recipe.
Can this be converted to cupcakes? I’m assuming yes? just change the back time?
Exactly!
this is too too cute!
not to be ‘that person,’ but you know ‘infamous’ means…being famous for a bad quality/deed?
This looks SO stinking good. I would like it in my belly now.
When do you add the jam for the frosting? Thanks!
Hi Heather! You add the jam for the frosting after all the sugar has been added, Hope this helps!
Thanks! I made it today- delicious!
If only there was a way to get this cake to magically jump off this page and into my lap for my guilty pleasure of sweets!
just adorable! so funny, i just a very similar cake but with strawberry preserves! love the use of jam in a cake for flavouring… gorgeous cake, kristina! xo
I love pink cakes! This one looks flawless.
This is so pretty & looks delicious!
Kristin
Crumbs & Curls
This looks so gorgeous! And delicious ;)
Yes, please. That is beautiful!