DIY Cork Storage Box
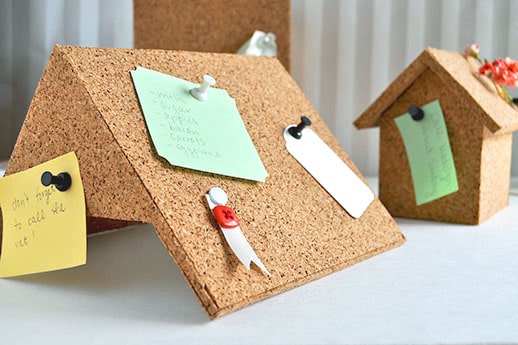
Store your office supplies inside and pin some of your prettier notes on the outside of this DIY Cork Storage Box!
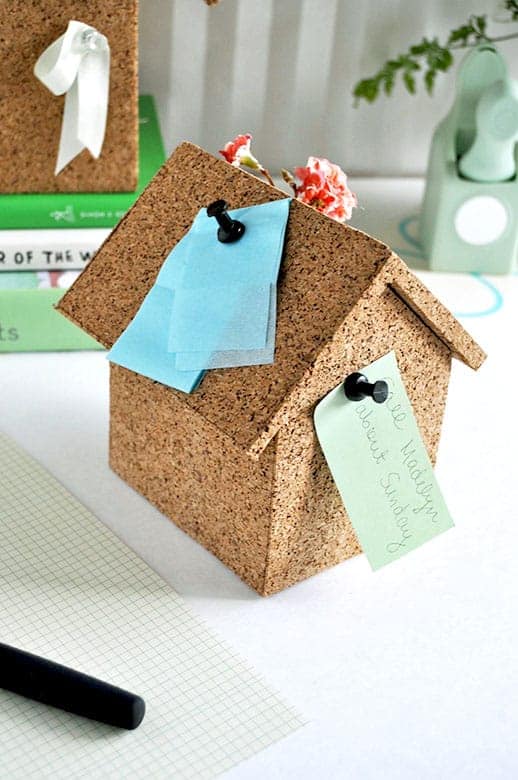
Looking for a fun and functional DIY project that will add both style and organization to your workspace? This DIY Cork Storage Box is the perfect way to showcase your creativity while keeping your desk neat and tidy. Designed to look like a charming little cork house, this storage box doubles as a practical tool for managing your office supplies and a decorative piece for pinning your favorite post-it notes on the outside.
Whether you’re an office enthusiast or just need a cute way to store your pens, paperclips, and more, this cork house will be a true asset to your space. It certainly has been for I, Kathleen after I came up with this fun DIY for my home office.
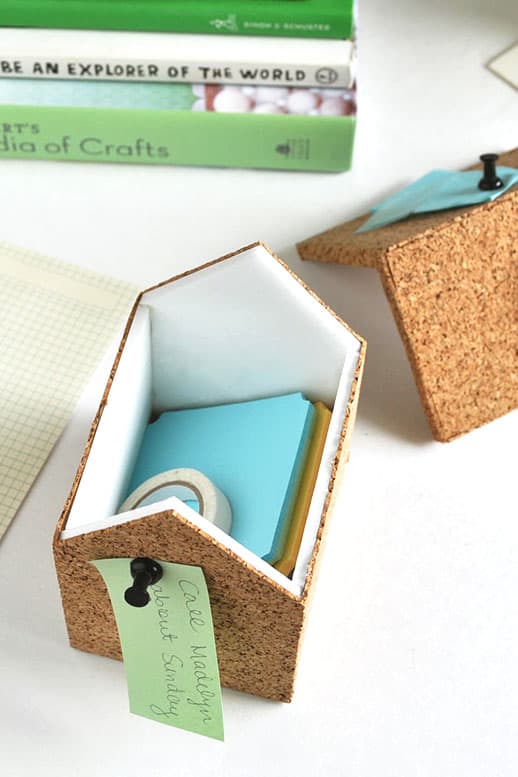
With simple materials like cork sheets, a few basic crafting tools, and a little bit of creativity, you can create this unique storage solution in no time. The outside of the house features a functional space for pinning post-it notes, reminders, or inspiration, while the inside opens up to store all your must-have office essentials and cute desk accessories. Ready to bring this adorable DIY project to life and organize your desk in the most stylish way? Let’s get started!
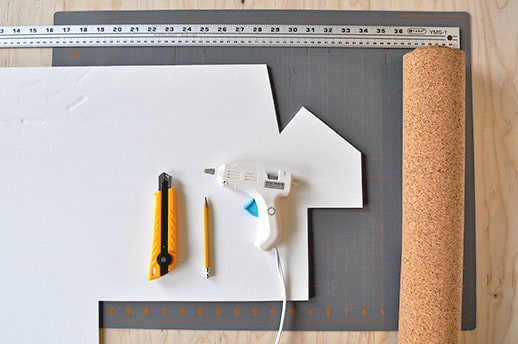
Materials and Tools Needed
- Foam board
- Self adhesive cork — Available at hardware stores by the roll. If you have any leftover cork, you can also make some DIY cork coasters or DIY desk organizer.
- Ruler
- Exacto knife
- Hot glue gun
- Cutting mat
How to Make a DIY Cork Storage Box
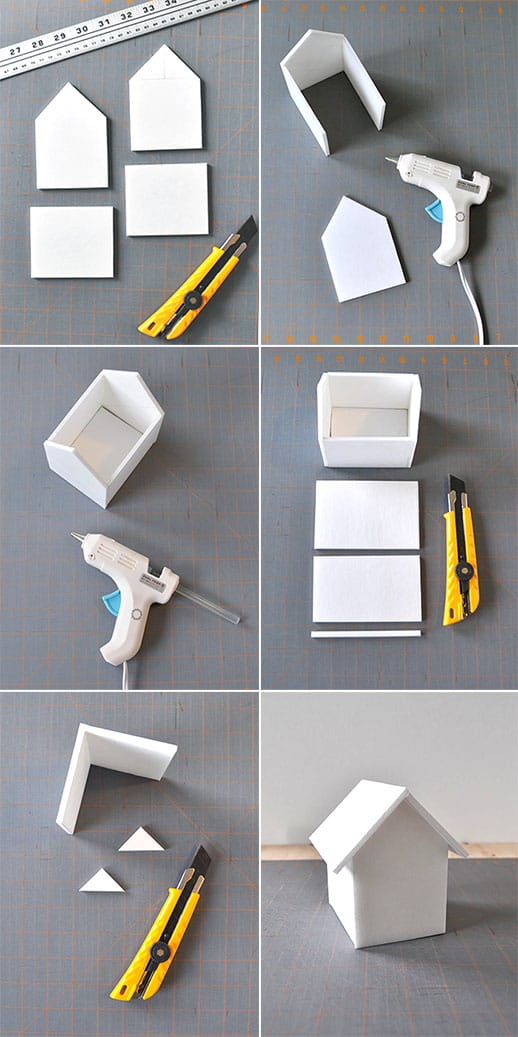
1 — Create the walls of the house: Using your exacto knife, cut out the front and side walls of your cork house. For the front wall, draw a 3” square and add a 1 ½” triangle on top for the roof. The side walls should each be 3” x 3 ½”.
2 — Assemble the structure: Hot glue the walls together to form the shape of your house.
3 — Add the bottom: Cut a piece of foamcore to fit inside the walls for the bottom of the box. Glue it in place to create a sturdy base.
4 — Create the roof: Cut 2 foamcore pieces, each measuring 3” x 4 ½”. Trim ¼” off one piece. Next, glue the roof pieces together to create a 90-degree angle, ensuring the longer piece is on top for symmetry. For added support, cut two small foamcore triangles and glue them about 1” from each end of the roof.
5 — Assemble the foamcore house: Once the roof is in place, you should have a completed foamcore house!
6 — Add the cork covering: Cut pieces of the self-adhesive cork slightly bigger than each foamcore wall. Peel off the backing and carefully adhere the cork to the walls. Use your exacto knife to trim any overhanging cork. Repeat for all four walls and the roof, making sure to cover the underside of the roof that overhangs the walls.
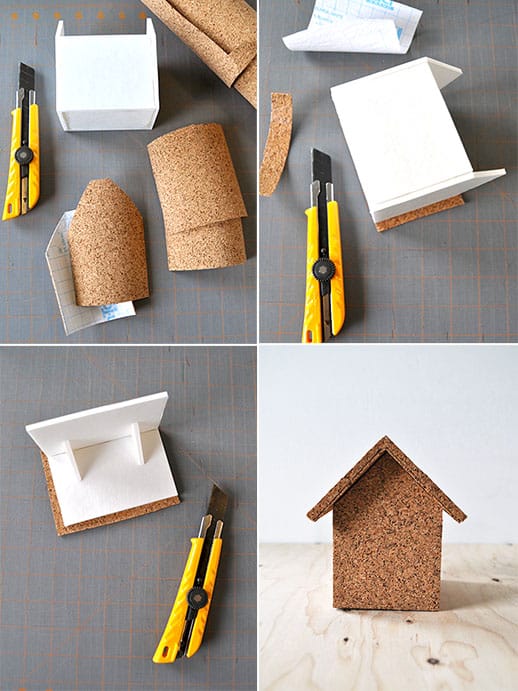
Now you have a functional, cork-covered house to store office supplies and organize your desk! Pin your favorite post-it notes or reminders on the outside walls for added flair.
Tutorial Notes and Tips
- Trim cork carefully: Use a ruler as a guide to trim overhanging cork neatly and evenly.
- Use clips or rubber bands for roof support: Hold roof pieces in place with clips or rubber bands while the glue dries to ensure proper alignment.
- Maintain cork surface: Dust the cork regularly and wipe it gently with a damp cloth if it gets dirty. Avoid using harsh chemicals.

More Easy Organization Ideas and Projects

DIY Cork Storage Box
Equipment
- Cutting mat
- Ruler
- Exacto knife
- Hot glue gun and glue sticks
Materials
- 5 foam board
- 1 cork roll self-adhesive
Instructions
- Create the walls of the house: Using your exacto knife, cut out the front and side walls of your cork house. For the front wall, draw a 3” square and add a 1 ½” triangle on top for the roof. The side walls should each be 3” x 3 ½”.
- Assemble the structure: Hot glue the walls together to form the shape of your house.
- Add the bottom: Cut a piece of foamcore to fit inside the walls for the bottom of the box. Glue it in place to create a sturdy base.
- Create the roof: Cut 2 foamcore pieces, each measuring 3” x 4 ½”. Trim ¼” off one piece. Next, glue the roof pieces together to create a 90-degree angle, ensuring the longer piece is on top for symmetry. For added support, cut two small foamcore triangles and glue them about 1” from each end of the roof.
- Assemble the foamcore house: Once the roof is in place, you should have a completed foamcore house!
- Add the cork covering: Cut pieces of the self-adhesive cork slightly bigger than each foamcore wall. Peel off the backing and carefully adhere the cork to the walls. Use your exacto knife to trim any overhanging cork. Repeat for all four walls and the roof, making sure to cover the underside of the roof that overhangs the walls.

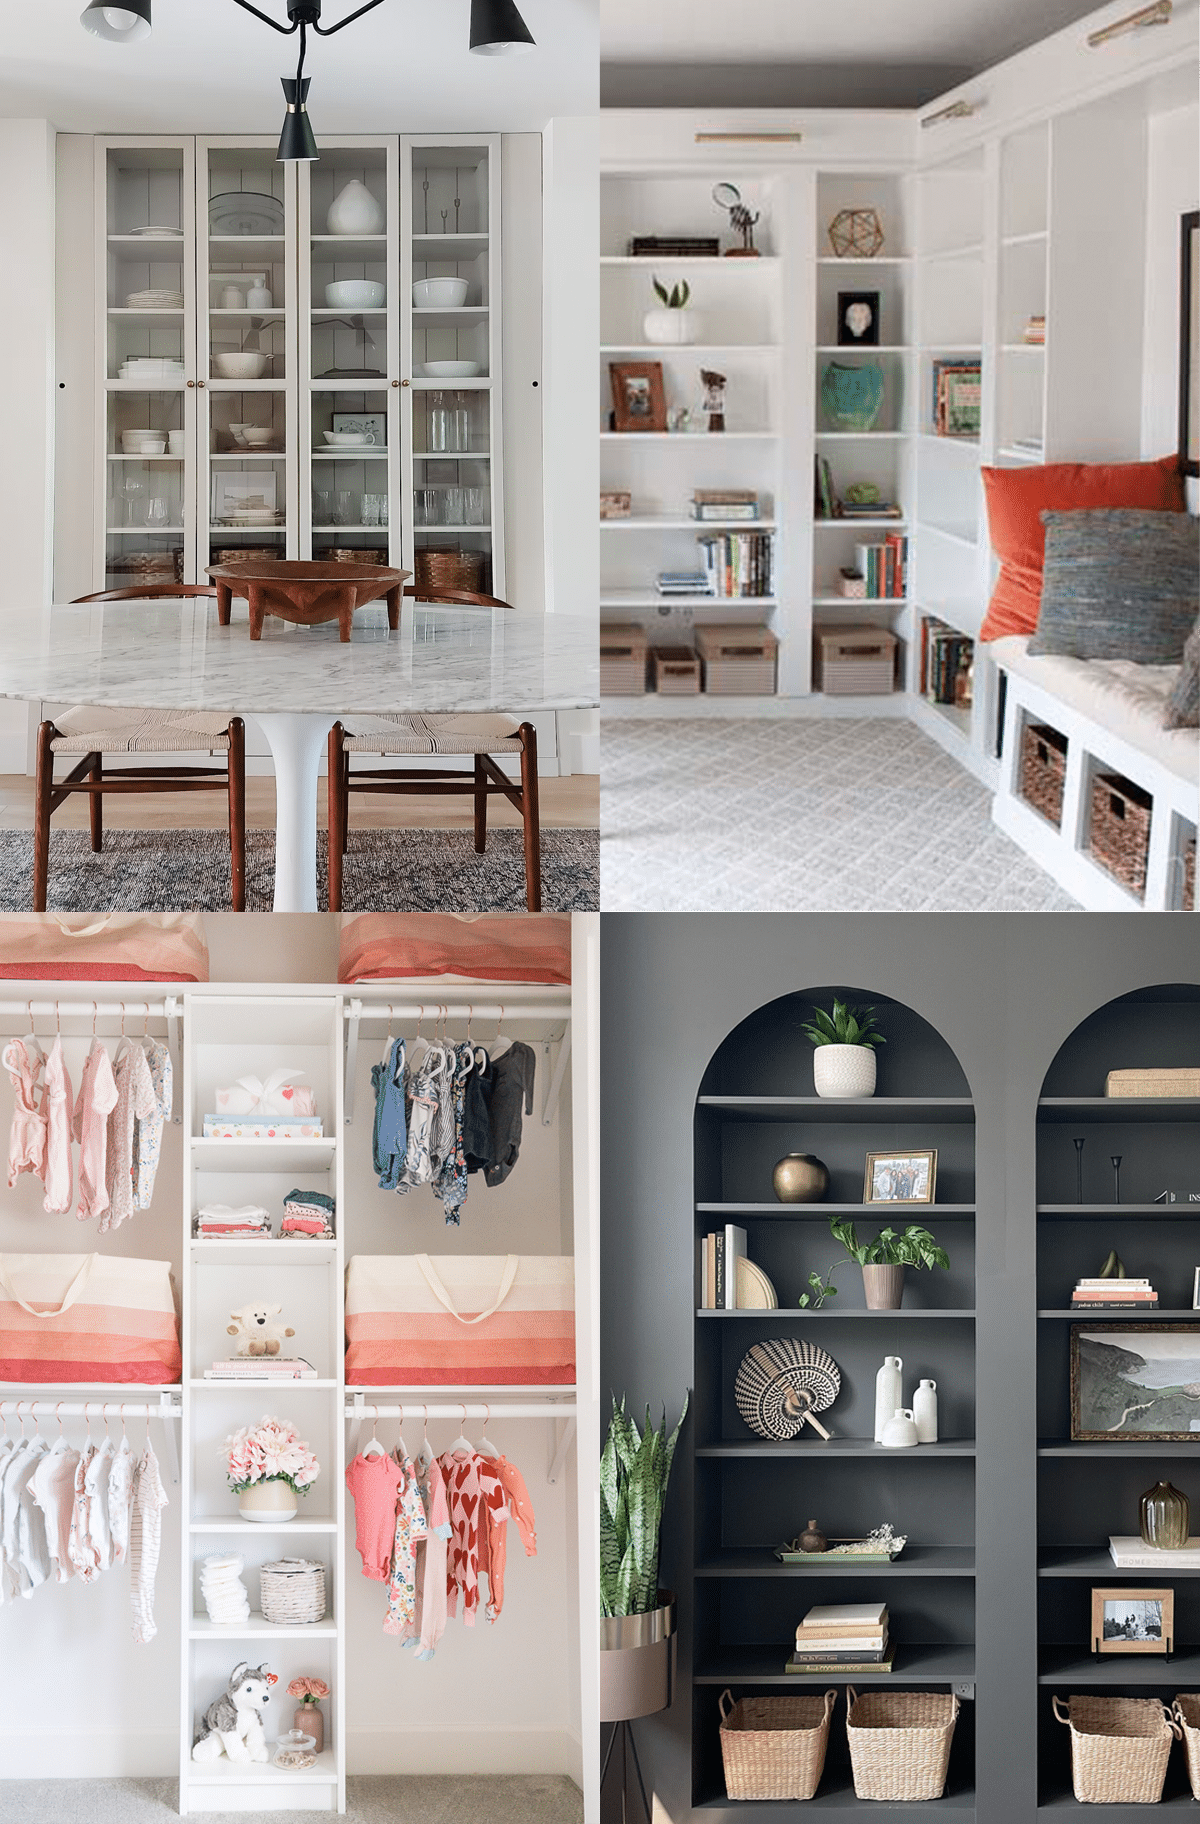
Easy IKEA Billy Hacks Anyone Can DIY at Home
Get inspired by clever IKEA Billy hacks for living rooms,…
Continue Reading Easy IKEA Billy Hacks Anyone Can DIY at Home
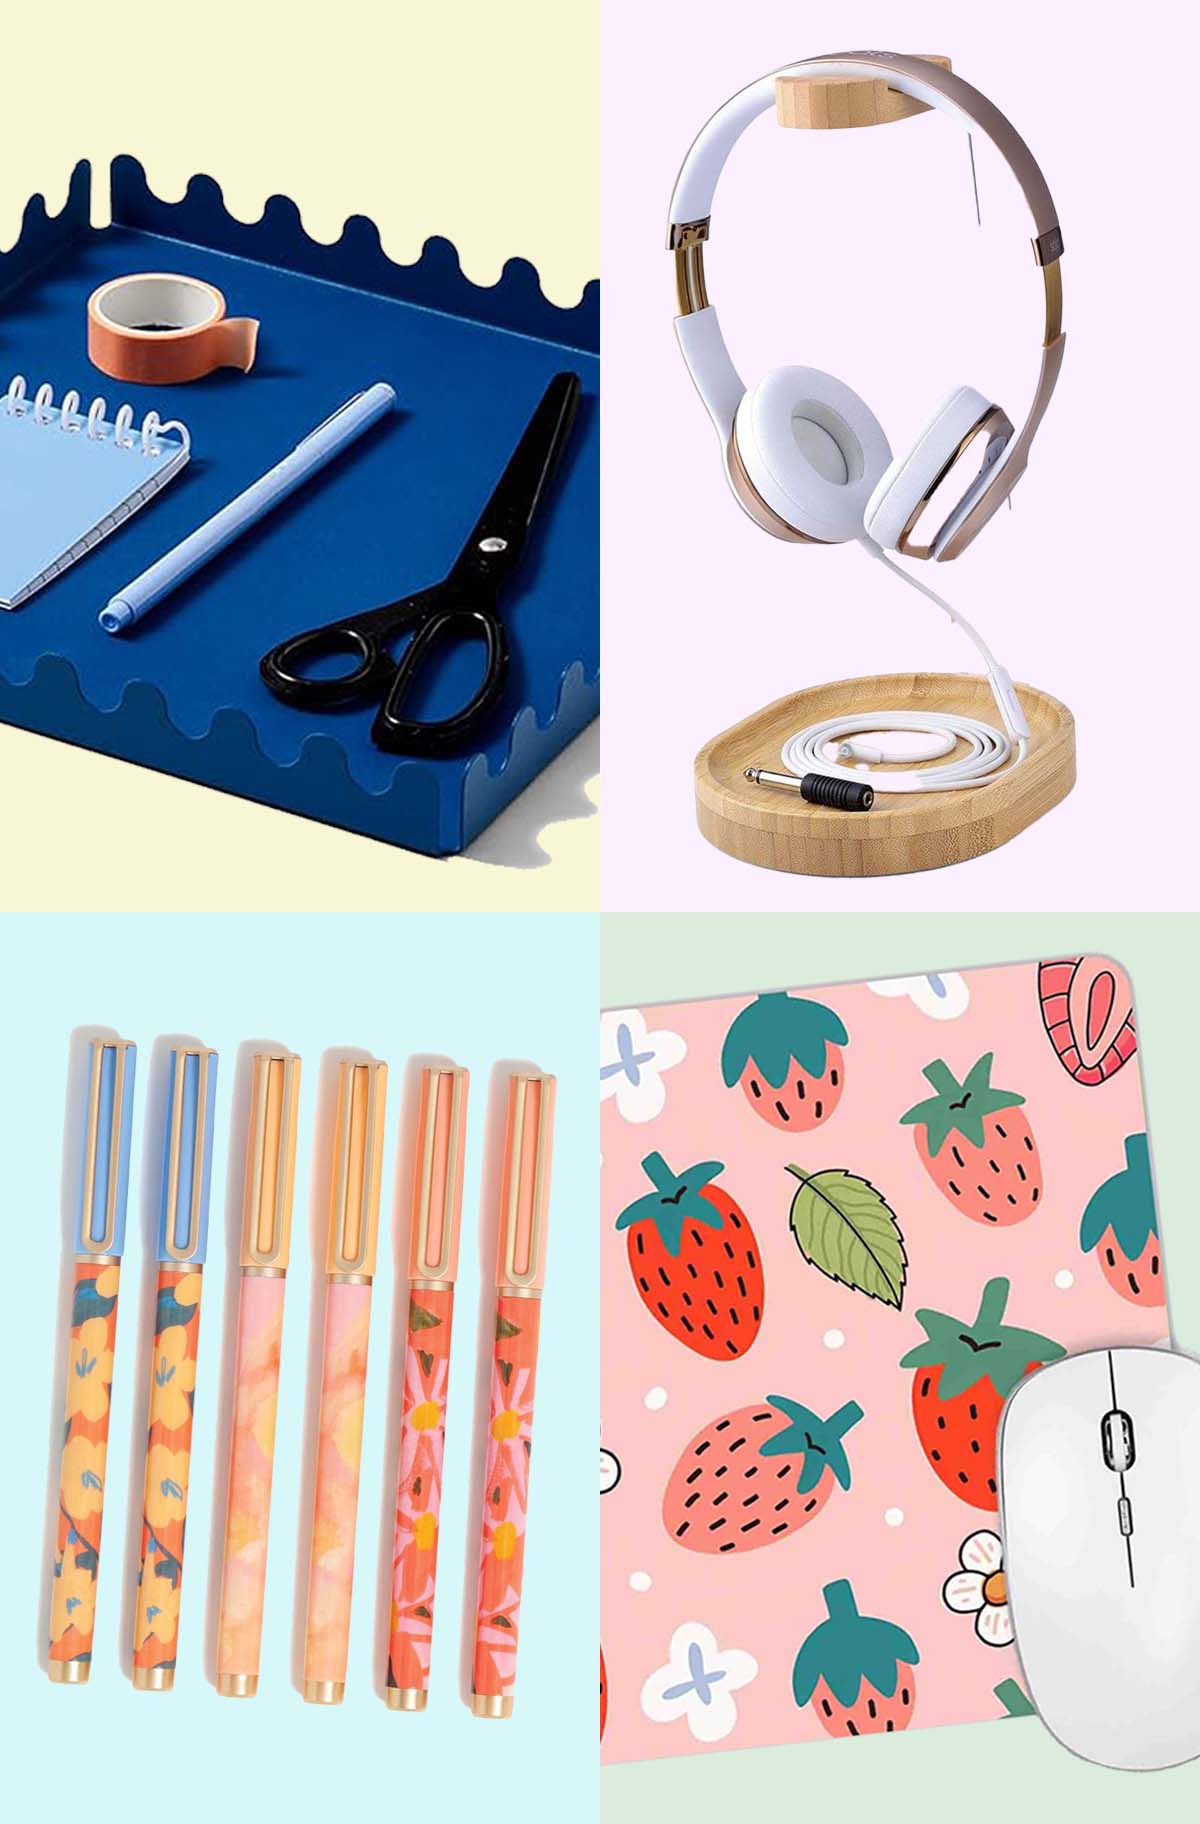
46 Cute Desk Accessories to Brighten Your Workspace
From colorful pens to quirky paperweights, spruce up your work…
Continue Reading 46 Cute Desk Accessories to Brighten Your Workspace
19 Unique & Easy Houseplants that We’re Loving
Looking for unique house plants? Dive into our guide to…
Continue Reading 19 Unique & Easy Houseplants that We’re Loving
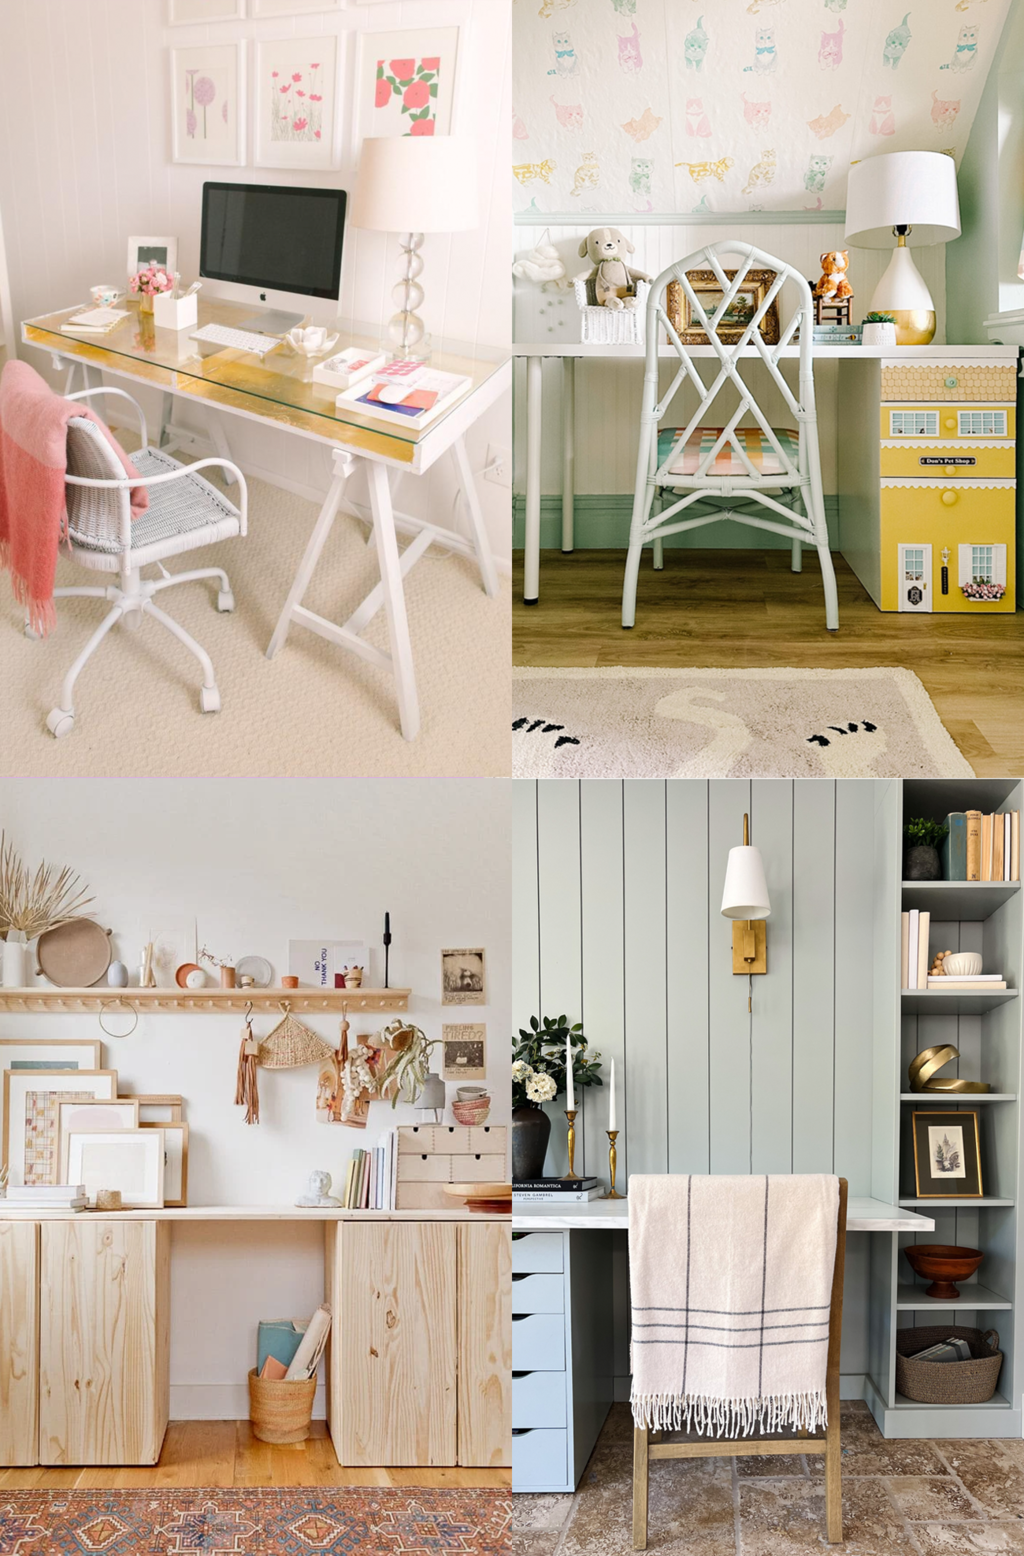
16 Genius Ikea Desk Hacks You Need In Your Life
Discover the ultimate IKEA desk hack guide for a stylish…
Continue Reading 16 Genius Ikea Desk Hacks You Need In Your Life
Please note that we may earn a commission for some of the above affiliate links. However, products featured are independently selected and personally well-loved by us!
Those are adorable! What a great idea.
Thanks, Jeannie!
Great idea! We recently installed cork tiles on our wall (cork wall looks great – http://www.corkstore.com/Products/Tackboard-Wall-Tiles ). I am going to use the left-over pieces to make these houses. Thanks for the tutorial.
This is very clever!!
I’ve been looking for a way to organize, and save all my notes-to-self. This is perfect!
Irony: I just pinned this (haha)
So adorable.
So clever! I love it.