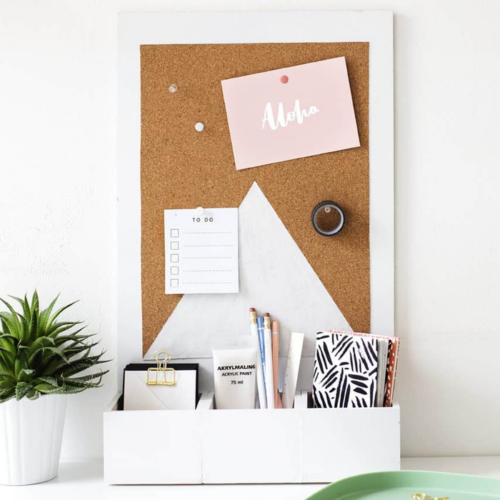
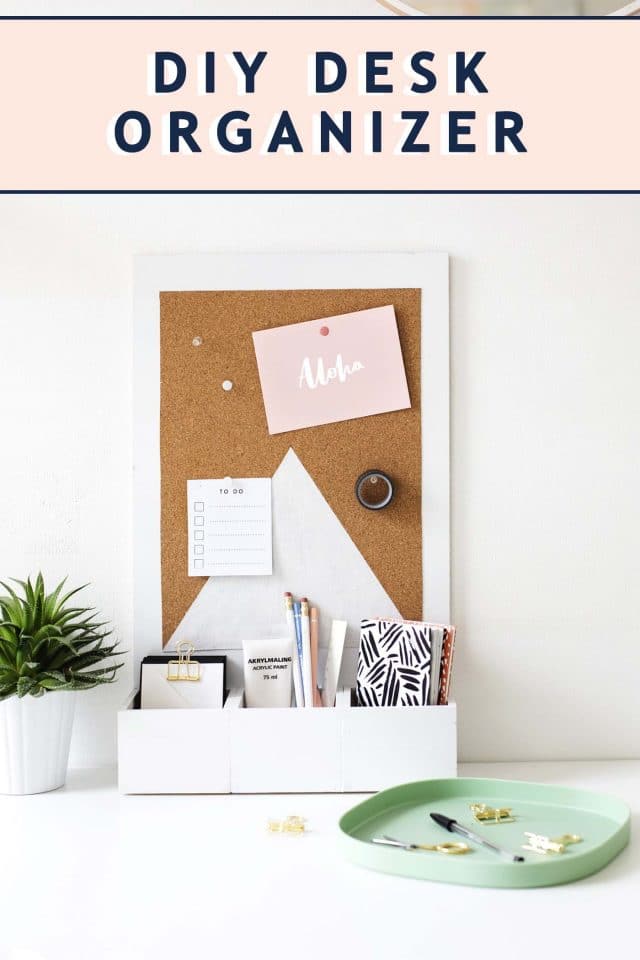
DIY Desk Organizer
For keeping your pretty office things on display, a super easy and modern DIY Desk Organizer with a cork board that requires no nails, hammers or drills to make.
Some of us wish we could muster the headspace to be more organized. And others of us live and breathe organization down to every last detail. Whether you’re either of the above, we all know the importance of keeping our desks ship shape throughout the week. A clear and tidy space makes for a clear and tidy mind, right?
I, Teri can’t say I’m always the best at this. But let’s just say that I have very orderly aspirations. I really do work so much better when everything has its home. And my lists are right there in front of me, dictating what I do next. Apparently, I’m a simple creature.
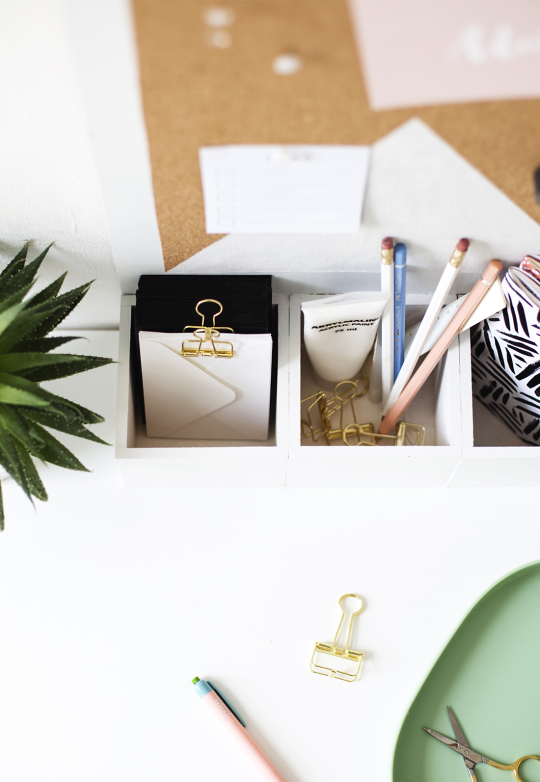
This DIY project is much simpler than it looks and gives you an easy way to keep some of your supplies in check, along with a pin board to tac your important lists, receipts, reminders or even just some much needed inspiration to.
The desk organizer doesn’t involve any hammers, nails or drills (which is always a bonus if you ask me). Along with that, it’s freestanding, which means no nails in the wall. So it’s perfect for renters or the more indecisive of us who can’t commit to where they want to work. Plus, this cute desk accessory is super easy and versatile so there’s no excuse not to whip up one for yourself!
Materials Needed
- Wooden boxes — No lids or lids removed
- MDF wood sheet — 10mm thick and cut to correct size
- Self adhesive cork sheet — 5mm thick or more
- Scalpel/X-acto Knife
- Ruler
- Painters tape or washi tape
- Spare paper
- White spray paint
- Strong wood glue
Office Organization: Making The Bulletin Board
The backing board of this desk organizer is simply a MDF wood sheet at your desired size. 10mm or more is an ideal wood thickness in order to hold up your cork board.
Just measure how tall you want your board to be, and make sure the width is the total of all three of your wooden boxes laid side by side.
You can just head to your nearest commercial hardware store to purchase sheet and ask them to trim the wood to your exact measurements.
Your local hardware store should also have cork board that they can custom cut or you can purchase a roll online. If you are unable to find a self adhesive cork sheet, simply attach the cork to the wood sheet with wood glue.
How to Make a DIY Desk Organizer
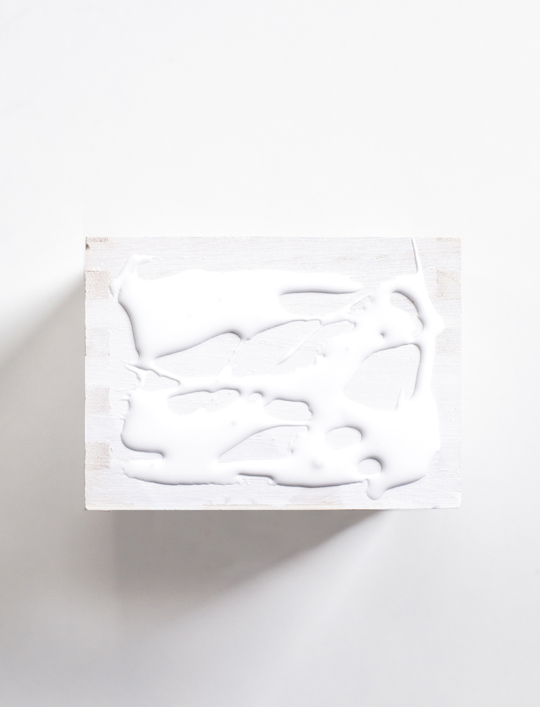
1 — Start by spray painting the wood and boxes white. Cover your surface and do this in a well ventilated area. Lay down thin coats of spray paint and allow each to dry in between.
2 — When the wood and boxes dry, squeeze some of the wood glue on the sides of the boxes to stick them together. Make sure the glue doesn’t go right to the edge when you’re applying.
The 3 boxes should be joined together, side by side with the open ends facing the top. Apply a bit of pressure for a minute or two hold them together.
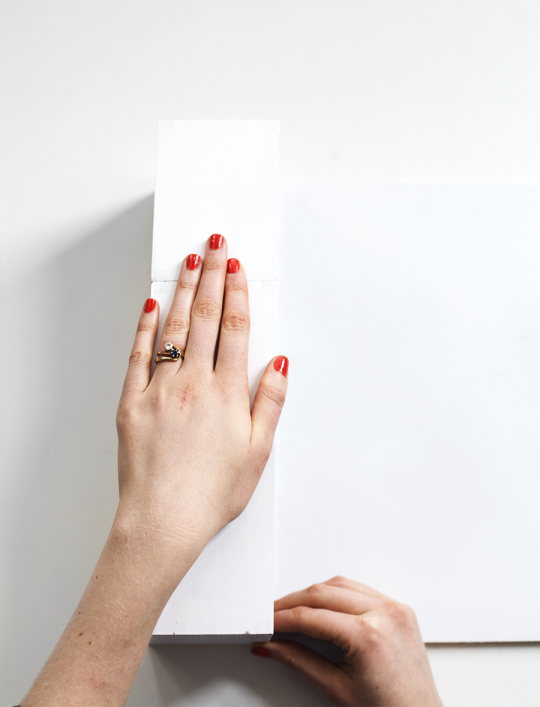
3 — After about 15 minutes, the glue will have started to set. So now you can squeeze some wood glue onto the back of the boxes and the bottom of the wood board to stick these parts together.
Make sure to line up the bottom of the boxes with the bottom of the wood as this will create a right angle for the organiser to stand straight upright.
Apply some pressure again for a minute. And then leave to dry, preferably overnight.
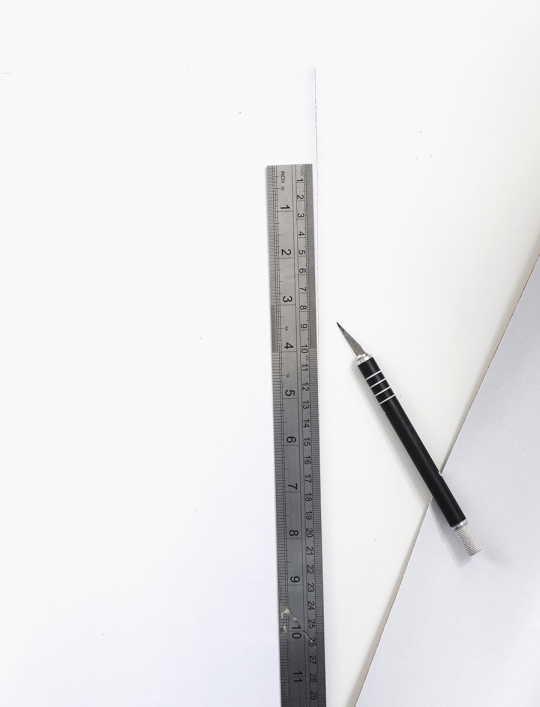
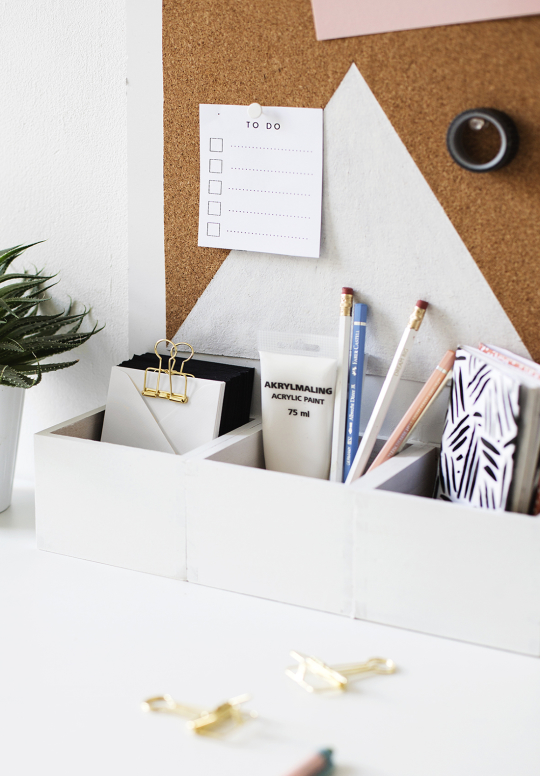
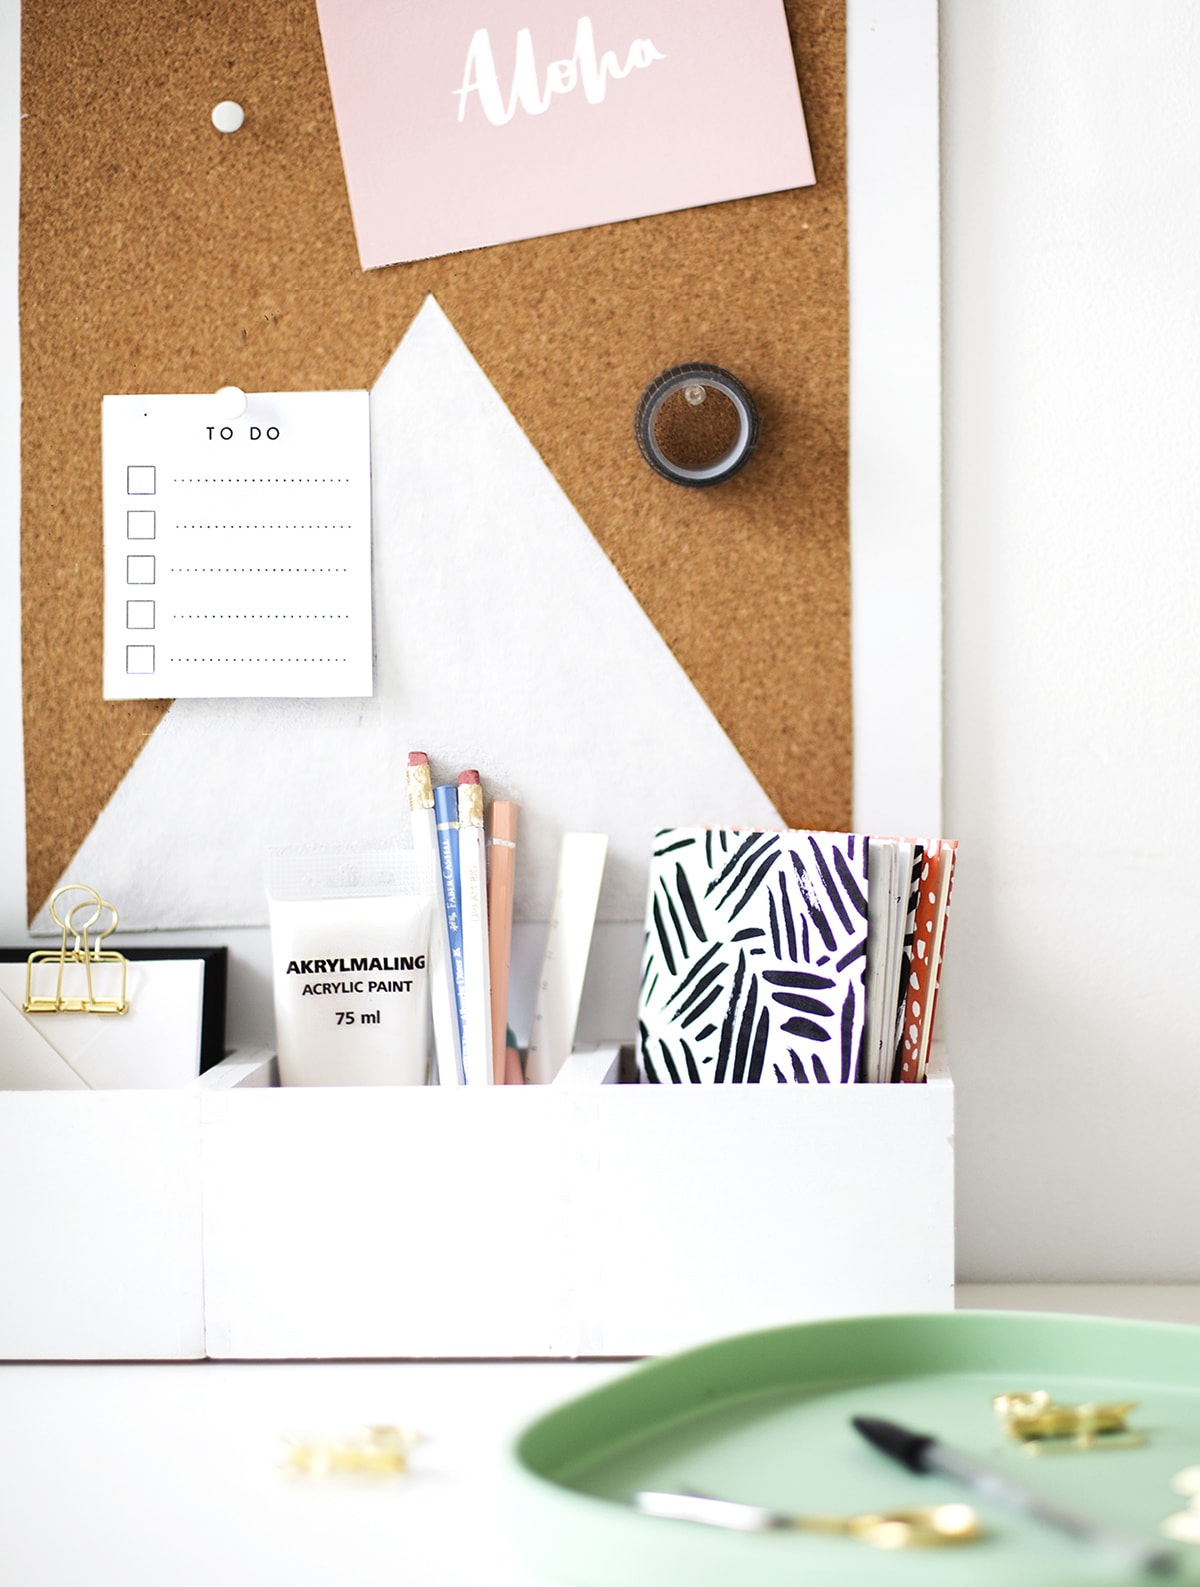
4 — Now you can see the space you have for the pin board. So use a ruler to measure how big your cork section needs to be to fill the space.
It’s nice to leave about an inch white border around the edges.
When you’ve measured this, draw out the shape on the back (the peelable side) of the cork. Cut this out with a scalpel and ruler.
Painting Your Cork Board Design
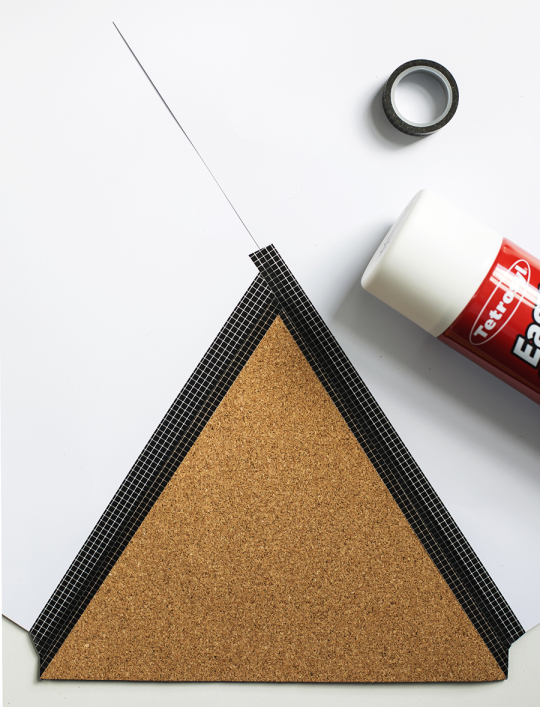
5 — On the front of the cork sheet, measure a centre point within the width and use this to create the triangle shape.
Place the painter’s tape or washi tape on that centre point and lead it down to the bottom corner, repeating on the other side.
A central point closer to the bottom will result in a shorter triangle and vice versa. Tape the spare paper to cover the rest of the cork so that the only part that’s showing is the part you want white.
Spray paint this section with a few light coats. Watch out as some spray paints don’t take to cork well, in which case you can easily use a few coats of white paint.
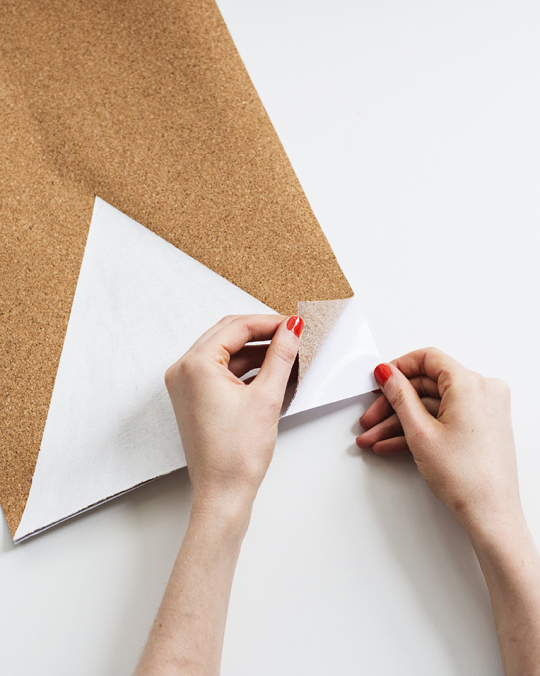
6 — Remove the tape and spare paper once dry and peel away a corner of the backing paper. Place this on the wood panel, lining it up before you stick.
Once stuck you can pull the rest of the backing away slowly, sticking as you work your way across the wood. Smooth out and you’re all done!
Different Ways to Customize Your DIY Bulletin Board
You can play around with colors and shapes to spray paint on the cork board. But we love this fresh and minimal triangle version to brighten up any workspace. Get out your drawing pins and start adding reminders and inspiration along with filling the boxes with all of those office strays.
Our workspace is already looking tidier, which is handy as we don’t even have a separate room to work in. Our home is all open plan so every little bit helps. Being that this DIY desk organizer is made of wood, it is a lot sturdy and holds up longer than your typical cardboard box organizers. Good luck in your own quest for a better organized desk!

Other DIY Organization Projects To Try
Keep your space clean and tidy with other DIY projects and office makeovers from our archives —
- Nesting desk organizer
- For your pens and pencils: Hexagonal desktop organizer
- Desktop dry erase board
- Geometric chalkboard desk
- Home office design makeover giveaway
- Studio renovation

DIY Desk Organizer
Equipment
- X-Acto knife or straight edge
- Ruler
- Painter's tape or washi tape
Materials
- 1-3 wooden box no lids required
- 1 MDF wood sheet 10mm thick and cut to correct size
- 1 Self adhesive cork sheet 5mm thick or more
- Paper
- White spray paint
Instructions
- Spray paint the wood sheet and boxes white. Lay down thin coats of spray paint and allow each to dry in between.
- When the wood and boxes dry, glue the sides of the three boxes together. The boxes should be lined side by side with the open ends facing the top. Apply pressure for 1-2 minutes to hold them together.
- Allow the glue to set, about 5 minutes.
- Glue the back of the boxes to the bottom of the wood board. Make sure to line up the bottom of the boxes with the bottom of the wood to create a right angle for the organizer to stand straight upright. Apply pressure again for a minute.
- Leave to dry, preferably overnight. Now you can see the space you have for the pin board.
- Use a ruler to measure how big your cork section needs to be to fill the space. Leave about an inch white border around the edges.
- With your measurements, draw out the shape on the back (the peelable side) of the cork. Cut this out with a scalpel and ruler.
- On the front of the cork sheet, measure a centre point within the width and use this to create the triangle shape.
- Place the painter’s tape or washi tape on that centre point and lead it down to the bottom corner, repeating on the other side. A central point closer to the bottom will result in a shorter triangle and vice versa.
- Tape the spare paper to cover the rest of the cork so that the only part that’s showing is the part you want white.
- Spray paint this section with a few light coats. Some spray paints don’t take to cork well so you may need few coats.
- Once the paint is dry, remove the tape and spare paper. Peel away a corner of the backing paper.
- Place this on the wood panel, lining it up before you stick. Once stuck, you can pull the rest of the backing away slowly, sticking as you work your way across the wood.
- Smooth out and you’re all done!

Affordable Wall Art: 54 Stylish Prints Under $200
Looking for affordable wall art that still makes a big…
Continue Reading Affordable Wall Art: 54 Stylish Prints Under $200
Easy IKEA Billy Hacks Anyone Can DIY at Home
Get inspired by clever IKEA Billy hacks for living rooms,…
Continue Reading Easy IKEA Billy Hacks Anyone Can DIY at Home
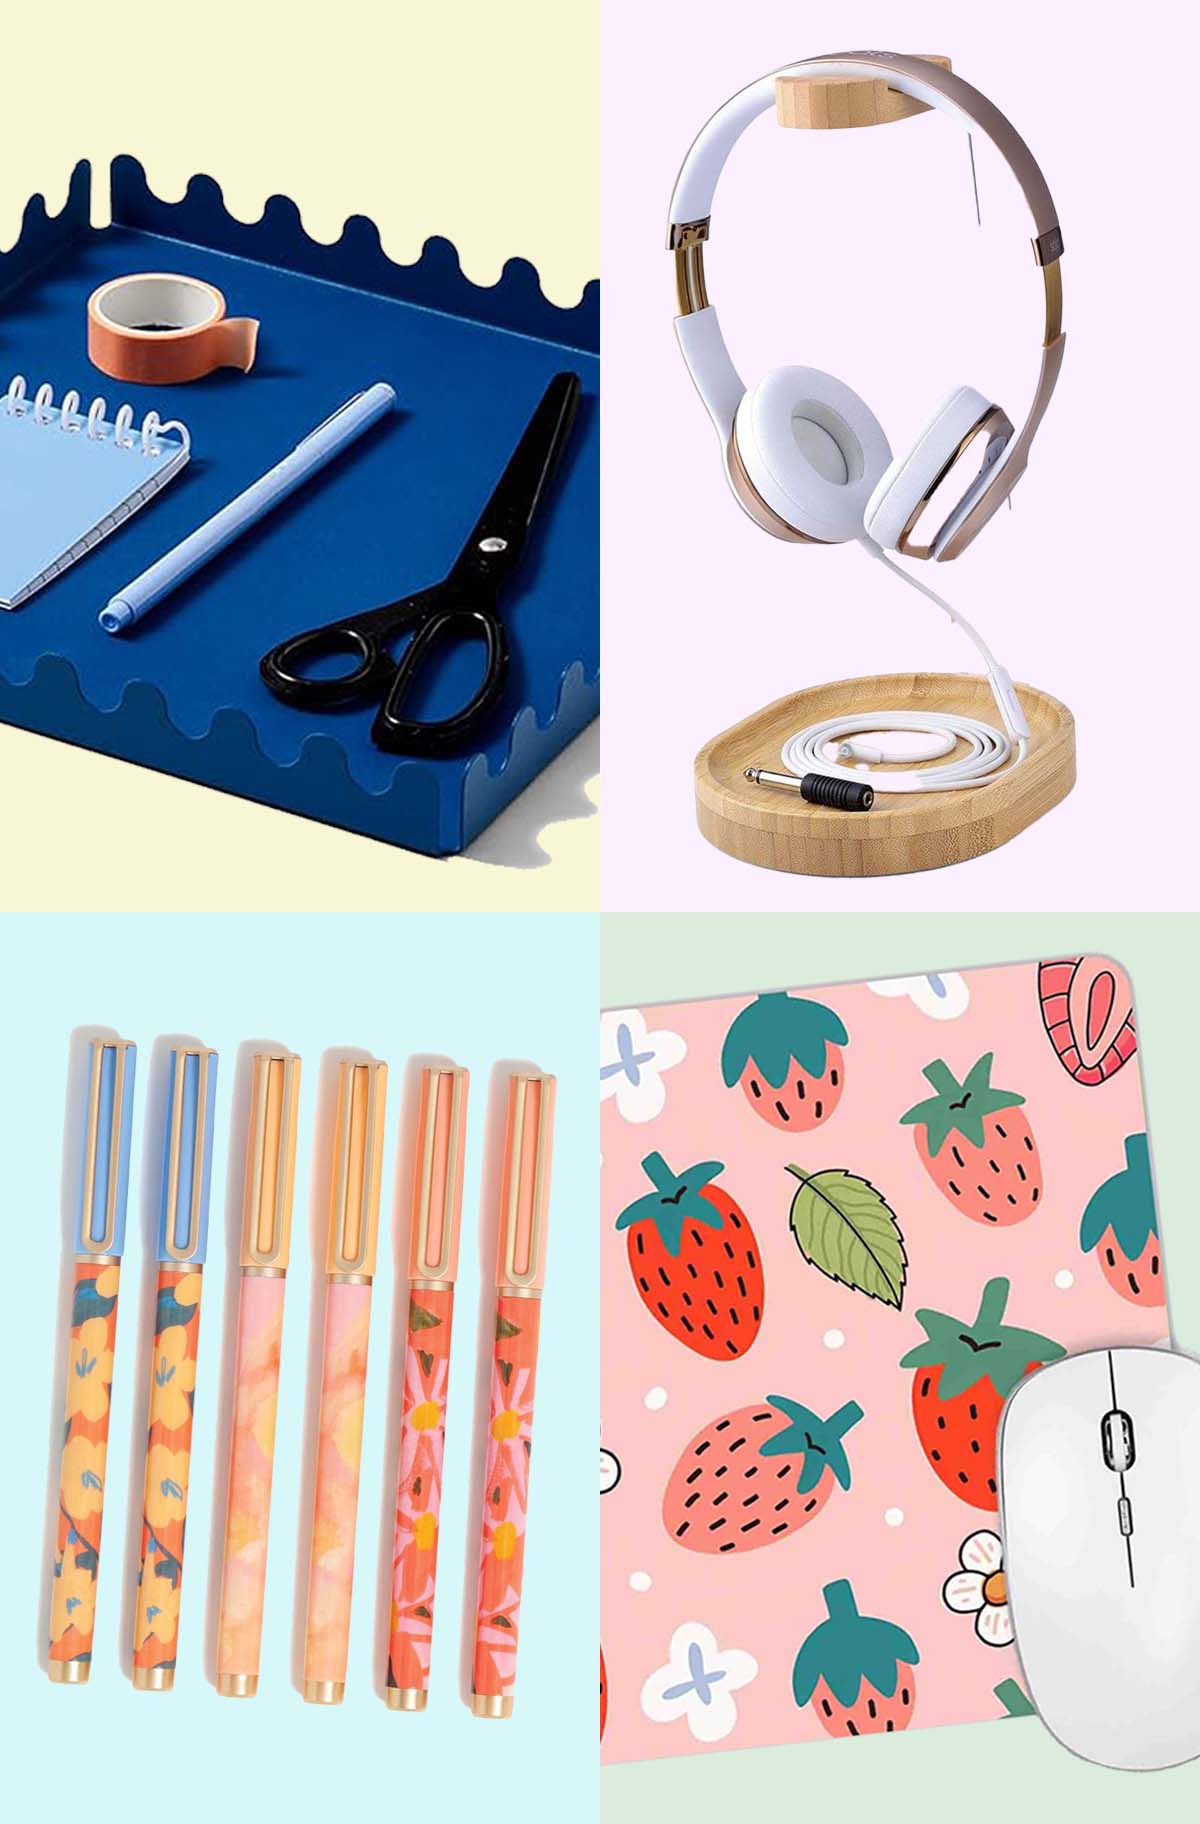
46 Cute Desk Accessories to Brighten Your Workspace
From colorful pens to quirky paperweights, spruce up your work…
Continue Reading 46 Cute Desk Accessories to Brighten Your Workspace
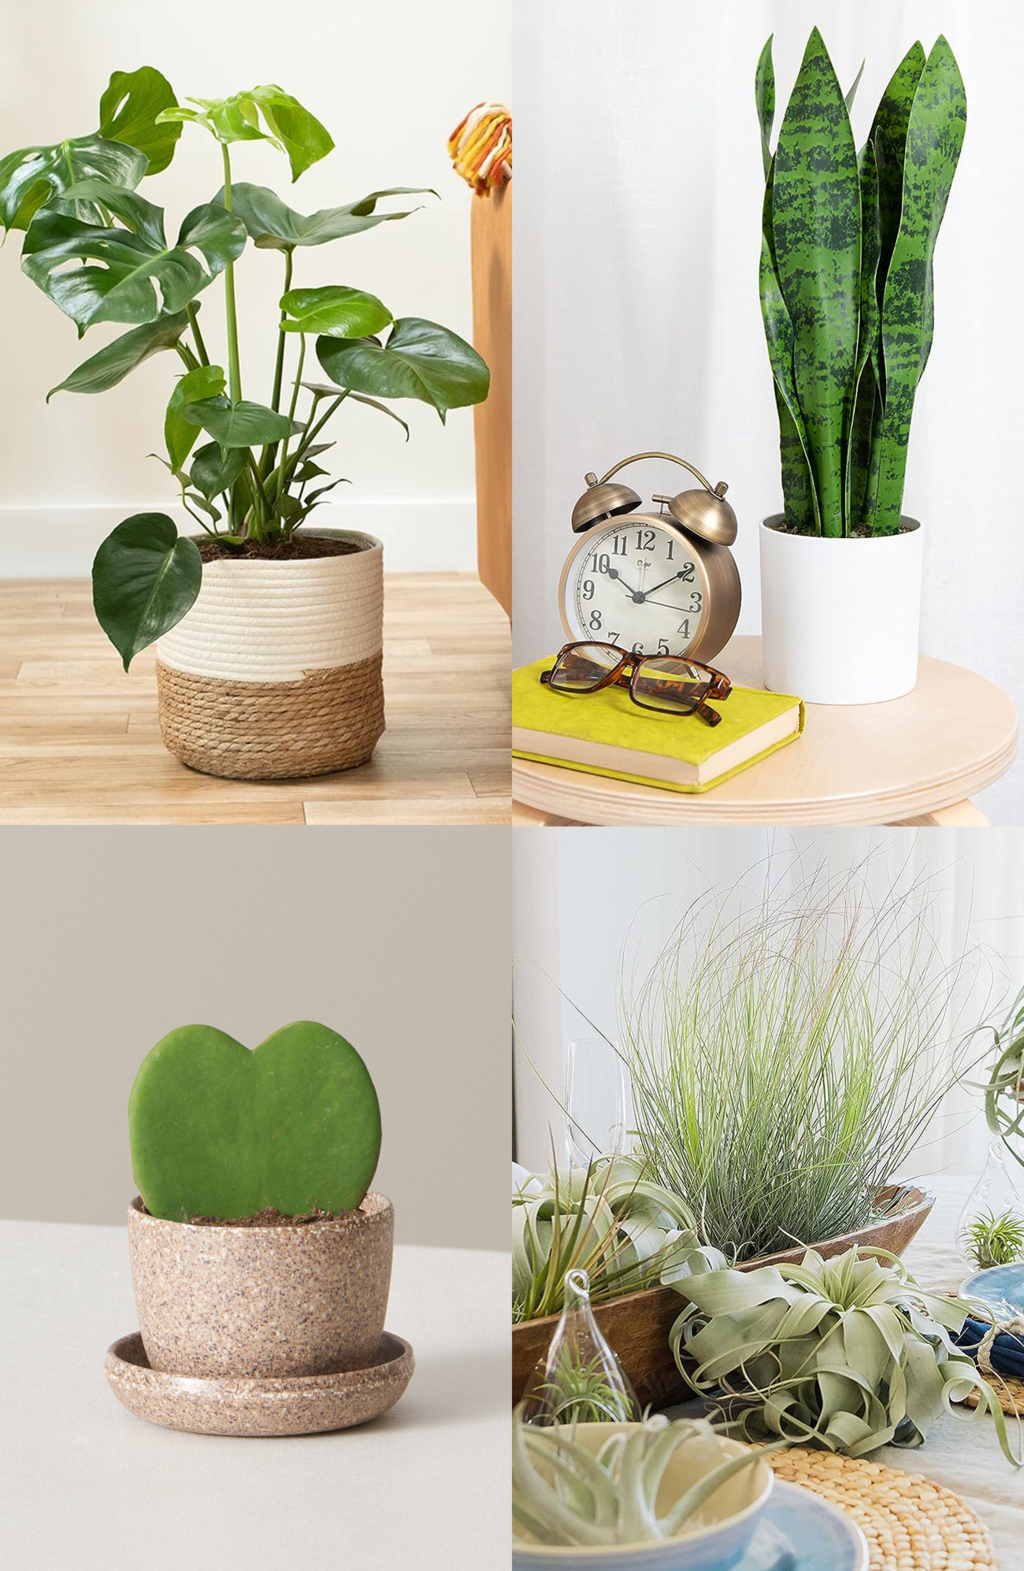
19 Unique & Easy Houseplants that We’re Loving
Looking for unique house plants? Dive into our guide to…
Continue Reading 19 Unique & Easy Houseplants that We’re Loving
Please note that we may earn a commission for some of the above affiliate links. However, products featured are independently selected and personally well-loved by us!
where did you get the little aloha card? its super cute might wanna add it to my organizer too!
Someone gifted it to us and we don’t no where they got it! Sorry! Wish we could’ve been better help.
This project is too cute! And it’s so perfect for these times when a lot of us are working from home. Definitely going to make this! Thanks for sharing!
– Sabrina ♡
https://artbybean.com
Thanks, Sabrina! Yes, so perfect for COVID/self quarantine when many are working at home!
Where did you get the wooden boxes?
Hi Kassandra! We got them from Hobby Lobby. There use to be a link but the boxes that we used have sold out. Craft stores and Amazon have been our go-to place for a good selection of boxes to use. We prefer the craft stores just to be able to see them in person.
I Love this DIY. Such a simple project.
Thank you, Laura!
Super cute organizer. I am working from home so much more these days. I think this would be perfect for my desk. Thanks!
You’re welcome, Krissy! XOXO
Cute idea! Love it!
Thank you, Melissa!
This is so cool and simple idea. I love this DIY.
I love it! Thank you for this tutorial.
Desi | http://mylovelyhook.blogspot.it/
Glad you love it, Desi! xo
terri, you are so talented! i always love your diy’s. this is so chic, i love the simple triangle. and the built-in cork board is brilliant! love it all!
I second all of this!
Nice organizer. I love having a clean and organized desk. It makes me feel ready to work!
My drawers are always a total disaster but as long as things look clean, I’m good! haha
So cute! I love that this DIY keeps your desk organized while adding a bit of style to your office:) I will have to set some time asside to make this!
XO – Sarah
http://beautyandblooms.com/
Awesome! Be sure to share it on our hashtags so we can follow along, too! #sugarandcloth #mysugarandcloth!
I really love it, Teri <3
we do too ;)
Love this. Such a pretty and simple DIY!
Right?! I love how simple Teri kept it!
Absolutely amazing! I love this organizer!
THanks Monique! xo
This desk organizer is so cute! I love it!
Paige
http://thehappyflammily.com
Glad you love it, Paige!