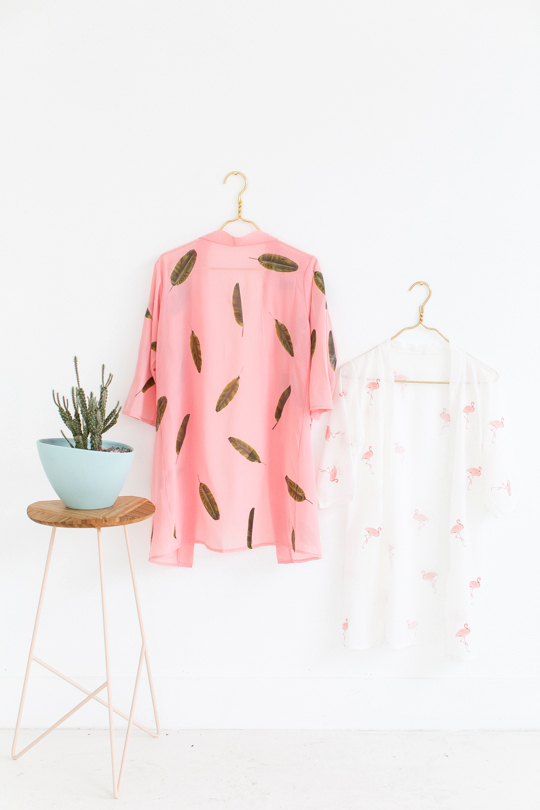
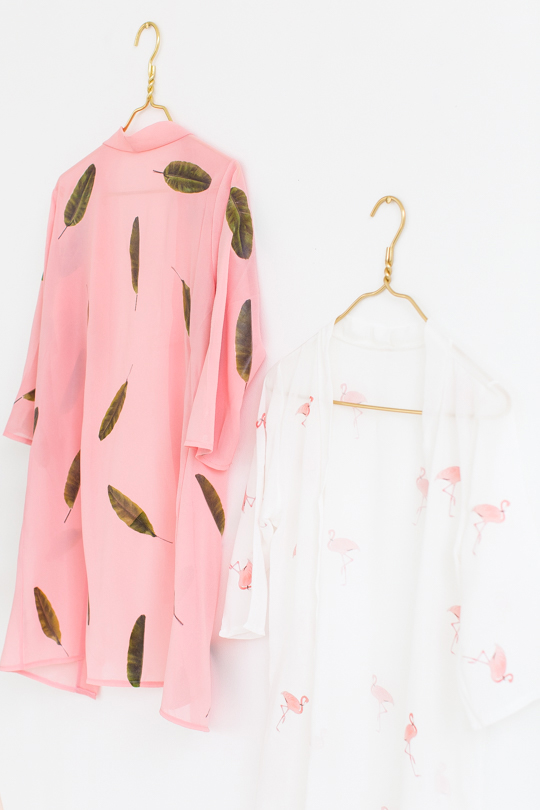
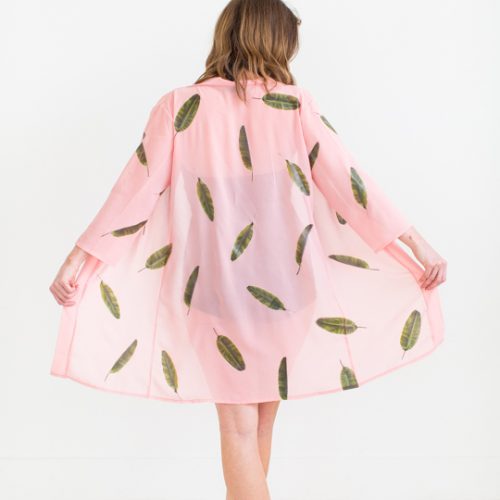
Pattern DIY Swimsuit Cover Ups
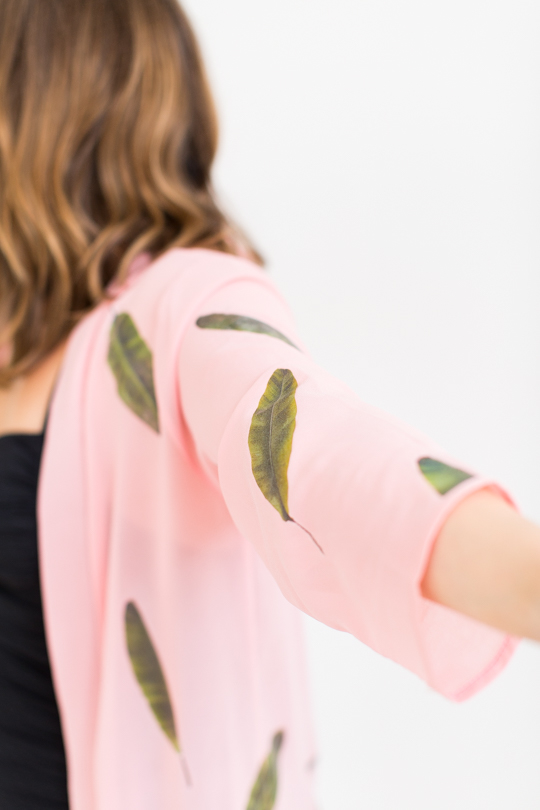
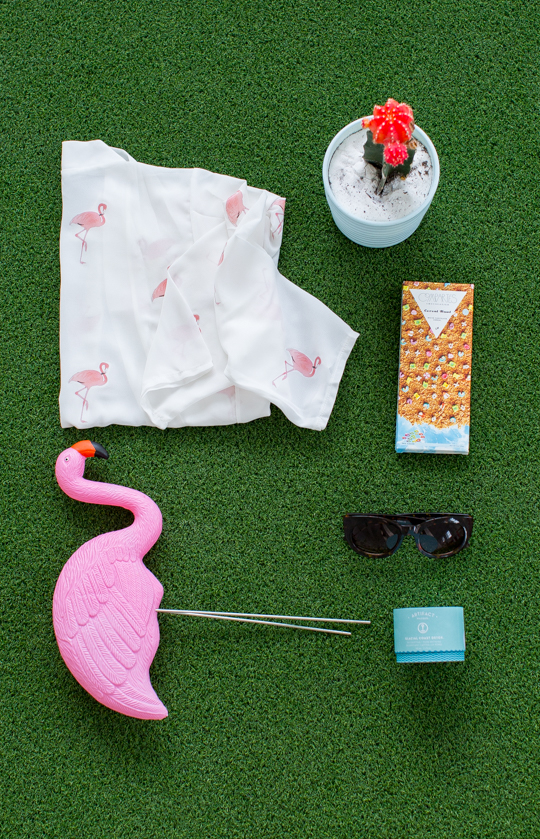
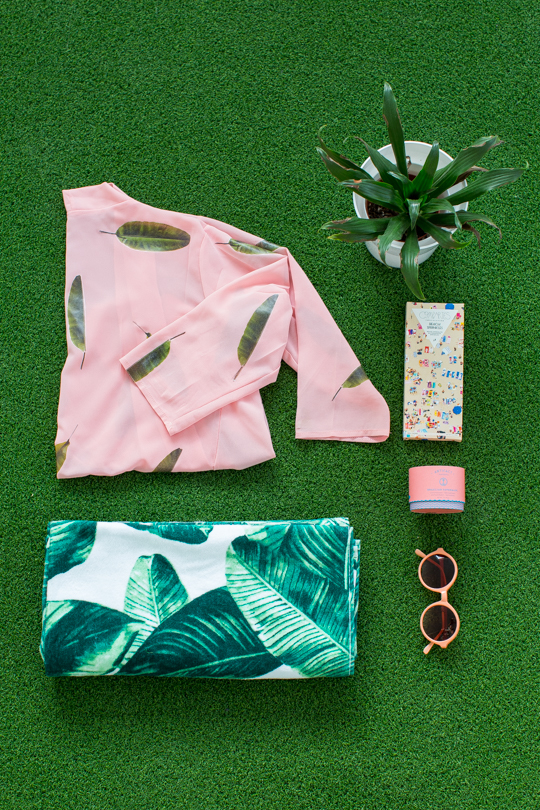
Get ready to rock the pool or beach with this breezy Pattern DIY Swimsuit Cover Ups tutorial that uses our free printable iron-on template in a flamingo, eye and leaf print!
Summer is here, and it’s time to hit the beach or pool in style! But who wants to be stuck in a boring cover-up? Ditch the bulky towels and uninspired throws!
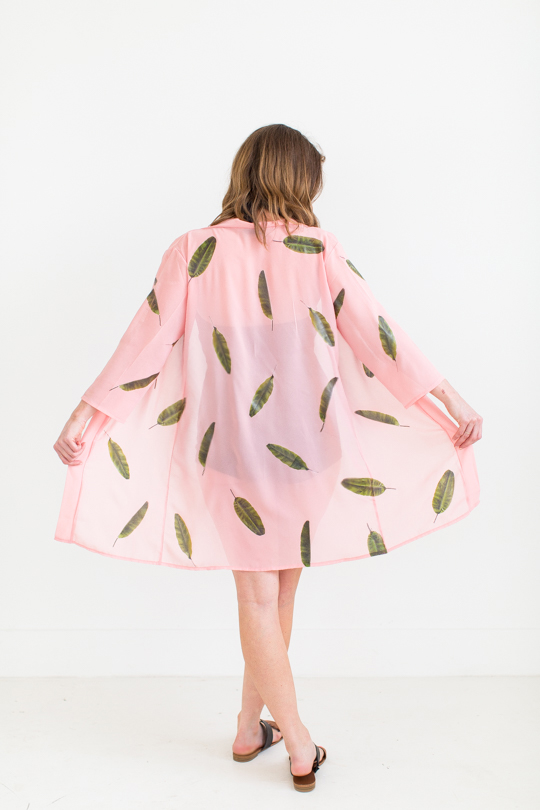
After being on the hunt for the perfect swim suit cover up that didn’t have fringe longer than my entire body or overly weird florals from top to bottom, we finally decided to make our own.. or more like hack and personalize our own.
This tutorial shows you how to create a chic and breezy swimsuit cover-up in under an hour. No complicated sewing skills are required!
This project is perfect for beginners thanks to our free downloadable patterns. In just a few simple steps, you’ll be ready to lounge poolside or stroll along the beach with confidence and effortless style.
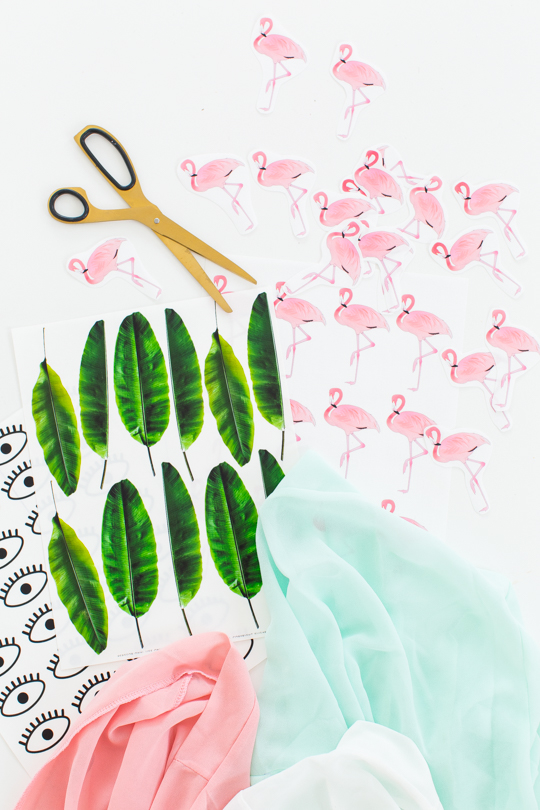
Once you’ve printed the designs onto fabric transfer sheets, it’s really as easy as cutting them out and ironing them on. That said, we DO have some tips that we learned along the way.
And if you’re feeling extra sassy, accessorize with a bright retro floral DIY floppy hat, pom pom tassel DIY circle bag with any Amazon women’s swimsuit!
Materials and Tools Needed
- Swim suit cover up — The ones that we used for this particular project are sold out. However, you can find similar ones here with kimono sleeves, here with a half sleeve, and here in pink. Lightweight fabrics like chiffon or gauze work well). Ensure the fabric is free of wrinkles and any tags are removed before you start.
- Heat transfer paper for light fabrics — Choose a heat transfer paper brand with good opacity for better visibility on the sheer fabric. We used about 3 1/2 sheets of paper per swimsuit cover up.
- Computer with printer
- Fabric scissors
- Parchment paper — Optional
- Iron and ironing board
- Printable flamingo pattern
- Printable eye pattern
- Printable leaf pattern
** Downloads are for personal use only and are not to be redistributed or sold.
How to Make a Pattern DIY Swimsuit Cover Up
1 — Print the pattern on the heat transfer sheets. Follow the manufacturer’s instructions for using your heat transfer paper. Most will involve mirroring your design before printing to ensure it appears correctly once transferred.
2 — Cut out the designs as close to the edges as possible. By doing so, it gives a far better outcome as far as avoiding the crafty-looking clear transfer border.
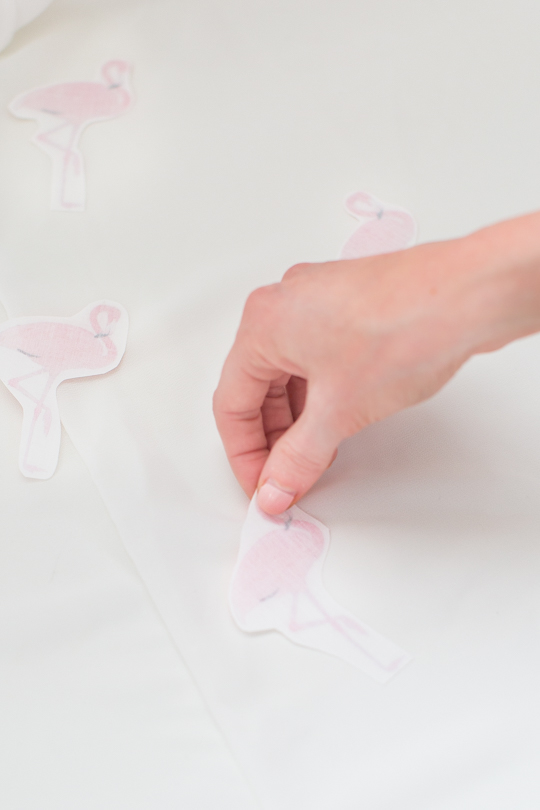
3 — With the heated iron, transfer the patterns onto the swimsuit cover up. Optional (check your paper brand instructions): Cover the design with parchment paper for added protection.
Firmly press the iron onto the design area for the designated time, applying even pressure. We ironed our designs for about 30 seconds longer than the instructions suggested, and it worked MUCH better.
4 — Carefully peel off the heat transfer paper backing sheet while the design is still warm. You don’t get the weird glossy edges if you do so before the sheet cools.

Tutorial Notes and Tips
- Layout your desired design placement before ironing on the patterns. This will save you a lot of time and give you a good indication of how many sheets you need to print.
- Be gentle while peeling the heat transfer paper backing to avoid damaging the design.
- Don’t be afraid to personalize further! Add a decorative trim around the edges, tie a belt at the waist, or embellish with lightweight fabric flowers.
More DIY Projects and Ideas
We’re so excited to start wearing our cover up poolside! How about you? What are your plans for styling your new DIY kimono? For more pool and beach DIY’s, check out a few of our favorite below —
- Best Pool Floats for the Summer
- DIY Beach Ball Backdrop
- Retro DIY Beach Umbrella
- Ric Rac DIY Sun Hat
Pattern DIY Swimsuit Coverup
Equipment
- Scissors
- Parchment paper optional
- Iron and ironing board
Instructions
- Print the pattern on the heat transfer sheets.
- Cut out the designs as close to the edges as possible.
- With the heated iron, transfer the patterns onto the swimsuit cover up.
- Carefully peel off the heat transfer paper backing sheet while the design is still warm. You don’t get the weird glossy edges if you do so before the sheet cools.

Don’t forget to share your Pattern DIY Swimsuit Cover Up with us on Instagram using the hashtag #sugarandclothloves. We always love seeing all of your creations!
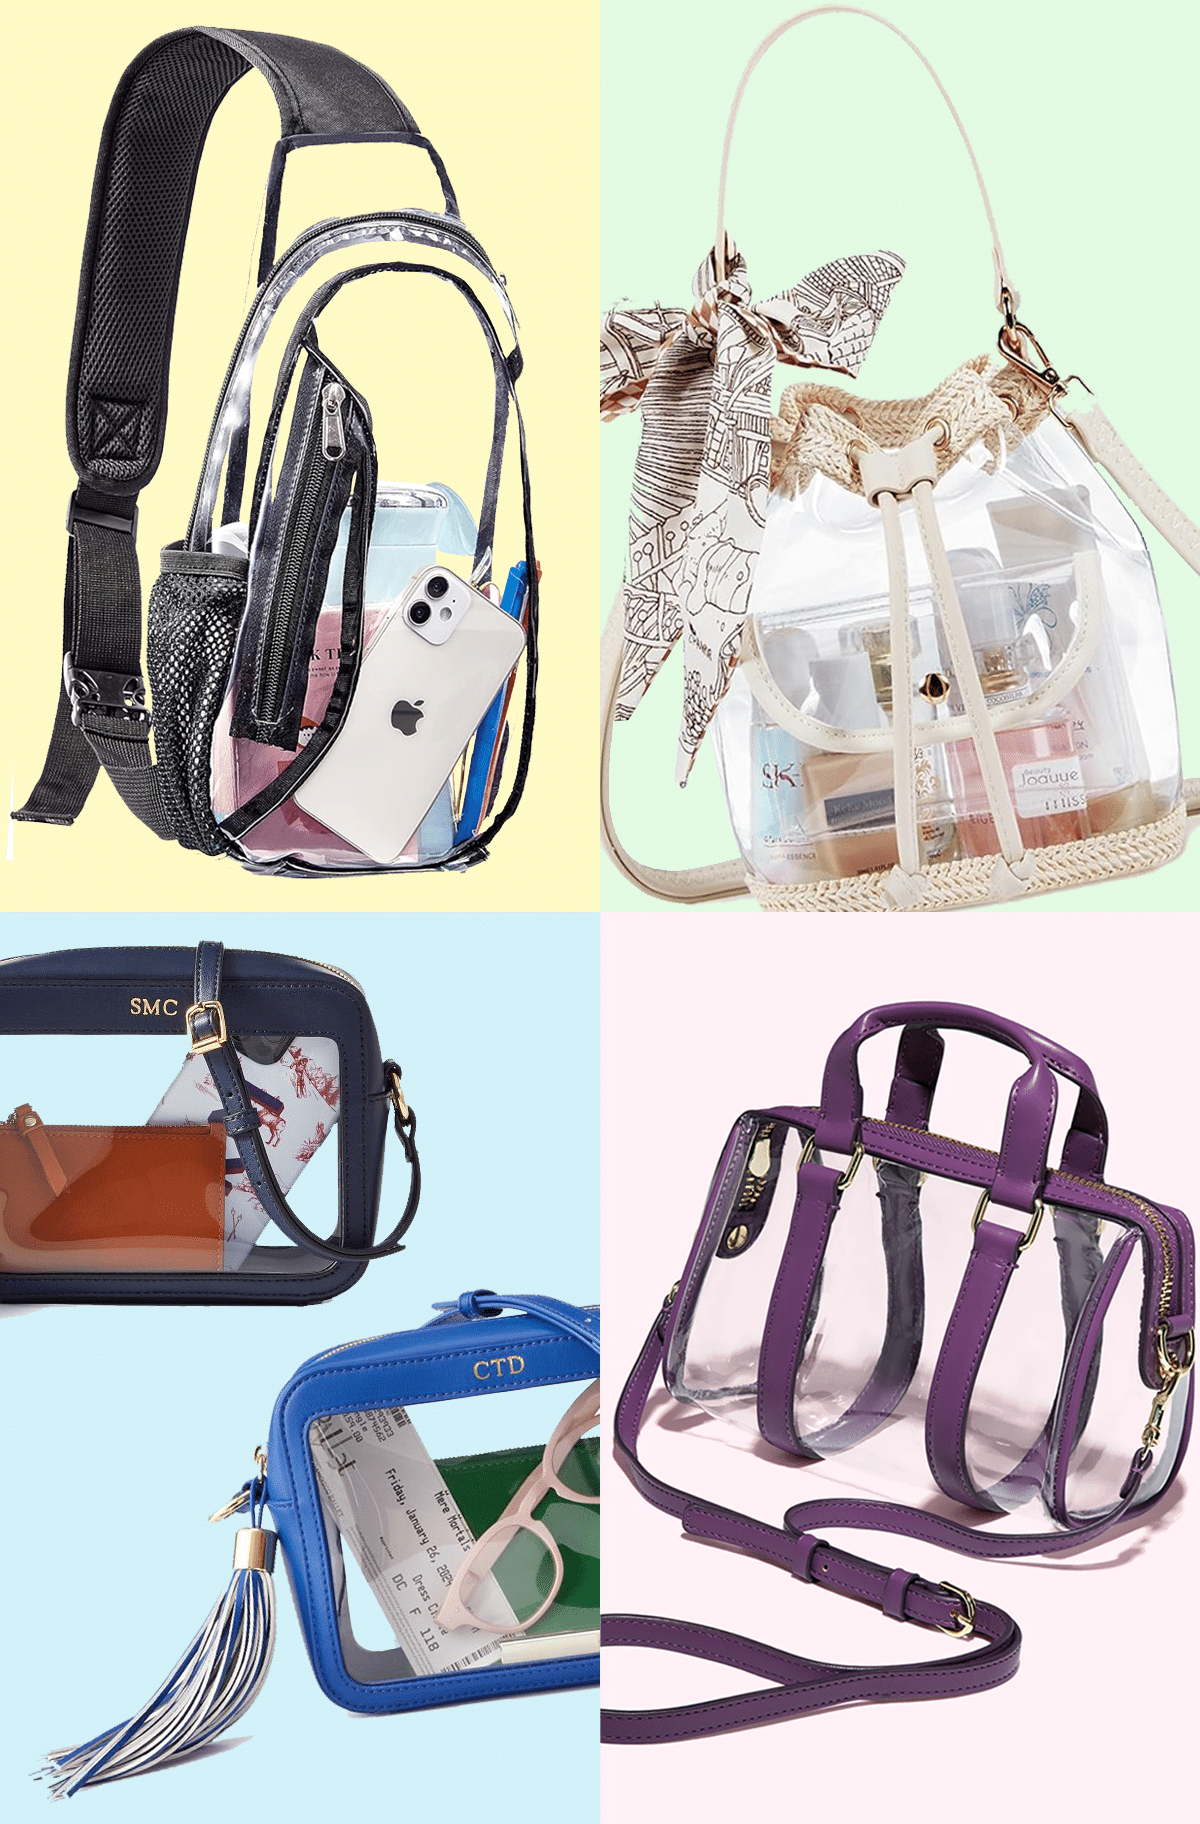
25 Best Clear Stadium Bags for Concerts, Sports & Events
Stay stylish and compliant with the best clear stadium bags…
Continue Reading 25 Best Clear Stadium Bags for Concerts, Sports & Events
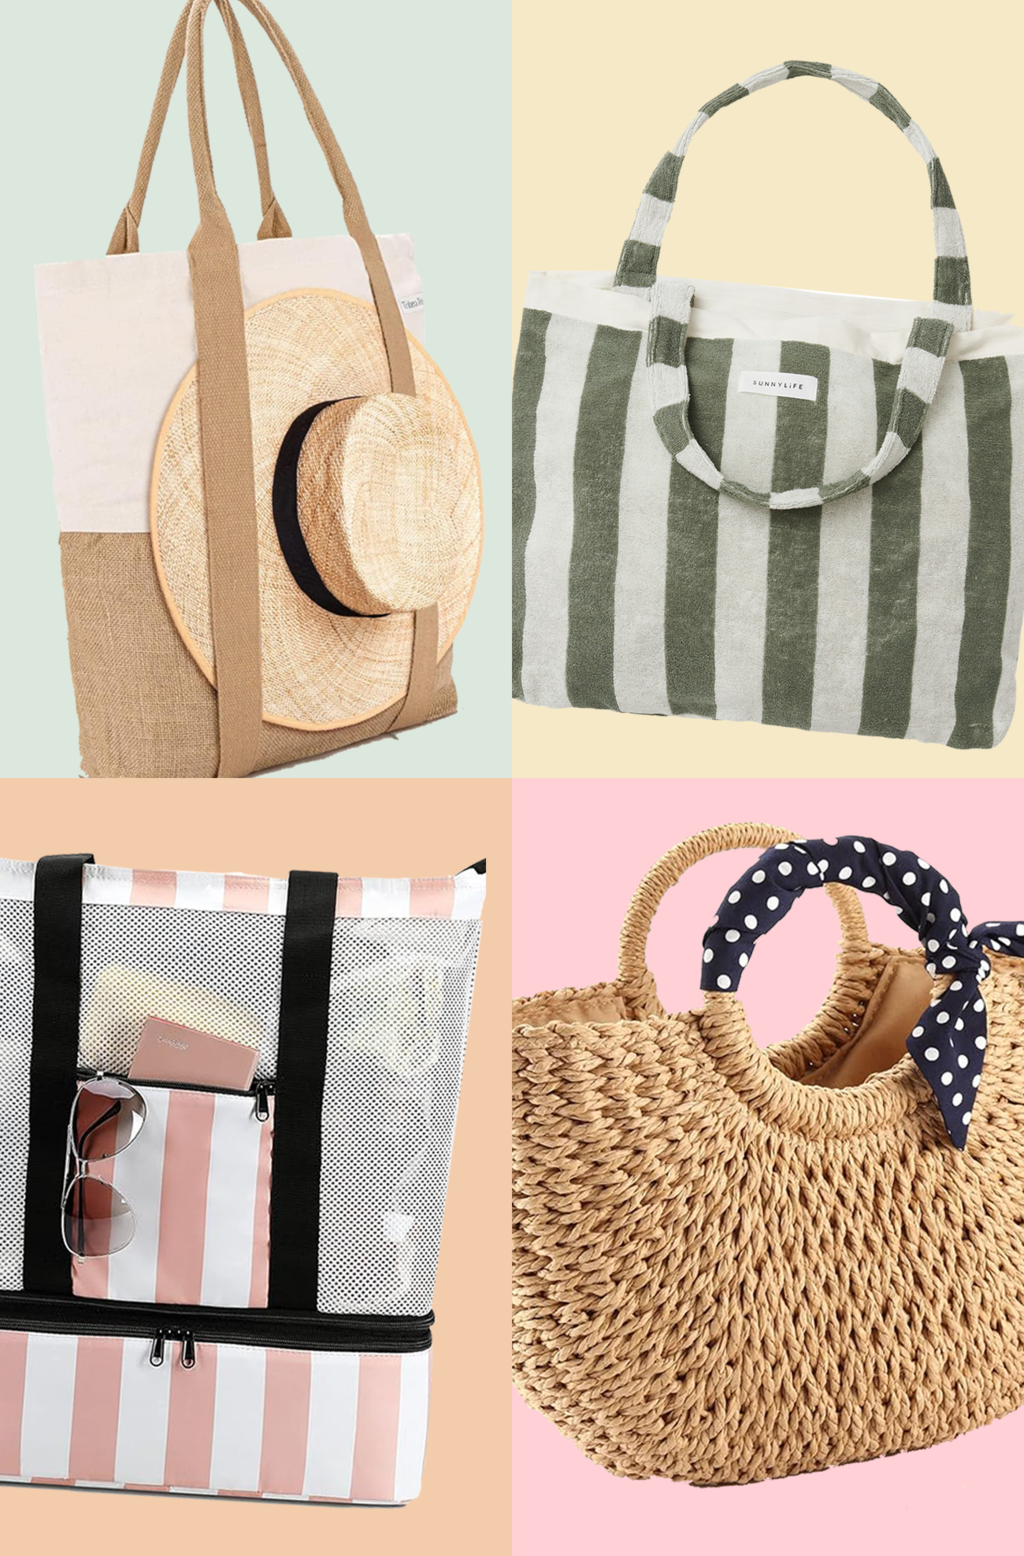
31 Best Beach Bags for Your Summer Essentials
From tote bags to straw bags, stay organized and chic…
Continue Reading 31 Best Beach Bags for Your Summer Essentials
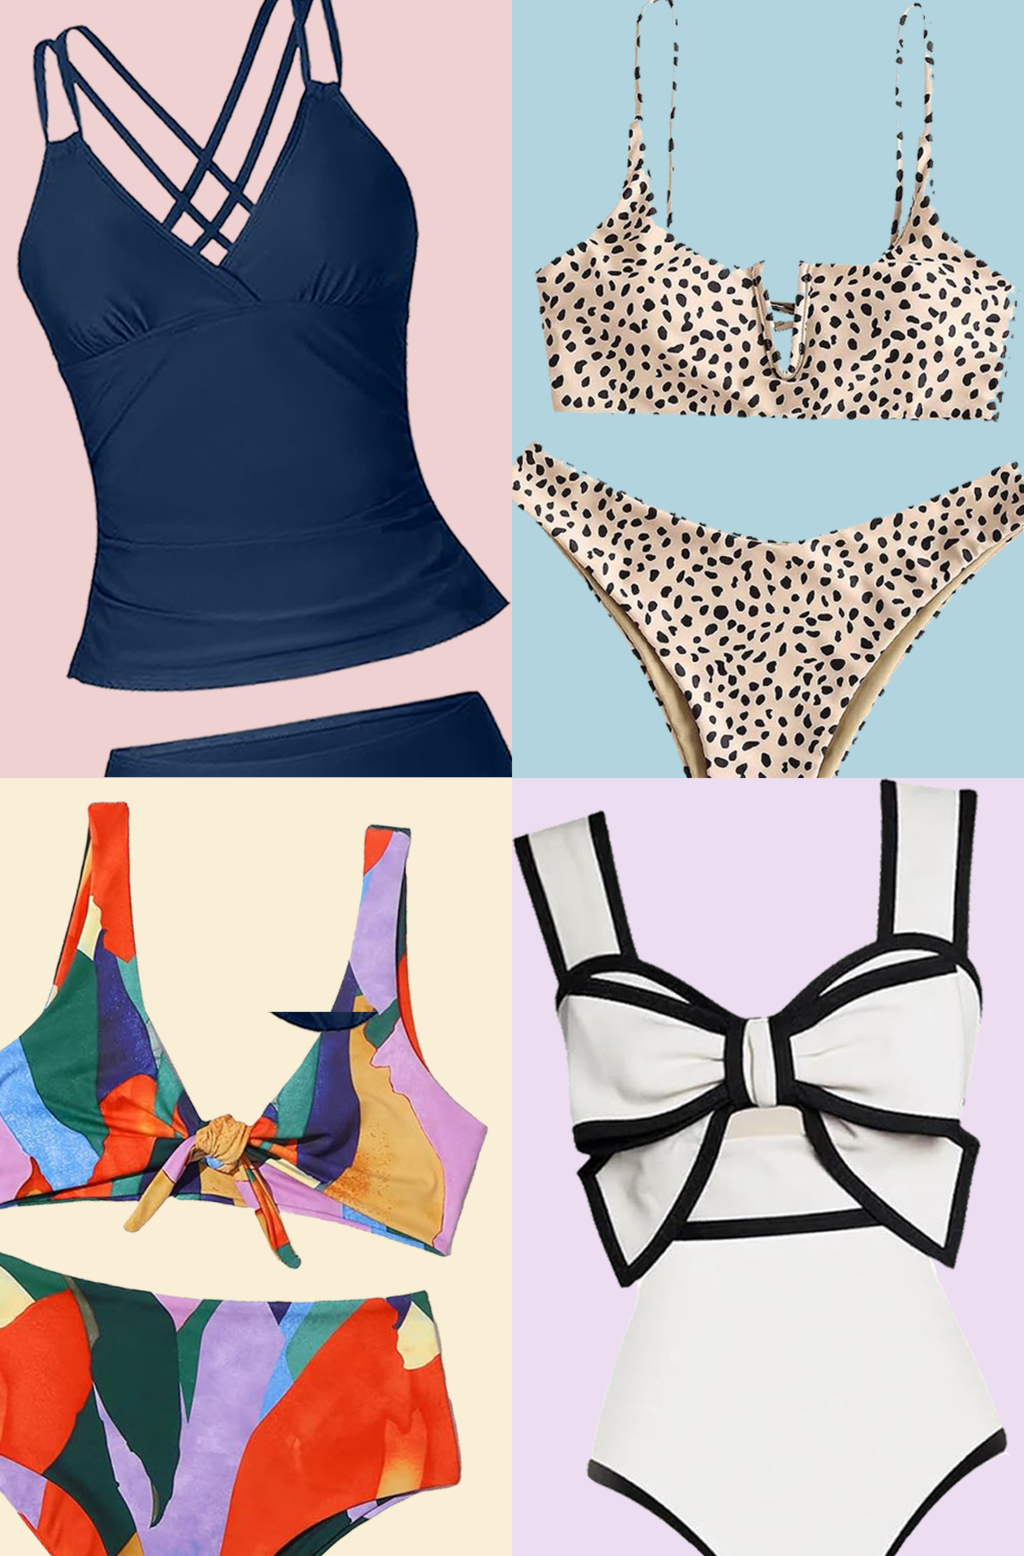
Our 41 Favorite Amazon Women’s Swimsuits
Get ready to hit the beach or pool in style…

Leather Hexagon DIY Vanity Tray
Keep yourself organized and in style with this Leather Hexagon…
Please note that we may earn a commission for some of the above affiliate links. However, products featured are independently selected and personally well-loved by us!
Love your designs. Flamingoes have alwats been my favorite And your leaf designs are beautiful.
I tried to find the kimono on amazon. Maybe they are sold out but I could not find the one you purchased. Can you tell me which one it was? I really love the style and thought I’d try one on my own.
This is an awesome way to upgrade a plain kimono!!Love the flamingos
This is so incredibly clever! I can never find enough kimonos with prints I like. Thanks for sharing!
This looks amazing! I wish I’d seen this earlier – I’m about to go on a beach holiday and I’ve been searching and searching for a kimono I love with no luck! The patterns are gorgeous xx
http://crafternooncabaretclub.com
I love these so much, Ash! I think I’m going to make a matching mama and baby one for me and Miss V!
so stinkin cute!!!
that flamingo one is really lovely
Oh my goodness. These are beyond cute and totally easy! I personally adore the flamingos.
http://www.annescribblesanddoodles.blogspot.com
I love this!
The flamingo one is so rad! I’ve been on the hunt for the perfect kimono as well so thanks for the links to some awesome inexpensive ones :D
Vanessa
http://cafecraftea.blogspot.com
These are AWESOME! Super easy and so cute! Especially loving the palm fronds!
Let’s Mingle Blog
Love it!!!
can i hire you to make me a flamingo one! :)
i seriously love this!
just bought the kimono and will be using this when i go to vegas. which is just as awesome because i will be staying at the Flamingo so you know which one im going to fail at attempting! :D
Those kimonos are so cute! I want to try and make one!
Paige
http://thehappyflammily.com
These turned out so well! I’ve never tried anything with fabric transfers…you make it look easy, though. Such a cute and inspiring DIY :)
Love the flamingo one! These are great and look better than a lot of the “kimonos” they have out there! Thanks for sharing! :)
LOVE LOVE LOVE! I would totally buy the flamingo one from you!
Definitely taking in the summer with all these bright clothes and flamingos!
PS. that would make scary looking macaron with the eye template. I think I might try it. :o