Lakeside Master Bedroom Design Before & After
Lakeside Master Bedroom Design — We’re finally revealing the before and after of our master bedroom ideas, and I’m excited to share all of the sources for our room design…
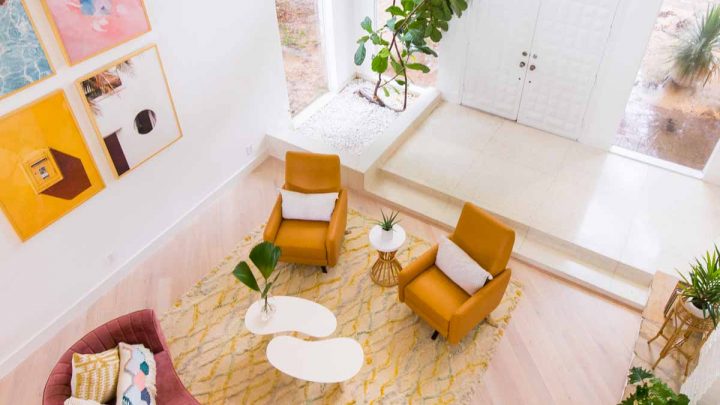
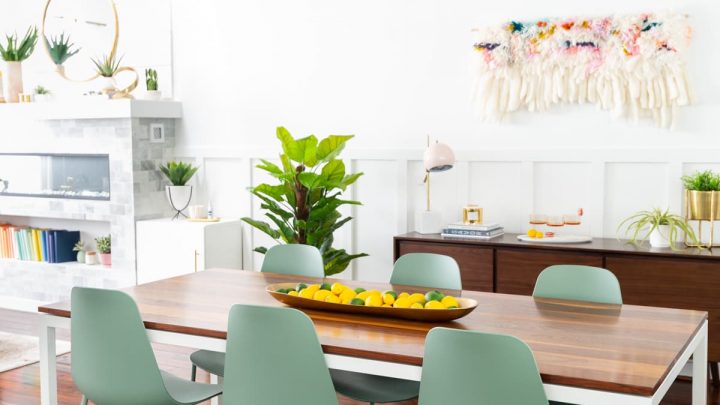
A lot of the unique features that sold us on our new house were in the main living spaces. Like the giant fiddle fig and mid-century design of the living room, and of course, the lake view!
That said, the bedrooms left A LOT to be desired when it came to design and architecture. They were all very dark, boxy, and generally uninteresting.
We knew we wanted to prioritize the master bedroom design in a big way. To do that, we started by dreaming up a few statement elements, like the skylights and bed design, and making it as bright as possible while also keeping the ability to darken the room for sleeping, too.
I was already a big fan of Blinds.com for window treatments. They’re surprisingly budget-friendly and easy to customize since our house has so many odd-sized windows.
We used them in Gwen’s toddler girls bedroom shades and also in our master bathroom reveal.
Naturally, I was really excited to be able to partner with them as part of our master bedroom reveal as well!
So, let’s jump into the good stuff— the crazy looking before photos…
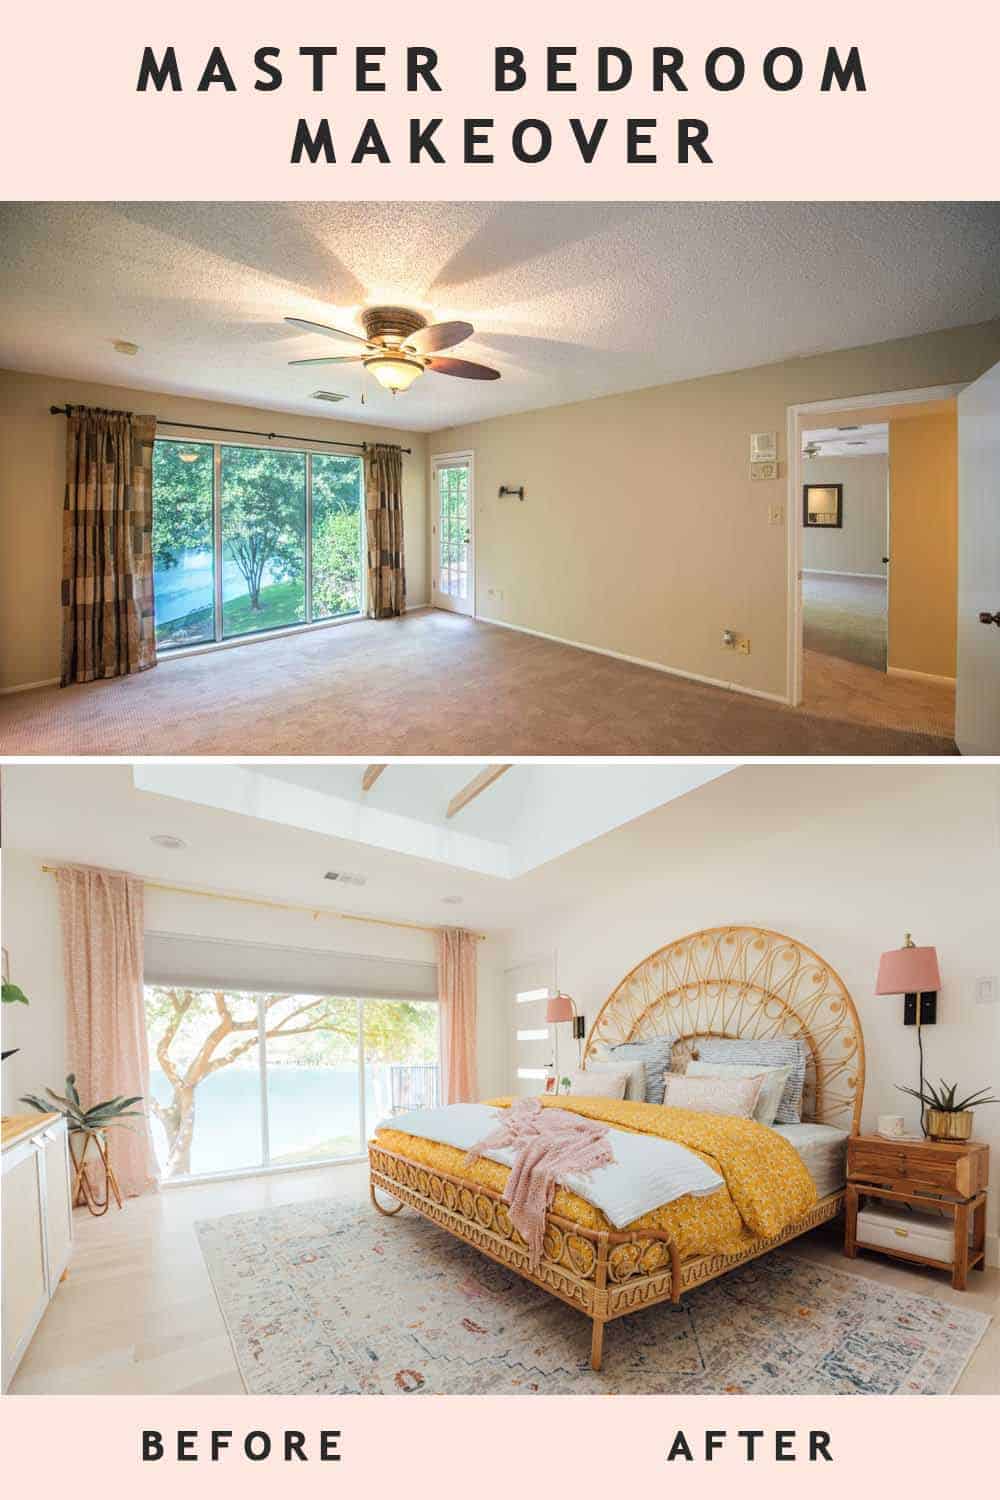
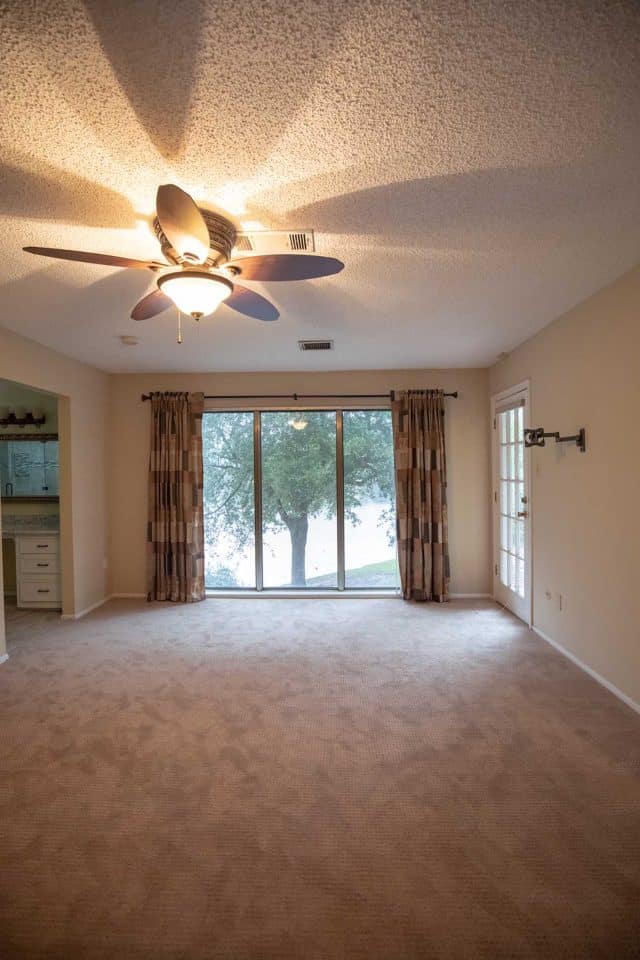
Master Bedroom Design
Essentially everything in the original bedroom design had to go. Our construction team at Genesis CP got rid of the popcorn ceilings.
They replaced the old carpet with Stuga Studio Elderflower flooring And they also smoothed the texture from all of the walls and repainted them a modern white.
Really the only thing the master bedroom had going for it when we bought this house was the large, lake view window and the door to the balcony.
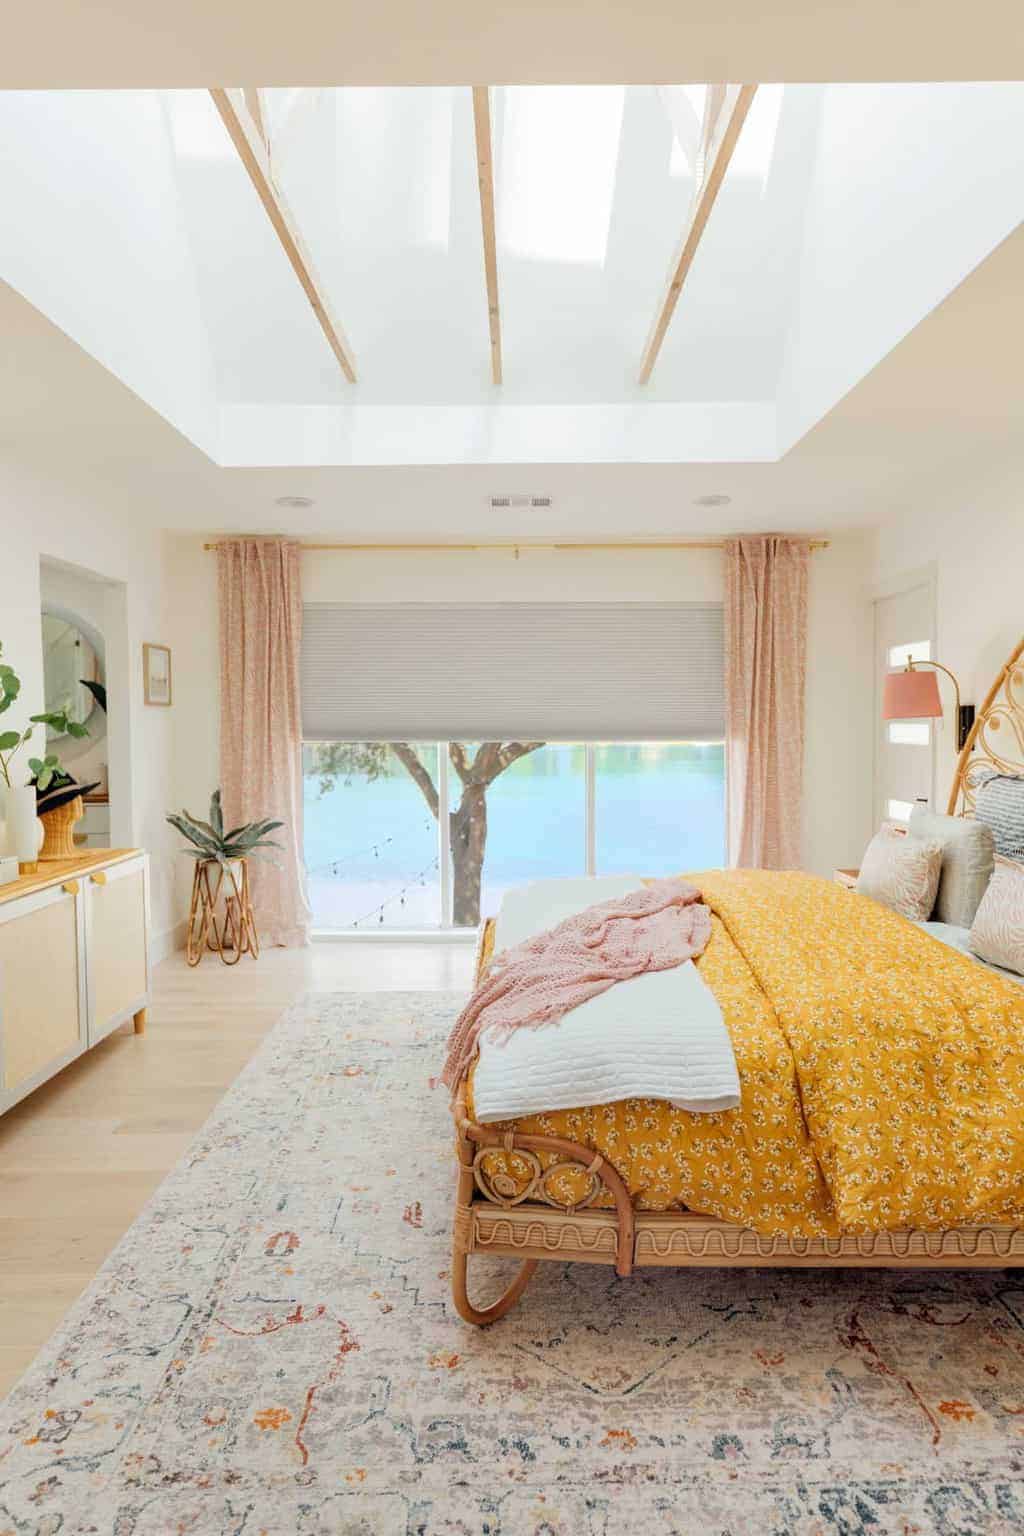
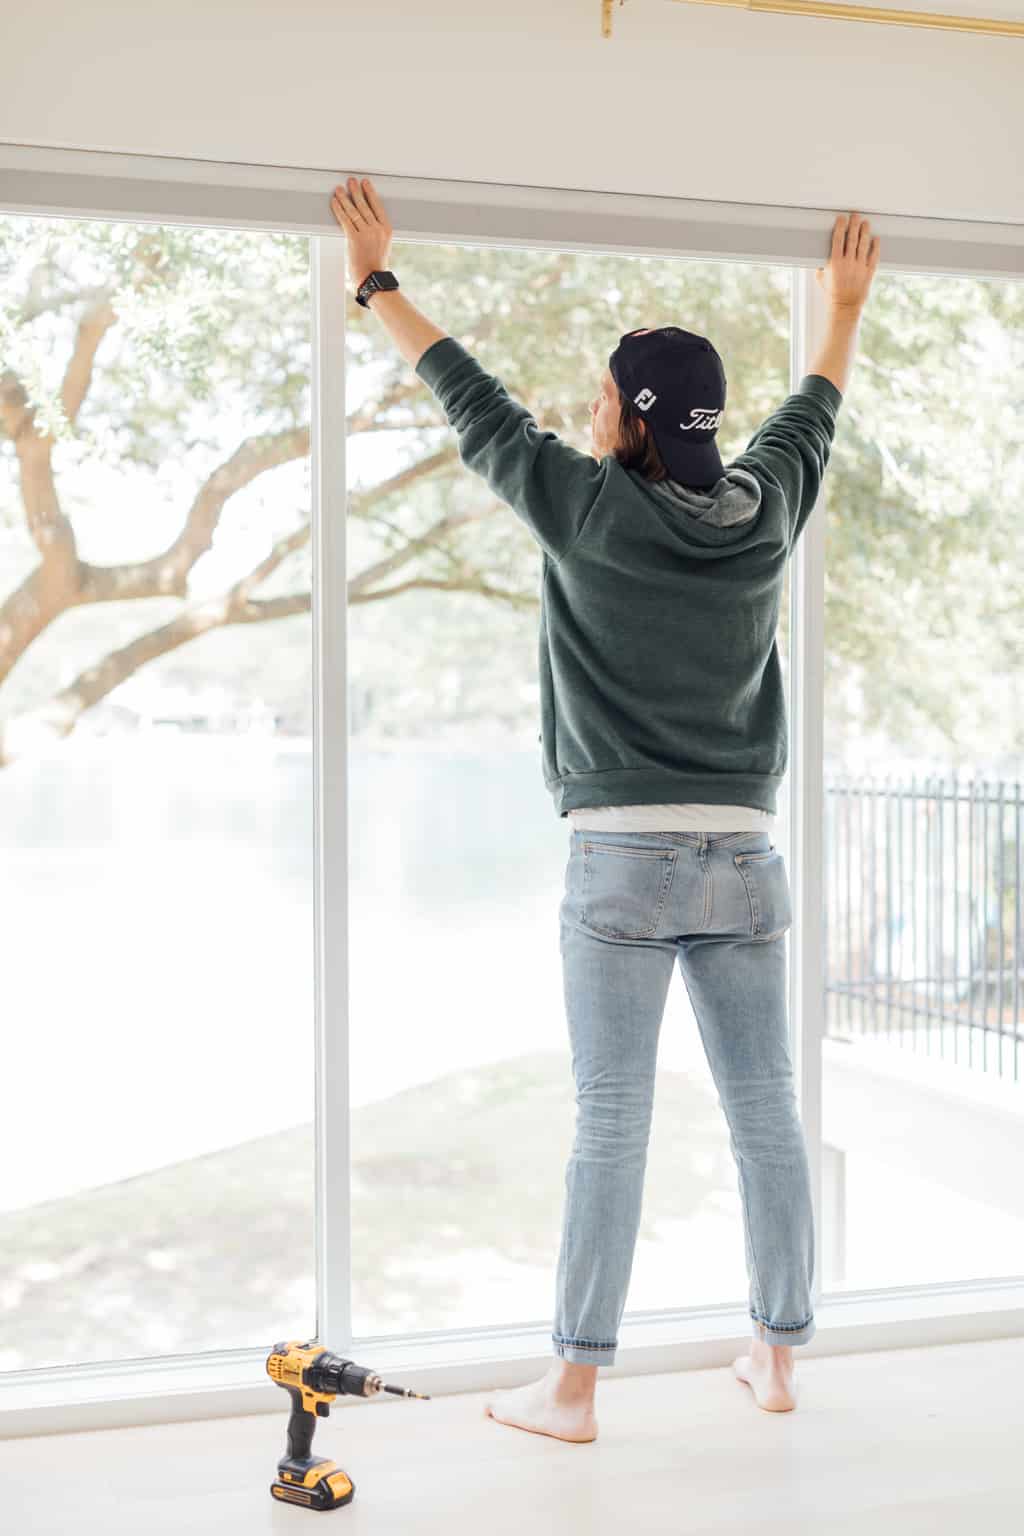
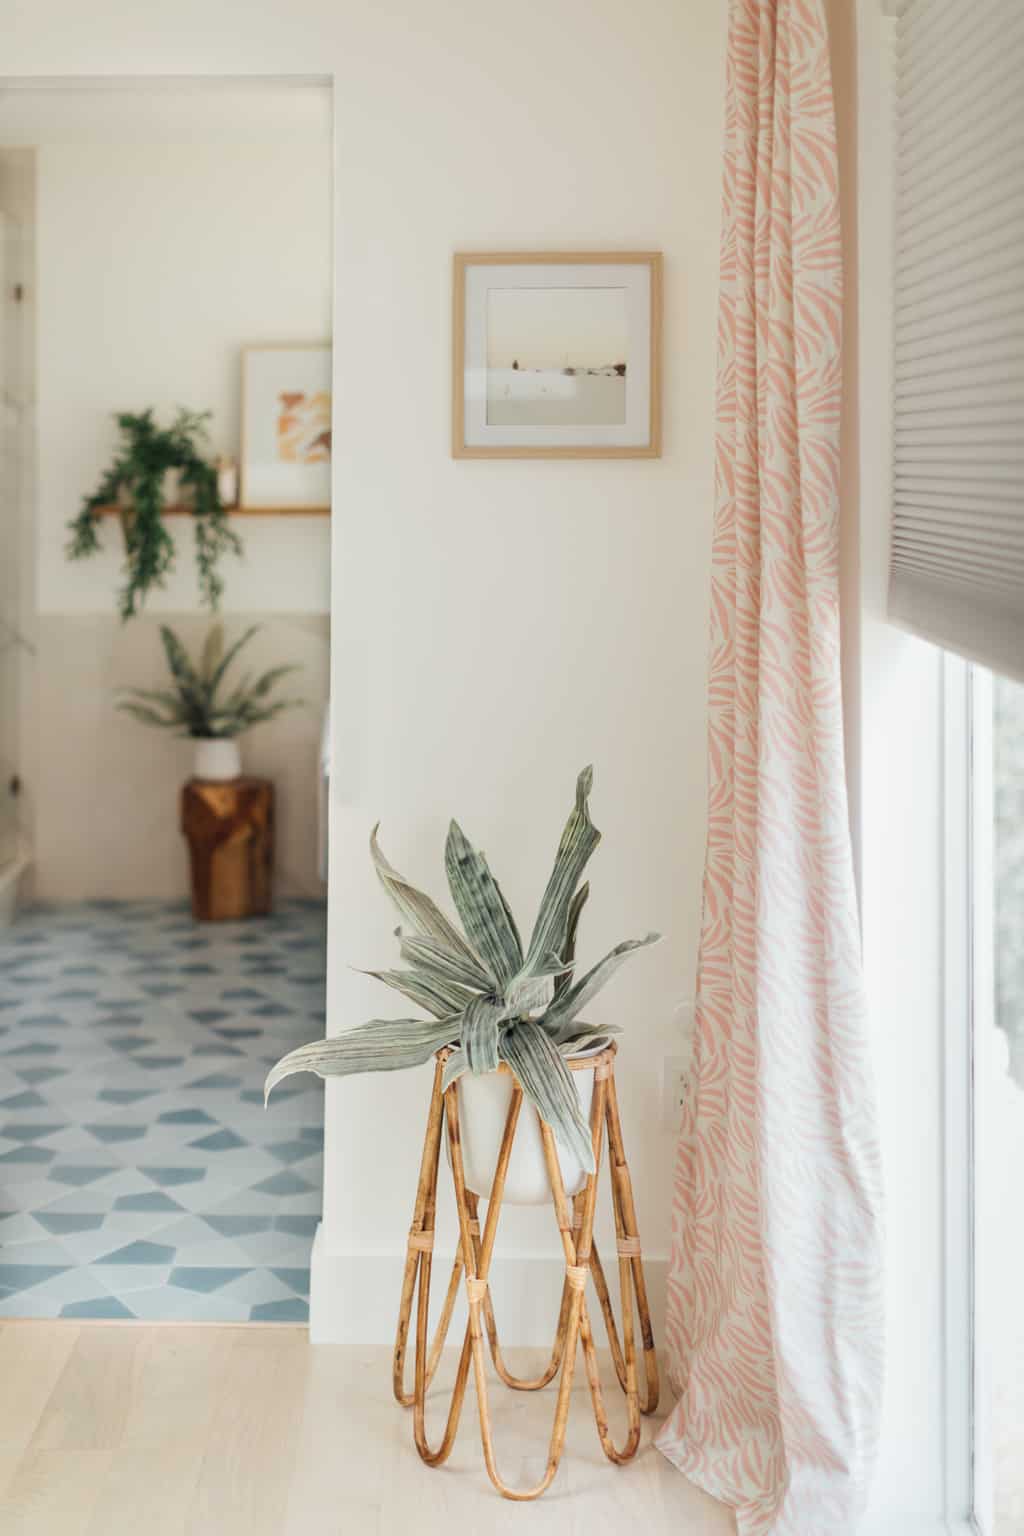
Since the view was the selling point, we wanted to make sure we kept it unobstructed when it came to window treatments.
To do that, we opted for one large, custom Blackout Cellular Shade in Glacier white. I like that it had one continuous look across the entire window rather than fitting it with three smaller shades for each section of the window.
Considering we’re now parents of two little girls, we will never underestimate the power of blackout shades for nap time ever again, ha!
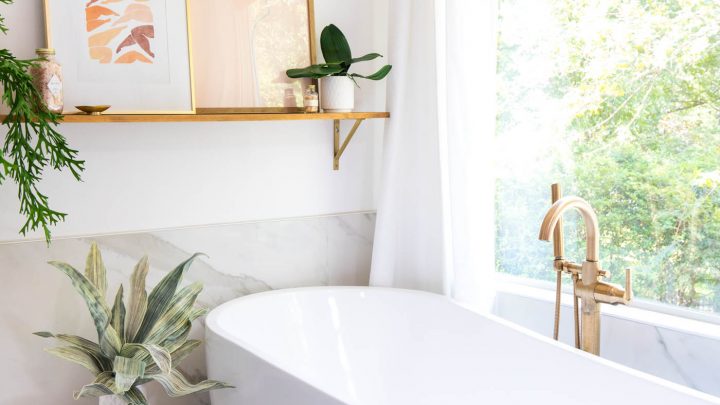
I almost opted for something similar to the woven wood shades that we used in the master bathroom for a cohesive look since there is no door between the two rooms. But I’m really glad we stuck with the clean white instead.
For those of you that don’t trust yourself with a measuring tape, Blinds.com will literally remake your window treatments for you at no extra cost if they don’t fit or work with you until you’ve found a shade that you like.
Or you can skip measuring and installing them yourself altogether and just have their professional service do it for you. It’s up to you!

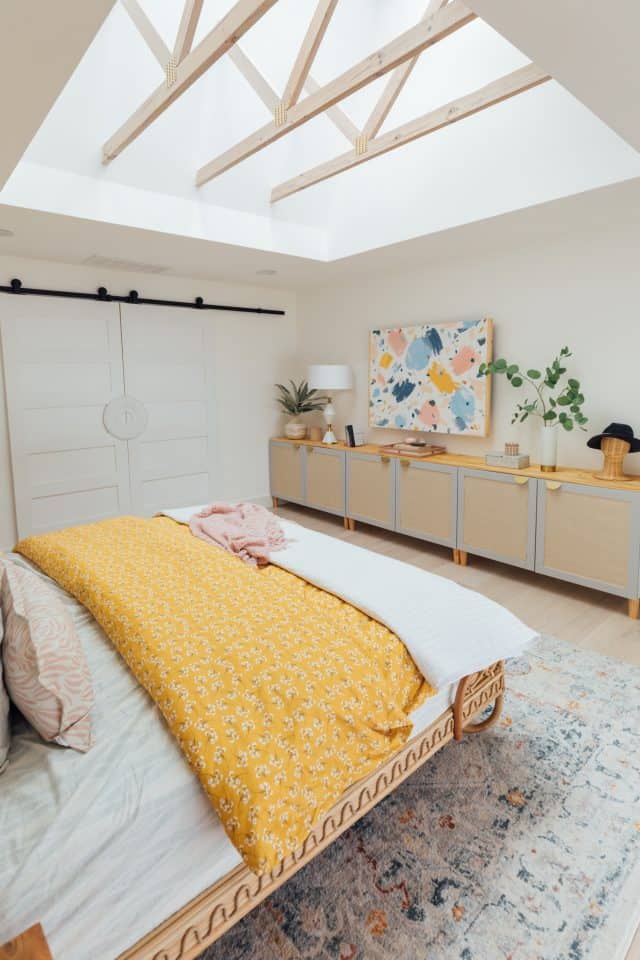
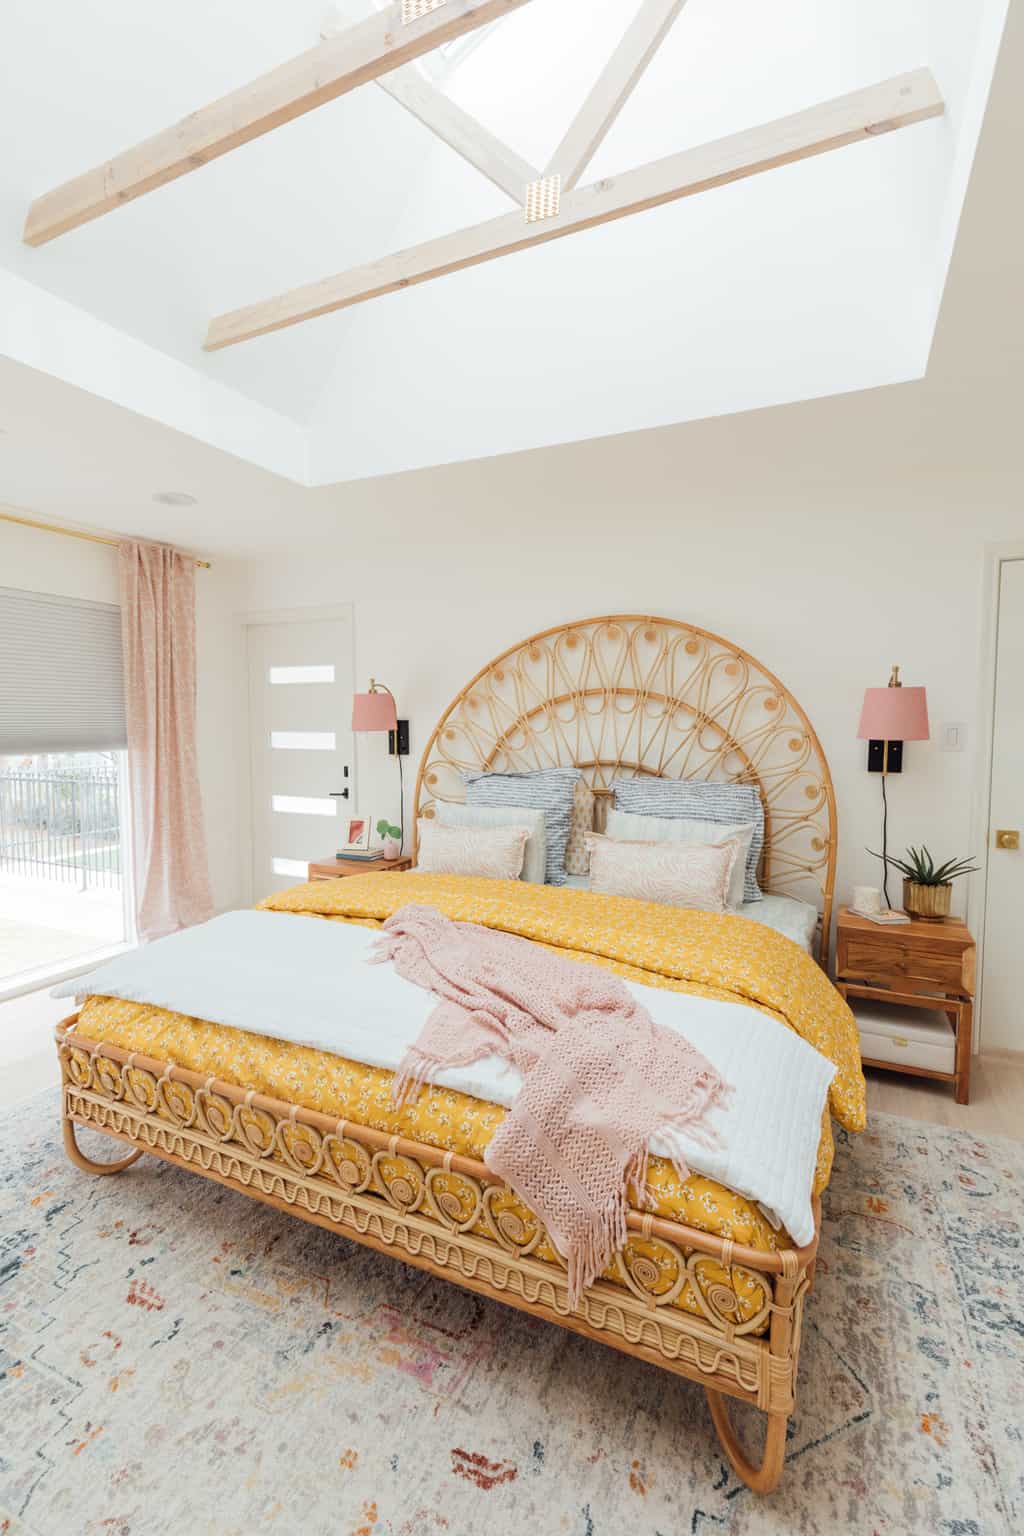
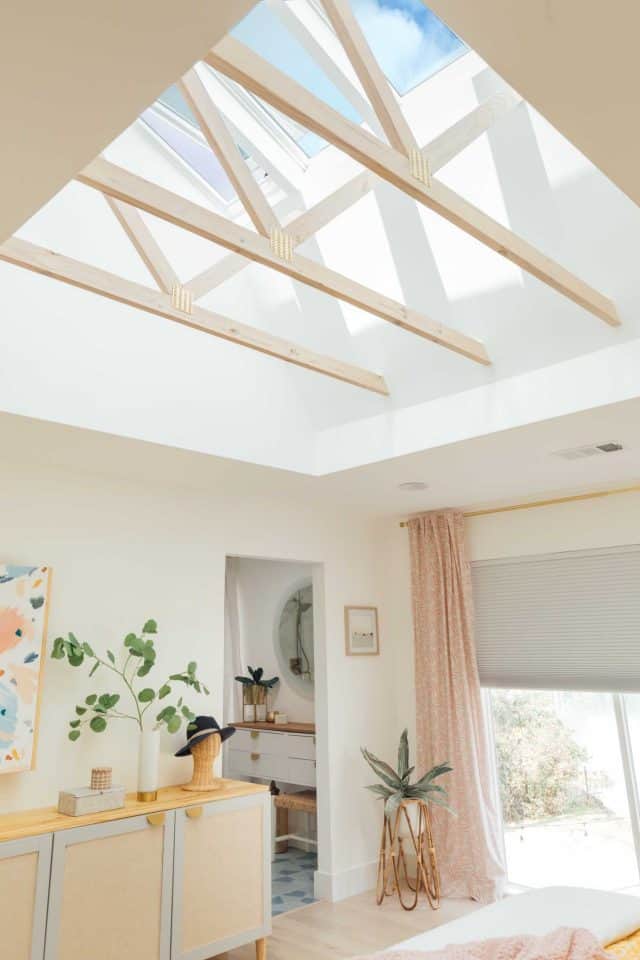
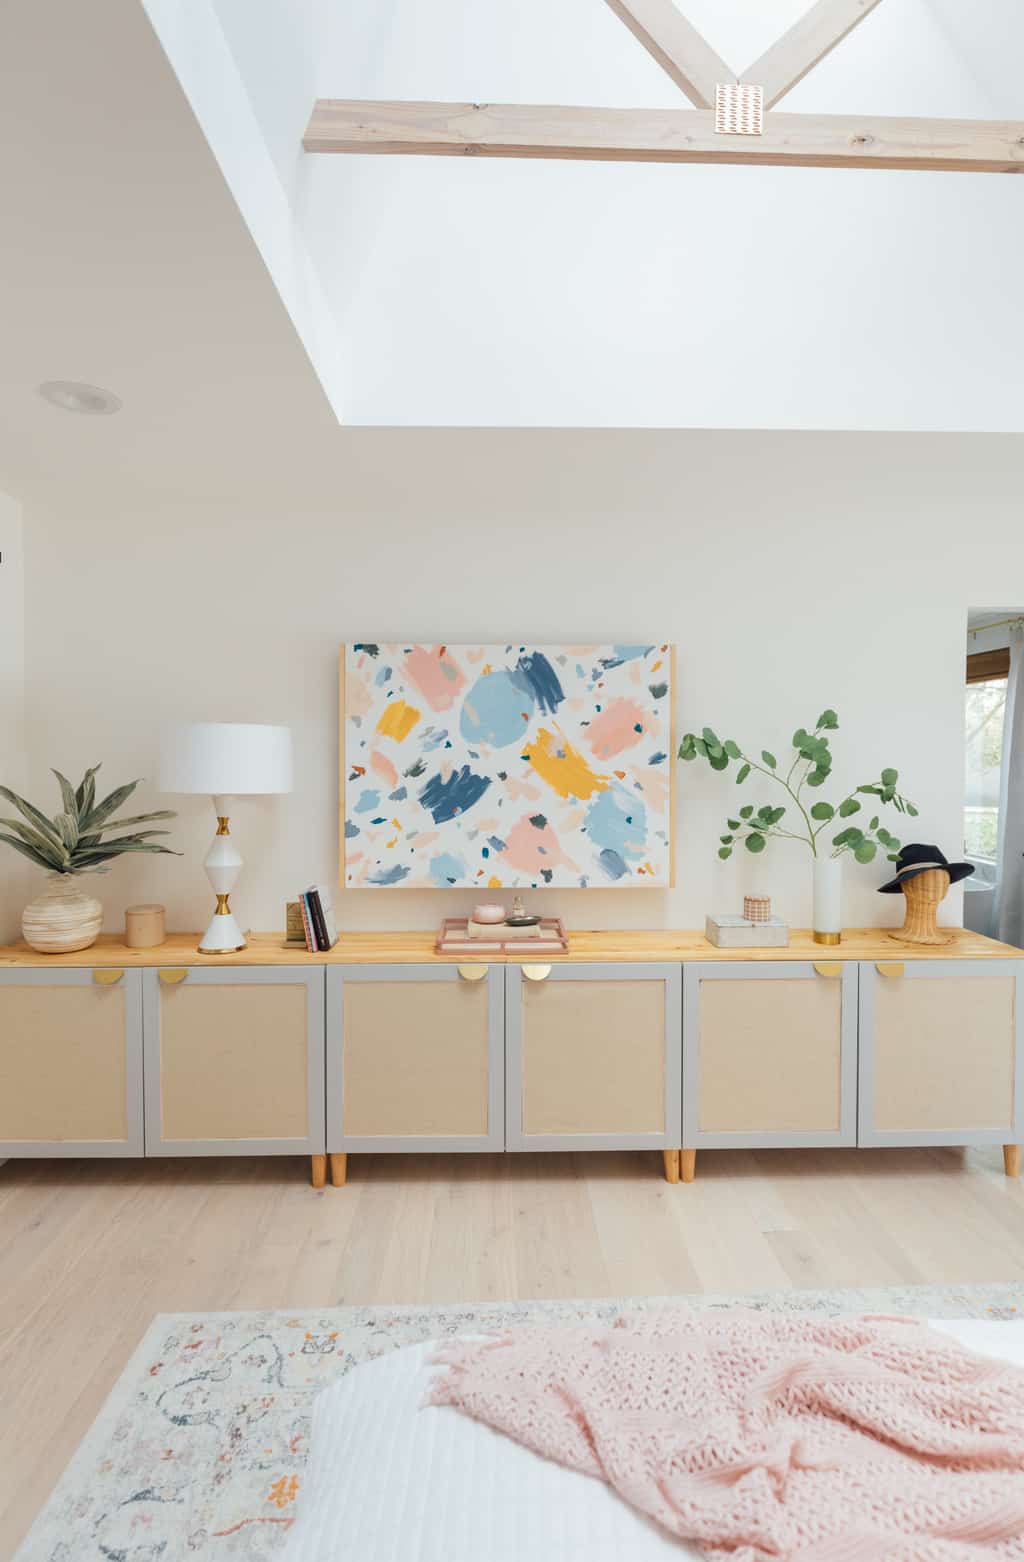
The other main statement piece in our master bedroom design makeover was our new Velux Solar Powered Fresh Air skylights.
Our bedroom faces north so adding the skylights really helped brighten the room and add a really cool design element by leaving the exposed trusses from the installation through the attic.
Plus, we opted to have the blackout blinds for the skylights as well to mimic the design of the Blinds.com window shade.

Master Bedroom Decor Ideas
As for the room decor itself, we kept the furniture and other elements pretty minimal since the room isn’t that large to begin with.
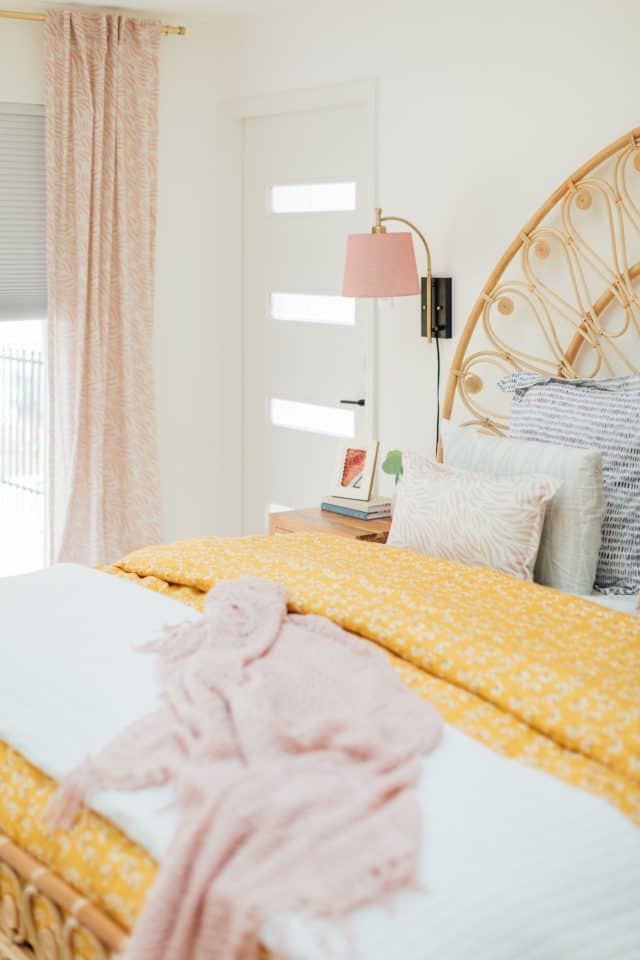
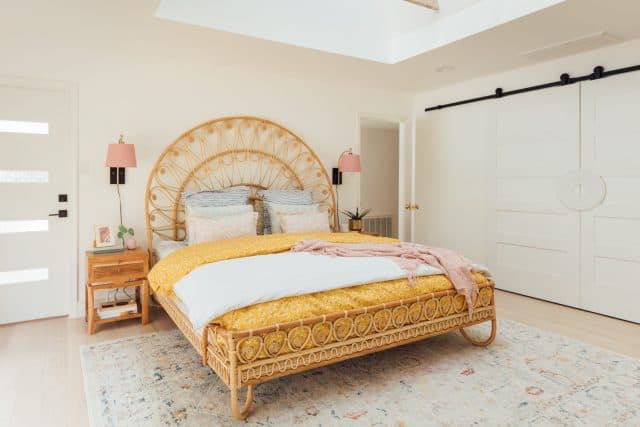
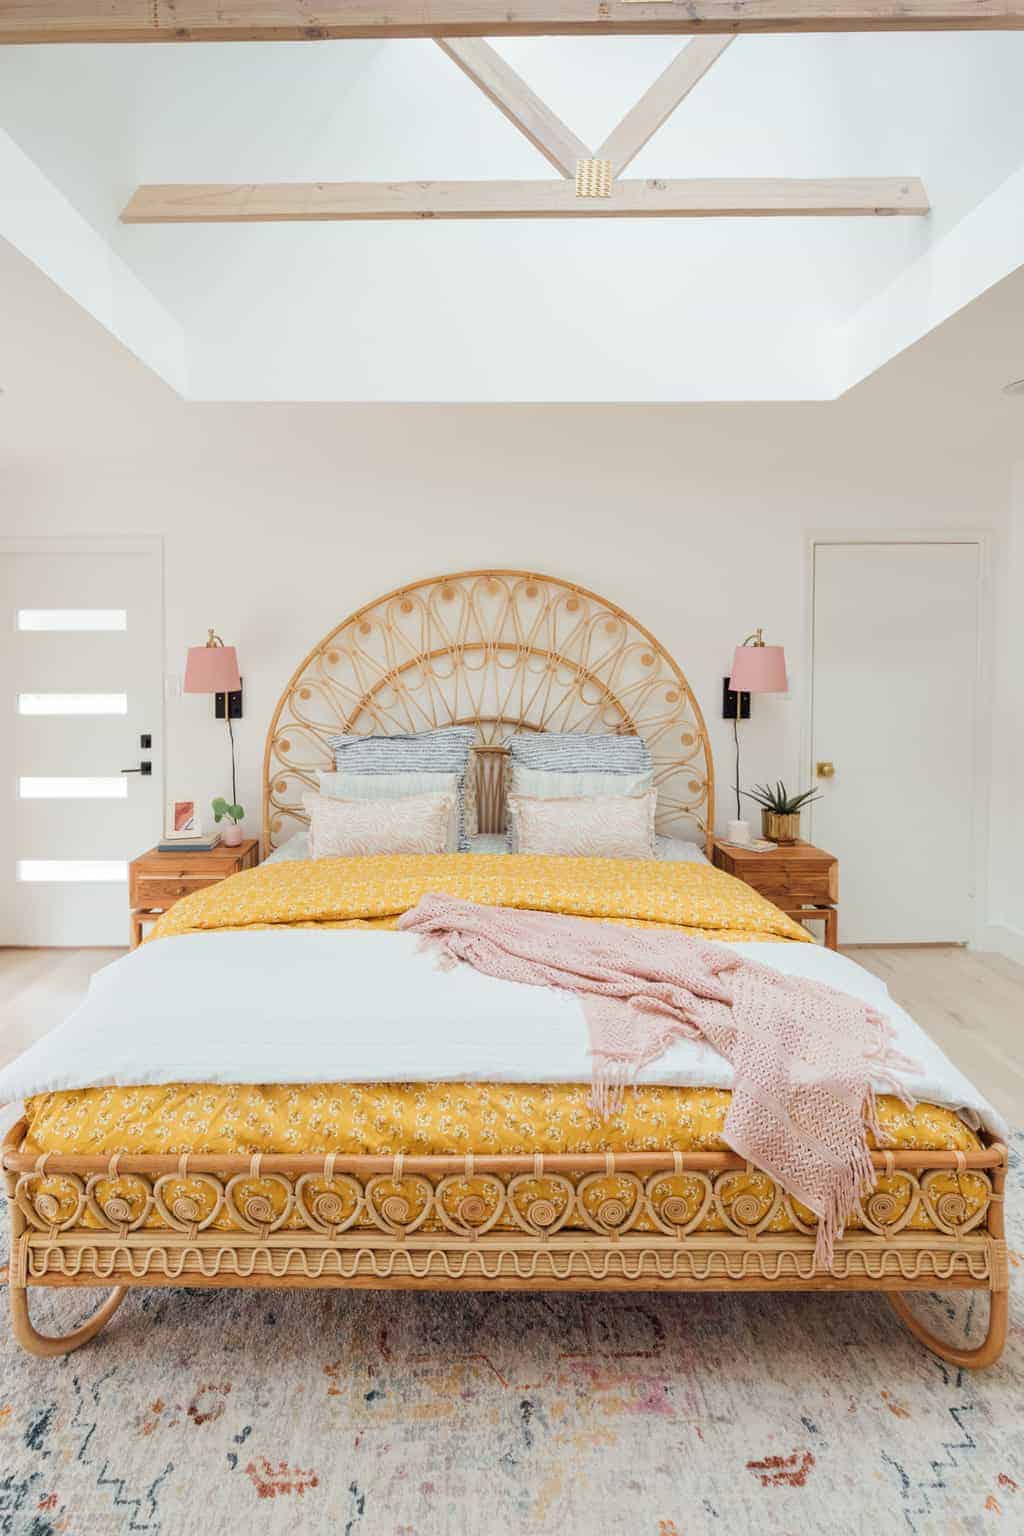
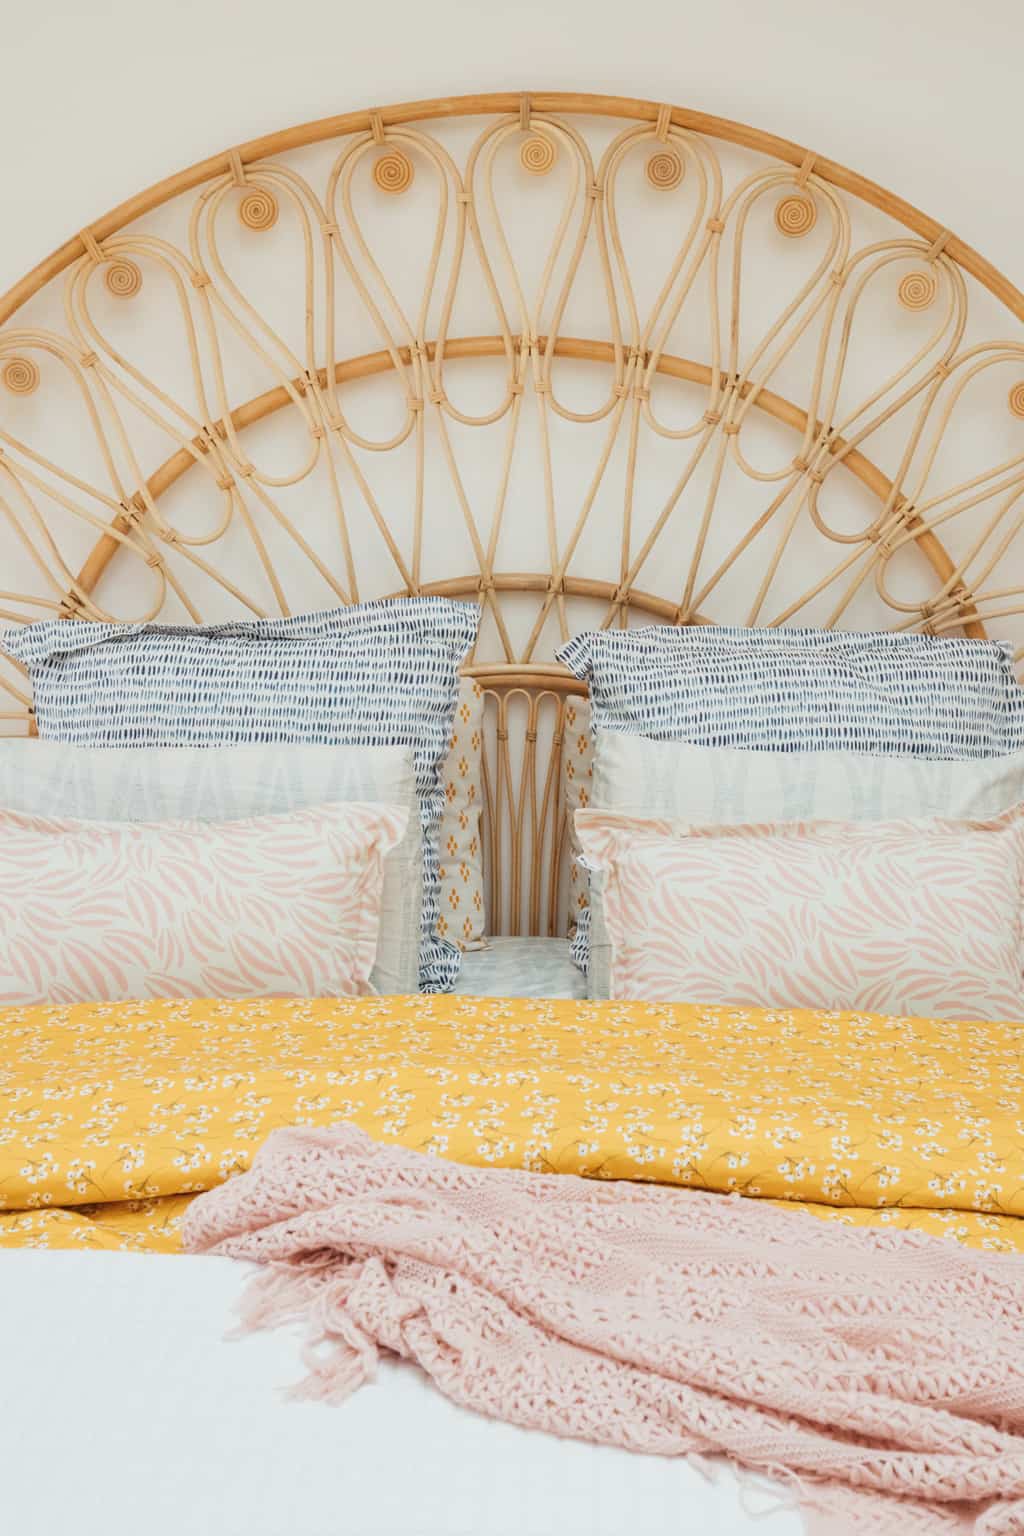
The rattan bed was a sale item that we scored from Anthropologie last year. And the patterned bedding was another custom combination that I put together from Spoonflower. They basically have endless options of fabrics that you can have made into just about anything!
I decided to go with patterns that included a blue, yellow, and blush pink combination so that it tied in the blue tile from our master bathroom.
The Clara Rug from Loloi was the perfect subtle grey with hints of our color palette too.
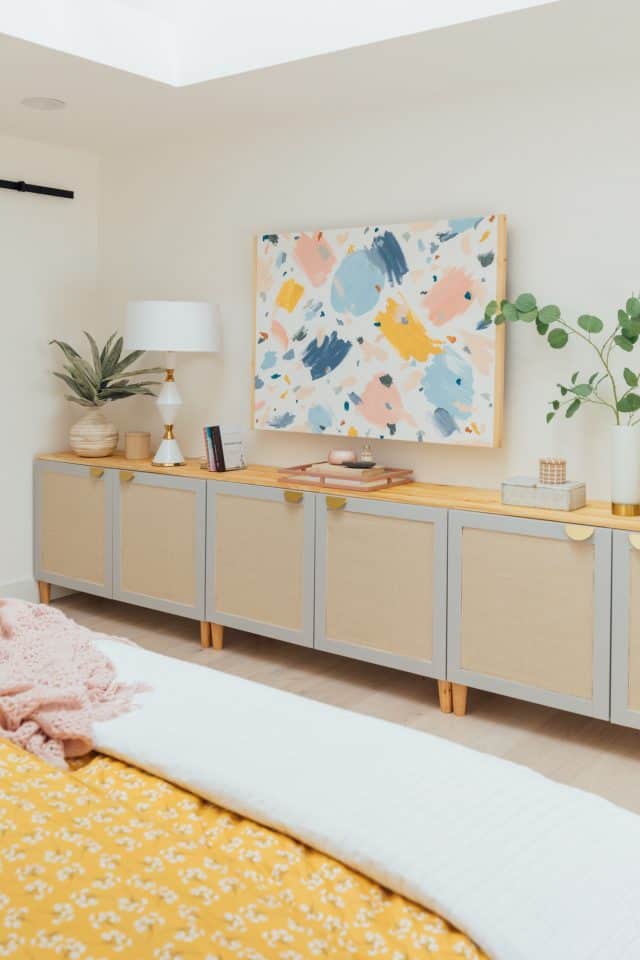
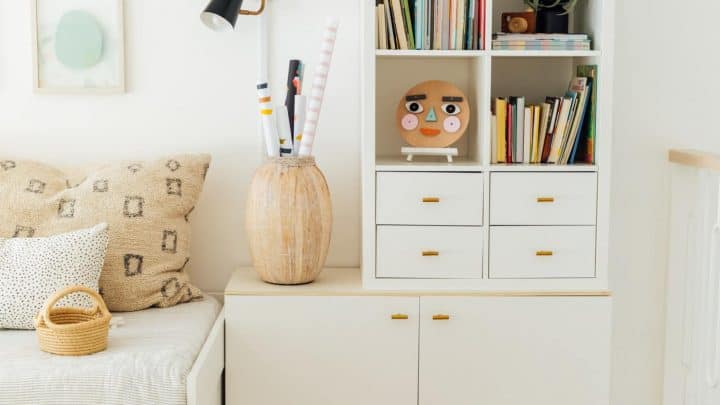
The rattan storage unit is actually a DIY that I created using IKEA besta cabinets from our old studio.
The colorful abstract artwork is another DIY that I made for concealing the TV in our bedroom and I love how it turned out!
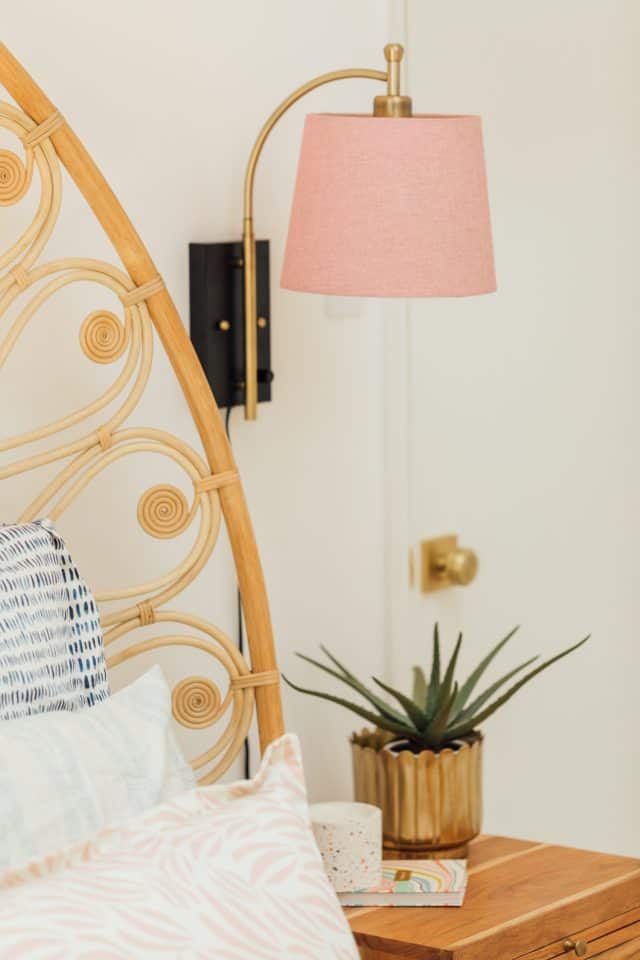
Our sconces were another small DIY project because I couldn’t find a colorful lamp shade that fit them so I ended up painting a custom set myself.
And lastly, the sliding barn doors conceal the study off of our bedroom (which is currently just a junk room!).
We used a simple modern matte black barn door sliding track and doors that I dressed up by using a ceiling medallion cut in half.
I’d say this looks like a totally different house than the before photos, don’t you think? The new master bedroom design is a super relaxing space, and I’m so glad we were able to finish it before baby two came along!
You can see more of our house renovation posts here —
- Our guest bathroom remodel
- Master bathroom reveal
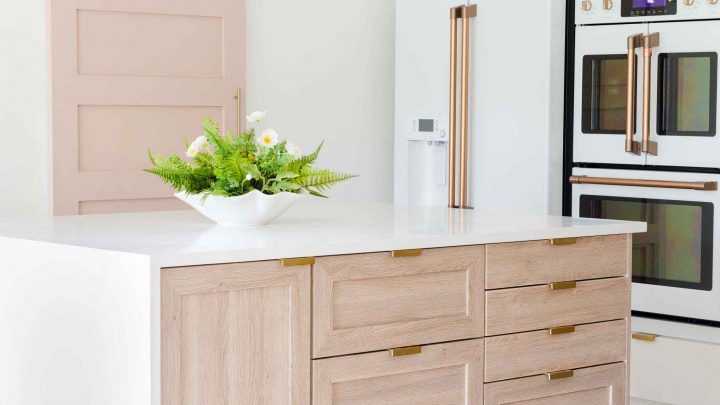
- Modern kitchen before and after
- Mid-century living room and dining room before and after
Master Bedroom Design Sources
- Blinds.com Blackout Cellular Shades
- Construction by Genesis CP in Houston
- Velux Solar Powered Fresh Air Skylights
- Stuga Studio Elderflower flooring
- Matte black barn door sliding track + Ceiling medallion
- Paint Daubs Blush Pink Curtain Panels from Spoonflower
- Clara Rug from Loloi
- Golden Cotton Duvet Cover from Spoonflower
- Urban Garden Sheets from Spoonflower
- Aegean Stripe Throw Blanket from Spoonflower
- Watercolor Scribbles and Stella Dot Pillow Shams from Spoonflower
- Paint Daubs Lumbar Pillows & Inserts from Spoonflower
- Rattan Hat Display Stand
This post has been sponsored by Blinds.com, but all opinions are my own and we’re happy to work with them since they’re a platform we use regularly! Sugar & Cloth has chosen to donate 5% of all sponsored campaigns to charity, which you can read more about right here.
More Home Makeovers

Please note that we may earn a commission for some of the above affiliate links. However, products featured are independently selected and personally well-loved by us!
This bedroom is absolutely gorgeous and such an inspiration! 😍 I found your blog from looking for images of skylights with exposed trusses. This is EXACTLY the look we want in our dark dining room at the heart of our home. I know this post is older, but if you’re still reading comments, I’m curious to know if you were able to use 4 individual skylights with the combination flashing or if it was installed as ONE custom unit. I got some conflicting info and am just curious how you put yours together. Would love any feedback you have! Thank you and well done!
Love what you have done with the bedroom! Beautiful!
Thank you, Marc!
The view, beams and skylight are beyond
Thank you! Waking up to the lake and all that natural sunlight is a great way to start our day! XOXO
Such a fun and airy make-over! Truly jaw dropping from the before photo.
What did you use to DIY the bedside sconces? They came out so well!
Hi Jenn! We are thinking about doing a whole separate blog post just for the DIY sconces because sooo many people had questions about it. Basically, we found some tan lampshades but couldn’t find the color that we liked so we spray painted them with silk flower spray paint. It was super easy and cheap!
It looks great!! The exposed trusses look so good; so much more interesting than the before. And I love that anthro bed with all the bedding you choose. Also, I’m weirdly curious about how you’re using that storage unit. I’m in the market for a new dresser/clothes storage solution and wondering if something like that might work for me.
Thanks, Meredith! We stick everything in those Ikea cabinets! We don’t know if it’s a good or bad thing but we hide everything in there. Our bags, baby stuff (Luca is still co-sleeping with us), clothes, books, etc. That’s why the unit is so huge. Hope this helps! XOXO
Your article is very good, I have read many articles but I am really impressed with your posts. Thank you, I will review this article. To know about me, try talking to me: atari breakout
Absolutely gorgeous!! It doesn’t even look like the same space at all. I love the skylights and how the blinds just brightened up the whole room. Well done.
Thank you, Jen! We are so happy we had the option to bring in more sunlight with the skylights and blinds too!
This room is so beautiful! I’m in love with it!
Thanks, Rachael! XOXO
It looks fantastic! I just love the colors you chose!
Glad you love the colors! Thanks, Stephanie!
I LOVE this look, especially the color pallet. It’s very similar to what I’m going for in my living room, but is much brighter than what mine currently looks like. Do you have a source for the curtains?
Hi Rachel! We just added in all the links to the curtain in the post. They’re 50×96 curtain panels from Spoonflower in the Paint Daubs Blush Pink Pattern. We chose it in the organic cotton sateen material and used the same pattern for our pillows too!