Ikea Besta Door Hack
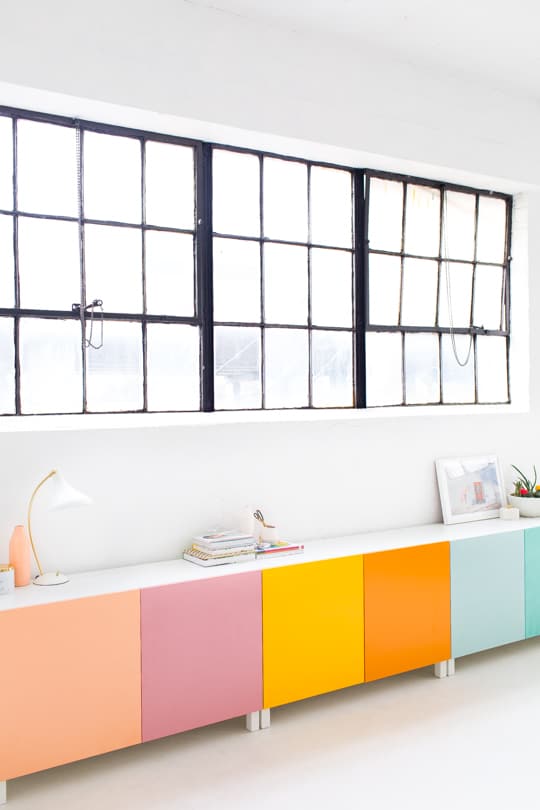
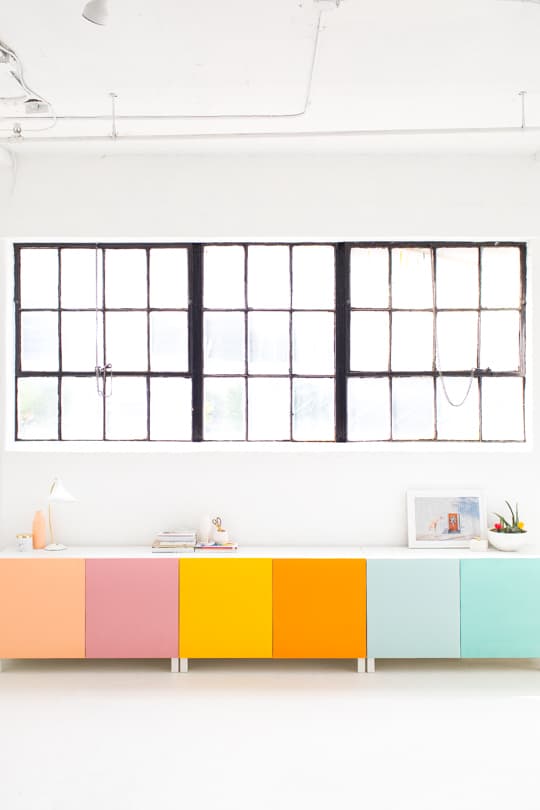
An Ikea Besta door hack for a DIY Color Block Storage to add a pop of color while organizing (and hiding) all your arts and crafts, toys, supplies and more!
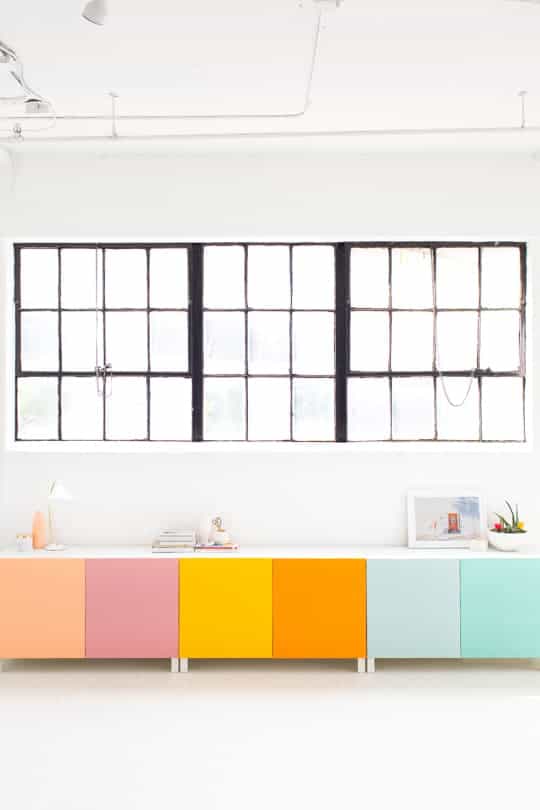
Sometimes prop hoarding leads you to crazy things. So this DIY Color Block Storage (that is an Ikea hack or you can use your own cabinets) was perfect timing and right up our alley!
Due to our prop hoarding capabilities, we’ve now successfully driven us to resort to more studio storage. We love our wide open bright white studio space. But when we were building everything out, we really underestimated the power of being able to conceal junk behind closed doors.
All of this to say that desperation led to cuteness of our new DIY color block storage. At first, we had a bit of color shock considering that we are use to seeing everything white except for the kitchen.
But after being able to shove about 3 weeks worth of upcoming project materials into the cabinets, we’re officially on board with this easy Ikea Besta hack!
Materials Needed
- Ikea Besta cabinets, hinges and legs — Or you can use cabinets of your choice but just make sure they’re not high gloss!
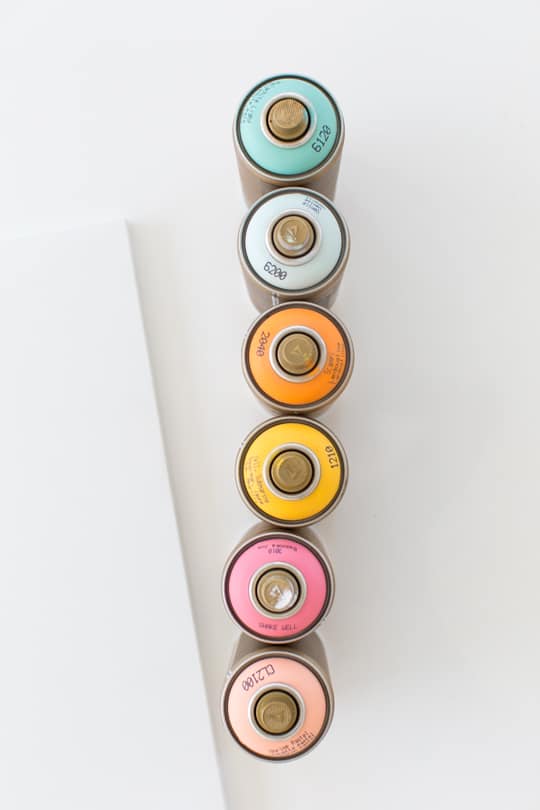
- Paint in the colors of your choice — We used Montana Gold spray paint for this project. Exact colors below:
- Montana Cans Gold Spray Paint in Classic Shrimp Pastel
- Montana Cans Gold Spray Paint in Bazooka Joe
- Montana Cans Gold Spray Paint in Yellow Submarine (MXG-G1210)
- Montana Cans Gold Spray Paint in Scampi
- Montana Cans Gold Spray Paint in Venice
- Montana Cans Gold Spray Paint in Malachite Light (MXG-G612)
- Clear shellac finishing coat
Spray vs. Brush Painting Cabinets: The Pros of Going Spray
Yes, it may be easier to simple roll and brush on paint. But you do get a smoother finish with the spray paint. So both types of paint mediums will work, depending on your preference. However, here are the benefits:
- Smooth finish: Spray painting delivers a flawless, even coat with no visible brush strokes, resulting in a professional-quality finish.
- Speed: Covers large surfaces quickly, making it a time-efficient option for cabinets.
- Hard-to-reach areas: Spray paint can easily coat intricate details, corners, and crevices without the hassle of maneuvering a brush.
- Consistent Coverage: Offers uniform application with no risk of uneven layers or clumps.
- Wide Range of Finishes: Spray paints are available in various finishes (matte, satin, glossy) and can create unique effects like metallics or textures.
- Less physical effort: Requires less manual effort than brush painting, especially for multiple layers.
If you want a polished, professional look and have the tools or workspace to accommodate spray painting, it’s usually the superior choice for cabinets. If budget or convenience is a concern, brush painting can still deliver great results with patience and technique.
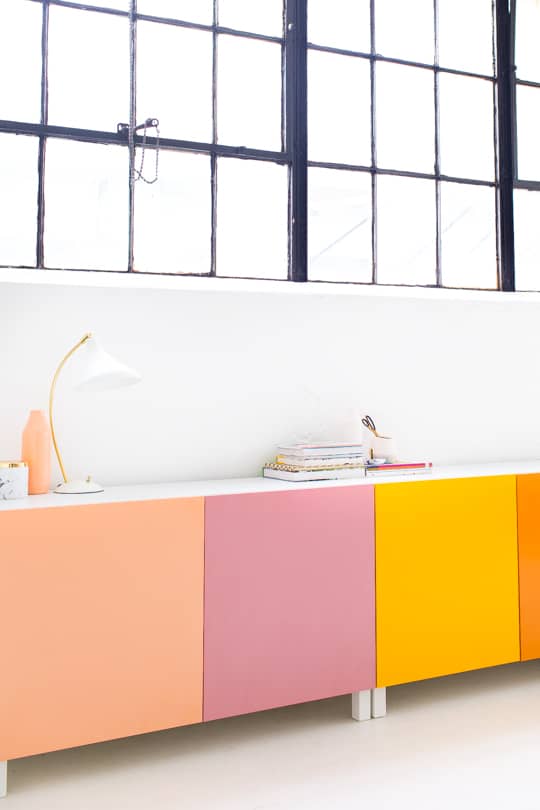
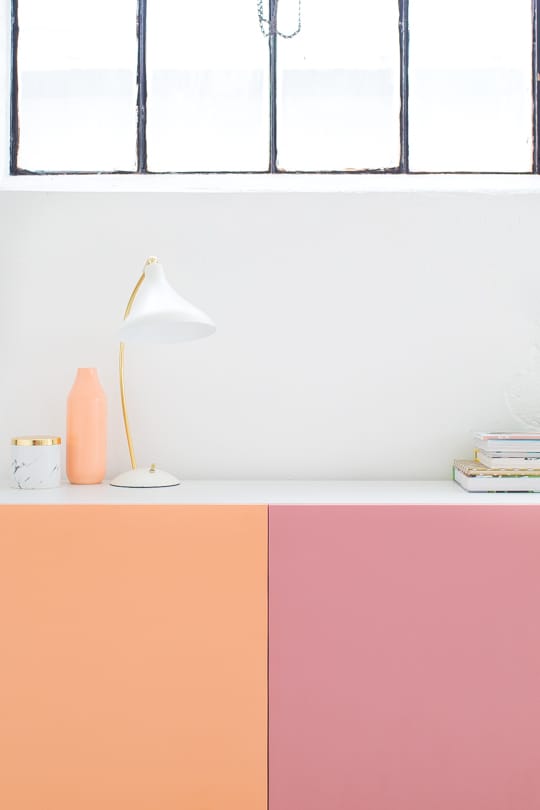
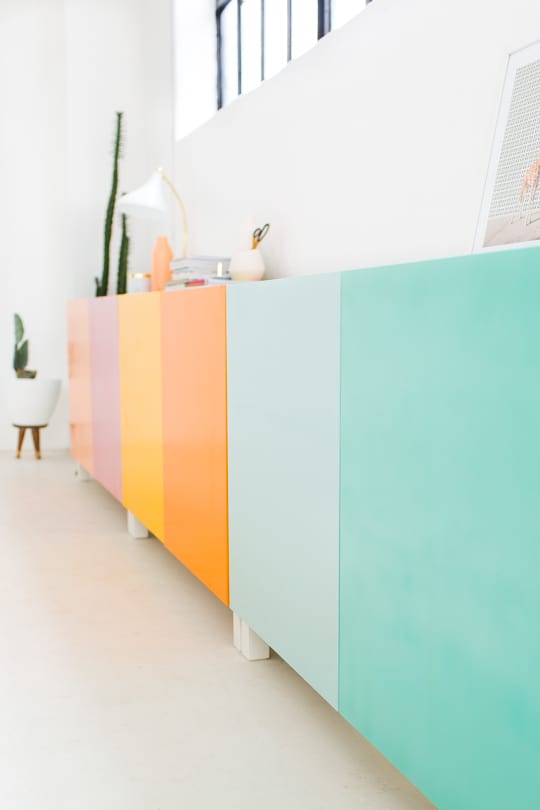
How to Make a DIY Color Block Storage
If you’re using IKEA Besta cabinets, you might find that painting the doors is actually easier than assembling the cabinets themselves. Good news to start your project on the right foot!
Step 1: Prep and Paint
Before assembling the doors, lay them flat and use your chosen paint colors to paint each one individually. We recommend spray painting for a smooth, even finish.
It took us about 3 coats of spray paint per door to achieve full coverage. Allow each coat to dry completely before applying the next. After the final coat, apply a clear shellac to seal the paint.
Step 2: Seal for Durability
Adding a clear shellac topcoat is crucial since the doors will see frequent use. The shellac not only adds a protective layer but also makes the surface easy to wipe down when needed.
Step 3: Assemble and Attach
Once everything is fully dry, assemble the doors and attach them to the cabinets according to IKEA’s instructions.
And that’s it—you’re done! Your colorful, custom storage is ready to make a statement while keeping your space organized.
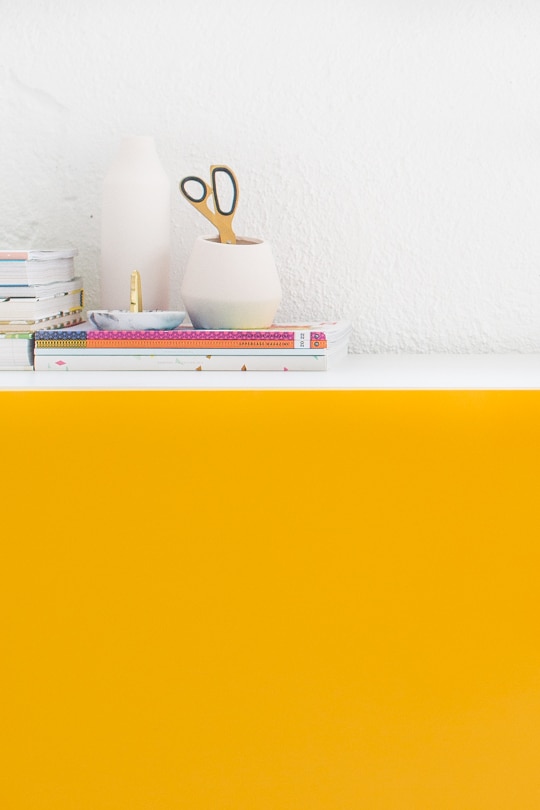
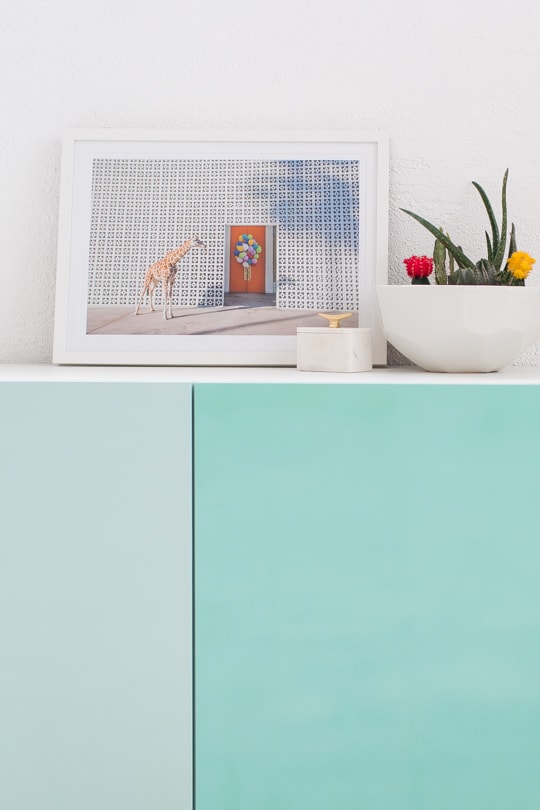
Studio Sources
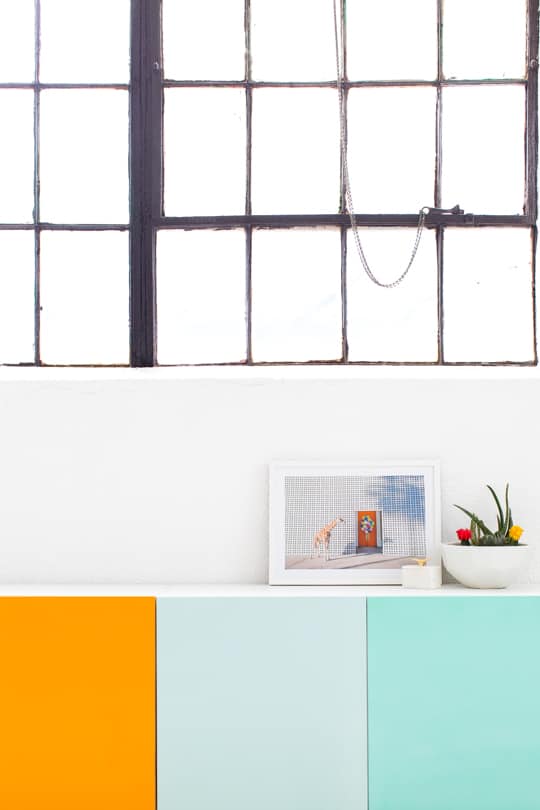
- Lynnwood Single Task Lamp from Rejuvenation
- Giraffe print from Gray Malin
- Ikea Besta series
- Tabletop accessories from Target
More Easy Paint Projects
We also like the idea of just doing muted gradient colors, too. What do you all think?! Any ideas for doing this in your space? For more easy painting projects, check out a few of our favorites from the archive below —
- Handmade Easy Wall Painting Ideas
- DIY Painted Chair Makeover
- DIY Painted Umbrella with Abstract Shapes
- Cake Painting Tutorial
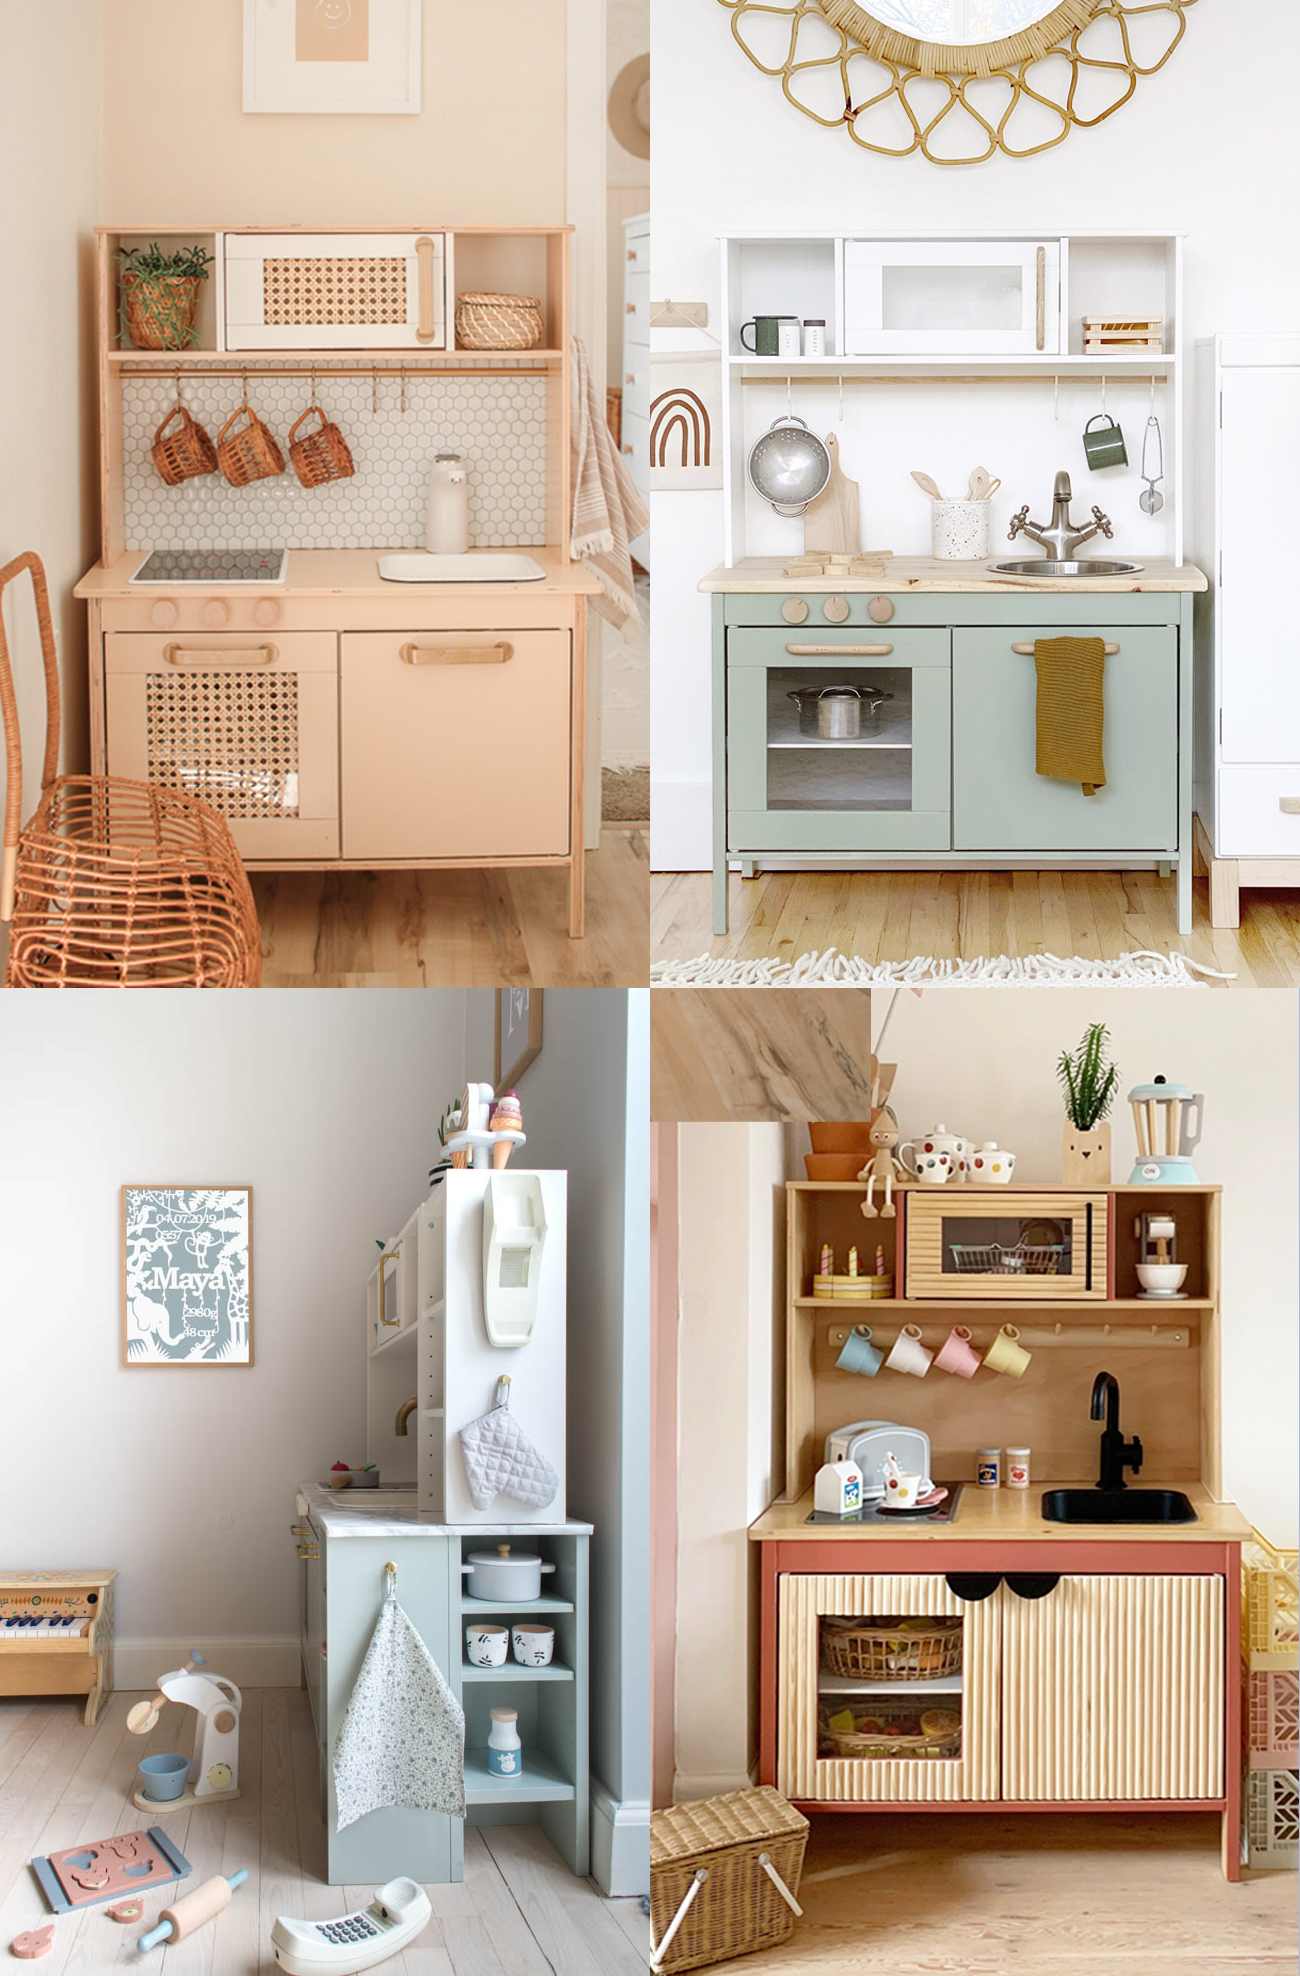
DIY Ikea Play Kitchen Hacks to Make it One-of-a-Kind
Take your child’s pretend play to the next level with…
Continue Reading DIY Ikea Play Kitchen Hacks to Make it One-of-a-Kind
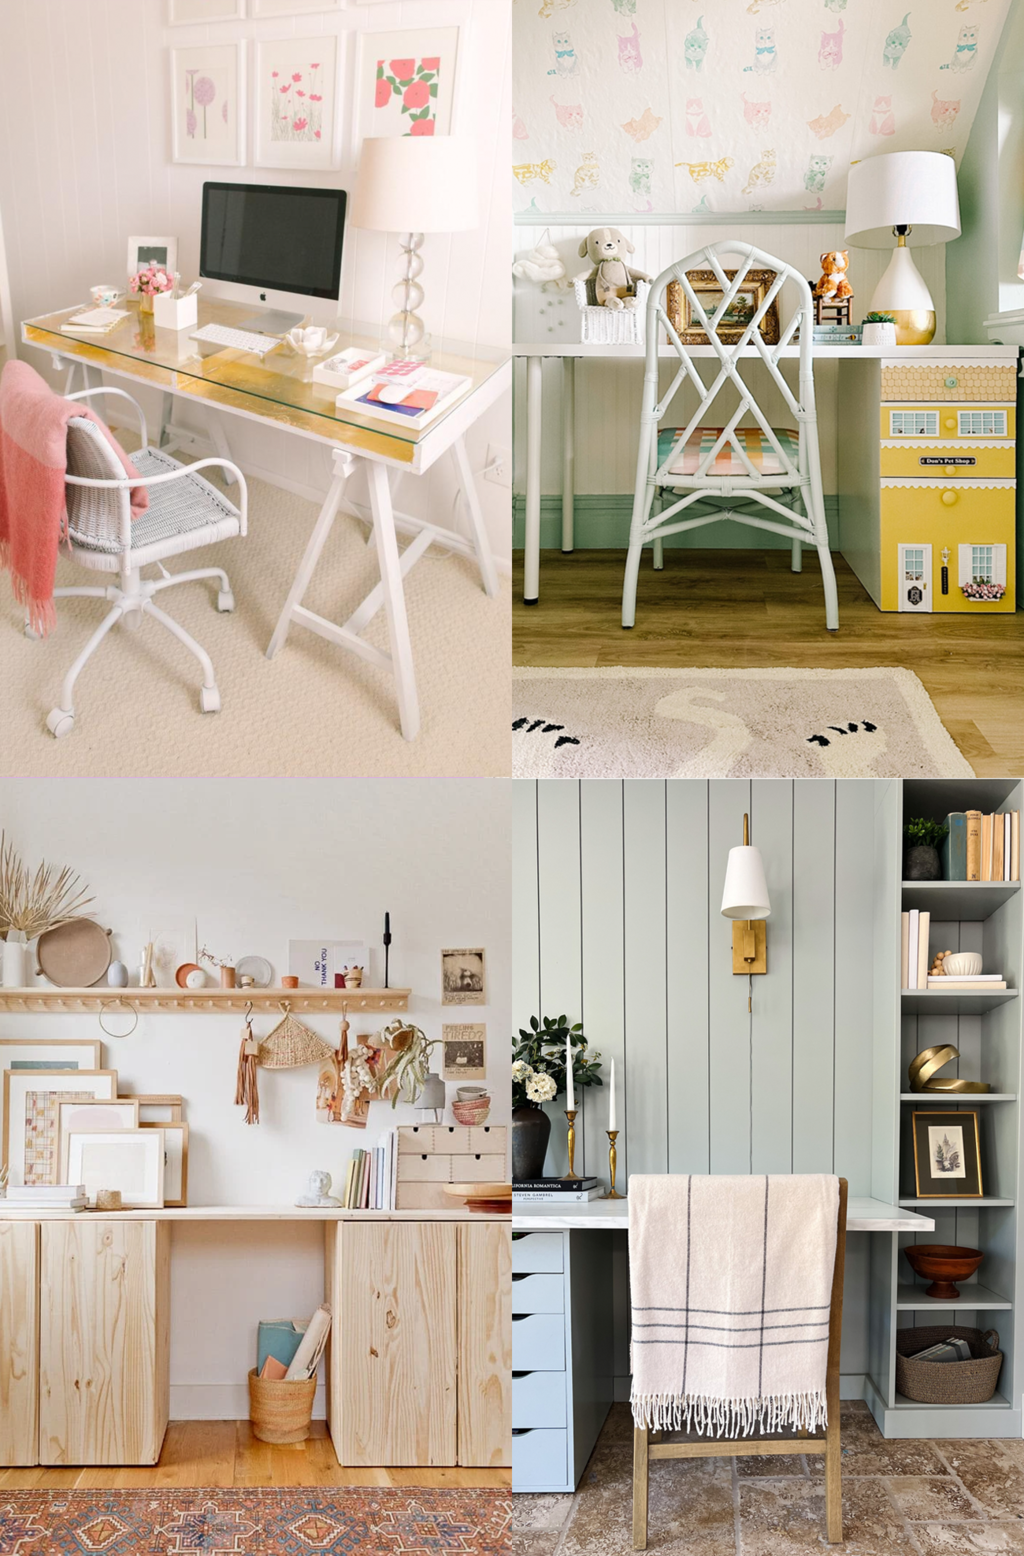
16 Genius Ikea Desk Hacks You Need In Your Life
Discover the ultimate IKEA desk hack guide for a stylish…
Continue Reading 16 Genius Ikea Desk Hacks You Need In Your Life
22 Home Office Ideas that Promote Productivity & Creativity
Tired of the same ol’ 9-5 grind? These home office…
Continue Reading 22 Home Office Ideas that Promote Productivity & Creativity
15 Entryway Storage Ideas to Tame Your Cluttered Chaos
Say goodbye to chaos at the front door with these…
Continue Reading 15 Entryway Storage Ideas to Tame Your Cluttered Chaos
Please note that we may earn a commission for some of the above affiliate links. However, products featured are independently selected and personally well-loved by us!
Hi there! This is lovely! Would you mind sharing the 6 Montana Gold spray paint colors you used? Thank you!
Hi Shannon! Great question! We updated our post with all the exact colors. Most of them you can find them on Amazon right now. I few have sold out but the are also available about your local hardware and art stores. Hope this helps!
Hi there, this looks fantastic!!
I don’t see anywhere the name of the besta doors you used? Which ones are the least high gloss and most accepting of paint?
Thanks!
Hi Ro! The Ikea Besta cabinets should come with doors. We did not switch them out, even though there are non-Ikea options to replace the Besta. Hope this helps!
Hi, there! I LOVE this project so much! I’m trying to look really hard, but the way the cabinets look in the photos, it looks like you have a cohesive top. Is there a seam where the different units meet, or did you add one long top? Thanks!
Hi, Emily! We actually used three different units :) If you look very close, you can see where they meet! Luckily, it wasn’t too obvious and the units look great all together.
Sorry if i missed this, but did you prep the surfaces first? Thx
Hi there! We didn’t prep the surfaces, but made sure to add a top coat of spray paint.
I love this! What/where did you get the legs for the cabinets?
I love it! The color are great! I’ve always been afraid to spray paint or paint ikea cabinets b/c I though the paint not might adhere to some of their door fronts. But your cabinets look so good! Thank you for advising we stay away from painting high gloss cabinets. Do you have any other recommendations? Or Do you think paint will adhere well to all non-gloss cabinets? (sorry for the all capts)
I NEED these in my life! I just need to figure out a place to put them! Great tutorial and color choices!
Could you or someone else share the link to the cabinets? I’ve searched IKEA but can’t find the right ones.
Hi Courtney,
The Besta system comes in components. If you take a picture to Ikea they’ll be able to help you find the individual pieces. Unfortunately, the don’t have links to them online. Hope this helps!
Now, there are different factors involved in this process, which determines the friendliness of a website. Therefore, given that marketing is so to speak at the core of any business, if you want to sell well, you have to advertise well, and you can do this on the internet, given it is the best means to help you achieve your goals to this effect due to its massive exposure and incessant expansion. Search engines take time to consider your page quality and all the other aspects of your page when you update something.
I love the colors! What colors did you use?
So cool! I love the combination of colors!
Simply beautiful! I heart ikea and your work ;)
love this ashley. I might try these cabinets for my space too!
These storage containers are so cute! I love them!
Paige
http://thehappyflammily.com
Wow so bright, so pretty! I love it. Also, maybe a bit random, but I love the window!
I love, I love, I love! I think the colours are great. I’m getting a shelving unit that may be cool to spray paint. :)
Oh! These are so fun! Who know those Besta cabinets could be so stinkin’ adorable.
g.