DIY Paper Shapes Wall Art Collage
Create modern wall décor with this DIY Paper Shapes Wall Art tutorial with simple cardstock shapes to make an easy, inexpensive piece of art for any blank wall.
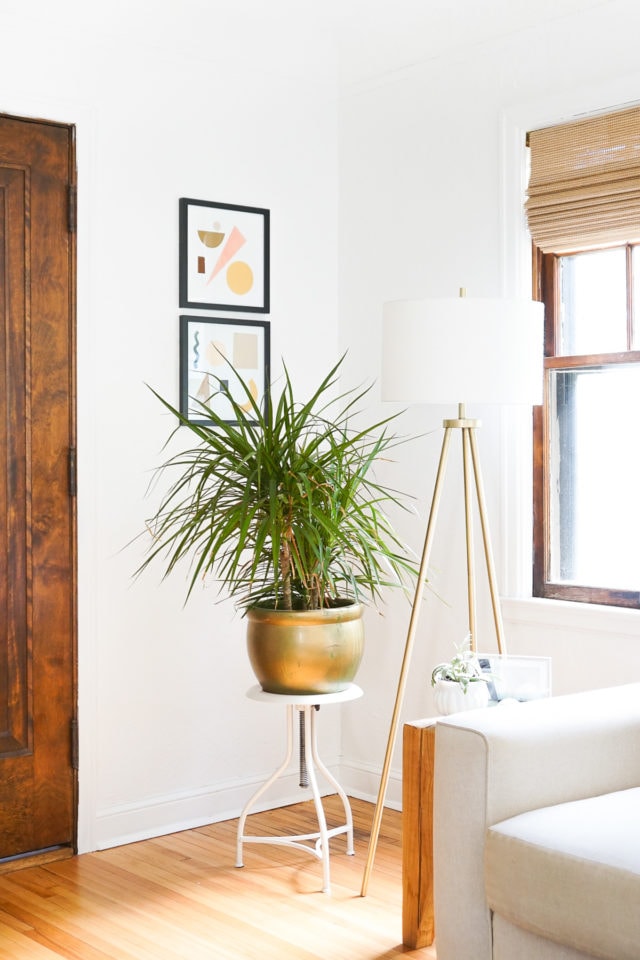
If you’ve ever stared at a blank wall and thought something should go there, but you’re not quite sure what. Our DIY Paper Shapes Wall art might be the perfect solution.
This easy paper craft art project uses nothing more than cardstock, scissors, and a little creativity. By cutting simple geometric shapes and arranging them into a modern collage, you can create custom DIY wall decor that looks designer-made but costs only a few dollars.
The best part? What I, Erin love most about this paper shapes wall art is how customizable it is. Choose colors that match your space, experiment with different shapes, or create multiple pieces to form a gallery wall. It’s a simple craft that instantly turns an empty wall into a playful focal point.
Even better, this paper craft wall art project is beginner-friendly and budget-friendly. It’s a great DIY for apartments, dorm rooms, kids’ rooms, or any spot that needs a little personality.
Materials & Tools Needed
- Assorted colored cardstock or craft paper: We used a 12” x 12” white construction paper for our background. For the shapes, cardstock works best because the heavier paper keeps the shapes crisp and prevents curling.
- Scissors
- Dry adhesive sheets or craft adhesive
- Picture frame
How to Make DIY Paper Shapes Wall Art
Step 1 — Sketch Your Design
Before cutting anything, lightly sketch your design idea on paper.
Think about the arrangement of your paper shapes wall art. Do you want a symmetrical layout or a more organic collage? Planning the placement ahead of time makes assembling the artwork much easier.
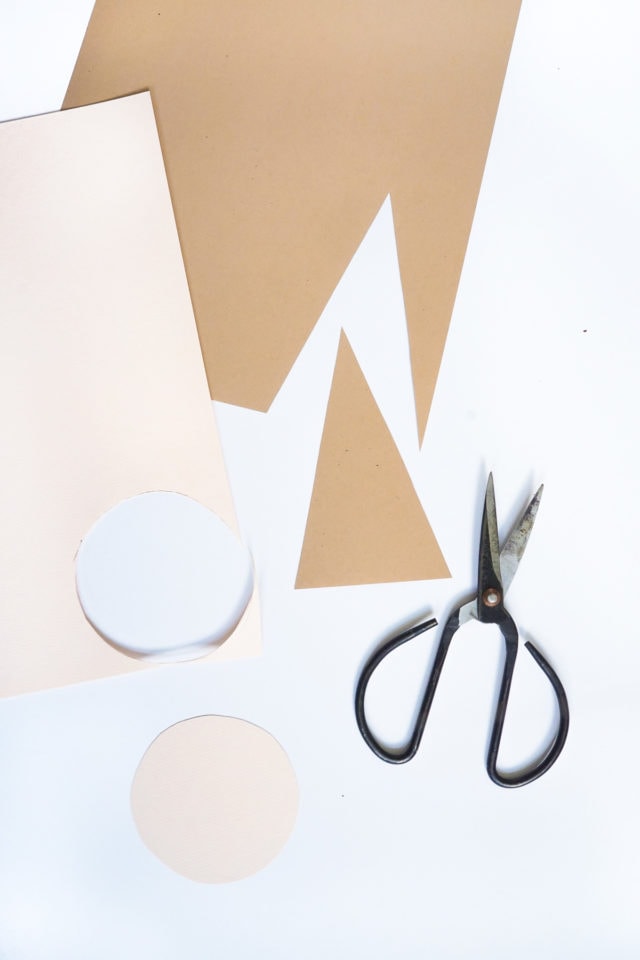
Step 2 — Cut Out Paper Shapes
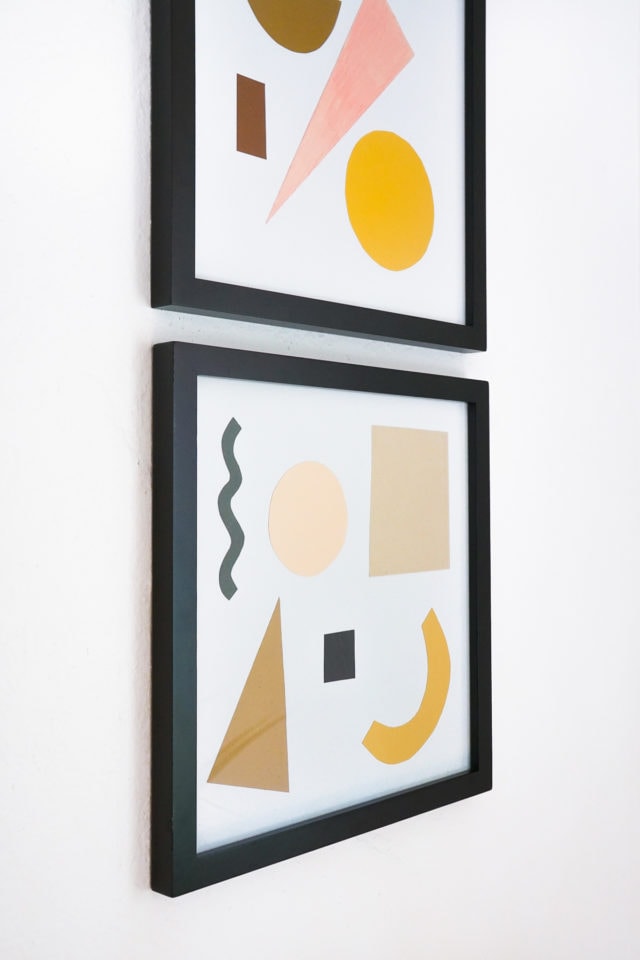
Using colored cardstock, cut out a variety of shapes. Try mixing different forms like:
- Circles
- Triangles
- Squares
- Crescents
- Polygons
- Abstract shapes
Don’t worry about perfection. Slightly irregular shapes give this DIY paper art a playful, handmade look. We also traced household objects (like cups or vases) to make perfect circles.
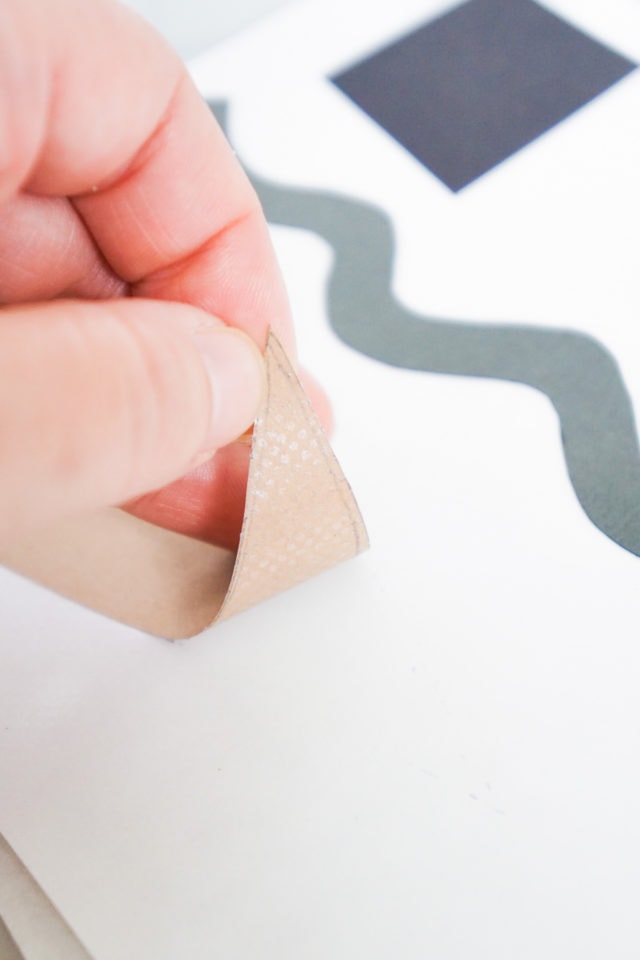
Step 3 — Apply Adhesive
Peel back the film from your adhesive sheet and press the paper shapes onto the sticky surface. Then, peel them off to create easy “stickers” for your artwork. This makes positioning your paper craft wall art much easier and cleaner than using liquid glue.
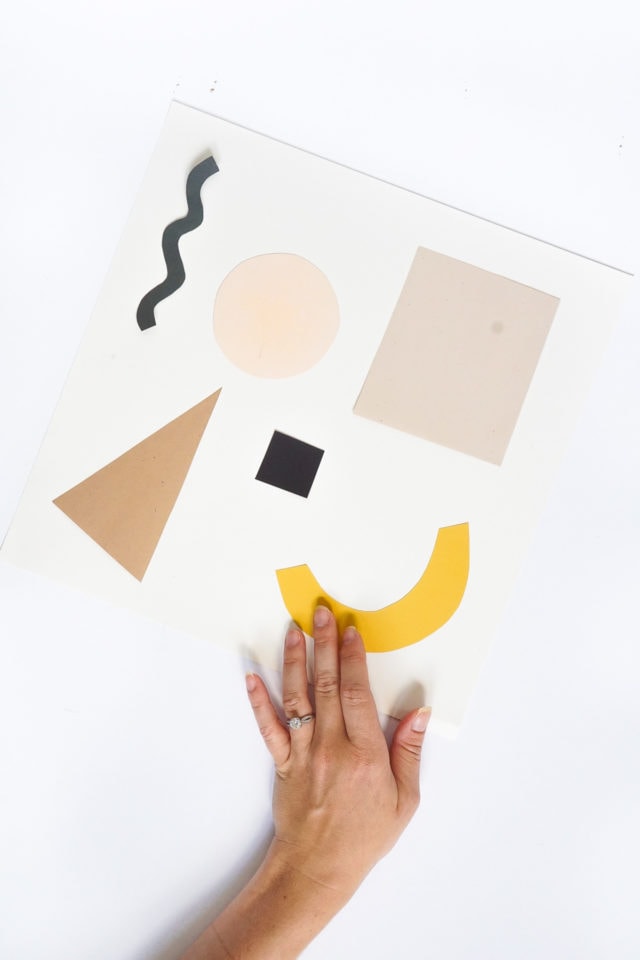
Step 4 — Arrange the Shapes
Place the shapes onto your white cardstock background. Experiment with different layouts until you find a composition you like. Layering shapes or overlapping colors can add visual interest and depth to your DIY paper shapes wall art.
Once you’re happy with the design, press down firmly so everything adheres smoothly. Arrange the shapes on your background cardstock and press down until all edges have adhered.
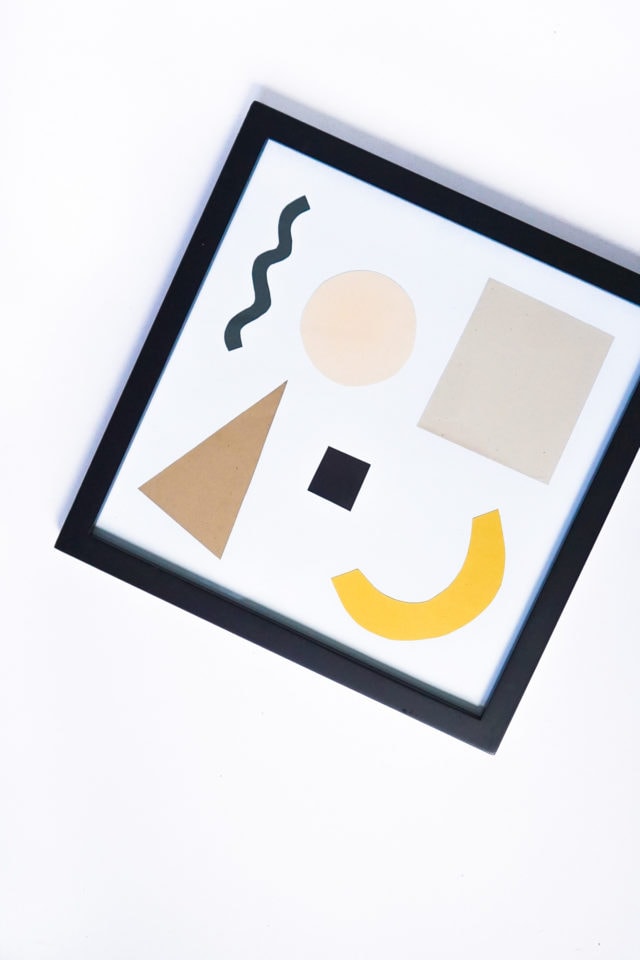
Step 5 — Frame and Hang
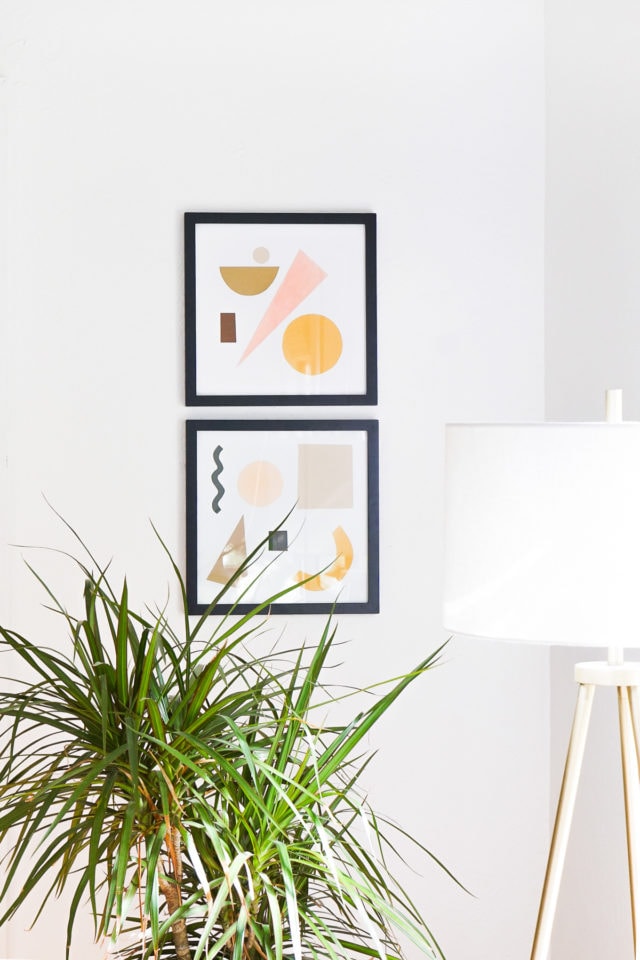
Place the finished artwork inside your frame and hang it on your wall.
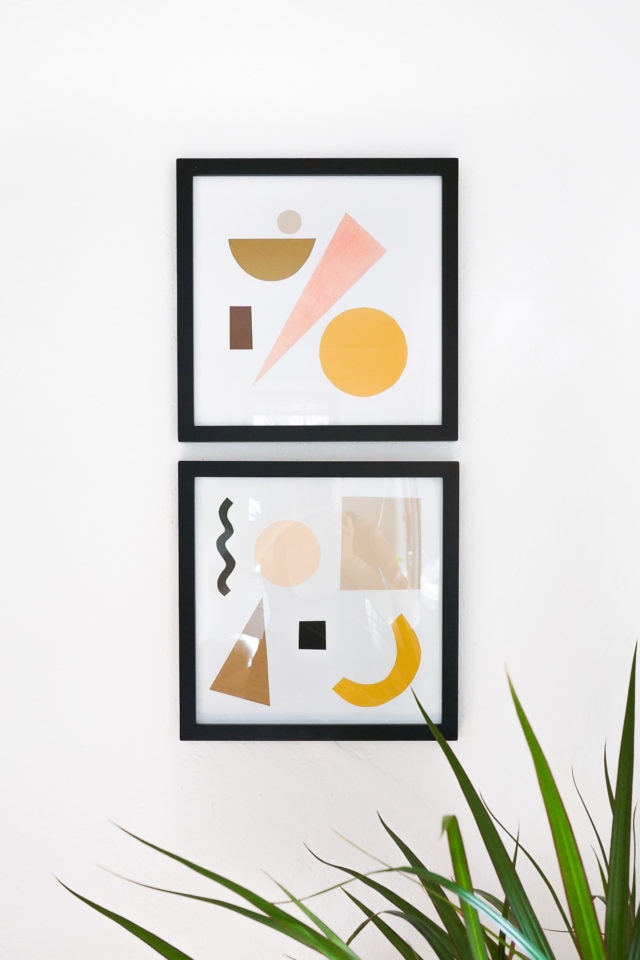
You can create a single piece or make a set of paper shapes wall art prints to form a colorful gallery wall.
Design Tips
Want your DIY Paper Wall Art to look even more polished? Try these tips:
- Choose a cohesive color palette: Stick to 3–5 colors that complement your room.
- Mix shape sizes: Combining large and small shapes creates movement and visual balance.
- Play with asymmetry: Modern abstract art often looks best when the shapes are slightly off-center.
- Create a series: Make several frames using different shape combinations for a coordinated wall display.
Easy Ways to Customize this Paper Shapes Craft
One of the reasons we love DIY paper shapes wall art is how flexible it is. You can easily customize it by:
- Adding metallic or patterned paper
- Using neutral tones for a minimalist look
- Choosing bold colors for a playful gallery wall
- Creating seasonal color palettes
More Easy Paper Crafts to Try
- Pattern DIY Paper Leather Tote
- DIY Paper Plants
- Giant DIY Paper Flower Bouquet
- Waterproof Paper Lanterns

Equipment
- Scissors
Materials
- Cardstock paper in assorted colors
- Dry adhesive sheets or craft adhesive or liquid glue
- Photo frame optional
Instructions
- Sketch your design.
- Using colored cardstock, cut out a variety of shapes. Try mixing different forms like circles, triangles, squares, crescents and abstract shapes. Don’t worry about perfection because slightly irregular shapes give a playful, handmade look. Tip: Trace household objects (like cups or vases) to make perfect circles.
- Apply adhesive by peeling back the film from your adhesive sheet and press the paper shapes onto the sticky surface. Then, peel them off to create easy “stickers” for your artwork.
- Arrange the shapes onto your cardstock background. (We opted for a white background.) Press down firmly so everything adheres smoothly.
- Place the finished artwork inside your frame and hang it on your wall.


Please note that we may earn a commission for some of the above affiliate links. However, products featured are independently selected and personally well-loved by us!
I had no idea artist tac was a thing! The pieces look great in that spot! Does anyone know where the gold planter is from? Been looking for the shape for awhile haha.
So glad you like it, Cat! Erin would have to answer that for you, but here’s one option!xo
Wonderful tutorial! Hardly waiting to get my masterpiece done!
That’s so great to hear, Jordan! Would love to see how your masterpiece turns out! xo
These are so fun and cute! I want to make some for my office!
Paige
http://thehappyflammily.com
Thank you, Paige! Yesss! You totally should! :)
I love this idea. Thank you for the tutorial.
So happy to hear, Sandi! Erin did an amazing job! xo