How to Waterproof Paper Lanterns
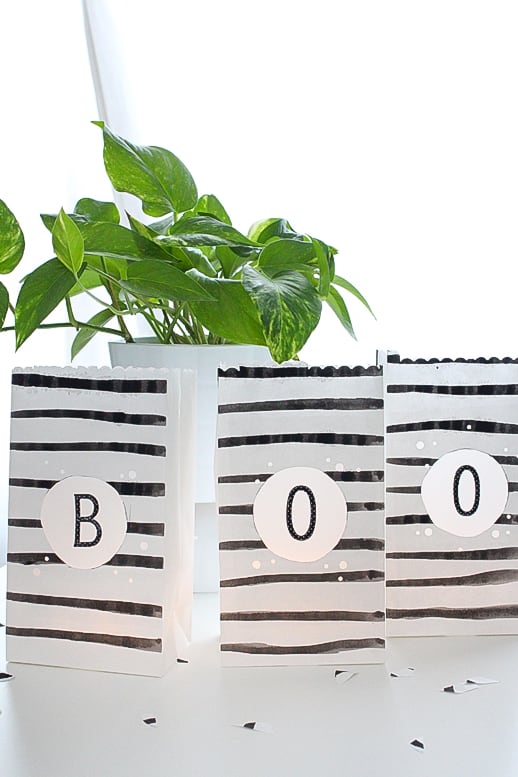
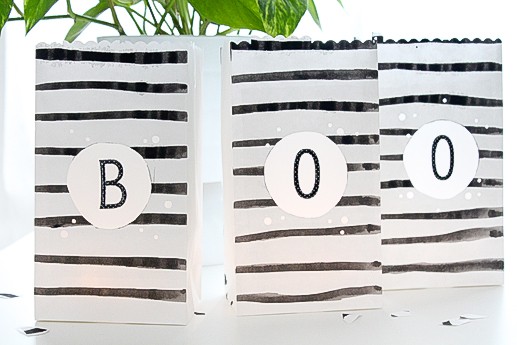
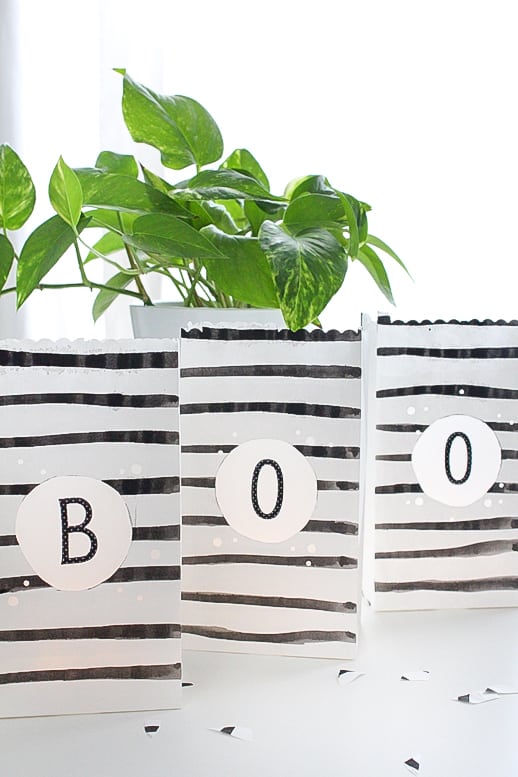
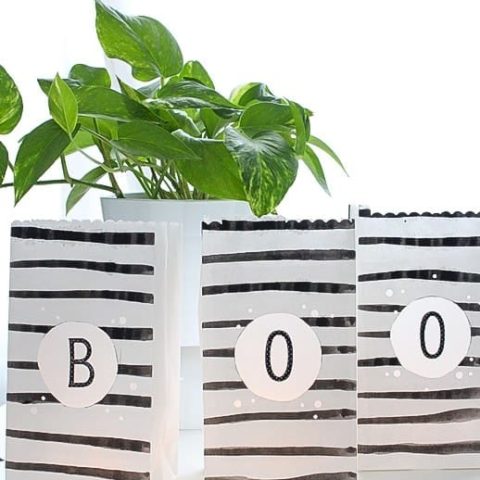
Sharing a tutorial for DIY Waterproof Outdoor Paper Lanterns that will dress up your patio, backyard, or outdoor space for Halloween.
I can honestly say that my favorite part of Halloween is passing out candy. I would rather pass out candy than to go to any party.
There’s just something about chubby babies dressed up as tigers and little kids with lisps as Spiderman that I find so hilarious. Can you really blame me though?
To keep the decor kid friendly and still able to weather the elements, I made these DIY Waterproof Outdoor Paper Lanterns for a simple and cute entry way.
You can customize bags yourself (like I did). Or you can make this into a five-minute project by just buying store bought paper bags that you love and coating them with outdoor Mod Podge.
Seriously, this stuff is a dream.
Materials and Tools Needed to Make DIY Waterproof Outdoor Paper Lanterns
Scissors
Glue
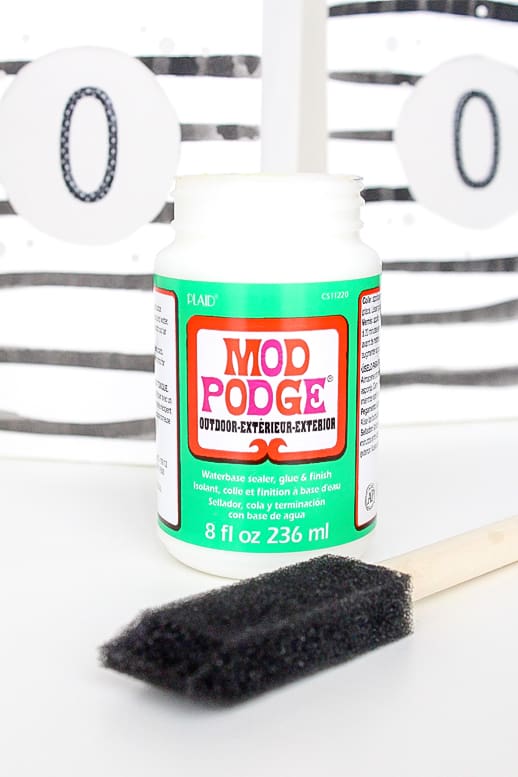
Outdoor Mod Podge Water Base Sealer
Foam brush
Sticker letters — Optional
Hole puncher — Optional
Black craft paint — Optional
How to Make DIY Waterproof Outdoor Paper Lanterns
To waterproof bags:
If you’re not customizing any bags and are just transforming store bought ones to be waterproof for the outdoors, just use a foam brush and the outdoor Mod Podge over the entire bag.
Place several coats over the bags letting them dry 15-20 minutes in between. The water-base sealer, glue and finish lets you decoupage for the outdoors and you can use it on any type of surface.
Make sure to let it seal for 72 hours before placing them outside.
To make these Halloween lanterns:
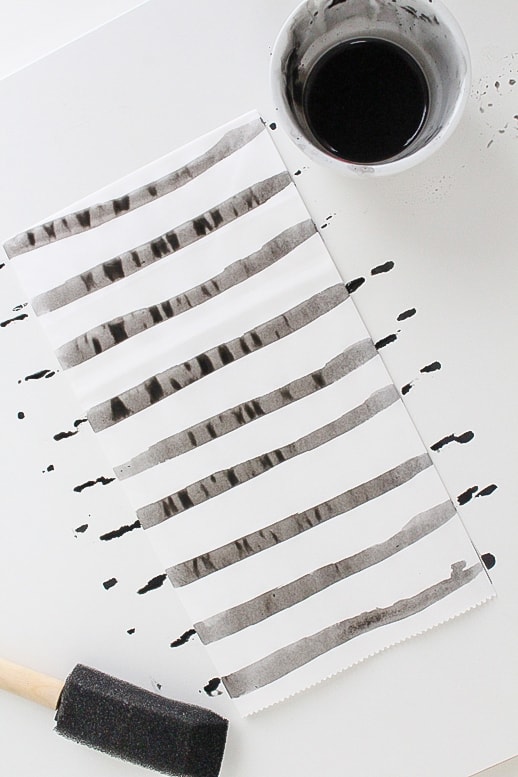
1 — Water down some black craft paint and use a foam brush to paint watercolor type stripes across plain white bags.
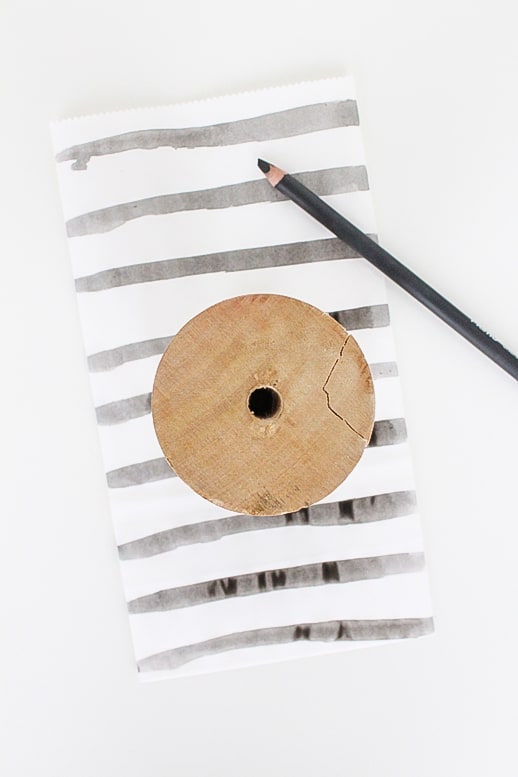
2 — Use a a small bowl or spool to trace and cut a circle in the middle the paper bags.
3 — Glue squares of vellum paper on the inside of the bag to diffuse the light from the cut-outs.
4 — You can also use varying sizes of hole punches to add extra interest.
5 — Lastly, place sticky letters to the vellum and then Mod Podge the entire bag.
6 — Insert your battery operated lights, and you’re all set!
How Do You Protect Paper Lanterns from Rain?
Once the lantern is clean, hang it up somewhere and give it a few good coats of clear spray paint.
This won’t make the paper completely waterproof but will help to keep your outdoor light dry in rain or snow!
Please keep in mind that though the paper lanterns are water resistant but cannot withstand stand long periods of wet weather conditions.
So if you bring them inside if there is a huge downpour.
Is It Possible to Use Regular Paper Bags for Luminaries?
Making paper bag luminaries is such a fun way to decorate your home for all of the different colors that it offers.
All you need are some plain, small bags and they’ll be ready in no time!
More Outdoor Decor Ideas
- Front Door Decor: Cute Halloween Candy And Ghost Decorations
- How to make an easy DIY Wind Chime
- Bring a little color to your back patio: DIY Faux Grass Decorative Stepping Stones
- The perfect summer project: DIY Retro Beach Umbrella
- A jumbo DIY twist on a Christmas garland – DIY Wood Lights Christmas Garland
DIY Waterproof Outdoor Paper Lanterns
Equipment
- Scissors
- Foam brush
- Hole punch optional
Materials
- Paper bag
- Outdoor Mod Podge Water Base Sealer
- Vellum paper
- Glue
- Battery operated candle
- Sticker letters optional
- Craft paint optional
Instructions
To waterproof any bag:
- If you’re just wanting to waterproof a store bought bag for the outdoors, simply use a foam brush to cover the entire bag with Outdoor Mod Podge.
- Paint several coats over the bag while letting Outdoor Mod Podge to dry 15-20 minutes in between each coat.
- Make sure to allow the Outdoor Mod Podge to seal for 72 hours before placing the lantern outside.
To customize your bag with this Halloween look:
- Water down some black craft paint and use a foam brush to paint watercolor type stripes across plain white bags.
- Using a a small bowl or spool, trace and cut out a circle in the middle the paper bags.
- Glue squares of vellum paper on the inside of the bag to diffuse the light from the circle cut-out.
- You can also use varying sizes of hole punches to add extra interest.
- If you want the lanterns to spell out a word, place a sticker letter to the vellum.
- Cover the entire bag with Outdoor Mod Podge. Paint several coats, allowing 15-20 minutes of dry time in between each coat. Make sure to allow the Outdoor Mod Podge to seal for 72 hours.
- Insert your battery operated lights, and you’re all set!

Don’t forget to share your home decor projects with us on Instagram using the hashtag #sugarandclothloves. We always love seeing all of your creations! Looking for more interior design inspiration? You can find them all of our home decor tutorials and ideas right here!
More Easy DIY's To Try


Please note that we may earn a commission for some of the above affiliate links. However, products featured are independently selected and personally well-loved by us!
Amazing Halloween bags Ashley. I didn’t know that Mod Podge could be used outside. I must purchase some of this! So many concepts
Thank you! Yes, you can definitely use Mod Podge outdoors. BUT just make sure to purchase the type specifically for outdoor use.
Love these Halloween bags Ashley. I had no idea that Mod Podge had an outdoor option. I have to buy some of this! So many ideas…
This is such a cute idea! How is Modge Pod any different from other outdoor glues like Titebond?
these are so lovely! putting this project on my looooong list of to-do projects.
http://www.lilyonfillmore.com