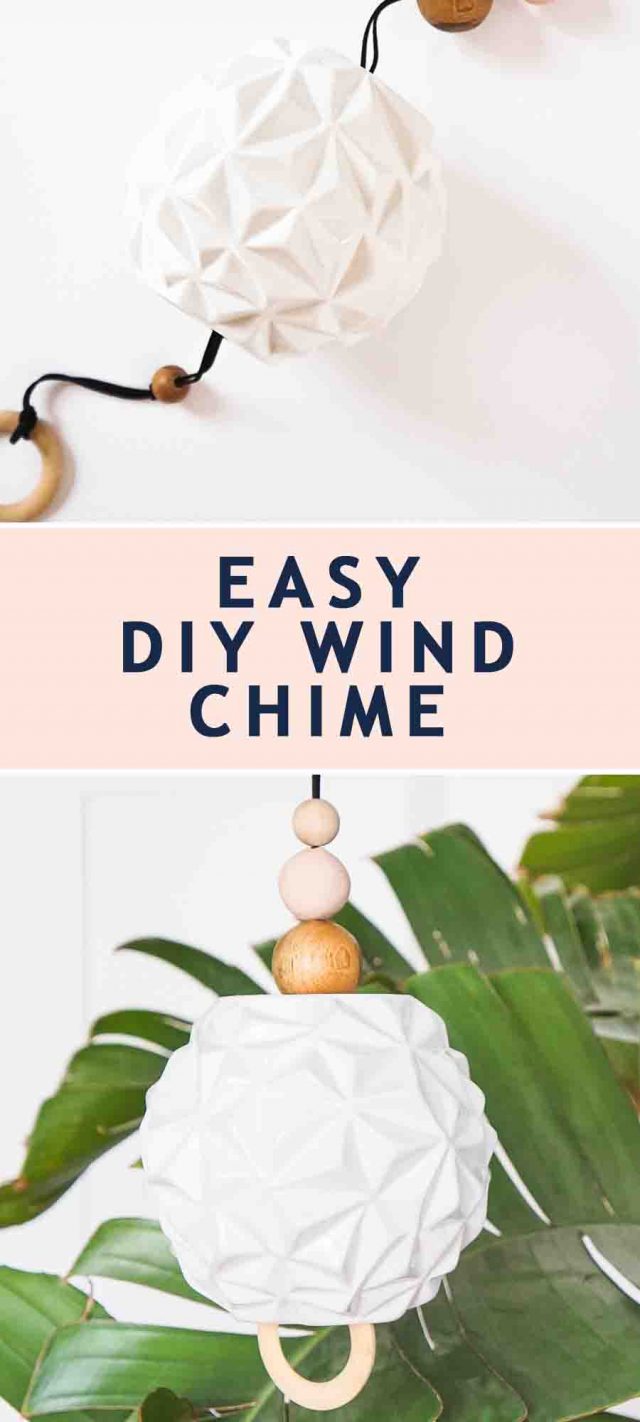
Modern DIY Wind Chime
DIY Wind Chime — Patio season is upon us. That means it’s time to crawl out of winter hibernation and set up our balconies and backyards! It’s time for some outdoor R&R with a DIY Wind Chime to serenade you.
I was recently at an outdoor wedding where the couple decorated the altar with a collection of wind chimes, which quietly chirped away in the background during the ceremony.
It was unique and super charming. So naturally, it inspired me to make some wind chimes for my own patio yard this year!
This wind chime is an easy project that makes a big statement. It basically involves stringing and tying materials of your choice onto a piece of cording for a custom decor piece for when the wind blows…
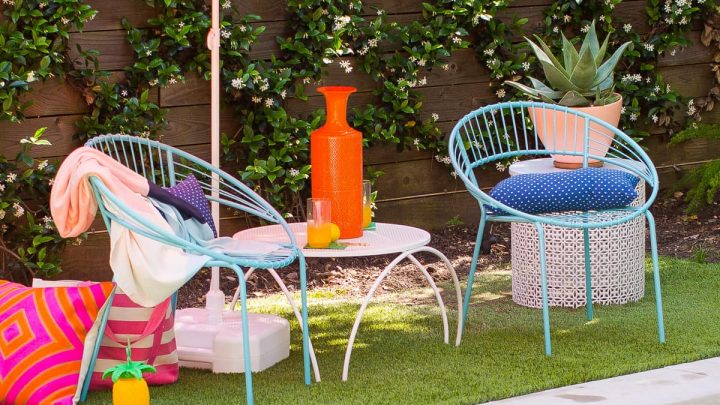
Tools And Materials Needed To Make A Modern DIY Wind Chime
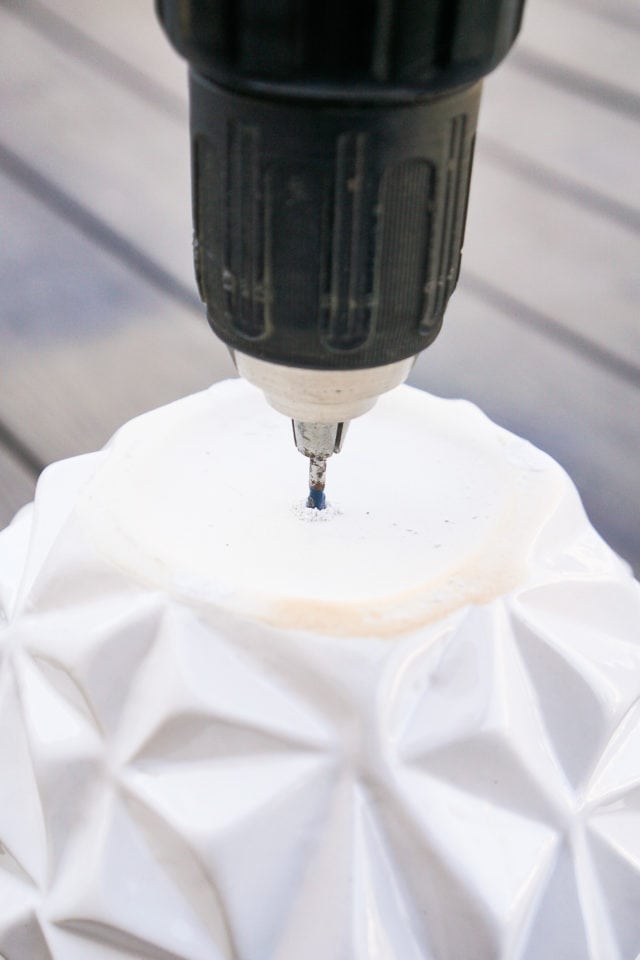
The most difficult step in recreating this wind chime DIY is drilling a little hole on the bottom of the vase.
That said, you could also purchase and an outdoor vase that already has a hole drilled in the bottom too.
If you need to create your own, it’s as easy as picking up a diamond drill bit at your local hardware store.
Electric drill
Round textured vase– Choose a plastic planter and weather proof cording if you want an outdoor wind chime that will weather bad weather.
Cording — I’m using faux suede cording, but you can choose a weather-proof string also.
Wooden and clay round beads in various sizes
How To Make A Modern DIY Wind Chime
If you’re using a ceramic vase, drill a hole through the bottom center of the vase using an electric drill fitted with a diamond drill bit.
Give light pressure as you drill. But let the drill do most of the work to avoid cracking the vase.
You can also use a piece of tape along the area you’re drilling into to be sure to help keep the ceramic intact.
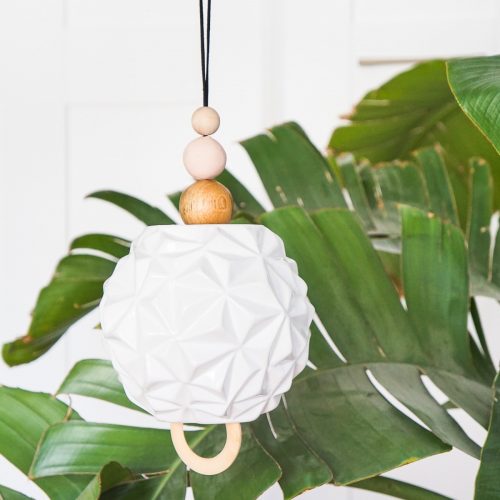
Now fold the cording in half and thread it through the bottom drilled hole of the vase.
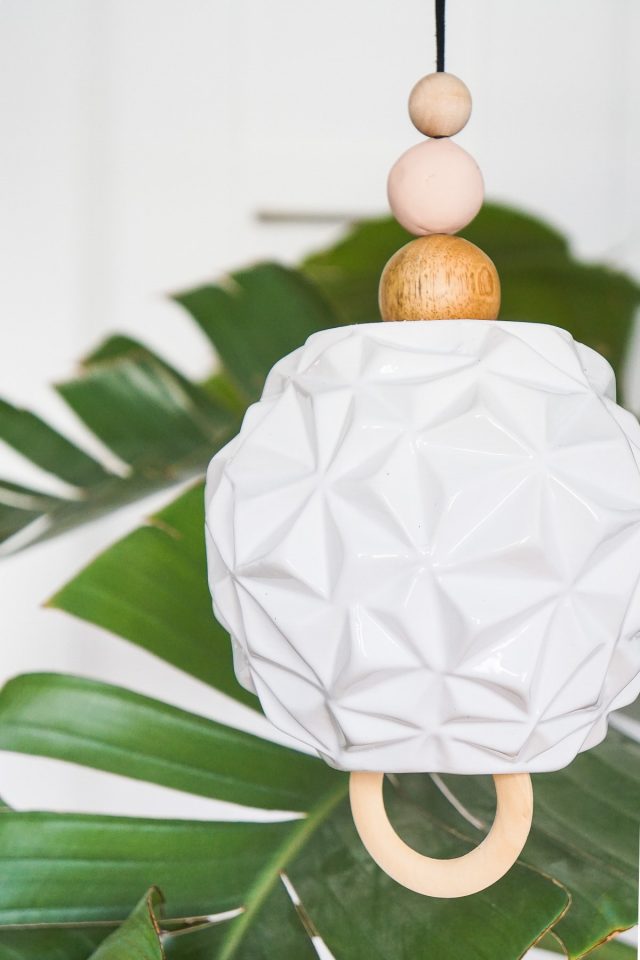
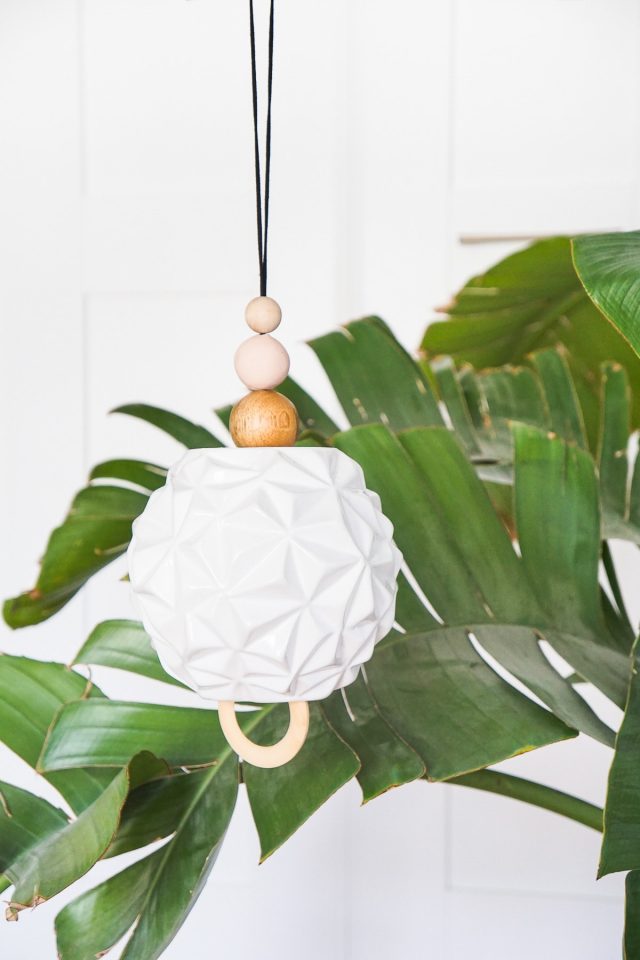
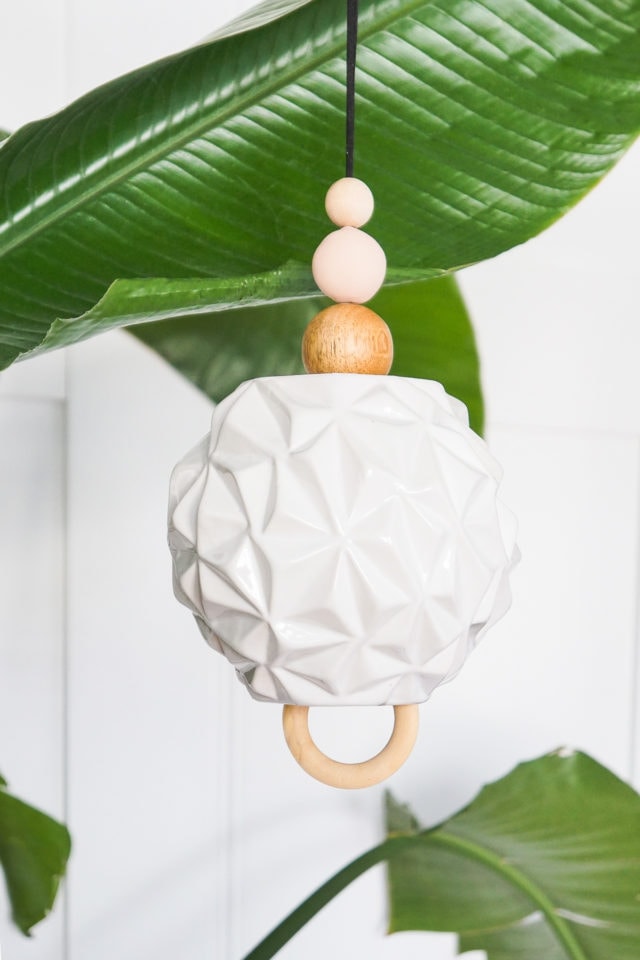
At the mouth of the vase, thread a round bead onto the cording about 6” from the end. Then, tie a double knot just below it to keep it in place on the cording.
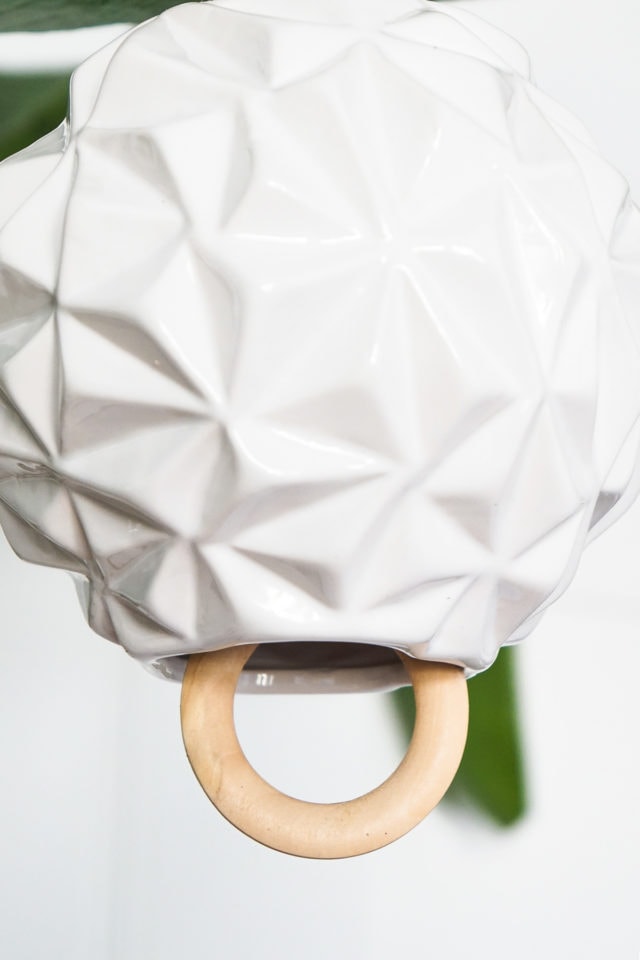
The vase will rest on this bead. Next, tie the end of the cording onto the 2” wood ring with a double knot. Make sure the bead sits right at the mouth of the vase (so it’ll chime).
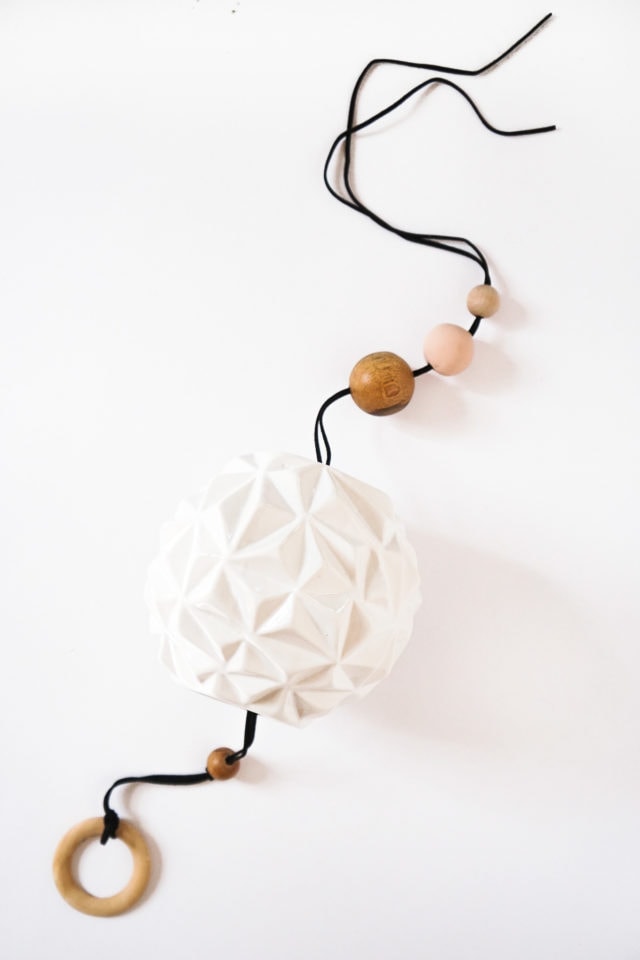
Lastly, thread 3 beads onto the opposite end of the cording, and you’re all set to hang.
Double knot the cording ends around a tree branch or on a hook under the eave and let the chiming begin!

Ideas for Creating a Custom Wind Chime
While this is a modern take on the classic wind chime, you can use just about any type of material for making your own!
You can personalize it with sentimental pieces or make a brightly colored version for rainy days.
Flea markets are also a great place for finding a really unique wind chime or DIY materials like silver spoons…
— Glass rocks
— Glass shells or seashells
— Terra cotta pieces
— Collected bottle caps
— Spray painted recycled cans
— Faux pearls
— A piece of driftwood for a shabby chic feel
— Vintage cake pans
Don’t forget that a little spray paint can go a long way in dressing things up!
Plus you can use fishing line to help secure the smaller pieces onto your finished project.
Ya gotta love wind chimes, am I right?!
If you’re looking for a range of chime tones, try swapping the wooden ring for copper tubing or even sea glass!
In case you’re looking for more great project ideas for the outdoors, here are a few of my favorites from the archives —
- Easy patio lighting idea for how to make a battery-operated outdoor light
- Outdoor movie night ideas
- An easy DIY succulent wall planter
- A DIY ring toss yard game
Instructions for Our DIY Wind Chime
Easy Modern DIY Wind Chime
Equipment
- Cordless drill
- 1/8” diamond drill bit
Materials
- 1 round textured vase or a plastic vase of your choice for a shatterproof wind chime
- 70 inch cording
- 4 wooden and clay round beads in various sizes
- 1 2” wooden Ring
Instructions
- Drill a hole through the bottom center of the vase using an electric drill fitted with a diamond drill bit. Give light pressure as you drill. But let the drill do most of the work to avoid cracking the vase.
- Fold the cording in half and thread it through the bottom drilled hole of the vase.
- At the mouth of the vase, thread a round bead onto the cording about 6” from the end. Then, tie a double knot just below it to keep it in place on the cording.
- The vase will rest on this bead. Next, tie the end of the cording onto the 2” wood ring with a double knot. Make sure the bead sits right at the mouth of the vase (so it’ll chime).
- Thread 3 beads onto the opposite end of the cording, and you’re all set to hang. Double knot the cording ends around a tree branch or on a hook under the eave and let the chiming begin!
Notes
- We used a faux suede cording. But you could use something weatherproof here as well.
- Remember that if you're going to be displaying your wind chime somewhere in an uncovered outdoor area, then be sure to choose decorative elements that will be shatterproof and withstand the weather!

More Fun Outdoor DIY's


Please note that we may earn a commission for some of the above affiliate links. However, products featured are independently selected and personally well-loved by us!
Oh my ! I would love to see an image of the Wind chimes at the altar !! What a beautiful idea .
Thanks, Mandy! That’s a great place for them too! XOXO
What a beautiful little wind chime and it’s so unique! I LOVE this idea – I’m addicted to windchimes!
Thanks, Michelle! XOXO
This is so adorable! I love it!
Thank you, Toni!
This is so pretty! We just moved into a house with a bigger deck on the back of the house. This would be perfect in that space. So relaxing to listen to.
Congrats on your new house! Totally agree that there’s something soo soothing about a wind chime!
Such a fun project ! Ours turned out great!
So happy to hear, Melissa!
How fun! What a beautiful and creative wind chime and I love how detailed this tutorial is, thank you!
Thanks, Kimberly! We try our best to make them easy to follow!