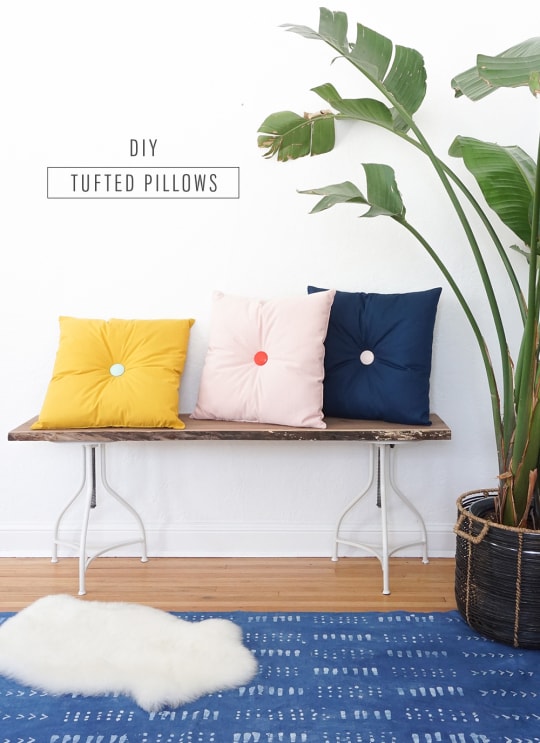
Colorful DIY Tufted Pillows You’ll Love This Year
We’re helping you prep your home decor for spring with an easy tutorial for tufting a cushion. These colorful DIY Tufted Pillows are perfect for any decor…
By the time February rolls around, I Erin am more ready than ever for the snow to melt and for the warm glow of summer to shine its way back into my life.
Here in Minnesota though, it’s probable we’ll have a few feet of snow on the ground until mid-March.
So to help keep spirits up, I’m constantly on the lookout for ways to fulfill my craving for spring.
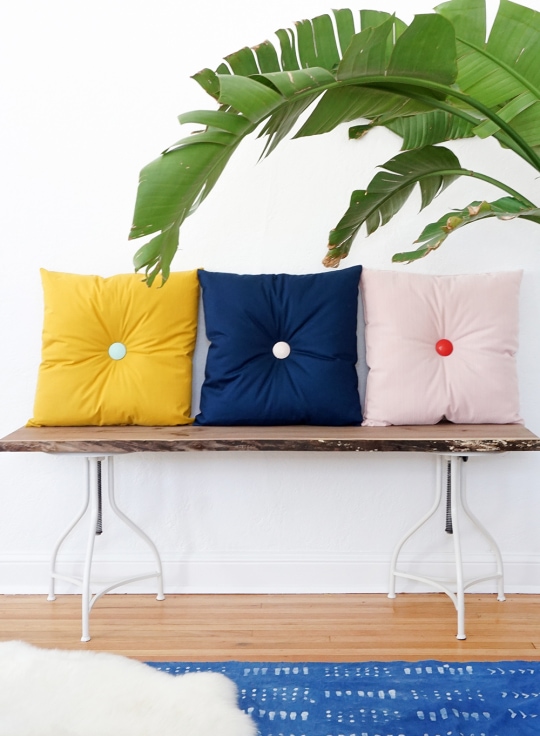
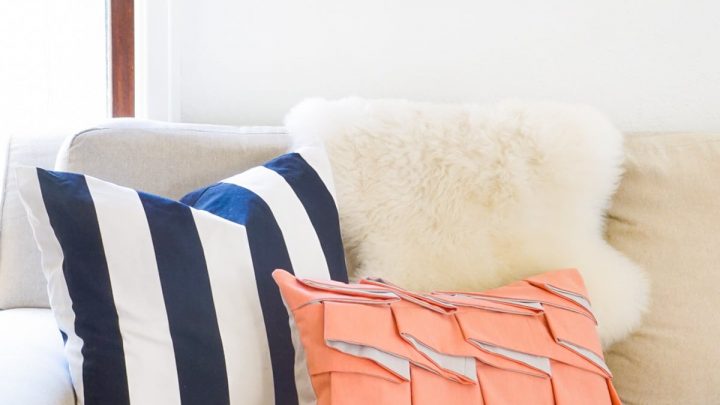
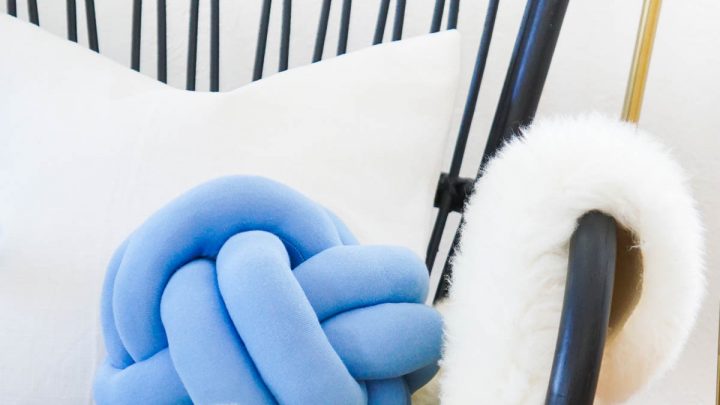
And in this case, it’s with Colorful DIY Tufted Pillows that just so happen to pair perfect with our DIY Knot Pillows too.
Aside from a healthy dose of D3 chewable vitamins, I find it’s really helpful to make small tweaks in my living space to visually brighten and freshen things up.
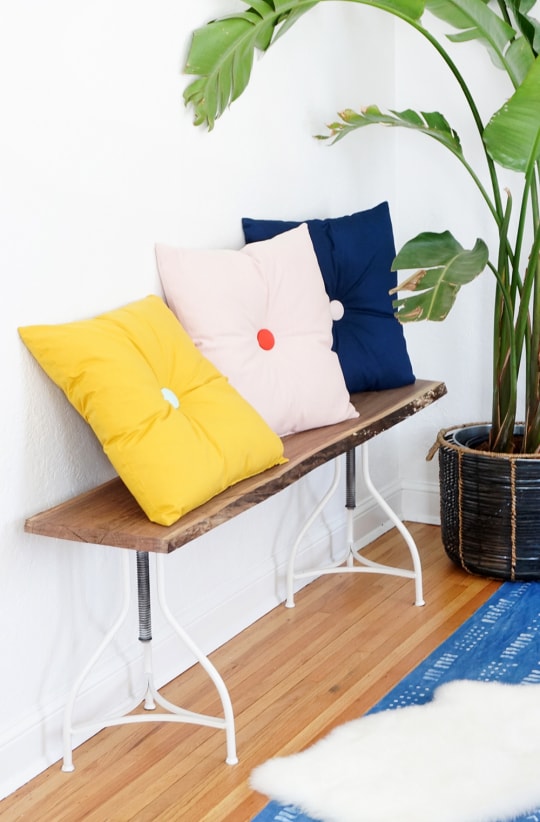
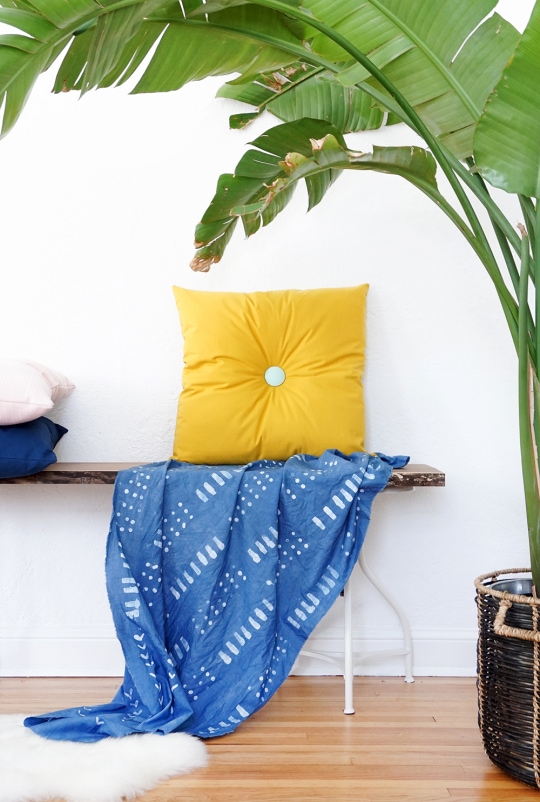
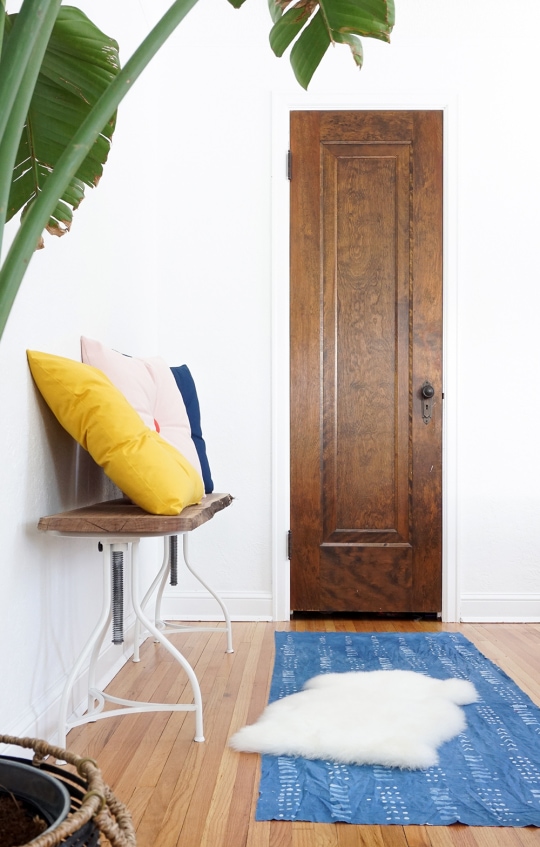
Even small changes, like bringing in leafy potted plants and swapping out winter throw pillows can make a world of difference.
If you too are in need of a little winter refresher, why not make up a few colorful button tufted pillows for your sofa?
There are no fancy zippers involved so you don’t need to be a skilled sewer. And I promise it’ll help with the winter blues.
I mean, who doesn’t love new pillows?! Okay. Let’s do this….
Materials and Tools Needed to Make Colorful DIY Tufted Pillows
0.75 yards of fabric for the body of the pillow — Fabric must be a minimum of 42″ wide in order to fit 2 pattern squares side by side. Most fabric is 50″-54″ wide.
2 – 4″x4″ squares of contrasting fabric for the buttons
2 half ball cover buttons (1-7/8″ diameter) — One for each face of the pillow.
20″ square pillow form (polyester fill — They hold their shape best for this kind of pillow.
Thread — Same color as your main fabric
Standard hand-sewing needle
Embroidery floss – same color as your main fabric
Larger hand-sewing needle with eye large enough to thread embroidery floss
Sewing machine — Or you can hand sew them if you’d like!
Basic Sewing Supplies: scissors, sewing pins, iron
How to Make Colorful DIY Tufted Pillows
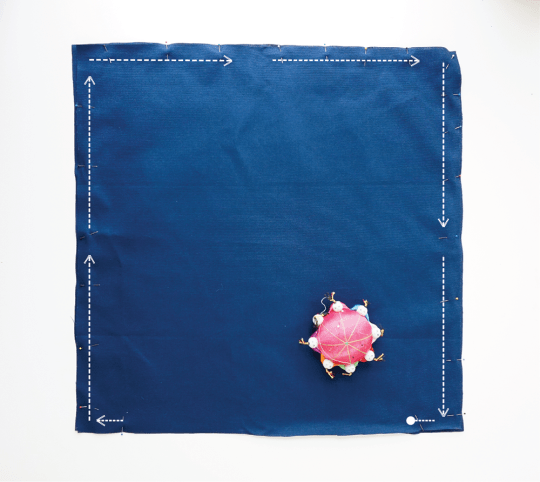
Step 1 – Cut out two 21″ squares of the main fabric, and use sewing pins to attach the “right” sides of the fabric together.
Step 2 – Pin along three of the edges.
On the fourth side, pin only once at each end. The area without pins will be the spot where we insert the pillow form.
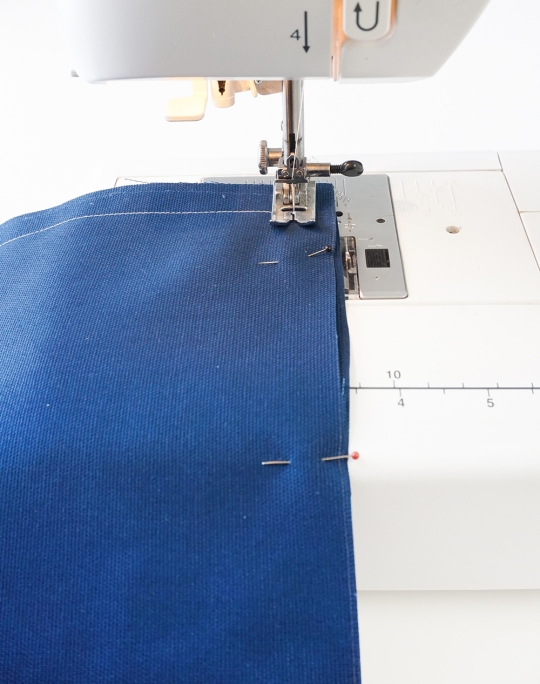
Step 3 – Sew along the edge of the pillow starting at the last pin before the large opening.
Start with a few forward stitches, and then backtrack a few stitches to help stabilize the seam.
Then, continue sewing the perimeter of the pillow until you reach the other side of the large opening.
Make sure to backtrack again to finish the seam. Sew with a half inch seam allowance, removing pins as you go.
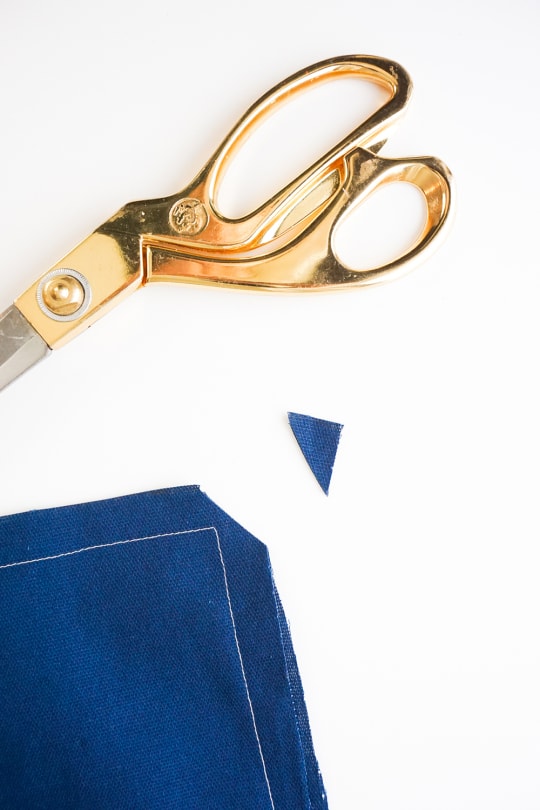
Step 4 – Trim the 4 corner points of the pillow at a diagonal, but be sure not to cut the seam. This will help form crisp, non-bulky pillow corners later.
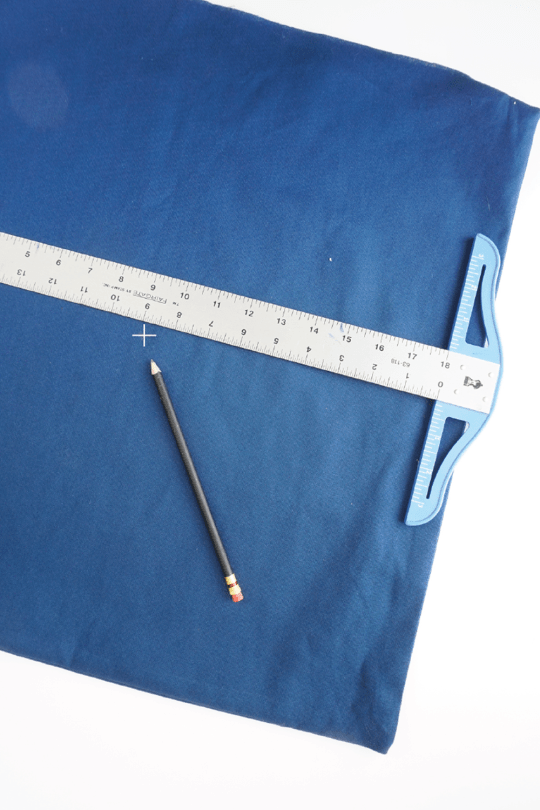
Step 5 – Turn the pillow right side out, and iron the cover to remove wrinkles, and create crisp seams.
With a ruler mark the dead center of each pillow front.
Then, stuff with the pillow form.
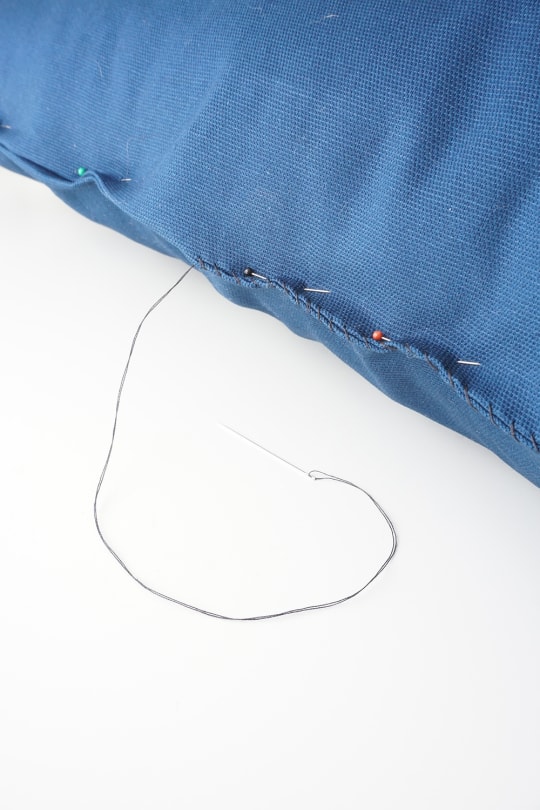
Step 6 – Close up the pillow by folding the raw edges inward and pinning the two edges together.
Thread a needle with coordinating thread and use a whip stitch to secure the two sides.
For The Covered Buttons
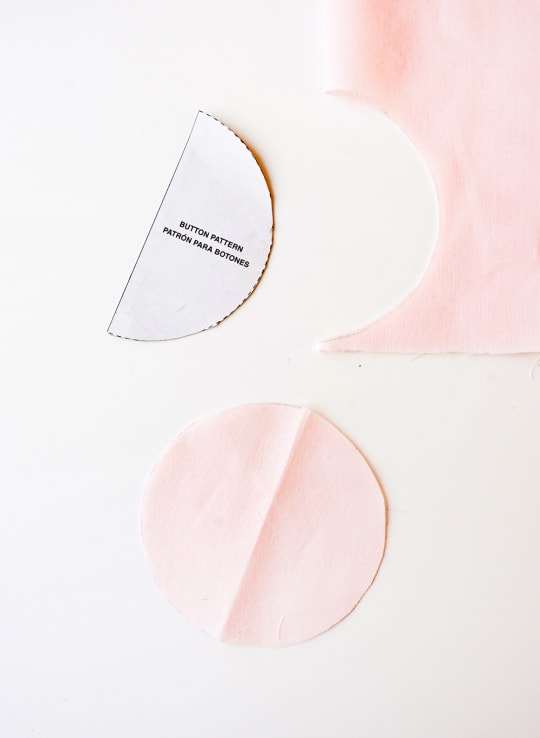
Step 1 – Cut out the half-moon pattern on the back of the button package.
Step 2 – Fold your fabric in half, align the straight edge of the pattern with the fold of the fabric.
Step 3 – Trace and cut out the pattern.
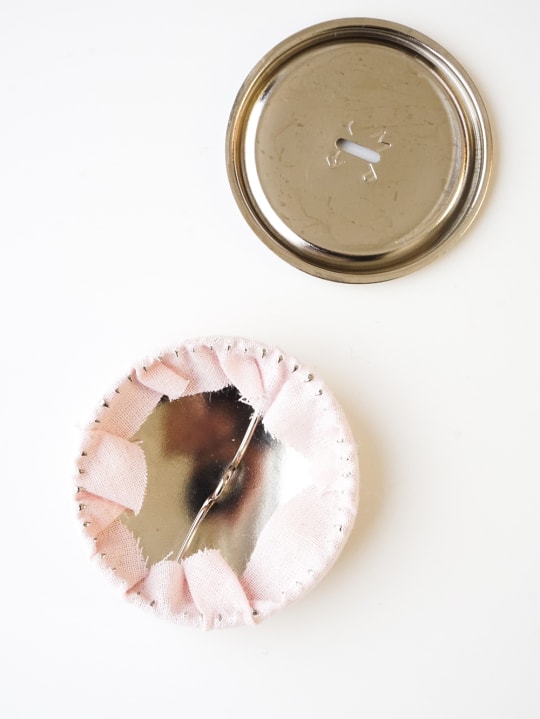
Step 4 – Place the half-dome button face down on the fabric circle, and fold the fabric inward to catch on the button’s teeth.
Step 5 – Snap the back plate onto the button.
Repeat both steps with the 2nd button.
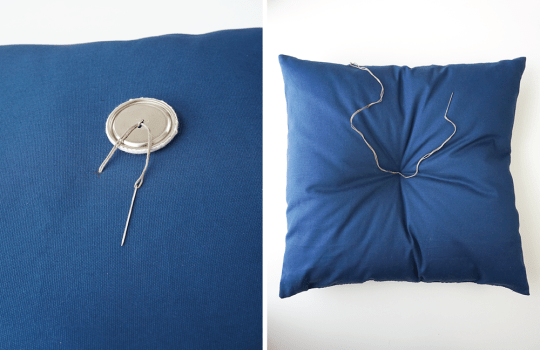
Step 6 – Thread up your larger needle with a long piece of embroidery floss. Send the needle through the center of the pillow and out the other side, but leave the floss tail hanging out on the back end of the pillow.
Step 7 – Thread one of the buttons onto the floss, and send the needle back through the center of the pillow, just to the side of the first stitch.
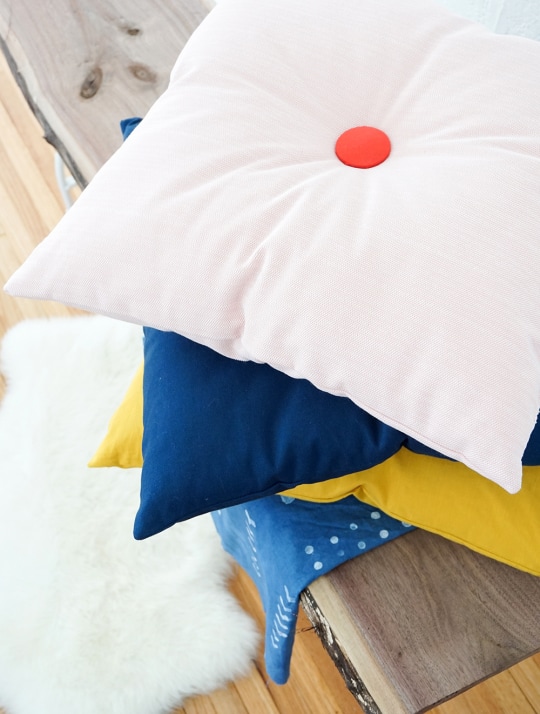
Pull the flossing very tight to create the “tuft,” and tie them together with a triple knot.
Trim tails.
Repeat the same process for the button on the opposite side of the pillow.
Step 8 – Tuck the tail ends underneath the first button to conceal.
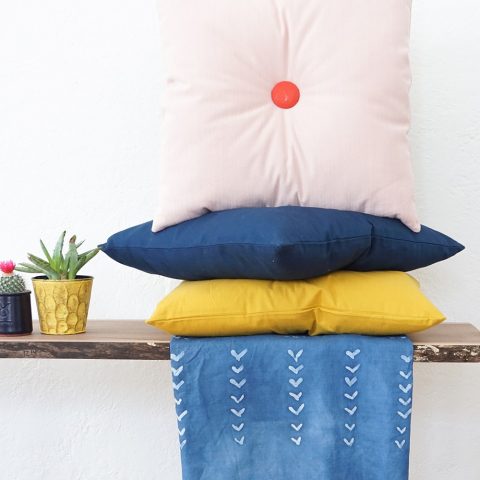
Once the DIY Tufted Pillows are complete, style them on your sofa or even use them as floor cushions for additional seating.
With fresh updates like these, winter blues don’t stand a chance! 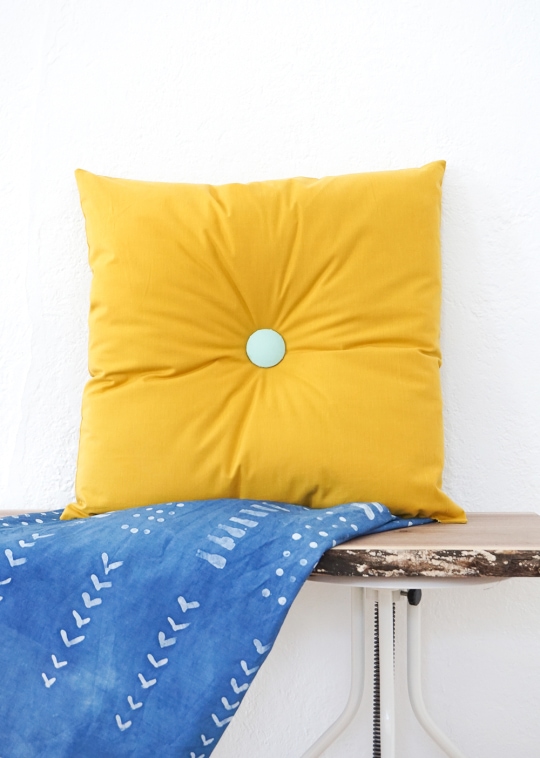
Do you have a favorite color combination for spring? I’m really loving pale pink with a tiny pop of burnt orange!
More Easy DIY Pillows
- Fringe Pillows – How To Make Your Own Yarn Fringe Pillows
- How to Make a Pillow by Rug Hooking
- DIY Tasseled Throw Pillows For A Cozy Fall
- Our Favorites For Fall: Loloi Rugs & Pillows
- No-Sew Envelope Pillows Made from Napkins
Colorful DIY Tufted Pillow
Equipment
- Sewing machine Or you can hand sew them if you’d like!
- Sewing pins
- Iron
- Fabric scissors
- Sewing needle
- Larger sewing needle with eye large enough to thread embroidery floss
Materials
- 0.75 yd Fabric for the body of the pillow Fabric must be a minimum of 42″ wide in order to fit 2 pattern squares side by side. Most fabric is 50″-54″ wide.
- 2 4″ x 4″ fabric squares We choose contrasting colors from the buttons.
- 2 half ball cover button One for each face of the pillow. Ours are 1-7/8″ diameter.
- 20" x 20" pillow form insert
- Thread Same color as your main fabric.
- Embroidery floss Same color as your main fabric.
Instructions
- Cut out two 21″ x 21" squares of the main fabric, and use sewing pins to attach the “right” sides of the fabric together.
- Pin along three of the edges. On the fourth side, pin only once at each end. The area without pins will be the spot where we insert the pillow form.
- Sew along the edge of the pillow starting at the last pin before the large opening. Start with a few forward stitches, and then backtrack a few stitches to help stabilize the seam. Then, continue sewing the perimeter of the pillow until you reach the other side of the large opening. Make sure to backtrack again to finish the seam. Sew with a half inch seam allowance, removing pins as you go.
- Trim the 4 corner points of the pillow at a diagonal, but be sure not to cut the seam. This will help form crisp, non-bulky pillow corners later.
- Turn the pillow right side out, and iron the cover to remove wrinkles, and create crisp seams. With a ruler mark the dead center of each pillow front. Then, stuff with the pillow form.
- Close up the pillow by folding the raw edges inward and pinning the two edges together. Thread a needle with coordinating thread and use a whip stitch to secure the two sides.
For The Covered Buttons
- Cut out the half-moon pattern on the back of the button package.
- Fold your fabric in half, align the straight edge of the pattern with the fold of the fabric.
- Trace and cut out the pattern.
- Place the half-dome button face down on the fabric circle, and fold the fabric inward to catch on the button’s teeth.
- Snap the back plate onto the button.Repeat both steps with the 2nd button.
- Thread up your larger needle with a long piece of embroidery floss. Send the needle through the center of the pillow and out the other side, but leave the floss tail hanging out on the back end of the pillow.
- Thread one of the buttons onto the floss, and send the needle back through the center of the pillow, just to the side of the first stitch. Pull the flossing very tight to create the “tuft,” and tie them together with a triple knot. Trim tails. Repeat the same process for the button on the opposite side of the pillow.
- Tuck the tail ends underneath the first button to conceal.


Please note that we may earn a commission for some of the above affiliate links. However, products featured are independently selected and personally well-loved by us!
I always love to read step by step guides like this so thats alot for sharing this great tufted pillow guide.
Cute! You chose great colors.
Thanks, Rachel! :)
Very pretty! I love the simplicity of these pillows! I’d love to invite you to my blog where you can submit your tutorials for a dedicated post! I pin to many pinterest boards and share on social media!
Thank you for the invitation, Denise! Please feel free to send details to hello@sugarandcloth.com! :)
Super Cute Pillows! But did you make that floor rug/fabric/really nice item I need to know and how?
Hi Meg! We didn’t make the rug/fabric for this project. This is a tutorial on how to make the pillows only :)
So colorful and pretty!
Thanks, Justine! )
What type of fabric did you use? So cute!
Thanks, Kirsten! You can pick any fabric you want from your local fabric store! The great thing about this project is it’s really versatile! :)
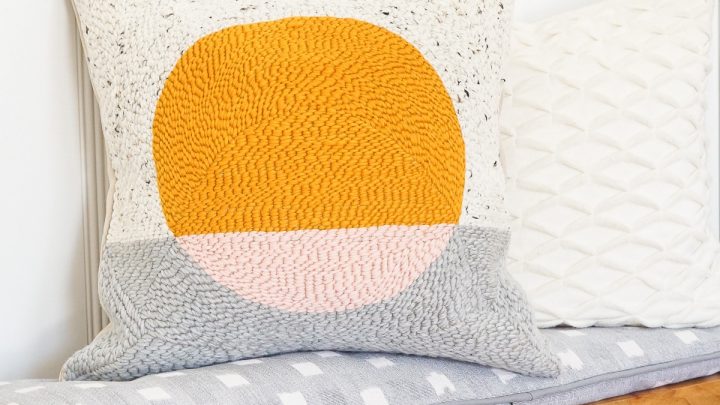
Gorgeous. I love them all but I think my favourite has to be the mustard and pale blue.
Oh yeah! Love that color combination!
LOVE! I might make some even larger for floor pillows!
Good idea! Those will be super comfy!
Cute! If you don’t have a sewing machine I’m sure you could use those cheap ikea pillows that come in solid colors to achieve the same look with very little hand sewing.
Totally, that’s a great idea!
Even more reason to blow the dust off my sewing machine and get busy!
haha, yes! love it!
These pillows are so cute! I love them!
Paige
http://thehappyflammily.com
Thanks, Paige!!