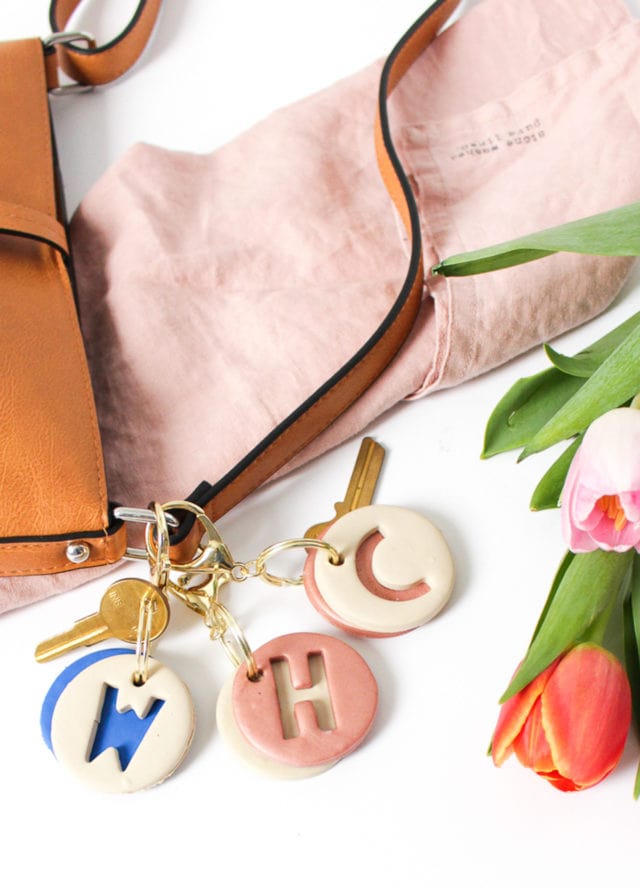
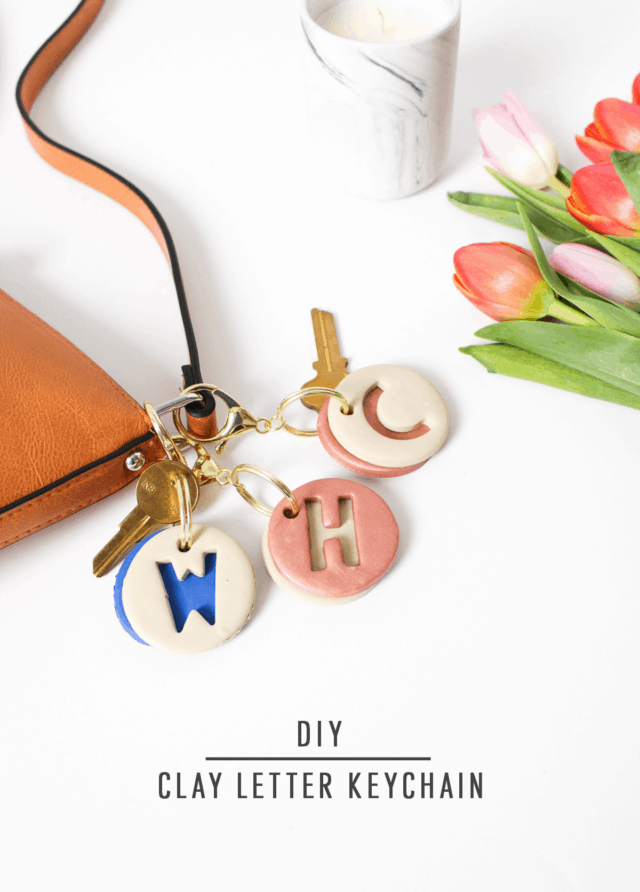
Personalized DIY Letter Keychain
Does it get any cuter than this DIY Clay Letter Keychain? So easy and inexpensive! All you need is a few supplies, and this how to…
Who knew being an adult came with so many keys?
Between your house, car, and work keys, it’s hard to keep track of it all! Especially when you’re rushing out the door..
I, Anusha wanted to create a modern DIY Clay Letter Keychain to make my keys easily identifiable.
First of all, who doesn’t love keychains?!
Secondly, these babies are so simple to make.
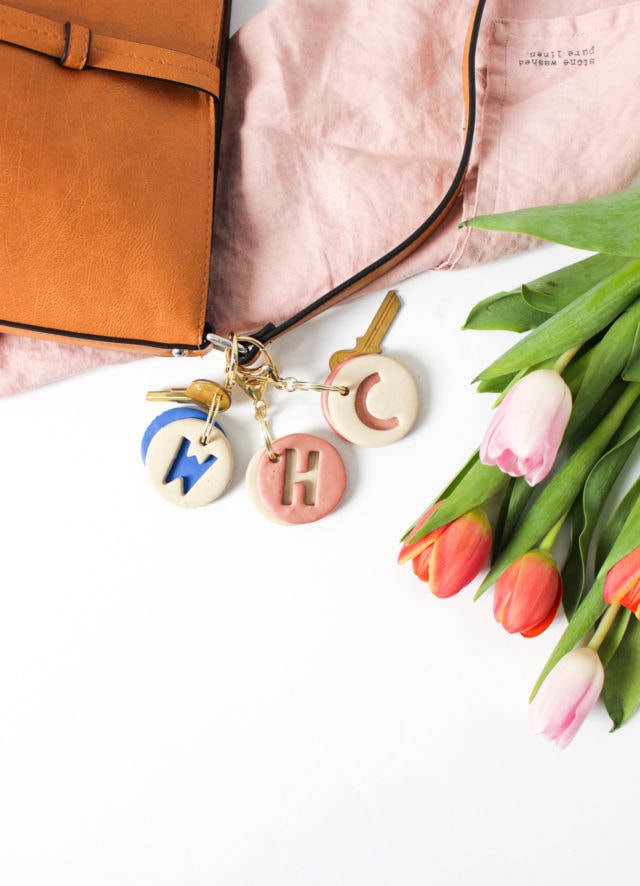
And there’s a bonus: they look a little like macarons!
You can make a tag for each set of keys or simply create a monogram keychain for yourself or someone as a personalized housewarming gift.
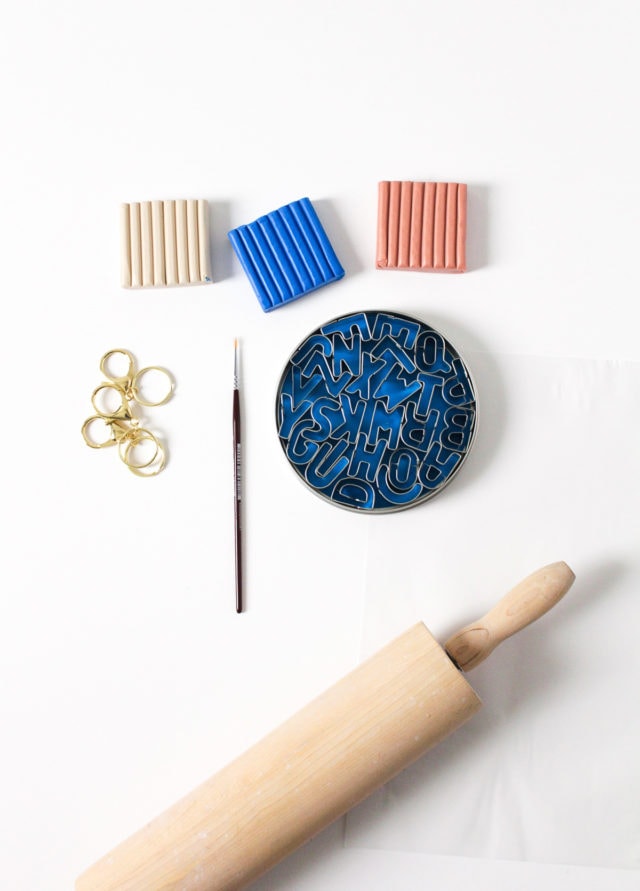
Materials and Tools Needed to Make a DIY Clay Letter Keychain
Rolling pin
Paintbrush or poking tool
Alphabet letter cutters
Sandpaper — Optional
How to Make a DIY Clay Letter Keychain
1 — Roll the clay in the palm of your hands to form a ball.
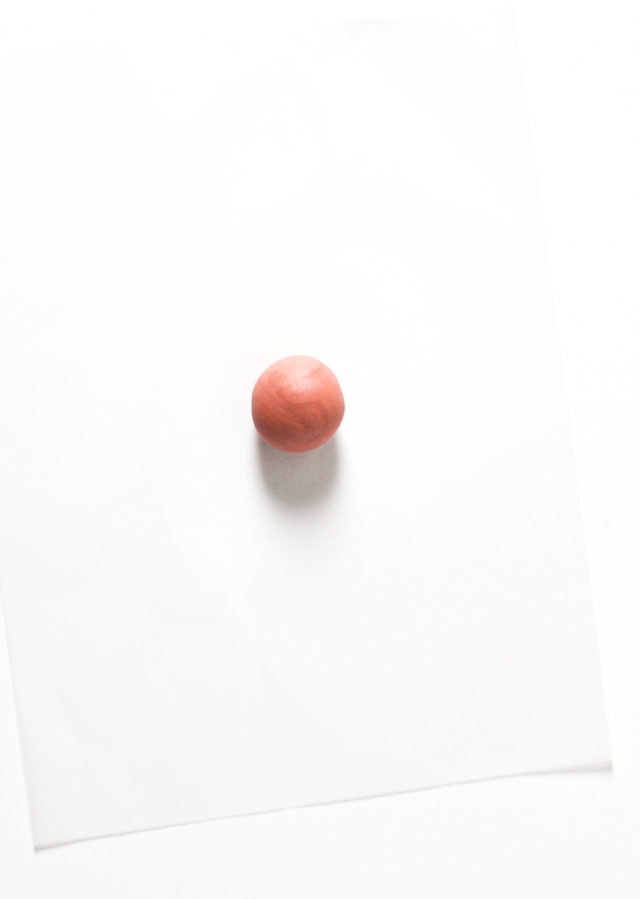
2 — On a clean working surface, roll the clay to about 1/4 inch thickness with a rolling pin.
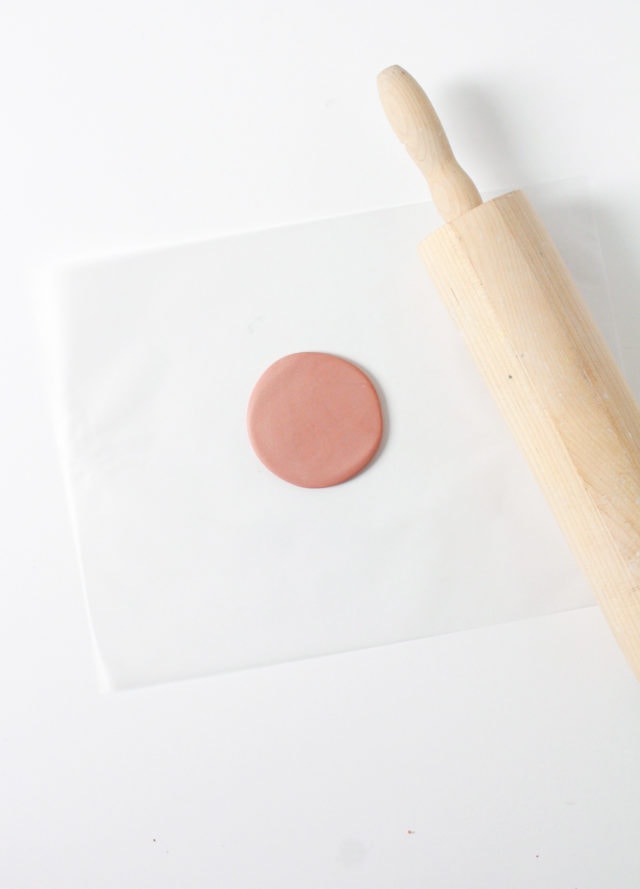
3 — Using a circle cookie cutter or small lid, punch out circles from the clay.
Start with one clay color first and then with a complimentary color for the second piece.
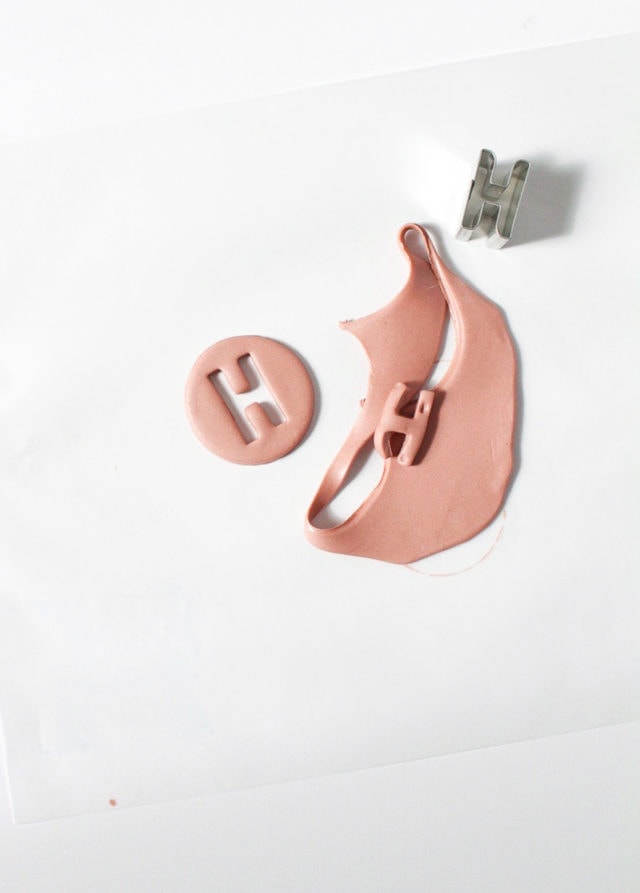
4 — Use alphabet cookie cutters to punch out letters in the clay.
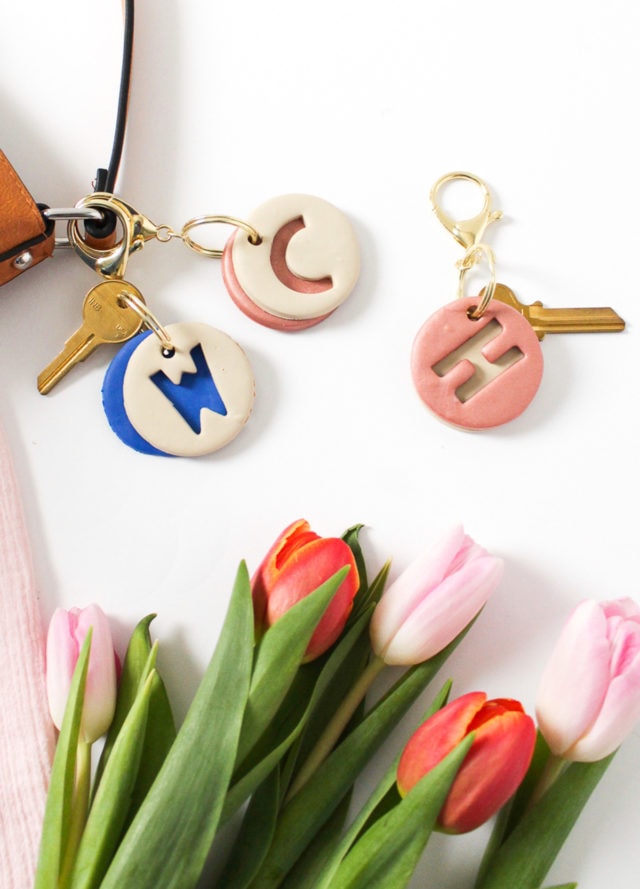
You can use “H” for house, “W” for work and “C” for car (or try L for locker, G for garage, etc.)
5 — Finally, with a poking tool or straw, punch out a small circle where you will attach a keychain ring later.
6 — Bake the clay according to package instructions. (We baked ours at 200º F for 10 minutes each).
7 — Once it’s cooled, insert two pieces of colored clay on a keychain ring!
Optional: Sand down the keychain for a smooth finish.
How Can You Make Polymer Clay Shiny?
When baked, polymer clay does not have a shiny finish.
It has a matte look, which we personally preferred for our keychains.
However, if you would like a shiny finish, you can sand, buff, polish, glaze and/or apply a glossy varnish to your finished product.
More Easy Things to Make with Clay
Excuse us while we go add one of these DIY Clay Leather Keychain to every item we own!
So easy and fun, right?!
And if you reeeeally want to go a little keychain crazy, check out this DIY too!
There are so many other versatile things to create with polymer clay. Check out some easy DIY projects below —
- Clay Sculptures for Home Decor
- Marbled DIY Incense Holder
- Mountain DIY Photo Holders
- Beaded DIY Blanket Holder
Please note that we may earn a commission for some of the above affiliate links. However, products featured are independently selected and personally well-loved by us!
Love this idea! Did you use any sort of top coat or glaze to make them shiny? I attempted to make these and they weren’t nice and smooth/shiny?
Thanks, Caitlin! We should’ve elaborated more when we listed the optional sandpaper in the materials and tools section. So we updated the post. Polymer clay has a matte finished when baked. You can smooth it out with some sandpaper. And that will also give it a bit of a shine. If you really want it shiny (which we did not opt for), you can add a glossy varnish or glaze. Hope this helps!
I love your content anything you put in FB IG everywhere.. but you have too many advertising in your blog! too many videos pop when I want to read any blog post!
Hi Sahar! Thank you for your feedback! Are you seeing too many videos pop up on your desktop or when you are viewing our blog on your phone. We appreciate all input from our readers. XOXO
Gostei muito …ótima ideia
Thank you, Luciana!
Depois deste artigo eu tenho certeza que vou pesquisar mais imagens para usar que conteúdo incrível curso de unhas de fibra de vidro
I love this idea!
I’ll do… kisses from Brasil :D
So happy to hear that you’re reading our blog all the way in Brasil! XOXO
Very good this article liked it very much nossas gostosas
Thank you!
very good your article, I loved the idea. congratulations
Very nice, thank u for sharing many ideas
so glad you like it, thank you Isabelle! xo
Nice work and great idea
Nice work and great idea.
Nice work and great idea. Super easy to do.
It’s only for kids, isn’t it? plus it doesn’t look professional at all
I like these keychains, it’s a great idea to try. :-)
Thanks for the kind words! xo
So glad you like the DIY! Let us know if you make your own :)
These are so sweet! Love the colours you chose, that blush pink is heavenly
– Natalie
http://www.workovereasy.com
Can never go wrong with blush pink! xo