How to Make Easy Clay Sculptures for Decor
Clay sculptures are currently all the home decor rage, and making your own can be so easy! Customize them to your desired color scheme and create as many as you want with this quick tutorial.
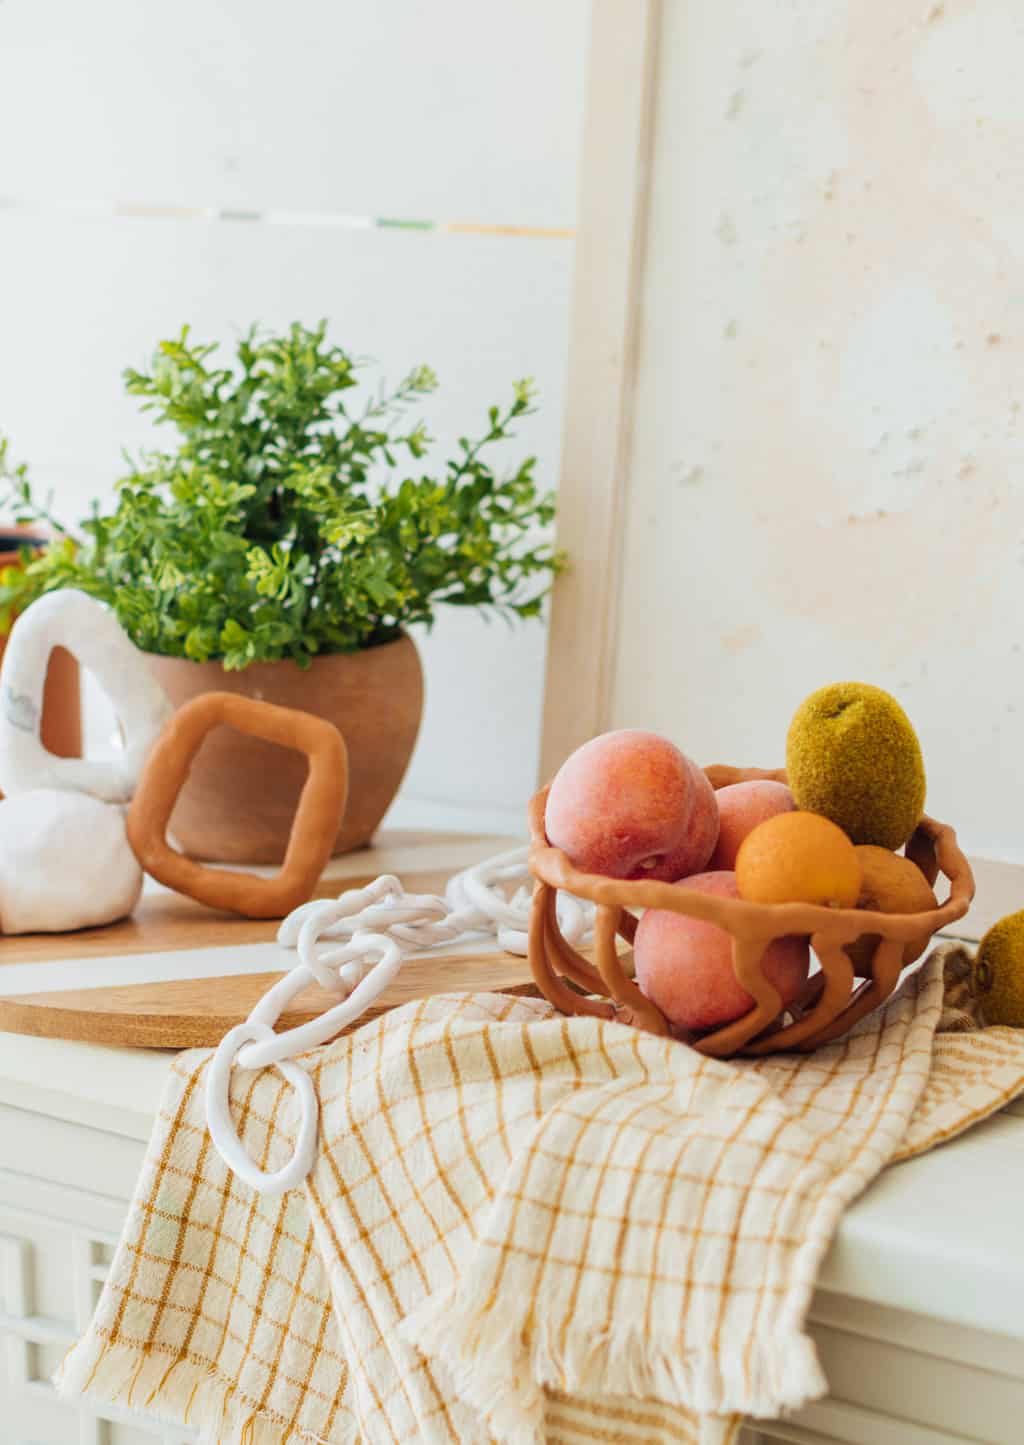
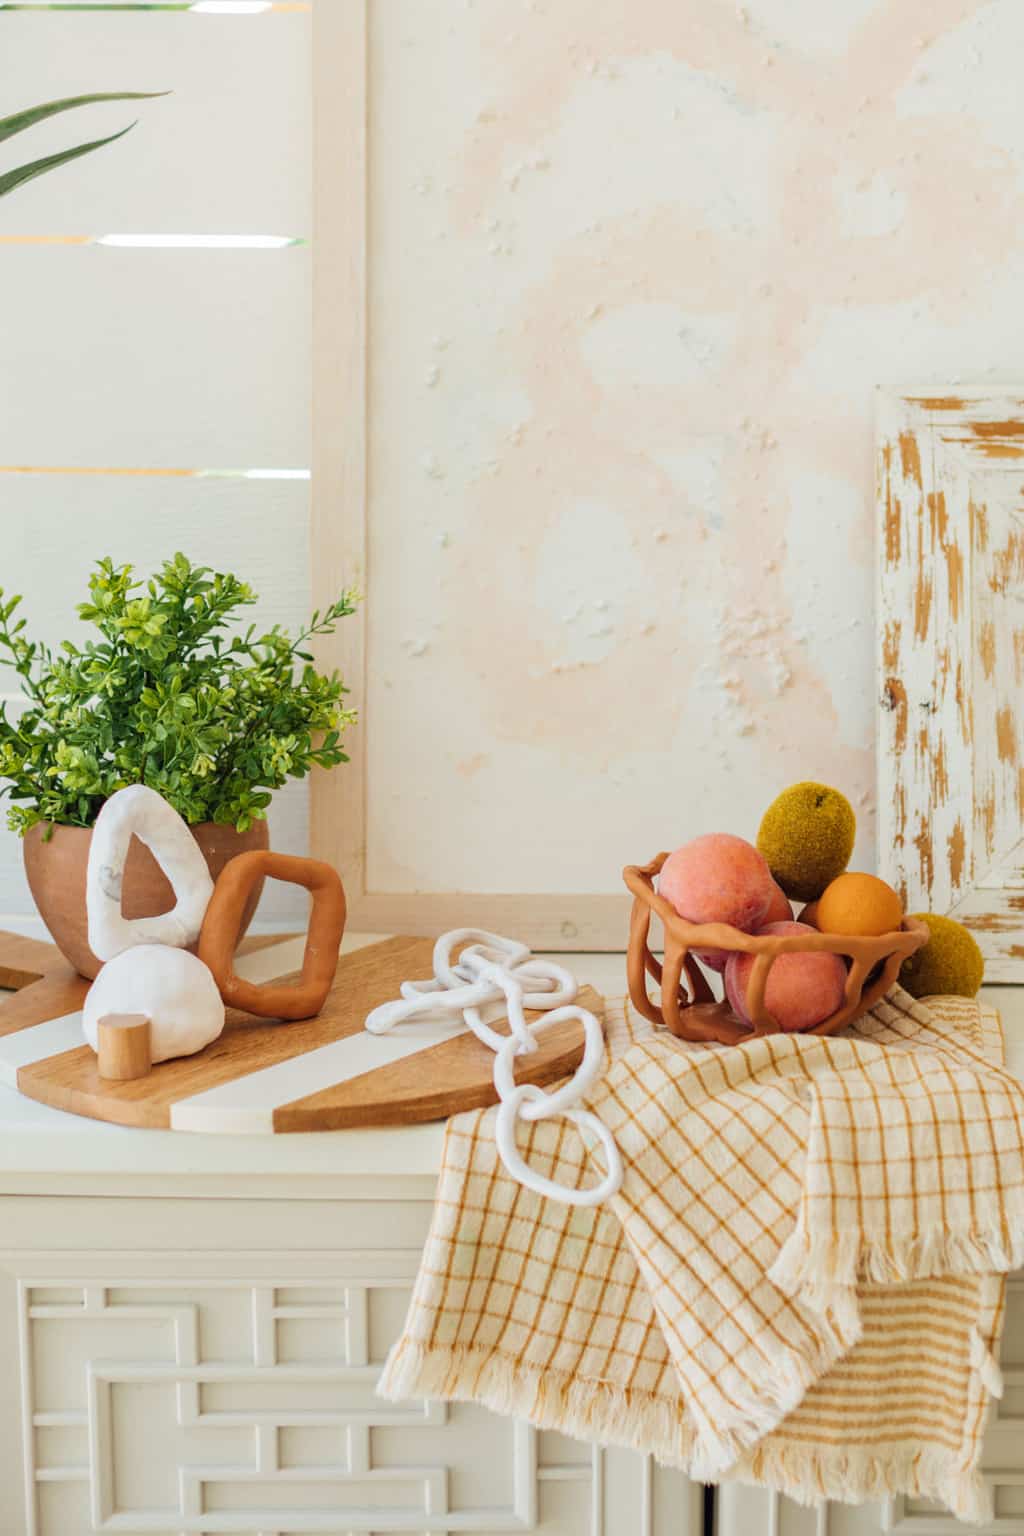
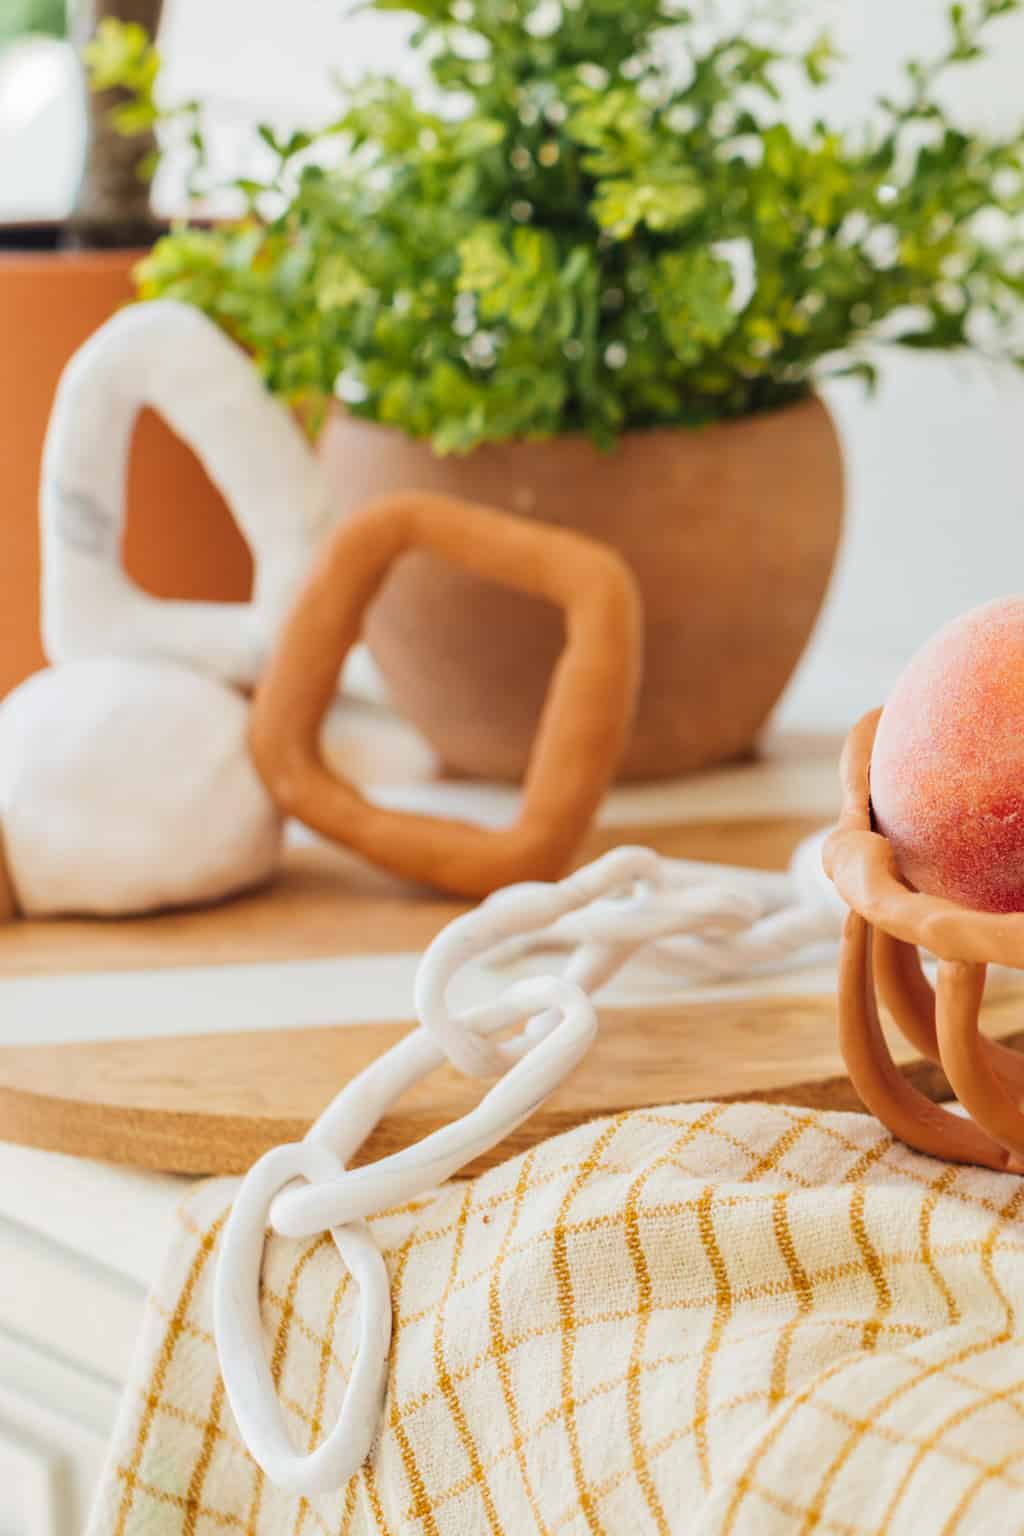
You’ve probably seen all the clay knots and link chains floating around home decor stores recently. These trendy accents can effortlessly be incorporated into any bookcase or room in your home.
Rather than spending a ton of money purchasing store-bought versions, you can make your own easy clay sculptures with Sculpey!
We transformed just a few blocks of the Sculpey Soufflé Polymer Clay into a chain link decor, abstract clay sculptures, and even a simple clay fruit basket.
Tips To Prepping And Working With Clay
— Before starting any clay project, clean your hands and work surface. Unwanted objects like dust that cling are hard remove.
— To avoid staining your clay with your fingers, work with light and white clay colors first.
— The beauty of polymer clay is that it stays soft until baked. However, always condition the clay beforehand by kneading until soft and smooth. The softer the clay, the easier to manipulate.
— Do not use a microwave oven or exceed the recommended bake temperatures and time per the package instructions.
How To Make Easy Clay Sculptures
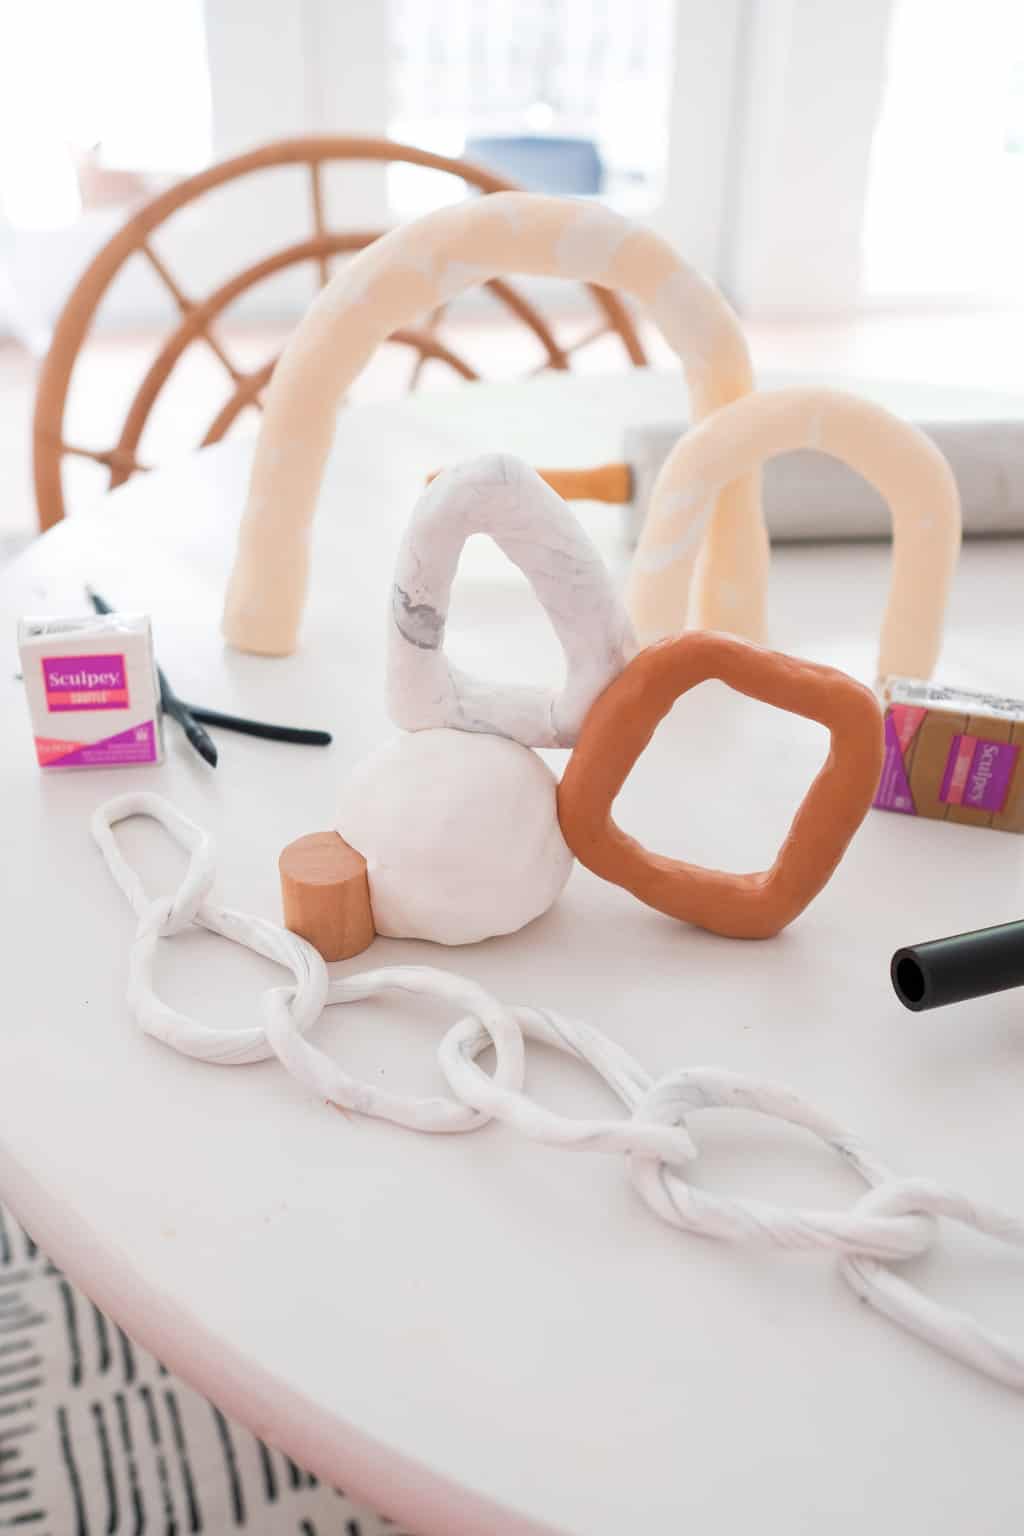
Here’s what you need —
- Sculpey Soufflé clay — In varying colors of your choice
- Aluminum foil — To construct an armature mold
- Rolling pin or Sculpey Sculpting Tool Set kit
- Wax paper or coconut oil

The trick to making clay sculptures is to either construct your shapes thin enough to bake as-is or to construct an armature.
An armature is essentially a mold or framework of the clay form that you’re planning to sculpt. A mold utilizes less clay, making it easier to harden.
If your sculpture is too thick, it will not bake all the way through. Parts that do not harden will crack, and air bubbles can form between the clay and the armature underneath.
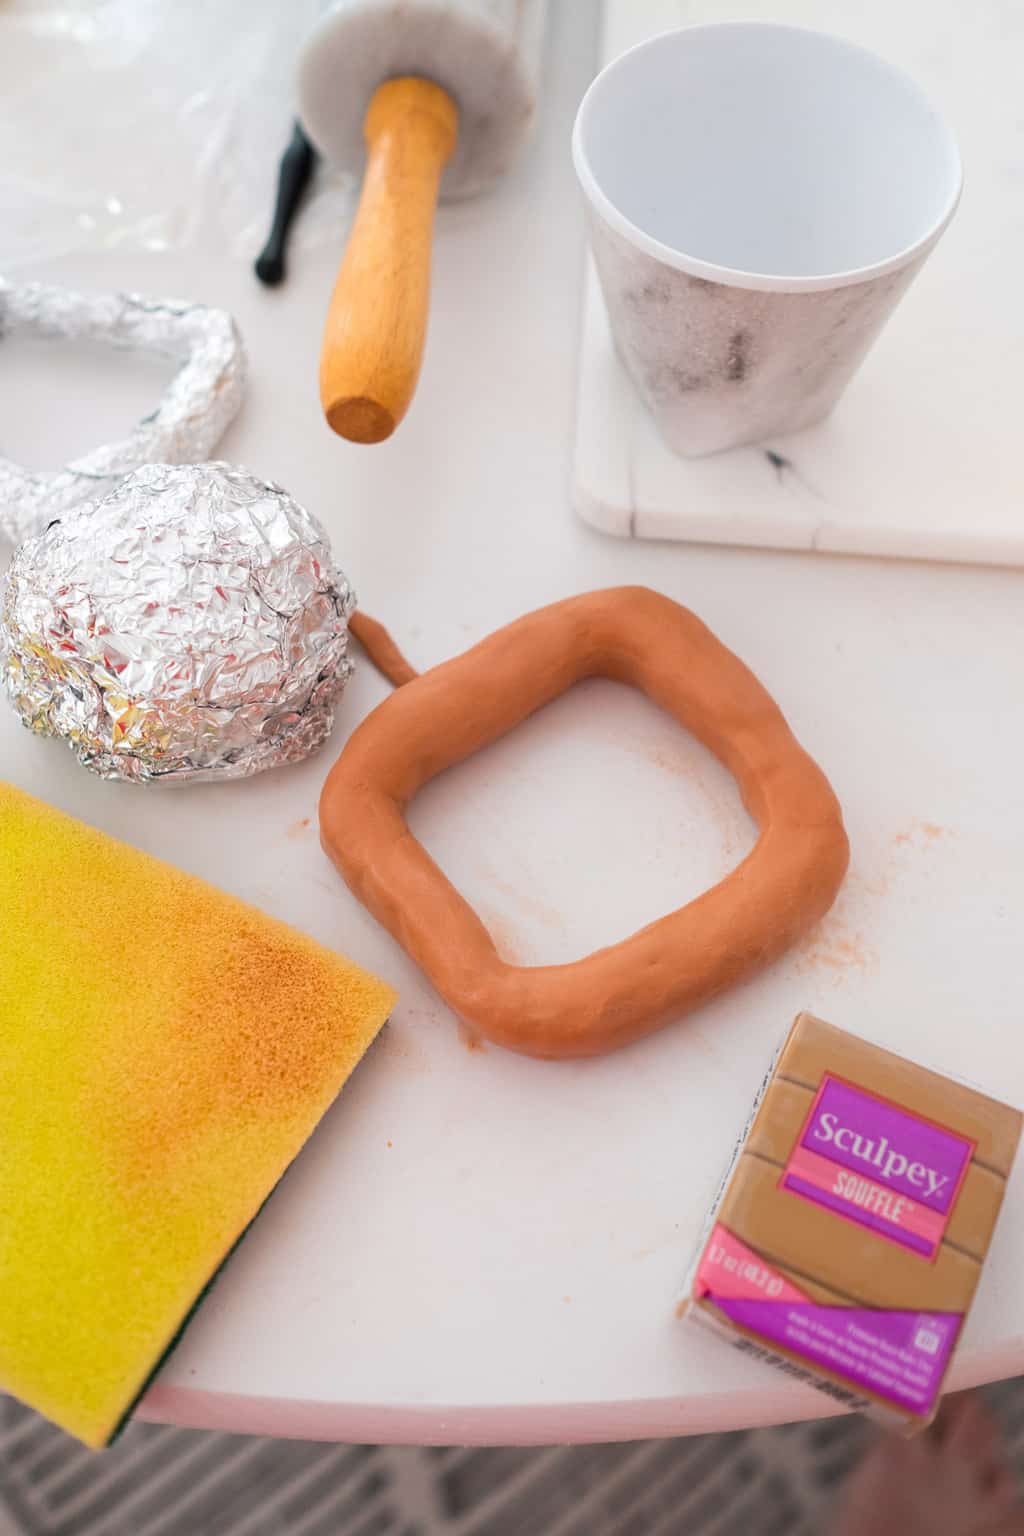
To start, use an inexpensive household material (foil is best) to design and form your armature.
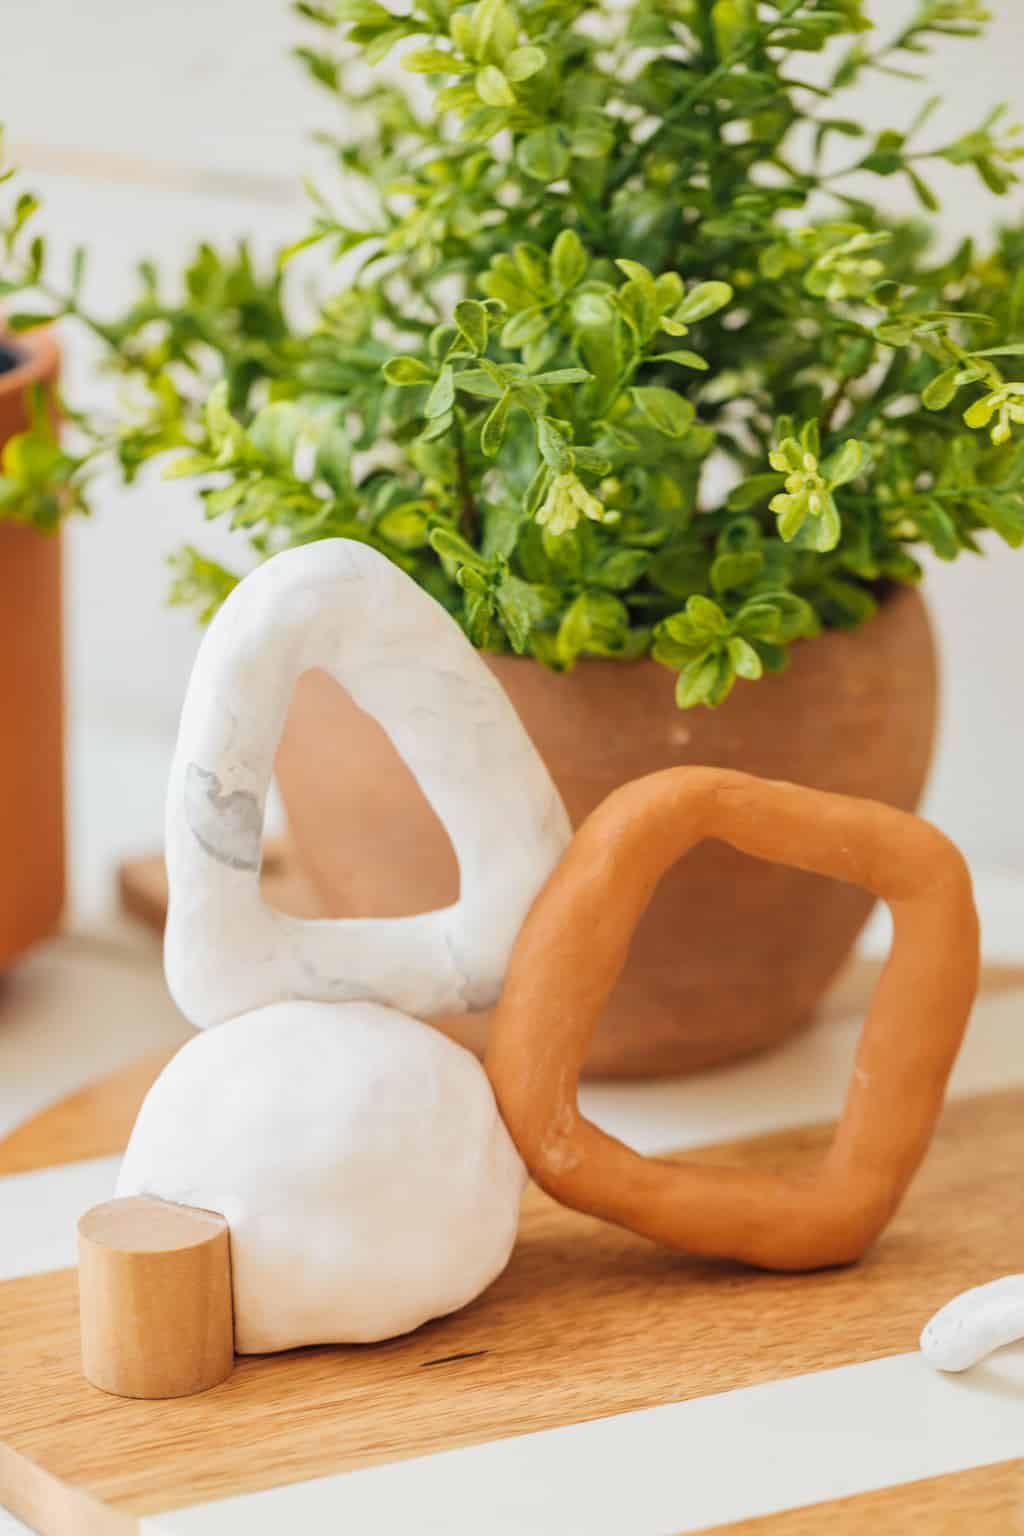
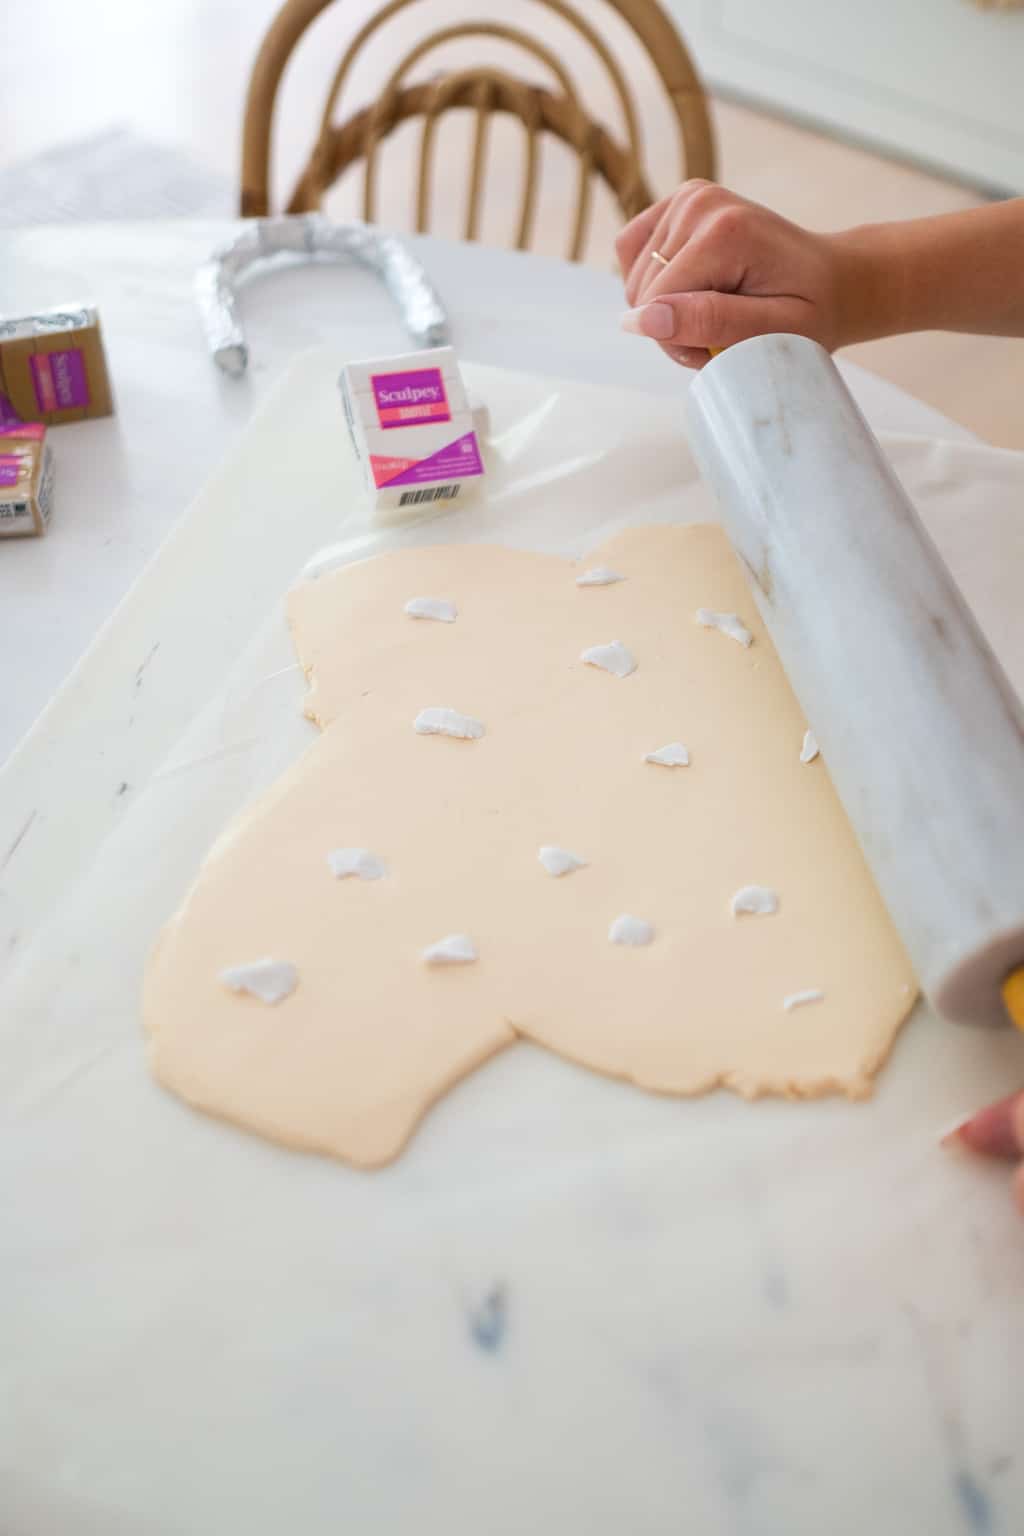
Once your mold is complete, prep and soften the Sculpey clay by kneading it in your hands. Combine different colors if you want a custom marbled look.
Next, flatten the clay with a rolling pin and shape the clay around the armature.
Bake the Sculpey Soufflé clay sculpture in the oven at 275 degrees Fahrenheit per every 1/4 inch thickness for 30 minutes. (Recommended times vary depending on the clay used so reference the package instructions.)
And now recreate the popular marbled chain link decor with the foil mold method!
How To Make Marbled Clay
Achieving marble clay can be done so with two different techniques. You can create the effect by painting on the finished clay.
Or the easiest method (as we did with our ceramic sculptures) is to make the marbled pattern with different colors of clay.
1– First, roll out a large piece of your chosen dominant clay color.
2 — Next, sporadically place pieces of your marble accent color on top and roll together the colors flat. If you want a subtle marble design, use a minimal amount for your accent color. For bold marble pieces like with our DIY Marbled Incense Holder, use more equal ratios with your dominant and accent colors.
3 — Then, pick up and twist the combined clay with your hands before rolling it out flat again.
Real marble can be pricey so we love this inexpensive way to copy an expensive look.
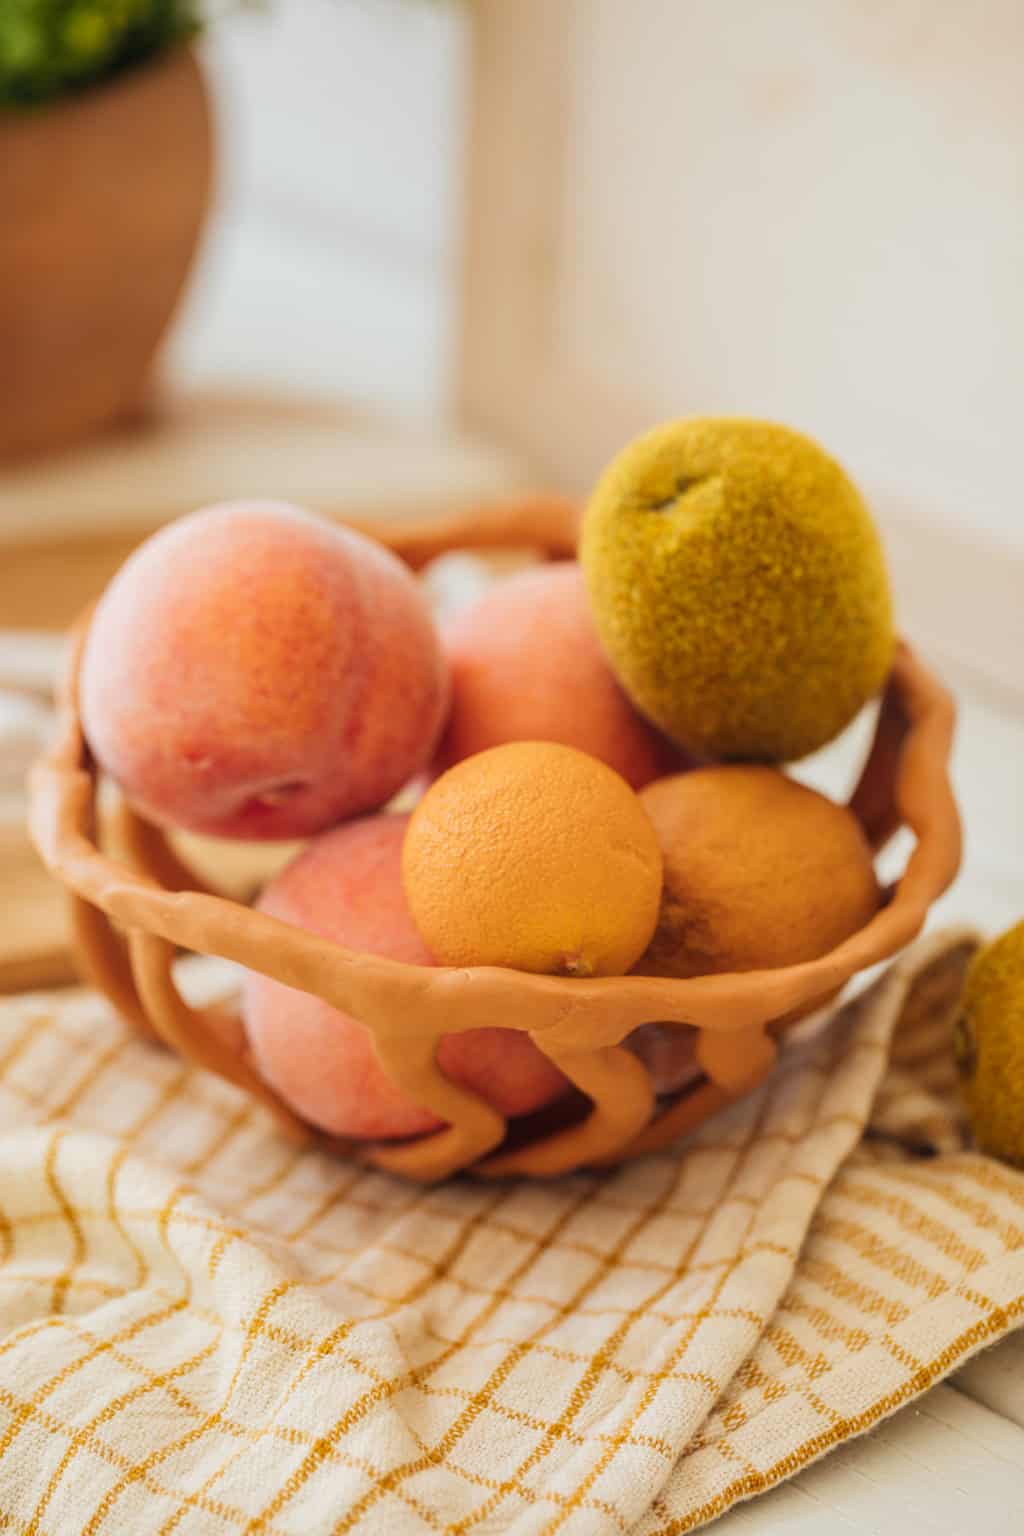
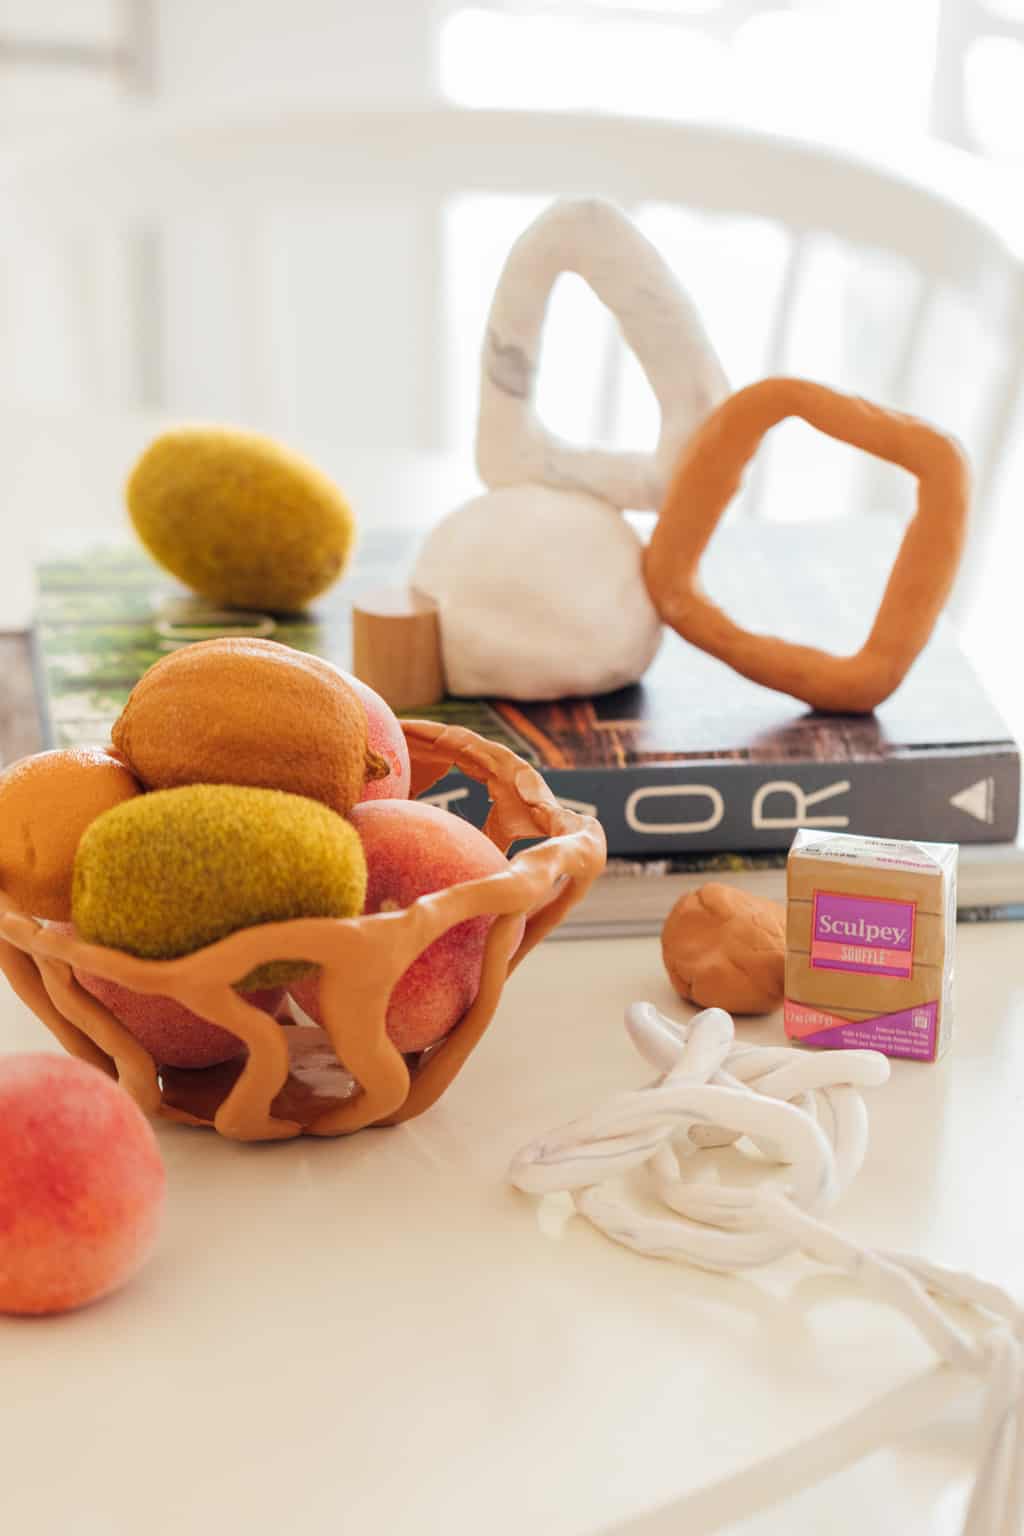
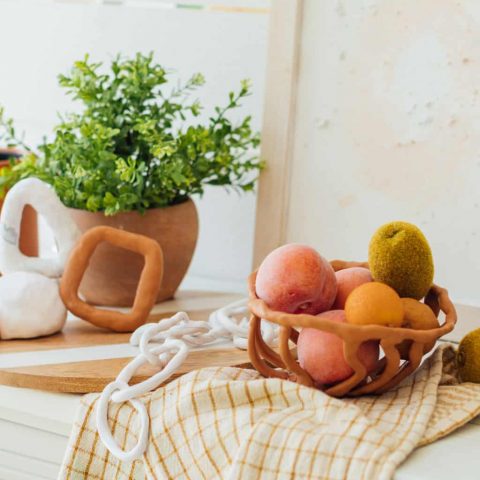
DIY Clay Fruit Bowl
To make the DIY clay fruit bowl, find an oven-safe bowl that you would like to use as the mold.
Lather the outside of the bowl with coconut oil (or any type of grease). This step prevents the bowl from sticking to the polymer clay.
Form strands of clay by hand and place them around the exterior of the bowl to create a clay grid. We shaped out wavy strands for a fun abstract touch.
Then, press the pieces of clay firmly together to make sure that they all stick when baking.
Bake the clay over top of the bowl in the oven at 275 degrees Fahrenheit per every 1/4 inch thickness.
Once baked and cooled, remove the clay from the outer shell of the bowl to reveal your own bowl!
More Clay Projects To Try
The things that you can do at home with polymer clay are endless. For more easy projects, check out a few of our favorites from the archives —
- DIY Clay Rose Marbled Incense Holder
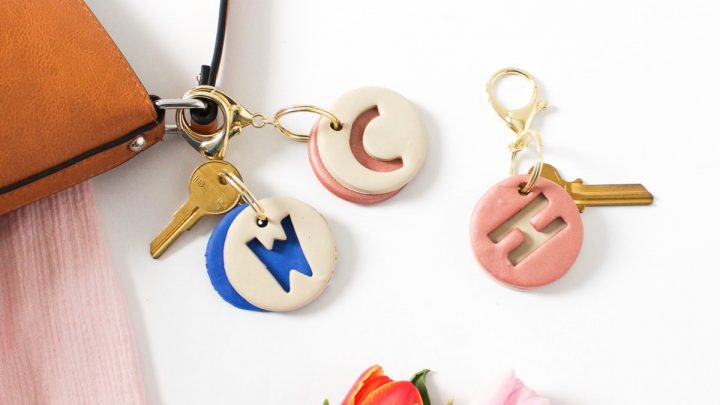
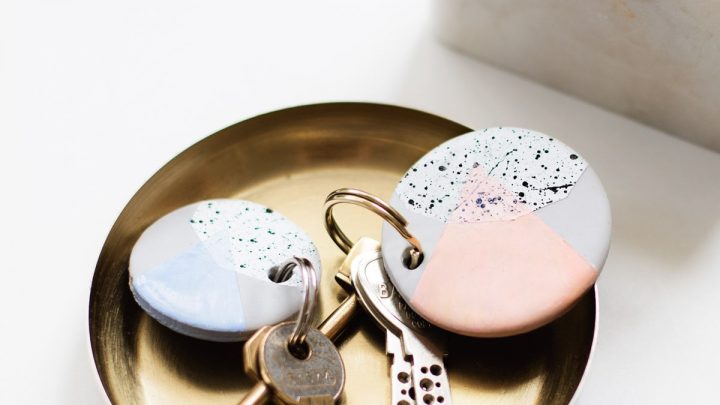
- Speckled DIY Clay Keychain
- Clay Photo Holder
- Mini DIY Pot Plants
How To Make Easy Clay Sculptures For Decor
Equipment
- Rolling pin or Sculpey Sculpting Tool Set
- Oven-proof baking surface such metal, aluminum foil or clay mat
- Oven-safe bowl to make a DIY Clay Fruit Bowl
Materials
Instructions
- Preheat the oven to 275 °F (130 °C).
- Create and form your armature (a mold for your sculpture) with the aluminum foil.
- Once your mold is complete, unwrap, prep and soften the clay by kneading it in your clean hands. Combine different colors if you want a custom marbled look. (Refer to the instructions below on how to achieve this effect.)
- Flatten the clay with a rolling pin and shape the clay around the armature.
- Bake the sculpture for 30 minutes per every 1/4 inch thickness. (Recommended times vary depending on the clay used so reference the package instructions.)
To make marbled clay --
- Roll out a large piece of your chosen dominant clay color.
- Sporadically place pieces of your marble accent color on top and roll together the colors flat.
- Pick up and twist the combined clay with your hands before rolling it out flat again. Your marble clay is now ready to be sculpted.
To make the DIY Clay Fruit Bowl --
- Lather the outside of the oven-safe bowl with coconut oil (or any type of grease) to prevent the bowl from sticking to the clay.
- Form strands of clay by hand and place them around the exterior of the bowl to create a clay grid. Press the pieces of clay firmly together to make sure that they all stick when baking.
- Bake the clay over top of the bowl in the oven at 275 °F (130 °C) for 30 minutes per every 1/4 inch thickness.
- Once baked and cooled, remove the clay from the outer shell of the bowl to reveal your own bowl!
Notes
- Before starting any clay project, clean your hands and work surface.
- To avoid staining your clay with your fingers, work with light and white clay colors first.
- Always condition the clay beforehand by kneading until soft and smooth. The softer the clay, the easier to manipulate.
- Do not use a microwave oven or exceed the recommended bake temperatures and time per the package instructions.

More Easy Clay Projects


Please note that we may earn a commission for some of the above affiliate links. However, products featured are independently selected and personally well-loved by us!
How fun! These are super cute. My kids will love doing this, too! Maybe Christmas presents…hmmm….. :)
Definitely would be unique Christmas presents!
This is such a great idea for my teens! They love crafts and bonding with each other, so this is perfect for them and gives us nice decoration!
Very easy for them to make too!
These worked so well and as an added bonus, it makes a great summertime craft for my kids.
Thanks, Kristen! XOXO