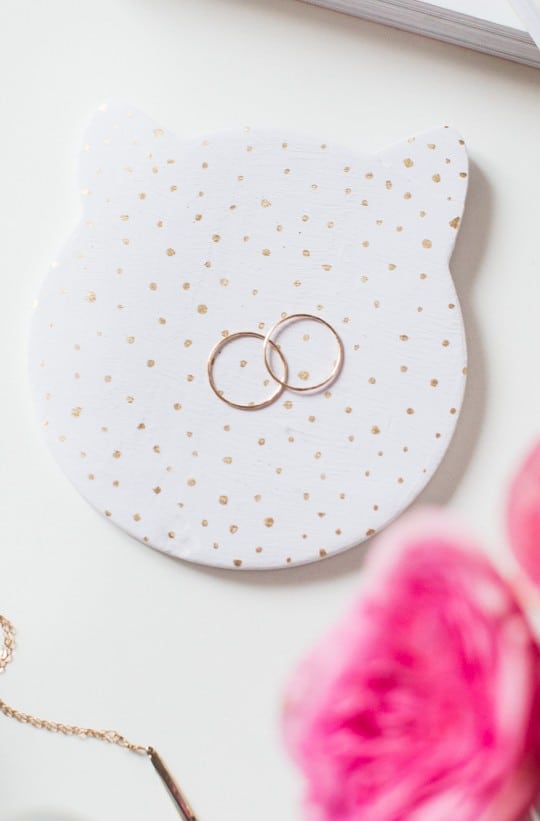
DIY Cat Trinket Dish
Spoil your feline loving friend with a purrfectly adorable DIY Cat Trinket Dish for all their pretty little things.
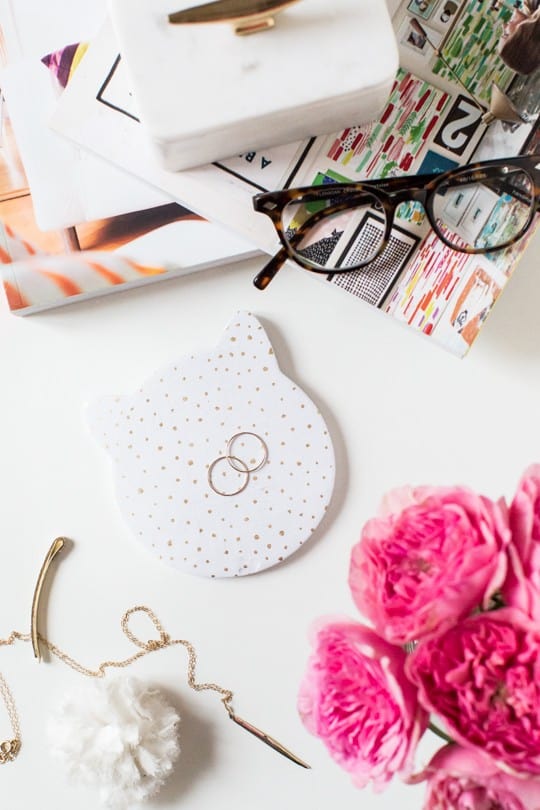
Calling all cat lovers and crafty creators! Are you looking for a purrfectly adorable way to spoil your feline loving friend? Look no further than our DIY Cat Trinket Dish tutorial!
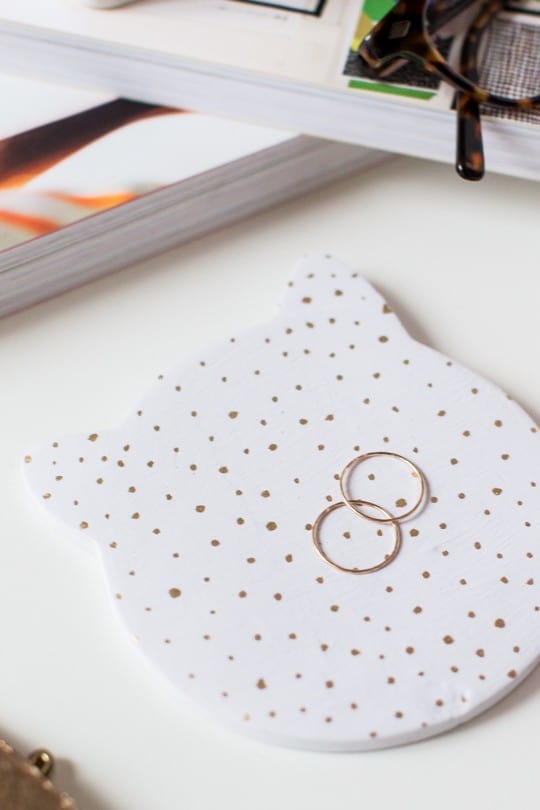
This easy-to-follow guide will show you how to transform a simple block of air dry clay into a cute and functional dish to hold little belongings. Air dry clay projects are easy enough for even kids. And you can make any shape. But we opted for a cat based off of our very own, Thomas the cat.
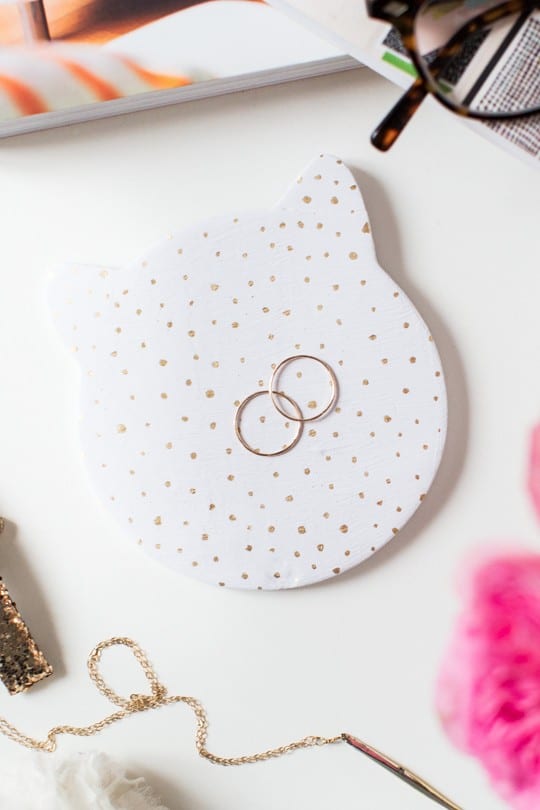
This trinket dish is perfect way to add a personalized touch to your home decor. Plus, it’s makes for a unique handmade gift. So grab your rolling pin, unleash your creativity, and get ready to create a meow-gical masterpiece!
Materials and Tools Needed
- White air dry clay
- Rolling pin
- Cat cookie cutter — Ours measures 4″.
- Foam brush
- White craft paint
- Optional: Gold leaf pen
How to Make a DIY Cat Trinket Dish
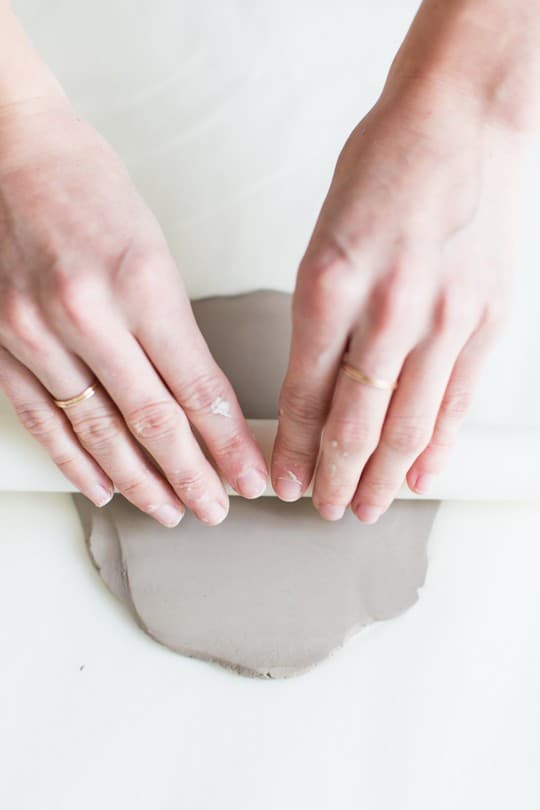
1 — Take a fistful of the air dry clay and knead it with your hands for a couple of minutes until it becomes soft and pliable. This helps to warm up the clay and make it easier to work with.
2 — On a smooth surface or plastic mat, roll out the clay with your rolling pin until it’s about 1/2 inch thick. It should be big enough for your cat cookie cutter to have a small border around the edge of the metal. The thicker the clay, the sturdier your trinket dish will be.
3 — Grab your cat cookie cutter and press it firmly down onto the rolled-out clay. Wiggle the cutter slightly to create a clean cut, then carefully remove the excess clay.
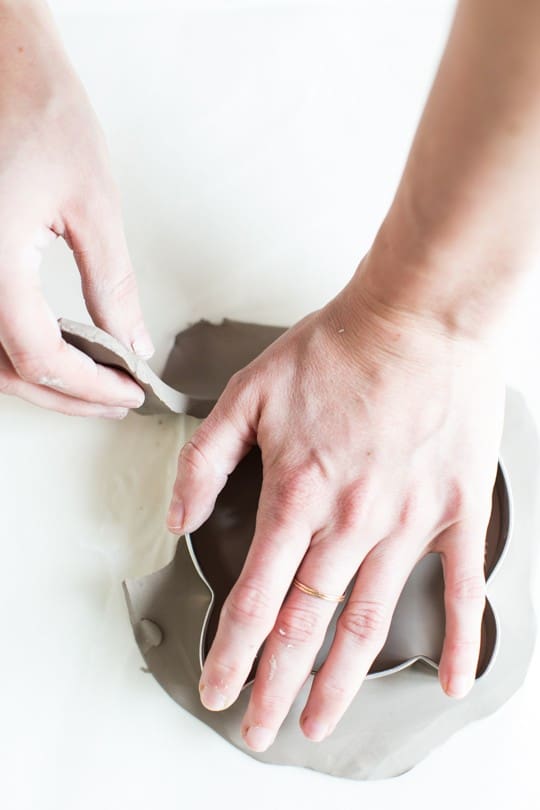
4 — Place your cat-shaped clay with the cutter still in place on a flat, non-stick surface (like a baking sheet lined with parchment paper) to dry.
5 — After it’s sat for a while, gently push the cat-shaped clay out of the cutter. We like have the clay harden a bit in the cutter to keep the nice, clean edges that are usually hard to get with handmade clay items.
6 — Allow the clay to fully dry. Depending on the thickness of your clay, drying can take 24-72 hours. Due to the thickness, ours took about 72 hours to fully dry. You will know when air clay dry is dry when it turns an off-white.
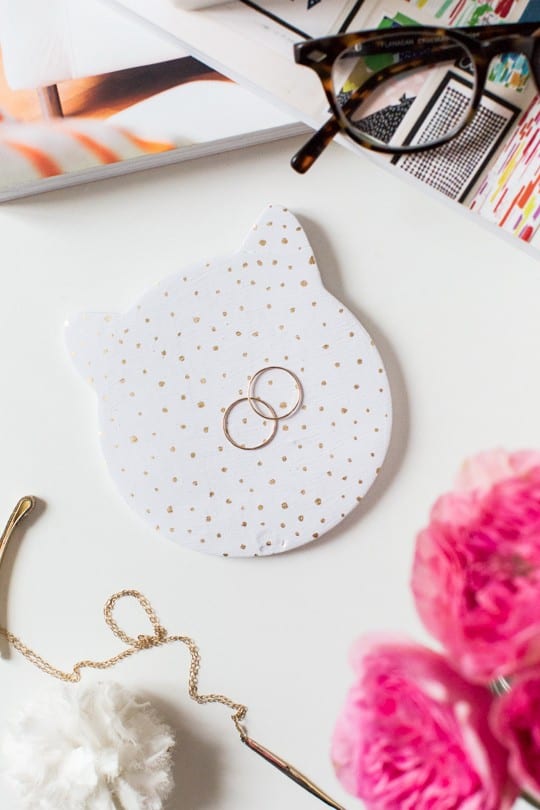
7 — Optional: Use a foam brush to apply a coat of white craft paint. Let the paint dry completely before adding any further details. We then added gold dots with a gold leaf pen.
Tutorial Notes and Tips
- Shape the dish: Here’s where you can get creative! You can leave the cat cutout flat for a simple trinket dish. Or, for a more functional design, gently lift the edges of the cat cutout to create a shallow dish. Use your fingers to smooth out any rough edges.
- Experiment with other shapes: If you don’t have a cat cookie cutter, you can use a freehand template or another animal-shaped cutter to create a unique trinket dish.
- For faster drying: You can turn your oven on the lowest setting (around 150°F) and leave the oven door slightly ajar while the clay dries inside. Make sure to keep an eye on it at all times since the clay is meant to be air dried.
- Turn it into wall art: Add a small ribbon or piece of twine to your finished trinket dish for a decorative touch and easy hanging.
All Things Pets and Animals
- The Ultimate Guide to Choosing the Perfect Pet Gifts
- No Sew DIY Pet Pillows
- Best Paw-some Gifts for Dog Owners
- DIY Litter Box Cover
- DIY Animal Knobs
- DIY Animal Memo Holders
DIY Cat Trinket Dish
Equipment
- Rolling pin
- Cat cookie cutter
- Foam brush
Materials
- Air dry clay any color of choice
- Craft paint optional in color of your choice
- Gold leaf pen optional for decorating
Instructions
- Take a fistful of the air dry clay and knead it with your hands for a couple of minutes until it becomes soft and pliable. This helps to warm up the clay and make it easier to work with.
- On a smooth surface or plastic mat, roll out the clay with your rolling pin until it’s about 1/2 inch thick. It should be big enough for your cat cookie cutter to have a small border around the edge of the metal. The thicker the clay, the sturdier your trinket dish will be.
- Grab your cat cookie cutter and press it firmly down onto the rolled-out clay. Wiggle the cutter slightly to create a clean cut, then carefully remove the excess clay.
- Place your cat-shaped clay with the cutter still in place on a flat, non-stick surface (like a baking sheet lined with parchment paper) to dry.
- After it’s sat for a while, gently push the cat-shaped clay out of the cutter. We like have the clay harden a bit in the cutter to keep the nice, clean edges that are usually hard to get with handmade clay items.
- Allow the clay to fully dry. Depending on the thickness of your clay, drying can take 24-72 hours. Due to the thickness, ours took about 72 hours to fully dry. You will know when air clay dry is dry when it turns an off-white.
- Optional: Use a foam brush to apply a coat of white craft paint. Let the paint dry completely before adding any further details. We then added gold dots with a gold leaf pen.

Tiled Backyard Patio Before & After
Patio before and after inspiration! See how we transformed a…
Fringe DIY Balloon Tassels
Learn how to make DIY Balloon Tassels with this easy…
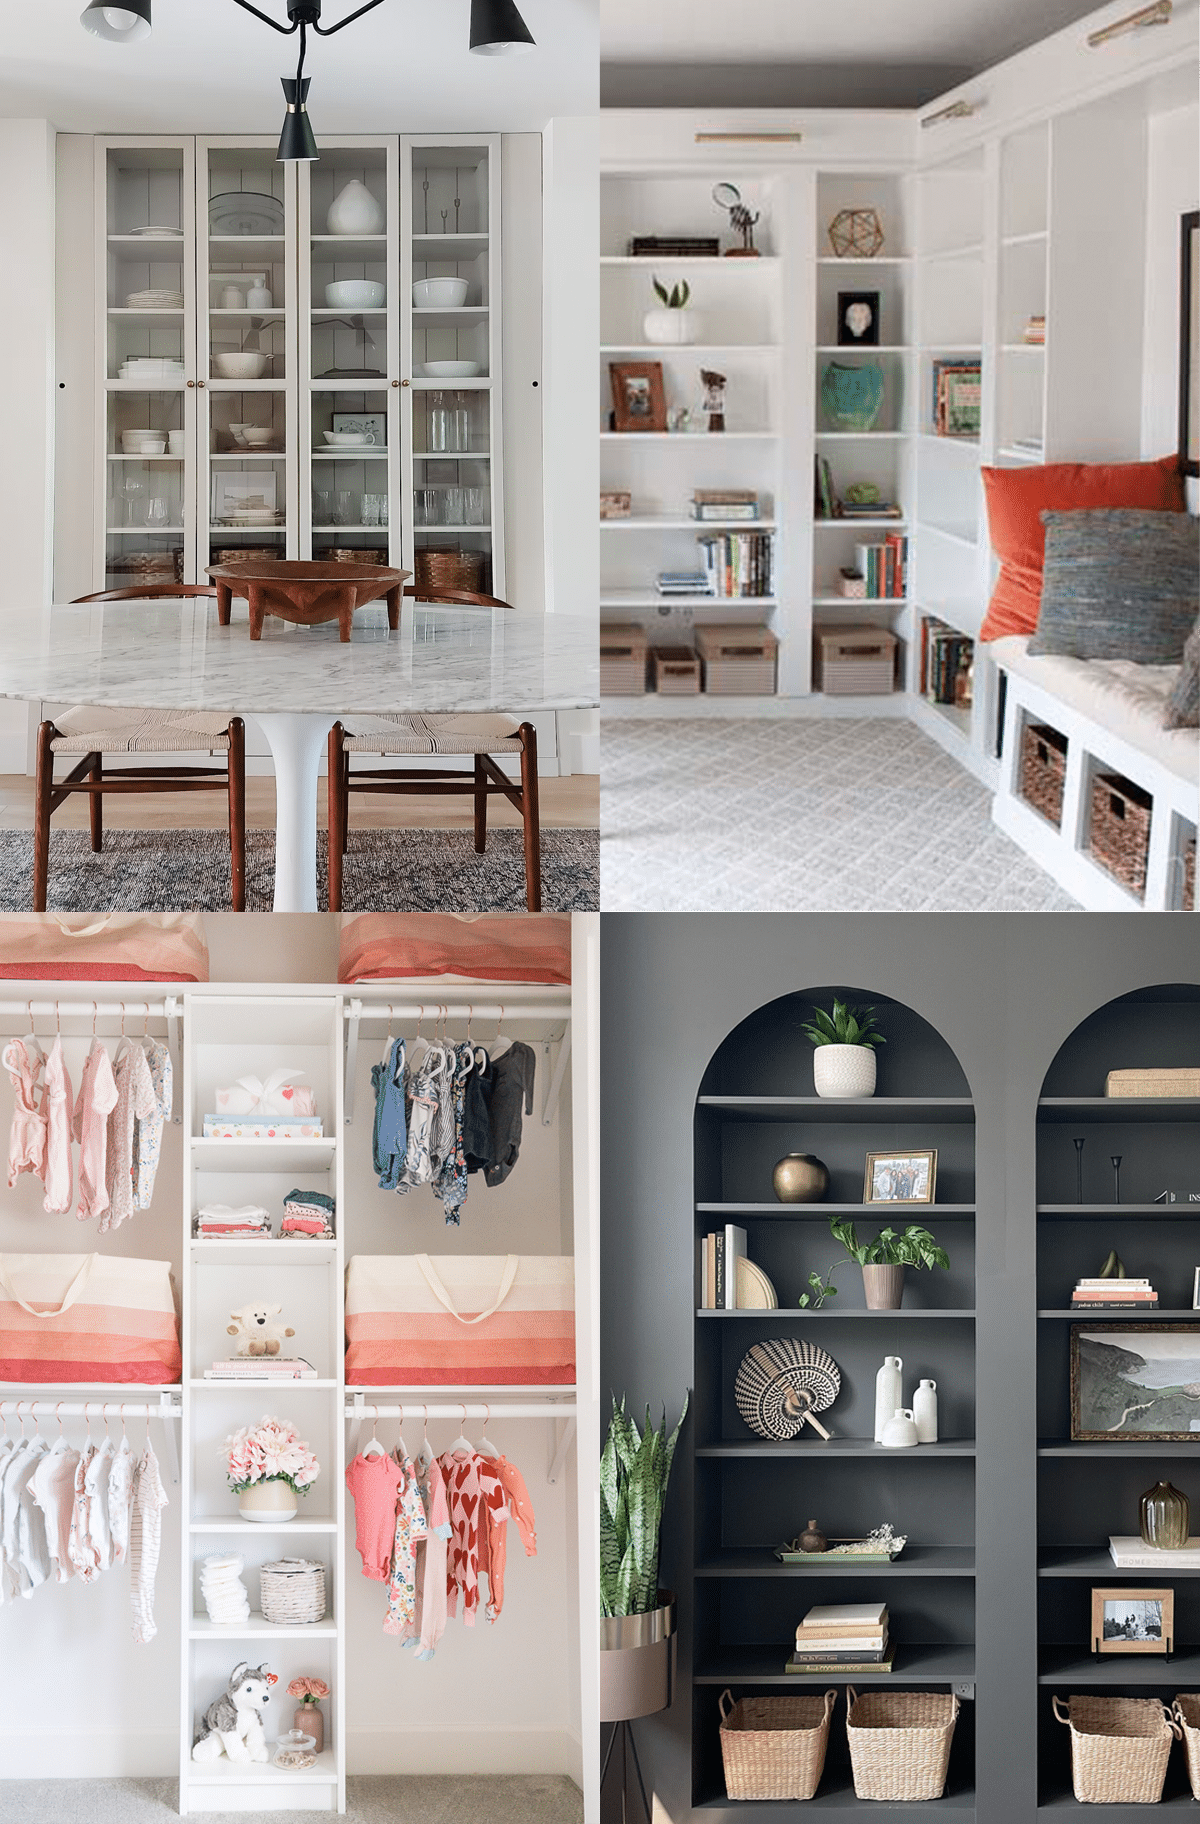
Easy IKEA Billy Hacks Anyone Can DIY at Home
Get inspired by clever IKEA Billy hacks for living rooms,…
Continue Reading Easy IKEA Billy Hacks Anyone Can DIY at Home

Your Guide to Hosting the Perfect Outdoor Movie Night
From DIY projectors to cozy seating arrangements, explore the best…
Continue Reading Your Guide to Hosting the Perfect Outdoor Movie Night
Please note that we may earn a commission for some of the above affiliate links. However, products featured are independently selected and personally well-loved by us!
Lovely! I’ve been meaning to start working with clay. I’d probably give it a little curve with my hand to keep things from falling off the dish, but this looks wonderful and super simple.
I freakin’ love this, Ash. And I’m not even going to make a cat lady joke….because you’ve seen a photo of one of my cats wearing a hand crocheted hat. Haha. Does that count as a crazy animal gift?
Seriously though, this trinket dish is awesome.
haha, thanks B!
cute, i have an allergic for cats as well myself, but living without them… wasn’t an option for me.
So i had found out that some of them are given me less problems.
this is a cute idea, and as well for people whom having a cat in their home living.:-D
Thank you for the sharing and the tute;-D
That’s awesome, I was the same way!