DIY Wooden Birthday Cake Decor
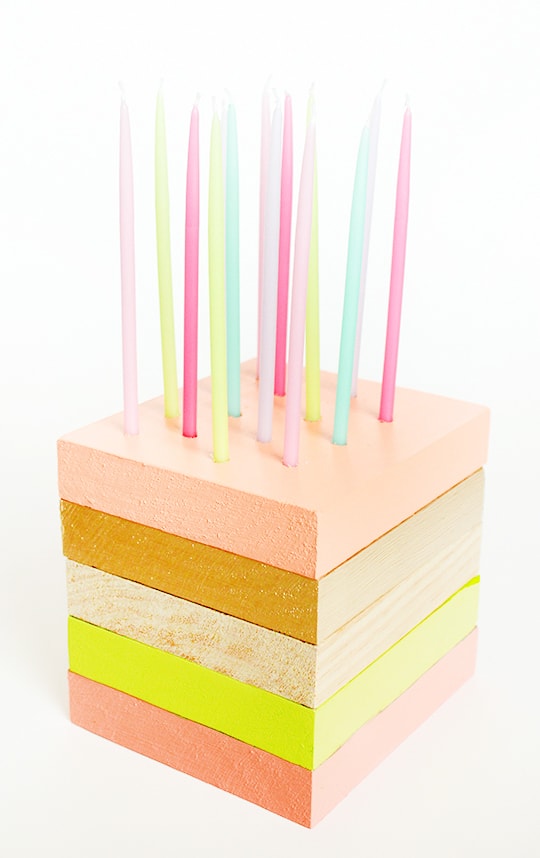
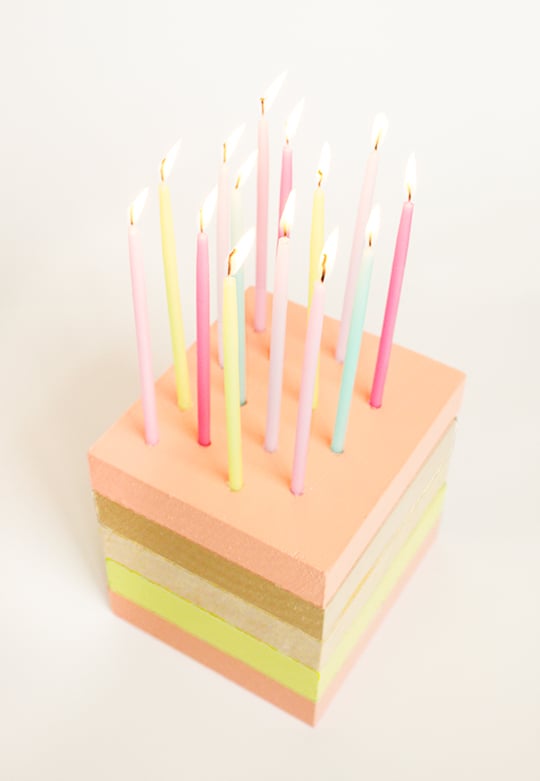
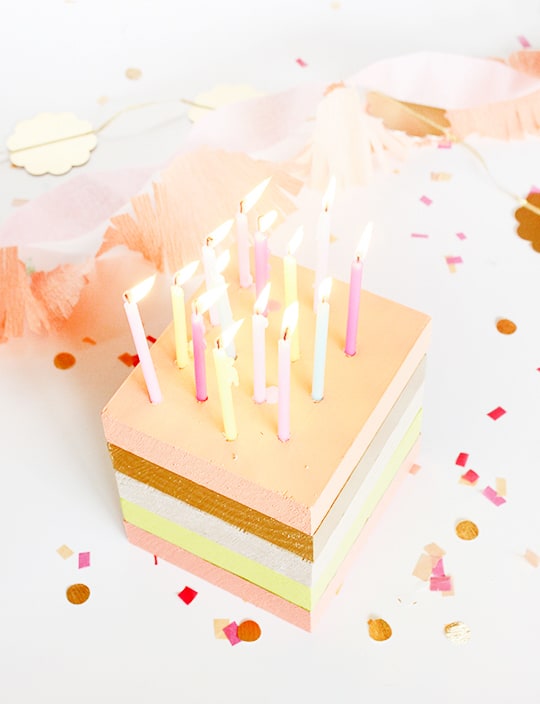
This DIY Wooden Birthday Cake is a great long-time staple centerpiece for birthday parties or provides an evening ambiance at any party.
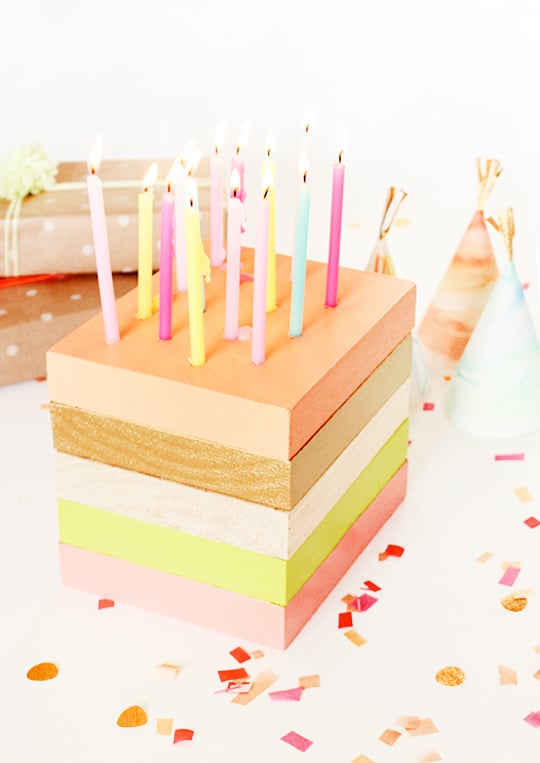
Hello! Carisa from Camp Pretty is here with a super simple statement party piece.
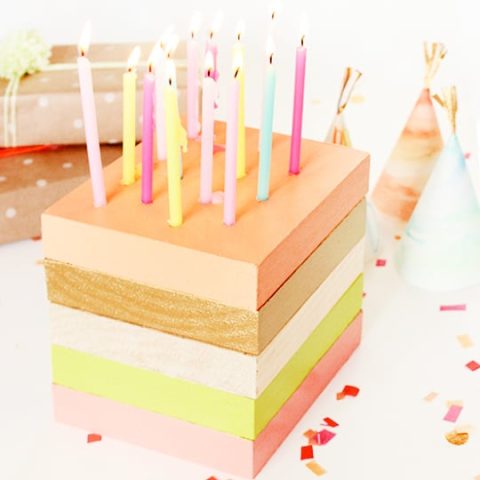
It’s a painted wood birthday cake but also functions as a festive DIY candle holder.
This is a quick weekend project for a great long-time staple centerpiece. And you don’t even need advanced woodworking skills.
This DIY Wooden Birthday Cake is great for a birthday party.
Display it on a cake stand to provide some ambiance.
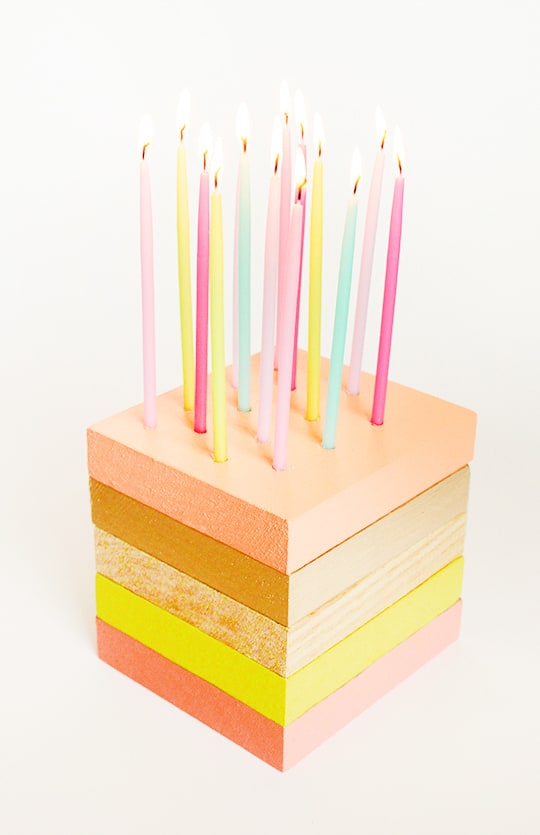
Materials and Tools Needed to Make a DIY Wooden Birthday Cake
Wood boards — We used 5/8 pine boards.
Paint — Colors of your choice
Mini taper candles
Drill and drill bit — 1/4″ or 5/16” depending on your candle size
Wood glue

How to Make a DIY Wooden Birthday Cake
Before starting, make sure all your boards are the same size.
However, if you are going for the jumbled look, then just make sure to paint more than the edges in step one).
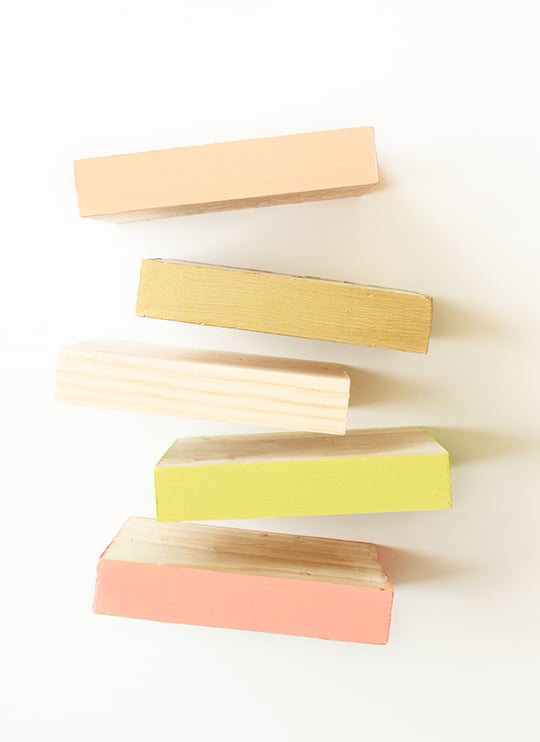
Step 1 — Paint each board end.
We painted 2-3 coats on each board, depending on how well it coated.
We also chose to leave one board unpainted to show the wood grain.
You could also decide to stain the ends too. You will need to paint the whole top of the board you choose to be on the top of the stack.
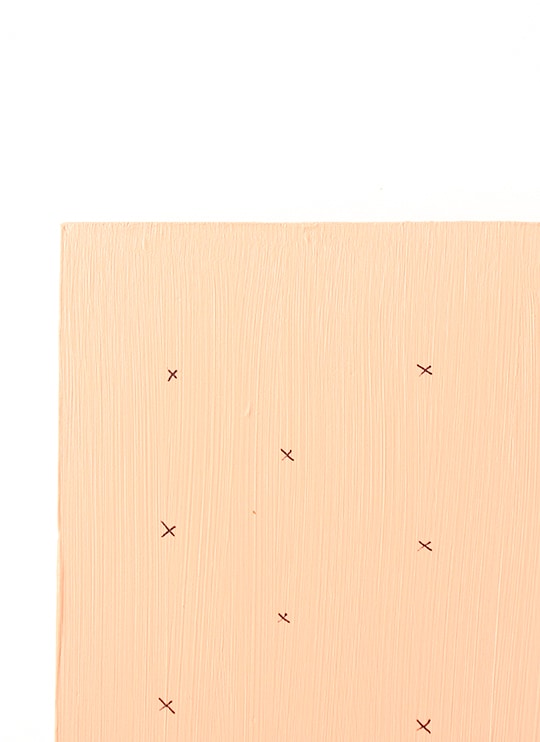
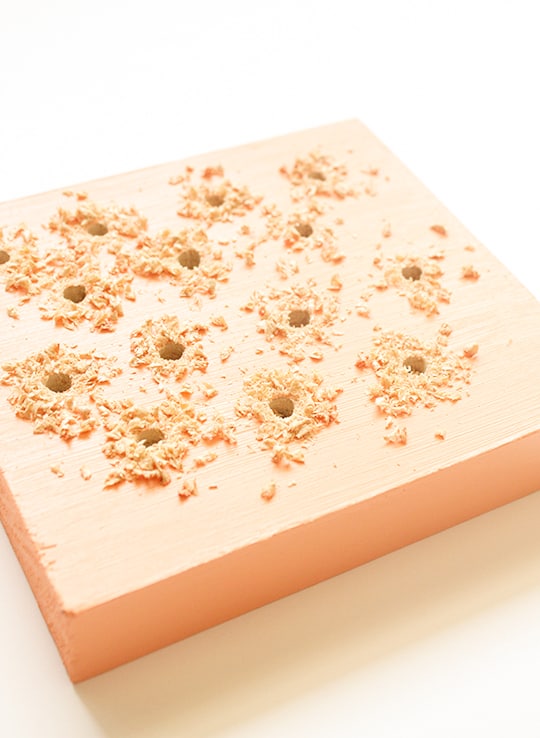
Step 2 — Once the paint is dry, decide how many candles you would like on the top and make small marks where you plan on placing them.
Step 3 — Then, drill straight down for each mark.
We drilled in 1/4 inch. deep. You can choose to go further depending on how far you want your candles to go in.
Of course, you could do the drilling before you painted. It works either way!
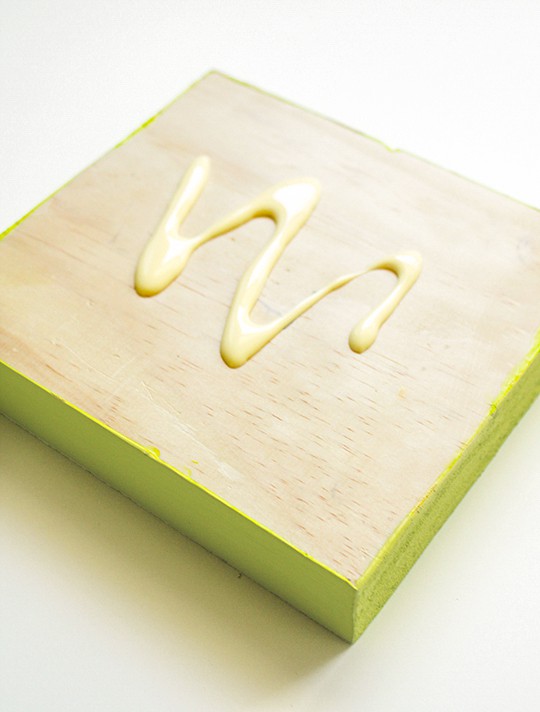
Step 4 — Glue the top of each board and place them together.
You don’t need to use too much glue. Just a simple zig-zag will do!
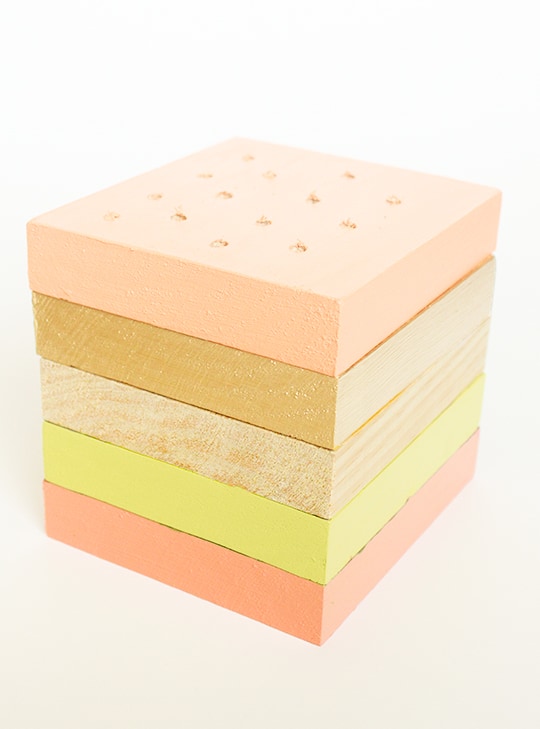
Clean everything up and place your candles in, and light!
About Our Guest Contributor
Carisa is an art director and designer who lives for all things pretty in Minneapolis with her husband Adam, daughter June and dog Riley.
She’s constantly thinking about her next DIY project, party plan, paper craft, or what cute outfit to put on her daughter.
More Easy Woodworking Projects
If you love this DIY Wooden Birthday Cake project, you might also want these DIY projects below —
- How to Make DIY Wooden Polaroid Displays (+ Video Tutorial)
- Mini Christmas Tree – DIY Wooden Christmas Tree
- Ikea Hack – DIY Wooden Headboard Using Stikwood
- Easy DIY Mid Century Modern Side Table
DIY Wooden Birthday Cake Decor
Equipment
- Drill and drill bit 1/4″ or 5/16” depending on your candle size
Materials
- Wood boards
- Paint any color
- Mini taper candles
Instructions
- Paint each board end. We did 2-3 coats on each board, depending on how well it coated. We also chose to leave 1 board unpainted to show the wood grain.Optional: Stain the ends of the wood boards. You will need to paint the whole top of the board you choose to be on the top of the stack.
- Once the paint is dry, decide how many candles you would like on the top and make small marks where you plan on placing them.
- Drill straight down for each mark. We drilled in 1/4 inch deep. You can choose to go further depending on how far you want your candles to go in. Of course, you could do the drilling before you painted. It works either way!
- Glue the top of each board and place them together. You don’t need to use too much glue. Just a simple zig-zag will do! Clean everything up and place your candles in, and light!

Don’t forget to share your DIY wooden birthday cake with us on Instagram using the hashtag #sugarandclothloves. We always love seeing all of your creations! Looking for more interior design inspiration? You can find them all of our home decor tutorials and ideas right here!
Please note that we may earn a commission for some of the above affiliate links. However, products featured are independently selected and personally well-loved by us!


Simple, colorful, an perfect! Such a cool idea!
Such a perfect idea! Absolutely gorgeous!
WritingMonique
Really great idea!
This is really cute!
What a great idea!!