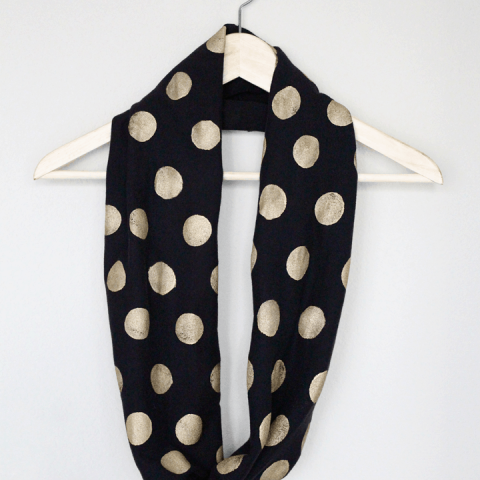
Polka Dot DIY No Sew Infinity Scarf
Polka Dot DIY No Sew Infinity Scarf — It’s officially scarf weather even by Texas standards so I thought I’d share my DIY No Sew Infinity Scarf that I made for the fall.

It’s officially the perfect weather for a scarf! Obviously, this means we’re embracing the season in full force with this DIY No Sew Infinity Scarf.
Even by Texas standards, infinity scarves are welcomed with open arms instead of the judgmental stares from people that don’t share my fall weather love affair year-round.
And I really do those chunky knit statement wear!
So I thought I’d share my no-sew infinity scarf tutorial that I made for this Buzzfeed craft wars post.
Materials and Tools Needed To Make DIY No-Sew Infinity Scarf
T-shirt — The larger the shirt, the bigger the scarf!
All-surface metallic gold paint
Tape

How to Make a DIY No-Sew Infinity Scarf
Lay your t-shirt flat, taping down the edges.
Cut a line straight across just above the bottom hem and just below the sleeves or the armpit.
This will form the actual scarf so try and make the cut edges as smooth as possible. A rotary cutter will give you the best result but it isn’t necessary.
Dip your pouncer in the paint color of your choice and start dotting.

Stamp your first row spaced however you’d like, then make the next row alternated from the first mimicking the spacing of the top row.
Repeat this until one whole side of the DIY No-Sew Polka Dot Infinity Scarf is patterned. You’ll let this dry, and then repeat on the opposite side as well.
Now let your freshly stamped scarf dry completely.
How to Clean the DIY Scarf
As long as you made sure to use a fabric dedicated paint, you can easily wash your scarf on the delicate setting in the washer and dryer as usual.
Since the fabric is traditional t-shirt cotton, you can also dry on low heat as well.
But I’d recommend laying it flat to air dry.

Other Easy Scarves You Can Make At Home
You can wear this DIY infinity scarf two ways — as one long loop, or loop it around twice for a short fuller scarf!
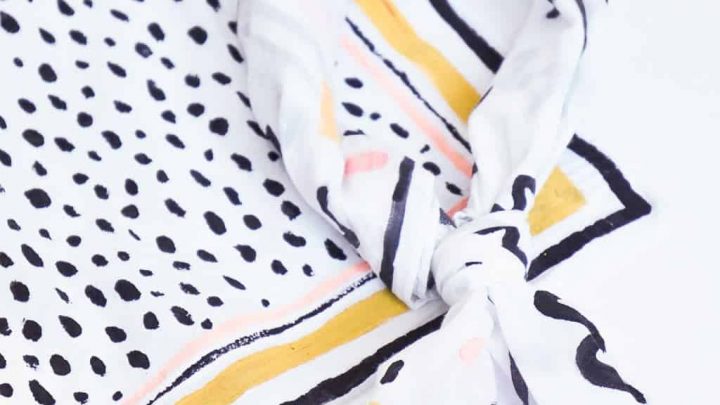
Check out some of our other DIY scarf projects below —
DIY No-Sew Infinity Scarf
Equipment
- Scissors
- Paint brush
Materials
- 1 T-shirt The larger the shirt, the bigger the scarf.
- 1 Foam pouncer
- All-surface metallic gold paint
- Tape
- Scissors
Instructions
- Lay your t-shirt flat, taping down the edges.
- Cut a line straight across just above the bottom hem and just below the sleeves or the armpit This will form the actual scarf so try and make the cut edges as smooth as possible. A rotary cutter will give you the best result but it isn't necessary.
- Dip your pouncer in the paint color of your choice and start dotting. Stamp your first row spaced however you'd like, then make the next row alternated from the first.
- Repeat this until one whole side of the DIY No-Sew Polka Dot Infinity Scarf is patterned.


Please note that we may earn a commission for some of the above affiliate links. However, products featured are independently selected and personally well-loved by us!