Homemade Vanilla Pudding Recipe
Once you’ve made this so simple and so easy Homemade Vanilla Pudding recipe, you’ll never wanna go back to box pudding again!
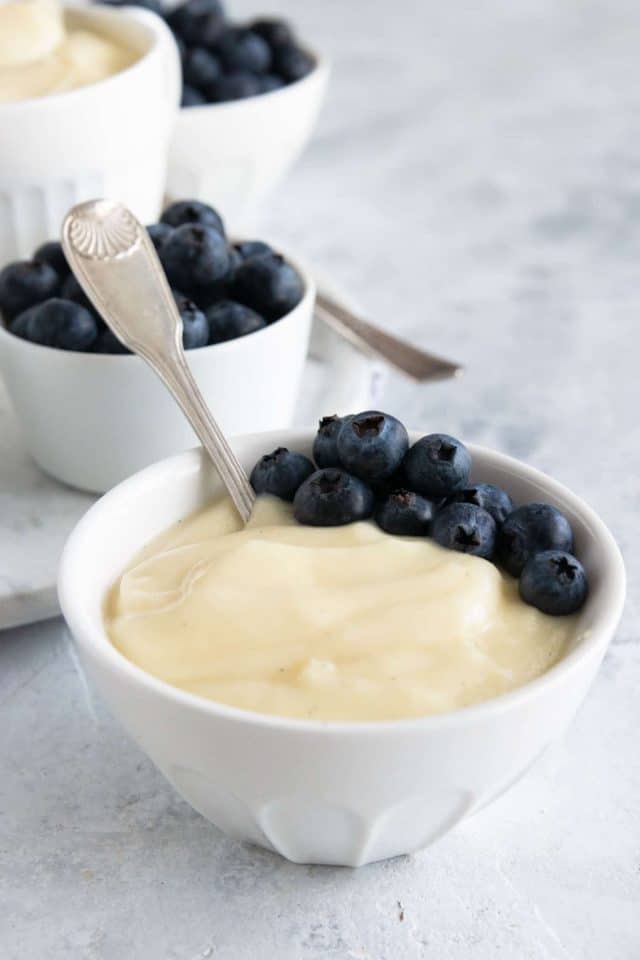
Vanilla pudding is one of life’s simple pleasures. It’s simple, sweet, and full of memories for most of us, especially for me, Rebecca. I would choose vanilla pudding over chocolate pudding and banana pudding any day)!
Whether you grew up eating the premade cups or making it from the powdered box mix, you can definitely take your pudding game to the next level by making this Homemade Vanilla Pudding recipe. It’s still so simple and easy, but even more delicious with just a few ingredients that you probably already have in your refrigerator and pantry.
And though you may have to be patient while whisking constantly and waiting for it to cool, this vanilla pudding recipe only takes about 20 minutes to make. So let’s get whisking!
Ingredients You’ll Need
The beauty of a classic homemade vanilla pudding is that you usually have most ingredients already in your kitchen!
- Whole milk: You can use any kind of milk, but the pudding will be it’s creamy, luscious best if you use whole milk. It’s important that when you start cooking, bring the milk to steaming over medium-low heat. Do not get it to a boiling heat as this will affect the texture of the pudding.
- Sugar: We used white granulated sugar for a classic vanilla pudding taste. But you can also use brown sugar for that touch of caramel.
- Cornstarch: The key ingredient that thickens the pudding. It can be substituted for flour or arrowroot flour if you do not have any cornstarch on hand.
- Egg yolks
- Unsalted butter
- Vanilla bean paste or extract: For extra flavor, use real vanilla bean paste instead of extract. It adds beautiful specks and a deeper vanilla taste.
- Salt
How to Make Homemade Vanilla Pudding
Wouldn’t it be nice if most recipes were as easy as “heat and whisk”? This one is pretty darn close!
1 — Mix the dry ingredients:
In a small mixing bowl, whisk together the sugar, cornstarch, and salt. Slowly add 1/2 cup of milk, whisking until smooth. Then, beat in the egg yolks until fully combined.
2 — Heat the milk:
In a medium saucepan, warm the remaining 2 cups of milk over medium-low heat until it’s steaming and foamy. This takes about 5-8 minutes. Do not bring it to a boil.
3 — Temper the eggs:
Gradually ladle about 3/4 cup of the hot milk into the egg mixture while whisking constantly to prevent the eggs from scrambling.
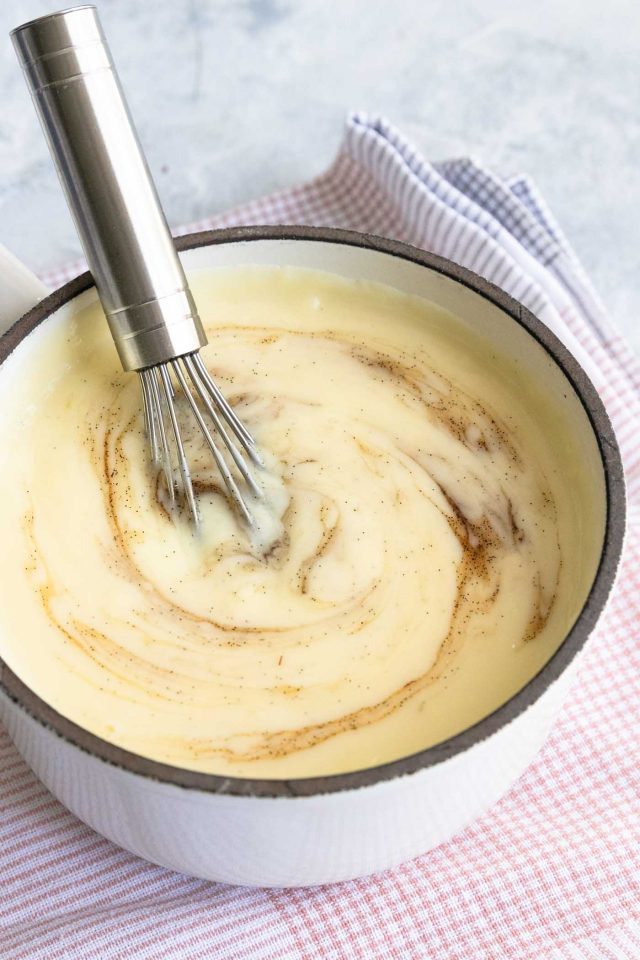
4 — Combine and thicken:
Pour the tempered egg mixture back into the saucepan. Cook over medium-low heat, whisking or stirring constantly, until the pudding thickens and starts to bubble.
Let it bubble for about 2 minutes to cook out the starch taste. The mixture may not noticeably thicken when it’s bubbling, but this allows the cornstarch to cook thoroughly and not leave a filmy texture in the pudding.
5 — Add flavor:
Remove from heat, and whisk in the butter and vanilla extract or vanilla bean paste until smooth and fully incorporated.
6 — Chill the pudding:
Pour the pudding into a clean bowl and press a piece of plastic wrap directly onto the surface to prevent a skin from forming. Refrigerate for at least 6 hours until thoroughly chilled, or overnight for the best texture and flavor.
Tips for Making Homemade Vanilla Pudding from Scratch
- How to prevent burnt ingredients: Begin by measuring and setting out all of your ingredients and bowls so that you can work quickly when things are warm and need to be combined. This prevents scorched milk, scrambled eggs, and burnt pudding.
- Don’t turn up the heat: Don’t be tempted to turn up the heat for heating the milk or cooking the pudding. It may seem like it’s taking a long time, but a couple of minutes of stirring is so much better than something scorching! So keep that saucepan over medium heat low and no higher!
- If you are noticing any tiny lumps in your pudding as you cook it: Don’t worry! It’s probably just a tiny bit of egg yolk and egg mixture that cooked too quickly. To remove them, simply place a fine-mesh strainer over the bowl you are going to chill the pudding in and pour it through. Gently stir the pudding to encourage it to go through the sieve, then stir in the butter and vanilla bean extract.
- Before chilling the pudding: Place a piece of plastic wrap directly on top of the pudding. This prevents a rubbery, thick layer from forming over the top, which is also called a skin.
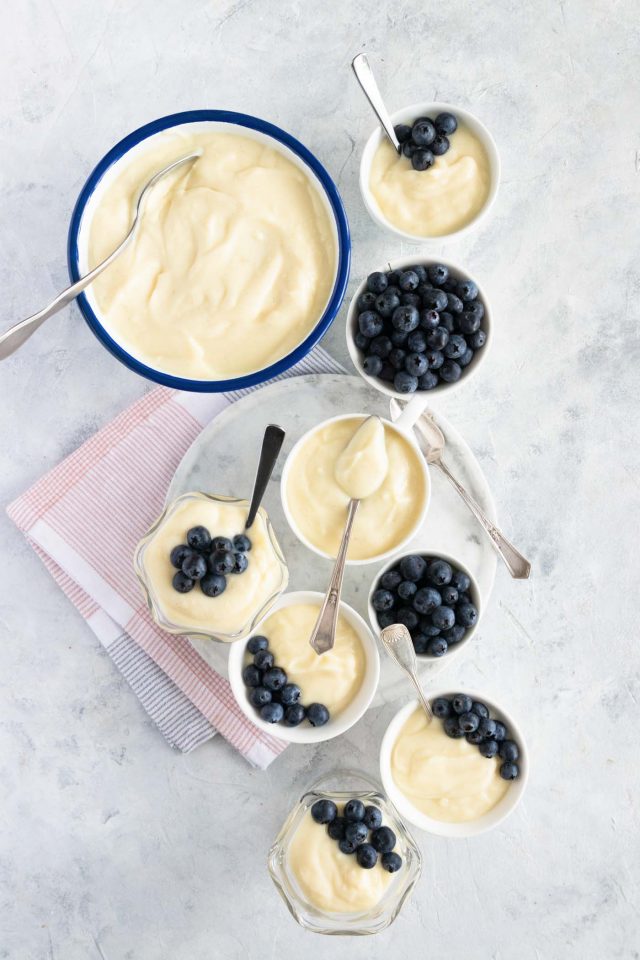
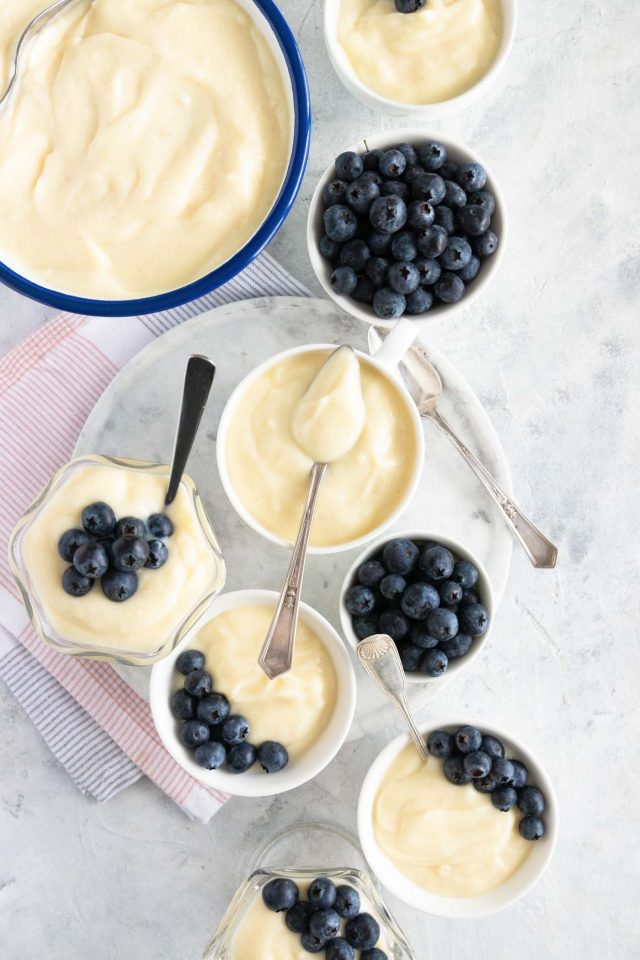
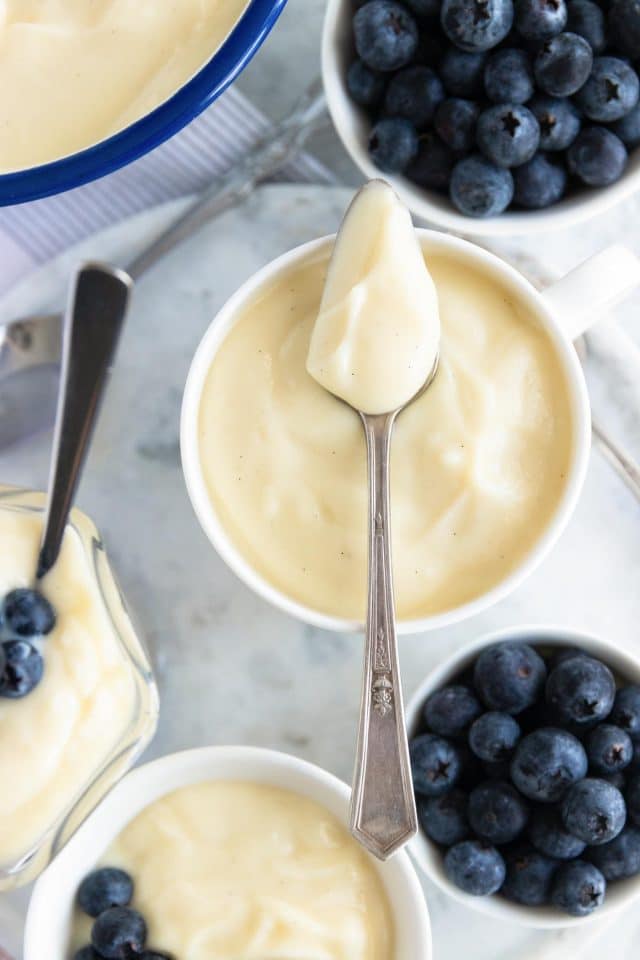
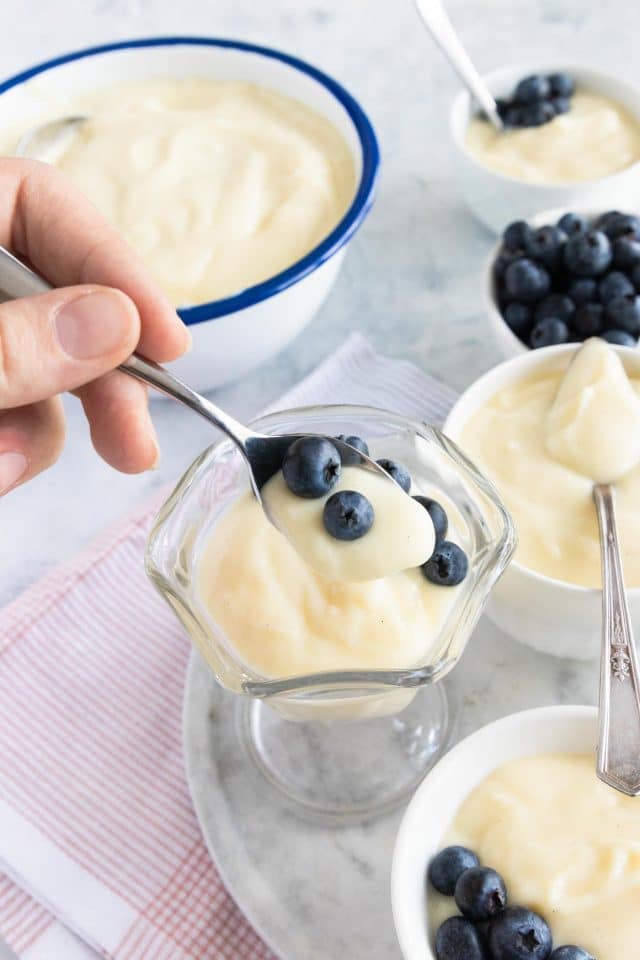
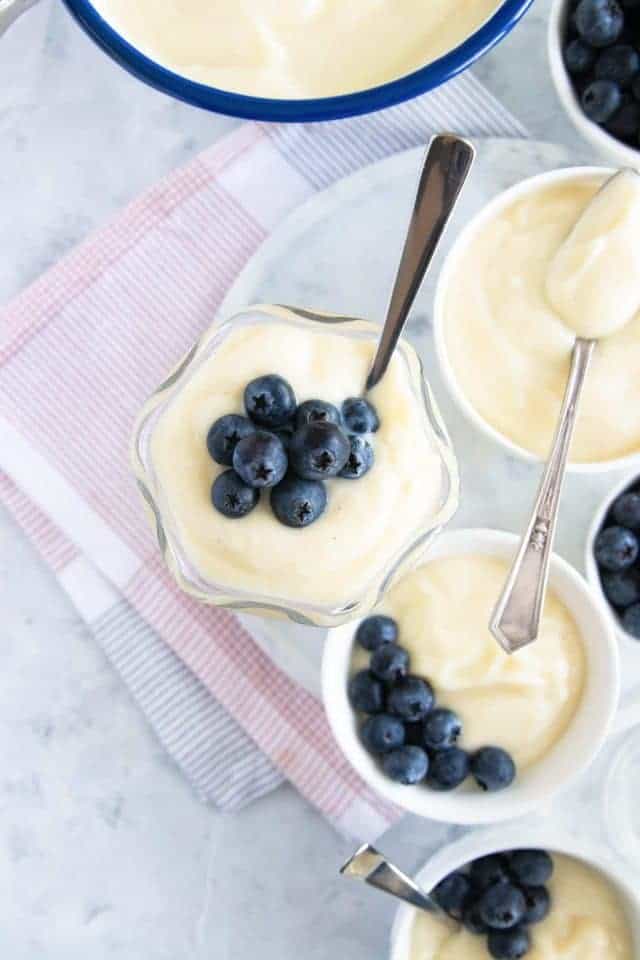
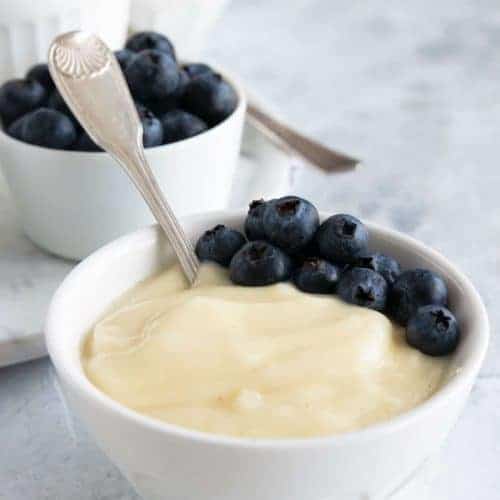
Different Ways to Serve Pudding
Vanilla pudding is super versatile. You can eat the pudding on its own, dressed up with toppings, or used as a key ingredient in other desserts. There are so many funs ways to serve it. And you can even create a party parfait buffet for your guests to customize. A few topping and pairing ideas include:
- Fresh fruit: We love berries!
- Whipped cream: A dollop on top adds lightness and contrast.
- Crumbled cookies: Chocolate chip cookies, graham crackers, or Oreos for texture.
- Chocolate: Shaved chocolate, cocoa powder dusting, or chocolate chips.
- Nuts: Toasted almonds, pecans, or pistachios for crunch.
- Caramel or butterscotch sauce: Adds rich sweetness and depth.
- Pairing ideas: Serve with vanilla wafers, butter cookies, shortbread cookies, biscotti, or pound cake for an elegant dessert plate.
- S’mores inspired pudding: Sprinkle chocolate chips and mini marshmallows over the pudding and serve with graham crackers for a unique take on s’mores and creative recipe with marshmallows.
How to Store Homemade Pudding
Once the pudding has cooled, transfer it to a container with an airtight lid and store it in the refrigerator. It will keep for up to 5 days. If you’d prefer, you can also store the 1/2 cup of pudding each in little individual-sized dishes with lids so that they can be grabbed and enjoyed quickly.
More Easy Desserts to Try
For more pudding and dessert ideas, check out a few of our favorites —
- Vanilla bean tapioca pudding
- Mango coconut rice pudding
- Customizable brownie parfait — There’s nothing like some homemade pudding with delicious brownies.
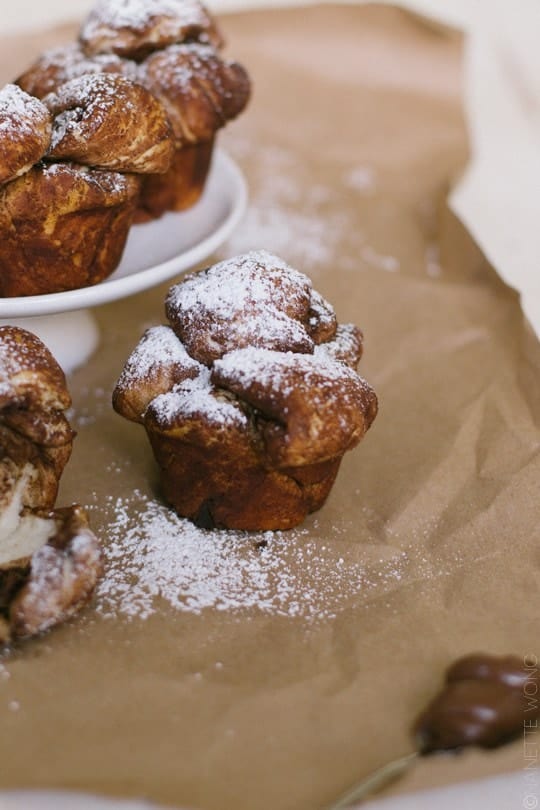
- Nutella stuffed monkey bread muffins
Equipment
- Small mixing bowl
- Medium saucepan
- Whisk or rubber spatula
Ingredients
- 2 ½ cup whole milk
- ⅓ cup white granulated sugar
- 2 tbsp cornstarch
- 2 egg yolks
- 1 tbsp unsalted butter
- 1 tsp vanilla bean paste or extract
- 1 pinch salt
Instructions
- Stir the sugar, cornstarch, and salt together in a small mixing bowl. Then, whisk in 1/2 cup of the milk and then egg yolks.
- In a medium pan, heat the remaining two cups of milk over medium low heat until it is steaming and foamy but not boiling.
- Slowly pour or ladle about ¾ cup of the hot milk into the small mixing bowl with the egg and sugar mixture, whisking quickly as you do to prevent the eggs from heating and cooking too quickly.
- Pour all of the egg and milk mixture back into the pan and continue cooking over medium-low heat. Cook and stir continuously with a whisk or rubber spatula until the mixture has thickened and begun to bubble. Allow it to continue bubbling for two minutes.
- Remove it from the heat and pour the pudding into a clean bowl. Immediately add the vanilla bean paste or extract and butter. Then, stir until the butter has melted and the vanilla is completely incorporated.
- Place a sheet of plastic wrap directly on top of the pudding and refrigerate until thoroughly chilled. This will take about 6 hours, but it will become thicker and set up better if you let it chill overnight.
Nutrition
Notes
- Makes approximately 6 ½ cup servings.
- It will keep for up to 5 days in an airtight container in the refrigerator.
- Begin by measuring and setting out all of your ingredients and bowls so that you can work quickly when things are warm and need to be combined. This prevents scorched milk, scrambled eggs, and burnt pudding.
- Don’t be tempted to turn up the heat for heating the milk or cooking the pudding. It may seem like it’s taking a long time, but a couple of minutes of stirring is so much better than something scorching! So keep that saucepan over medium heat low and no higher!
- This recipe doubles well, but will take more time to cook.
- If you are noticing any tiny lumps in your pudding as you cook it, don’t worry! It’s probably just a tiny bit of egg yolk and egg mixture that cooked too quickly. To remove them, simply place a fine mesh sieve over the bowl you are going to chill the pudding in and pour it through. Gently stir the pudding to encourage it to go through the sieve, then stir in the butter and vanilla bean extract.
- Before chilling the pudding, place a piece of plastic wrap directly on top of the pudding. This prevents a a rubbery, thick layer from forming over the top, which is also called a skin.

Tried this recipe? Share your Homemade Vanilla Pudding with us on Instagram, using the hashtag #sugarandclothloves. We always love seeing all of your creations! Looking for more quick and delicious recipes? Find them all right here!


Please note that we may earn a commission for some of the above affiliate links. However, products featured are independently selected and personally well-loved by us!
My pudding came out more liquified than I wanted even after chilling overnight. What do you think went wrong? Thanks!
I made pudding using your recipe but then realized that I did not have any vanilla, so I added a squeeze of honey instead and it turned out delicious
This recipe is fantastic!! No lumps, not too sweet and just perfect!!!
So glad to hear you loved it!
Love this, I made it for my neighbor who is diabetic so instead of sugar I used a 1/4 cup honey he loved it
Yay! Thank you, Rhonda! We are so glad that you were able to modify the recipe for your neighbor.
Is this a goid putting to put in a pie shell
Hi Nancy! Sorry, we don’t quite understand your question. Do you mean “is this a good pudding to put in a pie shell”? If so, then yes, this is a good pudding to put in a pie. BUT keep in mind that pudding in a pie needs to be a thicker consistency than pudding that you eat by itself. To get a thicker texture, simply substitute the milk for heavy cream instead. Hope this helps. And please let us know if that was not the correct question! XOXO
This was so delicious, you could open a restaurant and serve just this pudding it’s that good. Thanks so much for sharing this recipe
Aww! Thanks, Caroline! That is one of the best compliments ever!
Tried this recipe today for use in blueberry parfaits. Delicious! Did not have whole milk, so I combined some leftover evaporated milk with 2 %. Came out great ! Pays to be patient though. Nice recipe!
THIS VANILLA PUDDING IS SO DELICIOUS! LOVED IT.
Thank you, Laura!
This was my first time trying pudding from scratch and I’m so impressed with how it turned out or better yet, my kids were impressed as well and that’s the true sign of approval. It was so creamy and delicious!
Definitely a true sign of approval if your kids were impressed! XOXO
So delicious that I will never go back to boxed pudding mix ever again. This is so easy to make and so worth it because of the delicious flavor!
Yay! So glad to hear, Lisalia!