DIY Painted Umbrella with Abstract Shapes
Create a unique and colorful accessory with this DIY Painted Umbrella idea! Learn how to transform a plain umbrella into a work of art using bold abstract shapes and colors. Perfect for adding a personal touch to your rainy-day style or gifting a creative, one-of-a-kind piece.
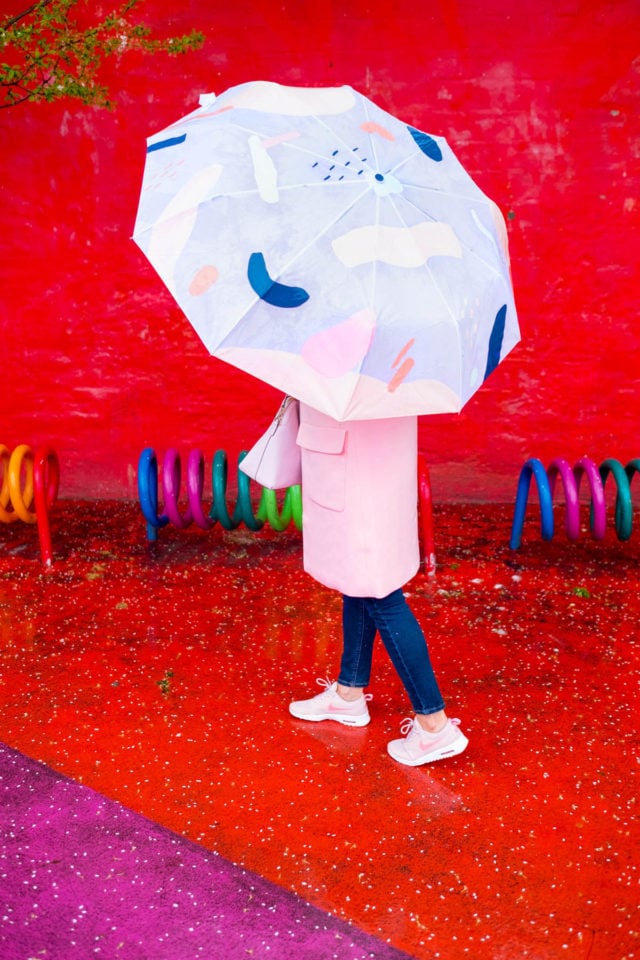
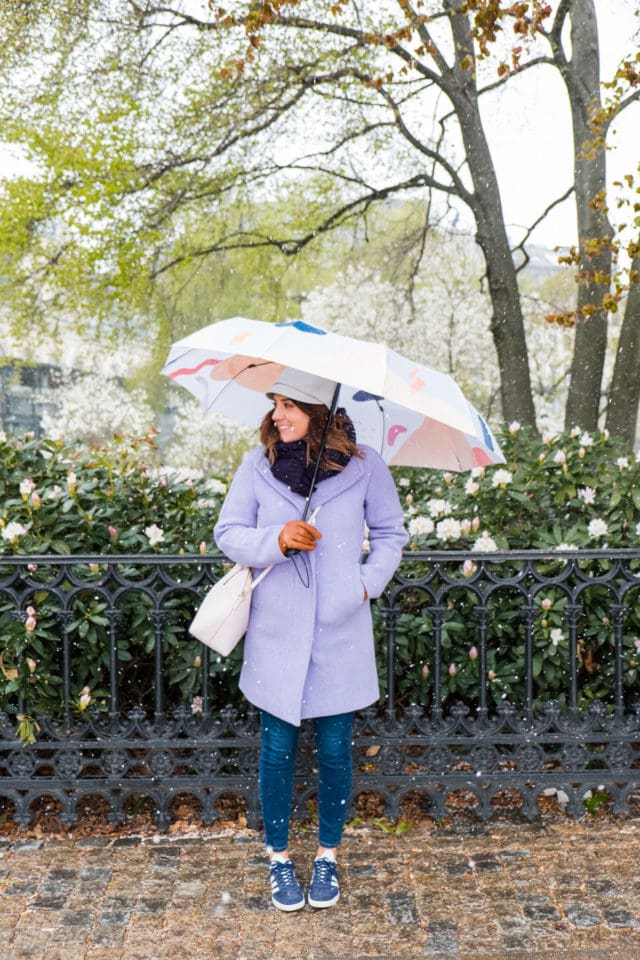
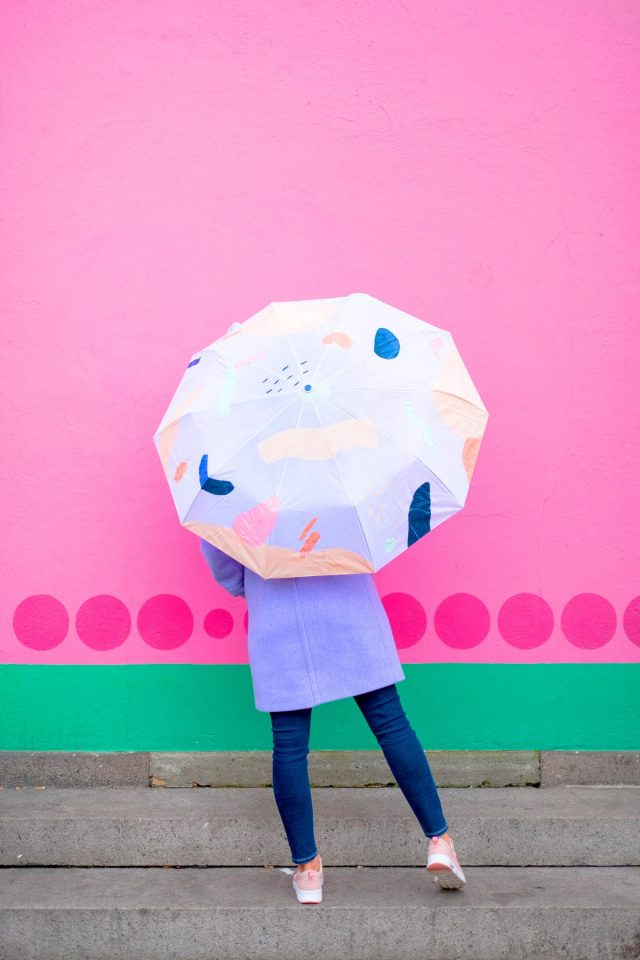
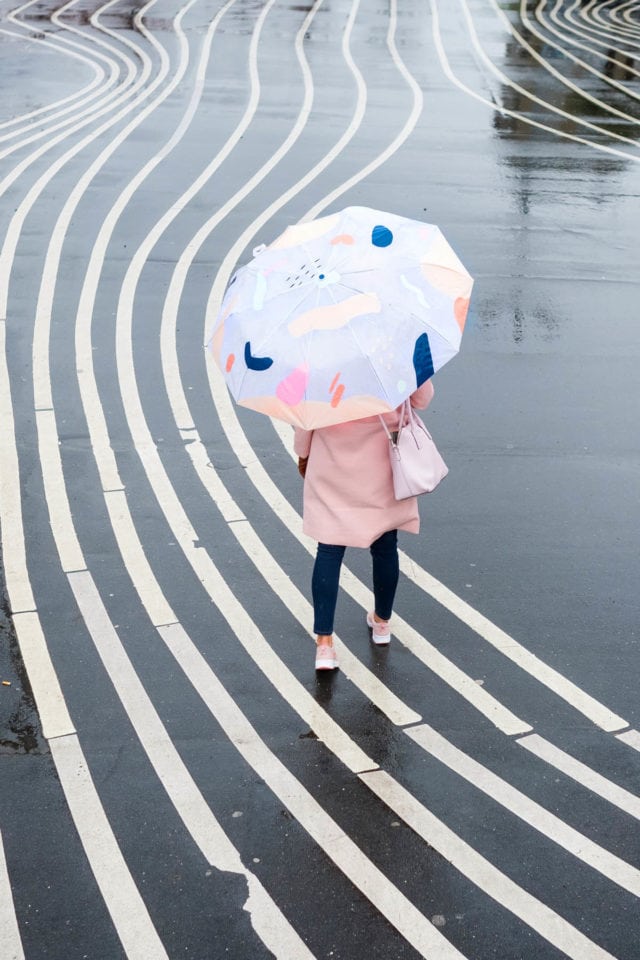
We’re taking our obsession with shapes to an entirely new level with this DIY Painted Umbrella. See how you can transform a simple umbrella into a unique work of art using hand-painted abstract shapes! We took our painted umbrella to Scandinavia during our Princess Cruises trip.
This project is perfect for those looking to add a splash of color to their rainy-day style or make a thoughtful, one-of-a-kind gift for a friend. With just a few supplies and a bit of creativity, you can create a bold and vibrant umbrella that’s bound to turn heads, even on the gloomiest days.
Whether you’re painting with bright, bold colors or a more subdued palette, this DIY umbrella will become a functional piece of art that adds personality and joy to any rainy day. So grab your paintbrushes, let your creativity flow, and let’s get started on making an umbrella that’s as unique as you are!
Materials and Tools Needed
- Umbrella — Start with a plain, light-colored umbrella to help your painted designs pop. We choose a white umbrella.
- Fabric paints — Mix your own favorite colors for a personalized look! We recommend investing in high-quality fabric paint, like Speedball, for lasting durability. (And no, this isn’t a sponsored post!) After testing a few options, we found that the umbrella’s exposure to rain and tough conditions means you’ll want to avoid cheap paint. It’s worth the investment. (Trust us, we learned the hard way.)
- Paint brushes — Opt for foam or extra-soft bristle brushes to keep brushstrokes smooth and even. They also help avoid rough patches on the fabric that can form with stiffer brushes.
- Optional: Fabric sealant — For extra durability, especially in rainy climates, use a fabric sealant spray after the paint dries. This can help protect your design from fading or washing away.
This project is beginner-friendly and doesn’t require any fancy art skills. The biggest challenge with this DIY is choosing the right paint and finding the perfect umbrella. Once you’ve got those down, it’s as simple as creating bold, random shapes!
How to Make a DIY Painted Umbrella
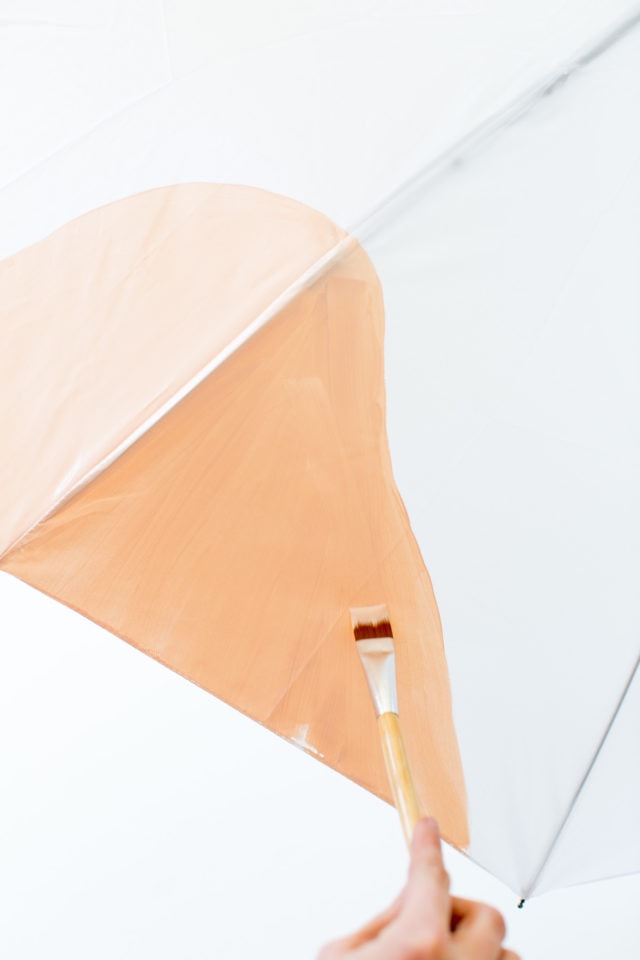
1 — Prepare your workspace: Set up a clean, flat workspace with plenty of room to spread out the umbrella. Place a drop cloth or newspaper under the umbrella to protect your surfaces from paint. Open the umbrella partway so the fabric is taut but easy to access from all angles.
2 — Plan your design: Decide on the abstract shapes and colors you want for your umbrella. You could go for simple circles, squiggles, bold stripes, wavy lines, or a mix of geometric shapes. Lightly sketch your design with a pencil on the umbrella if you’d like a guide, or go straight in for a more spontaneous look.
3 — Start painting: Begin with one color and start filling in your shapes with fabric paint. Use foam or soft-bristle brushes for smooth coverage and minimal brushstrokes. Apply the paint in thin, even layers, and let each layer dry before adding another if you want more opacity. Remember, less is more. You can always add more paint but removing excess is tricky!
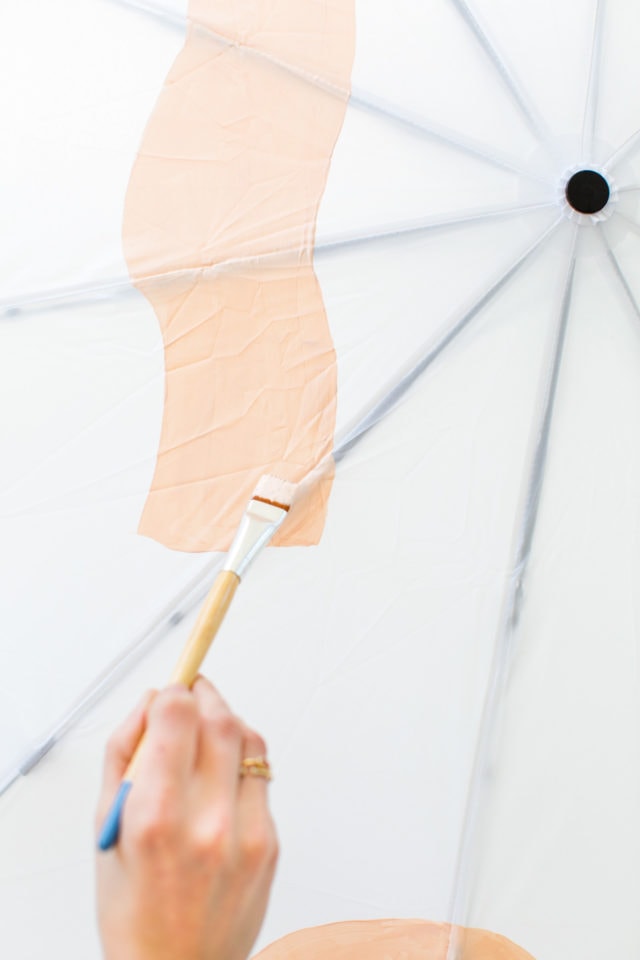
4 — Add more colors and layers: Once your first color is dry, switch to your next color and continue adding shapes and patterns around the umbrella. Try to balance your colors and shapes across each panel of the umbrella for a cohesive look, but don’t stress about perfection. Abstract designs are meant to be fun and free-form.
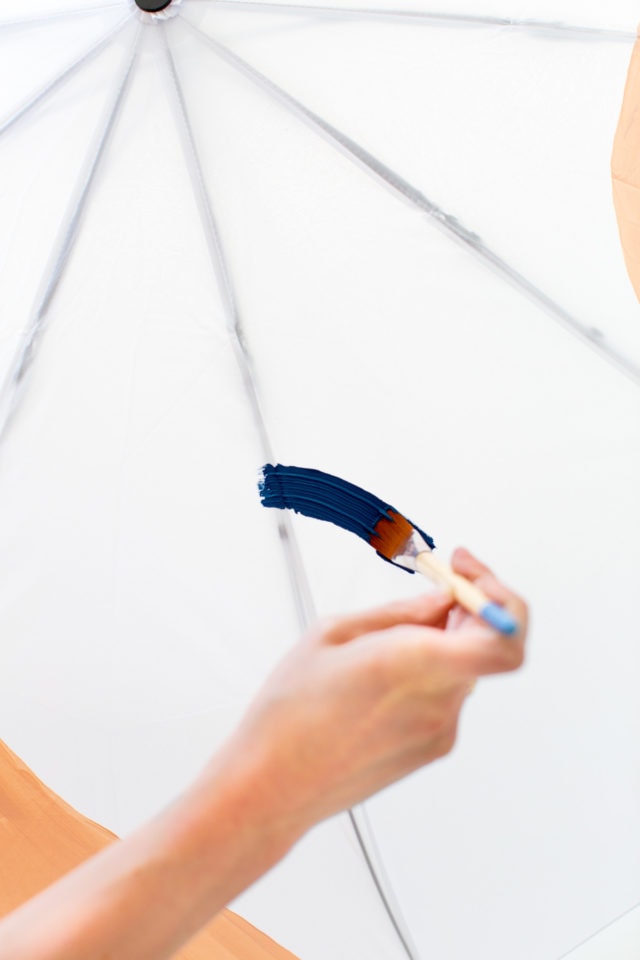
5 — Let the paint dry completely: After you’ve finished painting, allow the umbrella to dry completely for at least 24 hours. This is crucial to ensure the paint fully adheres to the fabric and won’t smudge or run when exposed to water.
6 — Optional: Apply a fabric sealant: For extra durability, especially if you live in a rainy area, consider applying a fabric sealant spray over your finished design. This step is optional but will help keep your artwork intact over time.

Tutorial Notes and Tips
- Use high-quality fabric paint that’s water-resistant and durable for outdoor use: Cheaper paints may fade or wash away over time, especially since the umbrella will face rainy conditions.
- Choosing your paint colors: We also recommend using more saturated colors if you go for the white base like ours. A white umbrella reflects so much light that it made certain colors hard to notice. We also love the idea of painting a navy umbrella with pastels colors.
- Keep designs simple: Simple, abstract shapes like circles, lines, or waves are easier to paint and look great on an umbrella’s panels. This also helps avoid excessive paint buildup that could make the fabric stiff.
- Different pattern ideas: You really don’t need any drawing skills to decorate the umbrella nor does it have to be perfect. If you want to keep it even more simple and easy, check out the pattern we did with these DIY confetti placemats or geometric accent wall.
- Avoid thick layers: Thin, even layers of paint work best and are less likely to crack or peel. Apply a second coat if needed after the first layer has dried completely.
- Practice on paper: If you’re not sure what design you want, try sketching a few ideas on paper first. This can help you plan your shapes and colors before you commit to the umbrella.
- Keep the umbrella taut while Painting – Slightly open the umbrella so that each section is taut while you’re painting, but not fully stretched, to prevent the paint from cracking when the umbrella opens and closes.
More Painting Ideas
Painting has always been our creative outlet and stress reliever. For more easy painting projects, check out a few our favorites below —
- 18 Handmade Easy Wall Painting Ideas
- DIY Painted Bowls
- How to Make a Watercolor Cake
- 22 Girls’ Room Paint Ideas to Personalize Her Space

DIY Painted Umbrella with Abstract Shapes
Equipment
- Foam brushes or soft-bristle paint brushes
Materials
- 1 umbrella
- Fabric paints in colors of your choice
- Fabric sealant optional
Instructions
- Prepare your workspace. Set up a clean, flat workspace with plenty of room to spread out the umbrella. Place a drop cloth or newspaper under the umbrella to protect your surfaces from paint. Open the umbrella partway so the fabric is taut but easy to access from all angles.
- Plan your design. Lightly sketch your design with a pencil on the umbrella if you’d like a guide, or go straight in for a more spontaneous look.
- Begin with one color and start painting and filling in your shapes with fabric paint. Apply the paint in thin, even layers, and let each layer dry before adding another if you want more opacity.
- Once your first color is dry, switch to your next color and continue adding shapes and patterns around the umbrella.
- After you’ve finished painting, allow the umbrella to dry completely for at least 24 hours.
- Optional: Apply a fabric sealant for extra durability and to keep your artwork intact over time.

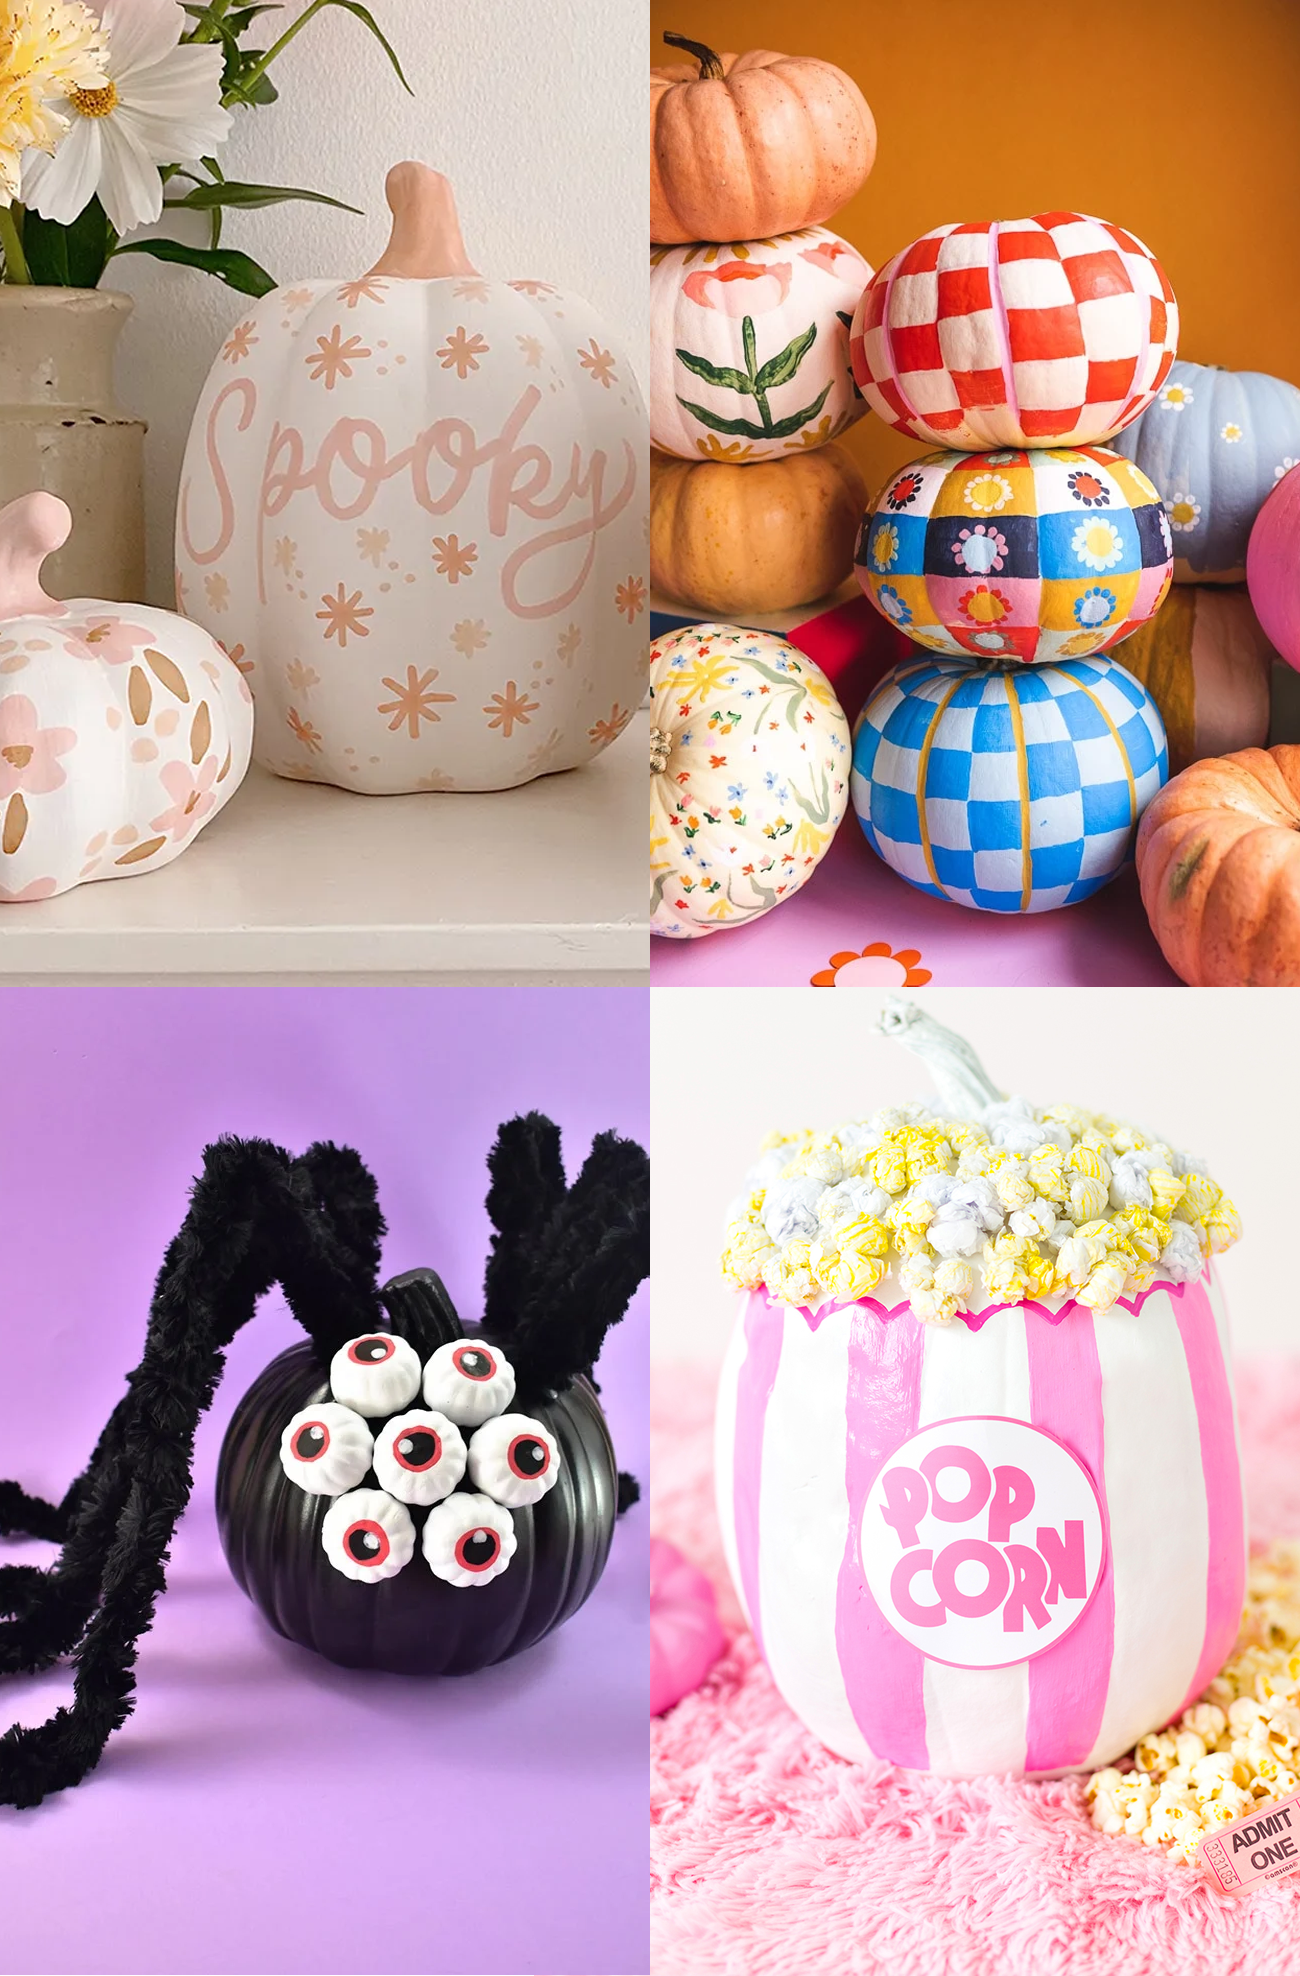
33 Easy DIY Pumpkin Painting Ideas
Create festive and unique decorations with these pumpkin painting ideas…
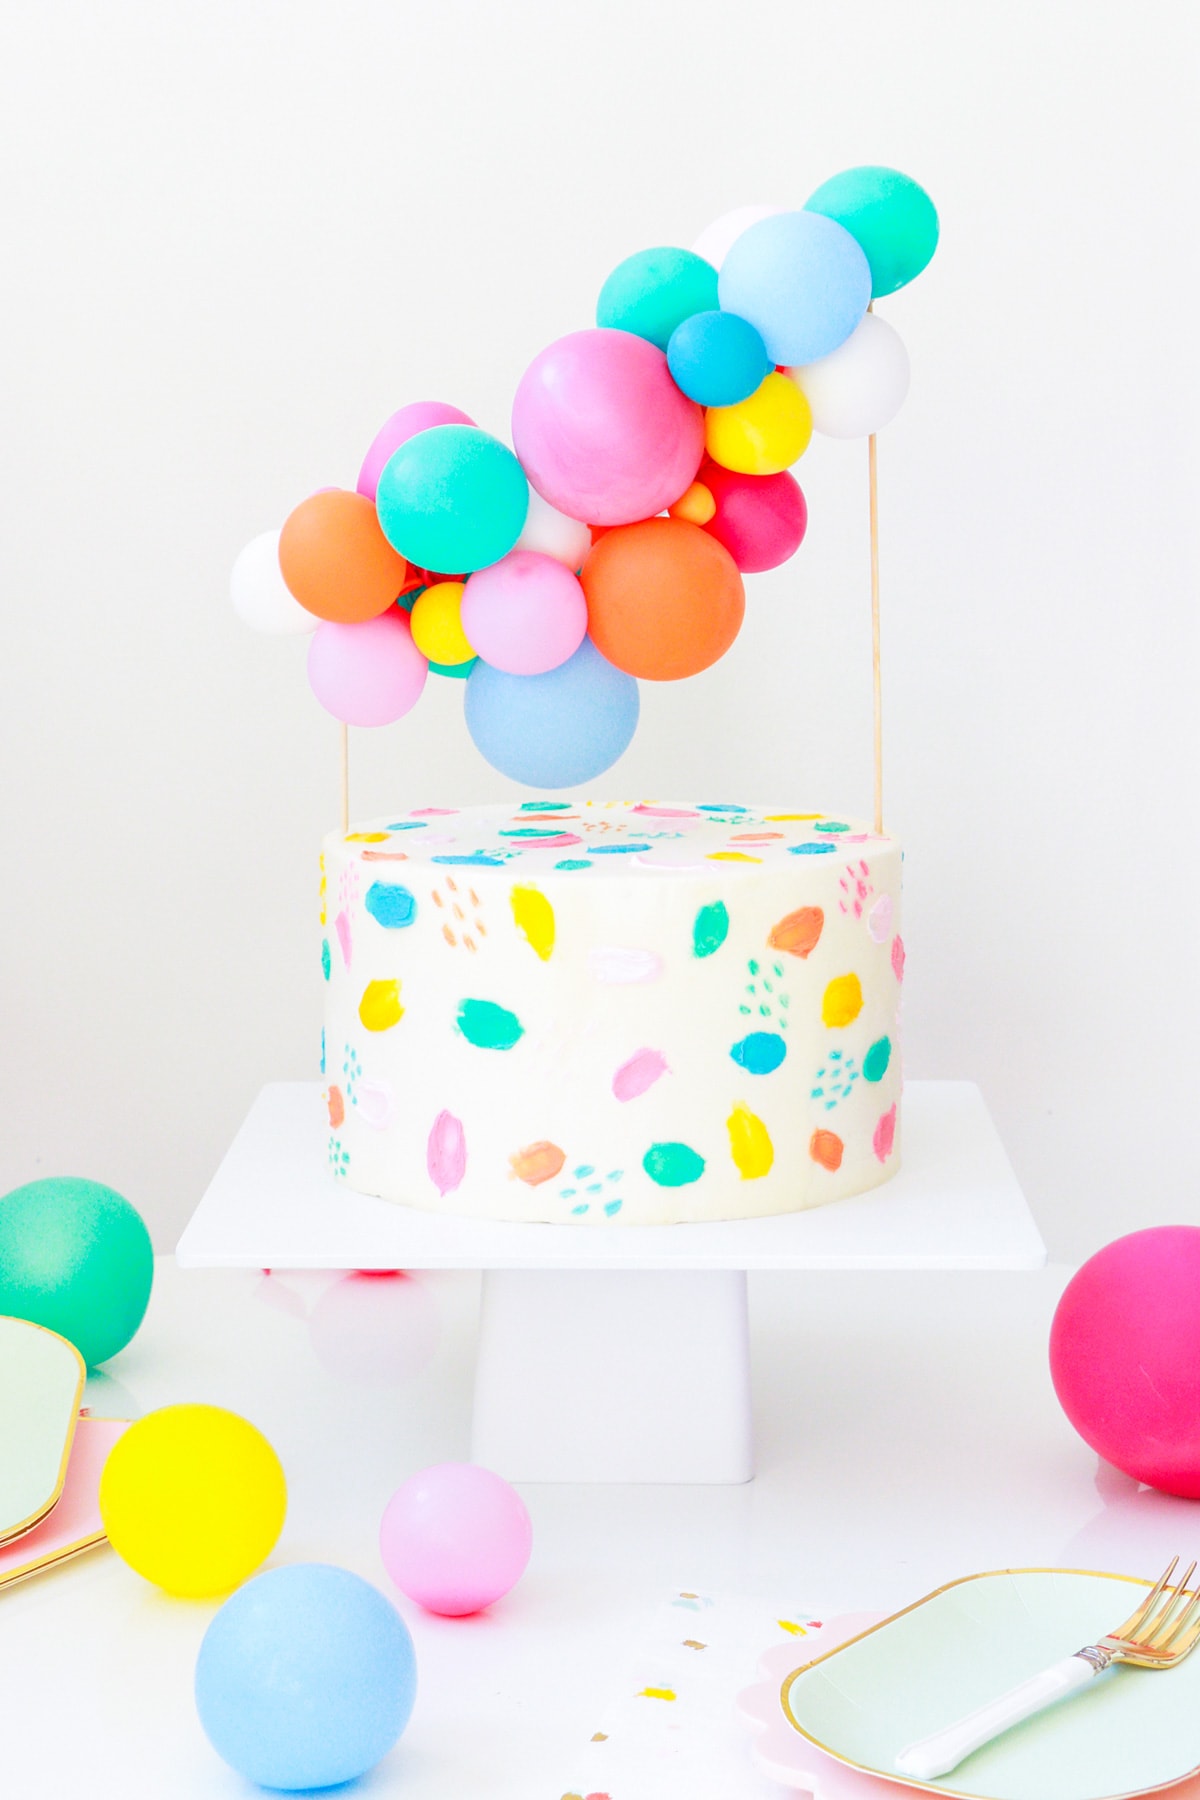
DIY Balloon Cake Topper & Cake Painting Tutorial
Add a touch of whimsy to your cake with a customizable…
Continue Reading DIY Balloon Cake Topper & Cake Painting Tutorial
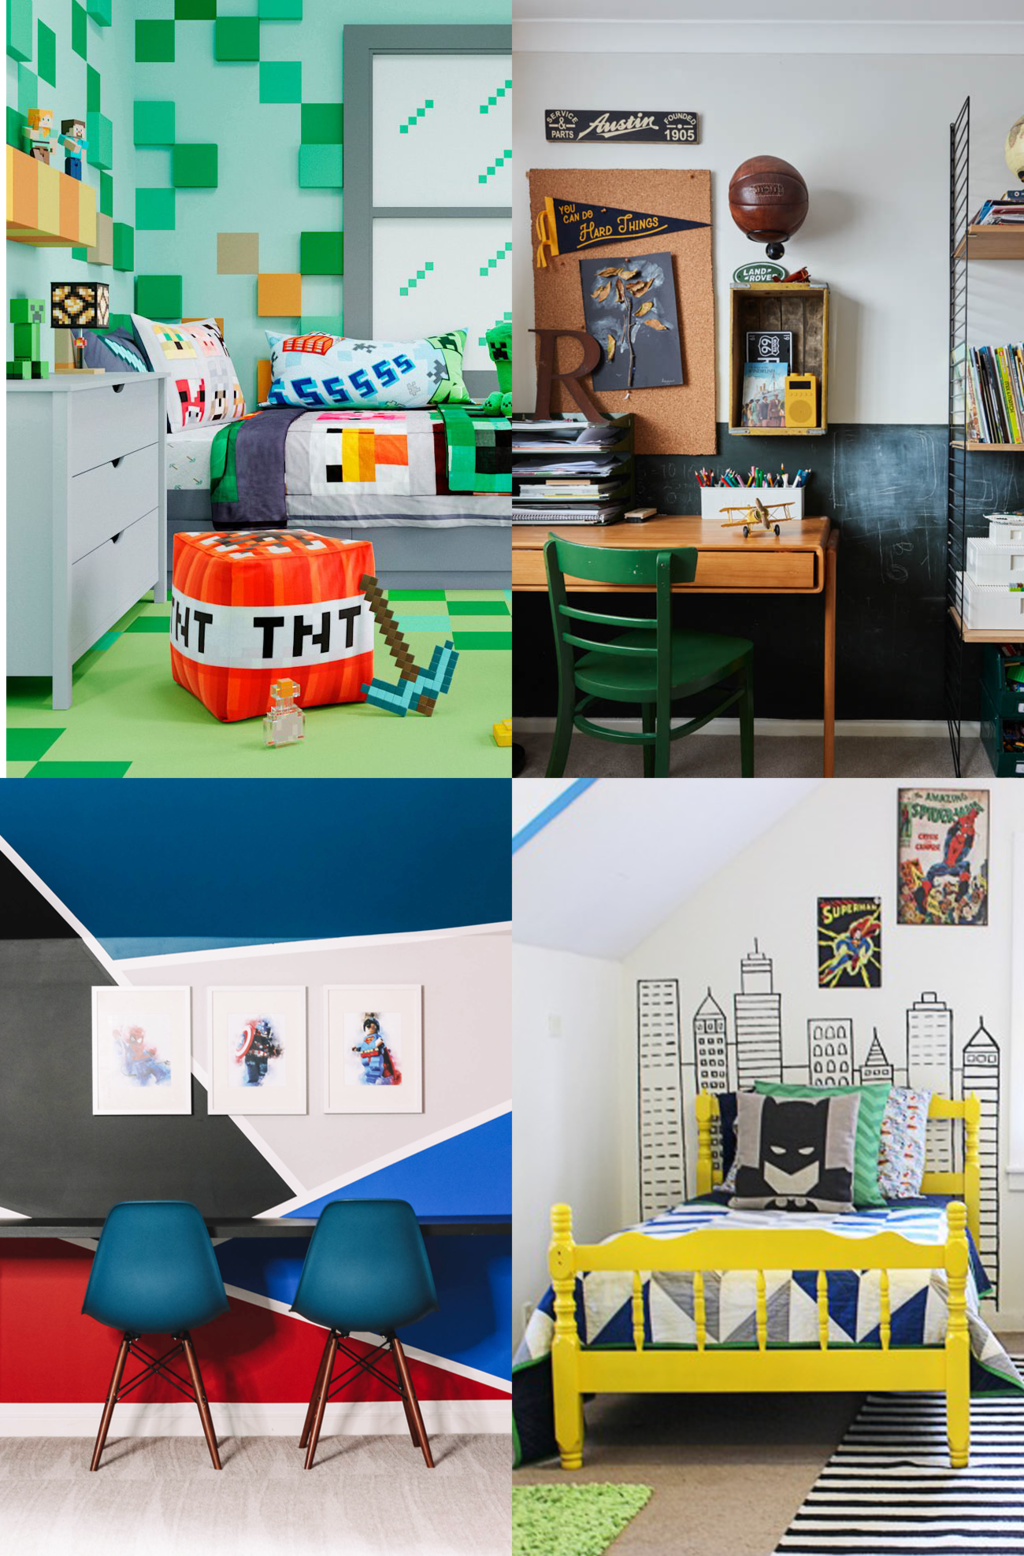
Cool Boys Bedroom Paint Ideas for Every Personality
Create a cool and cozy ambiance in your son’s room…
Continue Reading Cool Boys Bedroom Paint Ideas for Every Personality
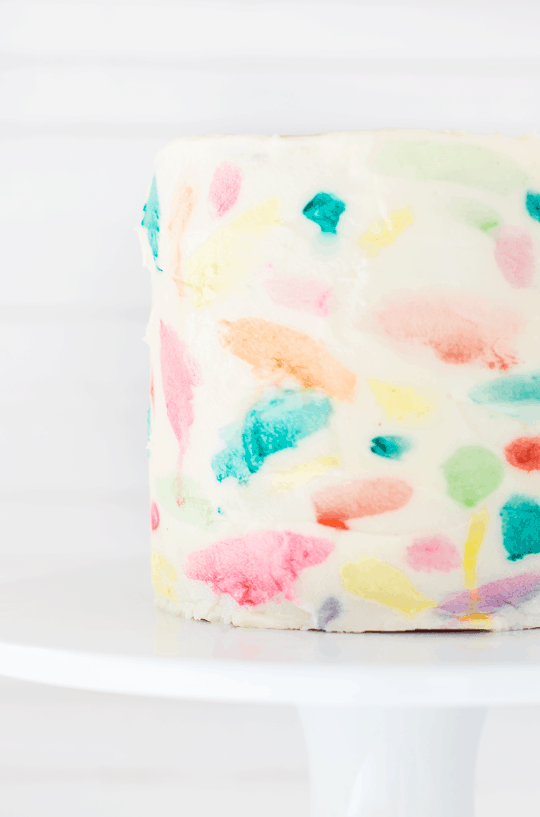
How to Make a Watercolor Cake
Learn how to create a stunning and edible watercolor cake.…
Please note that we may earn a commission for some of the above affiliate links. However, products featured are independently selected and personally well-loved by us!
I love fun umbrellas! They are my go to accessory. I’ve never thought of making my own, though. I absolutely LOVE how yours turned out! I can’t wait to try it on my own.
Yess! You so should, Kimberly. It’s really easy and a lot of fun to make! Let us know how yours turns out :)!
I SO need this umbrella! You are right about using the fabric paint instead or whatever cheapo paint ;) It rains so much where I live ;) LOVELY! So you :)
Haha we learned our lesson here, fabric paint all the way! Thank you so much for the kind words, Ursula! :)
That umbrella is so cute and you definitely read my mind about the paint. I live in Portland, so it’s good to know what kind of paint will be weather resistant. I can’t wait to try this project!
-Helen
http://www.sweethelengrace.com
Thank you, Helen! We definitely learned the hard way what paint is weather resistant, haha! Let us know how it turns out xo
So Super Cute! You always amaze me with all the unique creative ideas that you come up with! LOVE IT!!
Thanks for the kind words, Jenna! We’re super happy with the way it turned out :) glad you love it too! xo
Have you tried it with the other paint to make sure it doesn’t slough off?
Hey Ashley! Yes, the paint that I had for the navy that was good quality did totally fine, but the cheaper stuff didn’t last at all. Hope this helps! xo