Faceted DIY Easter Egg Place Card Holders
Add a handmade touch to your table with these DIY Easter Egg Place Card Holders! Made with polymer clay, these adorable holders are easy to craft and perfect for festive table settings.
Looking for a fun and creative way to add a festive touch to your Easter table? We’re all about the non-traditional holiday decor, and these DIY Easter Egg Place Card Holders are definitely a testament to that!
Made from polymer clay, they’re the perfect blend of charm and functionality. Using just a few simple materials, you can customize these egg-shaped holders in any color, pattern, or design to match your Easter décor. And because they’re so subtle and don’t scream “Easter”, you can reuse them for other gatherings too.
Whether you’re hosting a family brunch or a spring gathering, these handmade holders will make each place setting extra special. Plus, they double as adorable keepsakes your guests can take home! Follow our easy step-by-step tutorial to create your own whimsical Easter egg place card holder. They’re sure to be a hit at your holiday table!
Materials and Tools Needed
- Oven bake polymer clay color set
- Razor blade or any straight edge
- Clay-dedicated baking sheet
How to Make Faceted DIY Easter Egg Place Card Holders
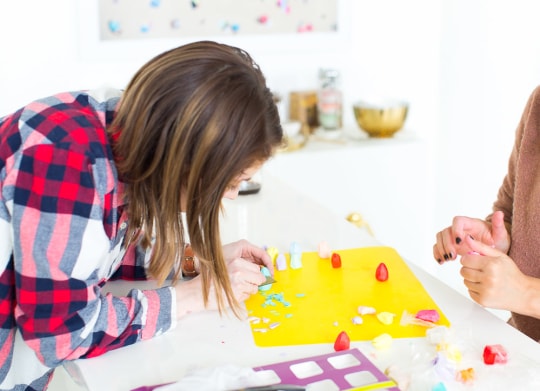
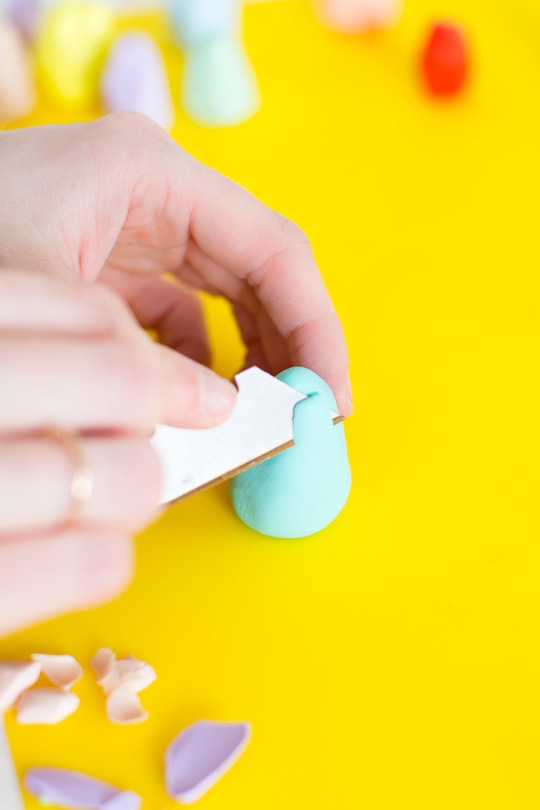
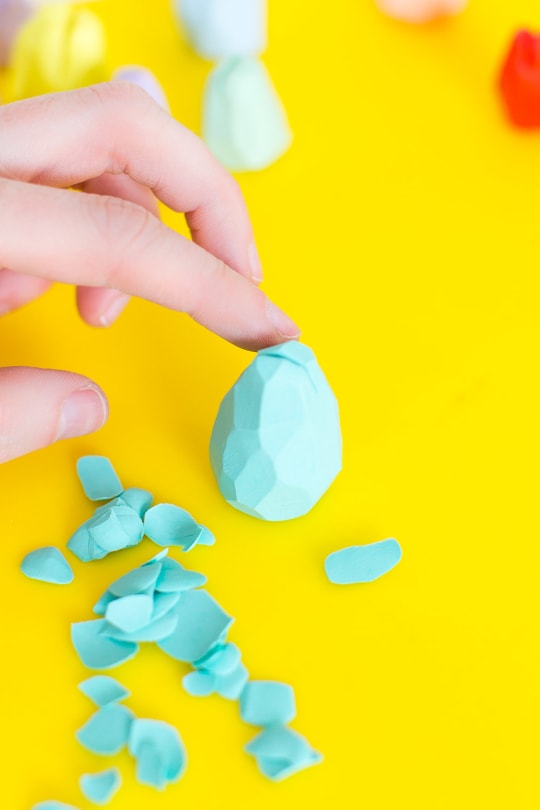
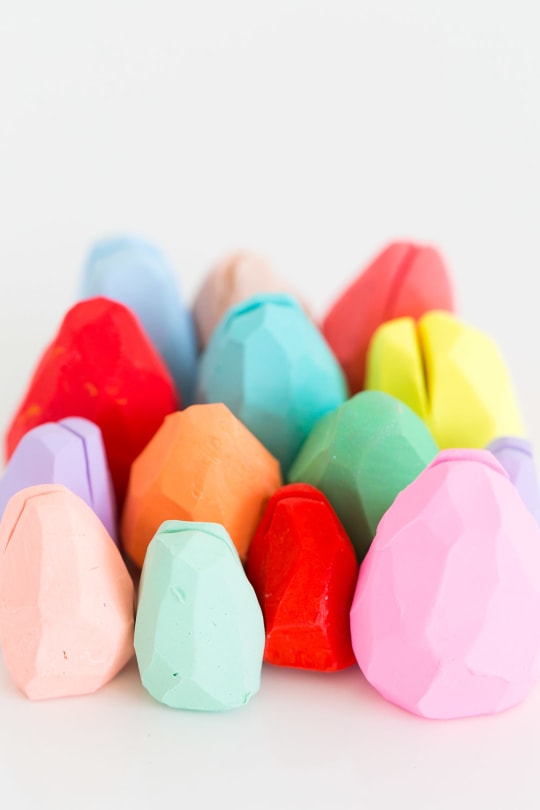
1 — Mix and shape the clay: Get creative with your polymer clay colors by mixing shades until you achieve the perfect tones for your Easter table. Once you have the colors you love, roll the clay into an egg-shaped ball slightly larger than your desired final size. Since you’ll be slicing the clay to create the faceted look, make sure your egg shape is a bit larger than the final size you want. This gives you enough material to work with when shaping the design.
2 — Create the faceted sides: Using a straight-edge blade, carefully slice off small sections starting from the top of the egg and working your way down. Continue cutting at different angles to create faceted edges all around the egg.
3 — Bake the clay: Place the faceted eggs on a dedicated clay baking sheet and bake according to the manufacturer’s instructions for your polymer clay type. Be sure to follow the recommended temperature and baking time for best results.
4 — Cool and style: Once baked, remove from the oven and let the eggs cool completely before handling. Now they’re ready to be styled as place card holders for your Easter table!

Place Card Ideas
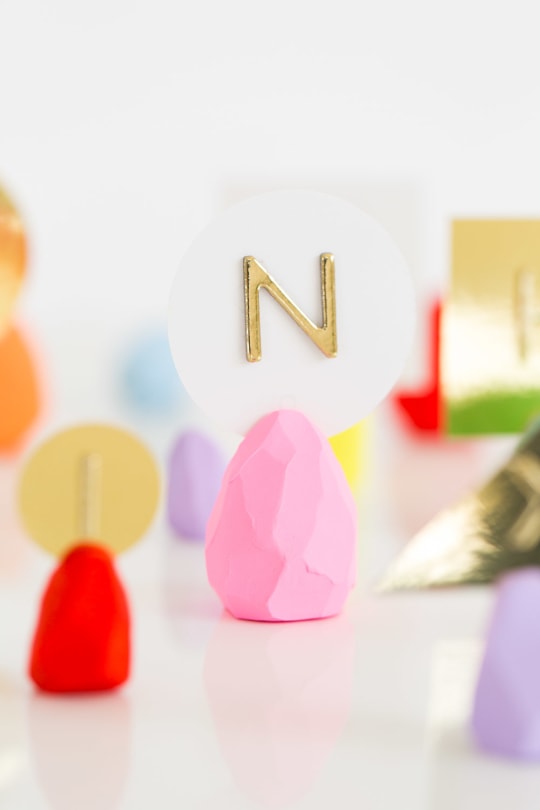
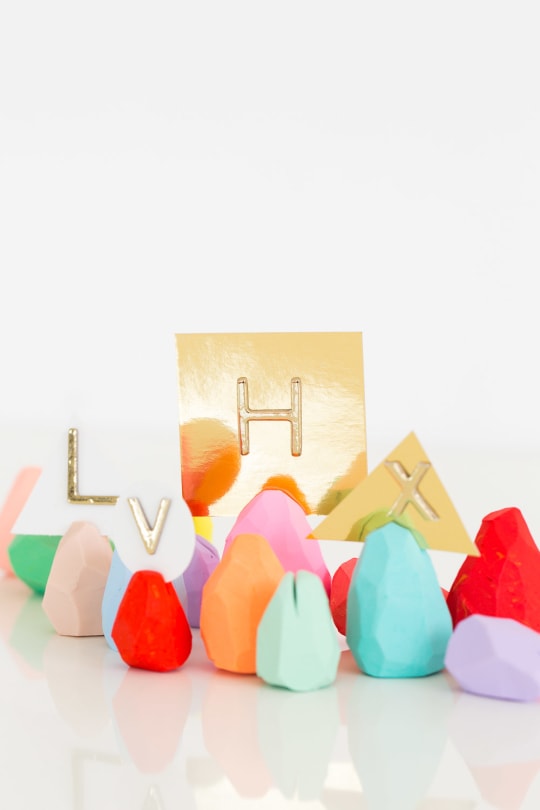
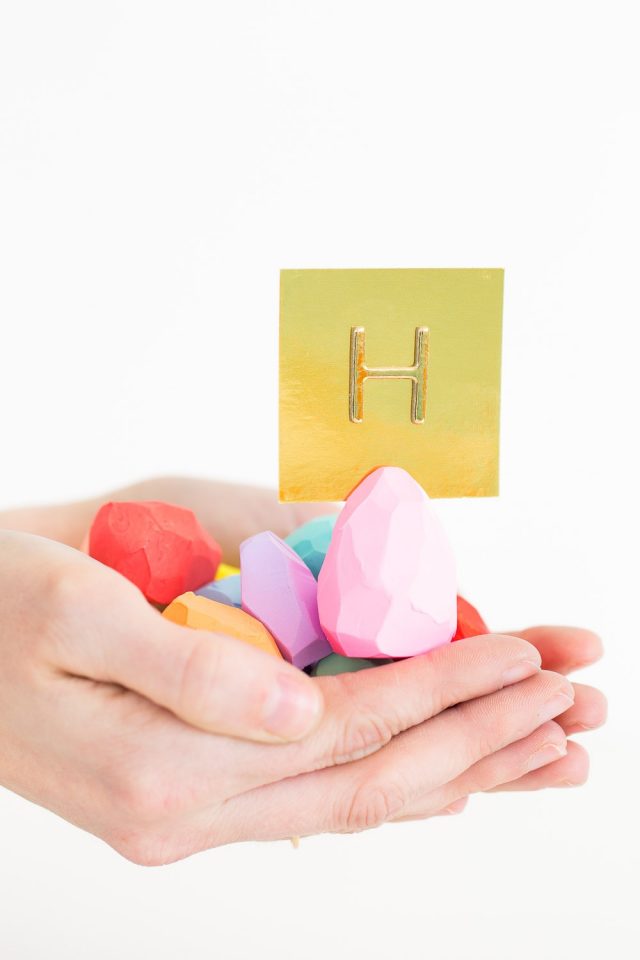
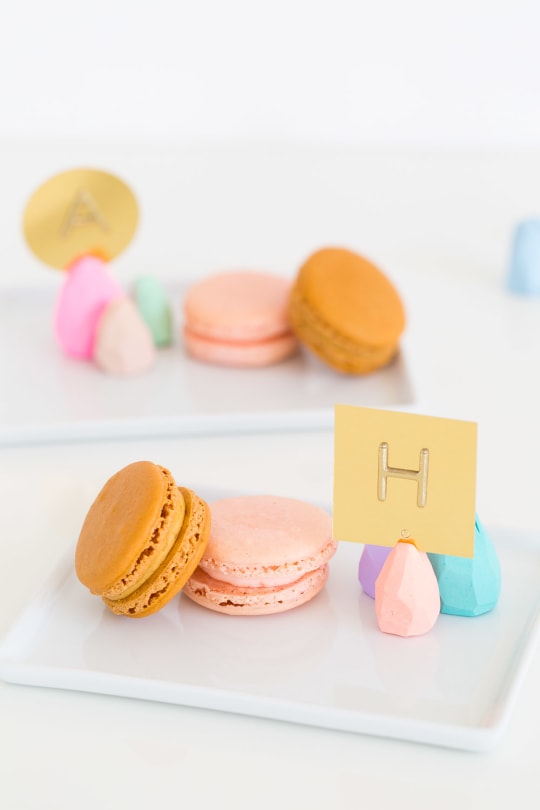
For the actual cards themselves, we just used cut-out shapes from metallic gold paper and these 3D stickers to match. Don’t these look adorable next to macarons?! We love the way they turned out! Do any of you have staple Easter decor items that you use every year? These are definitely new on our list!
More Easy Ideas for DIY Name Card Holders
With the number of table settings we put together around here, we’re no strangers to place cardholder ideas! There are endless ways to create your DIY versions or repurpose unexpected items to use as name cards, as we did with these ribbon candy holders! It will go perfectly with your pastel easter table settings. Here are a few of our favorite past projects —
- Clay DIY Geometric place cardholders
- DIY Mini mountain photo holders – that you could easily repurpose
- DIY candy ribbon place cardholders
- Simple pumpkin leaf place card holders


DIY Faceted Easter Egg Place Card Holders
Equipment
- Razor blade/straight edge
- Clay-dedicated baking sheet
Instructions
- You’ll have to get a little creative on combining the clay colors to make the correct shades you want. But once you have the perfect colors, you’ll start by making an egg-shaped ball of clay.
- Make the egg shape a bit bigger than you want the final place card holder to be since you’re going to cut it down some to make it faceted.
- Using the straight edge, slice off small sections starting at the top. Then, work your way down until you have faceted sides around the whole thing.
- Next, place the shapes on a dedicated clay baking sheet. Bake according to the manufacturer’s instructions for the one you’re using.
- Once they’ve hardened, remove from the oven, let cool, and then style them!
Notes
- For the actual cards themselves, I just used cut-out shapes from metallic gold paper and these 3d stickers to match

Don’t forget to share your DIY name card holders with us on Instagram using the hashtag #sugarandclothloves. We always love seeing all of your creations! Looking for more interior design inspiration? You can find all of our home decor tutorials and ideas right here!
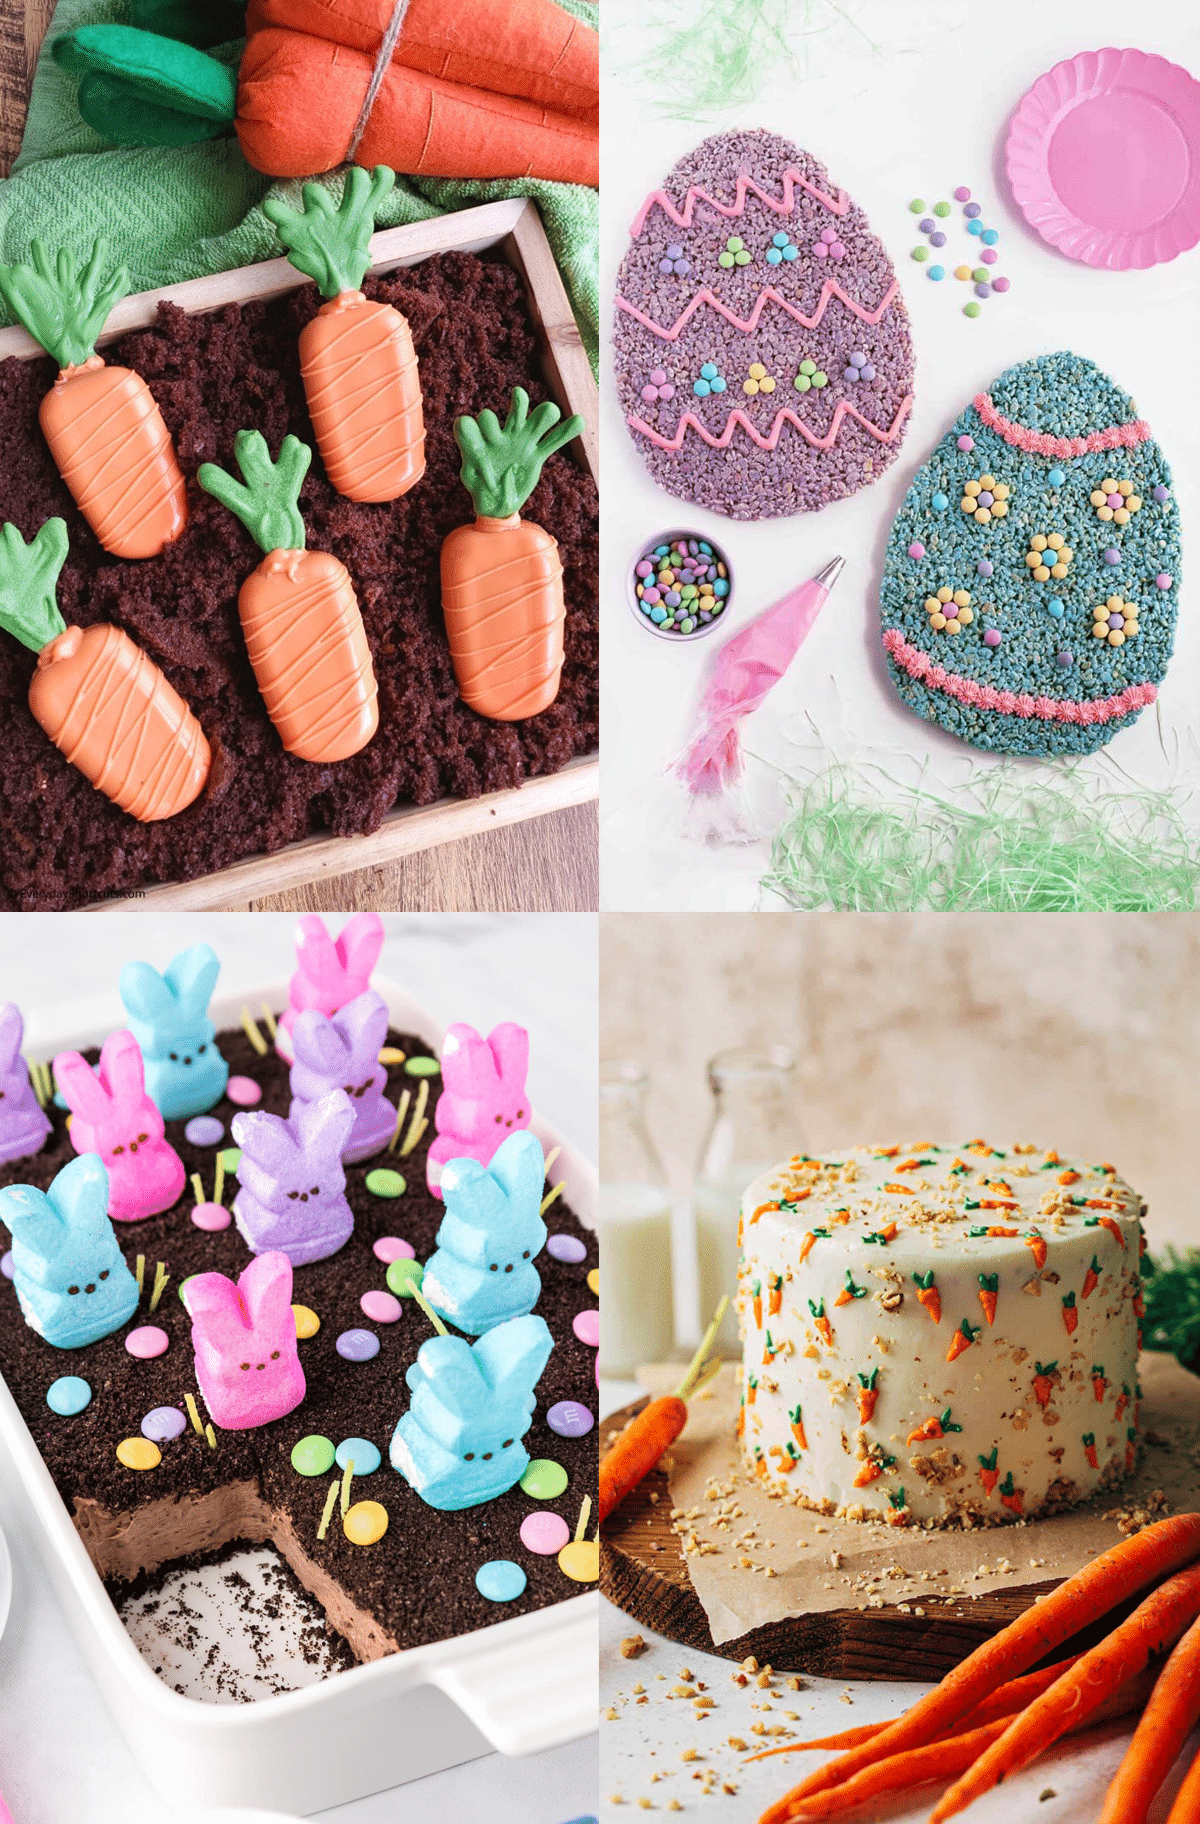
40 Delicious Easter Desserts to Sweeten Your Celebration
Get inspired by these festive and easy-to-make Easter desserts that…
Continue Reading 40 Delicious Easter Desserts to Sweeten Your Celebration
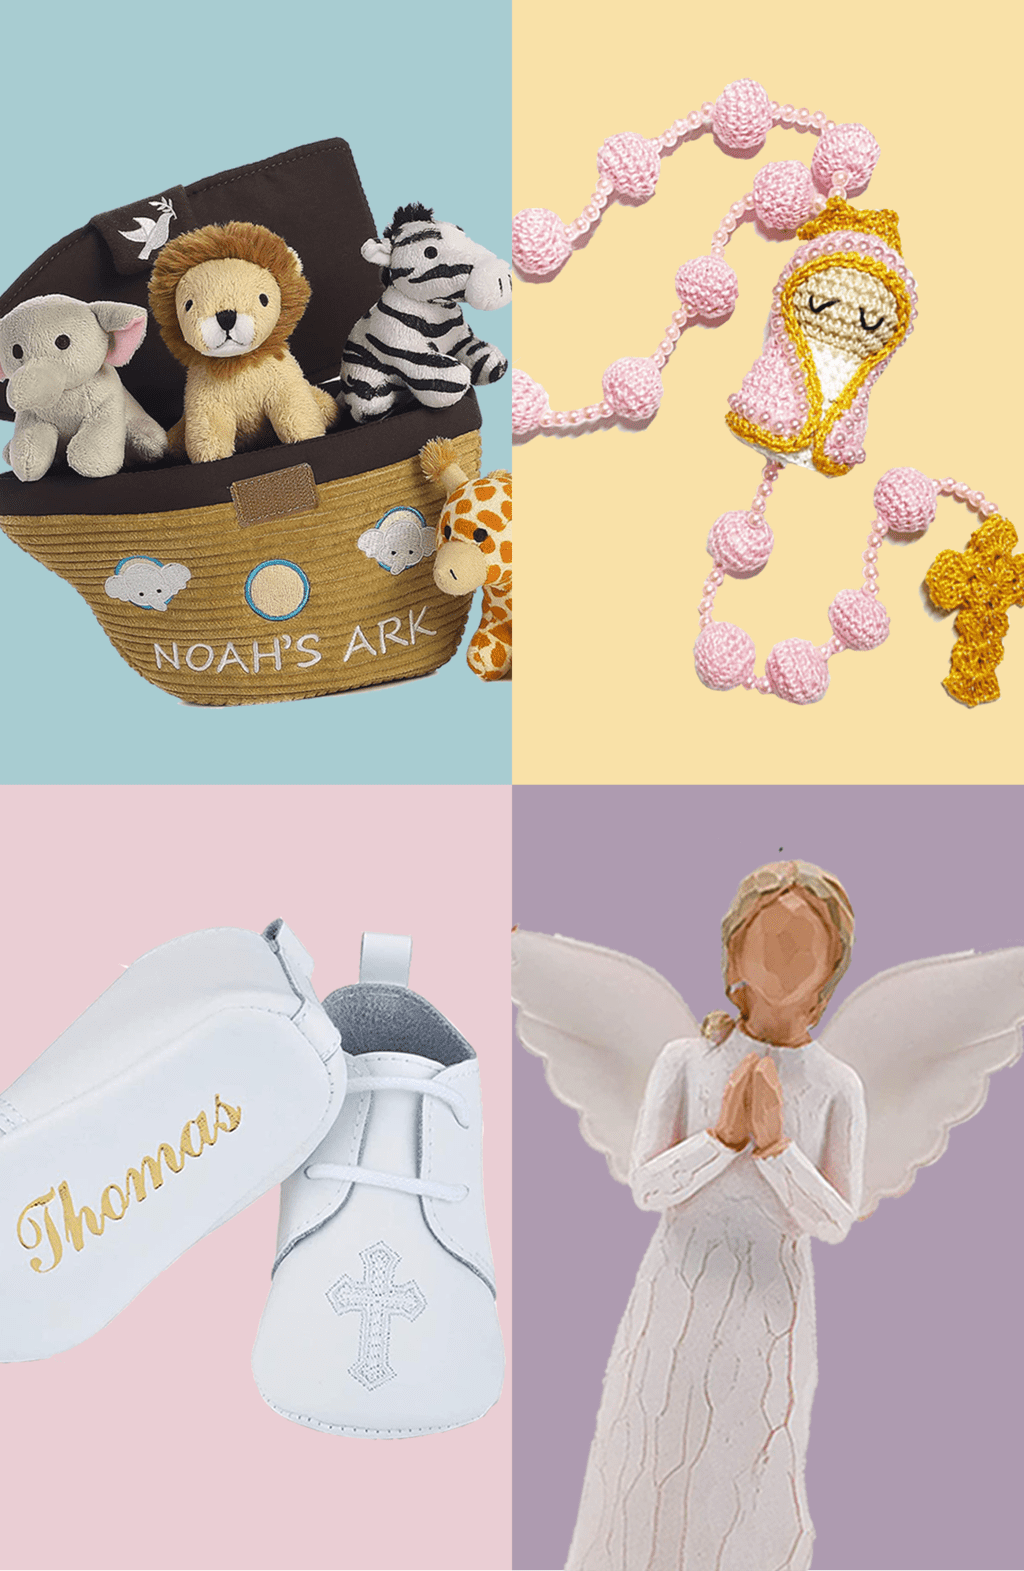
28 Thoughtful Baptism Gift Ideas
When it comes to gifts for a baptism, you want…
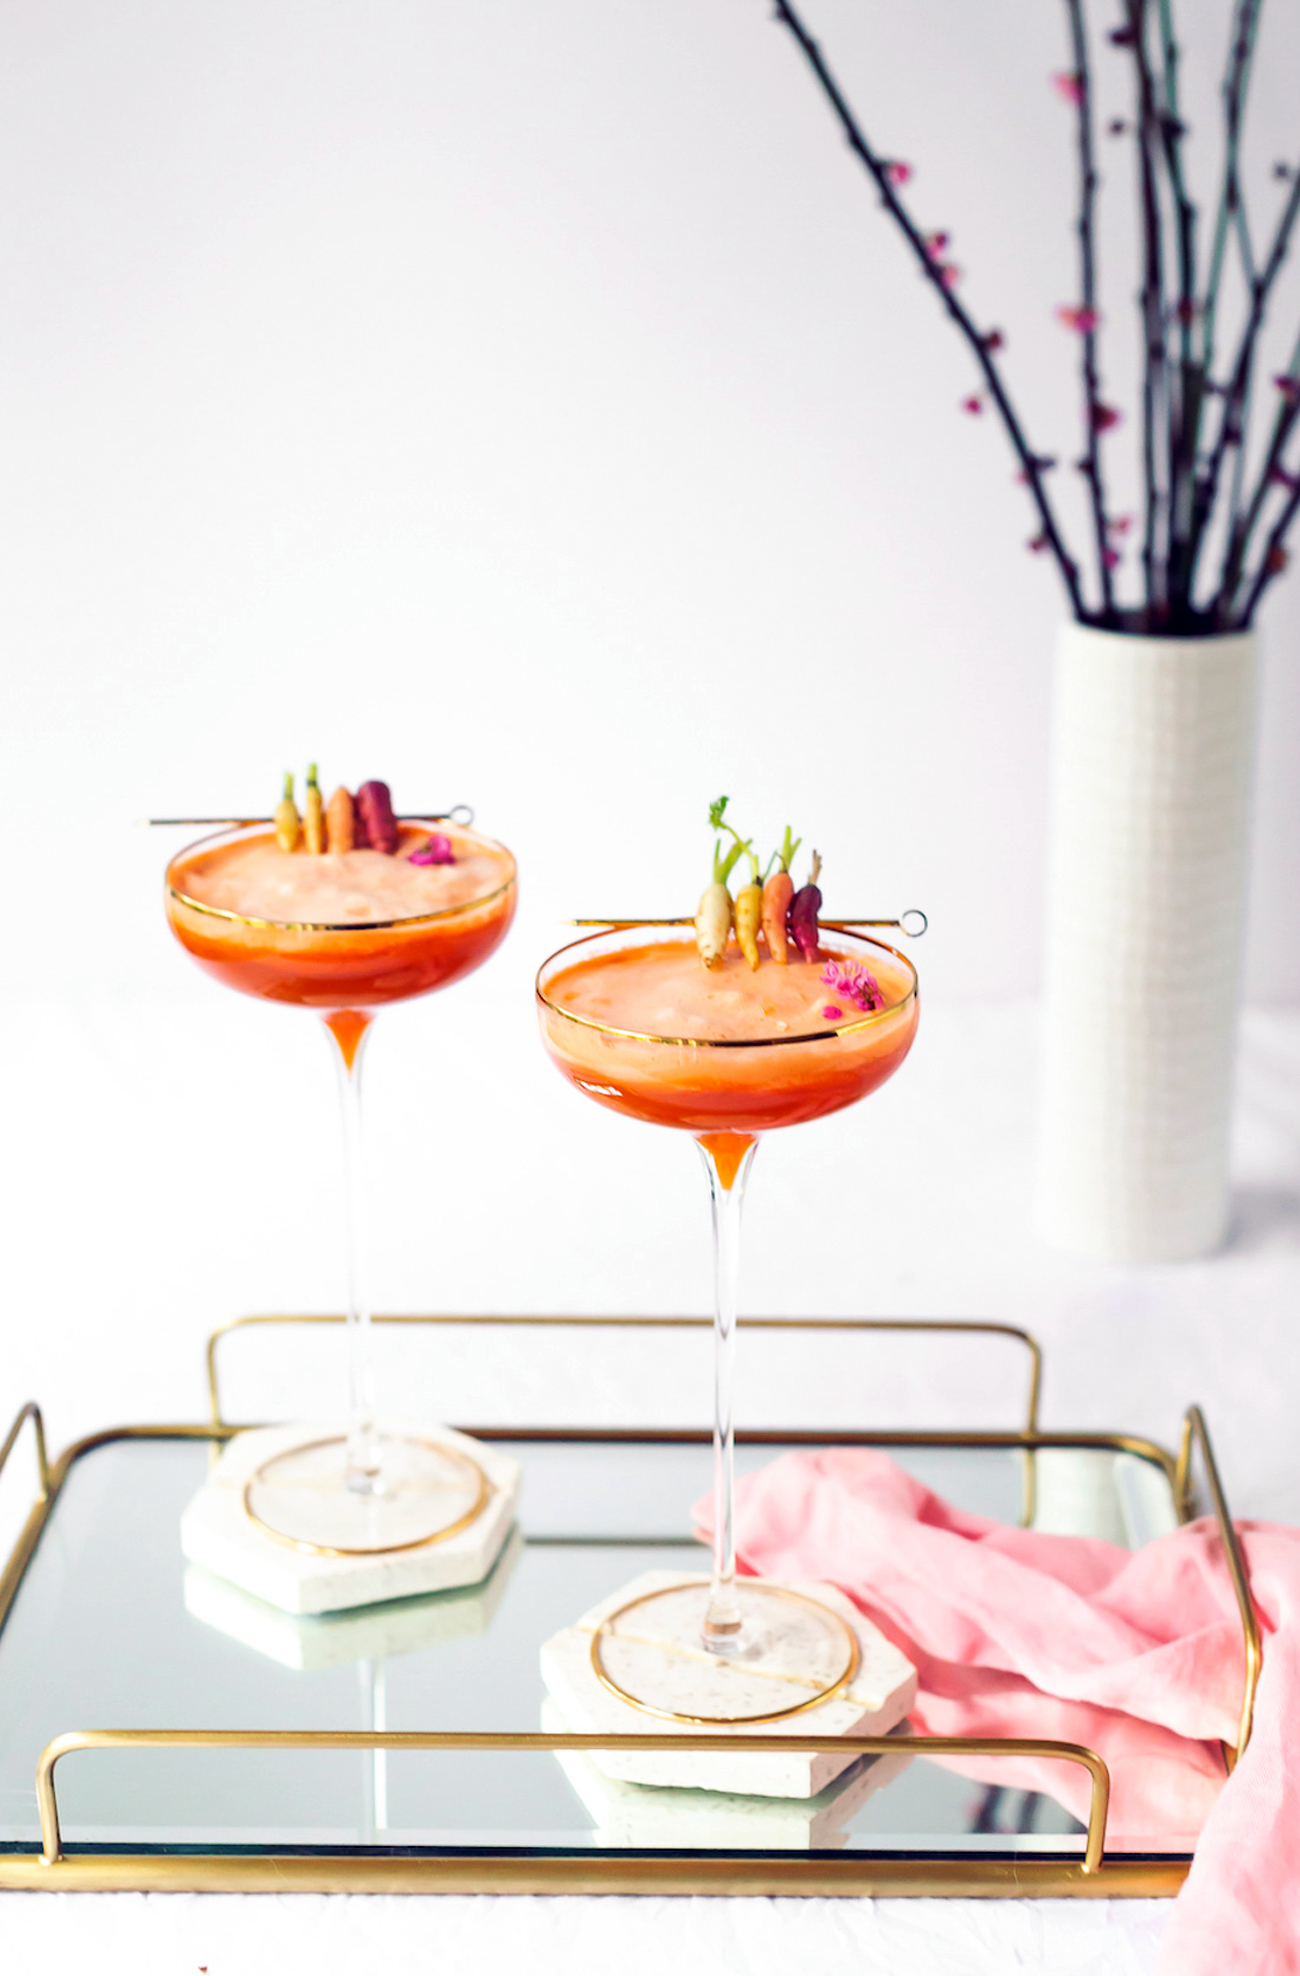
24 Carrot Cocktail Recipe
Our 24 Carrot Cocktail combines the sweetness of carrots with a…
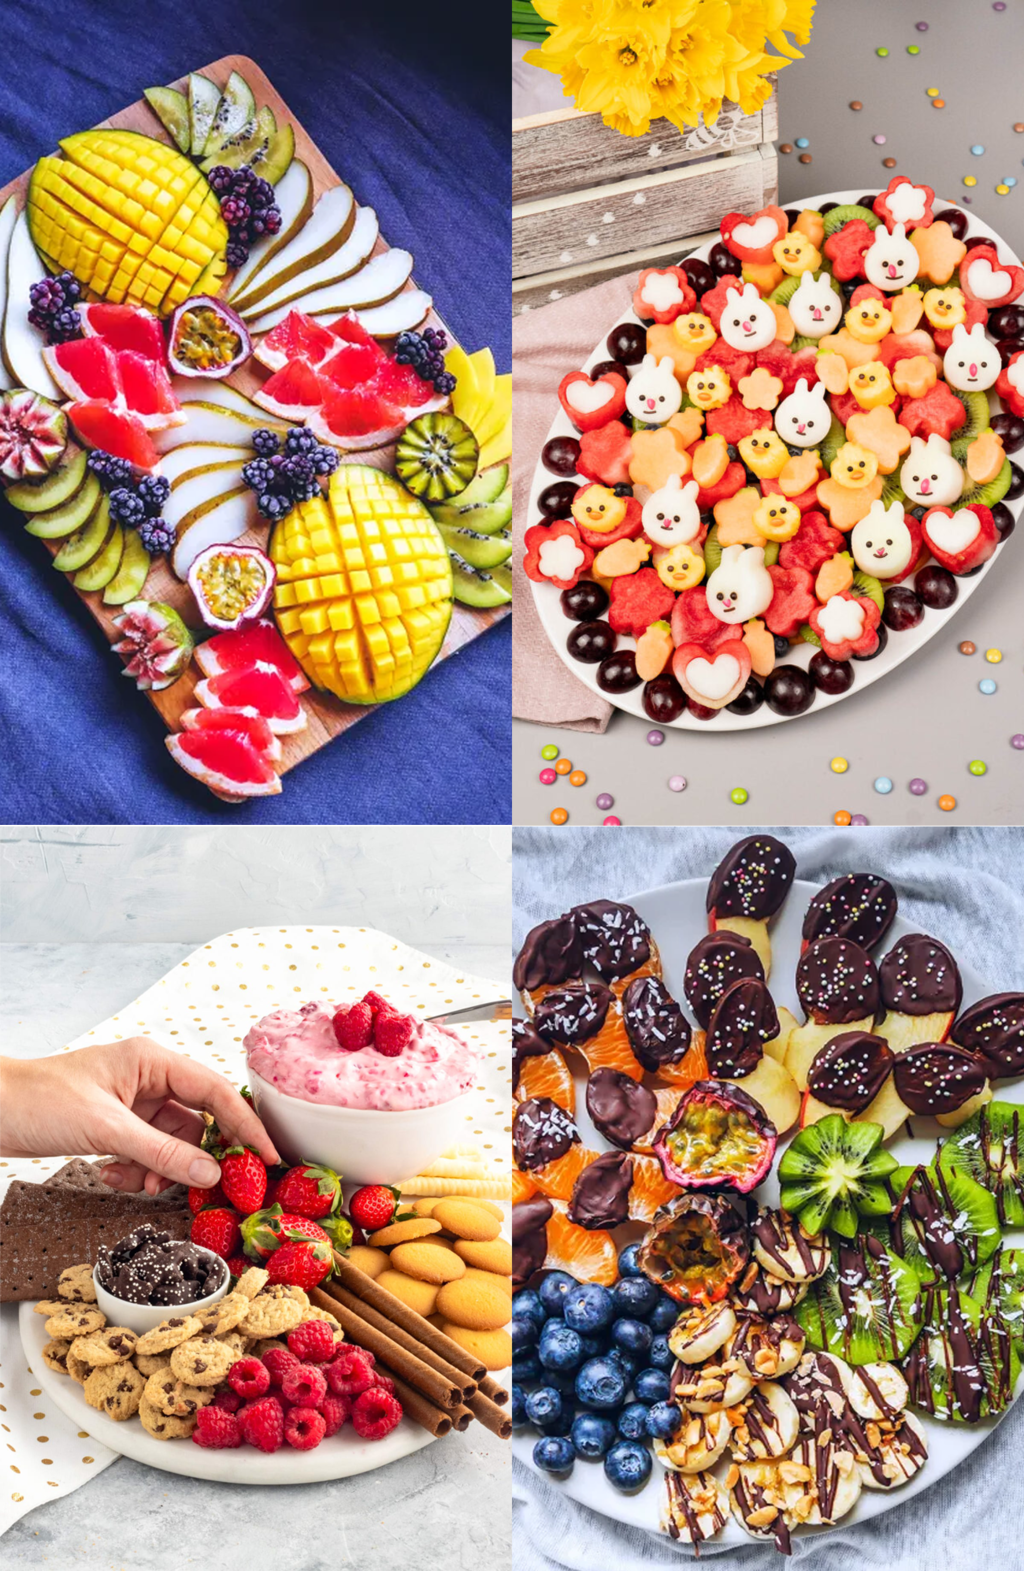
25 Best Fruit Platter Ideas & Tips
Make a fruit platter for any occasion. Here are some…
Please note that we may earn a commission for some of the above affiliate links. However, products featured are independently selected and personally well-loved by us!
These are so fun and modern. Love the colors, too!
You’re so creative, these are so fun!
blog.partypieces.co.uk
So fun and chic! I love the colors you chose.
xx Hannah // http://www.homemadebanana.com
These place holders are so cute! I love them!
Paige
http://thehappyflammily.com
pretty!!! just buffered it! I also love modern decor ;)
Modern for the win! ;)